Creating a Match-3 game in Unity
A few years ago, at SeishunCon, I rediscovered match-3 games. I played Dr. Mario is a child, but more competitive games like Magical Drop , Bust-A-Move and Tokimeki Memorial Taisen Puzzle-Dama are very different from hers.

Dr. Mario
As a result, I realized how many neutral decisions are associated with the creation of the match-3 game.
')
At the next Ludum Dare jam, I decided to experiment, but first, a week before this, I tried to develop a Tetris algorithm for detecting and deleting lines to warm up. This tutorial Unity Plus helped me a lot. [Approx. Lane: My link does not open. If you know how to solve the problem, write to me, I will add the article.] Of course, the Tetris algorithm for finding filled rows is much simpler than the algorithm that looks for various combinations of matching tiles.
If you want to examine these code examples in context, then go to my Ludum Dare 30 repository . (For shameless self-promotion, I again used this logic to play Shifty Shapes .)
Two worlds
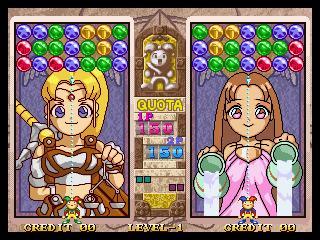
Magical Drop 3 (source: Kazuya_UK )
The most tricky part of creating a puzzle game in Unity is that the game does not live in the space of the world. In any case, does not live completely.
This is its difference from other genres. Platformers, for example, almost completely live in the game world of Unity. Transform player reports his position. Colliders (or, in some cases, a raycast) tell whether a player is on the ground, hits the ceiling or collides with the enemy. Even if you do not use in-game physics, you still most likely add strength or specify the speed of the Rigidbody to ensure collision recognition at no cost.
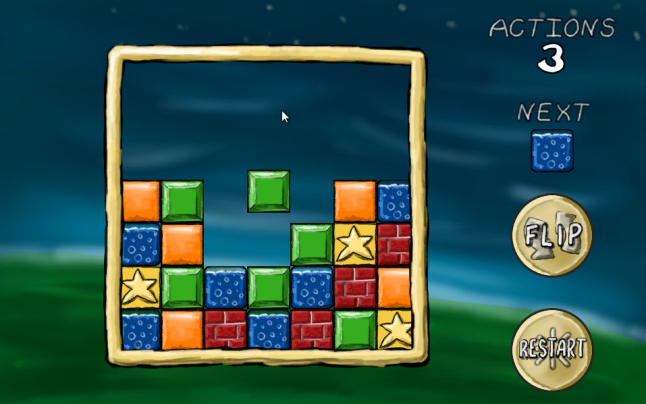
Puzzle games are completely different. If in your game you need to click the mouse, then it probably gets some coordinates in the space of the world, but they are usually converted into a grid cell, which completely lives in the code. There is a clear reason for this: it is much easier to create logic for a game like Tetris or Dr. Mario, when you work not with individual pixels, but with blocks or tiles.
Tetris blocks should definitely not stick to the walls of the glass
In fact, in my experiments, I tried to stick to the space of the world as much as possible. I used physics to determine the "landing" of tiles and transferred data to a two-dimensional array only to determine the filling of the string. It seemed more secure: after all, what happens in the game world is real . This is what the player sees, so if you store the data here, then there is no risk of out of sync, right?
I was wrong. No matter how I tried to configure the system, it just did not work correctly.
The Unity Plus tutorial, the link to which I gave above, was of great help to me. At a minimum, he showed that the correct approach was the complete transfer of logic from the game world to an abstract data structure. If you have not done this yet, then at least briefly review it, because in this article I will expand the logic of "Tetris" to the logic of match-3.
Transformation from field to world space
As soon as I realized that this transition was convenient, the rest was simple. I created a GameTile class that tracks the color, row and column of a tile, and based on it, updated the position of the tile. Here is his abbreviated version:
public class GameTile : MonoBehaviour { private Transform _t; private SpriteRenderer _s; [System.NonSerialized] public int TileColor; [System.NonSerialized] public int Row; [System.NonSerialized] public int Column; void Awake () { _t = GetComponent<Transform>(); _s = GetComponent<SpriteRenderer>(); } Vector3 tmpPos; public void UpdatePosition() { tmpPos = _t.position; tmpPos.x = (Column * Board.TileSize) - Board.WorldOffset; tmpPos.y = (Row * Board.TileSize) - Board.WorldOffset; _t.position = tmpPos; _s.sprite = Board.Current.Textures[TileColor]; } 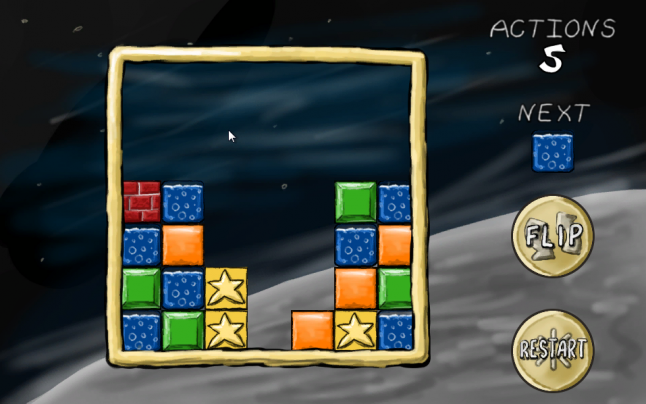
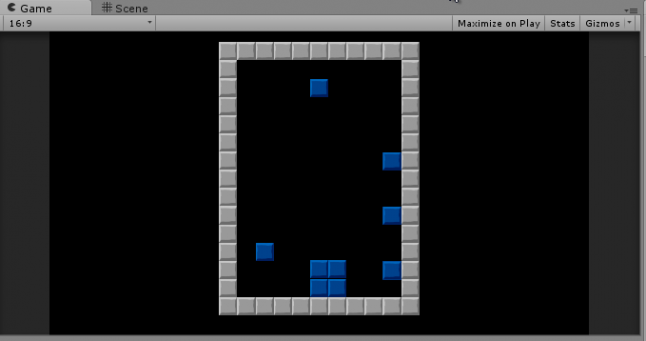
Tiles in the grid
Note that in this case TileSize is a constant that determines the size of the tile in Unity units. I use tiles of 64 × 64 pixels, and the sprite in Unity has a resolution of 100 pixels per unit, so TileSize is equal to 0.64. I also use a constant offset so that the middle of the 7 × 7 field is in the coordinates of 0.0 space of the world, and the bottom left corner is the tile 0, 0 in the game space.
I also created an array defining the playing field as a static field in the Board class. (Board was first a static class, and then turned into a singleton (singleton), because I needed to change the values in the editor, so it clumsily combines the features of a game object and a static class.)
public const float TileSize = 0.64f; public const float WorldOffset = 1.92f; public const int BoardSize = 7; public static GameTile[,] Tiles = new GameTile[BoardSize, BoardSize]; In the Unity Plus tutorial, a two-dimensional array was used to store integers, but I decided to store references to my GameTile objects in this array. This allowed me to transfer data from and to tiles directly (as you will see later), which made it easier to delete tiles and create animations.
When making changes to the state of the playing field, I just had to cycle through the entire field array and tell each tile where it should be:
public static void UpdateIndexes(bool updatePositions) { for (int y = 0; y < BoardSize; y++) { for (int x = 0; x < BoardSize; x++) { if (Tiles[x,y] != null) { Tiles[x, y].Row = y; Tiles[x, y].Column = x; if (updatePositions) Tiles[x, y].UpdatePosition(); } } } } Notice that in each case we transform from the abstract game space into the space of the world. Unity game objects do not store important information about the state of the game, they are always only a display of this state.
… and back
In my game there was only one case when it was necessary to perform a transformation from the world into the game space: when a player clicked on an empty space to throw a tile on the field. For this task, I created a large collider under the entire playing field and attached the following script to it:
void OnMouseDown() { if (GameState.Mode == GameState.GameMode.Playing) { mouseClick = Camera.main.ScreenToWorldPoint(Input.mousePosition); mouseX = (int)Mathf.Round ((mouseClick.x + WorldOffset) / TileSize); mouseY = (int)Mathf.Round ((mouseClick.y + WorldOffset) / TileSize); PutNextTile(mouseX, mouseY); Soundboard.PlayDrop(); GameState.ActionsTaken++; } } That's all. Notice that, in essence, an action is performed in it, the opposite of UpdatePosition (), where the game space is converted into the space of the world.
Recognizing and deleting matched tiles
Deleting matched tiles
This is the trickiest part. Probably for the sake of this you are reading an article.
Horizontal coincidence (as in Tetris) is quite simple to implement: you just need to look for adjacent tiles in one line. Even adding horizontal or vertical matches (as in Dr. Mario) is just a variation of this theme. However, tracking a set of contiguous tiles in both the horizontal and vertical directions will require recursion.
With each action that changes the playing field, we run a check. The first thing we do is copy the entire array of the field to another array:
static void CopyBoard(GameTile[,] source, GameTile[,] destination) { for (int y = 0; y < BoardSize; y++) { for (int x = 0; x < BoardSize; x++) { destination[x, y] = source[x, y]; } } } static bool clearedTiles = false; public static void MatchAndClear(GameTile[,] board) { clearedTiles = false; // CopyBoard(board, toTest); // ... What for? We will see later that it will be much easier to determine which tiles we checked.
We begin the process with a "rough" search. Go from cell to cell (rows first, then columns), checking each cell. For each check, we reset some variables used to track the check, and then call a separate function (which is later used for recursion):
// MatchAndClear()... currentTile = null; collector.Clear (); for (int y = 0; y < BoardSize; y++) { for (int x = 0; x < BoardSize; x++) { TestTile (x, y); // ... Let's look at this TestTile function:
static void TestTile(int x, int y) { // , if (toTest[x,y] == null) { return; } // if (currentTile == null) { currentTile = toTest[x, y]; toTest[x, y] = null; collector.Add(currentTile); } // ** - ** // , if (x > 0) TestTile(x - 1, y); if (y > 0) TestTile(x, y - 1); if (x < Board.BoardSize - 1) TestTile(x + 1, y); if (y < Board.BoardSize - 1) TestTile(x, y + 1); } If the function detects that the cell is null, then skip it. A cell with null means that it is either empty, or we have already tested it. (That's why we copied it into a separate array — it's easier to arbitrarily manipulate the new array.)
If the cell has a value, then we do the following. First, we memorize it as a “current” cell, one that is at the top of the recursive chain. Then we remove it from the copy of the playing field, so as not to double check. We also add it to the List to remember how many adjacent tiles of the same color we found.
There are two conditions that can occur later in recursion, but we will talk about them later. After checking the cell, we take four cells around it and perform the same check for them.
The “current” cell is already set, which means that we are not on the first level of recursion. In these function calls, we have three options for each cell.
First, the cell may be null, and this again means that we have already tested it, or it is empty. And in this case, we do nothing again.
Secondly, the cell may not match the “current” cell. In this case, we do not consider it "proven". Our recursion checks for one set of adjacent tiles of the same color. Just because this tile is not part of the current set does not mean that it is not part of any other.
// TestTile() ... // , else if (currentTile.TileColor != toTest[x, y].TileColor) { return; } Third, the cell may be the same color as the “current” cell. In this case, it is “verified”, so we set it to null in the copy of the playing field. We also add it to the List, which we use as a drive. This is one of the states that we missed in the example above:
// TestTile() ... // else { collector.Add(toTest[x, y]); toTest[x, y] = null; } The function will continue to perform recursion until all options have run out, reaching either the empty cell or the end of the field. At this point, we return to the main brute force loop for processing the results.
If there are more than three tiles in the drive, then we have found a match. If not, we checked one or two tiles, but we do not need to perform any actions:
// MatchAndClear() ... if (collector.Count >= 3) { foreach (GameTile tile in collector) { ClearTile(tile.Column, tile.Row); clearedTiles = true; Soundboard.PlayClear(); } } currentTile = null; collector.Clear (); } } if (clearedTiles) { SettleBlocks(board) } } Here, as we look at later, I just turn on the animation. The simplest approach, however, is to cycle through our drive and call DestroyObject for the game object of each matching tile. So we will kill two birds with one stone: we will get rid of the in-game objects and set the cells in the state of the playing field to null.
Tile fall
Falling tile
Certain changes — for example, dropping a tile or deleting tiles, in this case — leave tiles without support, and this case must be resolved (of course, if this is required by the rules of your game). And in fact, this is a fairly simple algorithm.
Now we go column by column, and then line by line. The order here is important.
In each column, we pass upwards until we find an empty cell. Then we tag it. We simply shift the next found tile down to this position, and add one to the index of the “empty cell”:
static int? firstEmpty; public static void SettleBlocks(GameTile[,] board) { for (int x = 0; x < BoardSize; x++) { firstEmpty = null; for (int y = 0; y < BoardSize; y++) { if (board[x, y] == null && !firstEmpty.HasValue) { firstEmpty = y; } else if (firstEmpty.HasValue && board[x, y] != null) { board[x, firstEmpty.Value] = board[x, y]; board[x, y] = null; firstEmpty++; } } } UpdateIndexes(false); } After completion, you need to remember to call the match function again. It is very likely that the falling tiles created empty lines.
In fact, if the game is scored, it will make it easier to keep track of combos or points multipliers. All these repetitions of drops and block deletions are recursions of that first call launched by the player’s action. We can understand how many coincidences arose after the player’s actions and how many levels of “chains” were required for each action.
Animations
The game is already working, but so far it is not intuitively understandable, mainly due to the lack of animations. Tiles disappear and then appear on the bottom lines. It is difficult to understand what happens if you do not follow closely.
This is also a difficult moment. Game objects are always a reflection of the state of the game, so tiles are constantly located in the grid. Tiles always occupy this or that place: a tile can be in line 1 or 2, but never in line 1.5.
What is the difficulty? We cannot simultaneously manipulate the playing field and animation . Remember how Tetris or Dr. Mario - the next tile does not fall until all the tiles on the field “cope”. This gives the player a short respite, and also guarantees the absence of unforeseen states and interactions.
By the way, when starting a new project, I recommend creating an enumeration of “game states”. I never had to write a game in which you did not need to know the state of the game: the process of the game itself, pause, menu display, dialog box, and so on. It is best to plan for states in the early stages of development, so you can have each line of code written by you check to see if it should run in its current state.
I admit that my implementation is awkward, but in general the idea is this: when a tile is removed or dropped, we use a state change. Each GameTile object knows how to handle this state change, and, more importantly, knows when to tell the game board that it has completed its animation:
void Update () { if (GameState.Mode == GameState.GameMode.Falling && Row != LastRow) { targetY = (Row * Board.TileSize) - Board.WorldOffset; tmpPos = _t.position; tmpPos.y -= FallSpeed * Time.deltaTime; if (tmpPos.y <= targetY) { Board.fallingBlocks.Remove(this); UpdatePosition(); Soundboard.PlayDrop(); } } } After completing the removal animation, the game should check for falling tiles:
private static float timer; private const float DisappearTimer = 0.667f; void Update() { if (GameState.Mode == GameState.GameMode.Disappearing) { timer -= Time.deltaTime; if (timer <= 0) { GameState.Mode = GameState.GameMode.Playing; SettleBlocks(Tiles); } } After the drop animation is complete, you need to check for matches:
if (GameState.Mode == GameState.GameMode.Falling && fallingBlocks.Count == 0) { GameState.Mode = GameState.GameMode.Playing; MatchAndClear(Tiles); } } This cycle repeats until we have more matches left, after which the game can return to its work.
Source: https://habr.com/ru/post/329016/
All Articles