Making your first game on the Phaser. Part 2 - Loading Resources
Table of contents
0 Preparation for work
1 . Introduction
2 Downloading resources [ ]
3 Creation of the game world
4 ( wip ) Groups
5 ( wip ) The world of physics
6 ( wip ) Management
7 ( wip ) Add targets
8 ( wip ) Finishing Touches
Let's continue the series of lessons on using Phaser in conjunction with TypeScript . In this tutorial, we will look at the loading of resources into the Phaser , as well as slightly “combing” the code from the previous section.
As in previous articles, do not miss the comments in the code.
The full code written in this article can be found in the Github repository with the part-2 tag.
Let's get started!
Minute refactoring
First of all, let's organize the previously written code more correctly:
First , create the src/states directory and put the src/states/state.ts file into it:
'use strict'; /** Imports */ import App from '..'; abstract class State extends Phaser.State { // `game` . // , `App` - , TypeScript // , , // `this.game`. game: App; } export default State; We created the abstract class State and inherited it from Phaser.State . This, at first glance, strange manipulation is necessary for TypeScript to correctly handle the property this.game in the methods of our states. By default, the game property has the type - Phaser.Game , and accordingly TypeScript would not recognize anything about the fields that we added to the App (In this article series, we will not add custom fields to the App , but having an abstract class like this will not hurt ).
Most likely, you will have a question: "And what property can we even want to add to theApp?". Since Each state has a property link toApp-this.game, for example, we can add a global dependency for all states to the App, or a link to the storage object, WebSocket connection, etc.
Second , MainState move our MainState to src/states/main.state.ts and remove the superfluous, currently, methods ( preload and update ) from it:
'use strict'; /** Imports */ import State from './state'; // export default class MainState extends State { create(): void { } } And in src/index.ts we add on the 10 line the import of this state:
// ... import MainState from './states/main.state'; // ... BootState , create a BootState and PreloaderState in src/states/boot.state.ts and src/states/preloader.state.ts , respectively:
'use strict'; /** Imports */ import State from './state'; // `preloader`; // ; // ; export default class BootState extends State { create(): void { // `this.game` - `App`, // . this.game.state.start('preloader'); // `preloader` } } and
'use strict'; /** Imports */ import State from './state'; // (core) : // * , // * // * / // * .. export default class PreloaderState extends State { preload(): void { console.debug('Assets loading started'); } create(): void { console.debug('Assets loading completed'); this.game.state.start('main'); // `main` } } As mentioned above, we will need the PreloaderState to load resources for our game (of course, if the game has a large amount of resources, they should be loaded before their respective steets, and only the critical preloader should be loaded into the preloader . But in our case we will load all the resources before games).
Note that preload(): void will be called first, and create(): void after all the resources have been loaded.
In general, dividing into states is quite a subjective matter. You can add any number of them (Prepreloader,Preprepreloader, etc.), but in my experience you need at least 3 state:
BootState- to initialize and display information about the assembly.PreloaderState- to load resources.MainState- for the main loop of the game.
Fourth , let's connect these states to src/index.ts :
// ... import BootState from './states/boot.state'; import PreloaderState from './states/preloader.state'; import MainState from './states/main.state'; // ... export default class App extends Phaser.Game { constructor(config: Phaser.IGameConfig) { super(config); // this.state.add('boot', BootState); this.state.add('preloader', PreloaderState); this.state.add('main', MainState); this.state.start('boot'); // `boot` } } // ... Notice that we replacedthis.state.start('main');onthis.state.start('boot');.
Resource download
Now that the restructuring is complete, load the necessary resources for our game. We will do this by calling the this.game.load method inside the preload(): void method preload(): void ( PreloaderState ).
Each state has a link to theAppto which it was connected:this.game.
Phaser itself will call this method when our game starts, and loads everything we defined in it.
Phaser loads resources in its own magical way throughPhaser.Loader. You do not need tothis.game.loadcallbacks or Promis to this.game.load, it tracks the download itself.
Add the following code to src/states/preloader.state.ts :
'use strict'; /** Imports */ import State from './state'; // Webpack require' URL , // `dist/asserts/images`. // , : // `const skyImage = '/assets/images/sky.png';` // ( "" Webpack', ). const skyImage = require('assets/images/sky.png'); const platformImage = require('assets/images/platform.png'); const starImage = require('assets/images/star.png'); const dudeImage = require('assets/images/dude.png'); export default class PreloaderState extends State { preload(): void { console.debug('Assets loading started'); this.game.load.image('sky', skyImage); // <= this.game.load.image('platform', platformImage); // <= this.game.load.image('star', starImage); // <= this.game.load.spritesheet('dude', dudeImage, 32, 48); // <= } create(): void { console.debug('Assets loading completed'); this.game.state.start('main'); // `main` } } The resources themselves are in the Github repository in theassets/imagesdirectory, you also need to add them to your local project, to the same directory (assets/images).
On lines 20-23 we load 4 resources: 3 images and one sprite. Notice the first argument (key) this.game.load.image() and this.game.load.spritesheet() , this is an identifier that we will use later to access this resource (the key can be any string).
3 and 4 argument of this.game.load.spritesheet() is the height and width of one image in the sprite list.
Sprite creation
To add a sprite to our game, we need to add the following code to create(): void ( MainState ):
'use strict'; /** Imports */ import State from './state'; // export default class MainState extends State { create(): void { this.game.add.sprite(0, 0, 'star'); // <= } } Now, in the upper left corner of the browser, you should see a yellow star:
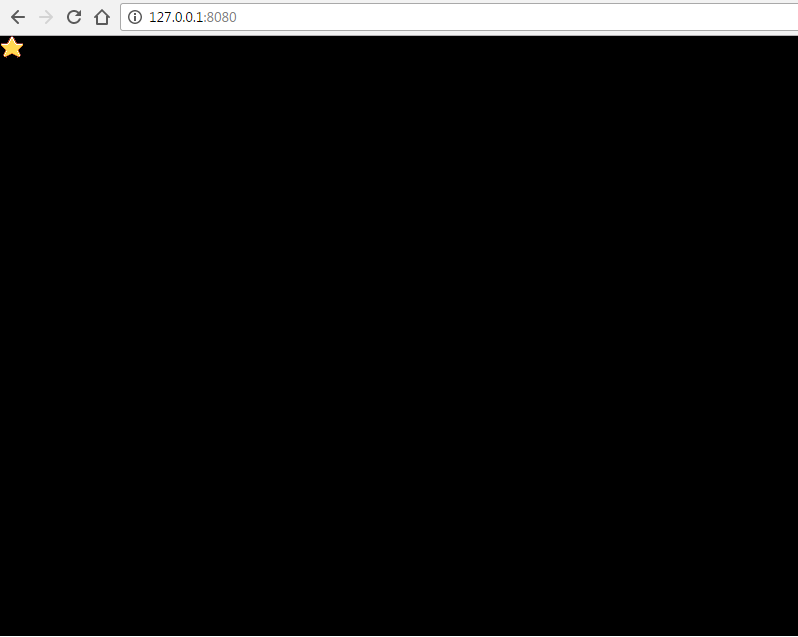
The first argument to this.game.add.sprite() is the x axis, the second is the y axis, and the third is the same key that we specified when loading the image.
The order of drawing elements on the screen corresponds to the order of their creation. Therefore, if you want to add a background behind the star, you need to create this sprite first, before the star's sprite.
In fact, you have the opportunity to manually set the Z index and sort the elements in the game world by it, but initially Phaser does it for you, setting each subsequent element Z index + 1.
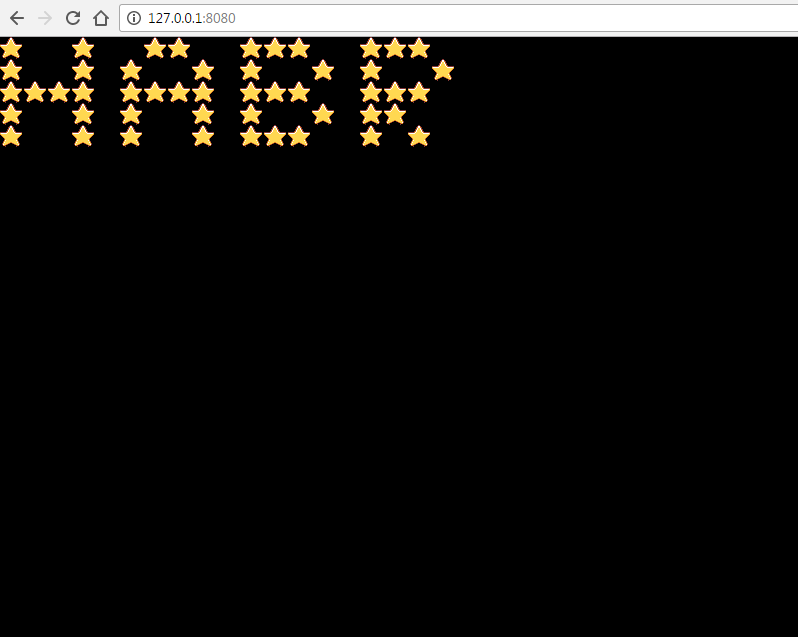
Lastly, let's add a little more stars:
'use strict'; /** Imports */ import State from './state'; // export default class MainState extends State { create(): void { const map = [ 'XX XX XXX XXX ', 'XXXXXXX X', 'XXXX XXXX XXX XXX ', 'XXXXXX XX ', 'XXXX XXX XX ' ].map((line) => line.split('')); // // map.forEach((line, y) => line.forEach((char, x) => { if (char !== 'X') { return; } // `X`, . // 24 - . // 22 - . this.game.add.sprite(x * 24, y * 22, 'star'); })); } } And we get this:
At this lesson came to an end.
Github Repo : https://github.com/SuperPaintman/phaser-typescript-tutorial
')
Source: https://habr.com/ru/post/325220/
All Articles