Console to the masses. Go to the bright side. Part two
Introduction
For quite a long time, I used screen in my work. But over time, he stopped me to arrange. I started looking for alternatives. This alternative is tmux. On many portals it is described like this: "This is the same screen, only on steroids." At first I could not understand why such a comparison has not yet tried. Frankly, I did not go to him the first time. Three or four times I tried, I returned to the screen. But tmux still won.
An important point. I received quite a few comments on the previous article with alternatives to screen and tmux. Here, as they say, the taste and color of pencils are different. The second point that I wanted to draw attention to is that the reader does not have access to the graphical shell. All that is in his arsenal is a terminal ( CLI ) and a set of commands that he can use.
Installation
Well, let's move on to the tmux installation. It is enough to execute the first command to install it. After that you can start it by typing the
tmux command in the terminal.')
For more experienced users, it is possible to collect tmux from the repository or download the archive to your computer. How to do this is described here .
Basic shortcut keys
Here, as in the case of screen, I will add only a link . Then we take and begin to use. Memorizing, remembering is not necessary. The only nuance, the key combinations are different, but this can be easily corrected through the settings file.
Settings
By default, tmux, as they say, "from the box", is set up quite qualitatively. You do not need to adjust the position of the tabbed panel, what color to highlight them, and other settings, as it was in the screen. But if suddenly you need a configuration file, then take note: it should be called
.tmux.conf ; put it in the user's home directory.I want to share a useful setting, without which I had to re-create a tmux session. I will describe it in more detail. I have a working machine running Windows. To connect to a remote server, use putty and pagent (to add keys). When you add a key to the pagent, you need to enter a password (passphrase - you specify it when creating ssh keys). In the putty for each compound this checkbox is set:
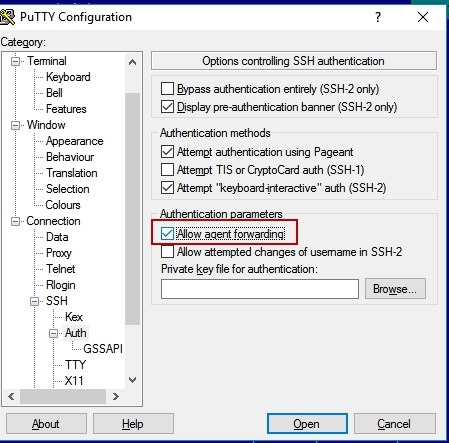 Such features of windows + putty + remote connection via ssh. This checkbox is required for SSH-agent forwarding to work.
So, back to the problem. If you suddenly lost contact with the network or in the office suddenly turned off the electricity, then tmux, of course, will save the session. And when you reconnect to this session, politely ask you to enter a password for the key. So it will be every time. Those. SSH-agent forwarding will stop working. This can be corrected if you terminate the current tmux session and reconnect to the remote server. On the one hand, this is not so critical.
But over time, this problem gives quite a lot of inconvenience and I want to solve it once and for all. To solve this problem, add the settings to the
.bashrc , which is located in the user's home directory:Let me try to describe what happens when you connect to a remote server with SSH-agent forwarding enabled. When an ssh client (in this case, putty), with SSH-agent forwarding enabled, connects to the server, it creates a socket through which this key can be obtained. It also creates the
$SSH_AUTH_SOCK variable, which refers to this socket. This variable is inherited by the running shell (the shell that processes user commands) within the current session. In addition to this variable, several more variables are created: $SSH_CLIENT, $SSH_CONNECTION, $SSH_TTY , in which information about the current ssh connection is stored. When the connection is broken, the terminal manager, in this case tmux, will save the session with the old values of these variables. And when we reconnect to the remote server, a new socket with new values will be created. But they will not fall into the old session of the terminal manager. Therefore, we need to make it clear to the shell that we want it to save these values and use them when reconnecting, if any.tmux in action
It's time to check tmux at work. We already know how to run it. Enough to type
tmux .
- Workspace. Panel (pane - from the documentation for tmux).
- Status bar. It contains tabs and other elements.
- Tab with the default name.
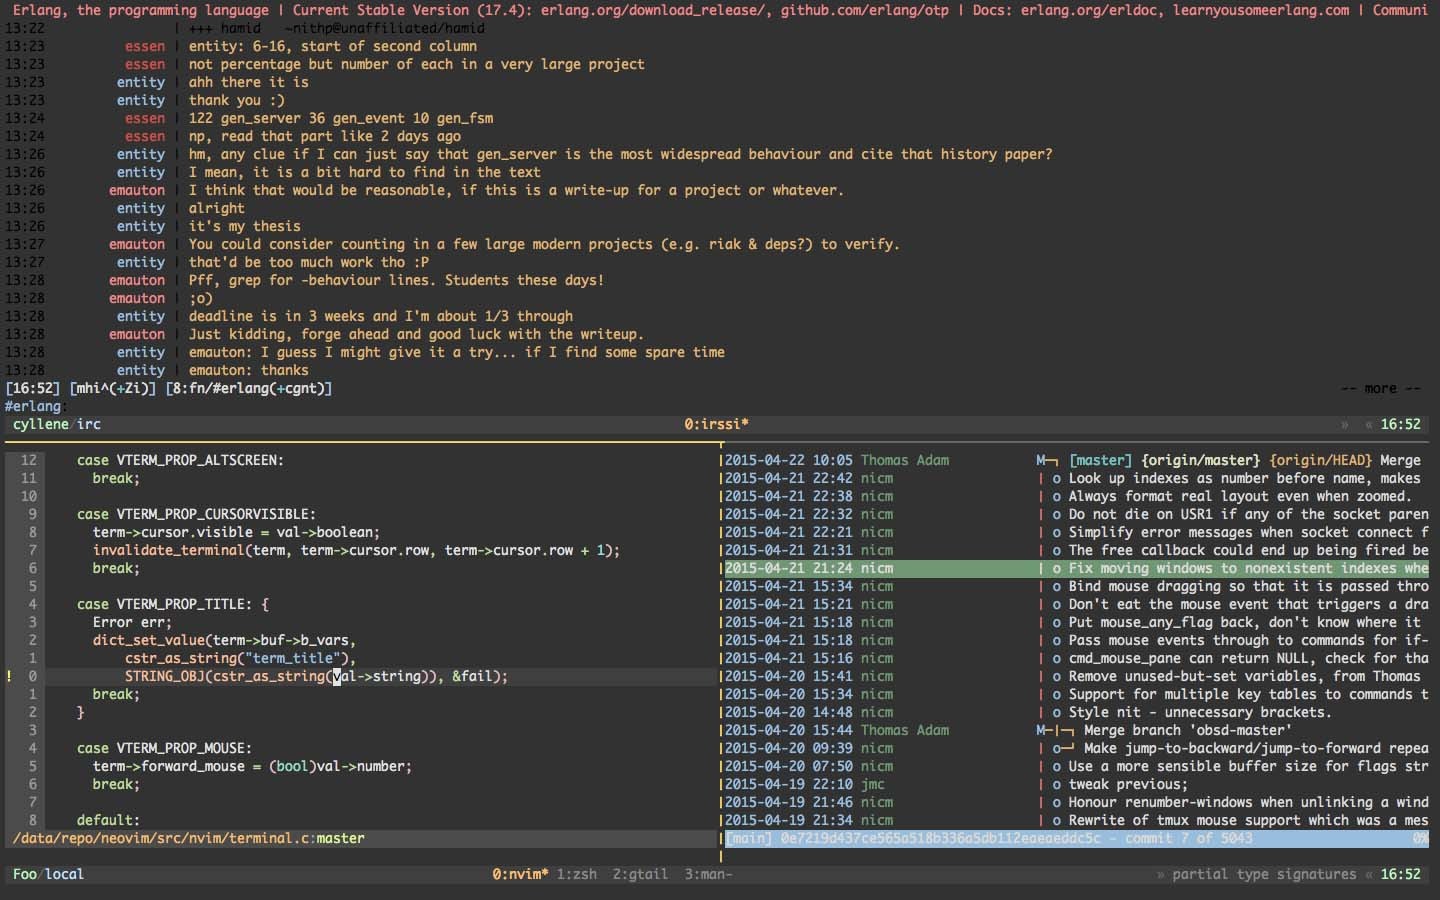
We looked at the initial tmux state. If you read the previous article , you might have noticed that the initial state, and indeed the appearance of tmux, is not very different from the screen. Except that the status bar is available to us initially. Let's now look at tmux using a more complex example.
For this we need a repository . If you have not cloned it to your computer, then run the following command:
git clone https://github.com/var-bin/terminalForCoder__WSD.git Next, run tmux. To get started, let's work with tabs. We will need 2-3 tabs. To create a new tab, you need to press the following keyboard shortcuts:
Ctrl + b, c - The next step is to rename the tabs. To do this, use:
Ctrl + b, , - To switch between tabs, use these keys:
Ctrl + b, int - (int - 0 - 9) Or
Ctrl + b, w - Tabbed a little practice. Now let's break our current panel into two independent panels. Please note that this layout will not be saved for all other tabs. For each tab tmux creates its own independent layout. This is done using the keyboard shortcut:
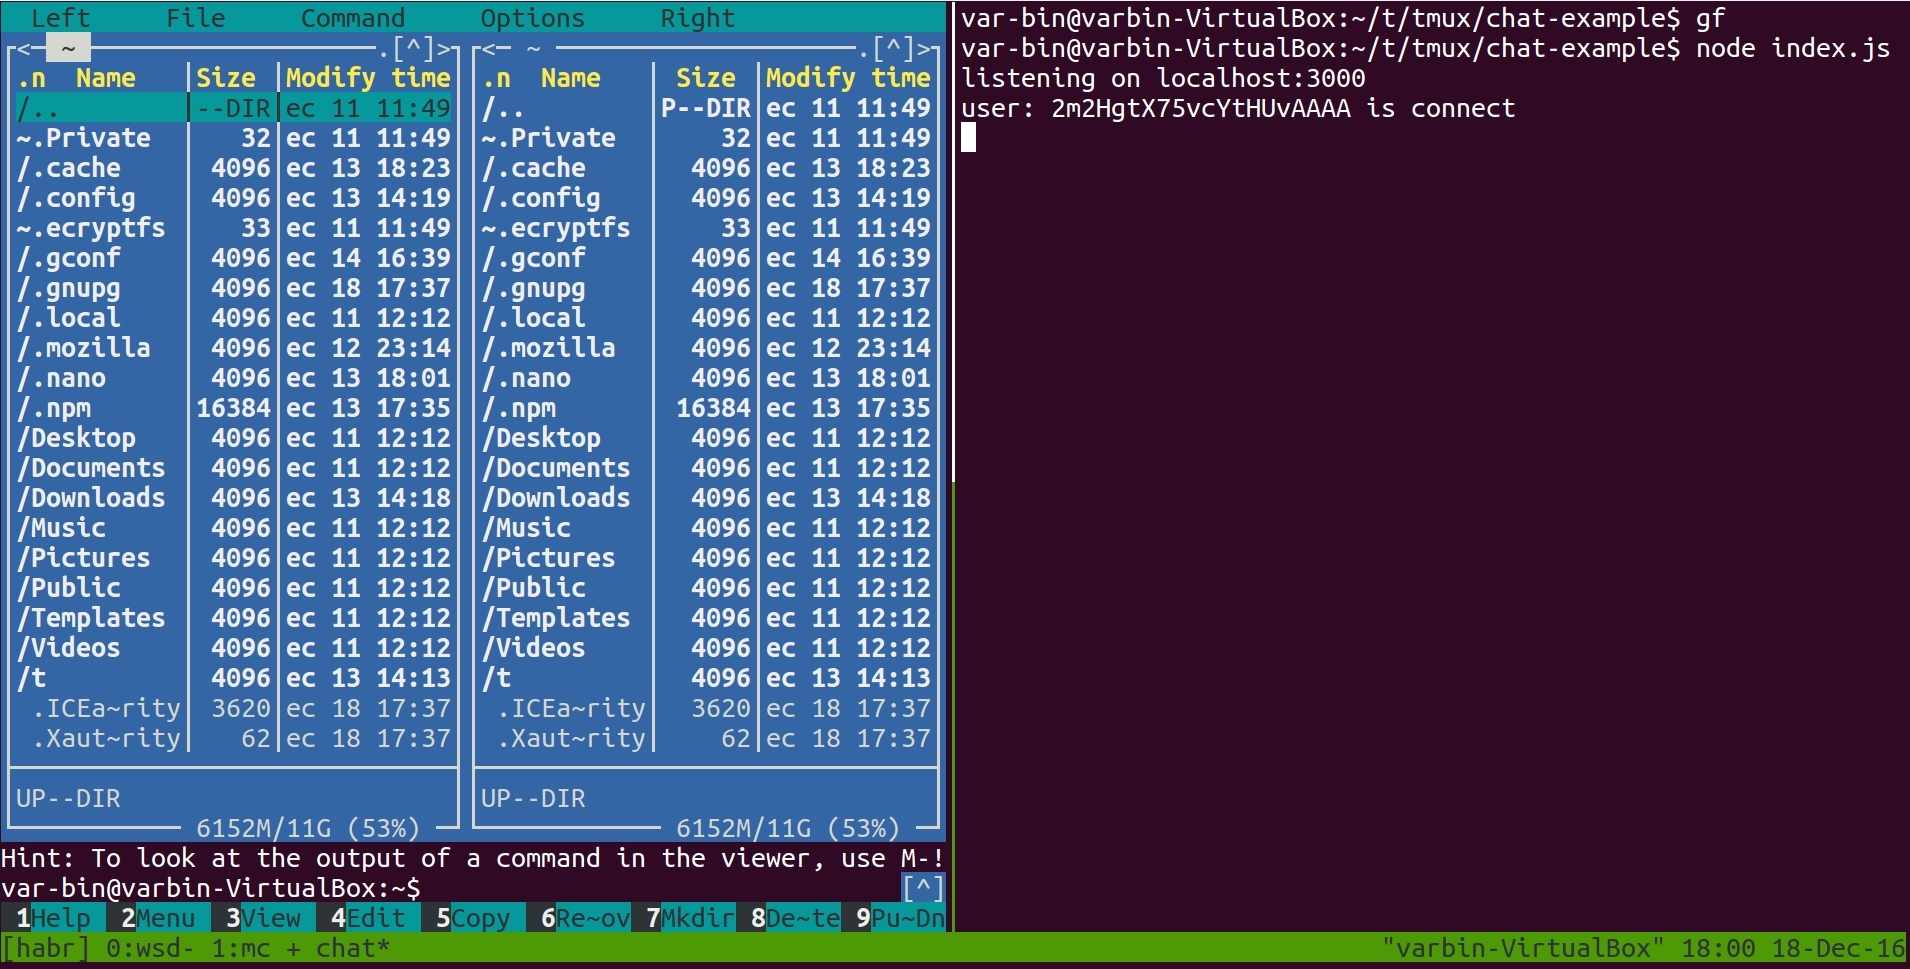
Ctrl + b, % - Now let's run in the panel on the left, some kind of utility. For example, midnight commander (any other utility) with the command:
mc To move between panels, use these keyboard shortcuts:
Ctrl + b, ← ↑ → ↓ - And in the panel on the right, run our test application. This is a simple chat written in node.js and socket.io . This example is taken from the official site of socket.io. The only thing I added is a bit of logging so that we can see that it works. To do this, go to the directory
%repoName%/tmux/chat-example . And execute commands: npm i node index.js %repoName% is the name of the directory into which it was cloned by the repository.If all is well, then you should see the line on the screen:
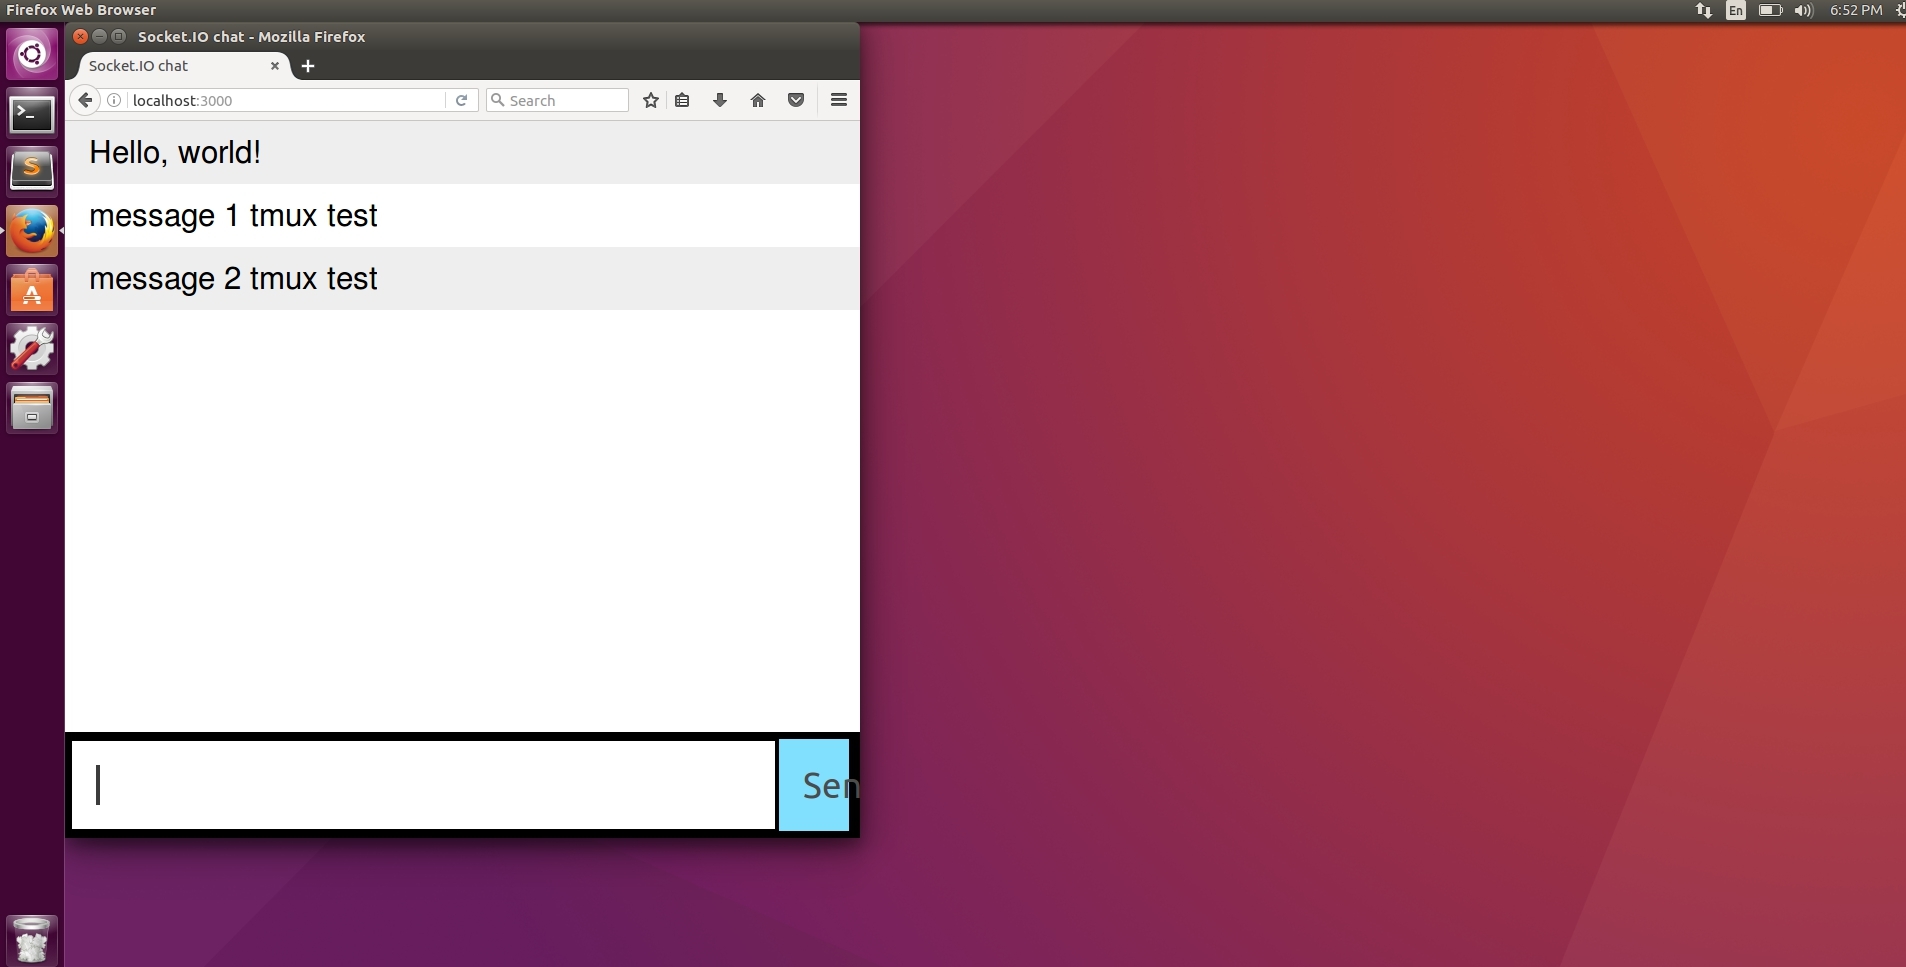
listening on localhost:3000 After that launch the browser and in the new tab go to
localhost:3000 . Type any message in the input line and press Enter . As you can see, everything works and you can read this message also in the terminal. In the region where the node index.js command was node index.js .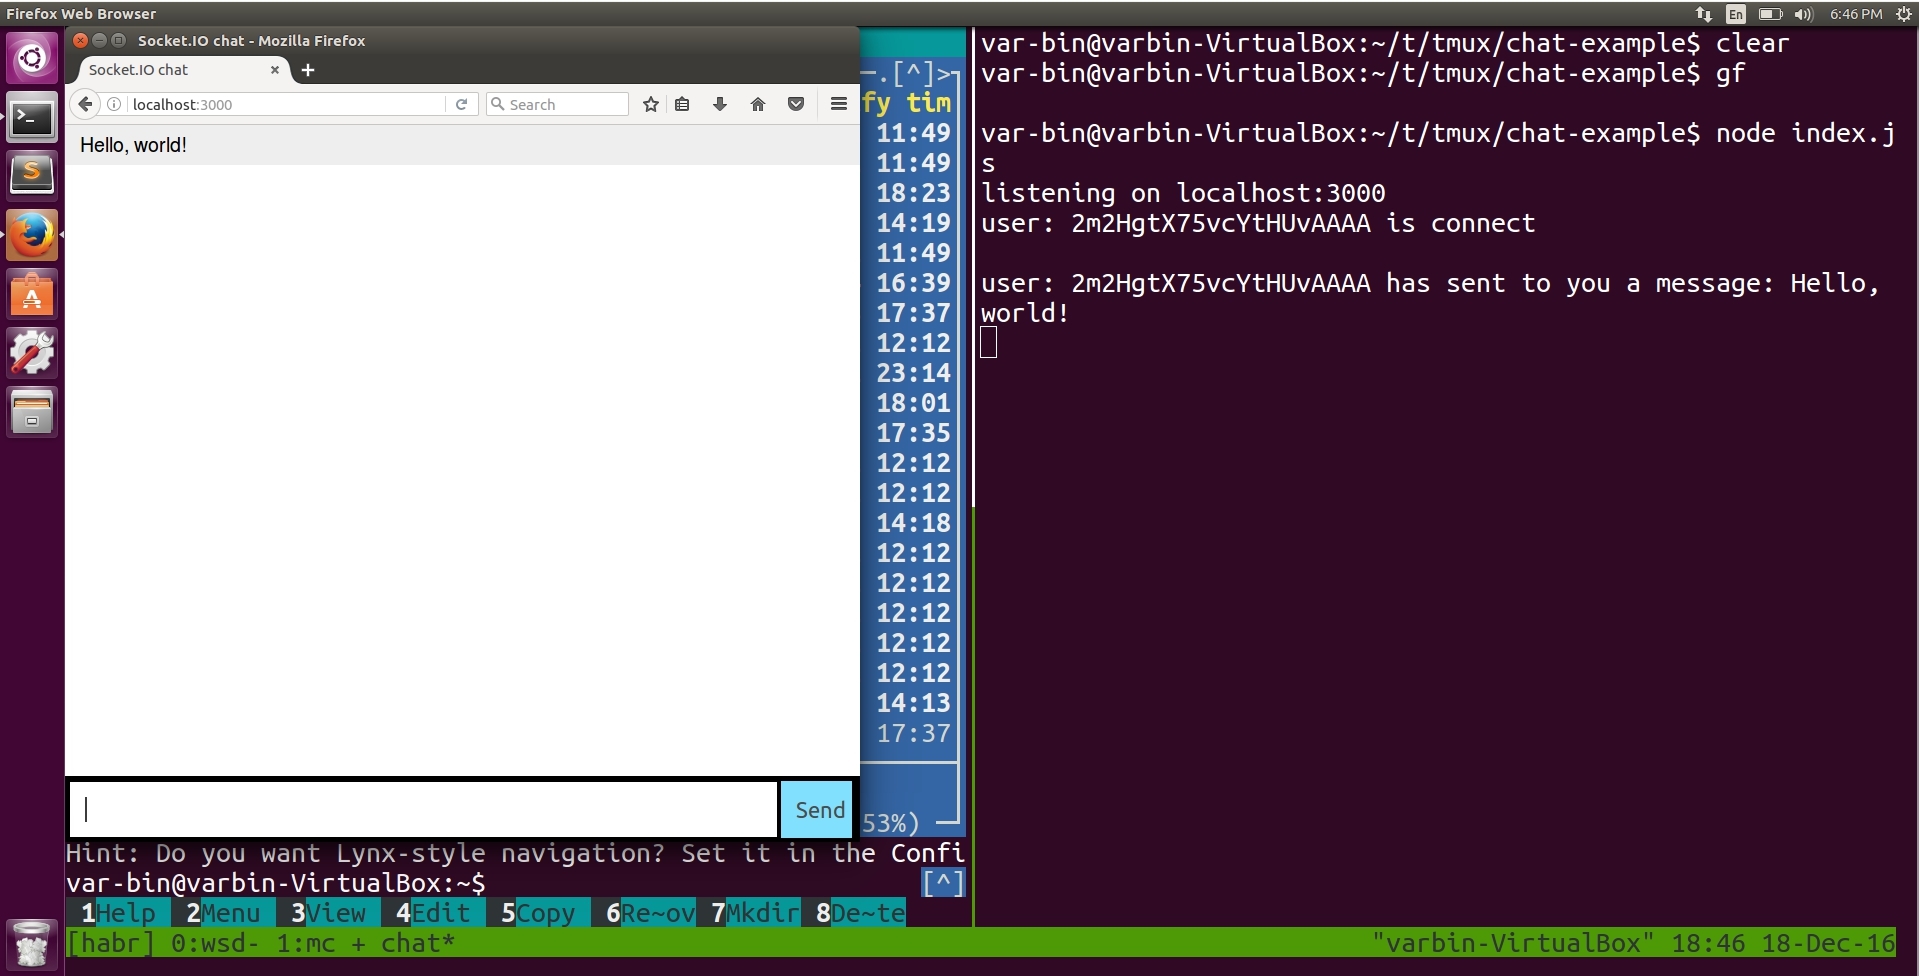
And now it's time to do what we did in the previous article. We simulate a communication break. It is necessary to close the terminal through the cross. But do not close the browser. And try to send some more messages. Everything continues to work. This is despite the fact that we have just closed the terminal.
The session and all processes that were started tmux saved. As we know from the previous article, screen also knows how to do that. Let's connect back to the tmux session. Start the terminal and execute the command:
tmux attach 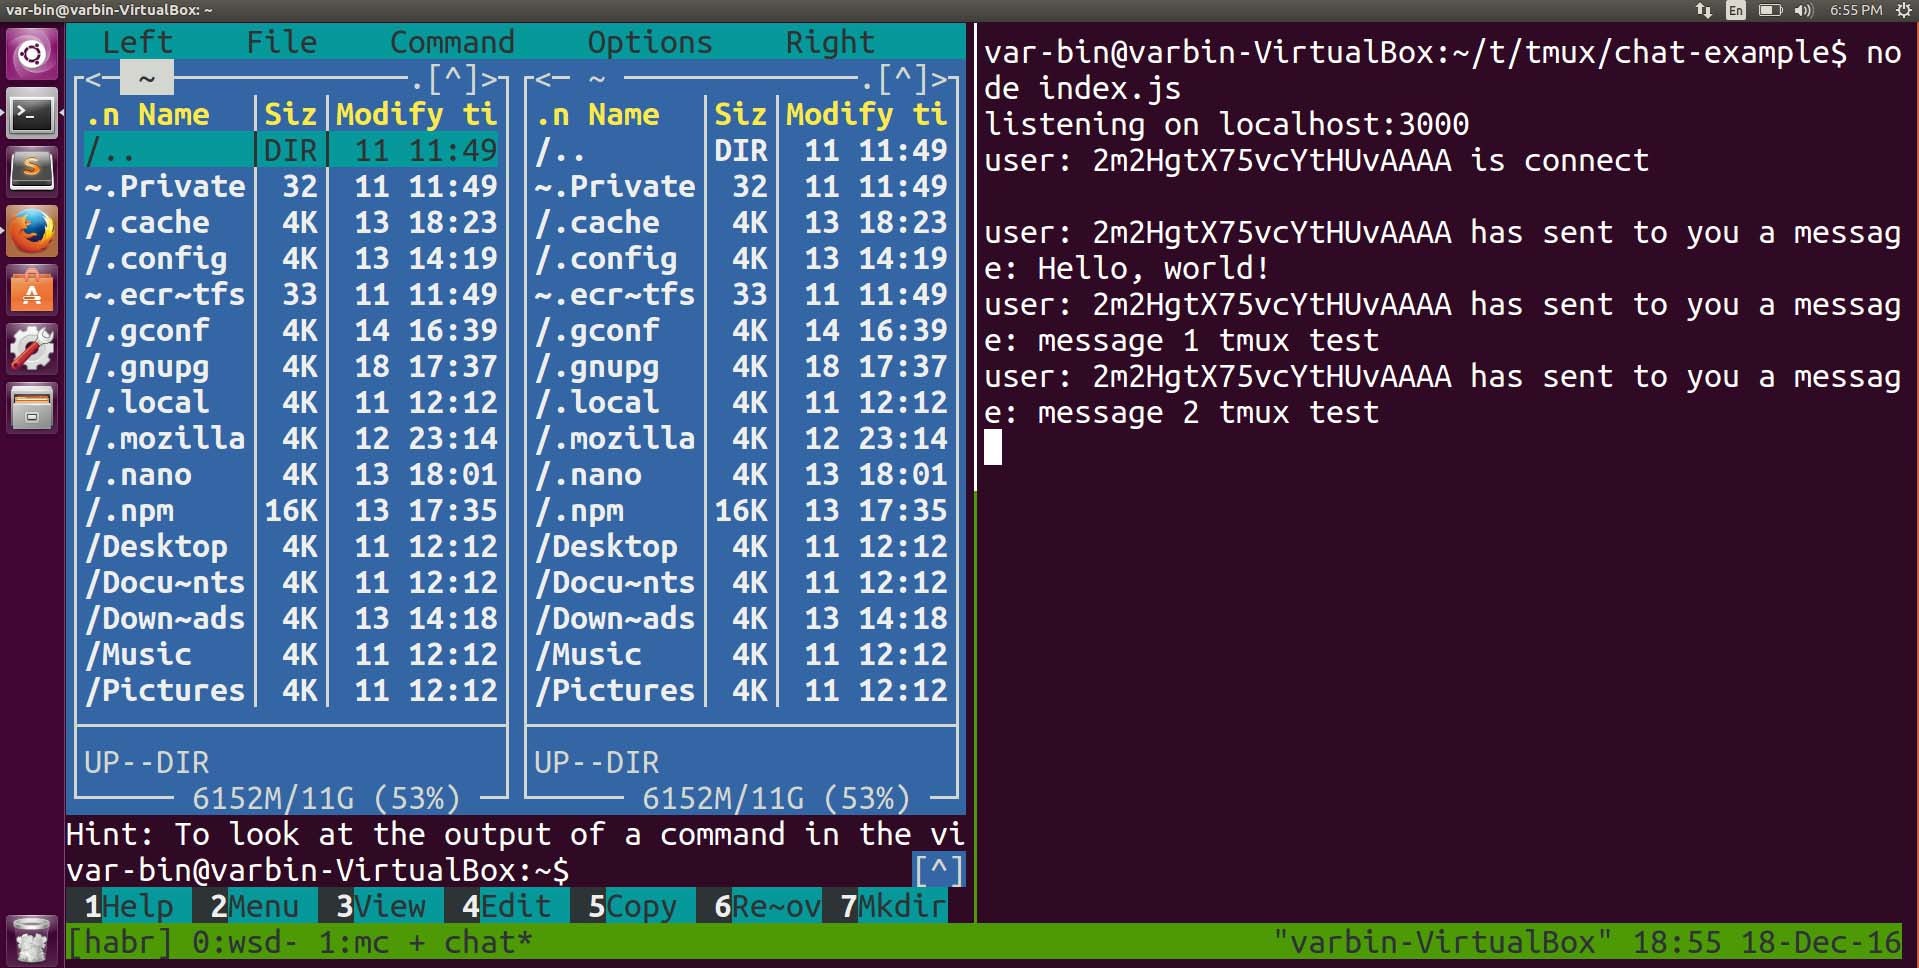
As you can see, the layout we created earlier (panel layout vertically) was saved by tmux. This is a huge plus compared to the same screen.
useful links
screen vs. tmux
It's time to compare screen and tmux. During my work with both screen and tmux (about 2.5 years), I came to the conclusion that if you should use screen, then only if tmux is not available to you. Those. if you can't install tmux yourself or build it from source. In all other cases, it is better to start immediately with tmux.
| screen | tmux |
- Cannot create layout for each tab- Does not know how to save the layout, if the connection is broken or something else- Up to version 4.1, could not do vertical breakdown- When you have created a new region, then you need to create a new window separately (Ctrl+a, c) , go to the desired directory, etc.- To remove a region, you also need to torture Ctrl+a, :remove ,: Ctrl+a, :remove | + "From the box" is set fairly high quality+ No need to adjust the position of the tabbed pane, how to highlight them.+ Able to divide the screen into panels, both vertically and horizontally+ To close the panel, just type exit+ Able to keep remote connection ** need extra magic |
In addition to screen and tmux, there is a fairly wide choice of terminal managers for different operating systems, your personal preferences and wishes.
That's all. Thanks for attention. Who read to the end, special thanks. See you in the next article.
Source: https://habr.com/ru/post/318376/
All Articles