Making hardcover for favorite books
Small introduction
Recently, several articles have appeared on Habré on how to read technical and fiction books comfortably. There were heated debates about e-readers and ways to print the right material.
In my article I would like to elaborate in more detail on the issues of actual printing (how to make this process quick and convenient) and making a book from available materials.
Great entry
Some time ago I wanted to read the Douglas Adams cycle “Hitchhiker's Guide to the Galaxy”. I tried to read several translations and not one did not suit me. Therefore, it was decided to read in English! Finding these books in the original in our bookstores is quite difficult. And if there is, then only the first part of the cycle. In electronic form is somewhat easier to find. But I prefer to read from paper (I always buy a reader on an E-ink — I really like it), so I print the books.
')
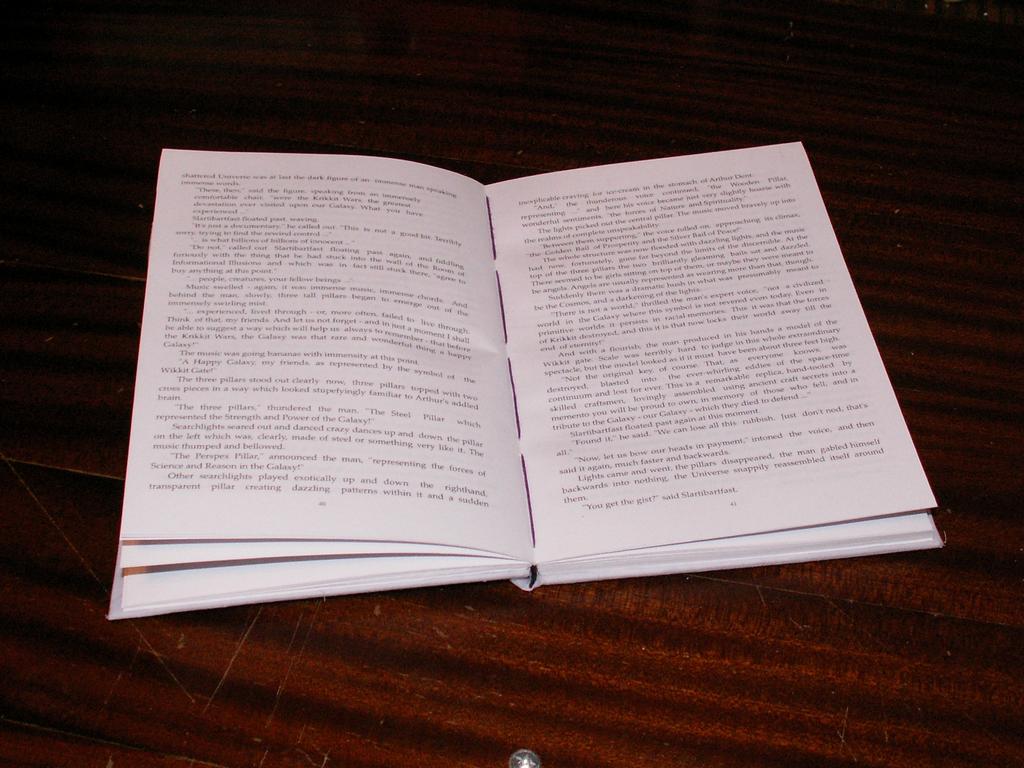
The first two books looked like this:
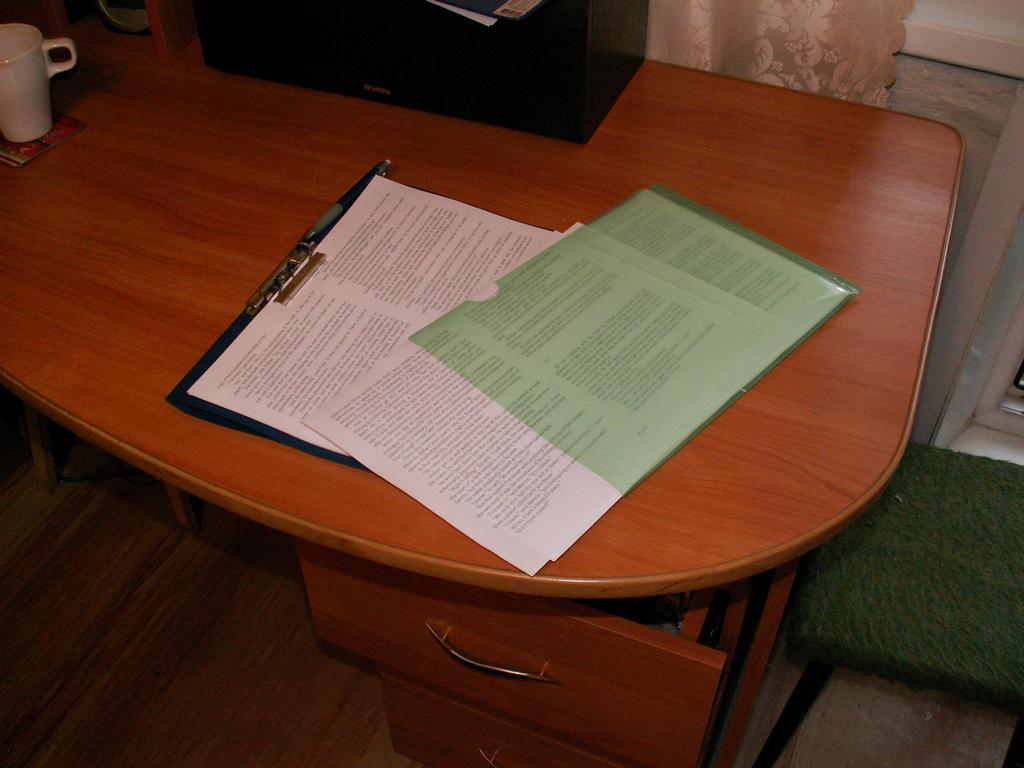
I read them with great pleasure, but they did not look very good. And I decided that “ Life, the Universe, and Everything ” should be made a book.
The process with pictures and comments under the cut. Be careful, really a lot of pictures.
It would seem that it could be easier than to print a book? But there are several important points.
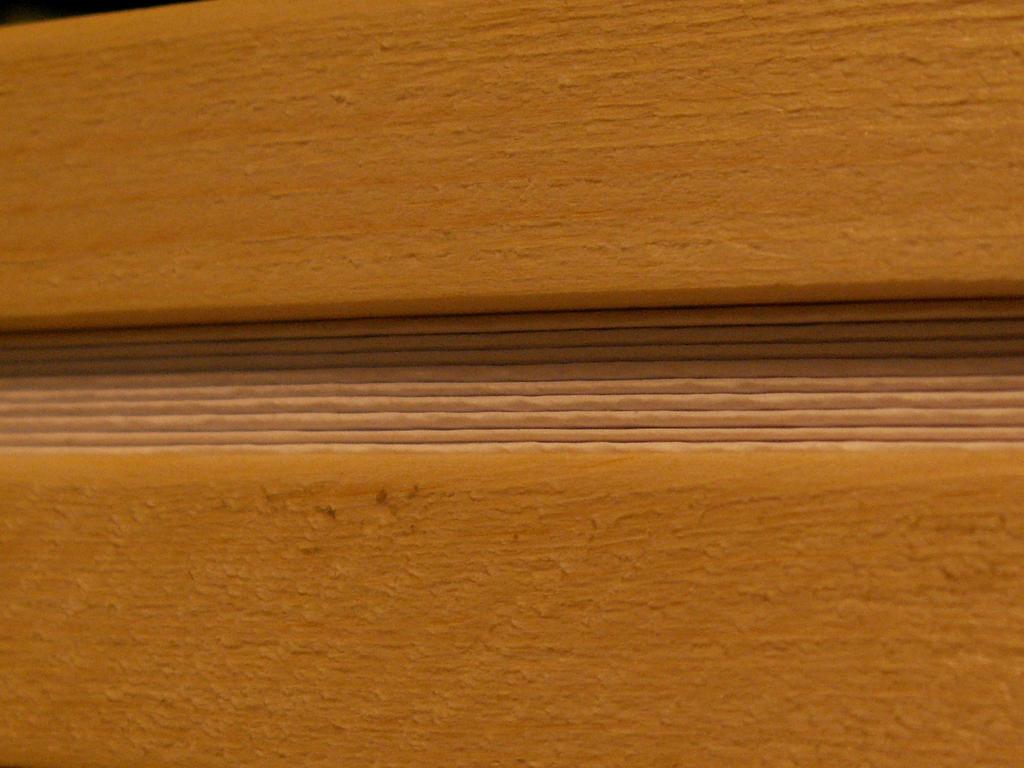
First, you need to choose the right paper. All paper, which is produced industrially at the pulp and paper mill, has a clearly defined fiber direction. The absolute majority of readers are only printers that can print on sheets of no more than A4 format. Almost all paper of this format (I have tried about 20 marks) has the direction of the fibers along the long side (the short-to-short-side bends significantly worse than the long-to-long). Try it yourself and immediately understand what it is about. We ideally need the fibers to be along the short side. Unfortunately, the packaging of ordinary office paper on this parameter is not marked. Of those 20 brands, all were “unsuitable.” Quoted because the result is not much worse, and I believe that if you do not have the necessary paper, then it does not make sense to worry and print on the one that is.
Secondly, the pages on the book lists are not in order.
We will make a classic book. This means that in each notebook of the book block we will have 16 pages of A5 format - 4 A4 sheets sealed on both sides and bent in half.
We start by creating a layout. I used OpenOffice Writer (hereinafter - OOW). Select the desired headset and font size, set the fields, number the pages. I draw your attention to the fact that the size should be more than desired. A little later, it becomes clear why. Save and export to PDF.
OOW can not print pages in random order. That is, if you specify page numbers 16 and 1, then it prints the first page first, and then the sixteenth. But Foxit Reader, which I use to view and work with PDF, does everything as it should. In the printer settings, select the landscape orientation of the sheet, and in the print settings of FoxitReader - two pages on one sheet. Here we will need a larger font size, because the actual page size will decrease.

Page numbers are very convenient to find in the table editor.
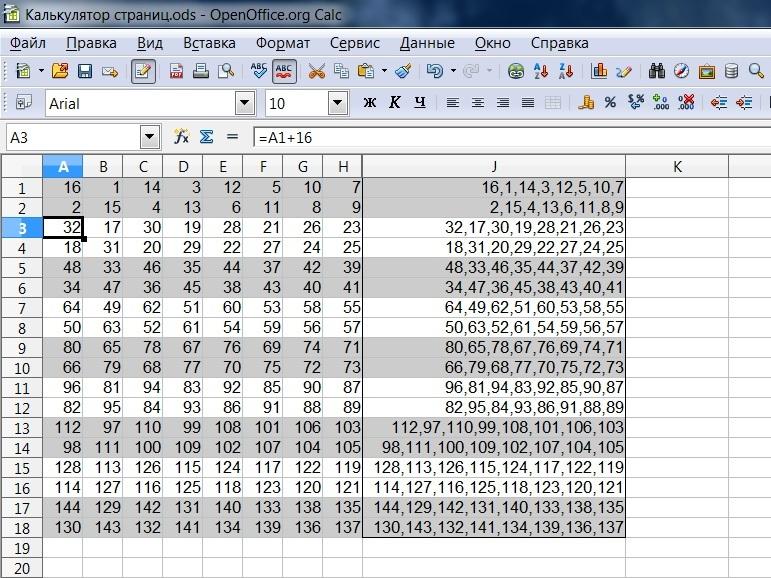
Every two lines indicate the order of printing pages of one notebook. First we print one side (8 pages), then we turn the paper over and we print the other side.
You can take the calculator from me.
Typing more than one notebook at a time can be risky. First you need to understand the features of the paper specific printer. Yes, and then we work with notebooks. So printing one notebook is our choice.
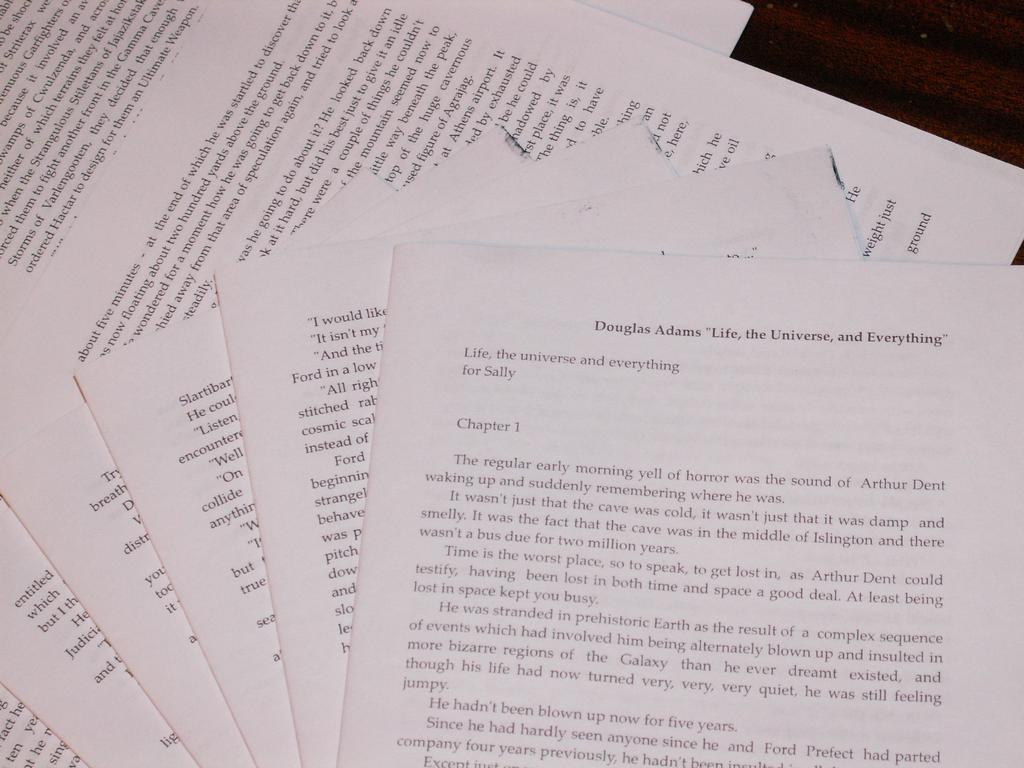
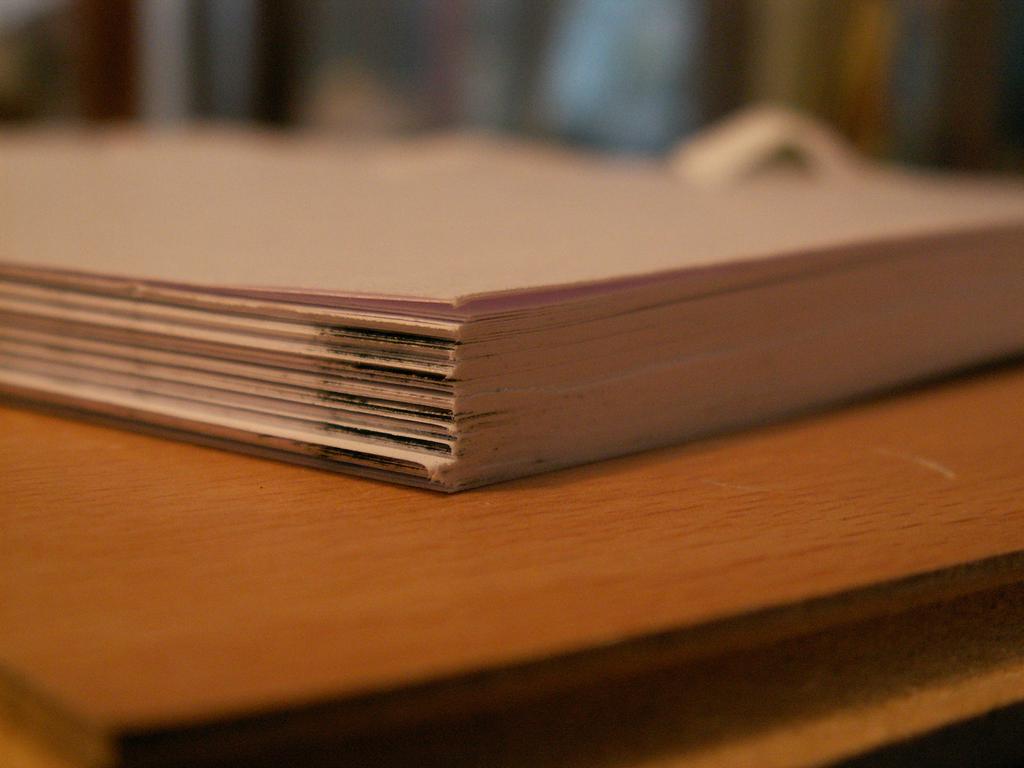
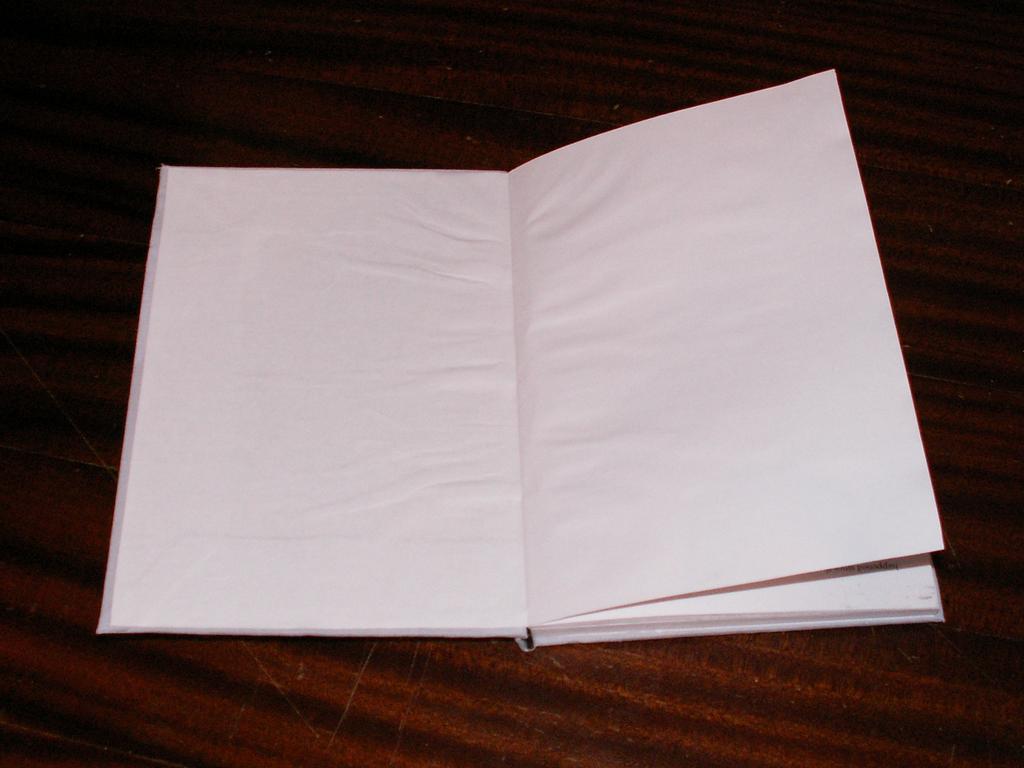
We collect the book block
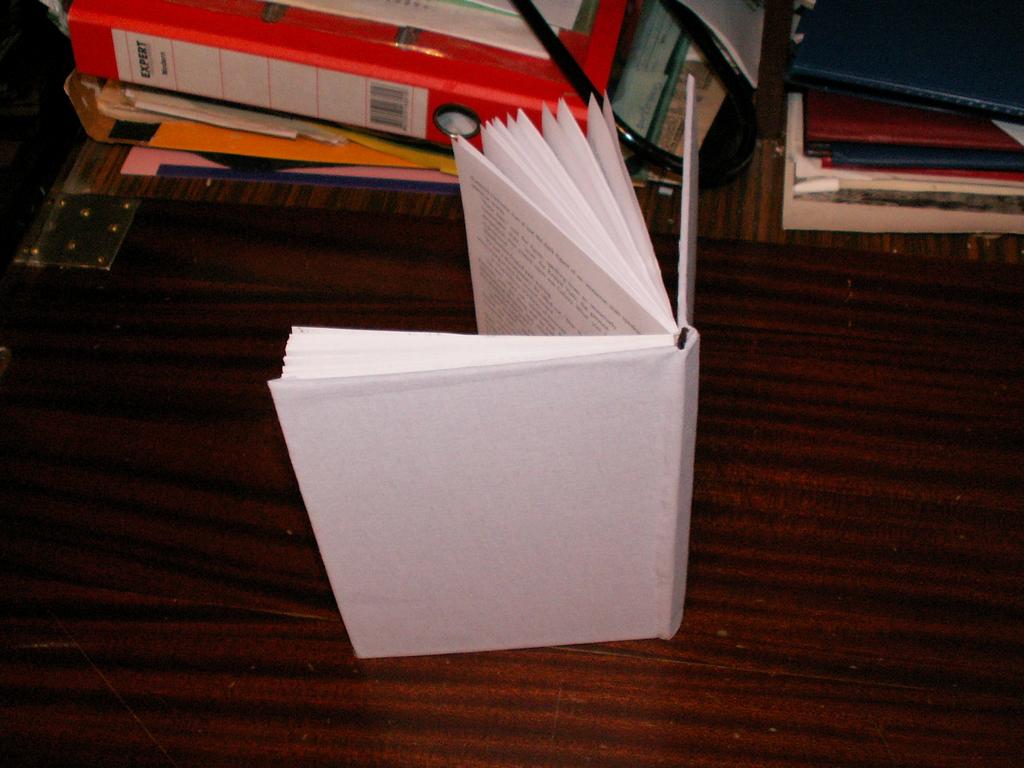
Here's what we got:
In my case, these are 8 notebooks.
There are many ways of making binding and stitching a book block, I will talk about those that I use myself.
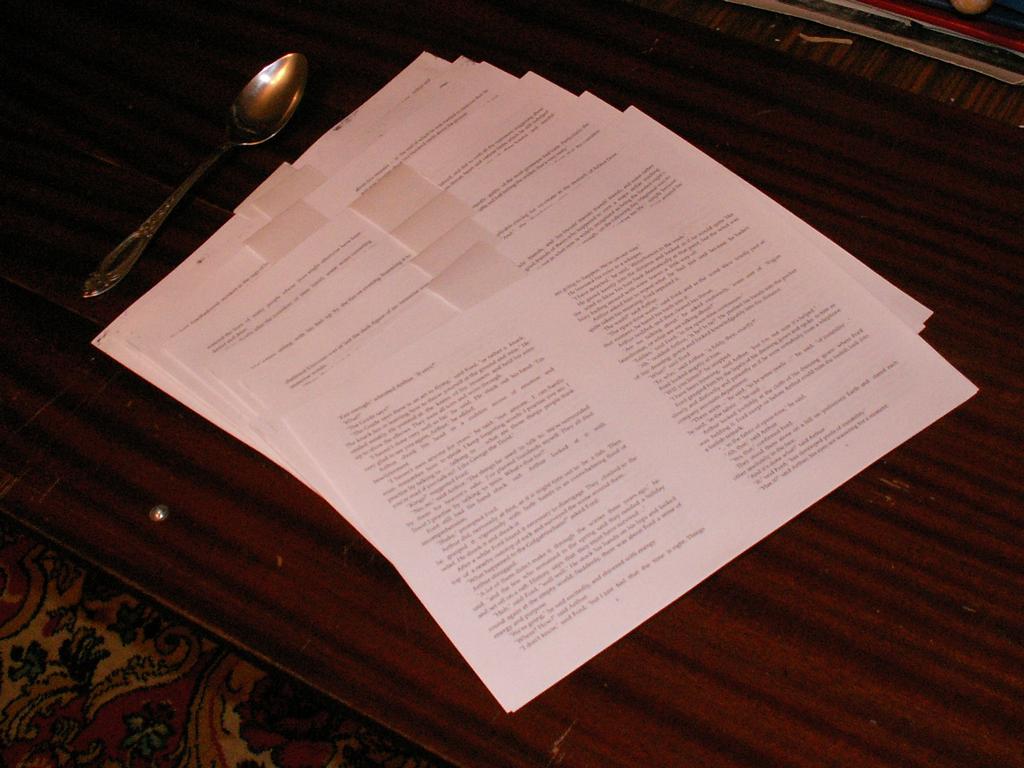
Let's get started
First you need to bend the notebook in half. This is where sheets with the right fiber direction would be particularly useful. You can bend each sheet separately, or you can - a notebook (4 sheets) as a whole. I prefer the second option. It seems to me that this is how the notebook turns out to be more integral. The spoon in the previous photo was not left from dinner - it is very convenient for her to press the fold line.

The next step is desirable, but not required. It would be nice to clamp the bent edge of all notebooks in a special press. But without fanaticism, otherwise there is a risk of crumpling notebooks.

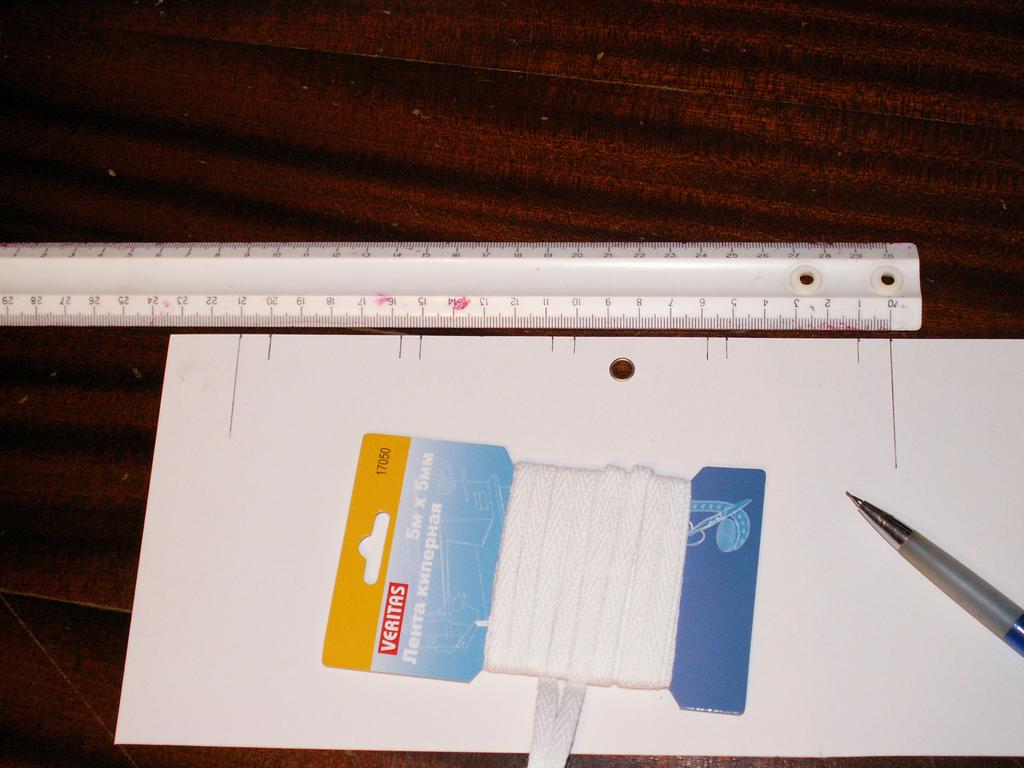
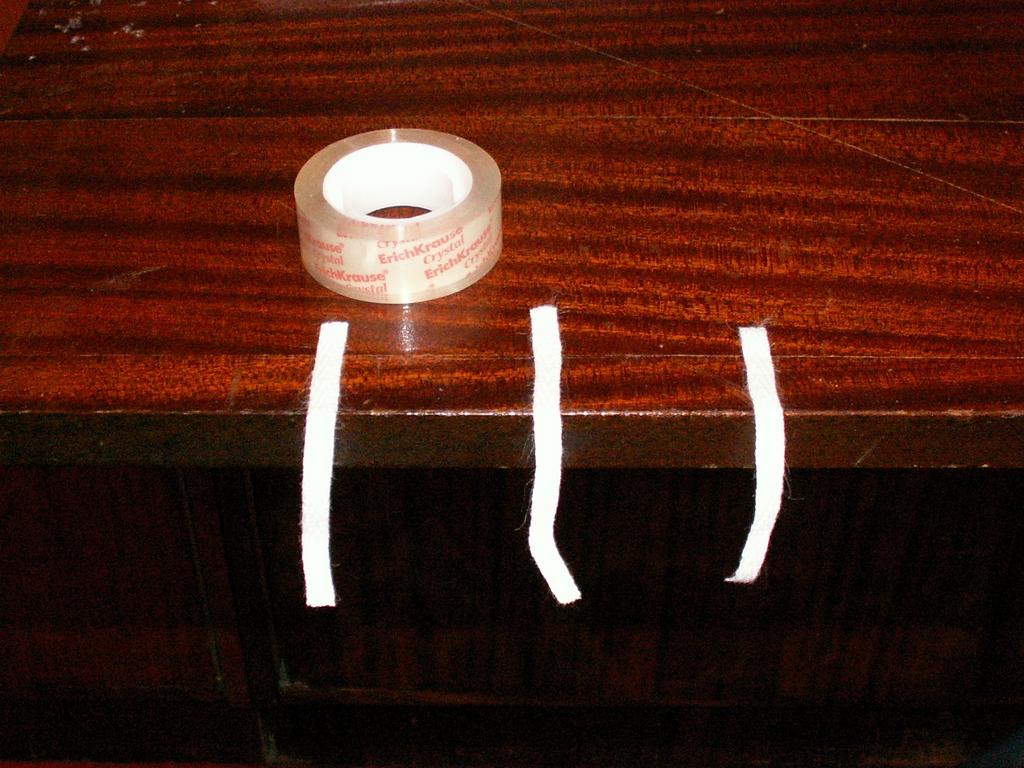
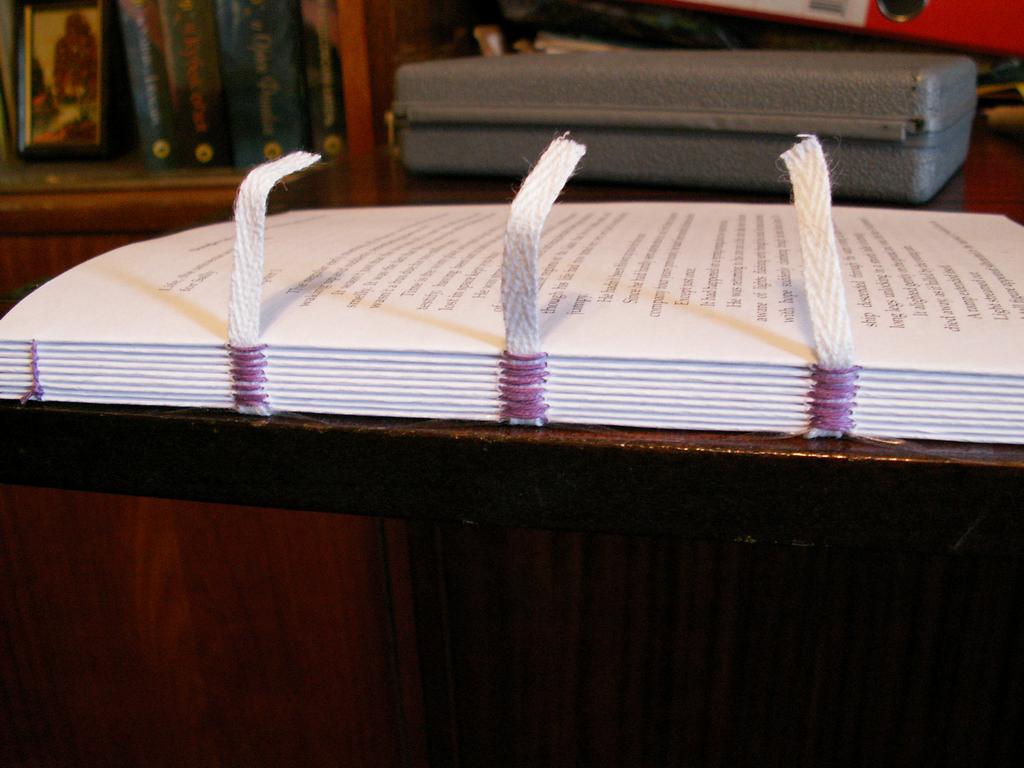
While the notebooks under the press, we need to mark the template for piercing holes. We take a piece of cardboard. Denote the edges (210 mm - according to the format of the sheet). For sewing book block will use a tape width of 5 mm. In order for the book block to be very strong, we will sew it on three ribbons. The distances between the holes under the tape take 6-7 mm. And the hole at a distance of 10 mm from the edge. In the picture, everything is clearly visible.
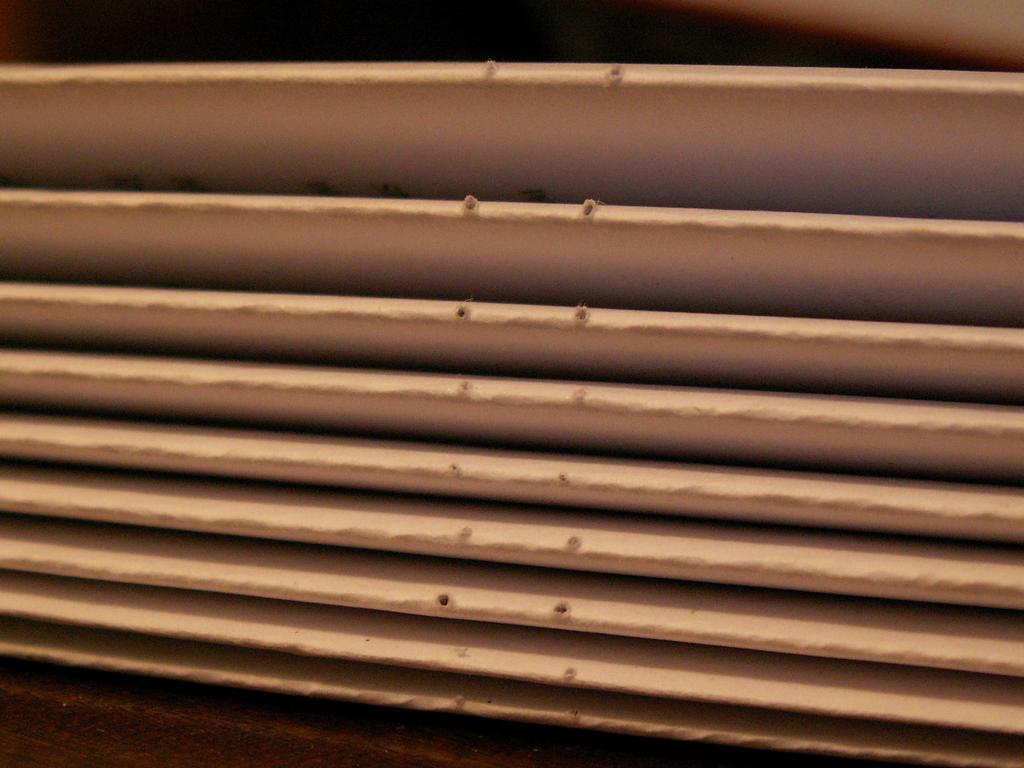
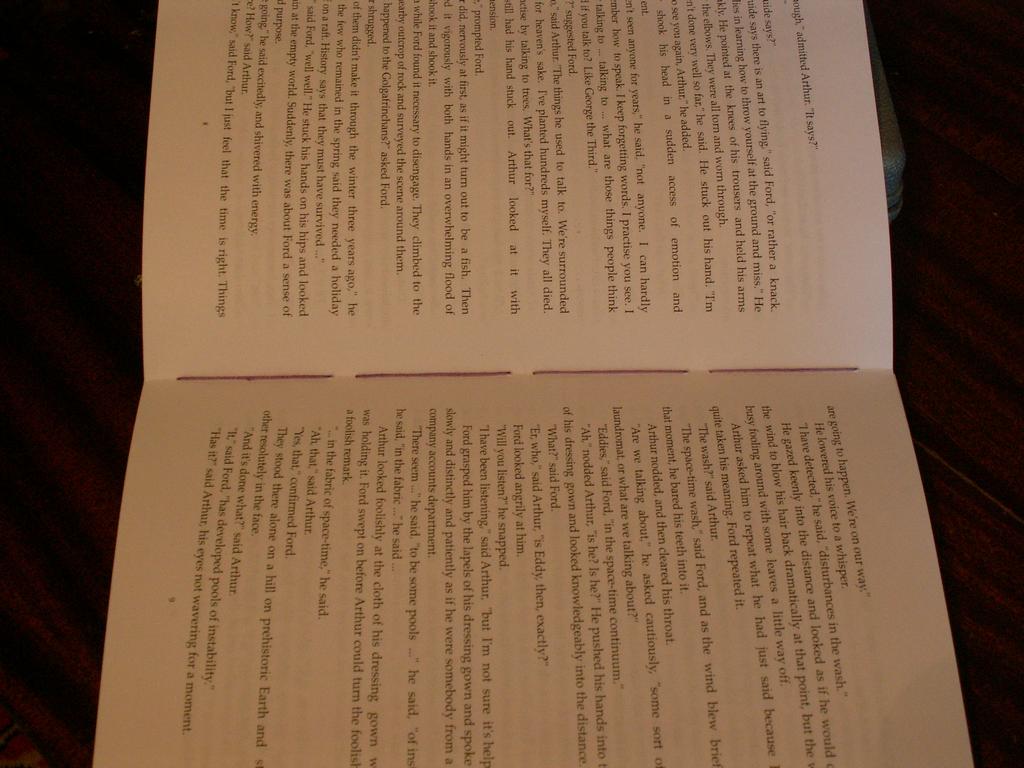
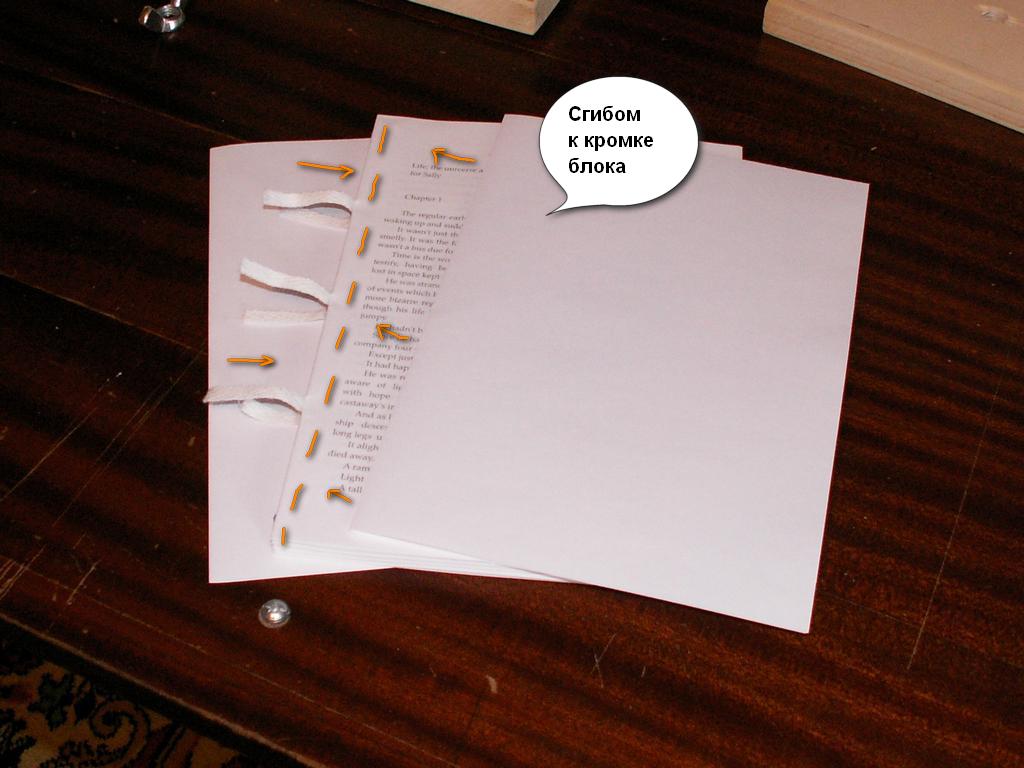
Mark up each notebook in a fold.

Pierce with an awl holes from the inside. That's what we get outside.
We grab the pieces of tape and glue them at the right distance from each other with tape. Sticking to the very edge of the table. So the most convenient.
It is unimportant to start from what notebook (from the first or last). The main thing is not to confuse their order. The page numbers must be closely monitored. Otherwise you have to redo it. I want to immediately note that until the very moment the book block is glued together, we can change whatever we want.
Here you can take a break, relax a little. Because sewing a block is a very important part of assembling a book.
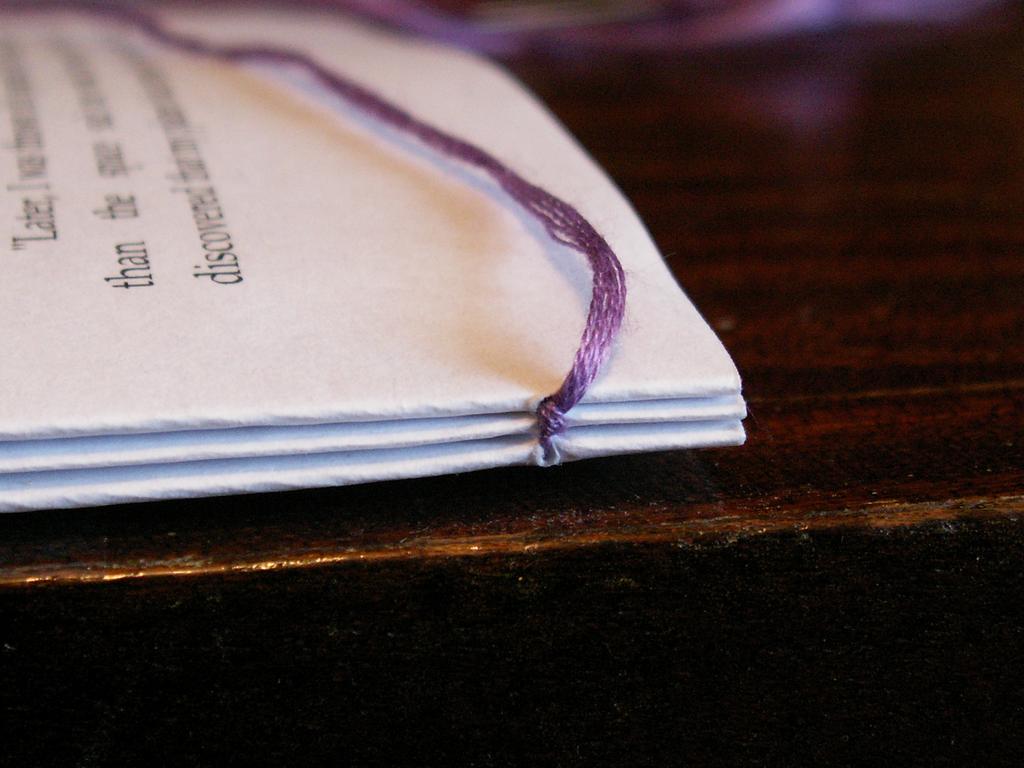
We sew! For sewing I use embroidery threads. They are durable, obedient, colorful, thick enough and very easy to find. Have you ever seen a book stitched with a lilac thread? I did not see either. That's exactly why we take bright. Individuality is one of the reasons for doing all this.

Use of cargo is very desirable. Notebooks will not go one relative to another.
Tapes are sheathed outside.
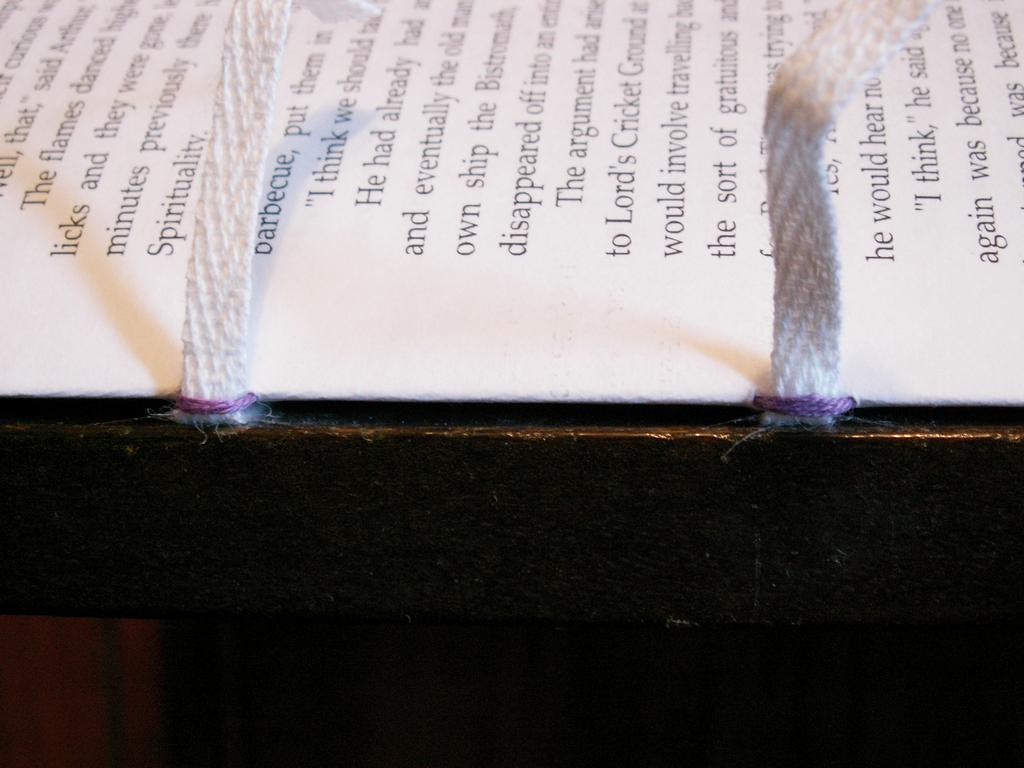
Here we almost sewed two notebooks. We fix the thread with an ordinary double knot.
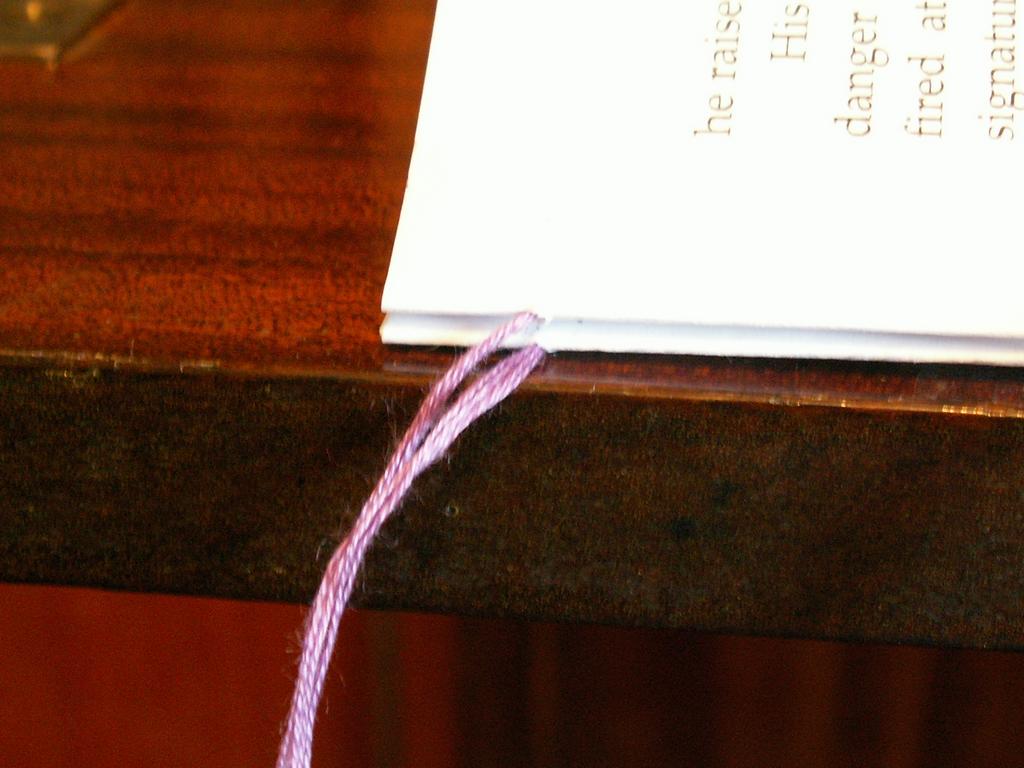

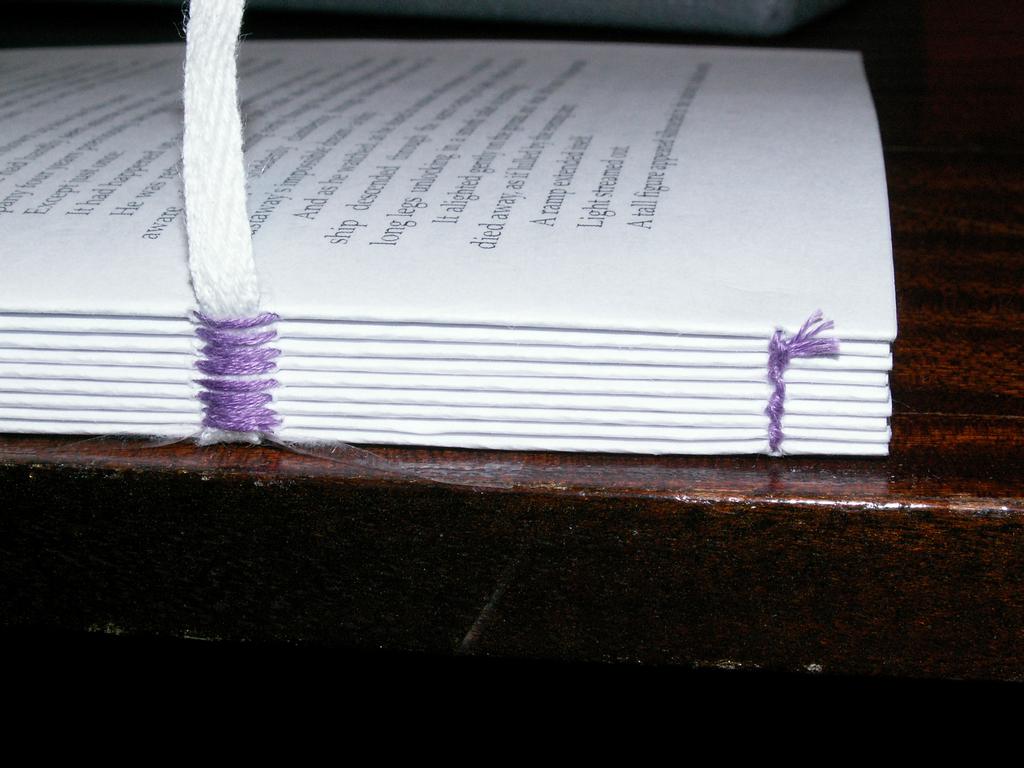
From the third to the last notebook we fix the thread in this way.

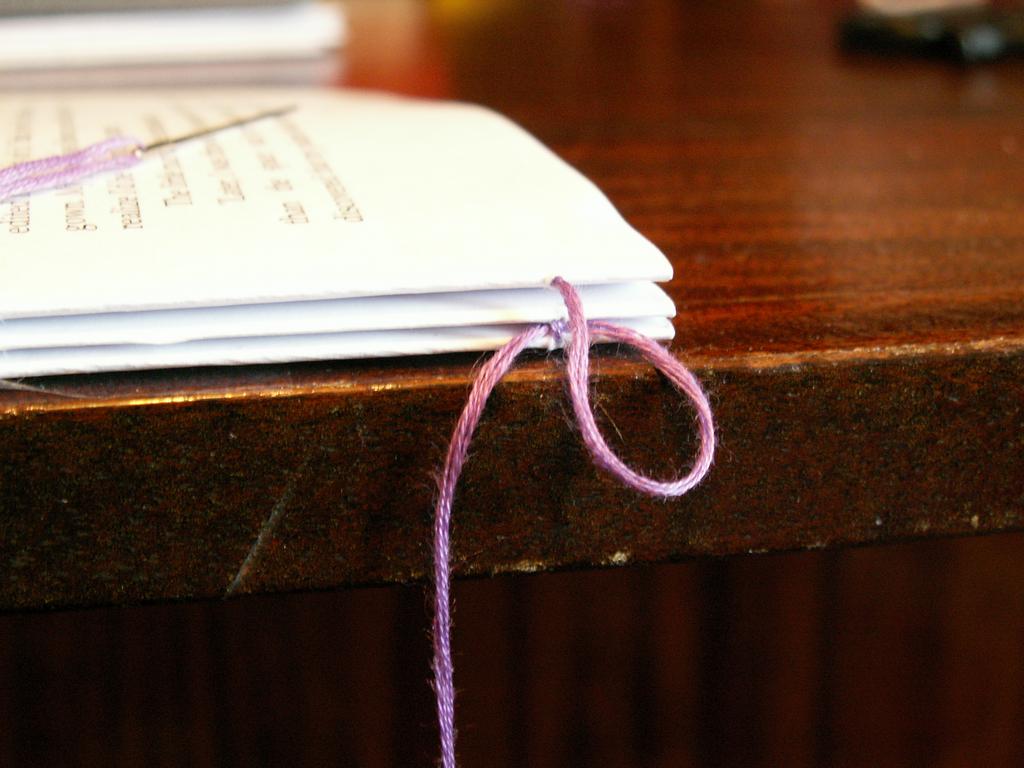
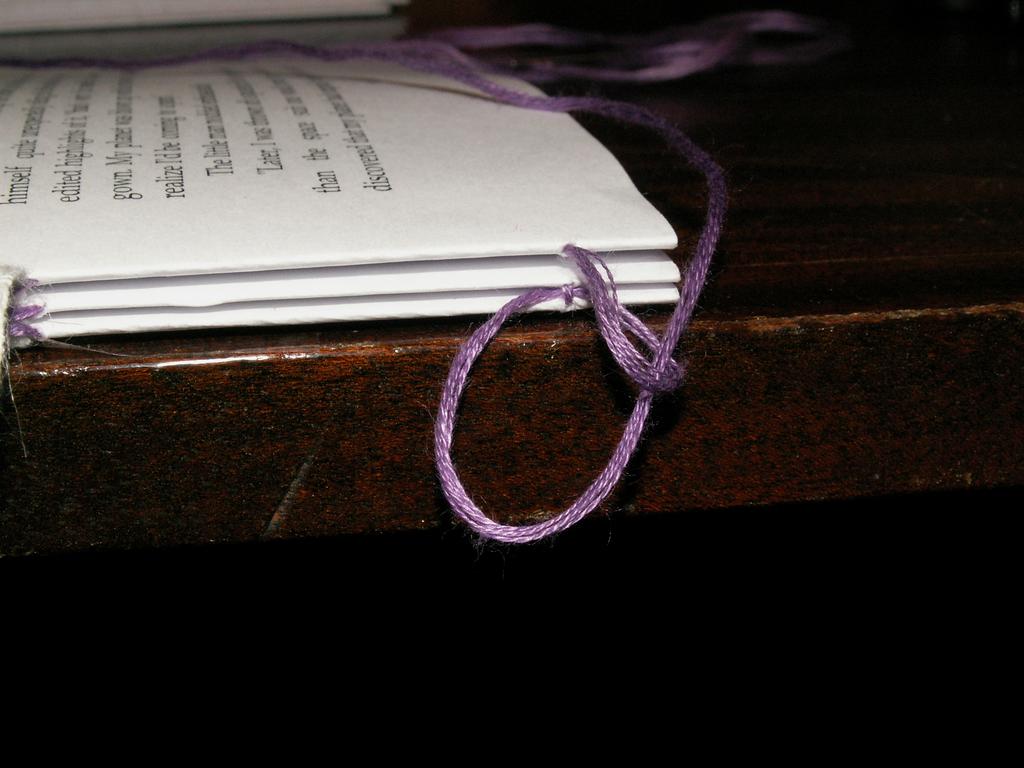
We fix the last notebook again with a knot.
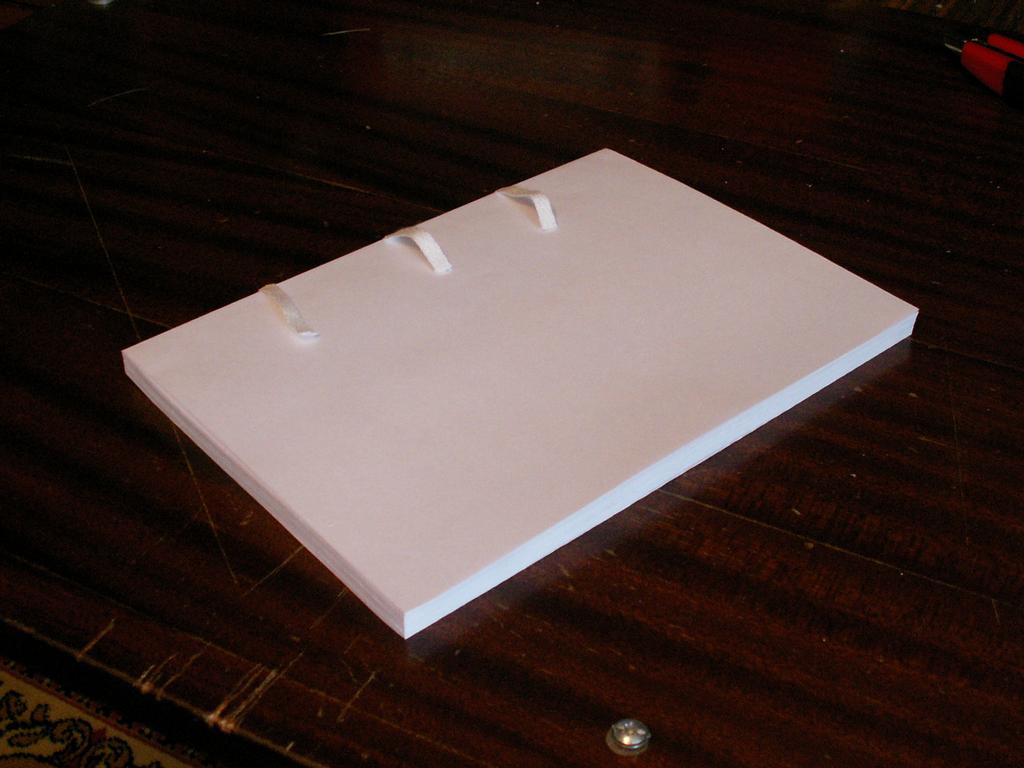
Our book block is almost ready!

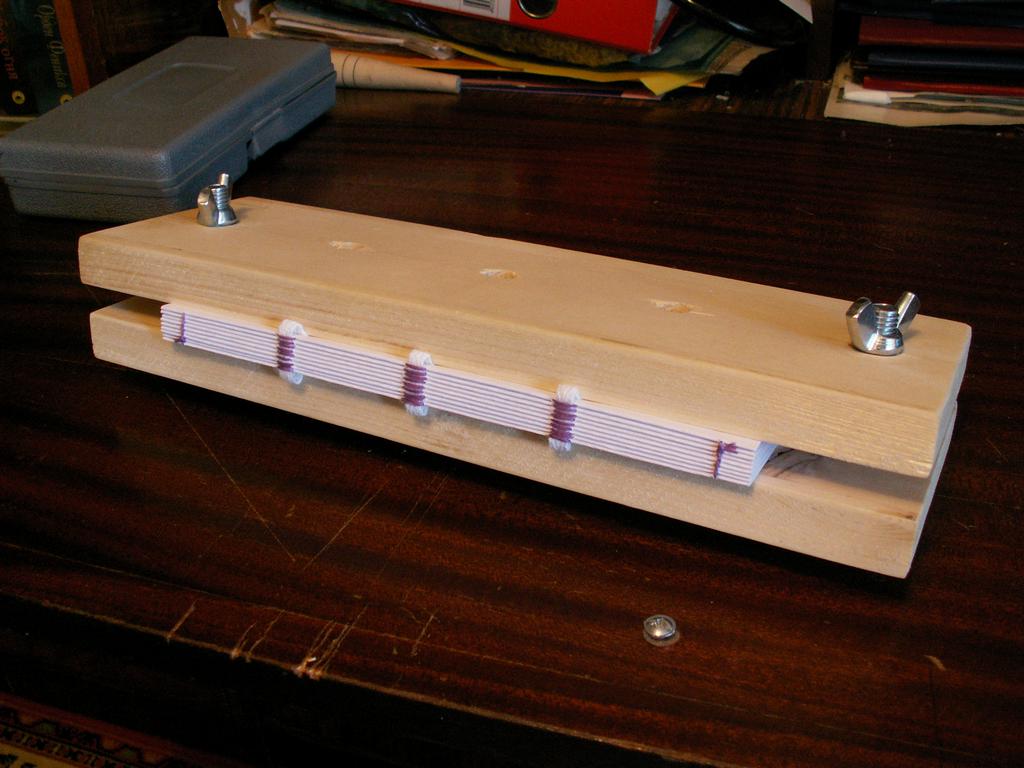
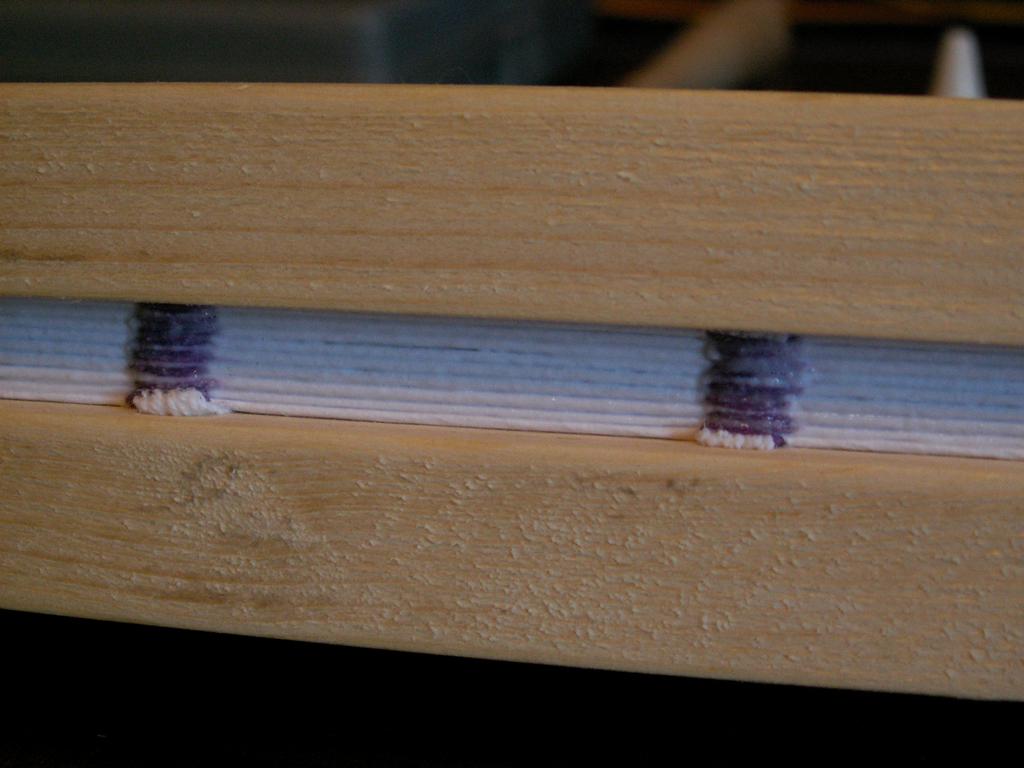
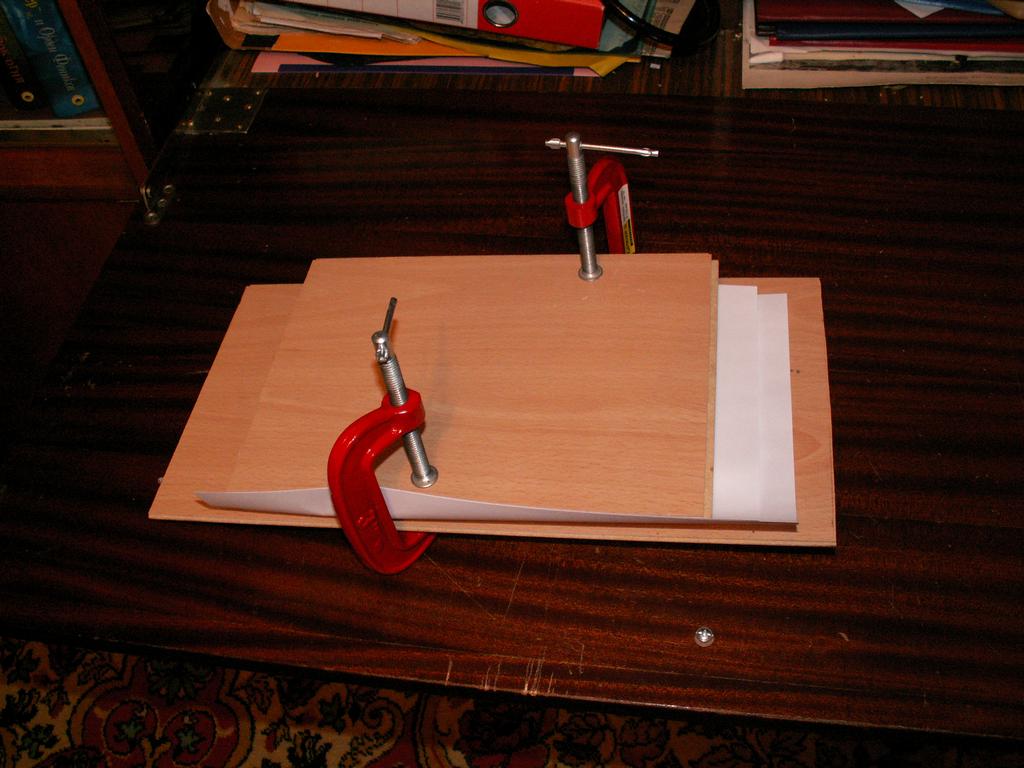
We use either a clamp like mine or an ordinary heavy load on top.
Fix the block so that the edge protrudes slightly. Coat with PVA glue (clerical is fine). There is quite a bit of glue, just enough to penetrate slightly between the notebooks. And we clamp under the load so that the notebooks are glued together. Strongly do not need to tighten.
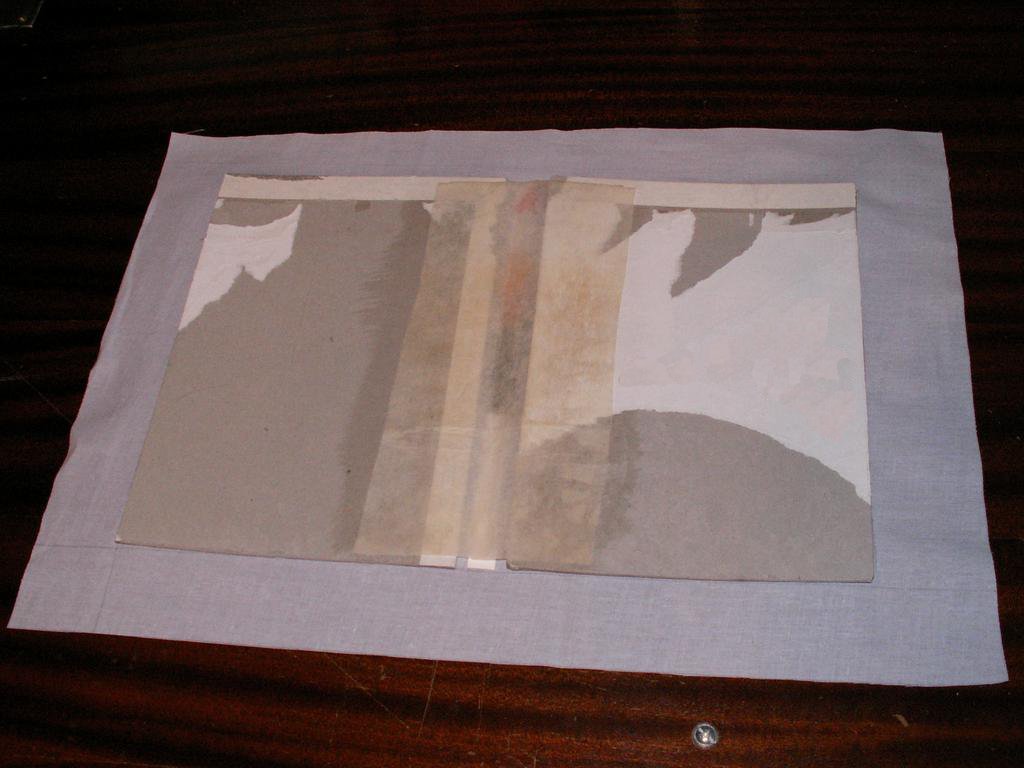
Next, glue the bookends. If for printing we used ordinary office paper, then for bookends it is necessary to use dense, from 130 g / m2. The bookends will combine the binding and the book block into one.
It is important that everything is completely dry. While it is drying, we need to get ready to trim the block.
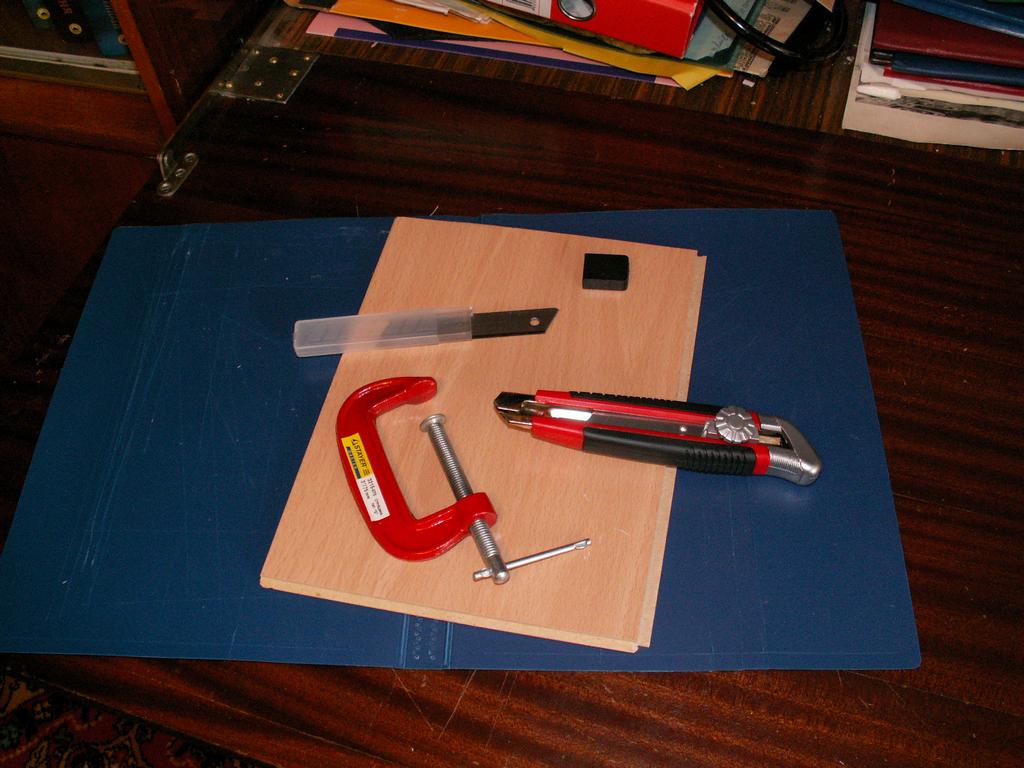
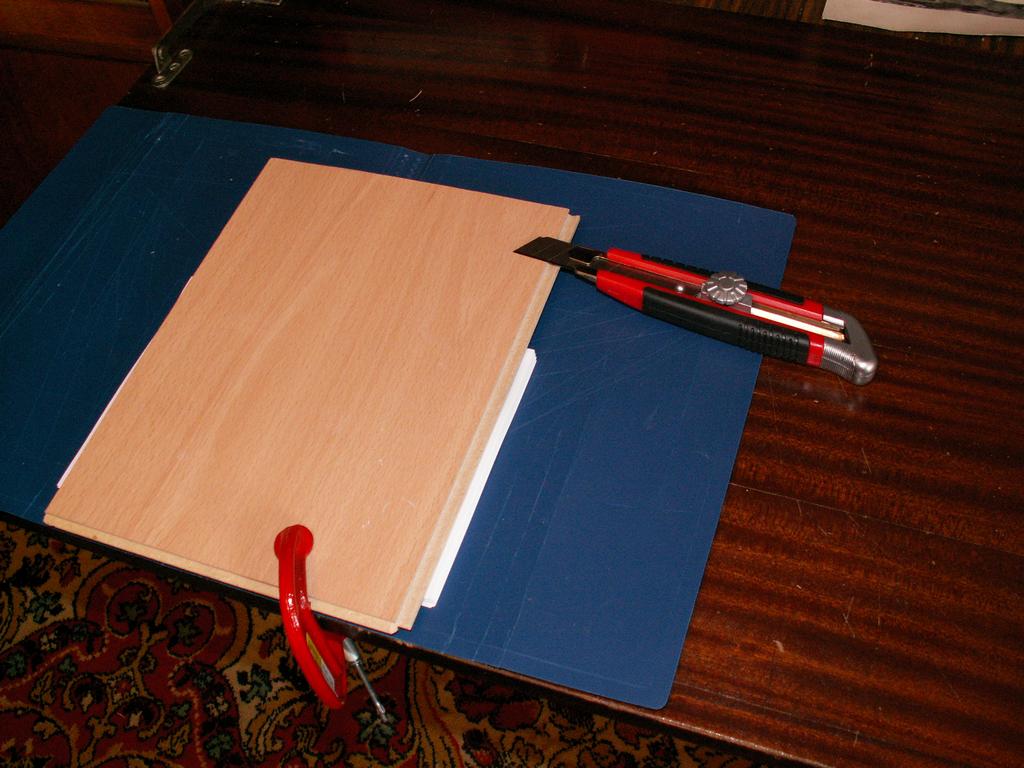
Old plastic folder, a piece of laminate, clamp and knife. If you have the same knife, be sure to change the blade to a fresh one. The knife must be very sharp. No, not sharp, but SHARP. Fully dried block clamp as shown in the photo. We press all the weight on the edge of the laminate, where the knife is. With precise movements cut off the edge. 3-4 sheets per pass. You can not relax, otherwise the unit "will leave." From the first time it may not work out neatly. And, I am afraid that without such a construction it will be difficult to manage. A simple line does not hold. If you have friends in the printing house, you can ask them to cut off on the guillotine.
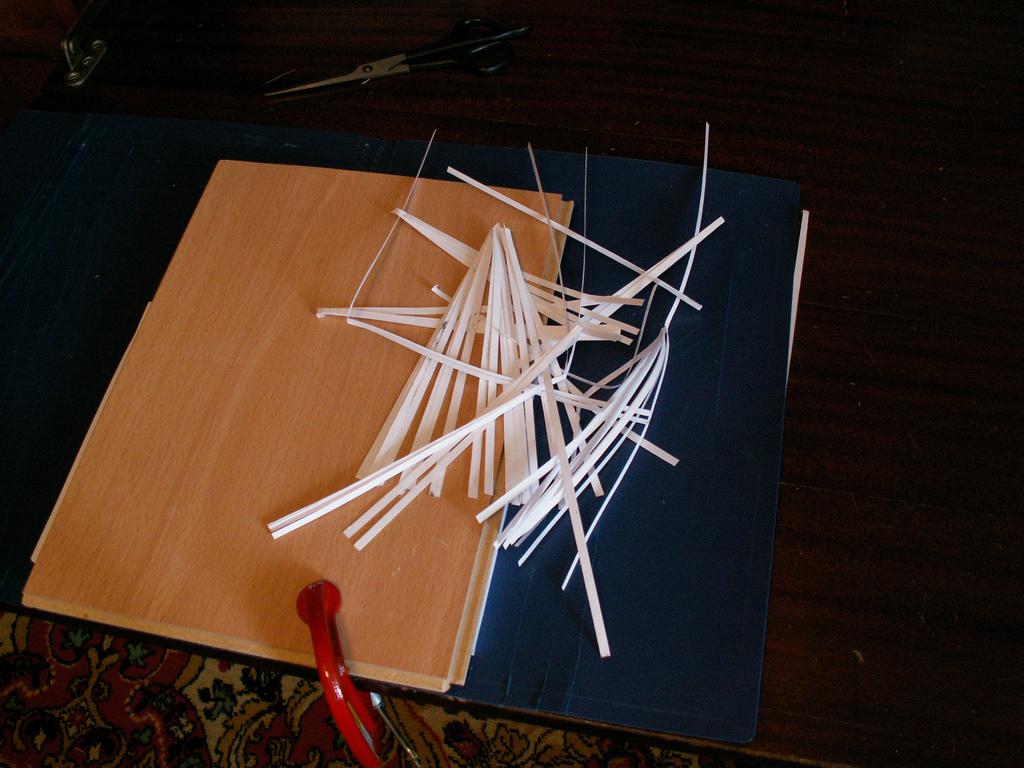
Here is such a beauty turned out.
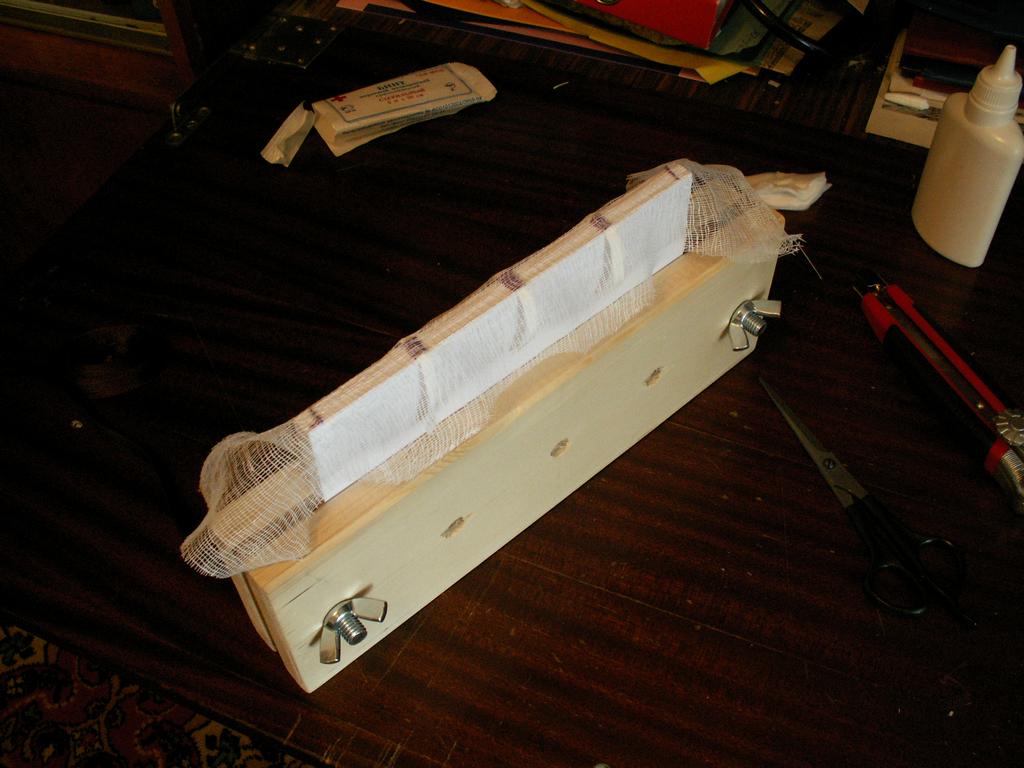
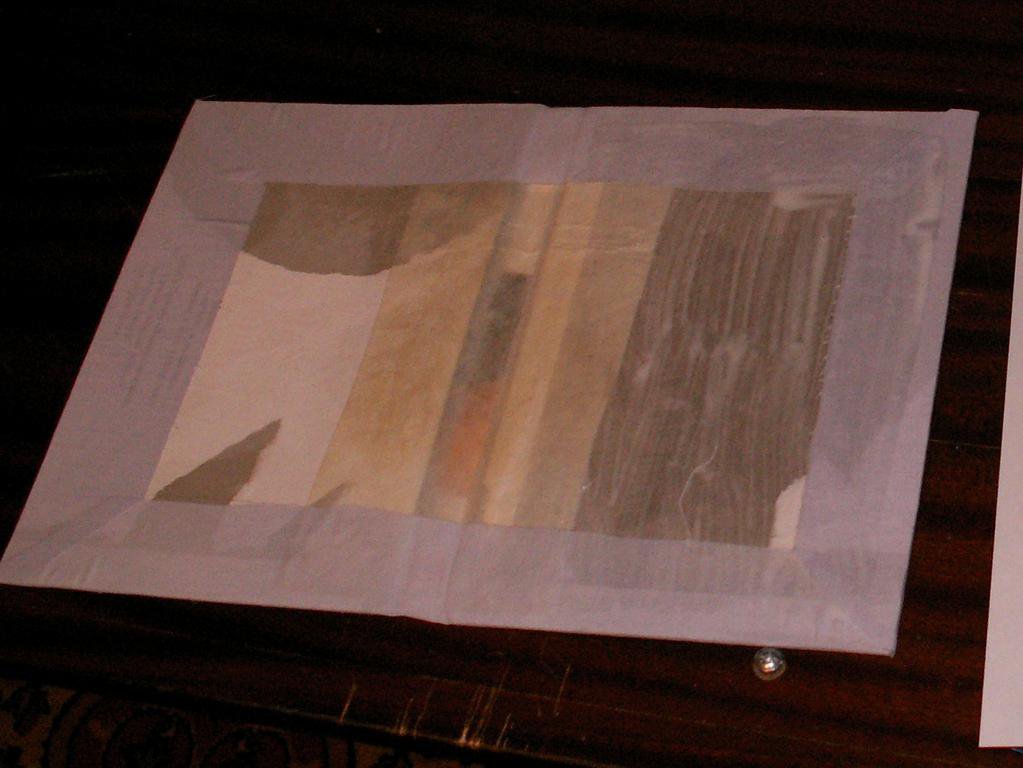
The next stage is the completion of the book block assembly. First, glue a layer of gauze on the end. Still good to use filter paper. The goal is to reinforce the butt so that the book lasts a long time.
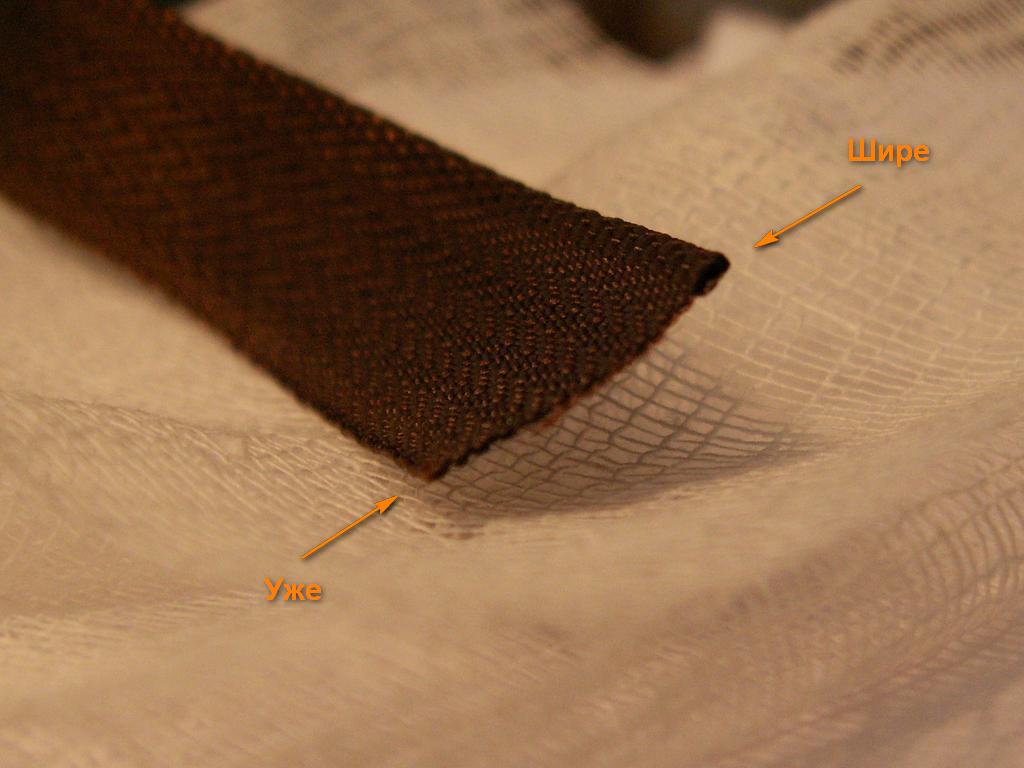
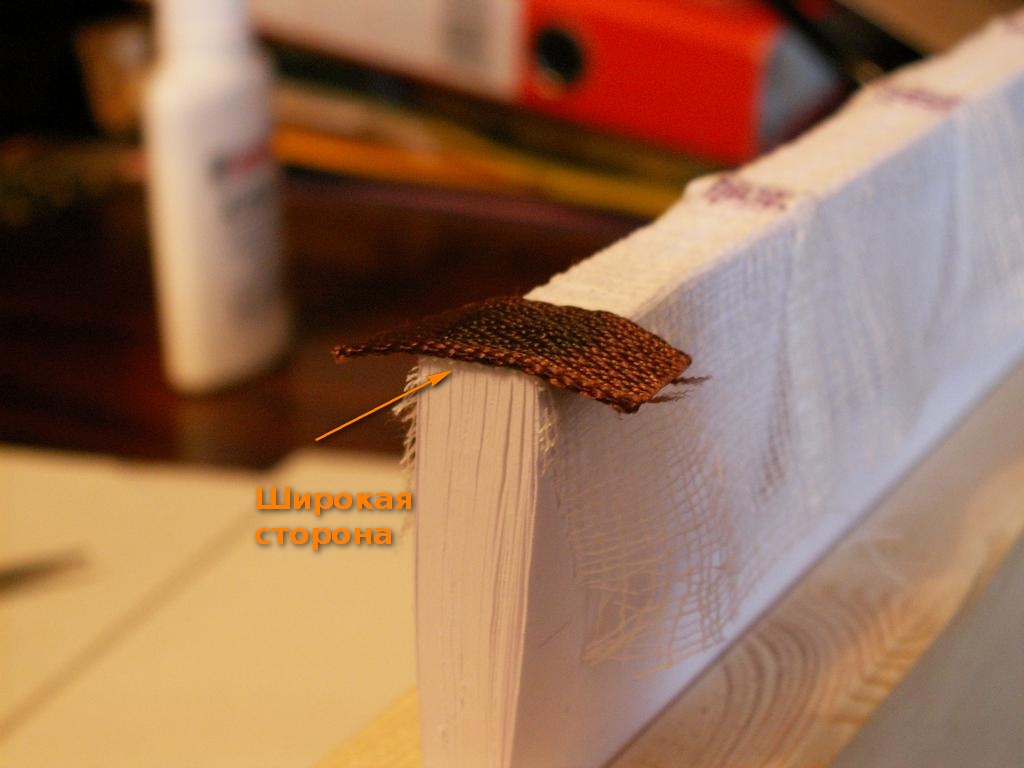
To protect the corners of the book block, you need to stick the capitals on them. These are pieces of tape, in which one edge is thicker than the other. You can stick a little more than you need. Then we cut.
Leave everything dry.
Make a binding
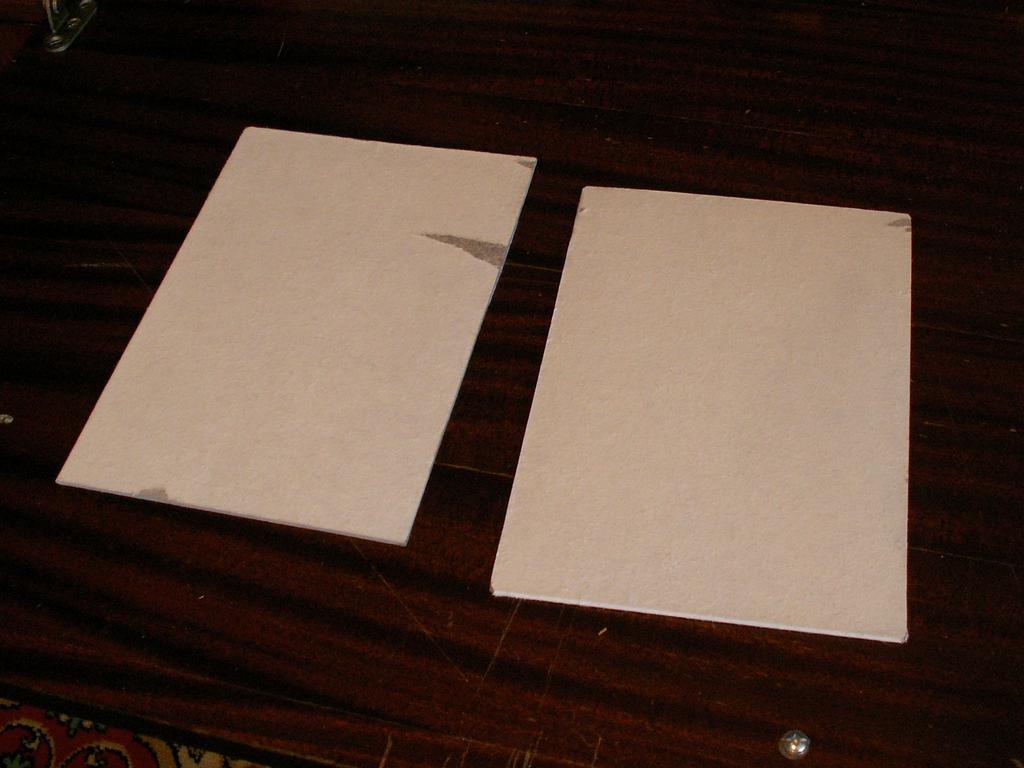
For binding, we need two cartons. They should be several millimeters larger on each side than the trimmed book block. Binding cardboard can be bought in art stores (there, it is true, they are bought quickly) or you can disassemble the archive folder. I did that. Strictly speaking, these cartons remained with me from one of the previous bindings.
This time I decided to make a binding with a cloth. For the first time, you can (and should) take a piece of old wallpaper. It will be beautiful and everything will stick perfectly. If you decide to take the fabric, do not forget to stroke it.

Between the thick cartons is a strip of thin cardboard. This will be the butt of the book. The distance between them is 4–5 mm. For reliability, we glue the middle of the construction with filter paper. The fabric is marked up. The cardboard is glued to the fabric.
Next, wrap and glue the edges. Everything should dry well. Do not neglect the press.
The binding is ready!
Collect the book
Oddly enough, this is one of the easiest stages.
We try on the book block and binding to each other. We note the best position.
Between the folds of the bookend we put in sheets of clean paper so that the glue does not flow. Wash glue bookends and cover. Use a brush to avoid dry places.
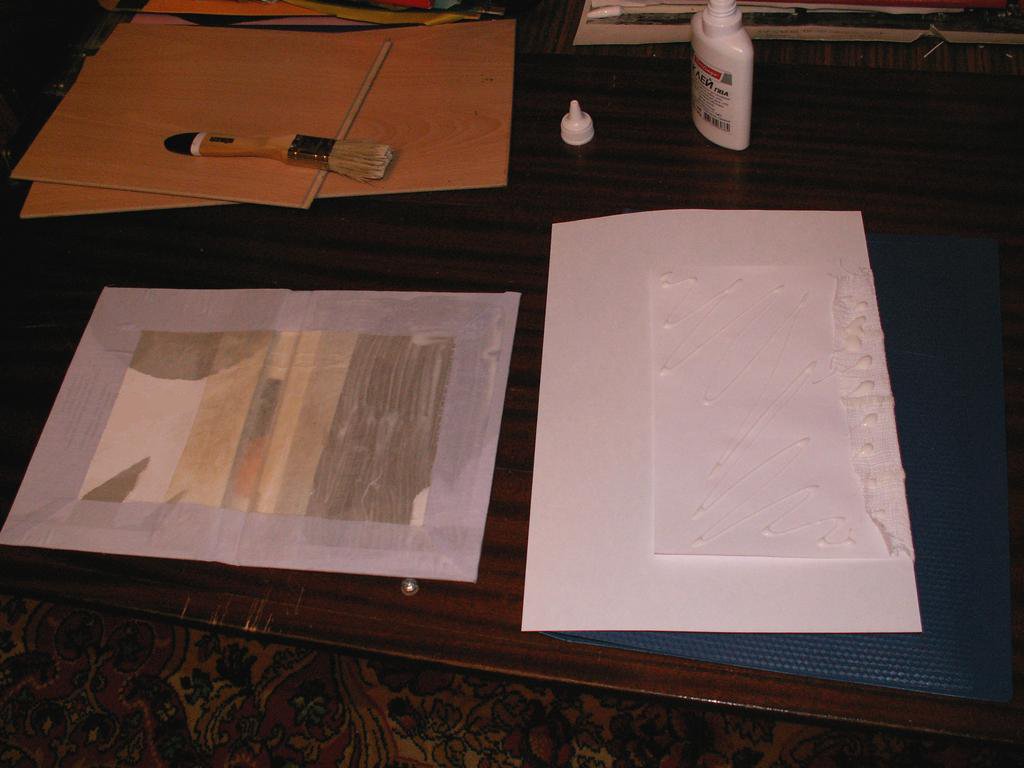
Perform the same operation on the other side.
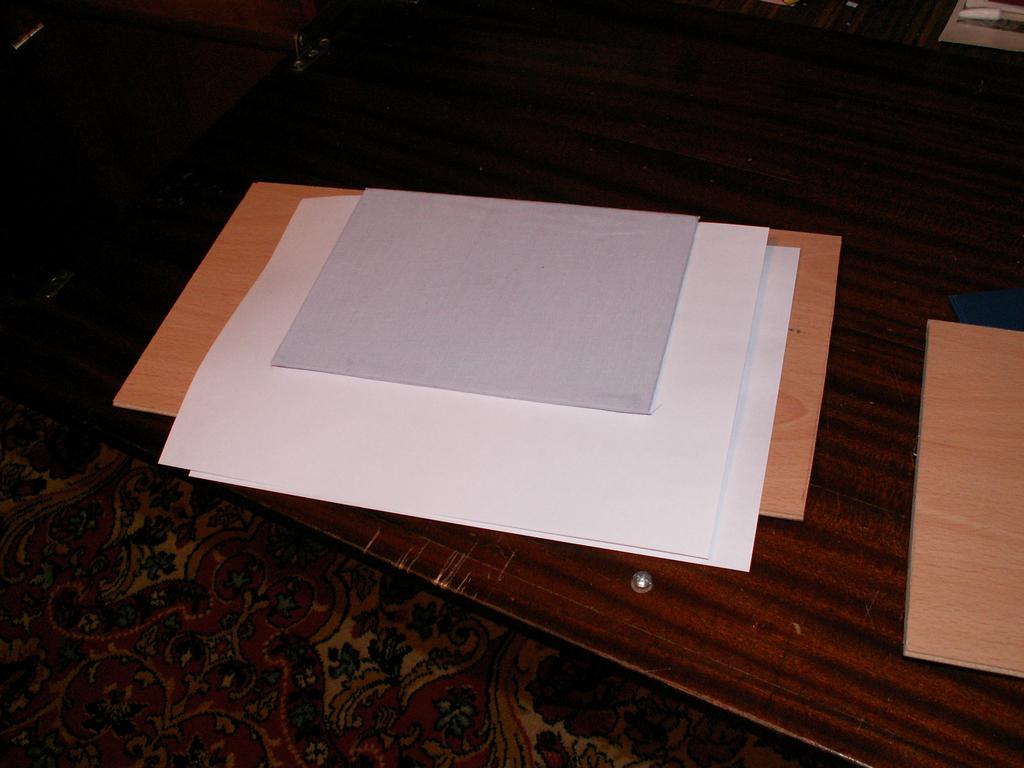
We place the book under the load.
After a couple of hours, remove and let dry completely.
Our book is ready.
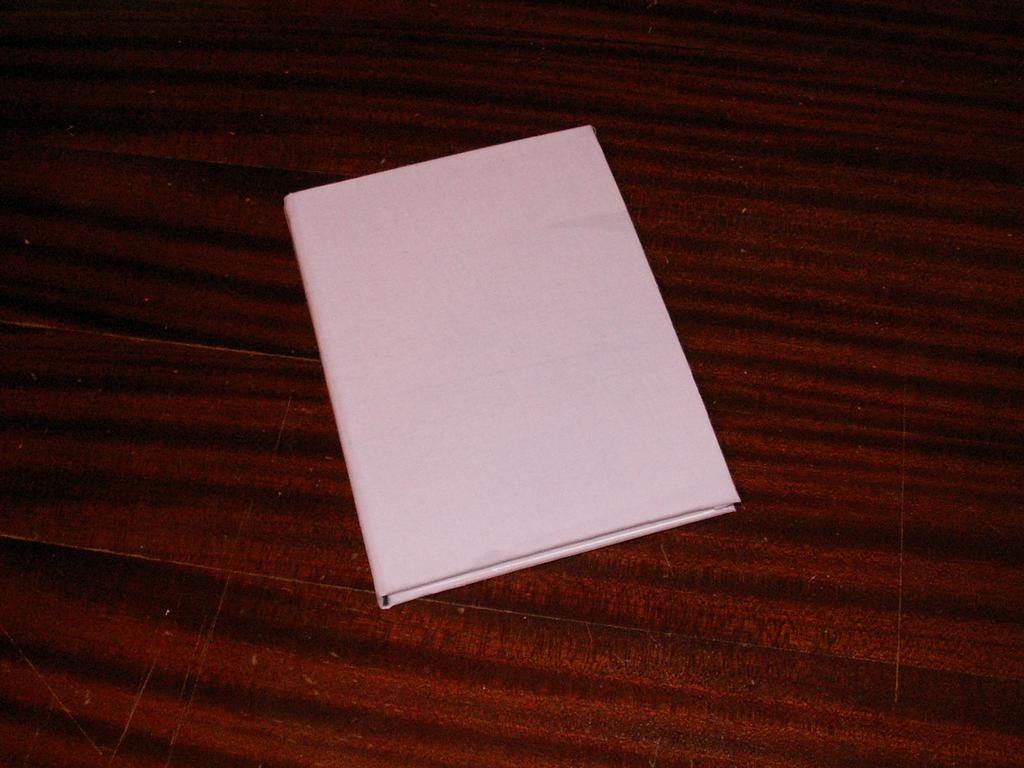
We read, enjoy and remember the main rule “Don't panic!”
Mai ashipki
Or what could be done differently so that the result was better.
I took too light and loose fabric. Darker and denser would be more elegant.
Boock turned out in the folds.
I poured too much glue. And the flyleaf paper was not thick enough. Ideally, only traces of tapes on which the block was sewn would be visible.
The first pages from the outer edges went a little wave. This is due to the large amount of glue and the direction of the fibers.
Conclusion
Of course, it would be easier to just type and read. Or read from the screen. But I just like the process of creating the book. You can choose the font, paper, binding design, and not use what the publisher offers. It turns out a unique book. This, from my point of view, is one big plus.
By cons can be attributed sufficient complexity. On one book I spent almost the whole day.
And I apologize for the uneven photo quality. The lighting changed during the day.
Source: https://habr.com/ru/post/96684/
All Articles