Budget "photobox" for soap cases and mobile phones
After writing the previous review " Logitech:" MX Revolution "is dead, long live" Performance MX ", where I used the usual iPhone as a camera, I was often asked by habra people and habra-servers:
- “How to take such photos used in your review, without using flashes, on soap boxes and mobile phones?”.
And after today's post hollow " Asus EEE PC 1005 PE Netbook Review ", I decided to publish my "How To".
This Photobox is perfect for macro / subject shooting with good cameras. The only condition that should be observed is the absence of additional light sources, such as daylight, indoor light, and a campfire arranged by children nearby.
')
Unfortunately, I cannot accompany the post with photos, because in order to show my Photobox, I will need Photoboxing larger. Therefore, I have made Three-dimensional models based on experience, and well describing the construction scheme. And so, to create a photobox at home, we need about an hour or two to go shopping (in my case it was “Ribbon”). to purchase the necessary things and not more than 30 minutes to build a photobox and install light:
Expenses
- White disposable tablecloth (365 days): - 2x16.19r. (or any other fabric that transmits light, frosted glass is possible).
- Halogen spotlight on a stand (LUX 150W) - 2x250 - (in a large room it is possible to use 500W, but there must be two of them).

- Double-sided adhesive tape - 1x32 p.
- Whatman format A1 - 1x12r. (just in case, you can stock up on two, because this material gets dirty quickly and gaps or any other troubles are possible).
- Packing foam from a laptop or monitor (In principle, any cardboard or wooden box).
Construction site
In this process, there is nothing complicated, the assembly scheme is signed in the figure below.
At hand, I had a MacBook 13 '' packing foam that is ~ 35x35x5cm, I decided to use it without hesitation, due to its rounded corners. The foam from the monitor is also suitable for this process, since the lateral faces are thick and the center is thin, we just need to squeeze it out or gently hold it with a knife. In the worst case, you can use any box, but the process is complicated by cutting and cutting voids.

We grow a drawing paper in such a way that the smaller side faces us, the long sides will serve as the basis for gluing.

We need to cut off two strips (in my case, 70 cm long, 35 cm each side) of double-sided tape for sticking on two sides of the packing foam and gluing it together with a paperman.

At first it is necessary to stick exactly along the edge onto the drawing paper on both sides, without removing the protective tape with adhesive tape. And then peel off 5-10 centimeters of protective film on one side and attach the beginning of any side of the foam plastic to this place, and gradually peeling off the protective film, apply our “wall” to the adhesive tape. In this way, we will be able to glue the tension and align the paper on paper in such a way as to avoid jams or irregularities, and also carefully glue the wall without breaking the paper. Then again pull the Whatman and do the same with the second wall.

As a result, we get a strong structure in which the drawing paper density and lightness of the foam will create a stable platform that can be easily transferred without fear for it. In my case, I got a photobox with a working area of 35x35x50 centimeters.
Lighting
We take our halogen spotlights (they are not as big as it may seem from a loud name), and arrange them on the sides of the structure at a distance of 50-100cm. depending on the time of day and the amount of ambient light. After purchasing the spotlights, install the lamps and make them in daylight.

Warning 1: Do not carry the spotlights in the on state, you may get burned
Attention 2: You can not bring the spotlights closer than 50 centimeters, if you leave the room where you are shooting, there is a possibility of fire, both the design itself and the floor and surrounding objects.
And be prepared to sweat, because after 30-40 minutes of active work, the temperature in a small room will warm up to 40 degrees. And this work is not finished, if we turn on the searchlight, then we observe a sad picture like this:

Yes, soft light and does not smell, not to mention the uniformity of the background. To solve this problem, we take either a white disposable tablecloth, tulle folded in several layers, or tracing paper, or frosted glass a la "Frozen Glass". We cover the structure in such a way that the top and side walls would be closed (where we made the wastelands). If you use a fabric, it is recommended to tighten it, it is possible to put it on the sides of the structure. If you use glass, you need to attach it to the sides of the structure and glue the sides with adhesive tape in such a way that there would be no gaps that would allow light to bypass the glass. An approximate picture is as follows:

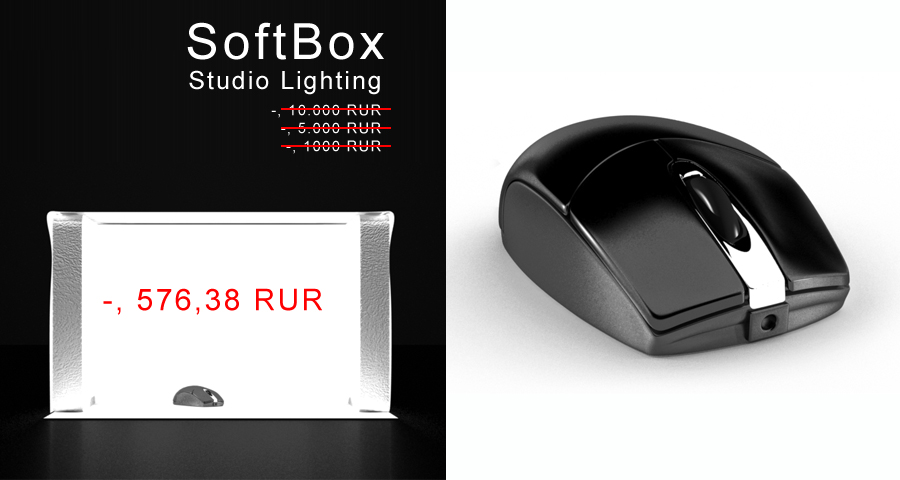
Now we turn on and tune the spotlights distance, turn off the ambient / extra light and adjust the fabric density (the fabric can be folded in several layers) in such a way as to obtain the desired result:

Then we install the observed victim (in this design it is possible to shoot laptops without problems).

If there is time / desire / opportunity, on the reverse side (on the ceiling) it is desirable to use a black light-transmitting fabric, perhaps foil, diluted to taste, to achieve the necessary glare on the gadget.
And now it remains to go up and arrange a photo session for our gadget, from any camera without flash or from a mobile phone.

Good luck with your future reviews!
UPD: Who needs photos a la Apple Style:
on the edges of voids can put a glass or mirror. The location of the camera will give different reflections, it all depends on your accuracy. Approximately it looks like this:

Source: https://habr.com/ru/post/92622/
All Articles