Nodebox

On Habré, a topic was raised about this program, but the topic was revealed scarcely. I will try to show the internal structure of the program, and at the end of the review there will be a bonus :) There are a lot of pictures under the cut, but not very heavy ones.
From the website of the program we take its description “Nodebox program that allows you to create 2D visualization (static, animated and interactive) using the Python programming language and, later, export it to PDF and QuickTime formats” . The program is absolutely free, well documented . There are many lessons "from simple to complex." The only negative is that it is only on a Mac. Let's download it already and see how it can surprise us :)
Open look interface. As expected, the net is minimal, as in Processing .

Of course, all the relish programs in the language, the code at times will be less than in the same processing with its java. For example, draw a circle:
size (100, 100) #
fill(0.2) #
oval(10, 20, 40, 40) #
And thanks to plug -ins , we can really disperse it. I would like to bring the most popular plugins.
')
Svg
From the name, I think, it becomes immediately clear that the plugin allows loading SVG files into the code. At the code level, you can change colors, transparency, work with curves and points. I want an example of how I painted the flyer, to show how it works. The task was to draw a flyer for a party with a London theme. We go to Google looking for pictures that are associated with London. We throw all this business in the illustrator, we translate in a vector and we save in SVG.


Next, I had a simple random variation on the “canvas”. Unfortunately, the source code of those is not preserved and therefore I will show a simple code, based on examples.

Then, having played enough with the randomization and choosing the right option, we export it to the format we need. Nodebox is not one PDF one :)

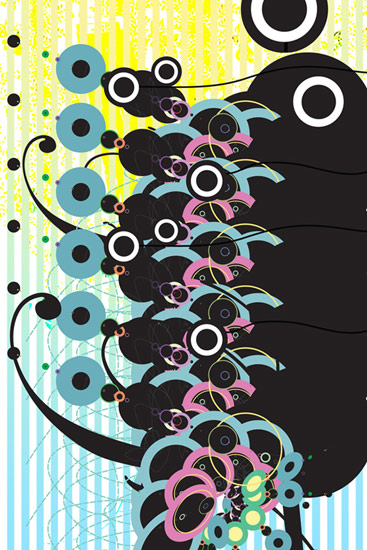
I choose EPS, throw it into the chandelier, and already there, having crushed a mighty handful of objects, I can steer separate objects. As a result, having performed such manipulations with all the images, I received such a flyer.

In general, a very necessary and important plugin interested? I ask here .
Core image
The most powerful plugin, I think. So say Adobe® Photoshop® ™ (forced to call him that in the light of recent events :) the command line. The plugin allows you to perform various manipulations with images, almost all filters can be implemented with this plugin. This miracle works through Core Image , which means on hardware acceleration. The plugin allows you to create layers, and if you save in TIFF, the hierarchy will be saved accordingly. Can adjust brightness, contrast, saturation. Works with blending in layers. An example of applying the Triangle Tile filter (2 lines total!):
l = c.append("lily.tif")
l.filter("triangletile", dx=-30, dy=-30, width=40)
A lot of things can, here you can download and read more.
Supershape
A plugin that allows you to implement formulas superforms Johan Gielis . For example, you can write Habr like this:
Or to adapt the superform:

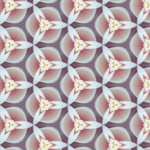
In general, there are a lot of plugins and they are added. It is a pity the program has not received a wide resonance, the community is weak. I will give an example of a couple of illustrations created in Nodebox, everything else is here :

Something like that. And now the bonus! :)
Nodebox 2

The program is still in beta testing. The writing model itself has changed in the program. Now it is work with modules. It is not yet clear what exactly will be implemented in the program. The most pleasant moment is that the program is now running on Windows and a little bit on Linux :) Let's use the example of a lesson to try to understand how to work with it now.
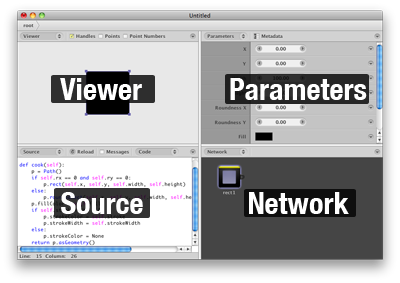
When creating a project, we see a clean interface.

Windows are distributed as follows.
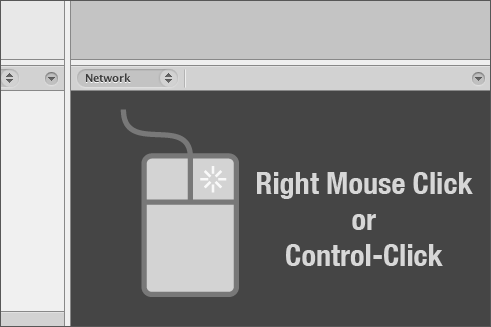
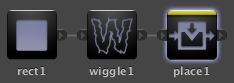
Right click on the Network field.
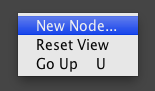
Select New node from the menu.
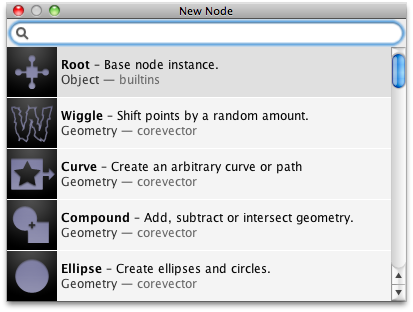
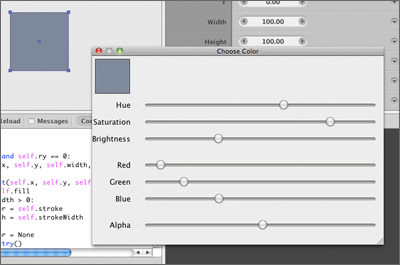
We look for Rect in the list and add it. Now he is on stage, we can change his parameters
The next step is to add the Wiggle module, and connect the Rect with the Wiggle.

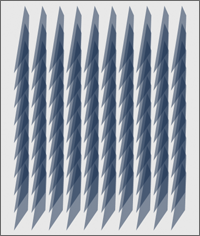
Now we can observe the following (depending on how someone experiments)

Next we add the Place, it’s like a render of what comes out. When joining this module, he asks you to pick up something for him, you must choose Shape for we add a shape.
We add the Grid module when we connect, we select Template, as if a template for a render.

And in the end we have PROFIT at the exit!
An open-source project, an interesting project, the community is quietly going. It will be interesting to see mastered python programmers with their experiments. Completely out of breath and did not give a link to download, here ! Thanks LLIAMAH for reminding.
Shl. I know that I have problems with Russian, that I make spelling, punctuation and lexical errors. But I beg you not to point out errors in the comments, write in a personal, I will rule, and then how it will begin ... In the end, the thread will be teachers of the Russian language :)
Source: https://habr.com/ru/post/88951/
All Articles