Budget backlight do it yourself
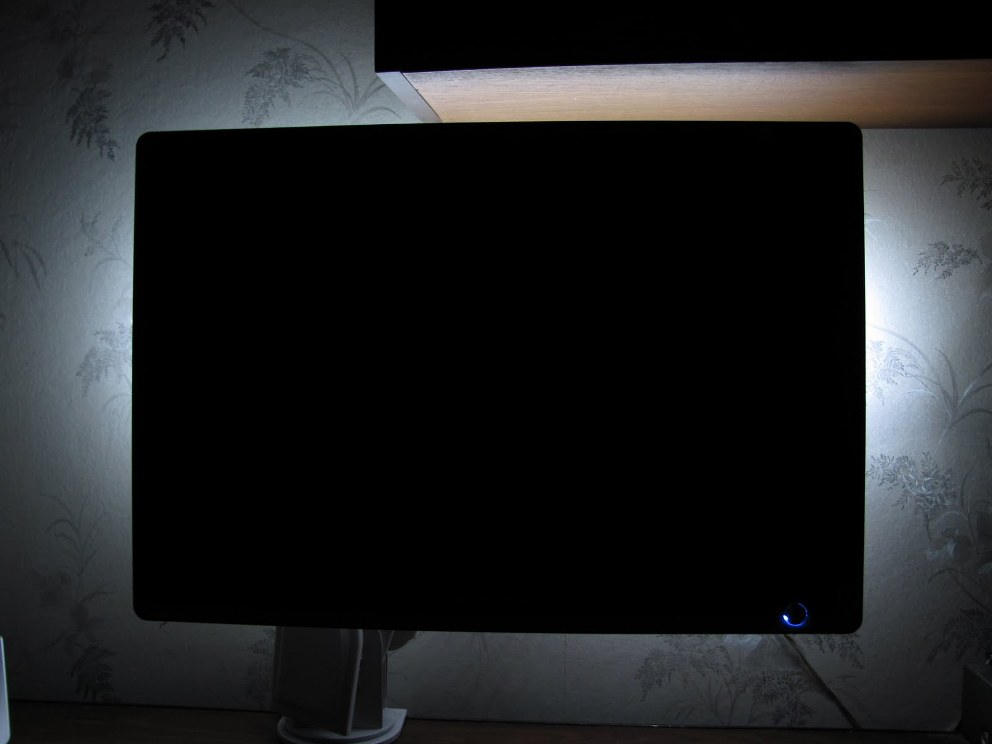
The Ministry of Health warns that working behind the monitor in complete darkness is harmful to the eyes. For a long time, in order to avoid this, I worked by pointing a desk lamp at the wall. But at a certain point it occurred to me that it was uneconomical and not at all technological (and in the hot summer there was also an extra heat source :)
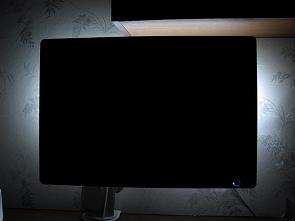
This is how the idea was born, the result of which is on the photo.
I have already shown my design a couple of times in the comments, in particular, in the article Boomburum Keyboard Life Hack . But I decided to show my idea to the wider public. :)
Point by point so as not to forget anything
')
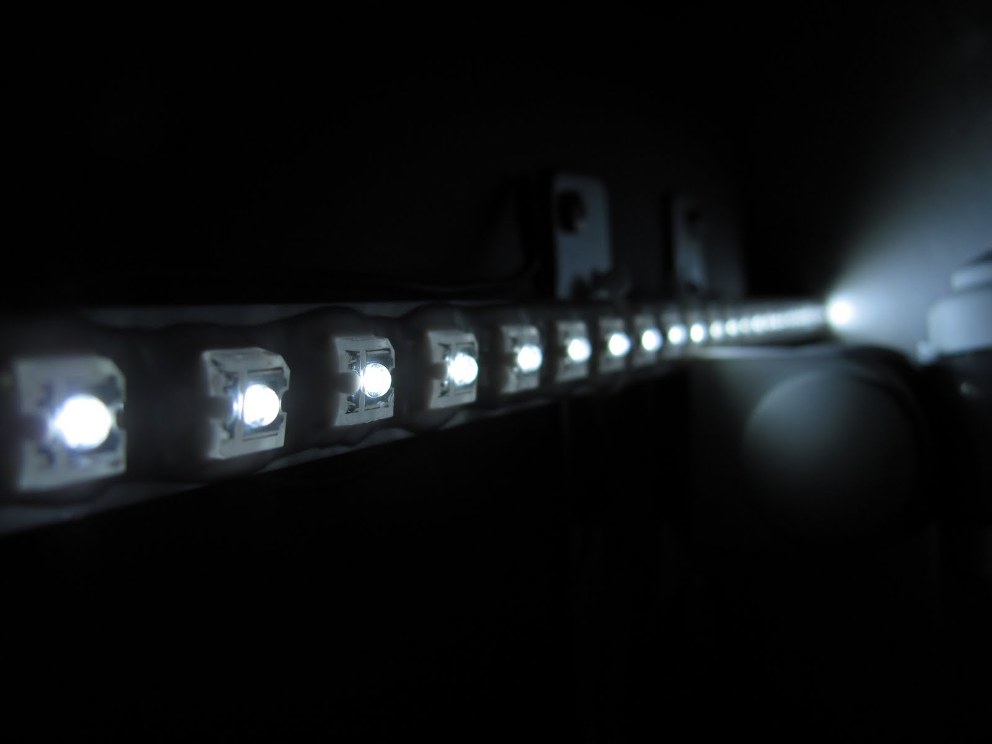
1. Light
I used the LED "stick" from the well-known dealextreme.

Here it is .
For your implementation you can use any similar device. On ebay a variety of different LEDs. And you can stock up on the local radio or auto market - in our city there is an assortment no poorer than ibei.
Handicraft fanatics can even assemble themselves a lamp of the desired size and number of LEDs. Choose the desired LEDs consider resistors under them and go ahead.
2. Fastening
I have LEDs attached with zip-ties to the holes of the VESA bracket.

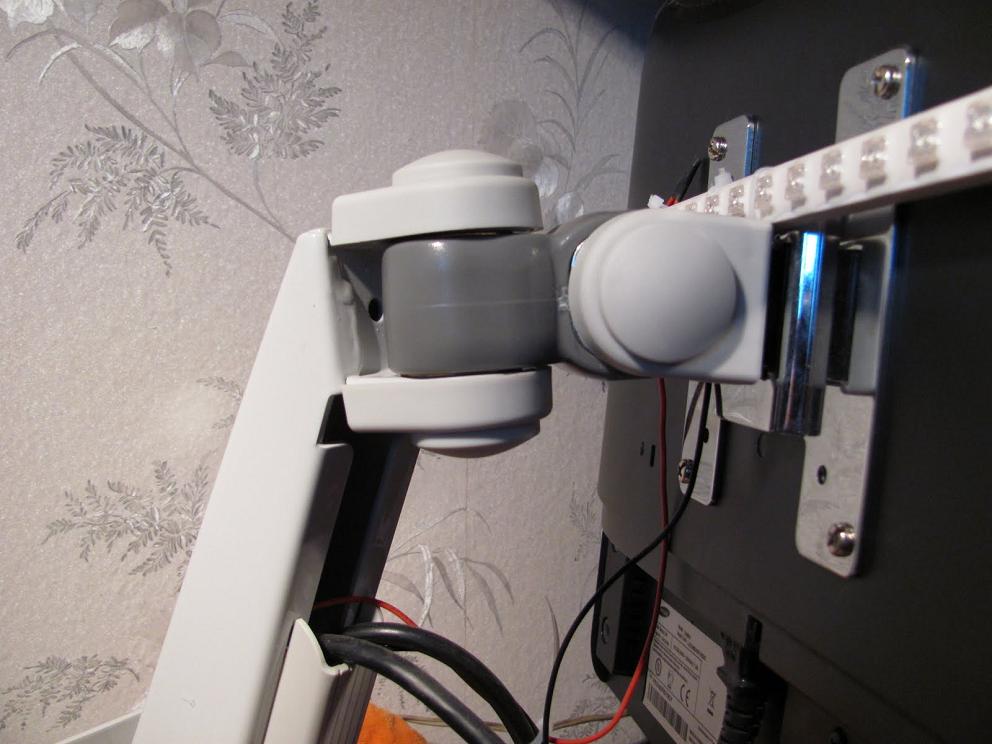
Depending on your monitor and the selected lamp, you will have to come up with a mount. You can try double-sided tape - but for my practice I haven’t seen a strong and long-playing one. Alternatively, you can try screwing a pair of bolts into the VESA holes and hooking to them.
Improvise.
3. Power
I took 12v from the motherboard, using the free chassis_fan connector and the plug from the old cooler.

+ 12v - red (center), earth - black (right on the photo)
You can also take power from the Molex using a splitter (from another old cooler).
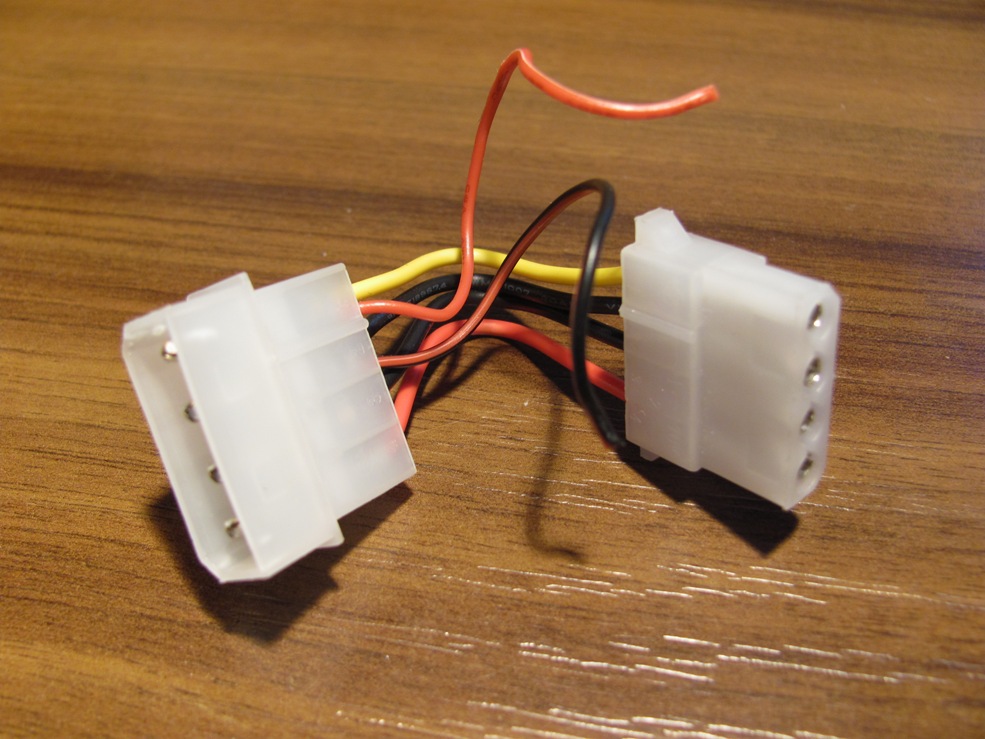
(+ 12v yellow, earth is black)
For those who for some reason do not want to carry out surgery of their computer, you can use conservative methods. I had an old power supply from a cassette player, which gave the necessary 12v, to this account.
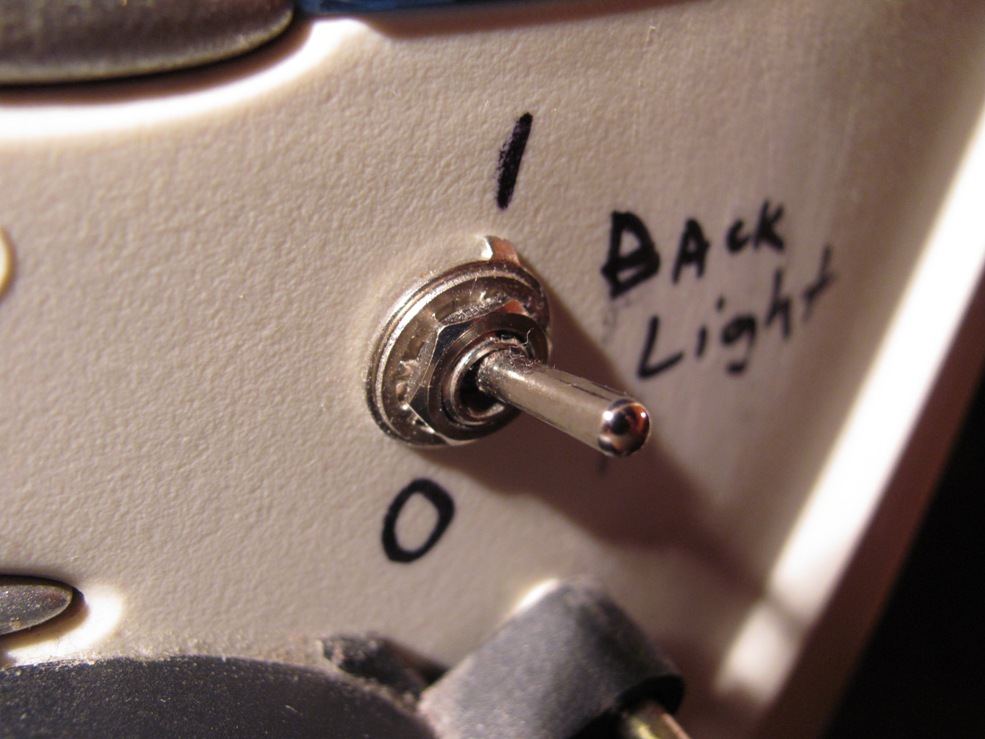
A simple toggle switch acts as a switch ...
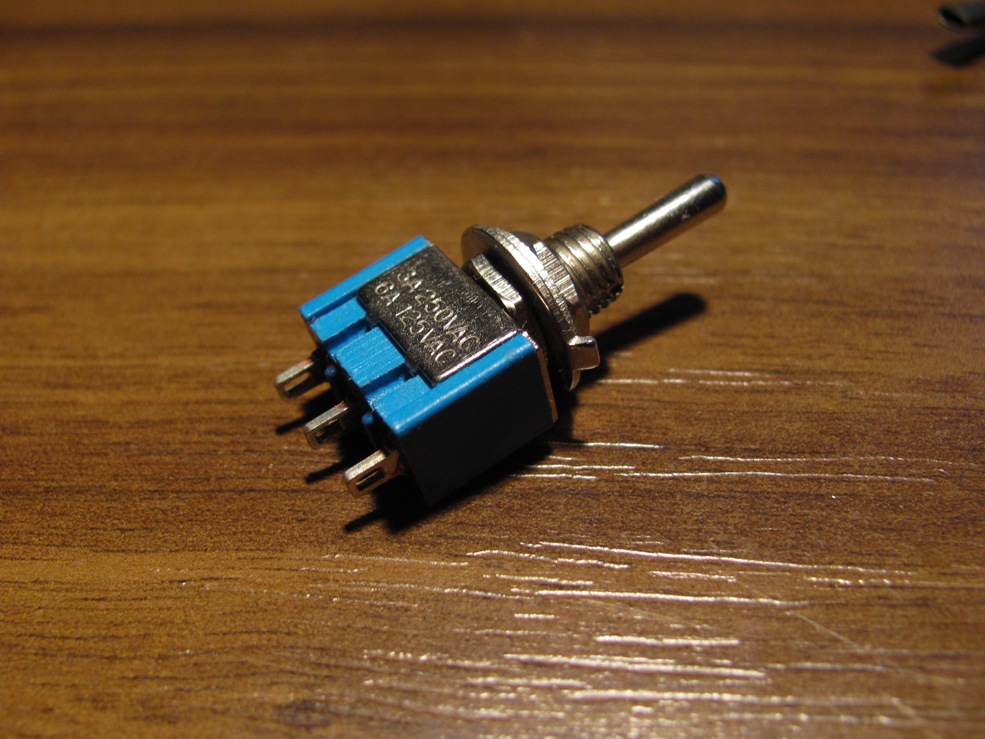
... screwed into the front panel of the case.
A little secret that will simplify the implementation of the project to those who do not have a soldering iron or skills to work with it. Contacts to the tumbler can be attached using contacts from a molex fork. It is enough to tear them out of the plug, attach it to the wire and press it with thin pliers or tweezers.
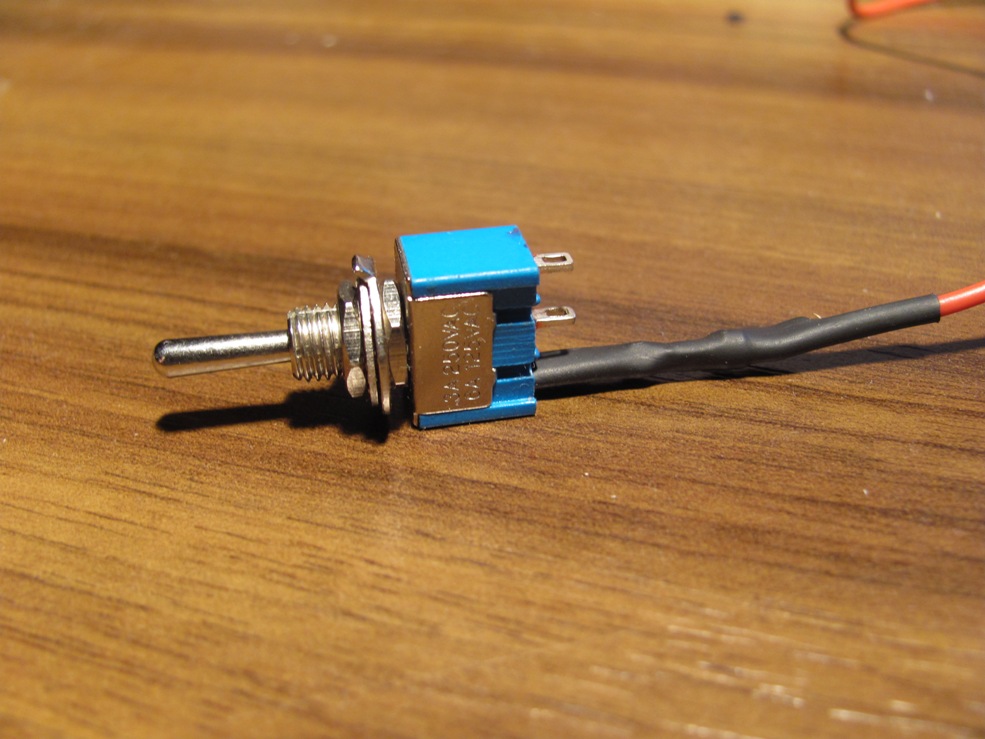
The connection is less reliable than when soldering, but it is held quite firmly and if not pulled, then everything will be in order.
Instead of a toggle switch, you can use any similar switch. Or you can use nothing at all if you do not plan to turn off the light.
4. With the installation I think I guessed everything, what and how
1. Prepare the power cord. The plug at one end, in the gap +12, we connect the selected switch - based on where you want to install it.
I ran the wire parallel to the monitor's signal cable, securing it in a couple of places with zip-ties.
2. Fix the lamp on the monitor.
3. Connect the lamp to the power supply.
4. Check whether everything is properly connected and well insulated.
5. Turn on. We are checking. Enjoying.
At the end of a drop of creativity :)
Thank you all for your attention. If someone does or already has something similar, it will be interesting to look at the variations.
Source: https://habr.com/ru/post/80359/
All Articles