Business applications for Silverlight 3 and .NET RIA services. Part 1: Navigation
Business applications require professionals, but which of us has a full-time designer in your state? I think a few. That is why we spend a lot of our strength on creating powerful functionality that works out of the box. The Silverlight Navigation Application and Silverlight Business Application projects (with user authorization support) start with a simple, prescriptive application structure, a pleasant look that is very easy to change, even for a developer.
File → New Project → Silverlight Business Applications

Hit F5
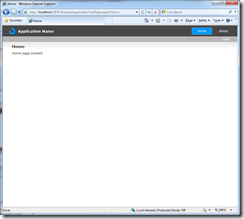
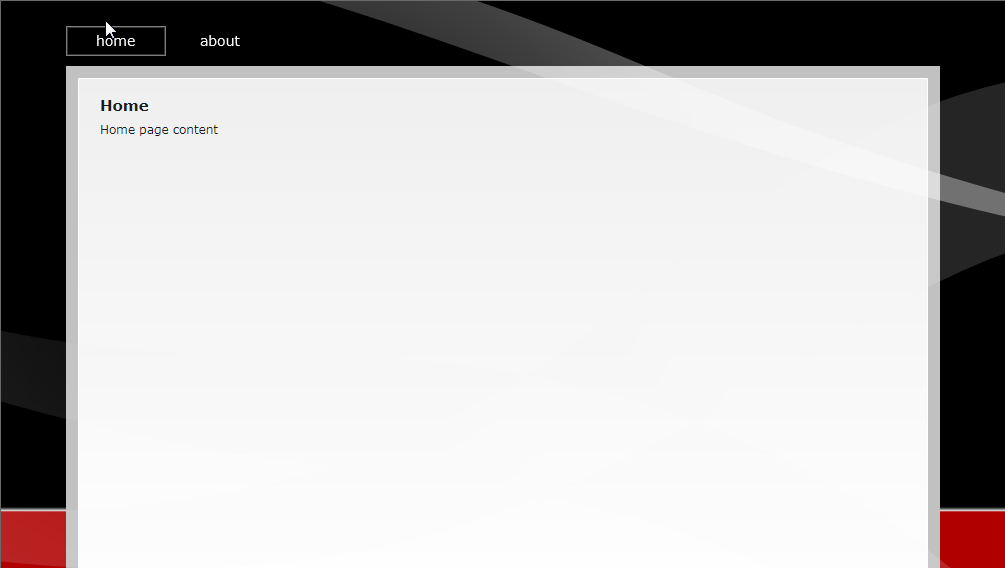
Note, this is a full-sized application. Focus on navigation links (Home and About)
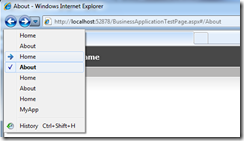
Did you notice? Back and Forward work great in the browser.

We have deep links that we can send via email, IM, post to a blog and the user gets to the desired point of the application.
And it makes no difference which browser he uses ...
Of course, even good programmers sometimes make mistakes: non-existent links, unhandled exceptions. The Navigation Application Template makes it easy to fix this problem. Try typing the wrong URL.

And now let's look at the ability to customize everything for themselves.
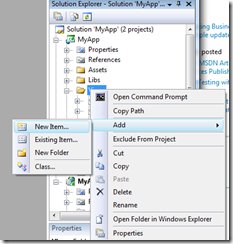
To begin, create a new page.
Right-click on Views in the project → Add New Item → Silverlight Page

Add your text.
Link this page to the main navigation menu. In MainPage.xaml, we add a new button, observing the format of the previous buttons.
Taking this opportunity, let's make changes to the error window template. Open Views \ ErrorWindows.xaml. You can change the format, send an error back to the server, or change the error text that the user sees.
Change the title in the application. Go to MainPage.xaml, change the “Application Name” to whatever you need.
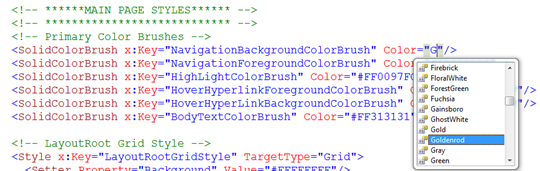
In conclusion, let's change the colors that match the colors of your company. Open the Styles.xaml file in the Assets folder. It’s quite easy for a developer to change styles as they are in one file.
Push F5 and see what happened.


I chose not the best color, so we offer a lot of templates.
Aurora (also available for the RIA Services Template ):
Frosted Cinnamon Toast:

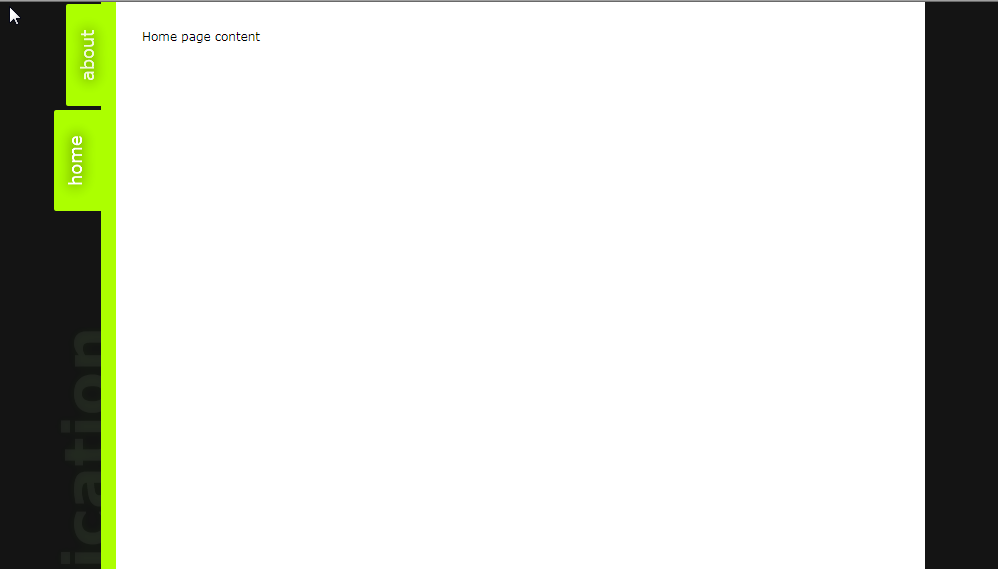
Lime Shocker (also available for the RIA Services Template ):
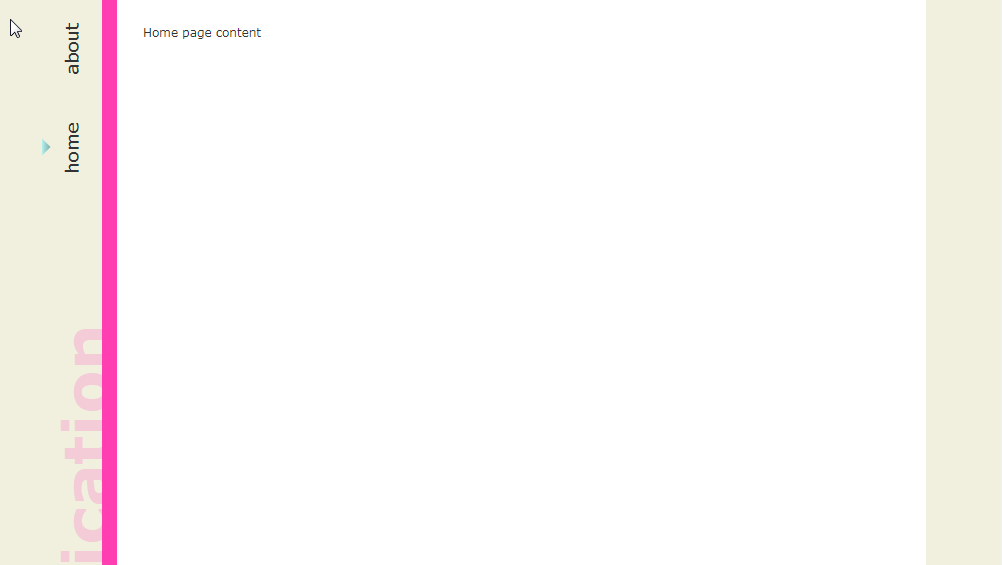
Pinky (also available for the RIA Services Template ):
Retro
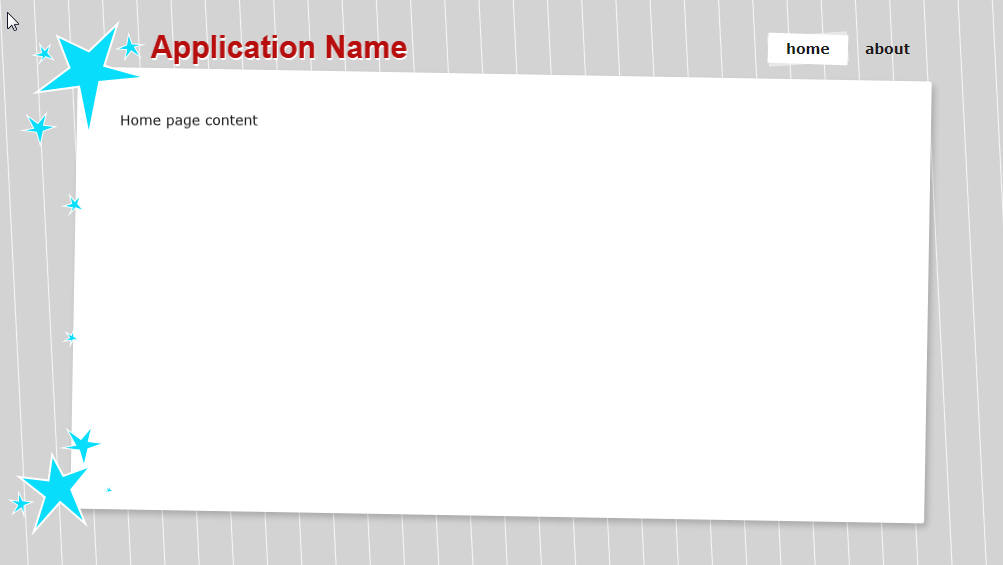
Skyline

Subdued
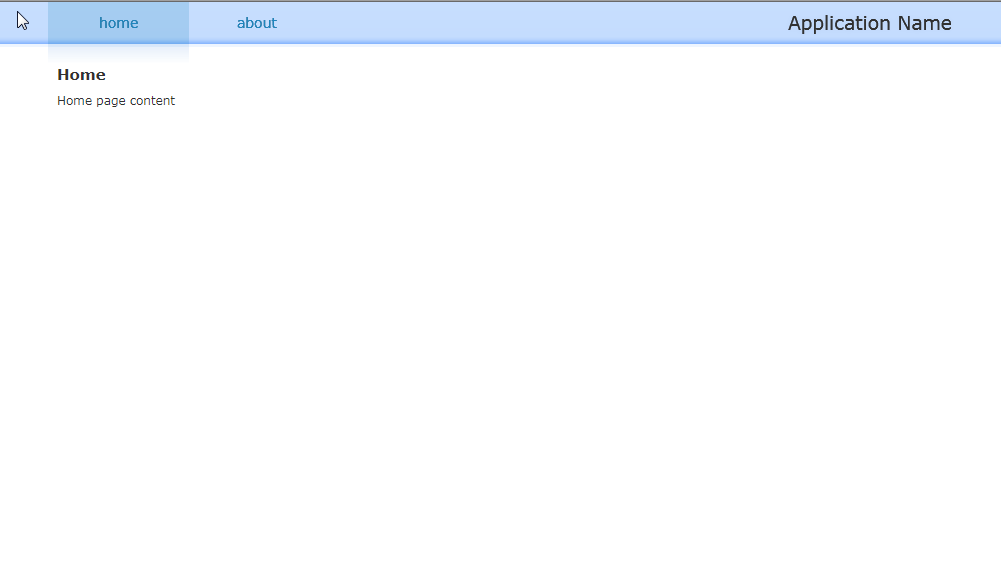
File → New Project → Silverlight Business Applications
Hit F5
Note, this is a full-sized application. Focus on navigation links (Home and About)
Did you notice? Back and Forward work great in the browser.
We have deep links that we can send via email, IM, post to a blog and the user gets to the desired point of the application.
And it makes no difference which browser he uses ...
Of course, even good programmers sometimes make mistakes: non-existent links, unhandled exceptions. The Navigation Application Template makes it easy to fix this problem. Try typing the wrong URL.
And now let's look at the ability to customize everything for themselves.
To begin, create a new page.
Right-click on Views in the project → Add New Item → Silverlight Page
Add your text.
< TextBlock Text ="Hello World!" ></ TextBlock >
Link this page to the main navigation menu. In MainPage.xaml, we add a new button, observing the format of the previous buttons.
< Rectangle Style ="{StaticResource DividerStyle}" />

< HyperlinkButton Style ="{StaticResource LinkStyle}"
NavigateUri ="/MyFirstPage"
TargetName ="ContentFrame"
Content ="my page" />
Taking this opportunity, let's make changes to the error window template. Open Views \ ErrorWindows.xaml. You can change the format, send an error back to the server, or change the error text that the user sees.
< TextBlock x:Name ="IntroductoryText" Grid . Row ="0" Margin ="0"
Text ="An unknown error was encountered. Please contact ScottGu anytime day or night (123) 332-9801 for more information."
Width ="398" TextWrapping ="Wrap" HorizontalAlignment ="Left" />
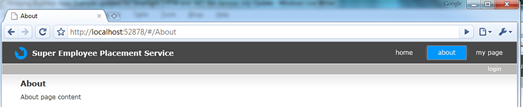
Change the title in the application. Go to MainPage.xaml, change the “Application Name” to whatever you need.
< TextBlock x:Name ="IntroductoryText" Grid . Row ="0" Margin ="0"
Text ="An unknown error was encountered. Please contact ScottGu anytime day or night (123) 332-9801 for more information."
Width ="398" TextWrapping ="Wrap" HorizontalAlignment ="Left" />
< TextBlock x:Name ="ApplicationNameTextBlock" Style ="{StaticResource ApplicationNameStyle}"
Text ="Super Employee Placement Service" />
In conclusion, let's change the colors that match the colors of your company. Open the Styles.xaml file in the Assets folder. It’s quite easy for a developer to change styles as they are in one file.
Push F5 and see what happened.
I chose not the best color, so we offer a lot of templates.
Aurora (also available for the RIA Services Template ):
Frosted Cinnamon Toast:
Lime Shocker (also available for the RIA Services Template ):
Pinky (also available for the RIA Services Template ):
Retro
Skyline
Subdued
')
Source: https://habr.com/ru/post/67458/
All Articles