Installing Web Optimizer version 0.5
 Not so long ago, version 0.5 (RC3) of an application for automatic website acceleration was released - Web Optimizer . Since three months have passed since the previous installation manual was written, the interface and logic of the application have changed significantly (they have become simpler and clearer), it is worth highlighting the installation process again, in a new form and with new details.
Step 1: archive download
Web Optimizer comes in two versions: a ZIP archive and a mini installer. To download the first option, go to code.google.com/p/web-optimizator/downloads/list and select Featured version 0.5 or higher.
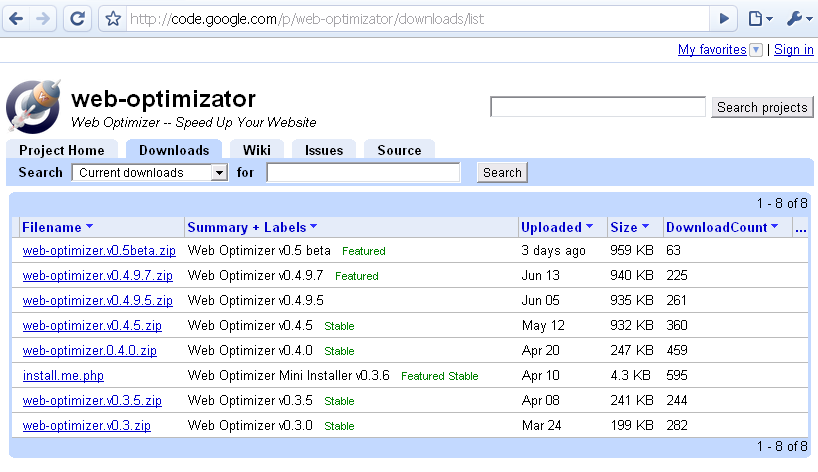
Download the ZIP archive to the root of the site. If the site has SSH access, then you can simply use wget:
wget http://web-optimizator.googlecode.com/files/web-optimizer.v0.5beta.zip
Then, the resulting archive will need to be unpacked to the root to make the web-optimizer folder.
')
If there is only FTP access to the site, we first upload it to a local disk, then unpack it, and then (for example, via FAR) copy it to the root of the site.
If there is no desire to download the unpacked archive to the server (or unpack the downloaded archive on the server), there is a version of the mini-installer, which (if there is
curl on the server) will download everything and start the installation. To do this, download only the file install.me.php to the root of the site and open it in the browser.After all the necessary files are on the site, then you need to set write permissions for at least the
web-optimizer/config.php and (optionally) the web-optimizer/cache folder for the user running the server. Otherwise, settings and cached versions of compressed files cannot be saved. If desired, the caching folder may be different (more on this below), so it will only be necessary to set permissions on the configuration file.Step 2: Setup
Go to the browser at
http: //your_site/web-optimizer/index.php
Instead of a
web-optimizer can be an arbitrary directory in which the Web Optimizer is located. We see the welcome screen from Web Optimizer. If you don’t see it, then you should double-check where the Web Optimizer was copied, and go to that folder.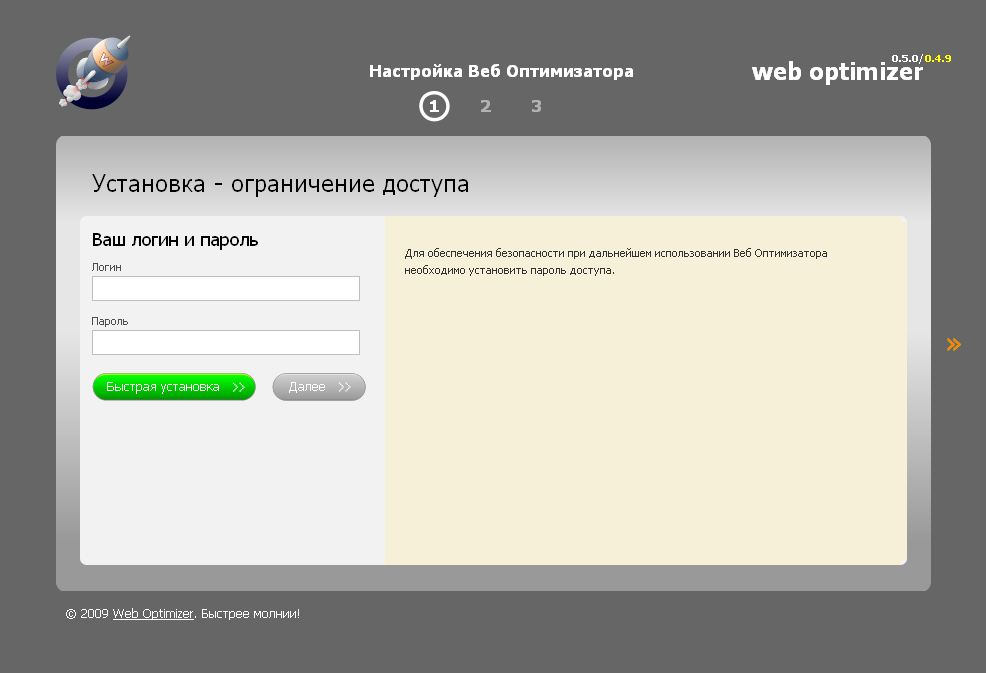
There are 2 possible scenarios:
- Quick install
- Normal installation
Quick install

To start a quick installation, enter the future login and password for access to the administrative part and press the green button “Quick installation”. After that, Web Optimizer computes directories on the server, saves all default settings and performs chain optimization for the main page: it creates cached versions of compressed files. Only then, if the files (usually only the root
index.php , depends on the used CMS) are available for recording, they are automatically changed.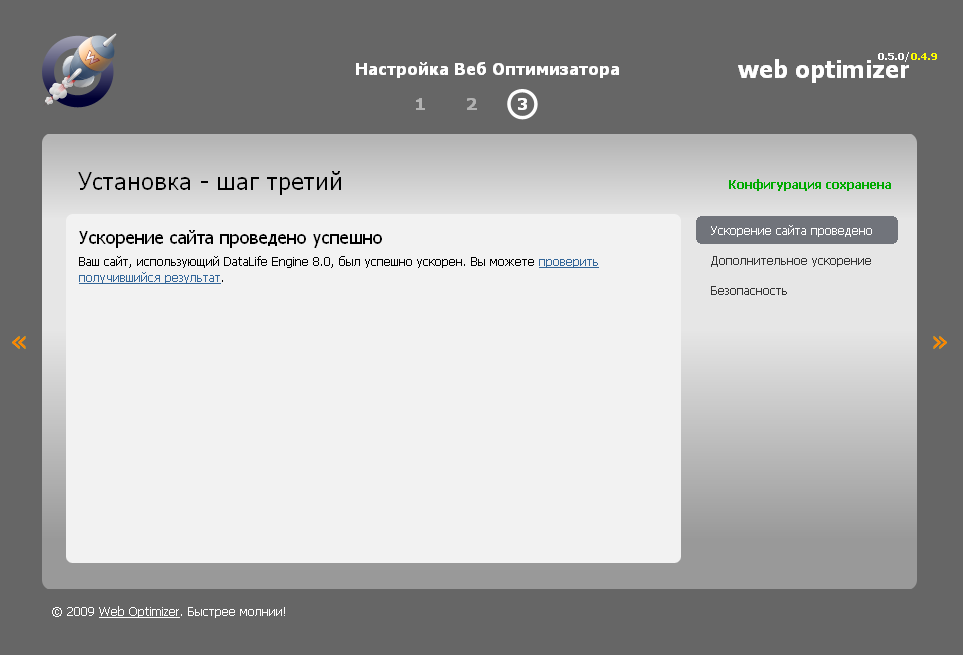
Otherwise, Web Optimizer will display instructions for modifying these files.
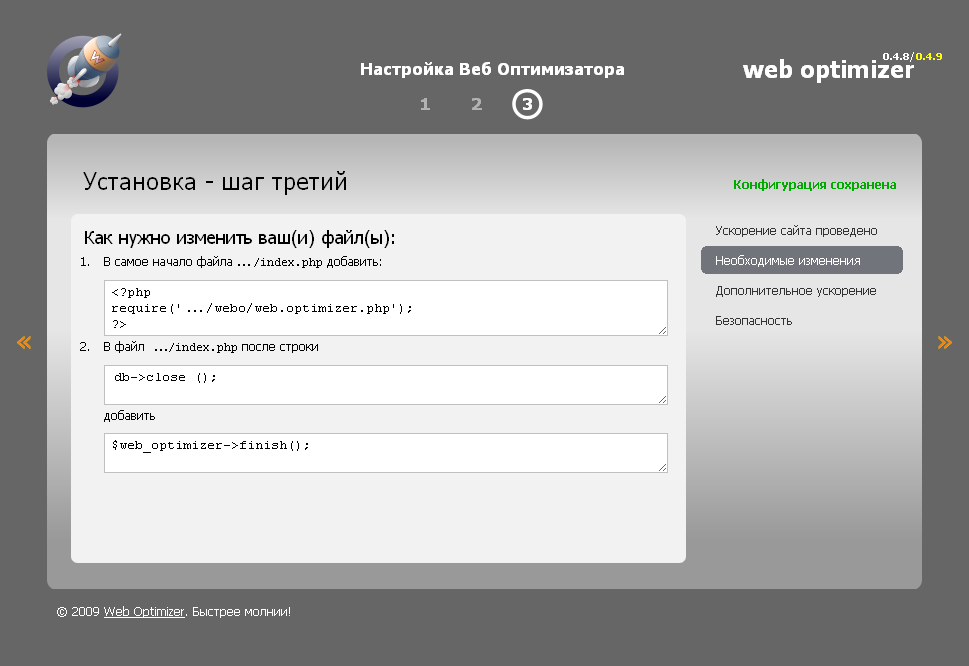
Normal installation
A typical installation differs from a quick one only by the presence of an intermediate step with editing settings. You can start it by clicking on the “Next” button, the number 2 or 3 in the top menu or the orange arrows on the right.
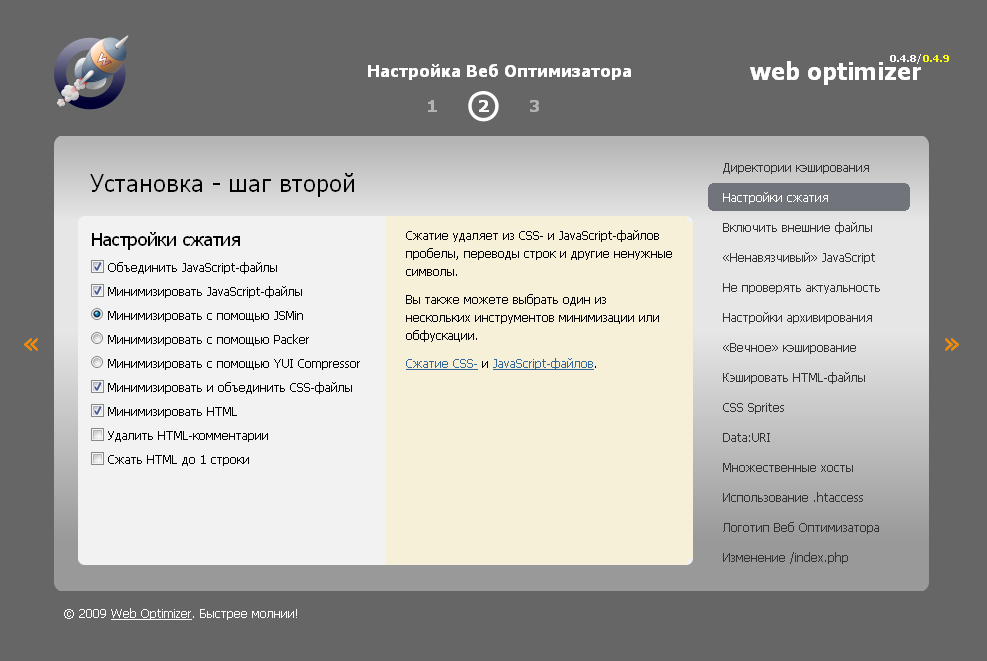
All the settings and their features are described in detail in the corresponding article . First of all, you need to make sure that the calculated paths are correct. You can also set arbitrary caching directories: this will be necessary when the “Protected mode” setting is enabled (located in the “Using
.htaccess ” section). After this setting, the password when accessing Web Optimizer will be requested only via HTTP Basic Authorization. Additionally, it is not required to enter it. However, the files that are inside the folder with Web Optimizer will not be accessible to regular users, so the caching directories need to be moved from it.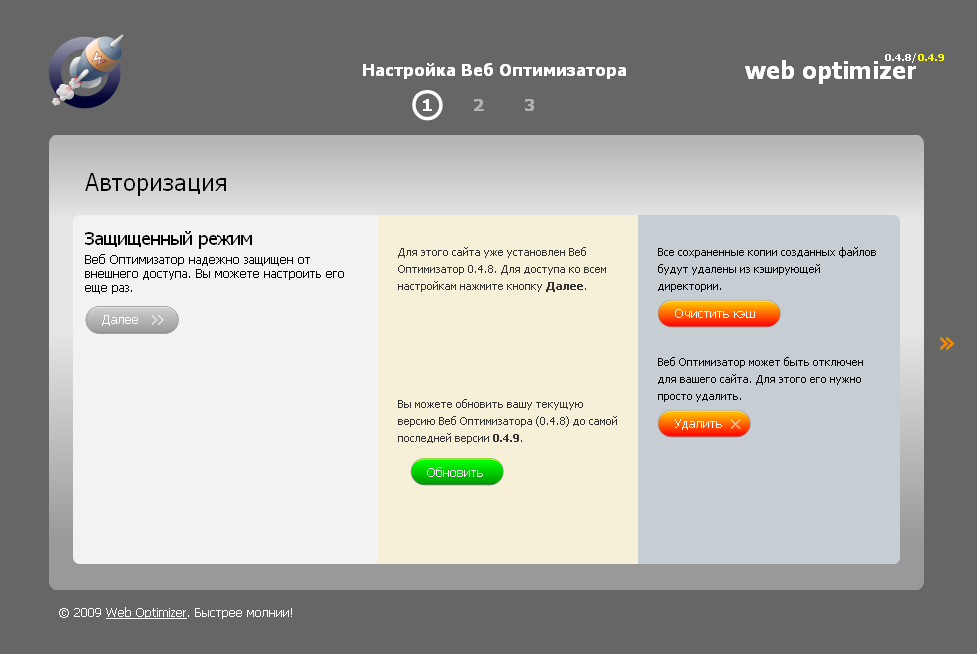
Step 3: Manage
In Web Optimizer version 0.5, several tools are available for managing the application.
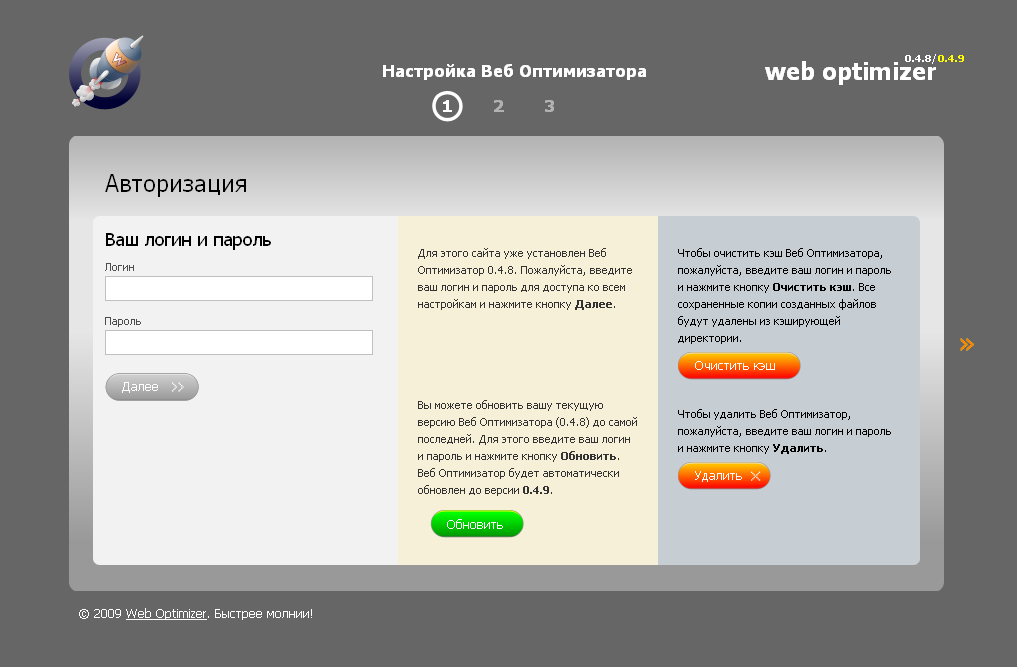
First, it is the configuration of all settings (hereinafter, when working in a non-secure mode, you will need to enter a login and password), which can be done using the “Next” button (or clicking on numbers 2 or 3 or the orange arrow on the right). Secondly, this is clearing the cache (it will be necessary if you made a change of any CSS or JS files on the server when the Do not check file modification time setting is enabled) - the Clear Cache button. Thirdly, this is the ability to safely remove Web Optimizer (all the calls added to the CMS files will be deleted, and the
.htaccess file will be cleared of optimization directives) - the Delete button.In the presence of
curl on the server and the existence of a newer version than the current one, it will be offered to update (a block will appear with the Update button). When updating, all initial settings will be saved. Some new ones may also be added. In normal mode, the administration panel for Web Optimizer looks like this: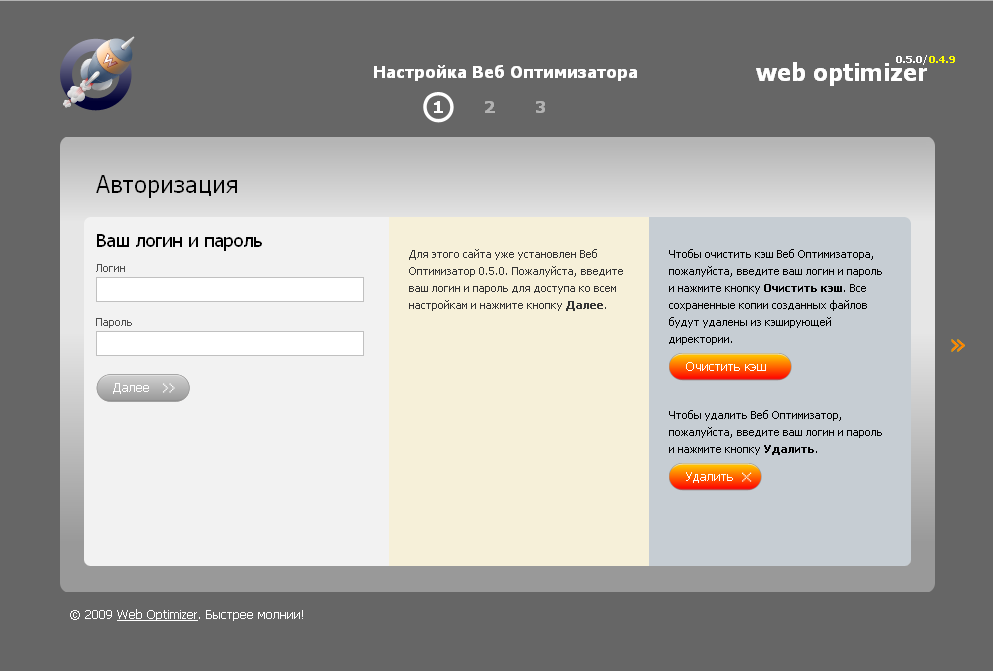
Problem solving
Some of the known problems and methods of solution have already been described in the previous article . If you have detected incorrect Web Optimizer behavior for your site, you can post a description of the error (Google account is required) or view all known (or resolved) issues . At the moment, the average time to solve a problem is about a day (usually several hours).
You can also try to solve the problem online, using the specified contacts .
Efficiency
Several results of using Web Optimizer (for a “clean” installation of the system, without any preliminary optimizations) are given here . The YSlow score rises to 89-97, the client download speed is 2-3 (less often 3-5) times. Web Optimizer itself after creating cached files spends only 3-10ms to check and update the output HTML document (with default settings, correct HTML compression into one line is quite a resource-intensive operation and can take another 50-100ms).
Download Web Optimizer code.google.com/p/web-optimizator/downloads/list
Source: https://habr.com/ru/post/62861/
All Articles