Around the badge for 80 days: on the other side OFFZONE
Hi, Habr! Last time we told how the OFFZONE 2019 international cyber security badge came out and what it is with. Today we will share behind-the-scenes stories: how we came to create it and what it cost us to invent and produce a series of 2000 devices. Chronology of events, the pitfalls of development, purchase, installation and other joys from the world of electronics under the cut. Go!
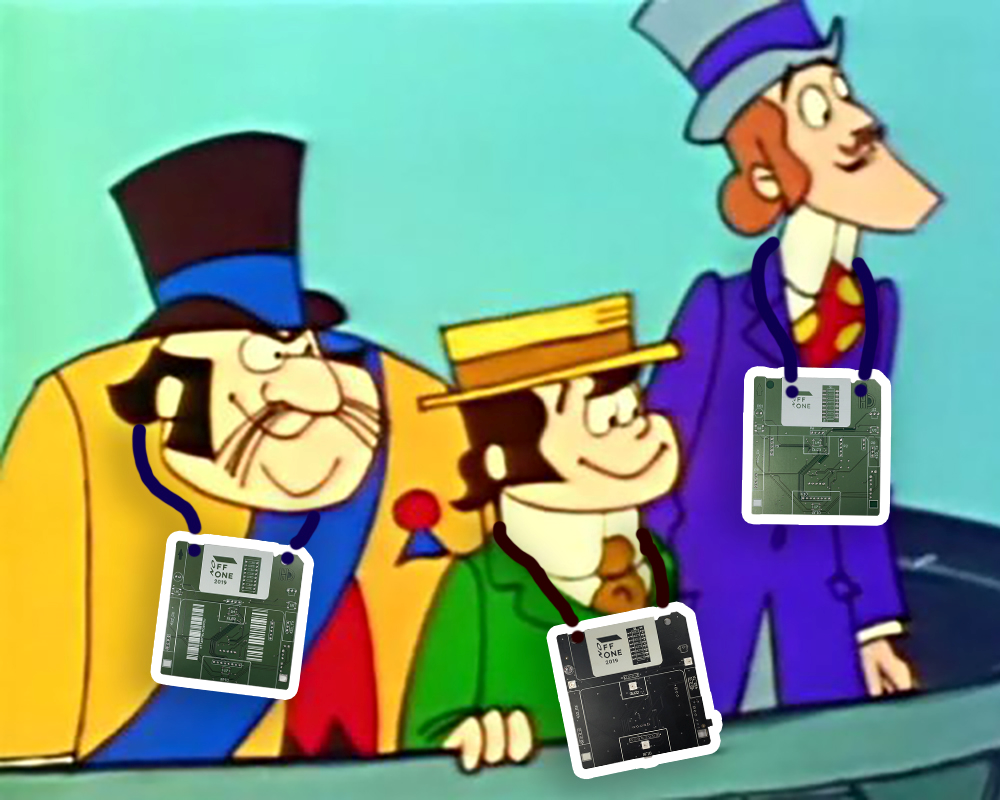
Each practical cybersecurity conference acquires interactive badges. In our case, the badge should at least serve as a wallet for the internal currency of the event - OFFCOIN.
Last year, a Java card handled this task, to which we screwed a few tasks, a game of tanchiki and a sokoban. The logical development of the badge-2019 seemed to be the same map, only now with NFC: here there is continuity, evolution, and a sea of ideas for assignments. And for her there is all the groundwork - this is important if in the first shift you are looking for vulnerabilities, and in the second you are organizing a conference.
')
We were slowly preparing for production when the news came from the hardware analysis laboratory: our colleagues will present at OFFZONE their overview of attacks on embedded systems . Photos of the prepared boards were filled in by working chats, in the corridors they discussed side-channel types, the hardware theme didn’t capture our economists. And we realized that for OFFZONE 2019 you need to file your own device.
So, we had 80 days before the start of the conference, a target of 2,000 devices and 2 electronics developers. Here is how this epic looked through the eyes of one of the developers.
The first thing we started off with was brainstorming with colleagues and giving us the badge concept. Among the ideas were a single-board with an interpreter of some BASIC on board, a badge business card with an E-ink display, something from the world of IoT devices based on ESP32 or a similar module, and a basic motherboard prepared in advance for retrofitting with additional modules.
We go, we drink coffee, we digest our thoughts. Weigh the pros and cons. We read tweeters and see what others are doing .
Spent another brainstorm.
The idea of a single board thrown. It was too expensive because of the abundance of components and installation: there would be more than 30 buttons alone. And no one would be surprised by such a device - The Supercon Badge and similar crafts are immediately remembered.
The business card with the E-ink display is also shallow: they could not find an interesting use for it and decide how to tie the potential tasks to the badge. And ESP32 somehow looked frivolous - we would have thought that we were just beginners! (Although I will return to the Arduino topic.). There remains the idea of a motherboard with the ability to retrofit it with modules for solving tasks.
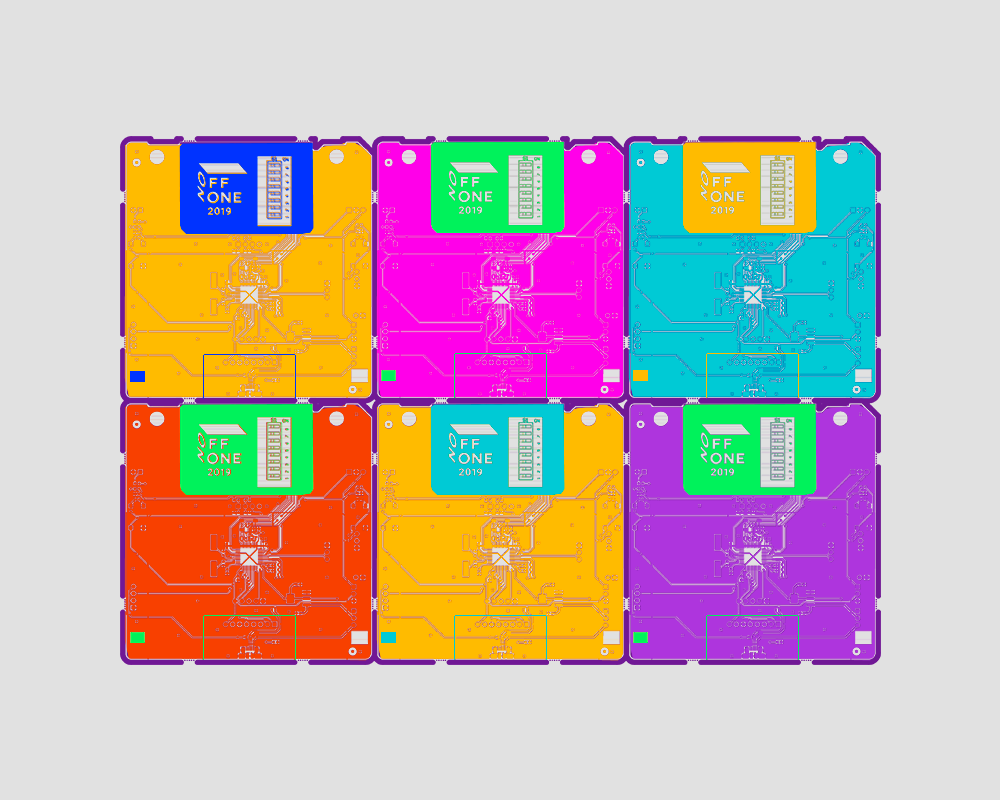
A couple of days polished the idea. In the end, we chose the shape of a 3.5-inch floppy disk, decided on the main functionality and body kits. As the latter, they took a DIP Switch for 8 switches, an OLED display, an IR receiver, an RFID transceiver of 13.56 MHz, and a separate receiver and transmitter of the 433 MHz band. The STM32F1 microcontroller was assigned to control this bitty zoo, as on the popular Blue Pill board.
At the same time, an idea arose to make a Craft.Zone pad on OFFZONE, where everyone can come in to smell the rosin and personally retrofit their badge with electronic components. The soldering zone is one more knight's move! Firstly, it is interesting and unusual for an industry conference, secondly, it will entice even beginners, and thirdly, we will speed up the installation of the final batch of devices. All parties win!
As a result, in the first weeks we approved the concept, main functionality and component base of the future device. Then the fun begins.
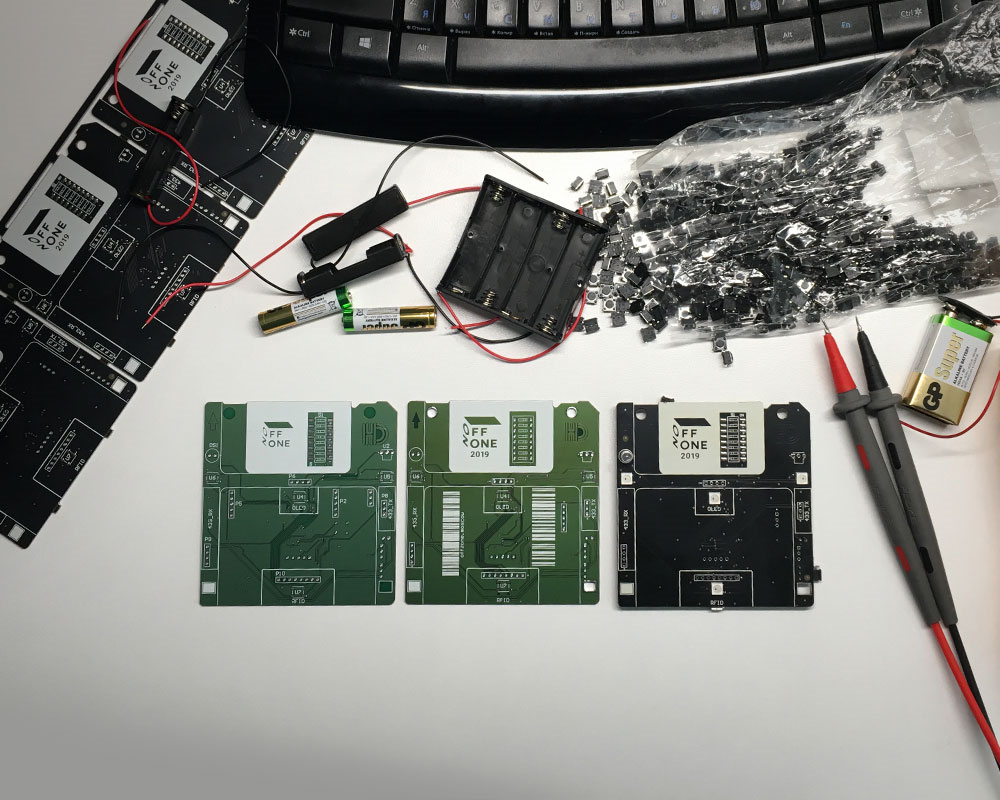
We managed to make a schemata, dilute, make and manually mount the first version of the badge board. At this stage, the choice of the power source turned out to be the most painful.
Obviously, the badge must be a standalone device. As a guarantor of this autonomy, a lithium-polymer battery of 0.5 Ah was suggested and the corresponding charge control system on a simple controller type TP4096. But did you try to buy a couple of thousand batteries in Moscow without a preliminary order, and even from a trusted manufacturer? We tried - we did not succeed. They did not dare to order from China: the battery is too important and a fire hazardous element, and our guests should have worn it around their necks. It was then that we returned to the good old batteries. Estimated consumption, conducted a series of simple experiments and stopped on the configuration of four AA-size batteries. They gave 16-20 hours of operation of the device, depending on the activity of use.
We broke our heads over writing the firmware. In other circumstances, we would write software using Eclipse (arm-none-eabi-gcc), Keil, IAR and other human and not very IDE. However, our team of volunteer developers for the most part consisted of forsenics and pentesters. It was unreasonable to hope that at leisure they quickly learn how to write firmware for embedded systems.
I promised that without arduina will not do? I did not lie! To simplify the software development process, we used the Arduino IDE. Fortunately, there is a good project STM32Duino , which out of the box implements an Arduinov bootloader for our target stone STM32F1, and the Arduino IDE supports it. In the latter there are most of the libraries we need to work with modules and other pleasures regarding high-level programming. Of course, not everything is so smooth with libraries, but you can live. To adapt most of them under the STM32, it is enough to rewrite platform-specific functions - and that’s all. But to edit the library code is almost like inserting quotes!
And now the first version of the board is ready. She came out green, without the necessary milled holes and practically did not work.
Most of the problems of the first version could have been avoided; we first assembled the main part of the circuit on the breadboard. We probably would have noticed that the receiver and transmitter require different input voltage ratings: 5 V for the receiver and 3–12 V for the transmitter (in the trial version, both modules were powered from 3 V). Would not have passed by and sleeping USB. Careful reading of the Blue Pill's circuit boards helped to understand that USB will not work until the USB_P line is pulled up by a 5–10 kΩ resistor to 5 V.
Because of the tight deadlines, we had to make compromises and work on the principle of not “measure seven times,” but “do-test-correct”. But it is only suitable for stress-resistant enthusiasts - we do not recommend repeating at home.
Fixed problems and produced a batch of badges v2.0. It is still green, but it almost works. This is what the hand is full of!
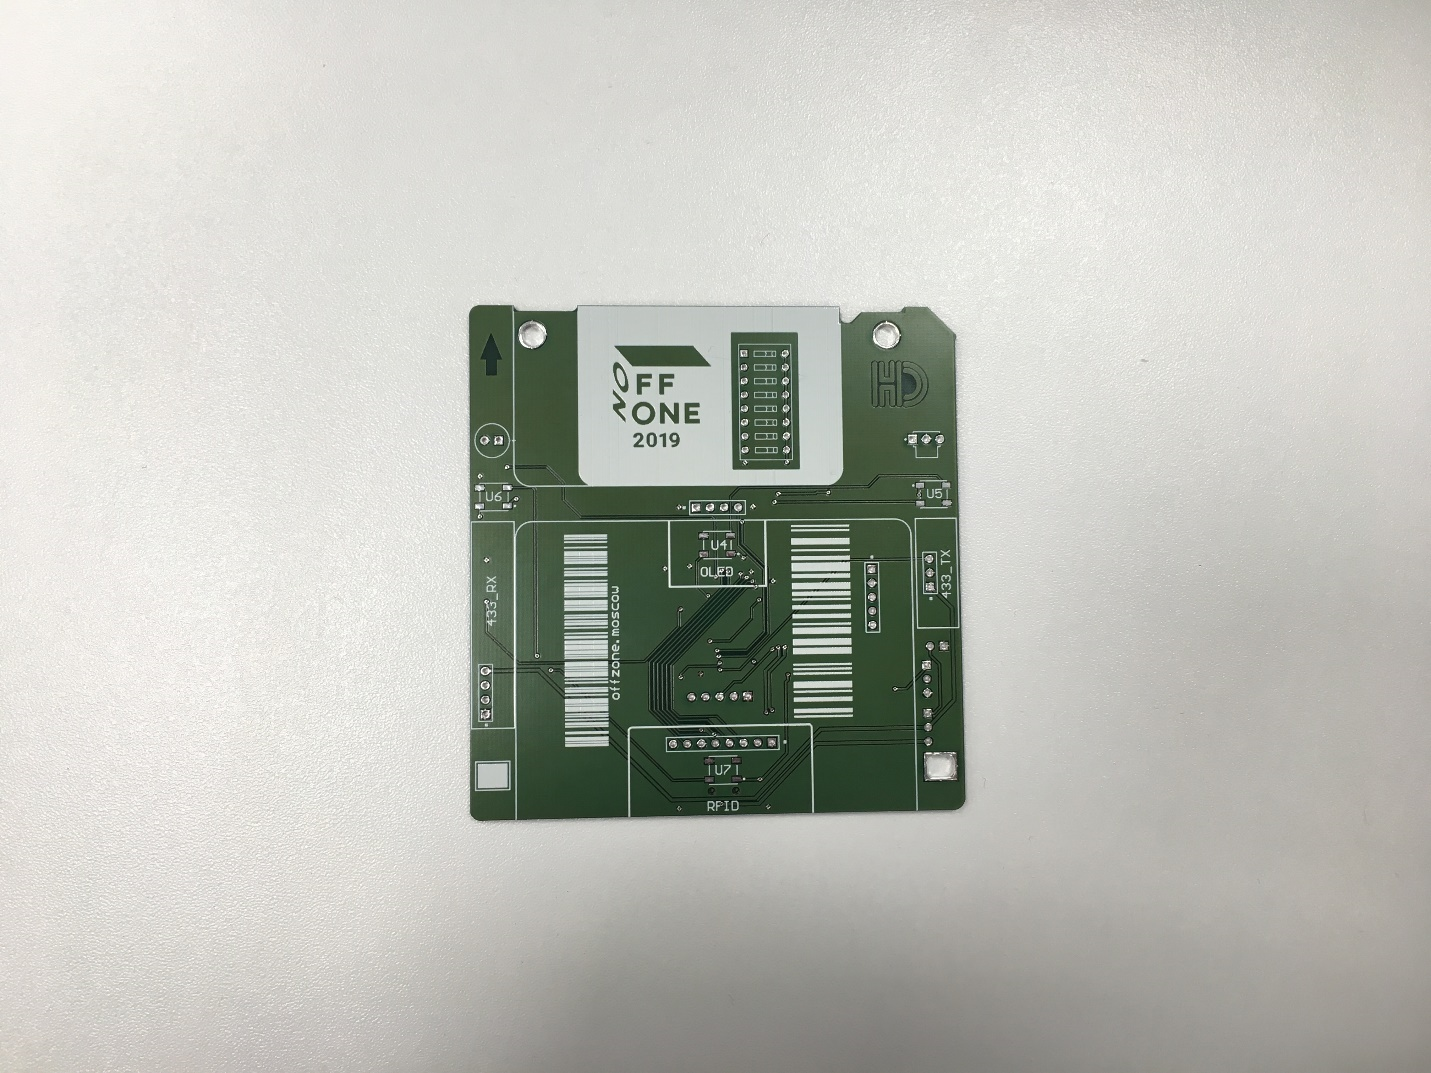
If you look at the photo of the badge, you will see two curved bar codes on the front side (yes, we know about the existence of QR codes, but decided that we want a warm lamp bar code). This was an unsuccessful attempt to place a link to the website with information about the conference and operating instructions. The barcode did not reach the final version: we could not decide how to arrange it so that it looked laconically on the board. In a smaller version, it was not read by the application on the mobile, and in the current size it looked too monstrous.
In the second version of the badge we corrected USB, corrected the connection of the modules, correctly created zones for milling. Also removed the extra components and most of the debug jumpers - but not all.
Note the location of the power and ground contacts
At the same stage, we started to purchase the main part of the components. For the badge only popular STM32F1, WS2812B and other consumer goods were required - we did not expect their deficit and therefore did not rush. But it turned out, everything is about scale. Buy 10 controllers in stock in Moscow is easy, 100 is also not a question. But with 1000 and more, difficulties begin. We did not manage to find a single seller in the capital who, for sane term and adequate money, would have delivered 2000 MK STM32F1. I had to order from Yekaterinburg!
The same difficulties arose with the purchase of 8,000 WS2812B LEDs. The latter flew to us from the European warehouse and lingered at the customs, which was great for our nerves.
The only thing that got a little blood - these are passive SMD components like resistors and capacitors of size 0603. Here they were in bulk in warehouses of Moscow.
Looking ahead, I will say that all the components managed to get in 3-4 weeks. But this is luck, we will not risk it anymore.
Party v3.0. The badge is already black and fully functional! There is only ma-a-a-scarlet nuance. Somehow, from the first version of the badge, there was an error in the location of the power and data contacts on the 433 MHz transmitter.
Because of this error, our colleague who wrote a task on the radio almost turned gray. His transfer on the arduino makette confidently worked for about 30 meters, but on the badge it’s good if it was half a meter from the board. A few days, until we found a bug in the layout, a colleague suffered and did not understand what was happening. Fedor, forgive us! Although a mystery why the device with the tangled pins worked at all ?!
So, they found a bug, fixed two tracks on the board, for convenience, changed the miniUSB connector to microUSB, crossed themselves, ordered a final v7.1 for 2000 pieces.
We walk, worry for the supply of components from different parts of the world. Along the way, the guys finish their task.
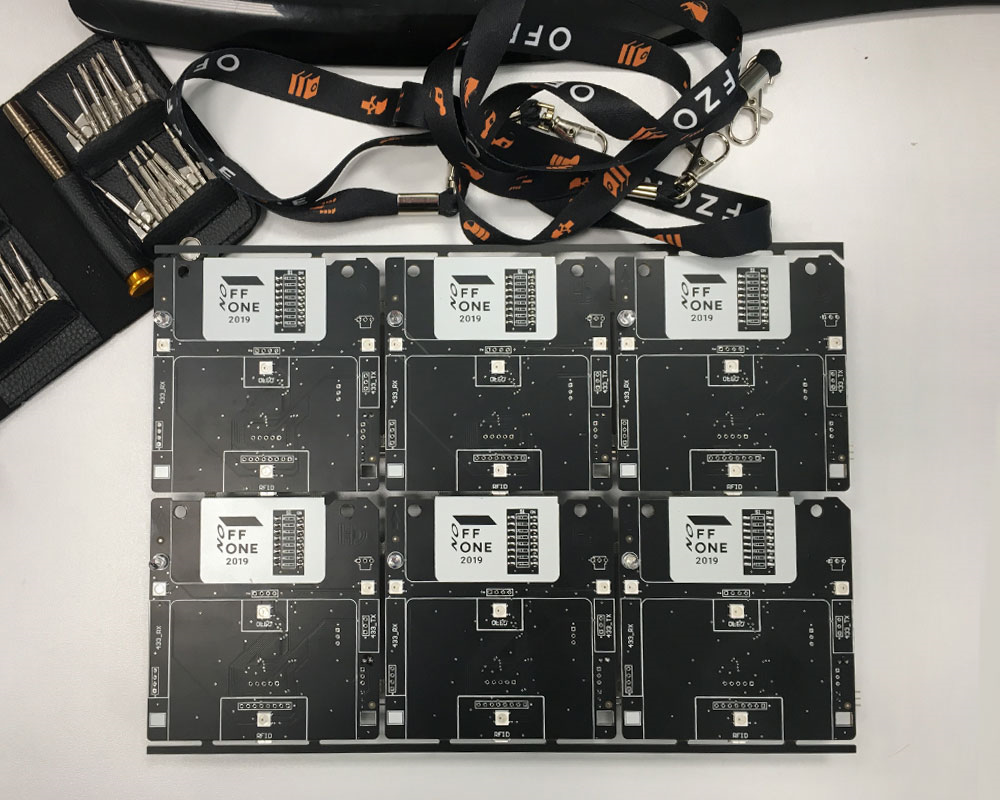
Boards came, components came, we give to installation! We worked with the "M-board", which mounted all 2000 devices in a week.
We take away trial 12 boards from installation, we check, we exhale: everything works as it should.
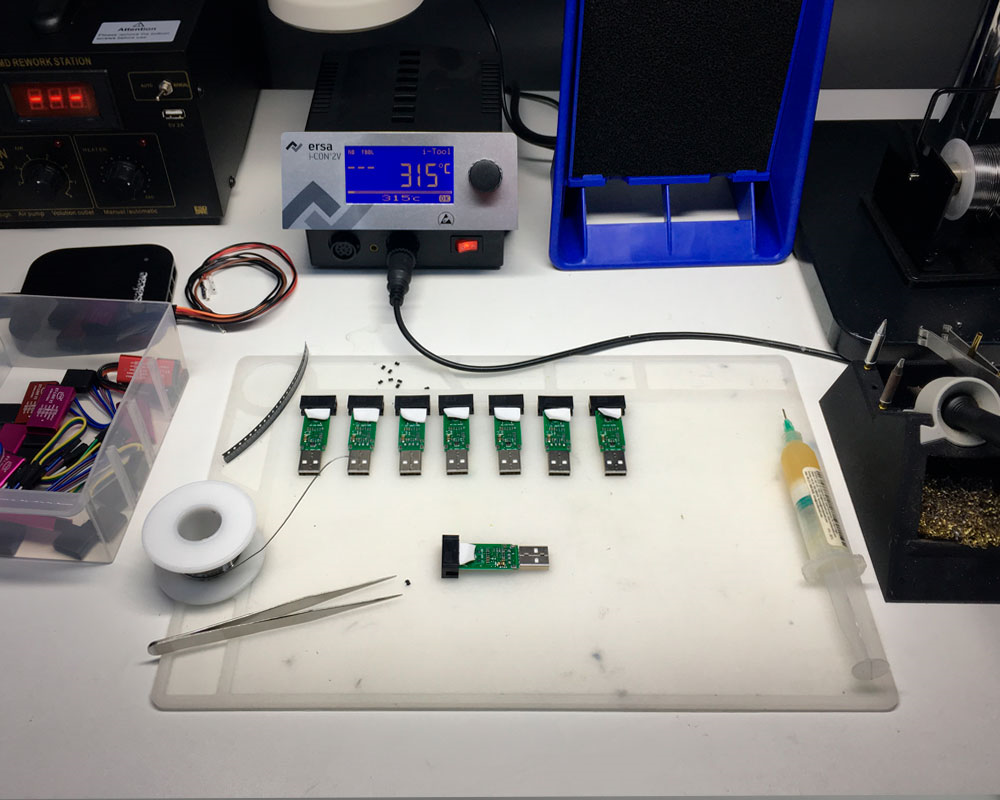
We are actively completing the task, and at the same time we are preparing for the final overcoming of common sense. After all, all 2000 devices we have to flash manually. To simplify the combat task, they wrote a pit-script using the console version of the STM32 utility ST-LINK Utility and prepared two dozen cheap ST-Link v2.
We pick up the boards from the installation, turn off mobile phones, lock ourselves in the office and fill in all 2000 devices in the evening.
There is joy on our faces, but thoughts are already far away. What will be the badge next year? Will we fix the idea with E-ink or invent something completely new? Let's return to the concept of plastic cards or we will be inspired by the Olympics in Tokyo and write down the paper badge-origami? If you have fresh ideas, go to the comments: it is possible that some of the cyber security experts from different countries of the world will hang on their necks in a year!
OFFZONE 2019 passed a month ago, but we are still being asked the questions "can we somehow get a badge fee." Yes you can! 100 badges will go to those who have time to write an e-mail to info@offzone.moscow . Ship to Russia and the CIS. The event will last two weeks from the date of publication of the article and closes exactly on August 2 at 13:37 Moscow time.
Each practical cybersecurity conference acquires interactive badges. In our case, the badge should at least serve as a wallet for the internal currency of the event - OFFCOIN.
Last year, a Java card handled this task, to which we screwed a few tasks, a game of tanchiki and a sokoban. The logical development of the badge-2019 seemed to be the same map, only now with NFC: here there is continuity, evolution, and a sea of ideas for assignments. And for her there is all the groundwork - this is important if in the first shift you are looking for vulnerabilities, and in the second you are organizing a conference.
')
We were slowly preparing for production when the news came from the hardware analysis laboratory: our colleagues will present at OFFZONE their overview of attacks on embedded systems . Photos of the prepared boards were filled in by working chats, in the corridors they discussed side-channel types, the hardware theme didn’t capture our economists. And we realized that for OFFZONE 2019 you need to file your own device.
So, we had 80 days before the start of the conference, a target of 2,000 devices and 2 electronics developers. Here is how this epic looked through the eyes of one of the developers.
80 days
The first thing we started off with was brainstorming with colleagues and giving us the badge concept. Among the ideas were a single-board with an interpreter of some BASIC on board, a badge business card with an E-ink display, something from the world of IoT devices based on ESP32 or a similar module, and a basic motherboard prepared in advance for retrofitting with additional modules.
79–65 days
We go, we drink coffee, we digest our thoughts. Weigh the pros and cons. We read tweeters and see what others are doing .
64–60 days
Spent another brainstorm.
The idea of a single board thrown. It was too expensive because of the abundance of components and installation: there would be more than 30 buttons alone. And no one would be surprised by such a device - The Supercon Badge and similar crafts are immediately remembered.
The business card with the E-ink display is also shallow: they could not find an interesting use for it and decide how to tie the potential tasks to the badge. And ESP32 somehow looked frivolous - we would have thought that we were just beginners! (Although I will return to the Arduino topic.). There remains the idea of a motherboard with the ability to retrofit it with modules for solving tasks.
A couple of days polished the idea. In the end, we chose the shape of a 3.5-inch floppy disk, decided on the main functionality and body kits. As the latter, they took a DIP Switch for 8 switches, an OLED display, an IR receiver, an RFID transceiver of 13.56 MHz, and a separate receiver and transmitter of the 433 MHz band. The STM32F1 microcontroller was assigned to control this bitty zoo, as on the popular Blue Pill board.
At the same time, an idea arose to make a Craft.Zone pad on OFFZONE, where everyone can come in to smell the rosin and personally retrofit their badge with electronic components. The soldering zone is one more knight's move! Firstly, it is interesting and unusual for an industry conference, secondly, it will entice even beginners, and thirdly, we will speed up the installation of the final batch of devices. All parties win!
As a result, in the first weeks we approved the concept, main functionality and component base of the future device. Then the fun begins.
59–50 days
We managed to make a schemata, dilute, make and manually mount the first version of the badge board. At this stage, the choice of the power source turned out to be the most painful.
Obviously, the badge must be a standalone device. As a guarantor of this autonomy, a lithium-polymer battery of 0.5 Ah was suggested and the corresponding charge control system on a simple controller type TP4096. But did you try to buy a couple of thousand batteries in Moscow without a preliminary order, and even from a trusted manufacturer? We tried - we did not succeed. They did not dare to order from China: the battery is too important and a fire hazardous element, and our guests should have worn it around their necks. It was then that we returned to the good old batteries. Estimated consumption, conducted a series of simple experiments and stopped on the configuration of four AA-size batteries. They gave 16-20 hours of operation of the device, depending on the activity of use.
We broke our heads over writing the firmware. In other circumstances, we would write software using Eclipse (arm-none-eabi-gcc), Keil, IAR and other human and not very IDE. However, our team of volunteer developers for the most part consisted of forsenics and pentesters. It was unreasonable to hope that at leisure they quickly learn how to write firmware for embedded systems.
I promised that without arduina will not do? I did not lie! To simplify the software development process, we used the Arduino IDE. Fortunately, there is a good project STM32Duino , which out of the box implements an Arduinov bootloader for our target stone STM32F1, and the Arduino IDE supports it. In the latter there are most of the libraries we need to work with modules and other pleasures regarding high-level programming. Of course, not everything is so smooth with libraries, but you can live. To adapt most of them under the STM32, it is enough to rewrite platform-specific functions - and that’s all. But to edit the library code is almost like inserting quotes!
Interesting fact. To implement the functionality of the badge, we used the following libraries:
- Adafruit_SSD1306 for OLED display,
- MFRC522 for RFID,
- RCSwitch for 433 MHz radio,
- irmp-master for IR transmitter.
And now the first version of the board is ready. She came out green, without the necessary milled holes and practically did not work.
Interesting fact. The prototypes of the board were ordered on “Rezonite” under the special program “We really need it yesterday,” components were purchased from retail stores in Moscow, and the installation was carried out on its own.
Most of the problems of the first version could have been avoided; we first assembled the main part of the circuit on the breadboard. We probably would have noticed that the receiver and transmitter require different input voltage ratings: 5 V for the receiver and 3–12 V for the transmitter (in the trial version, both modules were powered from 3 V). Would not have passed by and sleeping USB. Careful reading of the Blue Pill's circuit boards helped to understand that USB will not work until the USB_P line is pulled up by a 5–10 kΩ resistor to 5 V.
Interesting fact. Trying to reanimate the USB and poking an oscilloscope into the board, I was surprised to find out: although the supply voltage on it is 5 V, the data lines D + and D- pull up to 3.3 V. This is how you turn!
Because of the tight deadlines, we had to make compromises and work on the principle of not “measure seven times,” but “do-test-correct”. But it is only suitable for stress-resistant enthusiasts - we do not recommend repeating at home.
Council Do not neglect the design and carefully read the datasheets!
49–40 days
Fixed problems and produced a batch of badges v2.0. It is still green, but it almost works. This is what the hand is full of!
If you look at the photo of the badge, you will see two curved bar codes on the front side (yes, we know about the existence of QR codes, but decided that we want a warm lamp bar code). This was an unsuccessful attempt to place a link to the website with information about the conference and operating instructions. The barcode did not reach the final version: we could not decide how to arrange it so that it looked laconically on the board. In a smaller version, it was not read by the application on the mobile, and in the current size it looked too monstrous.
Interesting fact. The right barcode on the photo is working and contains an easter egg. Those interested can try to count it.
In the second version of the badge we corrected USB, corrected the connection of the modules, correctly created zones for milling. Also removed the extra components and most of the debug jumpers - but not all.
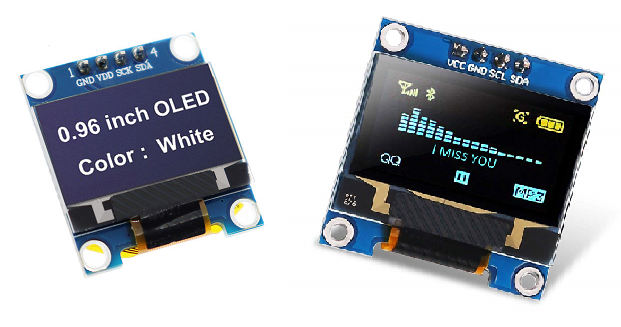
Interesting fact. I had to leave 0 Om jumpers for the display, since the I2C OLED displays with a diagonal of 0.96 inches have two pinouts that differ in the arrangement of the power and ground contacts. We could not say in advance which version of this display will come to us, and we had to provide both options.
Note the location of the power and ground contacts
At the same stage, we started to purchase the main part of the components. For the badge only popular STM32F1, WS2812B and other consumer goods were required - we did not expect their deficit and therefore did not rush. But it turned out, everything is about scale. Buy 10 controllers in stock in Moscow is easy, 100 is also not a question. But with 1000 and more, difficulties begin. We did not manage to find a single seller in the capital who, for sane term and adequate money, would have delivered 2000 MK STM32F1. I had to order from Yekaterinburg!
The same difficulties arose with the purchase of 8,000 WS2812B LEDs. The latter flew to us from the European warehouse and lingered at the customs, which was great for our nerves.
The only thing that got a little blood - these are passive SMD components like resistors and capacitors of size 0603. Here they were in bulk in warehouses of Moscow.
Interesting fact. Additional modules ordered 200 pieces of each type. They came from China - there was no closer number.
Looking ahead, I will say that all the components managed to get in 3-4 weeks. But this is luck, we will not risk it anymore.
Council If you have to buy components for 100, 500 or more devices, do not delay the task in the back box. With such series, set aside a month or more for purchase, especially if we are talking about microchips.
39–30 days
Party v3.0. The badge is already black and fully functional! There is only ma-a-a-scarlet nuance. Somehow, from the first version of the badge, there was an error in the location of the power and data contacts on the 433 MHz transmitter.
Because of this error, our colleague who wrote a task on the radio almost turned gray. His transfer on the arduino makette confidently worked for about 30 meters, but on the badge it’s good if it was half a meter from the board. A few days, until we found a bug in the layout, a colleague suffered and did not understand what was happening. Fedor, forgive us! Although a mystery why the device with the tangled pins worked at all ?!
So, they found a bug, fixed two tracks on the board, for convenience, changed the miniUSB connector to microUSB, crossed themselves, ordered a final v7.1 for 2000 pieces.
29–15 days
We walk, worry for the supply of components from different parts of the world. Along the way, the guys finish their task.
Interesting fact. During the development of the game Flappy Quote, one of the colleagues managed to drink the bot in about half an hour.
14 days
Boards came, components came, we give to installation! We worked with the "M-board", which mounted all 2000 devices in a week.
Council If you have 100 or more devices, forget about manual installation and get ready for an automatic one on the assembly line. Consider this when developing a PCB. (Check with the selected manufacturer - they can tell a lot. General recommendations are also available on the Resonit website .)
Council The PCB maker can often take over some of the work of preparing the board for automatic installation. In our case, the plant grouped several boards into one blank, created the necessary technical fields and plotted reference points on the boards, and also left all the technical documentation needed to prepare the assembly line in a third organization.
10 days
We take away trial 12 boards from installation, we check, we exhale: everything works as it should.
9–5 days
We are actively completing the task, and at the same time we are preparing for the final overcoming of common sense. After all, all 2000 devices we have to flash manually. To simplify the combat task, they wrote a pit-script using the console version of the STM32 utility ST-LINK Utility and prepared two dozen cheap ST-Link v2.
Council The boards could be flashed at the final assembly stage at the factory and without the heroic efforts of BI.ZONE personnel. We did not take advantage of this opportunity only because by the end of the build the final version of the software was not ready.
96 hours before the conference
We pick up the boards from the installation, turn off mobile phones, lock ourselves in the office and fill in all 2000 devices in the evening.
Interesting fact. Of the 2000 devices, signs of life did not submit only 2. The percentage of rejects at the c installation output is 0.1.
There is joy on our faces, but thoughts are already far away. What will be the badge next year? Will we fix the idea with E-ink or invent something completely new? Let's return to the concept of plastic cards or we will be inspired by the Olympics in Tokyo and write down the paper badge-origami? If you have fresh ideas, go to the comments: it is possible that some of the cyber security experts from different countries of the world will hang on their necks in a year!
Instead of conclusion
OFFZONE 2019 passed a month ago, but we are still being asked the questions "can we somehow get a badge fee." Yes you can! 100 badges will go to those who have time to write an e-mail to info@offzone.moscow . Ship to Russia and the CIS. The event will last two weeks from the date of publication of the article and closes exactly on August 2 at 13:37 Moscow time.
Source: https://habr.com/ru/post/460631/
All Articles