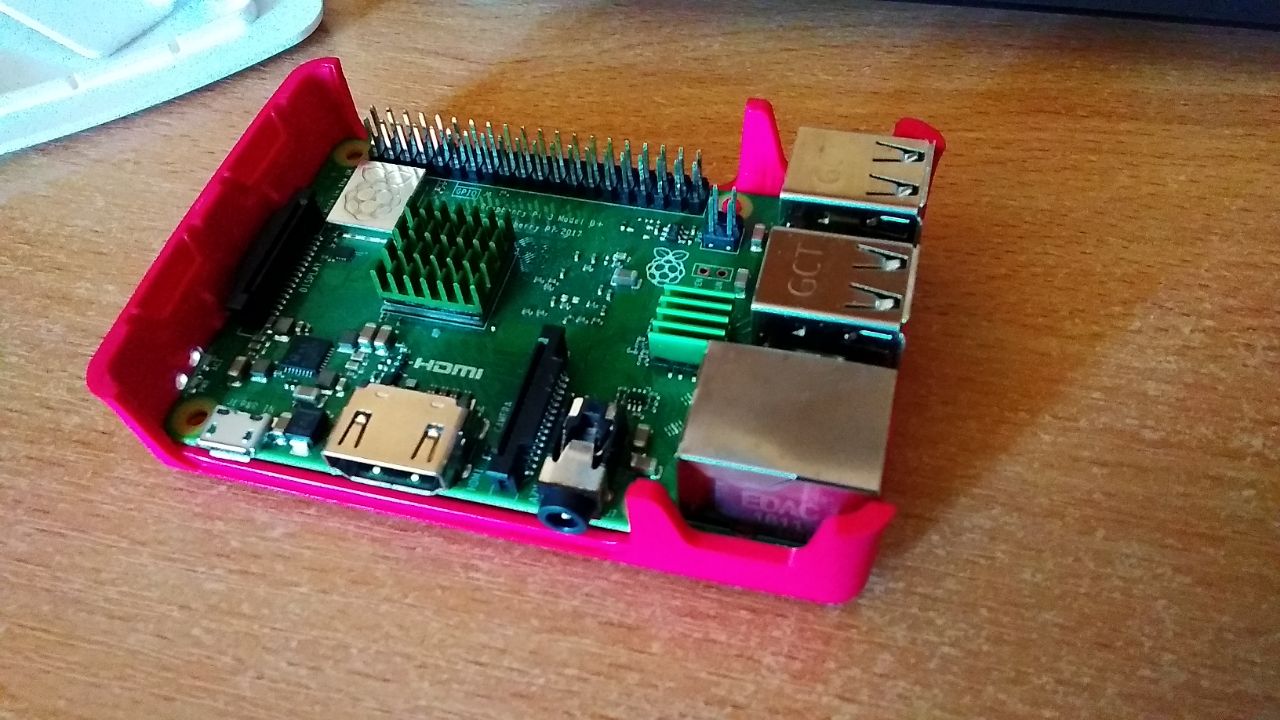
Wireless configuration Raspberry PI 3 B +

Hello,
A few months ago, I bought myself a raspberry, in order to practice in embedded-type development. I'm sure a lot of people familiar from Raspberry believe that for the initial launch of a microcomputer you need at least RJ45 or a monitor, a keyboard and a mouse (which is better). Today we will debunk this myth with the search query raspberry pi headless setup . For this we will use the Wi-Fi network and SSH protocol.
If you already have a card and an sd card, but there is no additional monitor or, especially, a cord for ethernet, then you need to make additional movements to successfully install the OS on your card and the possibility of using it.
- Select the desired OS (the list of available on the site ) , download the archive from the site (I used Raspbian)
- Install the OS on the USB flash drive . After unpacking the archive, you need to burn a disk image with the
imgextension to a formatted sd card (the card must have enough memory, in my case I used 16gb). You can use Etcher (works on all platforms), Win32DiskImager (for Windows) or any other utility for this. Create a file
wpa_supplicant.conf. Next you need to create a configuration file forwpa_supplicant, where we will specify the parameters of our wi-fi network.ctrl_interface=DIR=/var/run/wpa_supplicant GROUP=netdev update_config=1 country=UA network={ ssid="Your network name/SSID" psk="Your WPA/WPA2 security key" key_mgmt=WPA-PSK }You need to enter your data in the
ssid,psk,countryparameters. The file must be/boot/wpa_supplicant.confto the root of the boot drive in the boot section -/boot/wpa_supplicant.conf- Create
sshfile
to activate ssh access to our board you need to create an empty file/boot/ssh - We start OS on Raspberry PI
after the above, you can insert a USB flash drive into the board and supply power. - We are looking for our board in the local network
the board should connect to our local wi-fi network and we can detect it using Advanced IP Scanner (Windows) or nmap (Linuxsudo nmap -sP 192.168.100.0/24you need to use the ip address of your local network - you can find it out byifconfig) - Connect to Raspberry via SSH
after we know the address of our board in the network, we can use the ssh interface for remote connection. For Windows users, you can install PuTTY for Linux, we will usessh. Detailed instructions for connecting via PuTTY here . If you have Linux, then connect usingssh pi@192.168.100.103(we specify the address of our board). A password entry line appears - standardraspberrypassword - enter it and press enter.
That's all we have full access to the Raspberry OS. If suddenly you need a graphical interface, you need to search for VNC and RDP.
I hope it was useful!
')
Source: https://habr.com/ru/post/460503/
All Articles