Mobile stand for Chinese machines. Or how to place them in the apartment
Ladies and gentlemen, hello!
I decided to write this article after reading the comment in the article JavaScript programming for a lathe from QwertyOFF
And of course, show how I did it.
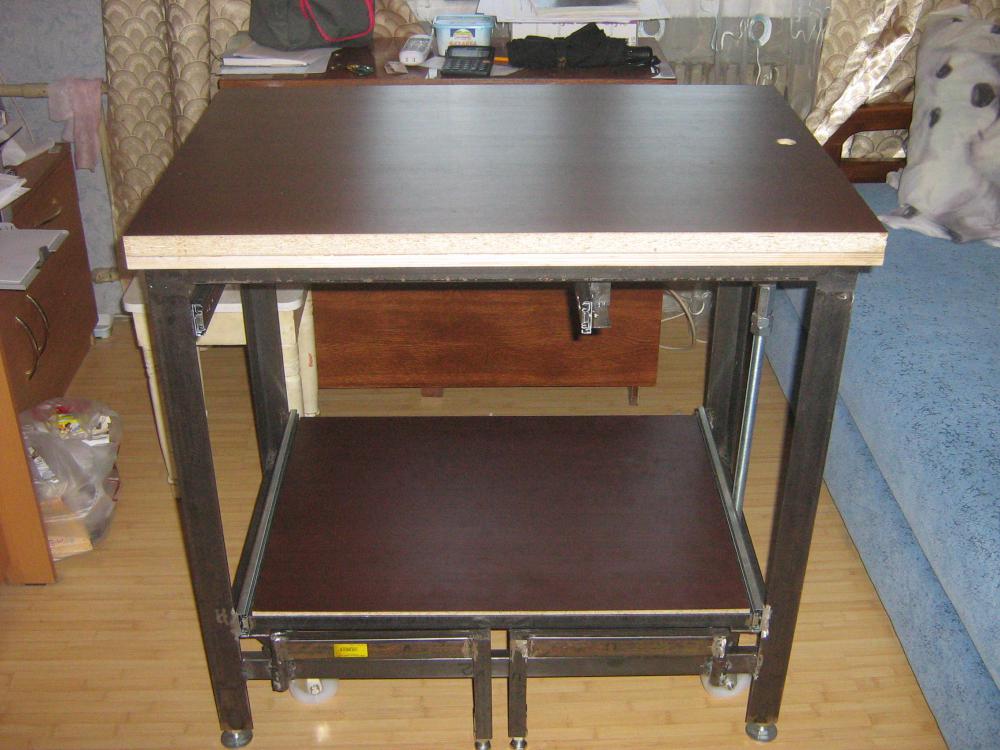
It will be a question of a welded curbstone, the highlight of which is its mobility - the curbstone together with the machines can be moved around the apartment.
')
This bollard was my first welded construction, so in some places blemishes are noticeable. Stand was made in 2015. and serves so far.
TTX:
Dimensions (on the table top ShhVhG): 870x860x590;
Maximum load when wheel bearings are released (dynamic): 400kg. (the seller stated that each wheel in the dynamics can withstand 100kg, i.e. 4 wheels = 400kg.)
Iron:
First, the upper part of the prof. pipes 60x40x4, the plane was plywood with cut corners, onto which, using clamps, pipes were attached and cooked. It turned out great (angles and geometry).
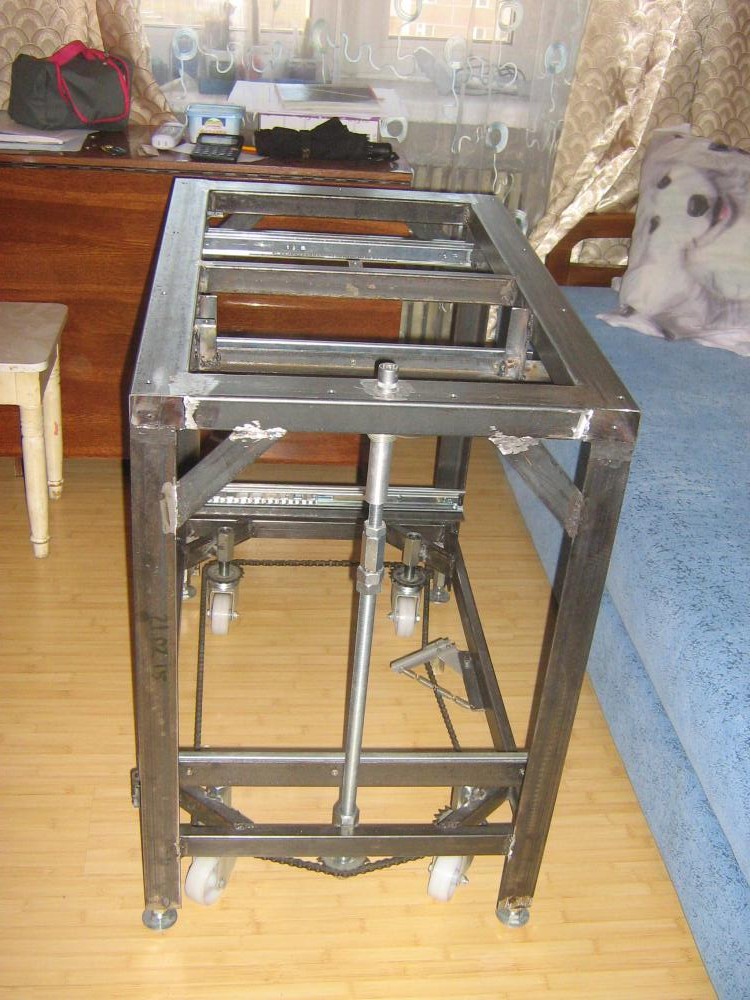
Next, it was necessary to weld the legs from the corner 50x50x5. It was a nightmare :) It was necessary to weld each leg, taking into account the angles on both sides and back to back. I did not have magnetic corners, and now I don’t. Therefore, I used iron bands + clamps to fix the leg at an angle of 90 degrees. Naturally, I first cooked with tacks and after aligning the corners, completely.
Next, cooked the lower frame already in place of prof. pipes 40x20x2.
Front view:

I think the pictures already understand how to raise / lower pedestals on the wheels.
Some details.
Asterisks and chain - bicycle.
"Gearboxes" for wheel bearings: connecting nuts + M20 stud. The diameter of the hole in the wheel support is 15 mm. Therefore, the diameter of the M20 stud on the wheel side has been reduced to threading M14. For every star, he dotted the body washer M14 (centering is not so important, but still trying to center in the center). The result: a stud + sprocket with a washer + wheel support + nut / counter-nut M14.
Feet: M20 bolts + body washers.
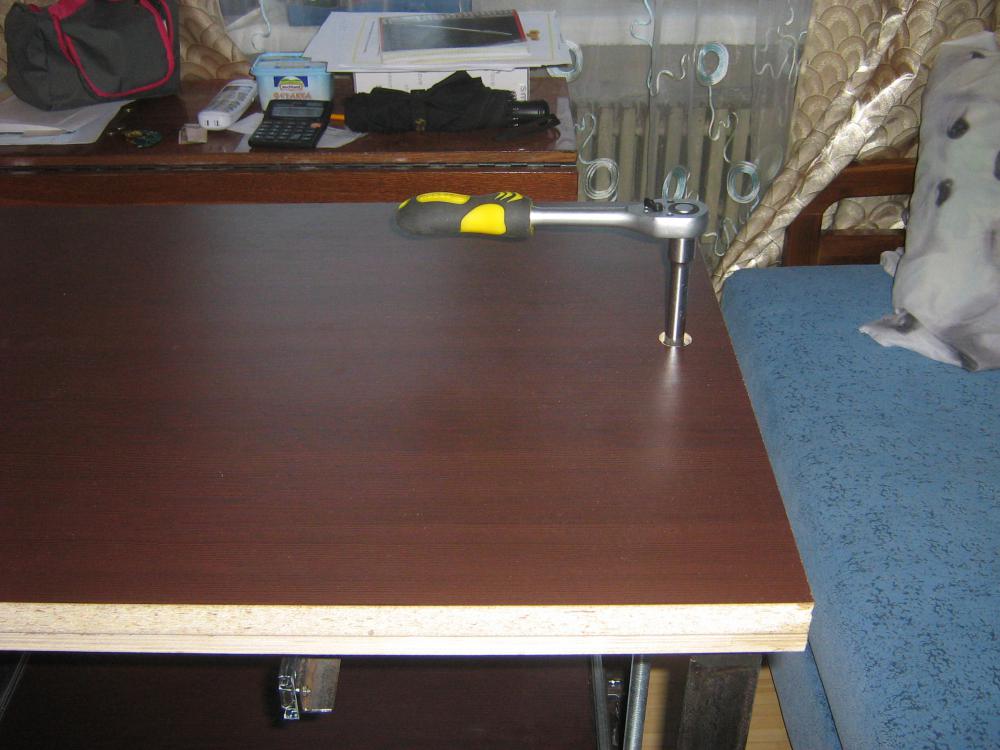
"Reducer":
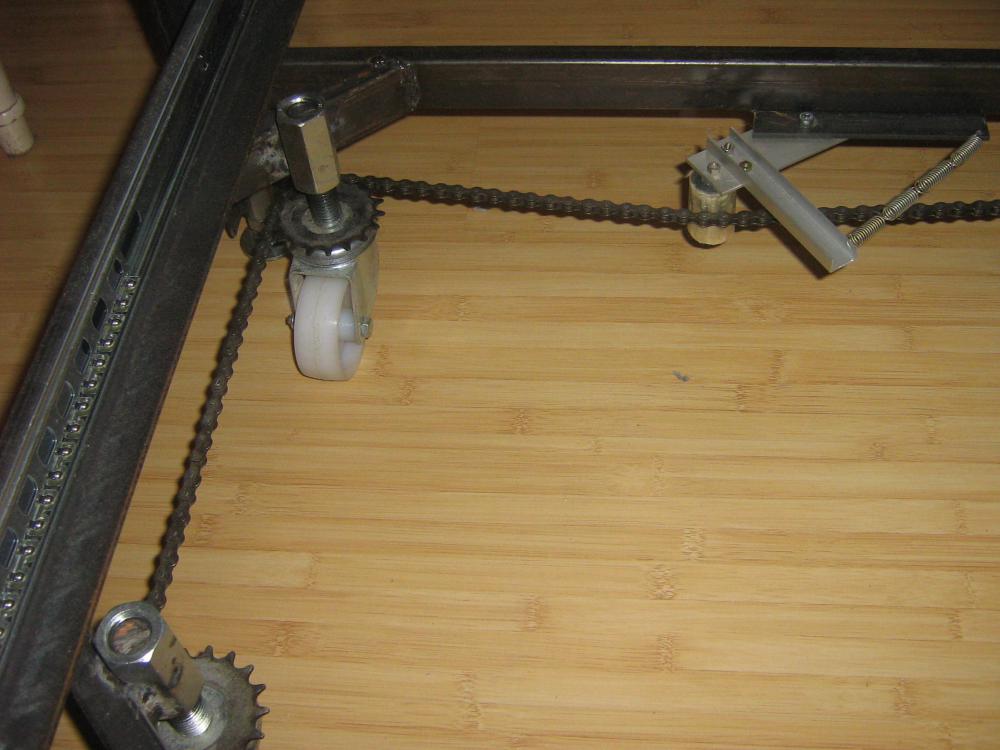

The stud that transmits the rotation had to be “reduced” to M16 in order to weld the top end of the socket for the key-ratchet on top (so that the diameter of the hole in the upper prof. Tube turned out to be less).
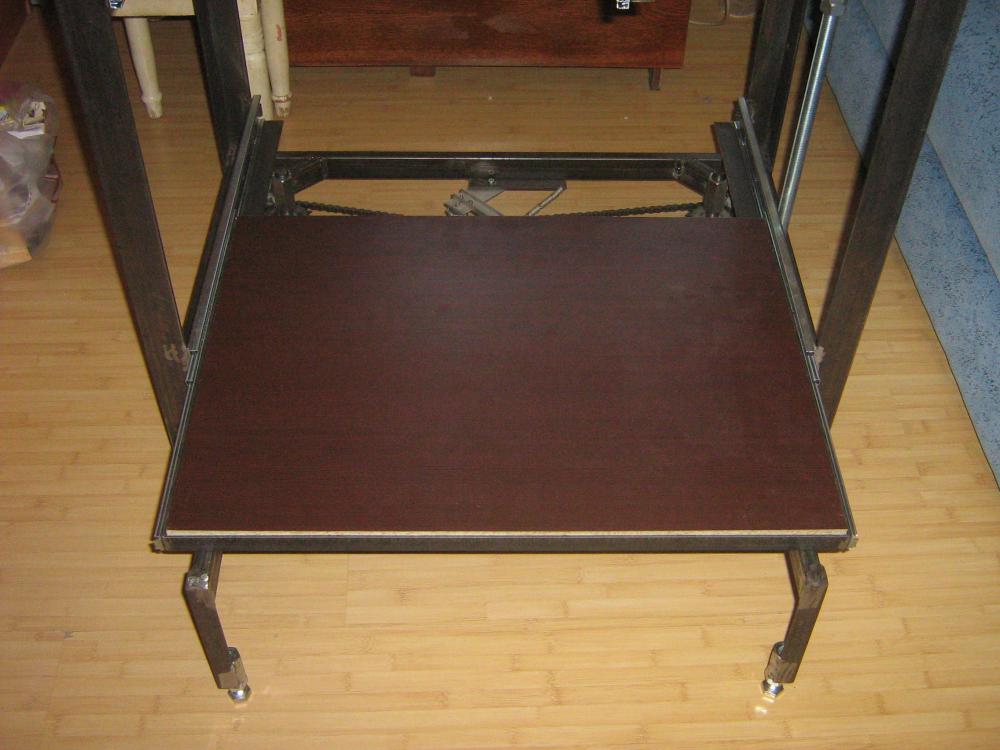
The bottom shelf is welded from the corners of 25x25x3, where the table top is 25 mm thick. The tabletop is attached to the corners with the help of furniture futorok 10x6 (top tabletop as well).
Lower shelf retractable (used ball guides full extension). I even stood on the bottom shelf and rode a bit - I stood :)

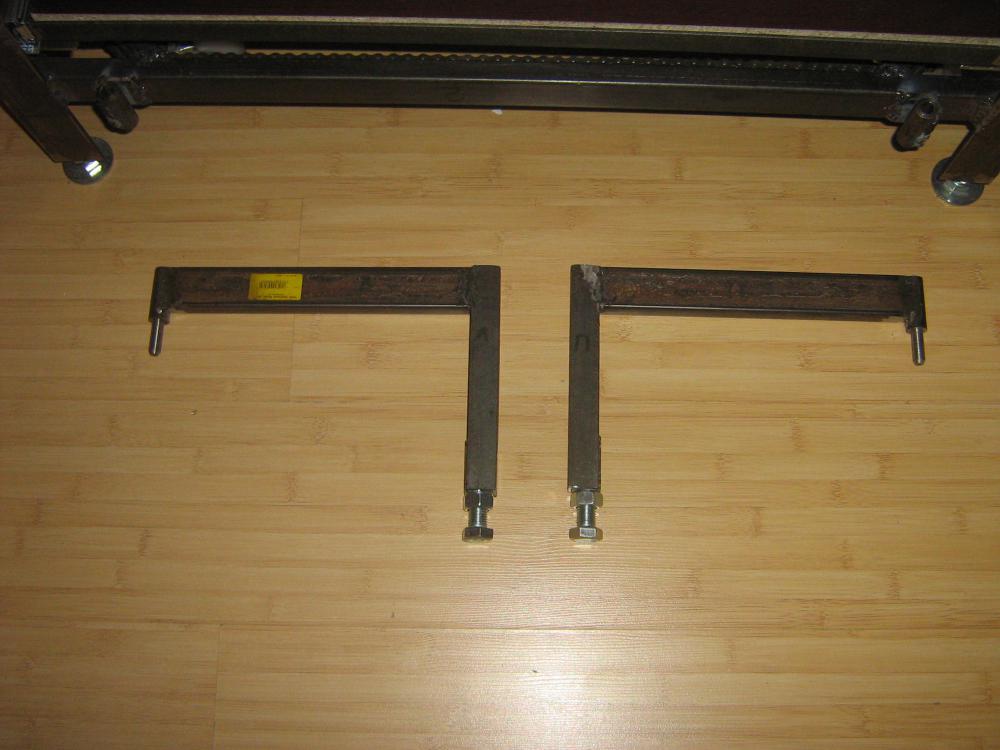
The stops for the bottom shelf, when it is extended, are made of the corners 25x25x3
Which are inserted into the hinge:
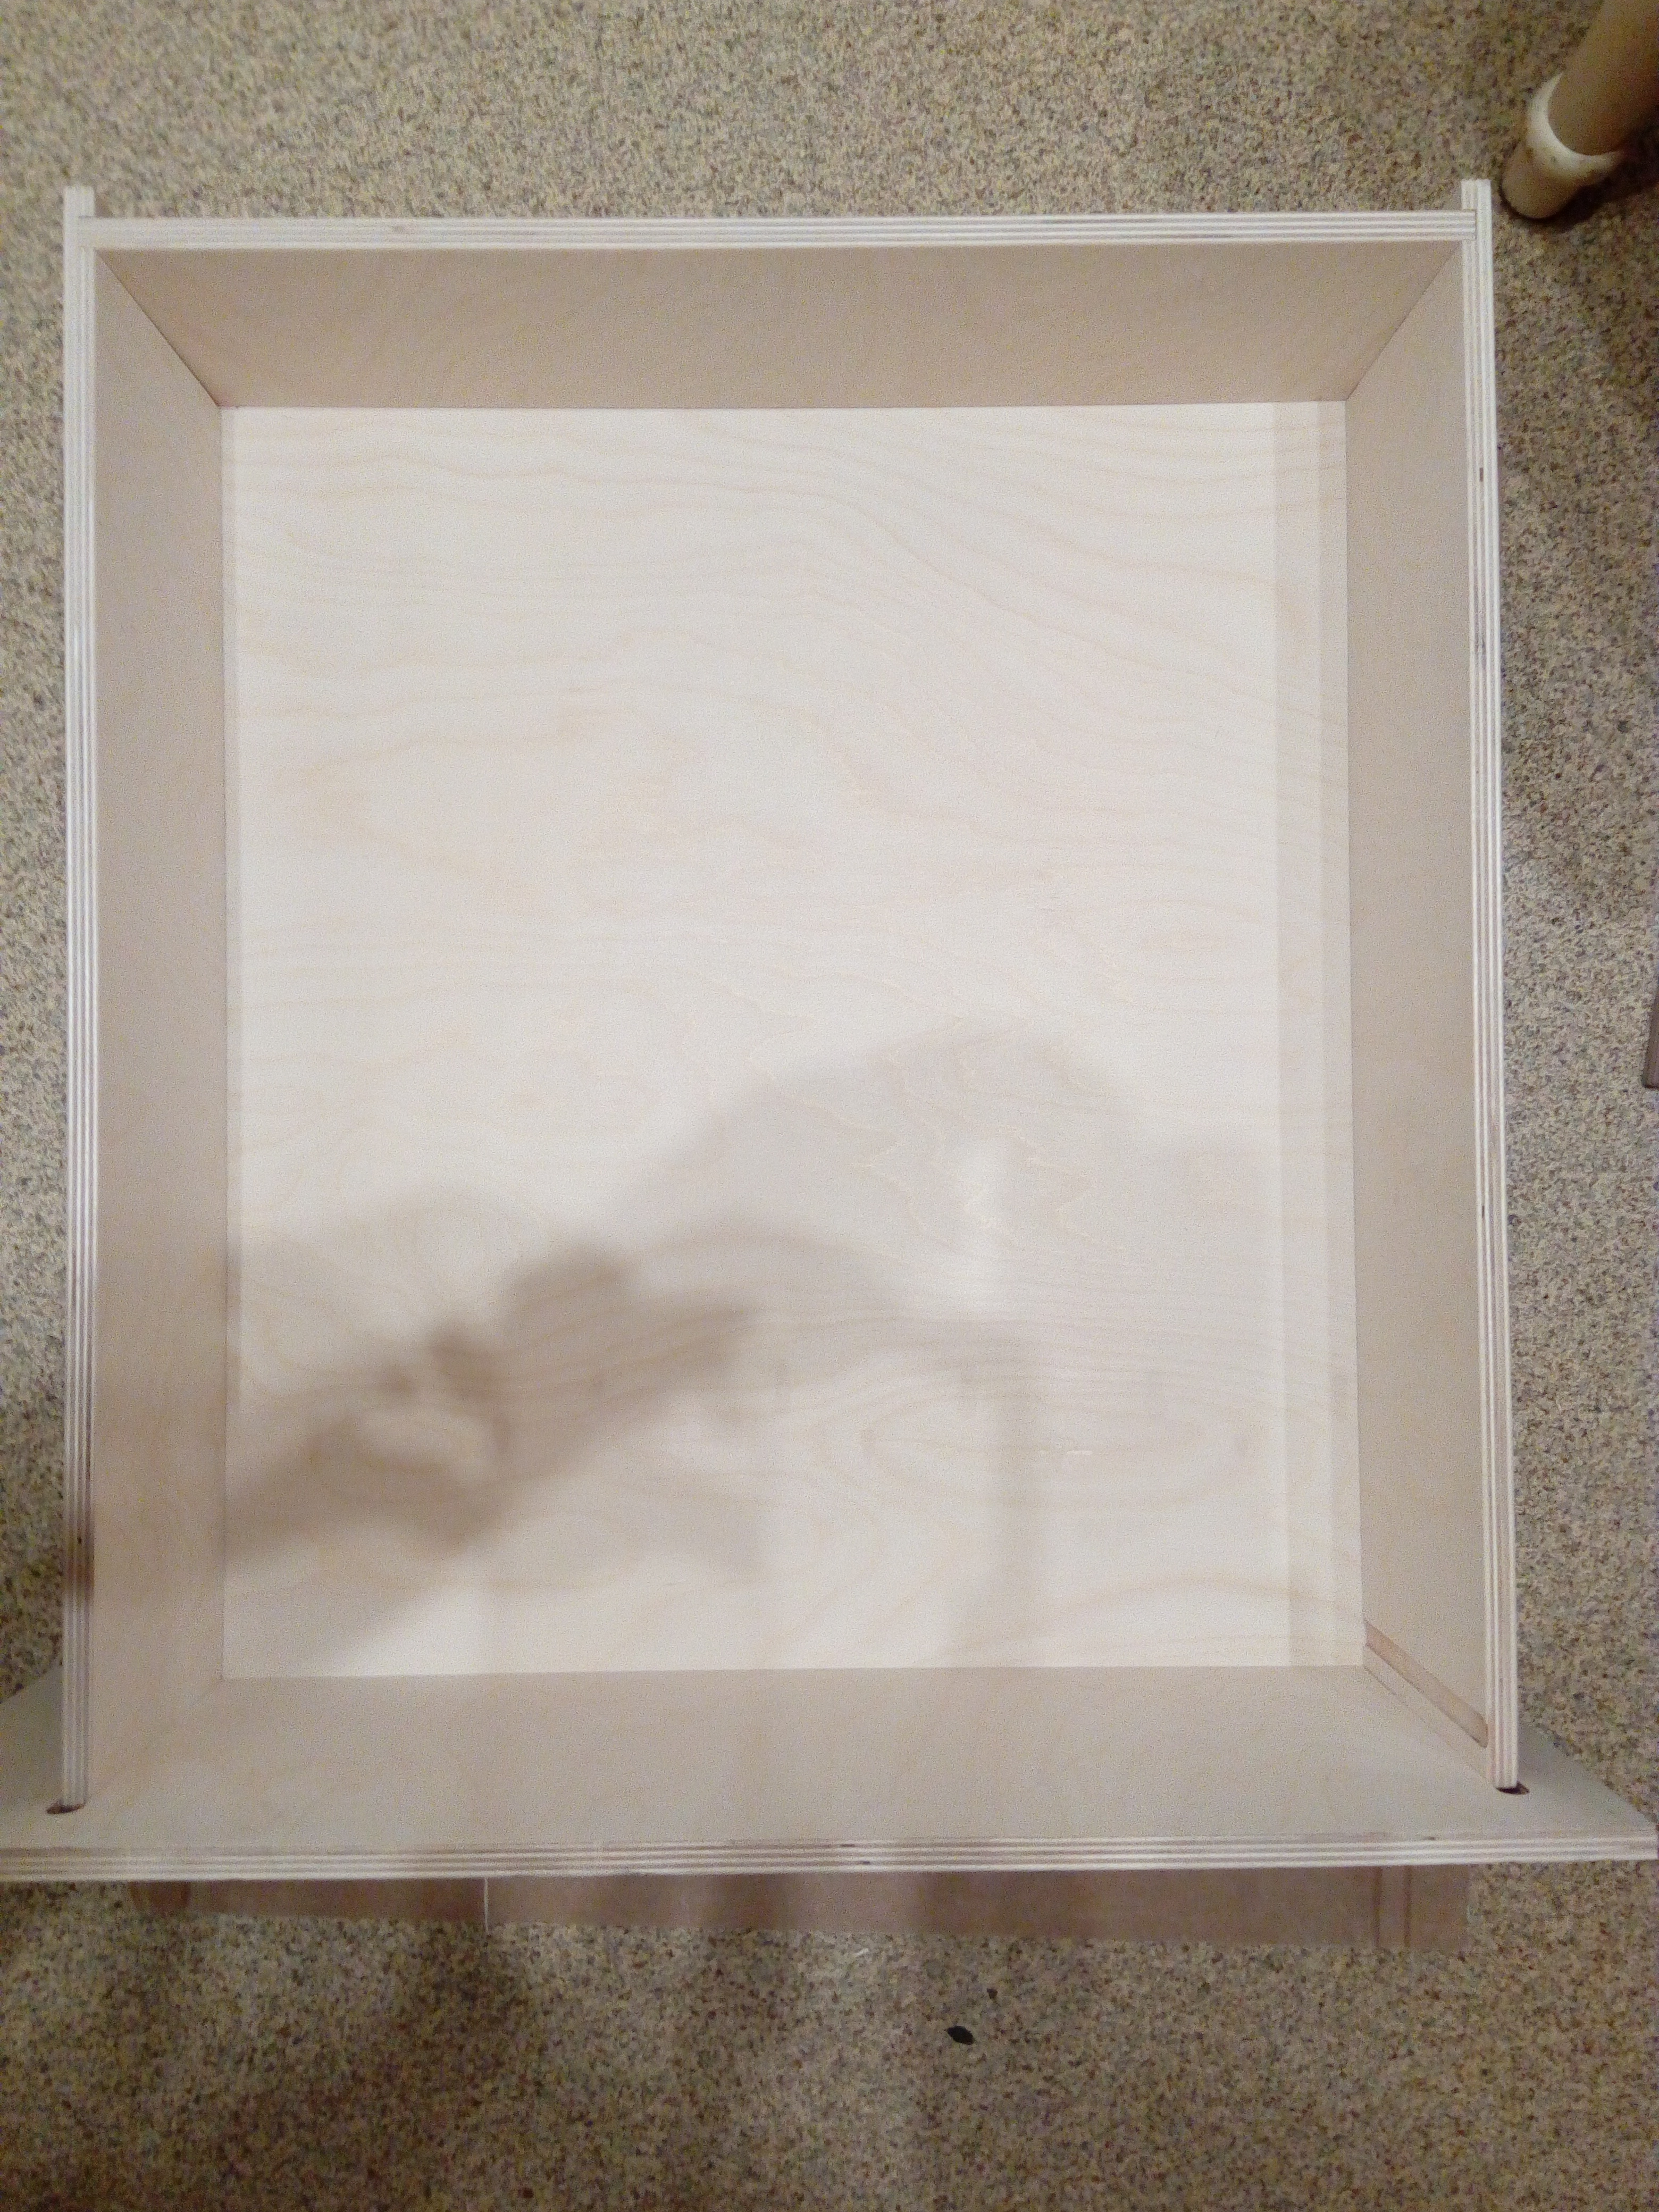
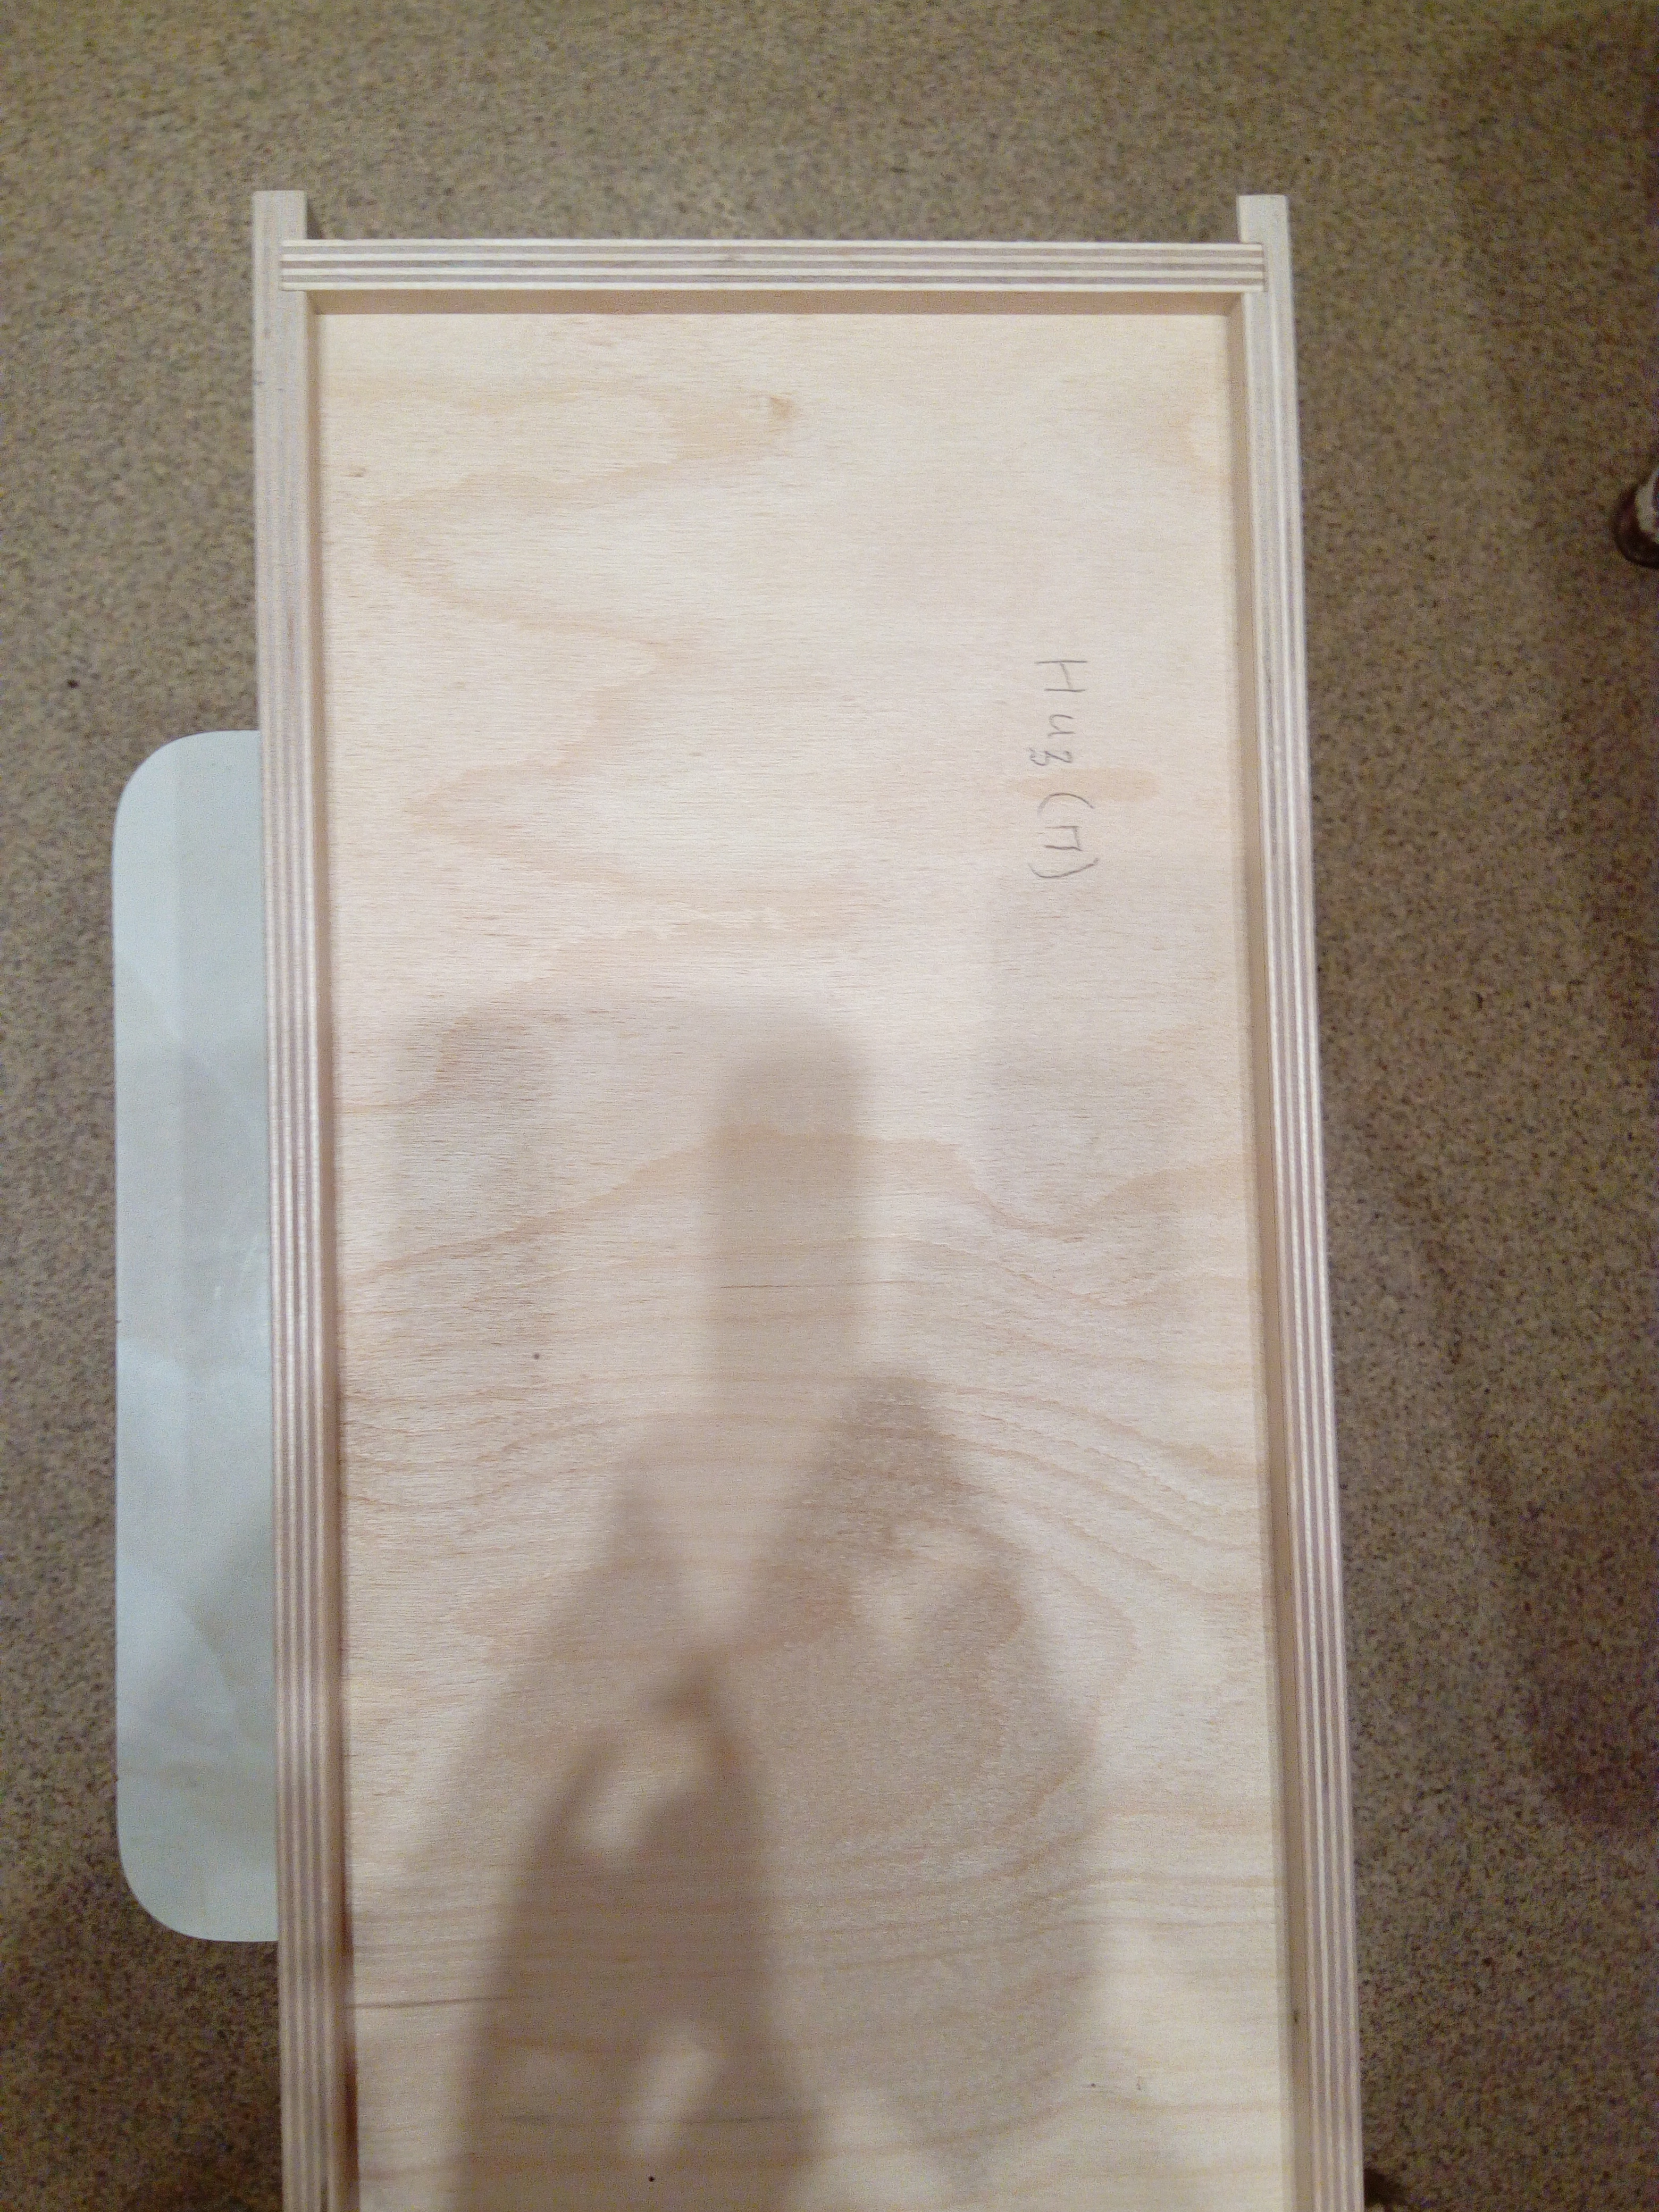
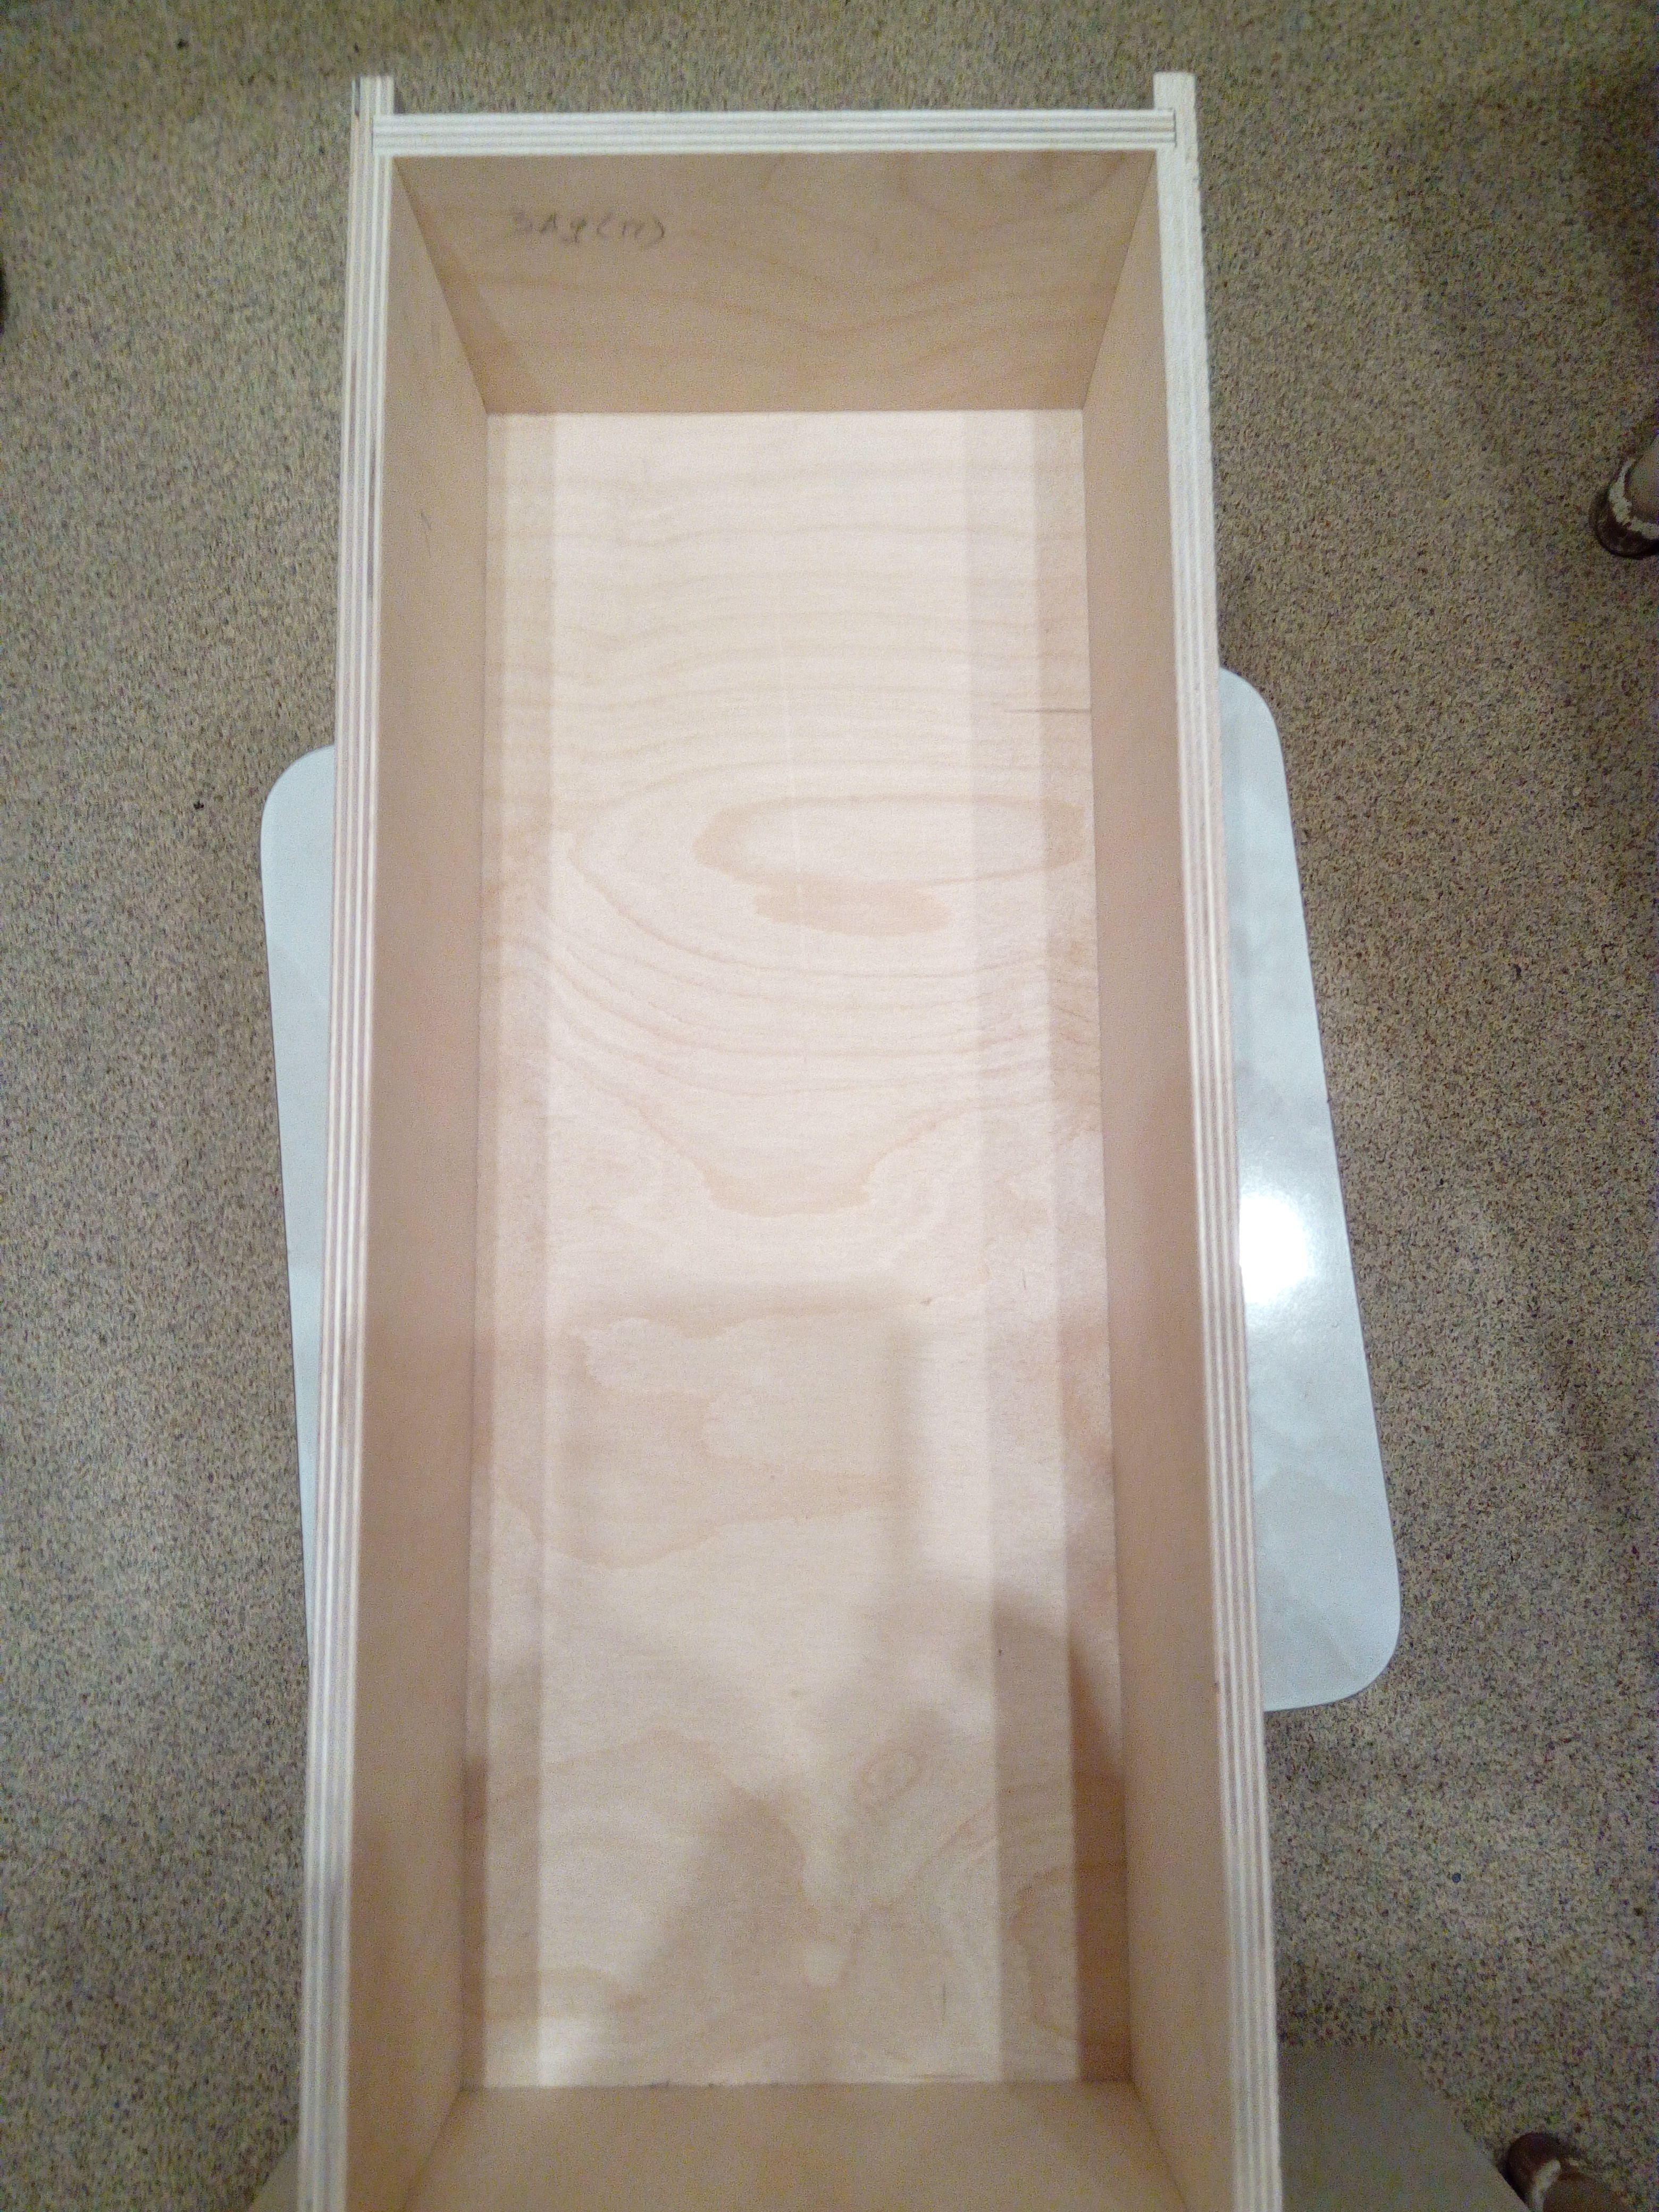
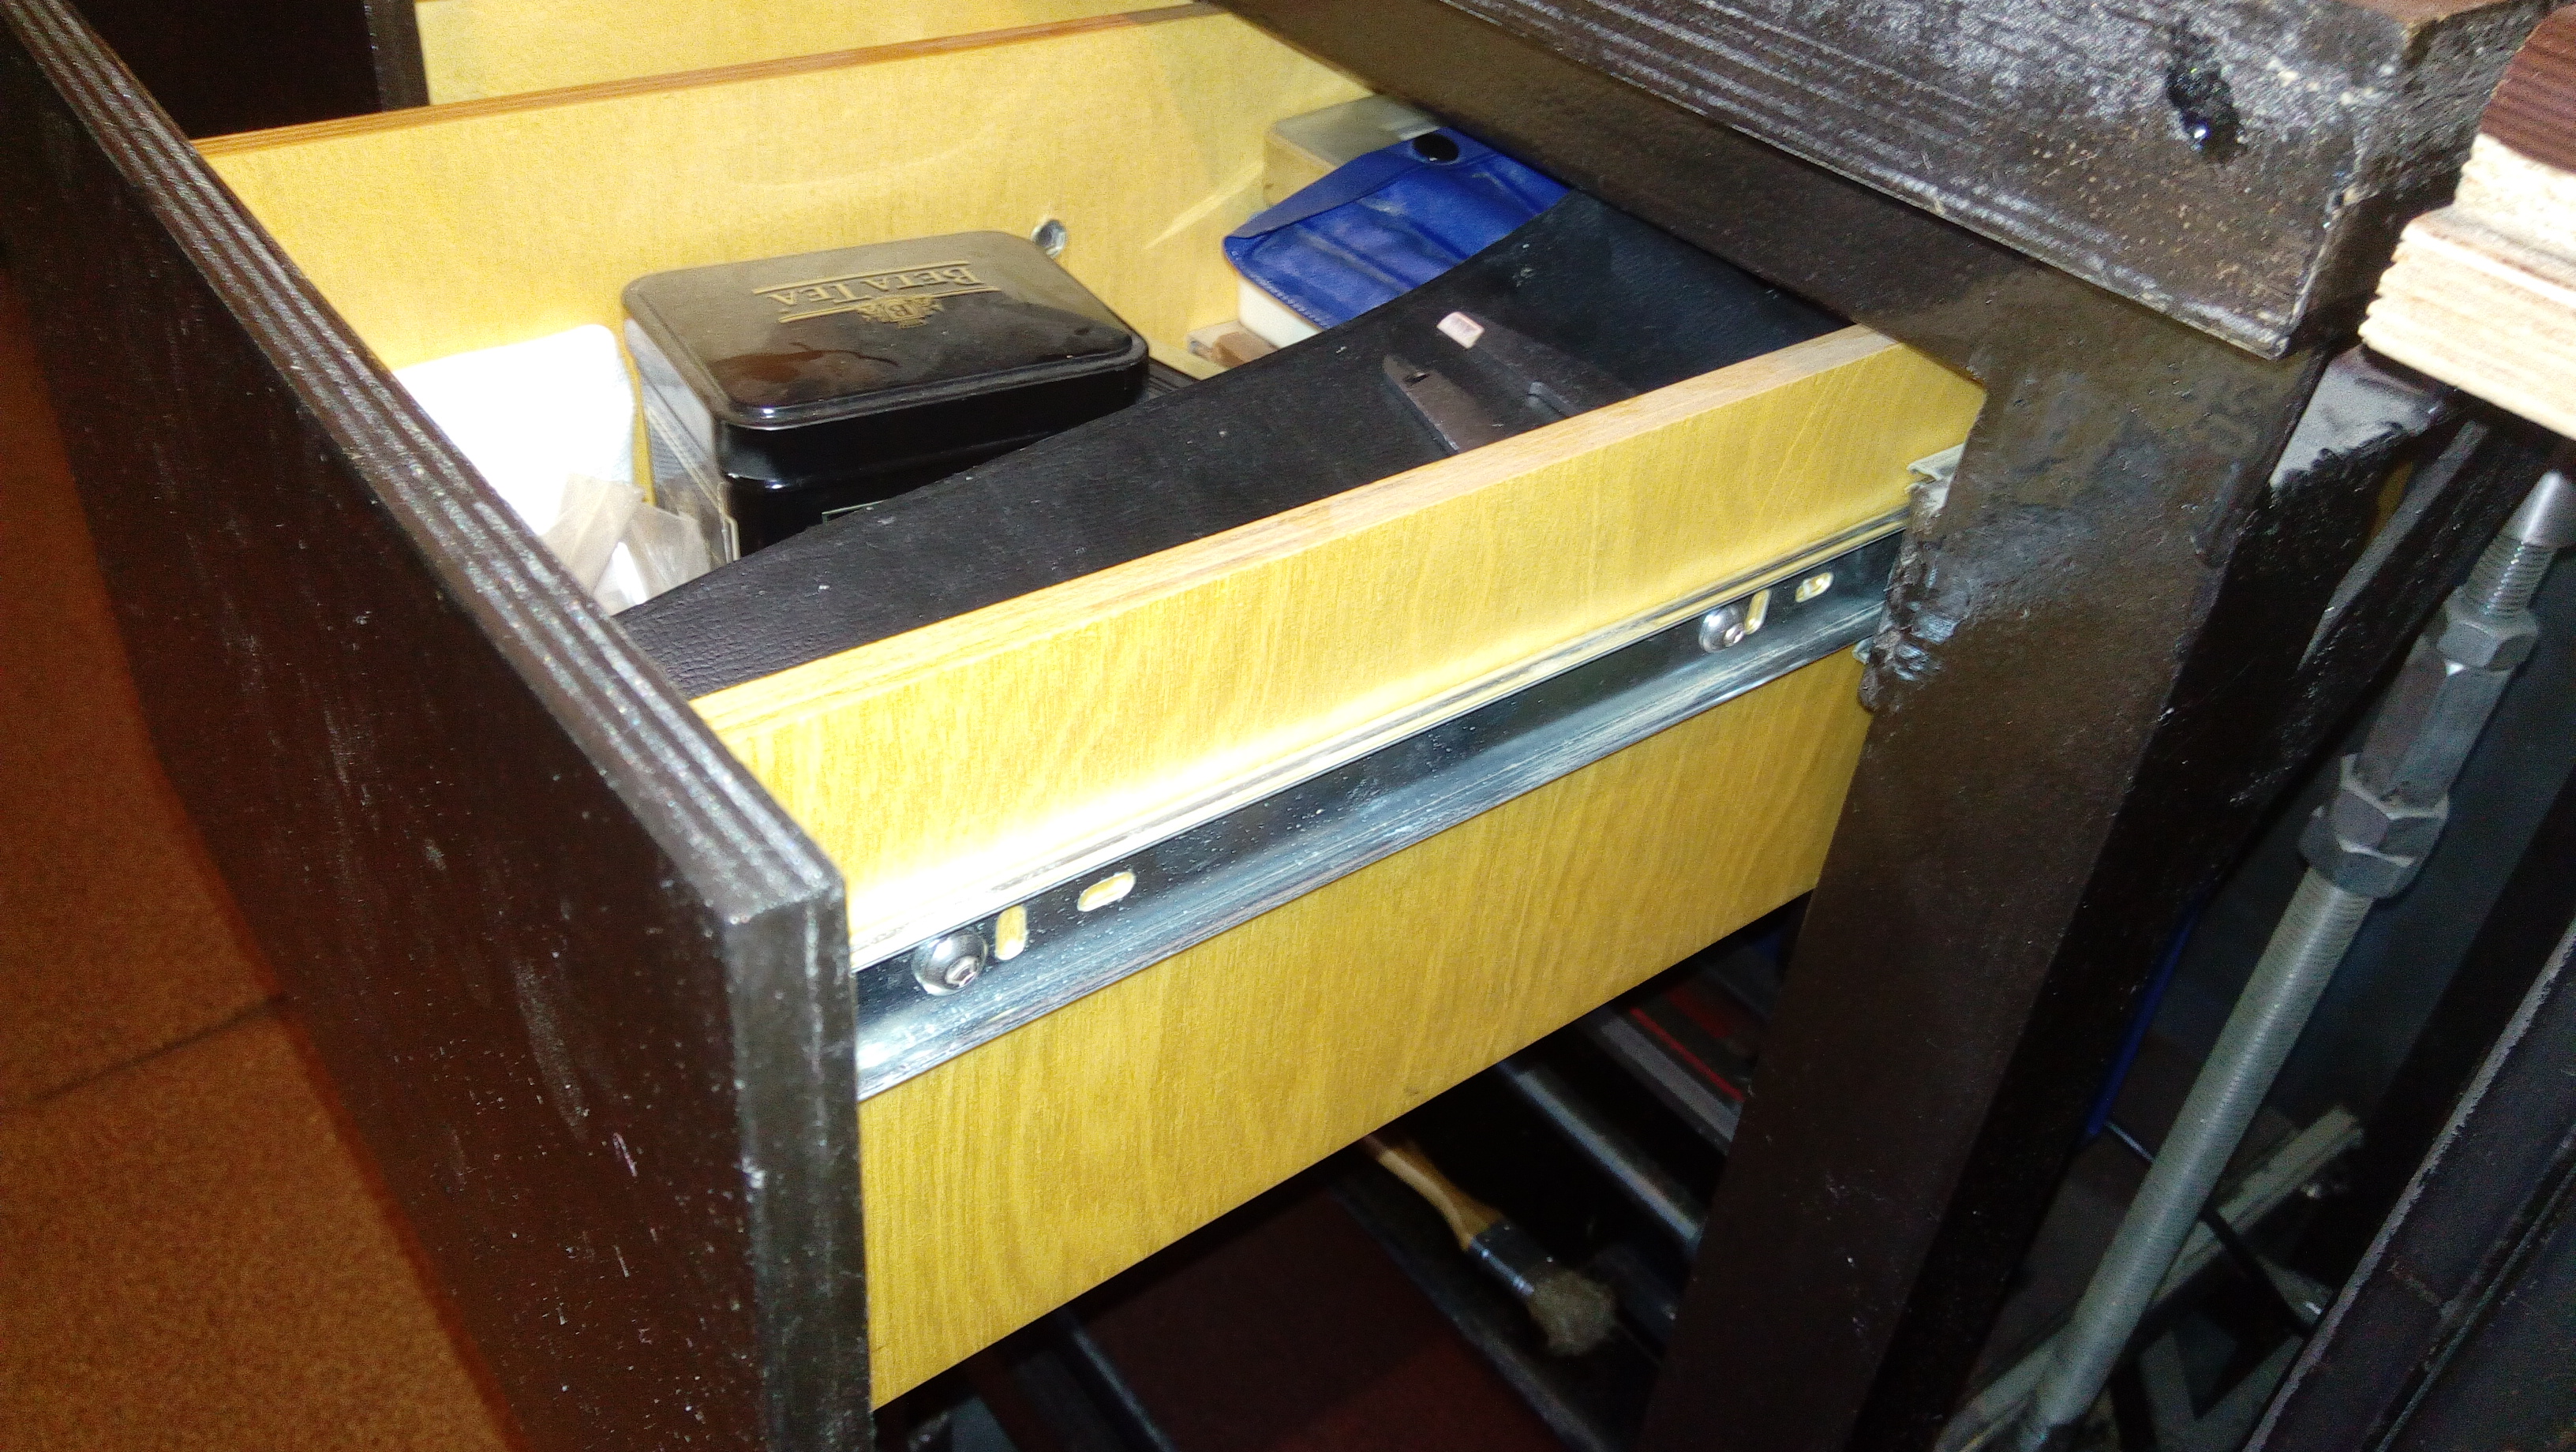
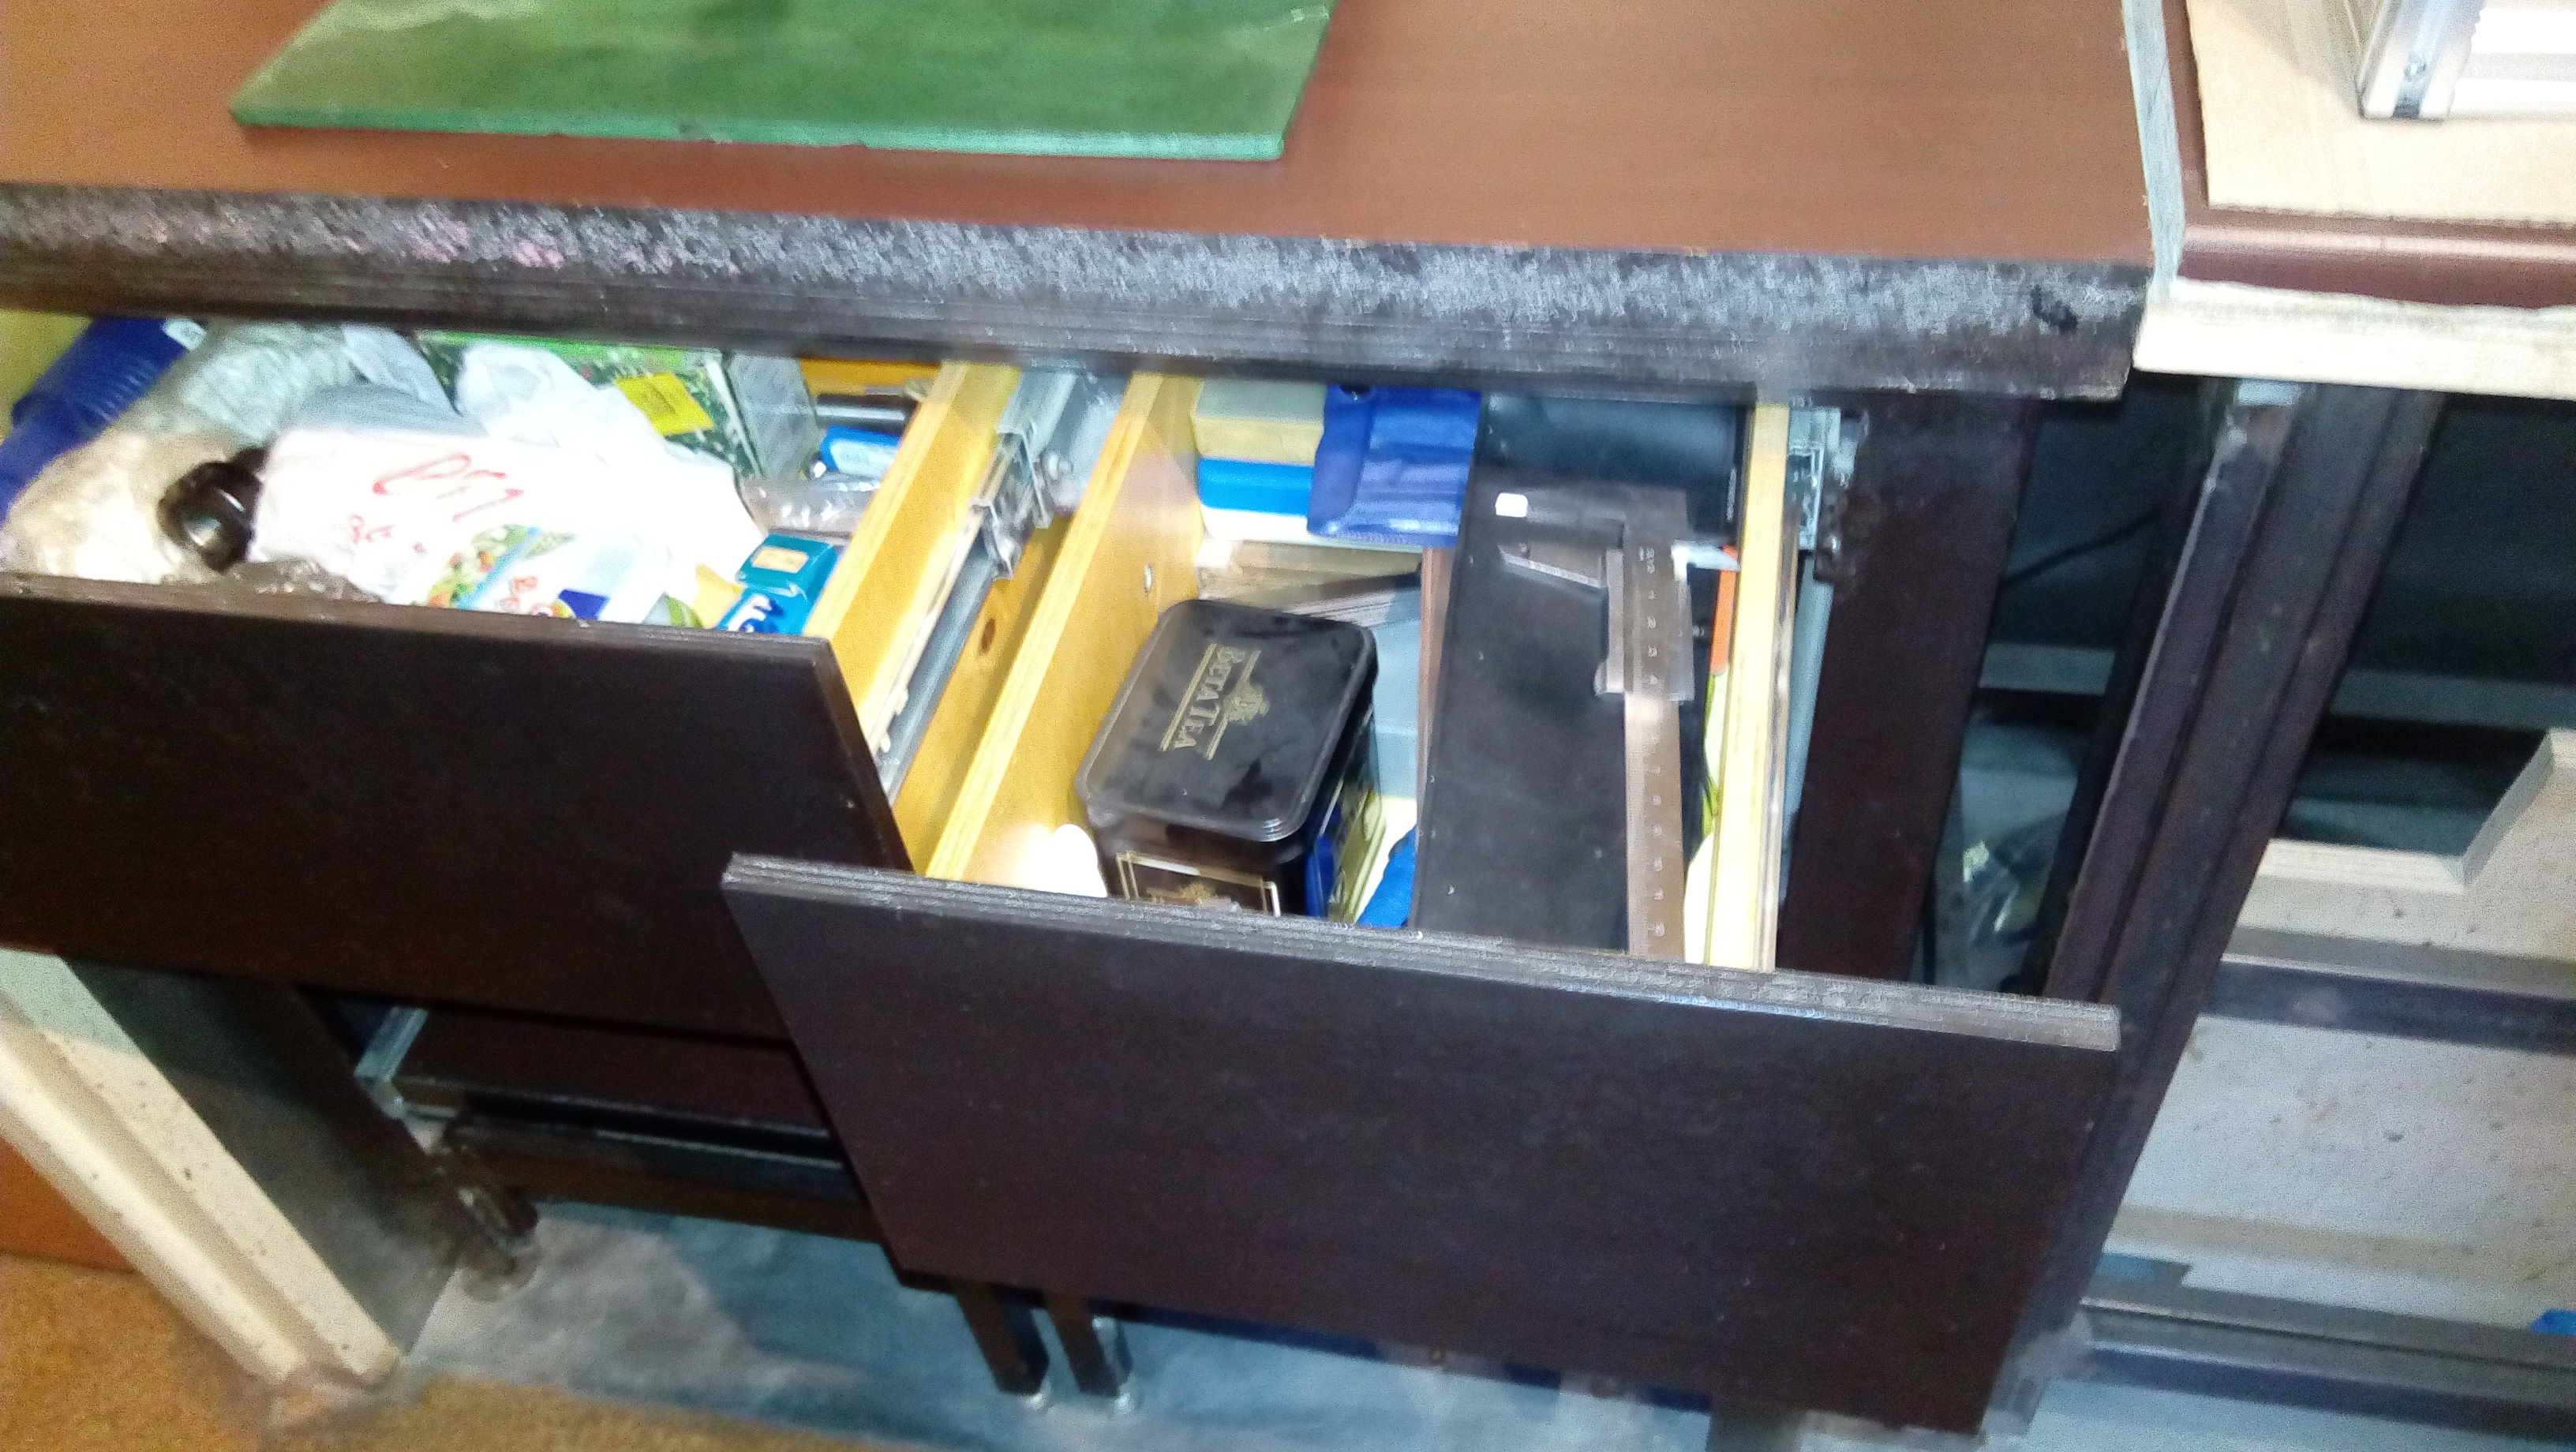
And there were boxes, two of them, and they are also attached to the ball guides. 10mm plywood boxes. reinforced. The grooves are made by a router on a tree, everything is glued together.
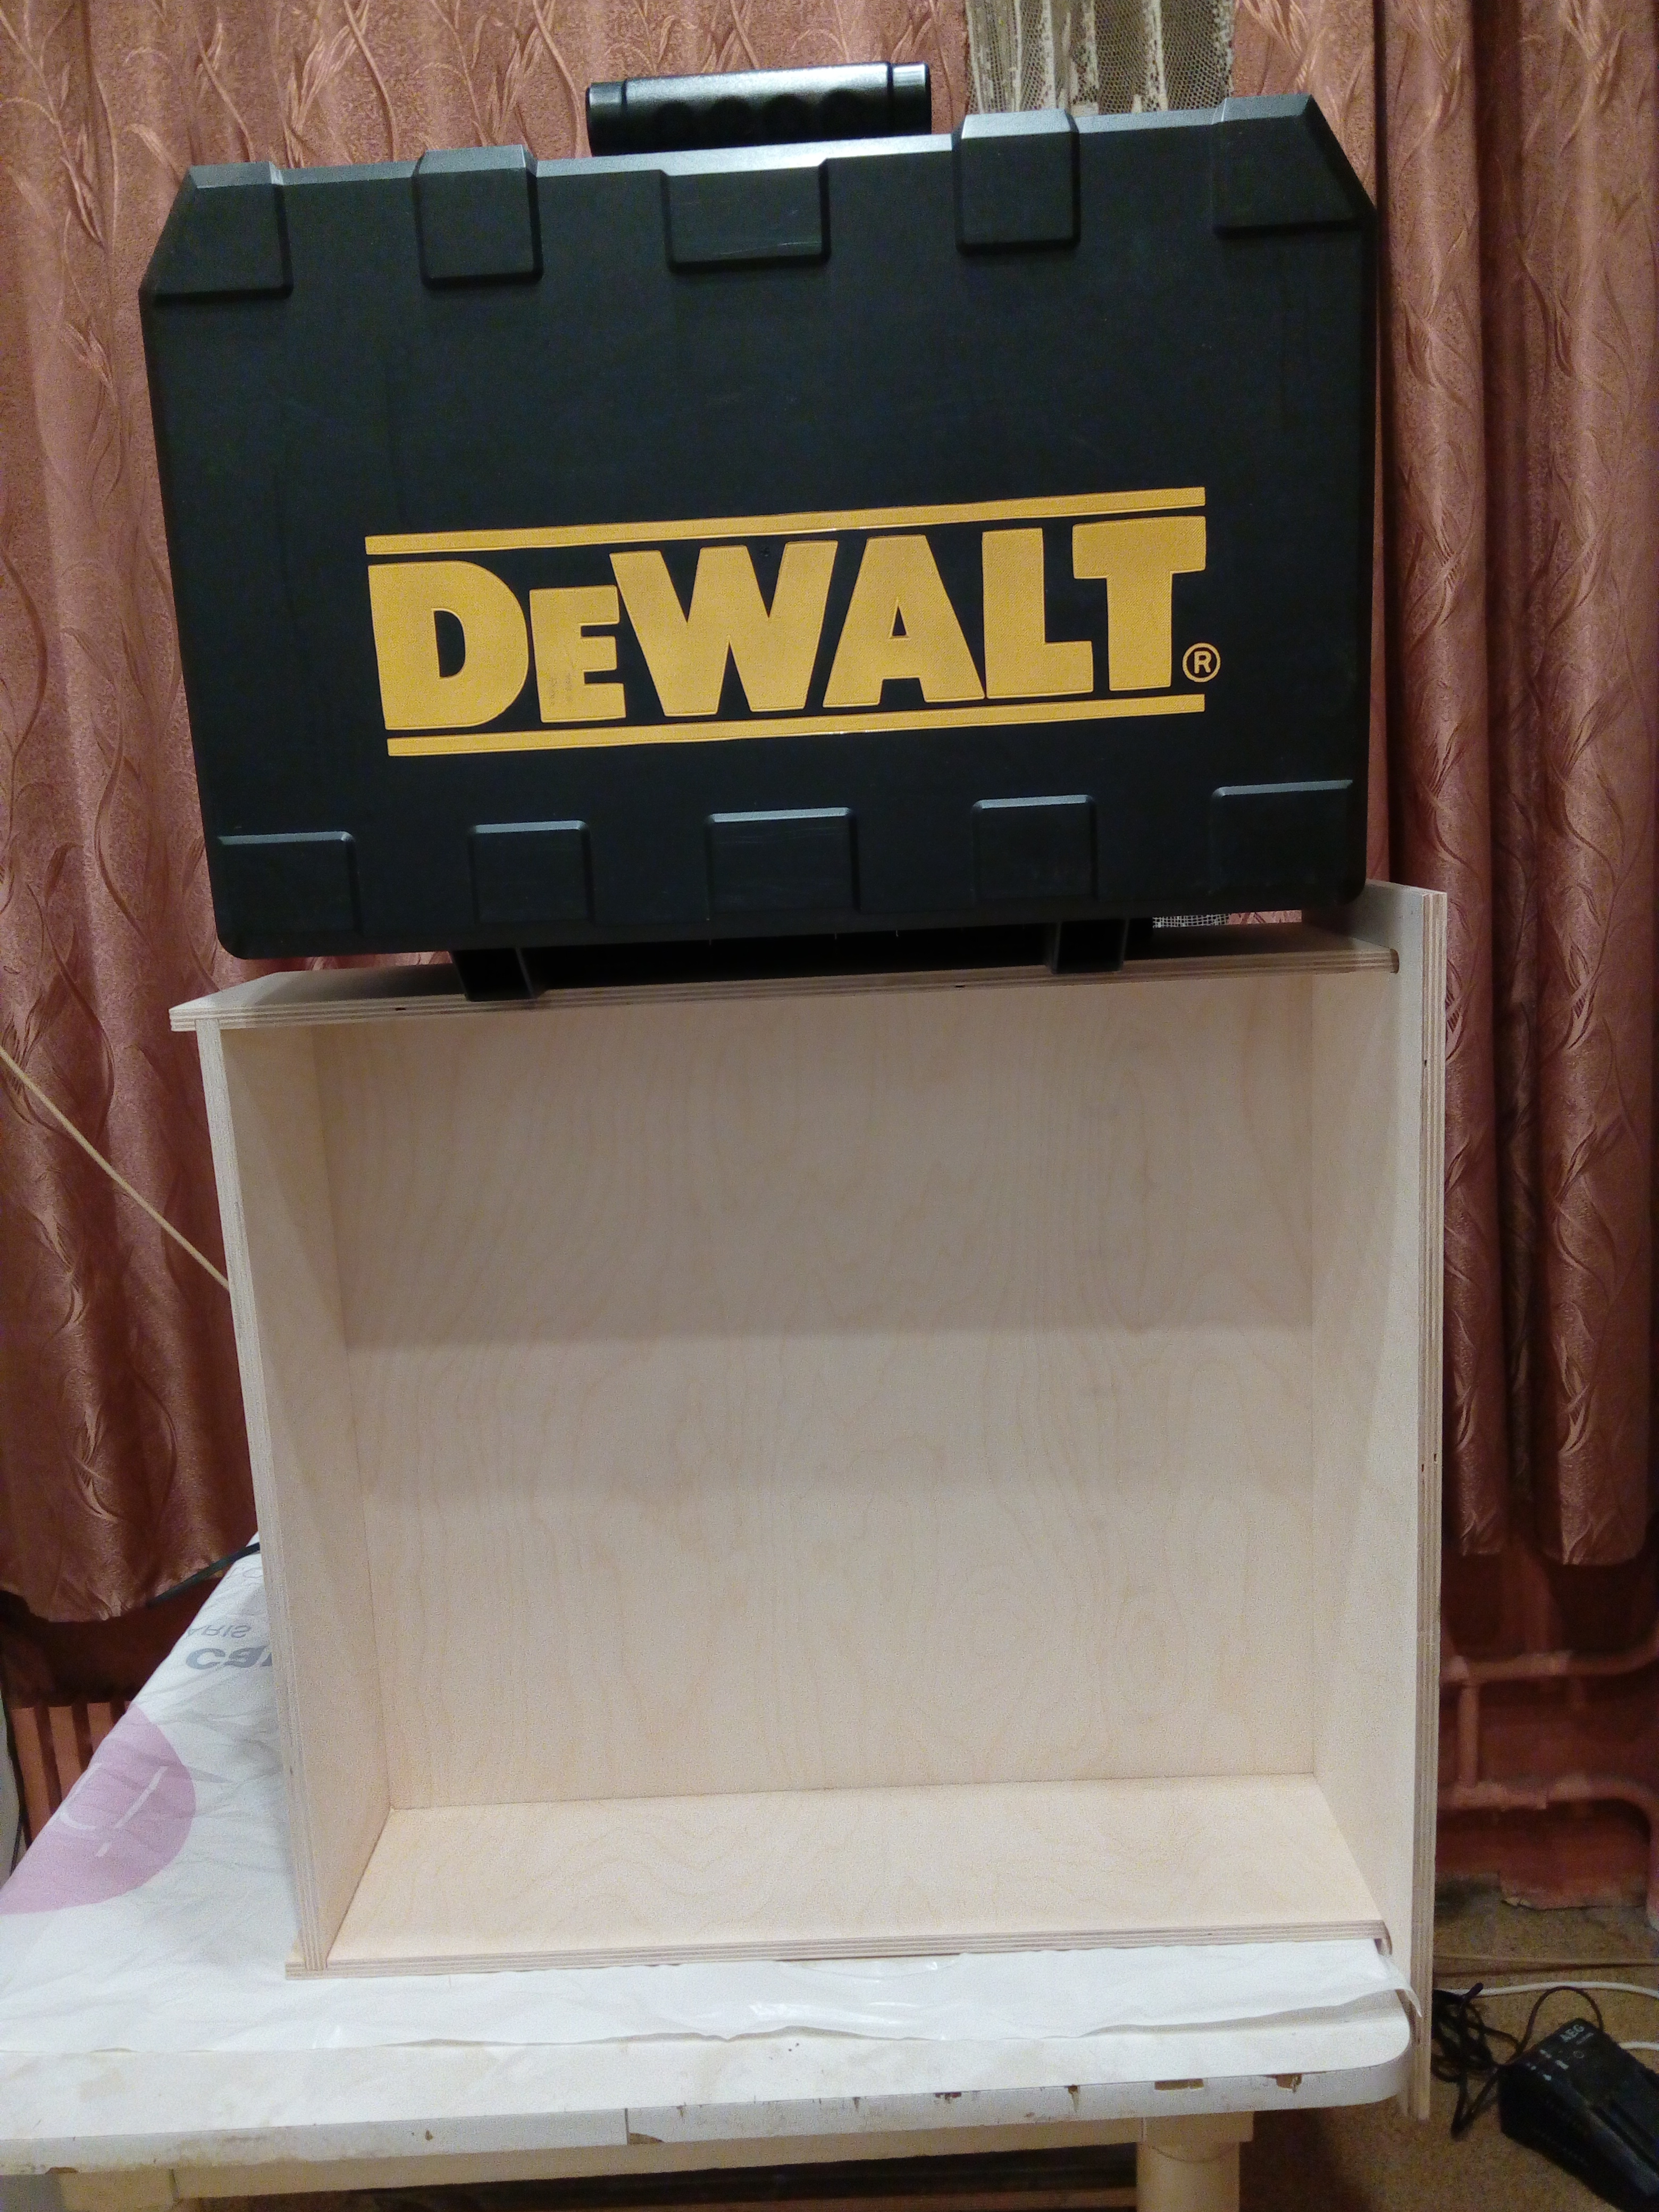
The boxes for tools will lie in the boxes (cutters, drills, chucks, etc.), so the guides are attached to them with the help of futorok.
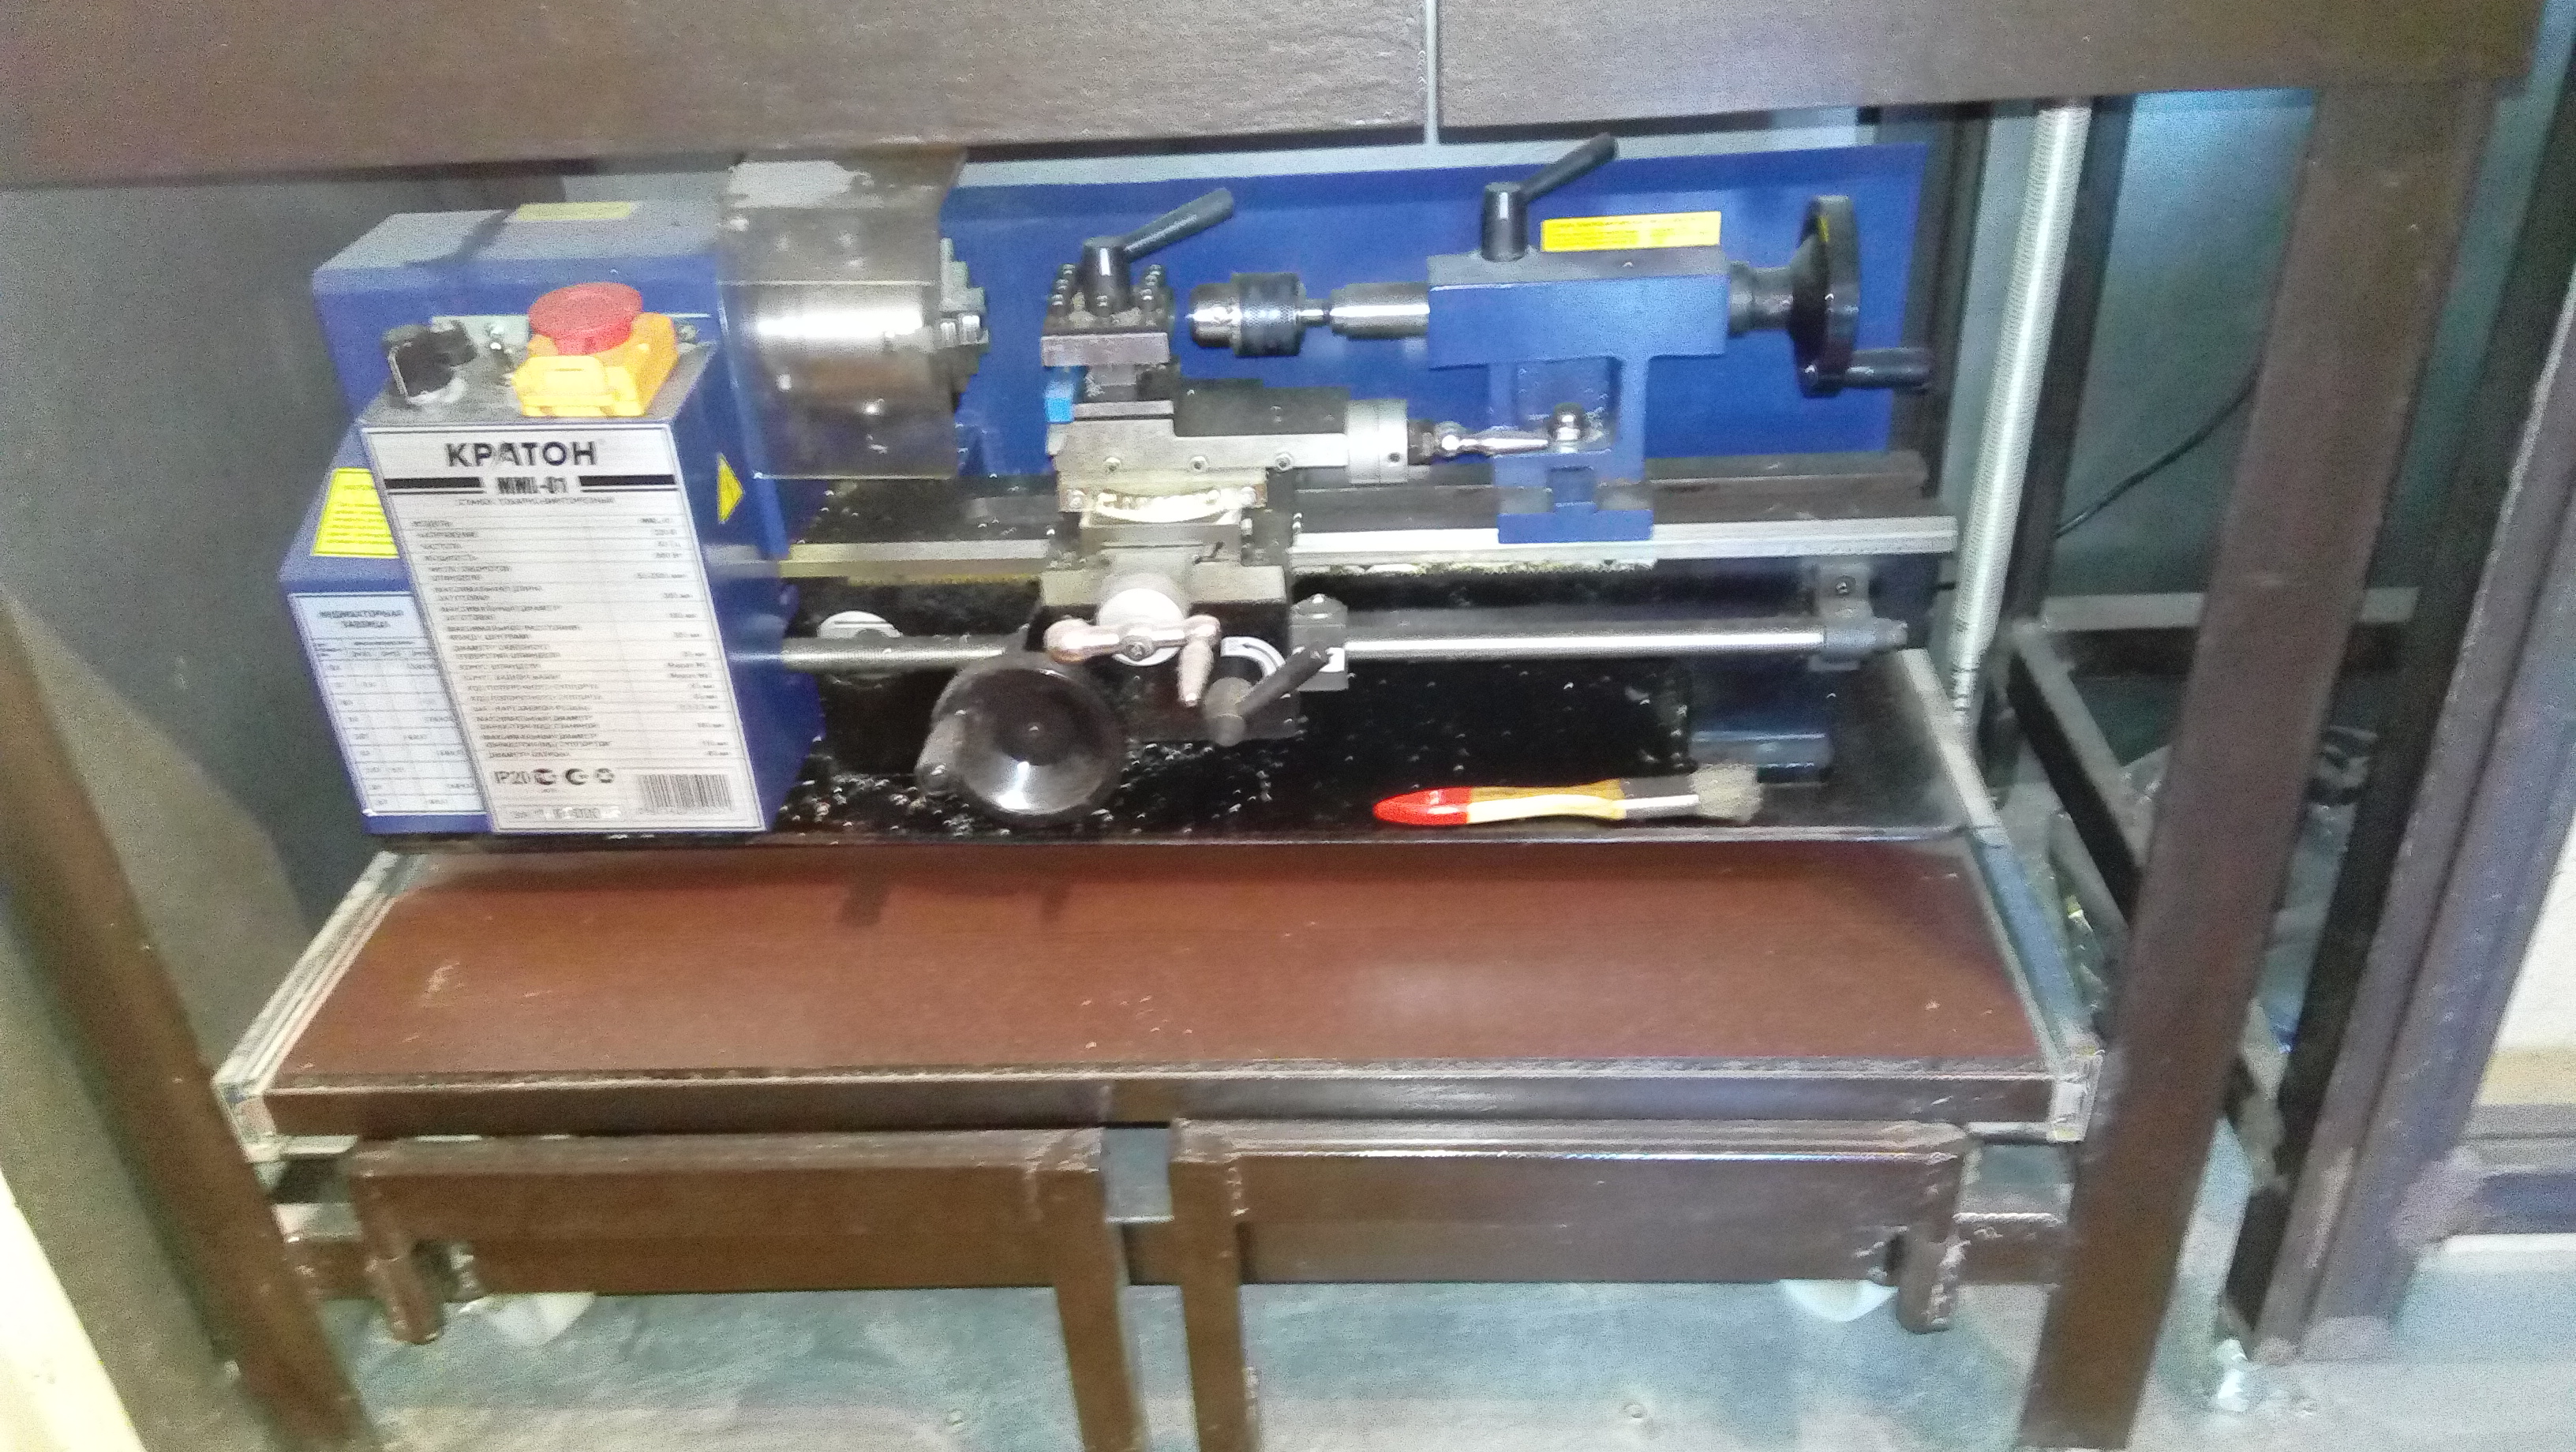
Well, the result (wildly sorry for the quality of the following pictures):
Thanks to all.
I decided to write this article after reading the comment in the article JavaScript programming for a lathe from QwertyOFF
I have little idea how you can keep turning, even such, in an apartment, unless you have a room that you don’t feel sorry for.
And of course, show how I did it.
It will be a question of a welded curbstone, the highlight of which is its mobility - the curbstone together with the machines can be moved around the apartment.
')
This bollard was my first welded construction, so in some places blemishes are noticeable. Stand was made in 2015. and serves so far.
TTX:
Dimensions (on the table top ShhVhG): 870x860x590;
Maximum load when wheel bearings are released (dynamic): 400kg. (the seller stated that each wheel in the dynamics can withstand 100kg, i.e. 4 wheels = 400kg.)
Iron:
First, the upper part of the prof. pipes 60x40x4, the plane was plywood with cut corners, onto which, using clamps, pipes were attached and cooked. It turned out great (angles and geometry).
Next, it was necessary to weld the legs from the corner 50x50x5. It was a nightmare :) It was necessary to weld each leg, taking into account the angles on both sides and back to back. I did not have magnetic corners, and now I don’t. Therefore, I used iron bands + clamps to fix the leg at an angle of 90 degrees. Naturally, I first cooked with tacks and after aligning the corners, completely.
Next, cooked the lower frame already in place of prof. pipes 40x20x2.
Front view:
I think the pictures already understand how to raise / lower pedestals on the wheels.
Some details.
Asterisks and chain - bicycle.
"Gearboxes" for wheel bearings: connecting nuts + M20 stud. The diameter of the hole in the wheel support is 15 mm. Therefore, the diameter of the M20 stud on the wheel side has been reduced to threading M14. For every star, he dotted the body washer M14 (centering is not so important, but still trying to center in the center). The result: a stud + sprocket with a washer + wheel support + nut / counter-nut M14.
Feet: M20 bolts + body washers.
"Reducer":
The stud that transmits the rotation had to be “reduced” to M16 in order to weld the top end of the socket for the key-ratchet on top (so that the diameter of the hole in the upper prof. Tube turned out to be less).
The bottom shelf is welded from the corners of 25x25x3, where the table top is 25 mm thick. The tabletop is attached to the corners with the help of furniture futorok 10x6 (top tabletop as well).
Lower shelf retractable (used ball guides full extension). I even stood on the bottom shelf and rode a bit - I stood :)
The stops for the bottom shelf, when it is extended, are made of the corners 25x25x3
Which are inserted into the hinge:
And there were boxes, two of them, and they are also attached to the ball guides. 10mm plywood boxes. reinforced. The grooves are made by a router on a tree, everything is glued together.
The boxes for tools will lie in the boxes (cutters, drills, chucks, etc.), so the guides are attached to them with the help of futorok.
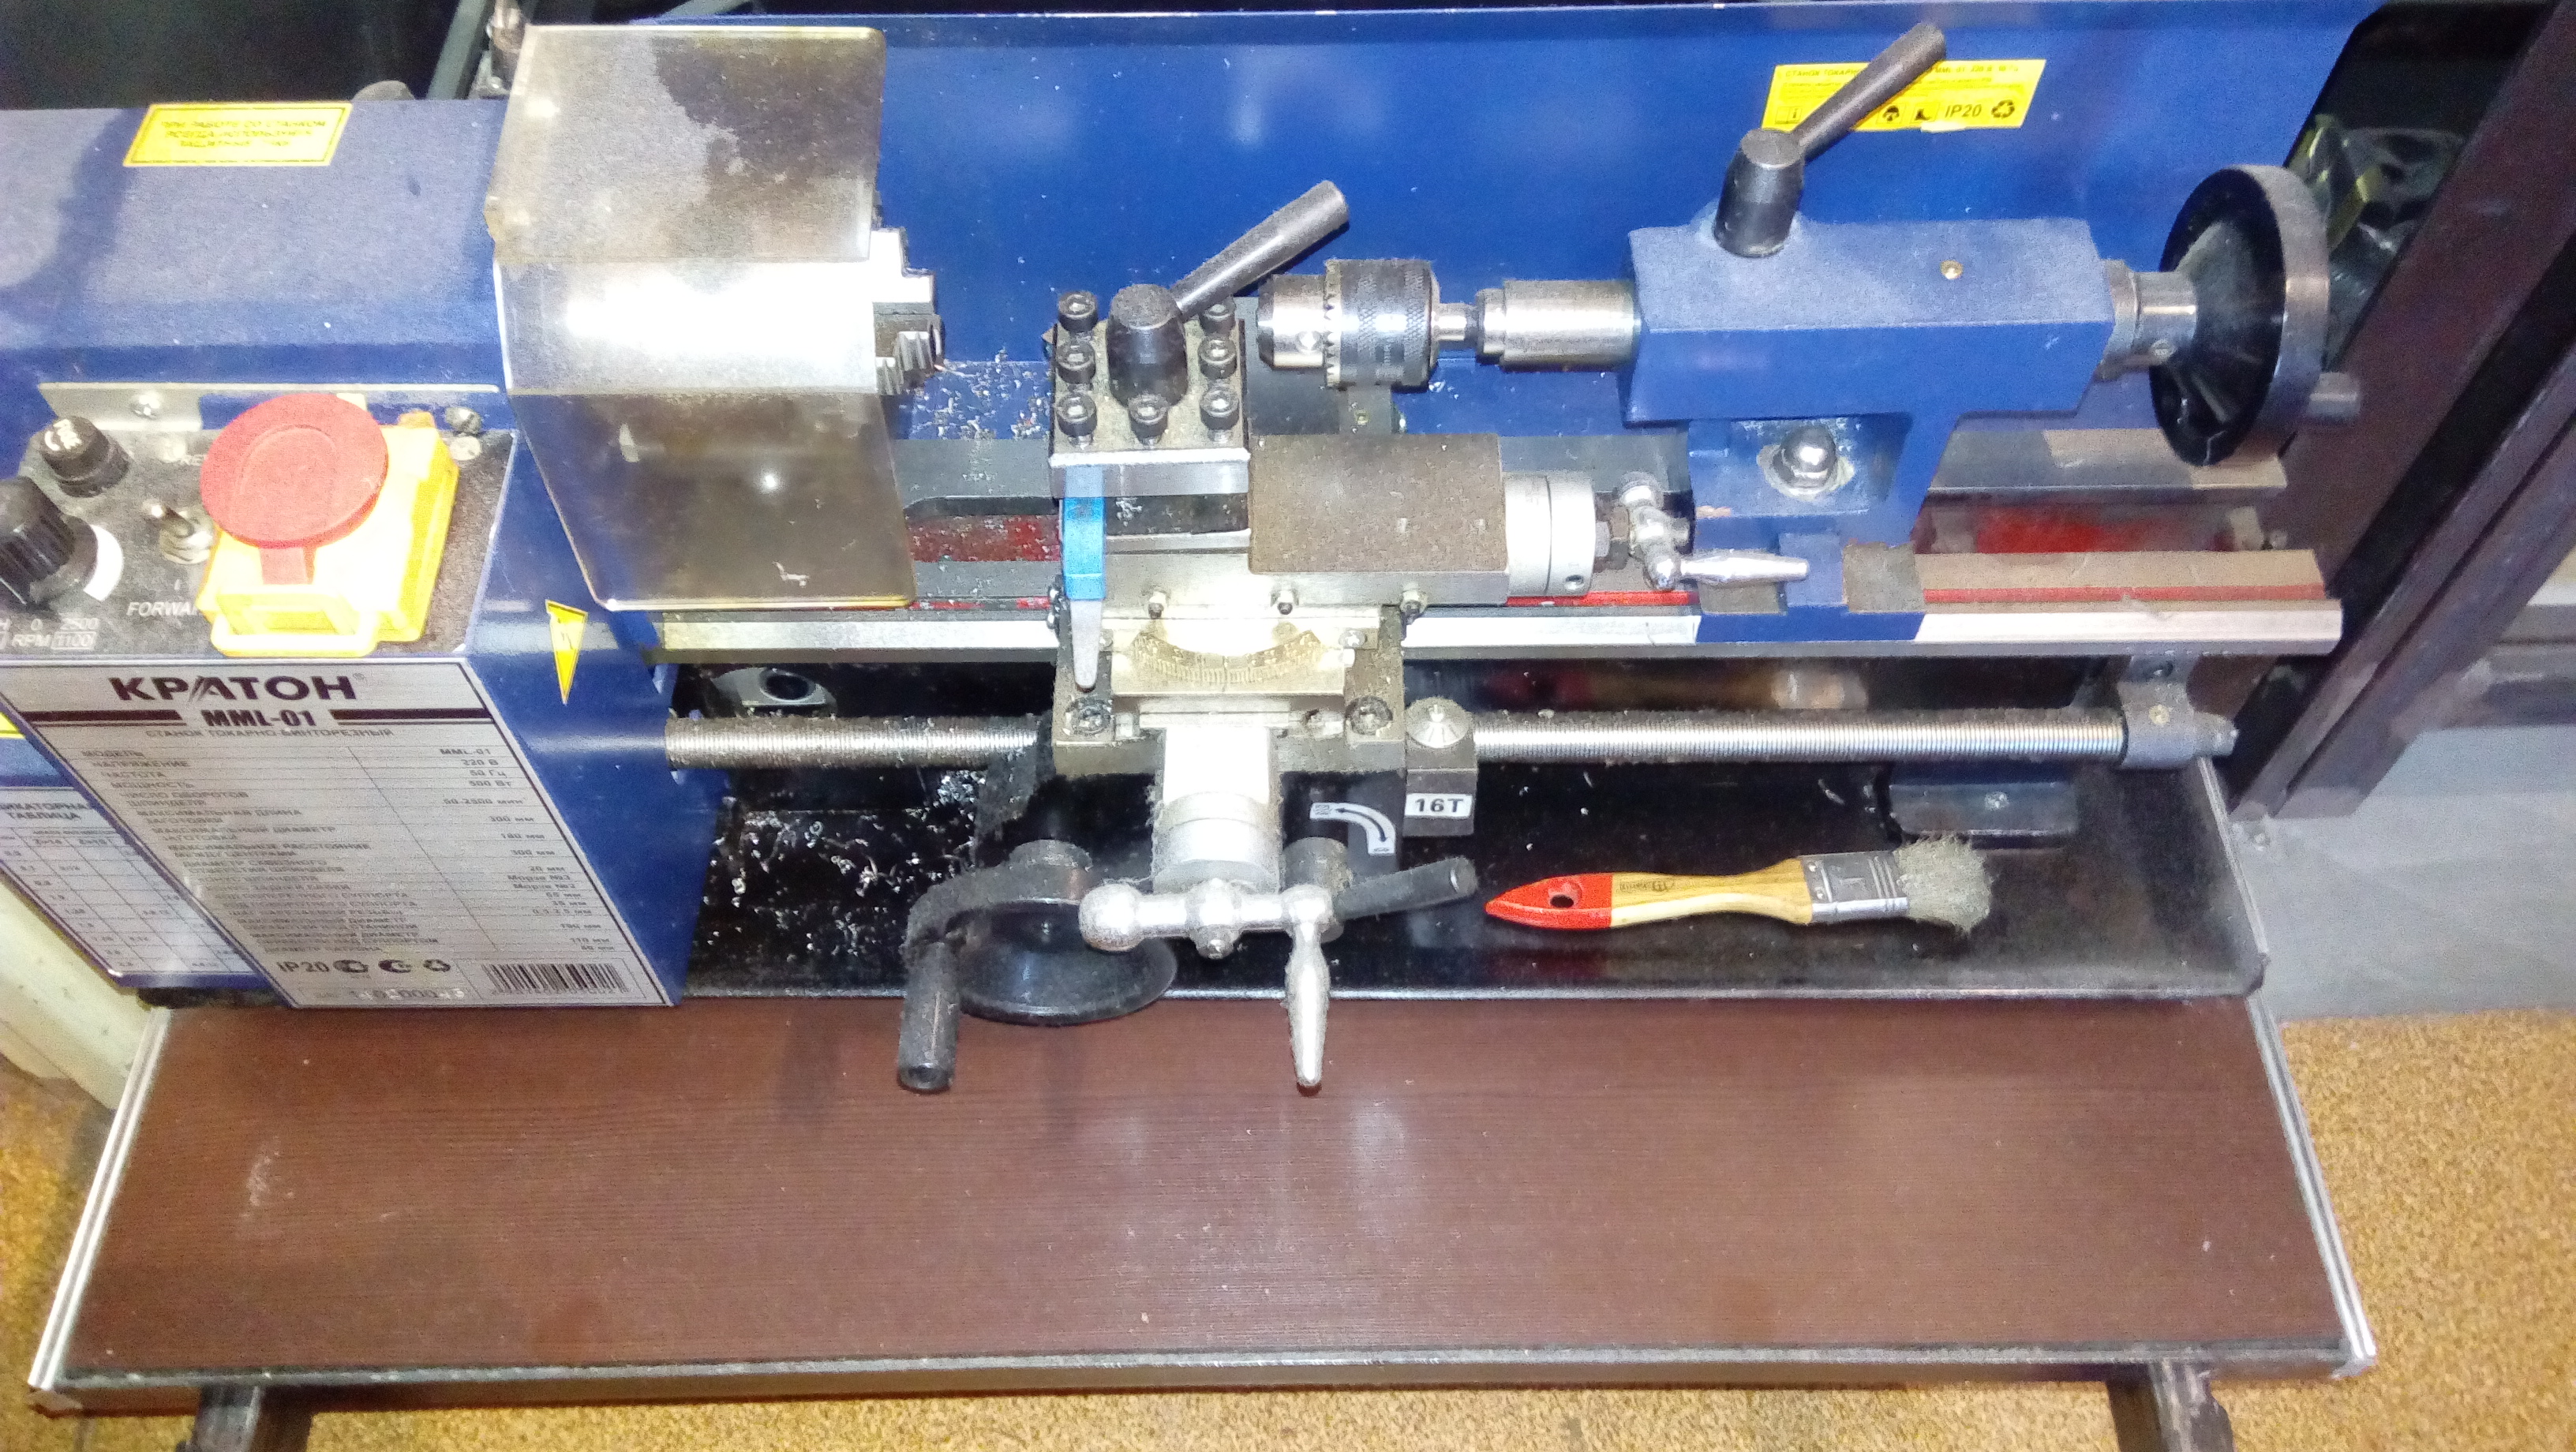
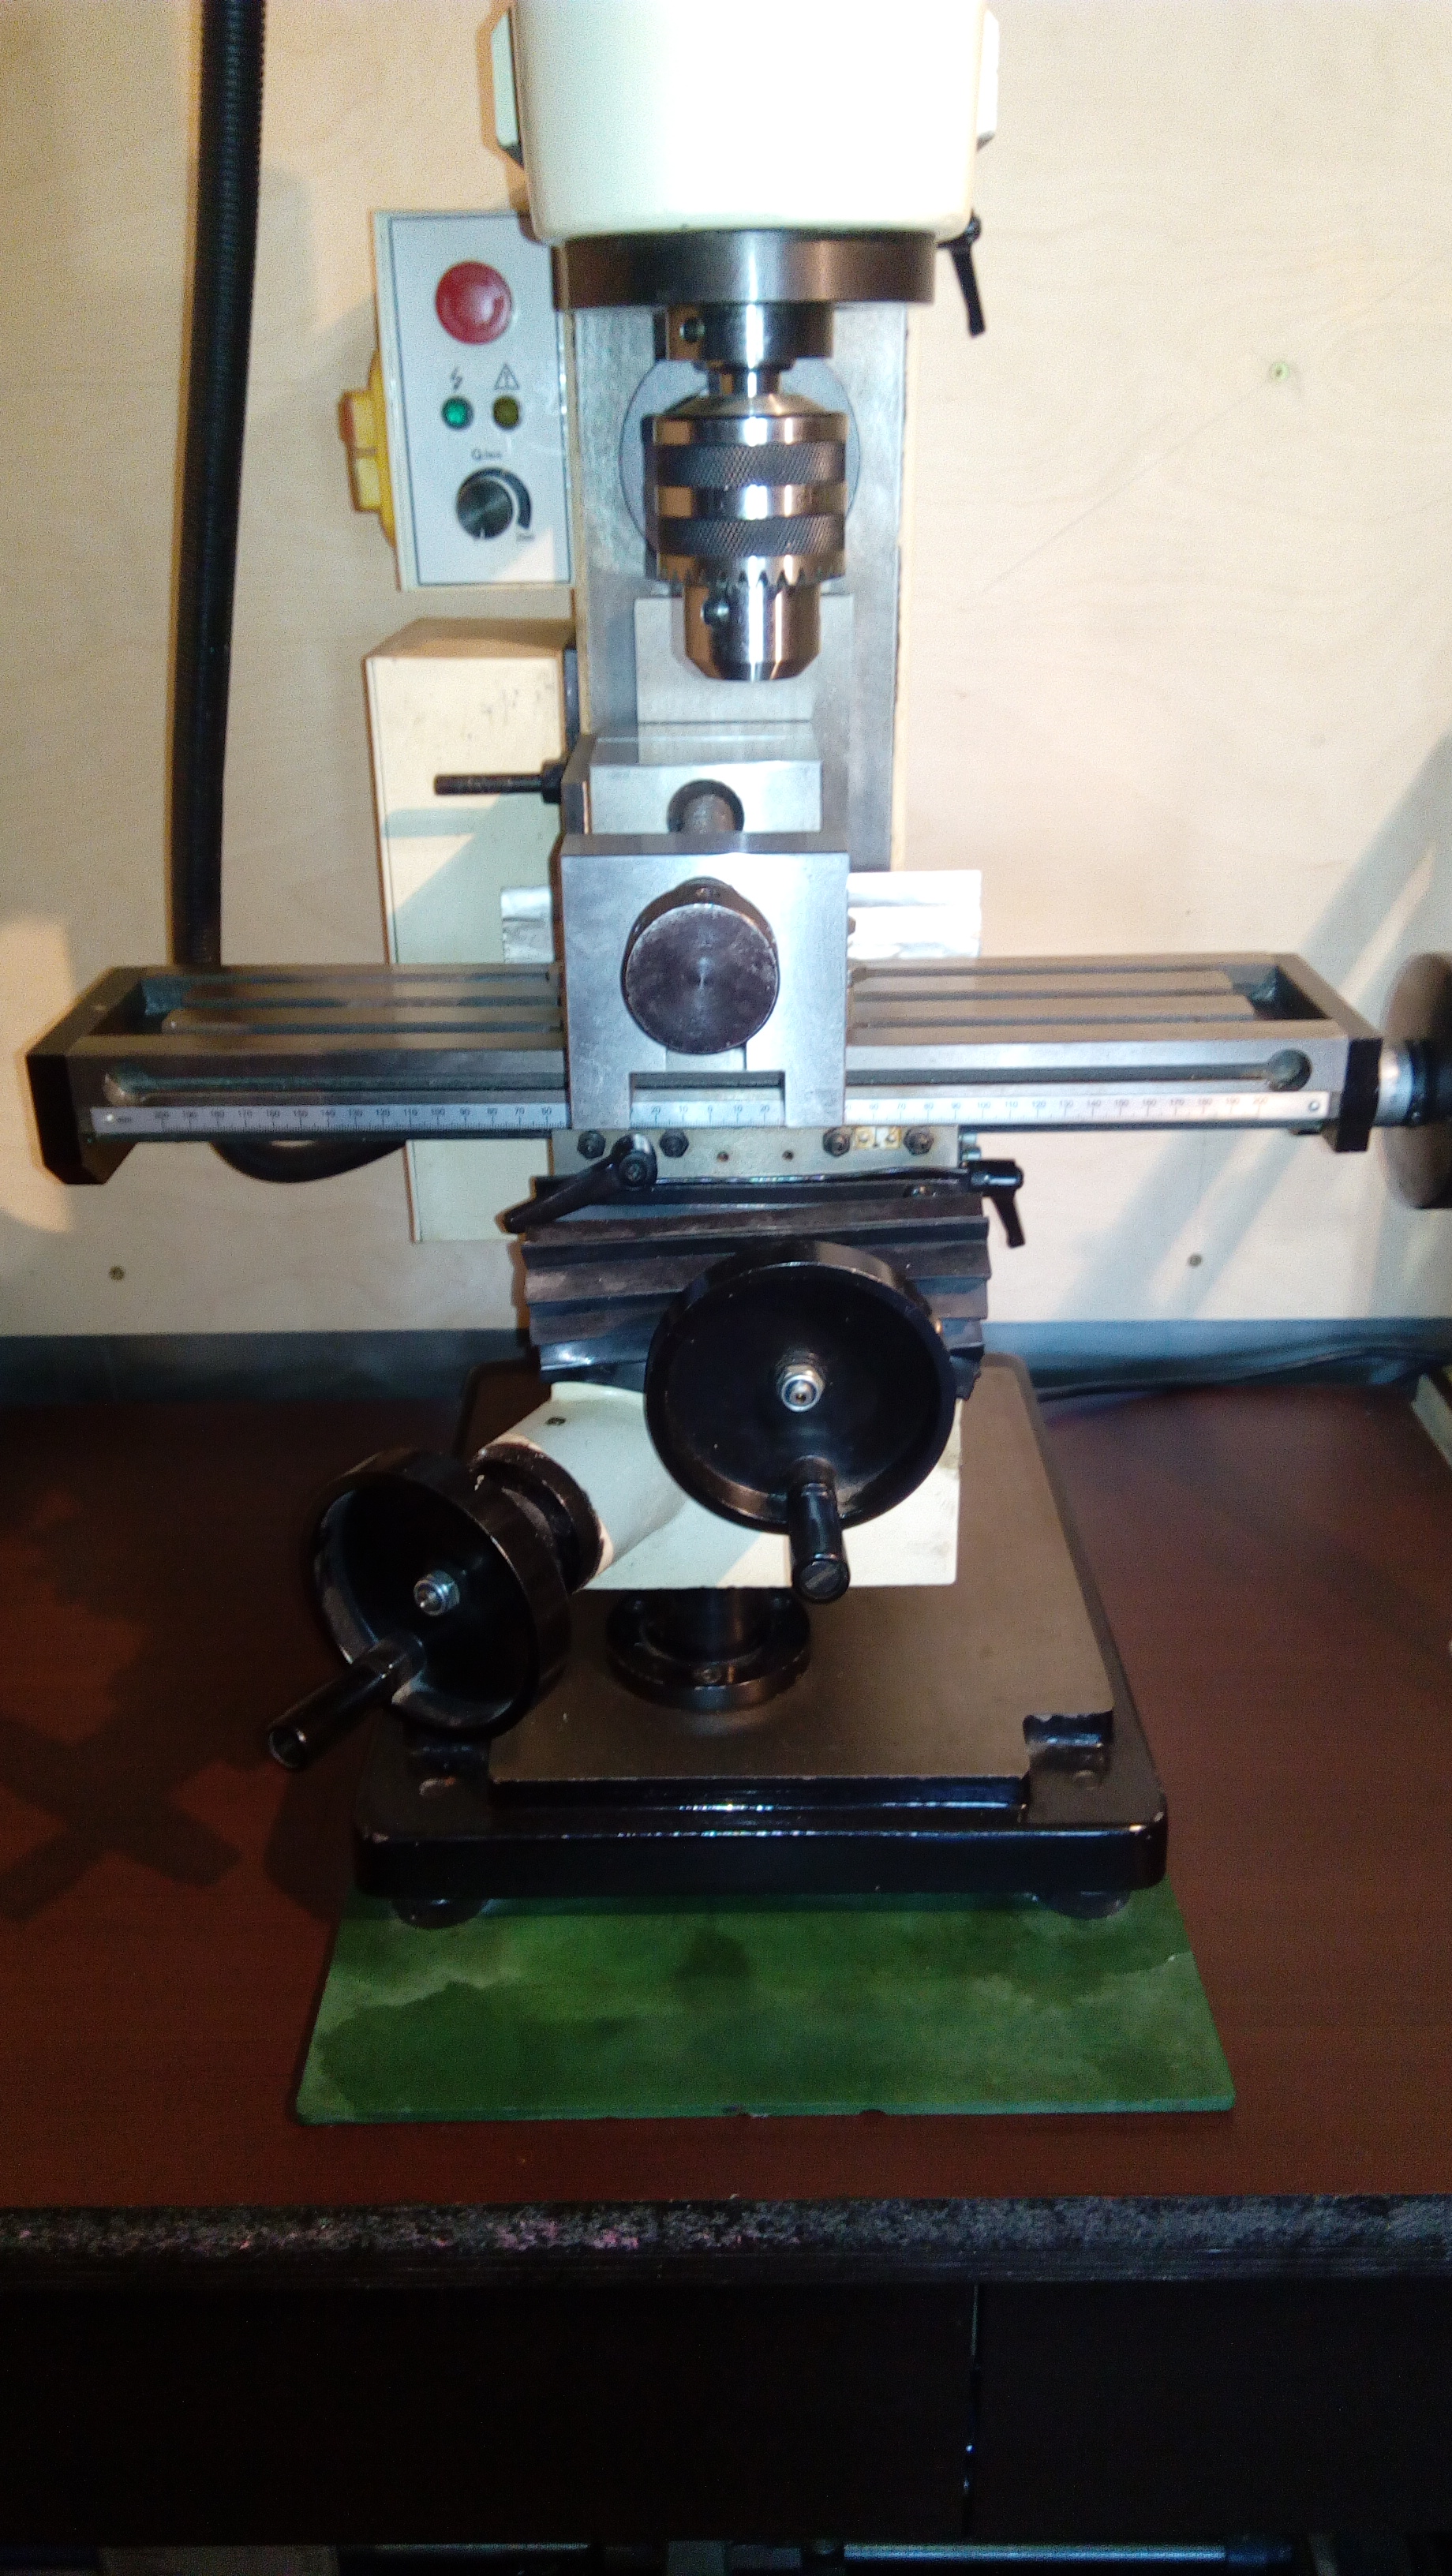
Well, the result (wildly sorry for the quality of the following pictures):
Thanks to all.
Source: https://habr.com/ru/post/457458/
All Articles