How to turn your avatar in Telegram into a clock
I recently sat in a community of Telegram programmers and noticed one very interesting profile. The following was curious - on the main photo he had a picture of the present time. I felt terribly interested in how he achieved this, and I decided to write the same program at any cost.

Before that, I often worked with Telegram bots using the PyTelegramBotAPI library, so I assumed that such a function is in the bot API. Surely, it was the silliest assumption in my life, because The photo was on the avatar of the user’s profile, not the bot — and I soon became convinced of this without finding a single prerequisite for the ability to change the profile photo.
I started surfing the Internet and came across a rather handy tool - telethon . He just allowed me to log into Telegram as a user , and not as a bot. Well, I think it was the very first and biggest step to the goal. Next, let's look at how to recreate the “clock” on our avatar.
')
Follow the link , enter the phone number, and then we get a confirmation code. Read more about it here . So, we get from there two important things for us - api_id and api_hash. Create a config.py file and enter the following code there:
Now we create the main.py file in which we write:
It is important that main.py and config.py be at the same file level, i.e. in one folder, otherwise the string from .config import * gives an error. The TelegramClient class is exactly what will allow us to log into Telegram as a regular user. Further in the same file we write the following:
Thus, we can assume that we logged in to Telegram. SESSION NAME can choose any, at its discretion (for example, "pineapple" ). So, we connected to the telegram. Now it's time to think about the photos ...
Perhaps this step was the easiest for me, because I have long been developing various software that uses computer vision , and therefore, working with images has become something commonplace. Everything is simple - install the opencv library, which allows you to work wonders with photos. Create the utils.py file and write in it:
We need this function so that the photograph shows the time in the H: MM format (there were other ways to do this, but I preferred this one).
So, let's start creating the photos themselves. Create a file generate_time_images.py and write in it:
These libraries should be enough for us to create photos with an indication of time. Next, we write a function to get a black background, on which we will write the time:
Now you will need to cycle through every minute in days and generate a photo indicating the time. In advance, create a folder time_images / where you will save photos. So, we write:
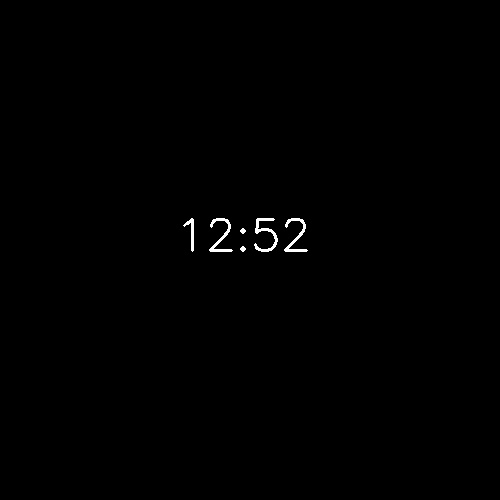
To create a collection of photos, the only thing left is to run generate_time_images.py . After launch, we see that a lot of photos have appeared in the time_images / folder. You should get something like these photos:
Telethon has a very handy thing called UploadProfilePhotoRequest . Import it into our previously written main.py :
Of course, we should not update the avatar at any given time - it is enough to do it once a minute. To do this, we need to know the moment when the old minute ends and a new one begins - it is at this moment that we will change the photo. We write another small function in utils.py :
Yes, yes, we pass into it a string with the time of the previous update of the avatar. Of course, there were other ways of implementation here, but I wrote it all in a hurry, so I didn’t think much about optimization. We continue to fill our main.py :
We need DeletePhotosRequest in order to delete previous avatars, to create the effect that we are not adding a new photo - it changes by itself. In order not to overload the processor, you can add time.sleep (1) to the end of the loop (of course, importing time.py first).
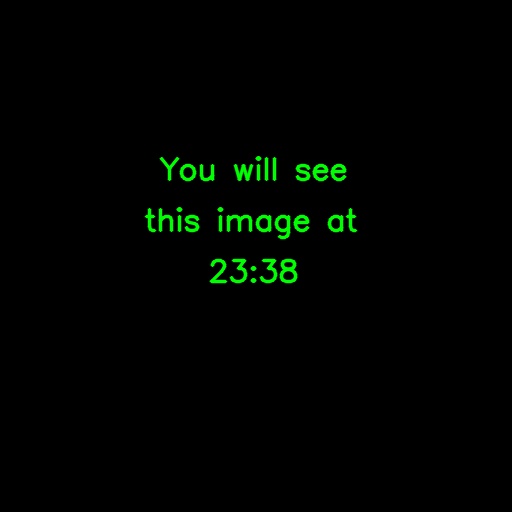
Done! Run main.py and your avatar will turn into a clock. As a more original version, you can try to change the text on the photos, for example, on this:
Before that, I often worked with Telegram bots using the PyTelegramBotAPI library, so I assumed that such a function is in the bot API. Surely, it was the silliest assumption in my life, because The photo was on the avatar of the user’s profile, not the bot — and I soon became convinced of this without finding a single prerequisite for the ability to change the profile photo.
I started surfing the Internet and came across a rather handy tool - telethon . He just allowed me to log into Telegram as a user , and not as a bot. Well, I think it was the very first and biggest step to the goal. Next, let's look at how to recreate the “clock” on our avatar.
')
Step one. Get access to Telegram login from code
Follow the link , enter the phone number, and then we get a confirmation code. Read more about it here . So, we get from there two important things for us - api_id and api_hash. Create a config.py file and enter the following code there:
api_id = < API_ID> api_hash = < API_HASH> Now we create the main.py file in which we write:
from telethon import TelegramClient, sync from .config import * It is important that main.py and config.py be at the same file level, i.e. in one folder, otherwise the string from .config import * gives an error. The TelegramClient class is exactly what will allow us to log into Telegram as a regular user. Further in the same file we write the following:
client = TelegramClient(< >, api_id, api_hash) client.start() Thus, we can assume that we logged in to Telegram. SESSION NAME can choose any, at its discretion (for example, "pineapple" ). So, we connected to the telegram. Now it's time to think about the photos ...
Step two. We create a source of photos with the indication of time
Perhaps this step was the easiest for me, because I have long been developing various software that uses computer vision , and therefore, working with images has become something commonplace. Everything is simple - install the opencv library, which allows you to work wonders with photos. Create the utils.py file and write in it:
def convert_time_to_string(dt): return f"{dt.hour}:{dt.minute:02}" We need this function so that the photograph shows the time in the H: MM format (there were other ways to do this, but I preferred this one).
So, let's start creating the photos themselves. Create a file generate_time_images.py and write in it:
from .utils import * import cv2 import numpy as np from datetime import datetime, timedelta These libraries should be enough for us to create photos with an indication of time. Next, we write a function to get a black background, on which we will write the time:
def get_black_background(): return np.zeros((500, 500)) Now you will need to cycle through every minute in days and generate a photo indicating the time. In advance, create a folder time_images / where you will save photos. So, we write:
start_time = datetime.strptime("2019-01-01", "%Y-%m-%d") # end_time = start_time + timedelta(days=1) def generate_image_with_text(text): image = get_black_background() font = cv2.FONT_HERSHEY_SIMPLEX cv2.putText(image, text, (int(image.shape[0]*0.35), int(image.shape[1]*0.5)), font, 1.5, (255, 255, 0), 2, cv2.LINE_AA) return image while start_time < end_time: text = convert_time_to_string(start_time) image = generate_image_with_text(text) cv2.imwrite(f"time_images/{text}.jpg", image) start_time += timedelta(minutes=1) To create a collection of photos, the only thing left is to run generate_time_images.py . After launch, we see that a lot of photos have appeared in the time_images / folder. You should get something like these photos:
Step three. We update a photo every minute
Telethon has a very handy thing called UploadProfilePhotoRequest . Import it into our previously written main.py :
from telethon.tl.functions.photos import UploadProfilePhotoRequest, DeletePhotosRequest from datetime import datetime from .utils import * Of course, we should not update the avatar at any given time - it is enough to do it once a minute. To do this, we need to know the moment when the old minute ends and a new one begins - it is at this moment that we will change the photo. We write another small function in utils.py :
def time_has_changed(prev_time): return convert_time_to_string(datetime.now()) != prev_time Yes, yes, we pass into it a string with the time of the previous update of the avatar. Of course, there were other ways of implementation here, but I wrote it all in a hurry, so I didn’t think much about optimization. We continue to fill our main.py :
prev_update_time = "" while True: if time_has_changed(prev_update_time): prev_update_time = convert_time_to_string(datetime.now()) client(DeletePhotosRequest(client.get_profile_photos('me'))) file = client.upload_file(f"time_images/{prev_update_time}.jpg") client(UploadProfilePhotoRequest(file)) We need DeletePhotosRequest in order to delete previous avatars, to create the effect that we are not adding a new photo - it changes by itself. In order not to overload the processor, you can add time.sleep (1) to the end of the loop (of course, importing time.py first).
Done! Run main.py and your avatar will turn into a clock. As a more original version, you can try to change the text on the photos, for example, on this:
Source: https://habr.com/ru/post/457078/
All Articles