Computer control via remote control from the amplifier using Arduino and Node.js
Foreword
The story begins with the fact that half a year ago I bought an amplifier Yamaha A-S501.
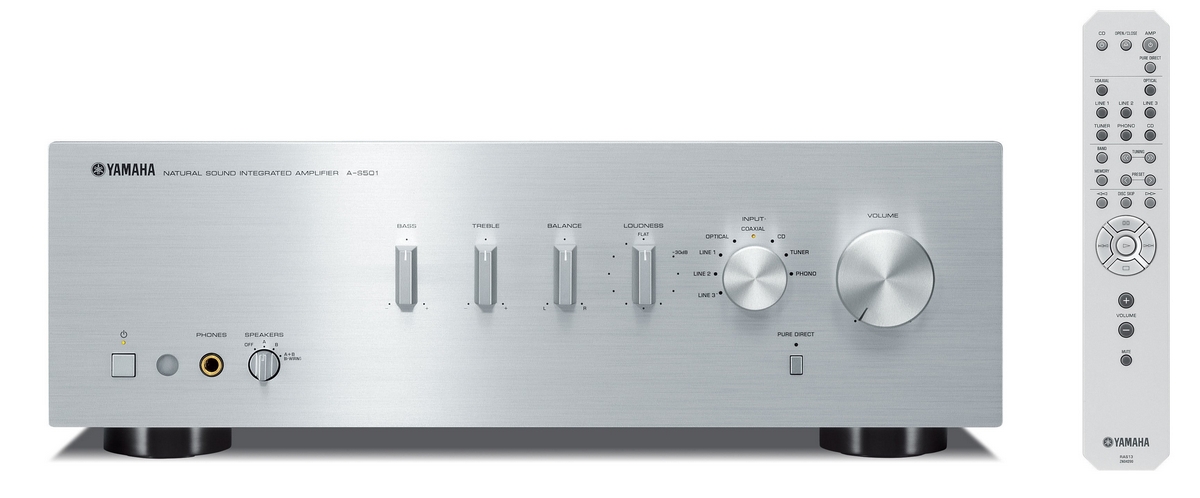
Included with it was a remote control that could control both the amplifier and the Yamahovsky CD player, which I naturally did not have. Therefore, most of the buttons on the remote are simply not used. On the whole, there was no need for the console itself, and it was always on the shelf.
However, looking at him, I was not bothered by the idea to use the remote control to its fullest. For example, it would be convenient to lie on the couch and watch a movie, rewind with a quick movement of the hand, pause it, etc. Of course, for these purposes, I used to use applications on the smartphone to control the programs MPC-HC, Foobar2000, but the remote control would be faster and more convenient.
As they say, the eyes are afraid, and the hands do. With the choice of technology, everything was immediately clear. Arduino - has long wanted to play with it, and this is just a great chance. For the button handler, Node.js, since I specialize in javascript, and did not want to switch context.
And so, let's go ...
Turnkey solutions
One of the existing analogues that I could find is Flirc . With it you can emulate keystrokes on the physical keyboard of the computer.

Such an IR receiver costs 100 PLN here (≈ $ 28). Looking ahead, it is twice as expensive as what I got. Besides, in terms of functionality, I got even better (subjectively).
Buying parts

I needed:
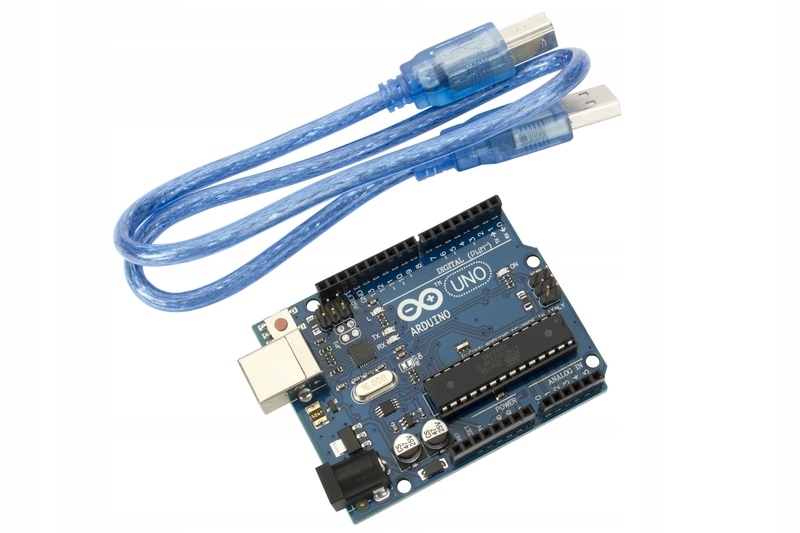
- Actually, the Arduino Uno board itself. It is worth noting that this is not an original board, but some kind of Polish clone. According to the description - it is completely similar to the original. (27.90 zł)
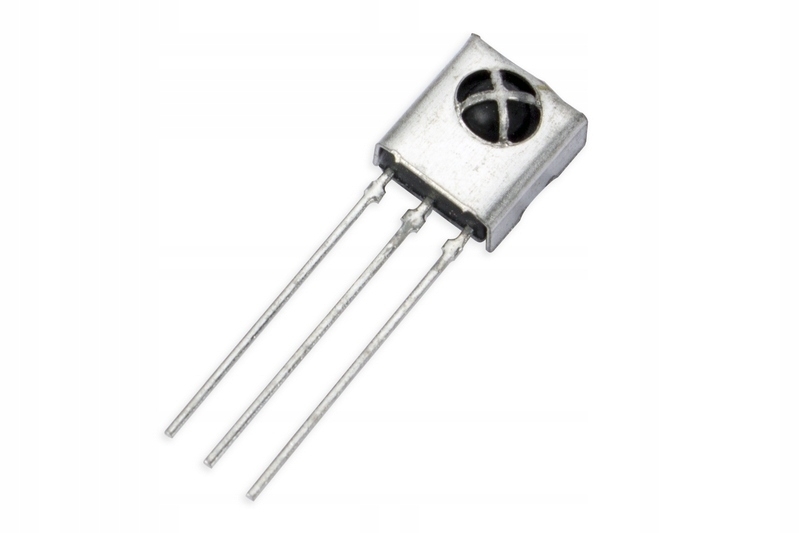
- VS1838B HX1838 infrared receiver (voltage: 3.3–5 V, frequency: 38 kHz, angle: 90 °) (1.30 zł)
- Prototyping board + wires (13,90 zł)
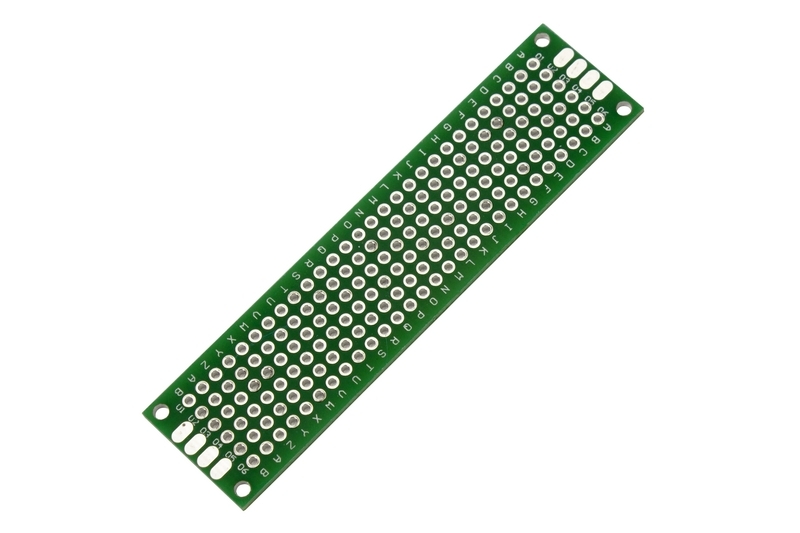
- Empty board to solder everything (2,10 zł)
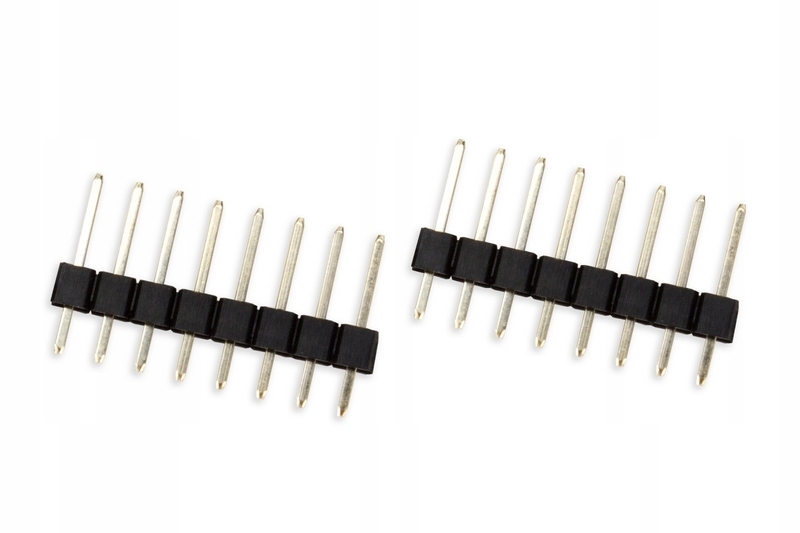
- Connectors for connecting boards (2,51 zł)
Total: 47,71 zł (≈ $ 14)
Software
While waiting for delivery, I began to write a "driver", which should read data from the serial port of the Arduino and perform certain actions for the pressed button on the remote.
The idea was to have the ability to customize everything and everything. Each button on the remote can be assigned certain actions of several types:
- Keyboard key emulation (via node-key-sender ):
{ "key": "space" } - Run an arbitrary program with parameters:
{ "exec": ["c:\\Program Files (x86)\\foobar2000\\foobar2000.exe", "/play"] } - Condition ( ps-list used ):
{ "if": { "running": "mpc-hc.exe" }, "then": [ ... ], "else": [ ... ] } Each type has its own handler, which have the same API, and therefore managed to minimize everything in a simple loop that runs all the handlers sequentially.
const runHandlers = require('./handlers') module.exports = async function run(actions) { if (!Array.isArray(actions)) { actions = [actions] } for (const act of actions) { await runHandlers(act) } } Instead of a thousand words of documentation, all the tests will tell:
run when "exec" action √ executes the specified file without args (as array) (4ms) √ executes the specified file without args (as string) (1ms) √ executes the specified file with args √ rejects if "exec" has wrong type (5ms) when "key" action √ sends the specified key press if passed string (1ms) √ sends the specified key combination if passed array √ rejects if "key" has wrong type (1ms) when "if" action √ rejects if no "then" (1ms) √ rejects if operator is not supported when operator if "running" √ runs "then" actions if the condition is true (1ms) √ runs "else" actions if the condition is false √ does not run anything if the condition is false and no "else" statement (1ms) when multiple actions √ executes all actions (1ms) when multiple actions are mixed into one √ runs only first one alphabetically It remains to wait for the cherished parts.
Iron
I admit, I did not invent anything new, everything was done for a long time before me. I just used the finished circuit from the article How to Set Up an IR Remote and Receiver on an Arduino .
The layout is pretty simple:
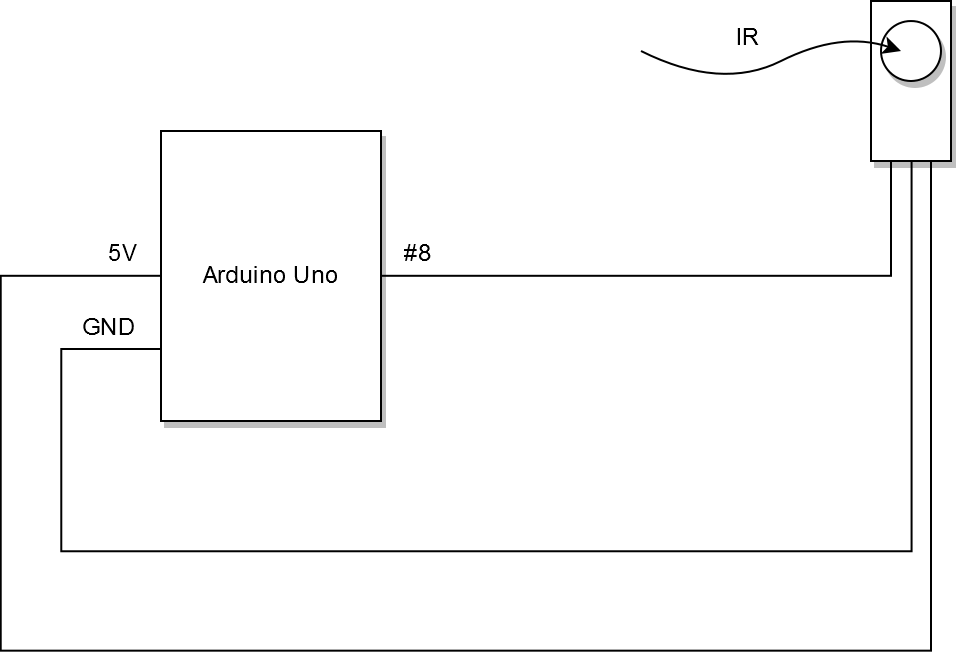
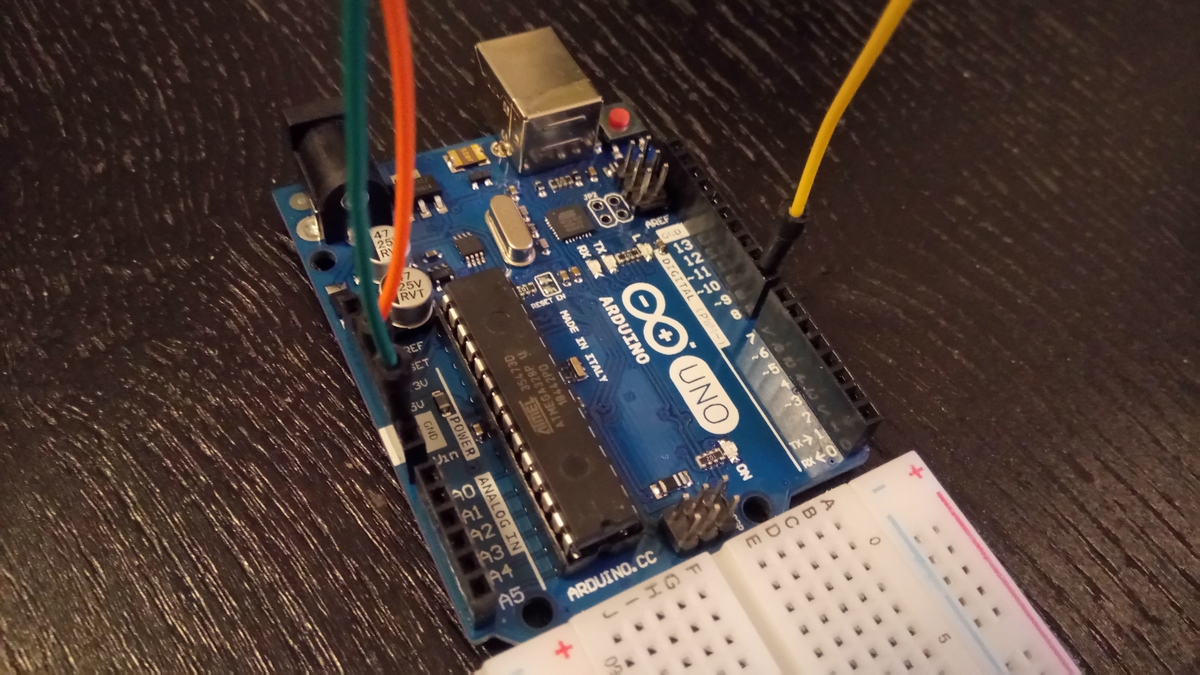
On practice:

Firmware
I also honestly borrowed the firmware from the article , for its work I need the IRremote Arduino Library .
The codes for the buttons are replaced by the actual ones from my console:
void loop() { if (irrecv.decode(&results)) { if (results.value == 0xFFFFFFFF) { results.value = key_value; } switch (results.value) { case 0x9E6140BF: Serial.println("play"); break; case 0x9E61AA55: Serial.println("pause"); break; /* ...*/ case 0x5EA1A857: Serial.println("cd"); break; default: Serial.println(results.value, HEX); break; } key_value = results.value; irrecv.resume(); } } 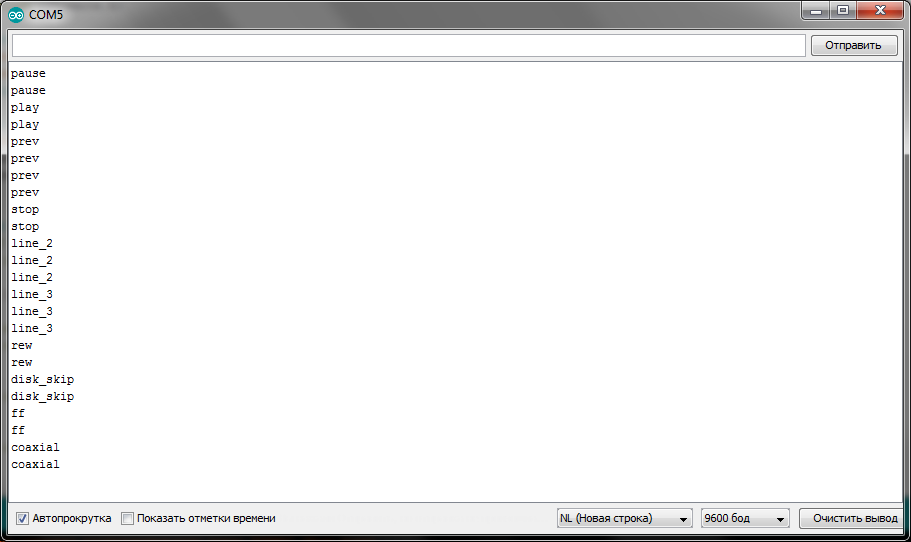
As soon as the names of the pressed buttons appeared in the Port Monitor window in the Arduino IDE, it was necessary to add components to the serial port to the driver.
The result was a wrapper over the serialport library and, in fact, a stream of data from the port:
const SerialPort = require('serialport') module.exports = class SerialPortReader { constructor(port) { const serialPort = new SerialPort(port) this.lineStream = serialPort.pipe(new SerialPort.parsers.Readline()) } start(handler) { this.lineStream.on('readable', () => { const data = this.lineStream.read().trim() handler(data) }) } } Later, it became necessary to turn the handlers into the "debounce" function, because a fast-repeating signal comes from the console, which, even with a short press of a button, has time to go several times. However, removing this option for all buttons is also not entirely appropriate, for example, for volume.
The final code looks like this:
const debounce = require('debounce') const settings = require('./lib/settings') const run = require('./lib/run') const SerialPortReader = require('./lib/SerialPortReader') const simpleHandle = async button => { const actions = settings.mappings[button] if (!actions) { console.warn(`Action not found for remote control button "${button}"`) return } try { await run(actions) } catch (e) { console.error(e.message) process.exit(1) } } const debouncedHandle = debounce(simpleHandle, settings.debounceDelay, true) const callHandleFn = button => { return (settings.noDebounce.includes(button) ? simpleHandle : debouncedHandle)(button) } const reader = new SerialPortReader(settings.serialPort) reader.start(callHandleFn) Create Independent Card
Making sure the prototype works, I set about creating the board. It is worth noting, for me this is the first experience in such matters. I didn’t have a suitable soldering iron with a small needle - only an old Soviet big one with a hard wire.
With a grief in half, I managed to solder the "legs" (of the two large connectors of 8 pins only 2 pins survived). With everything else, it was already easier.
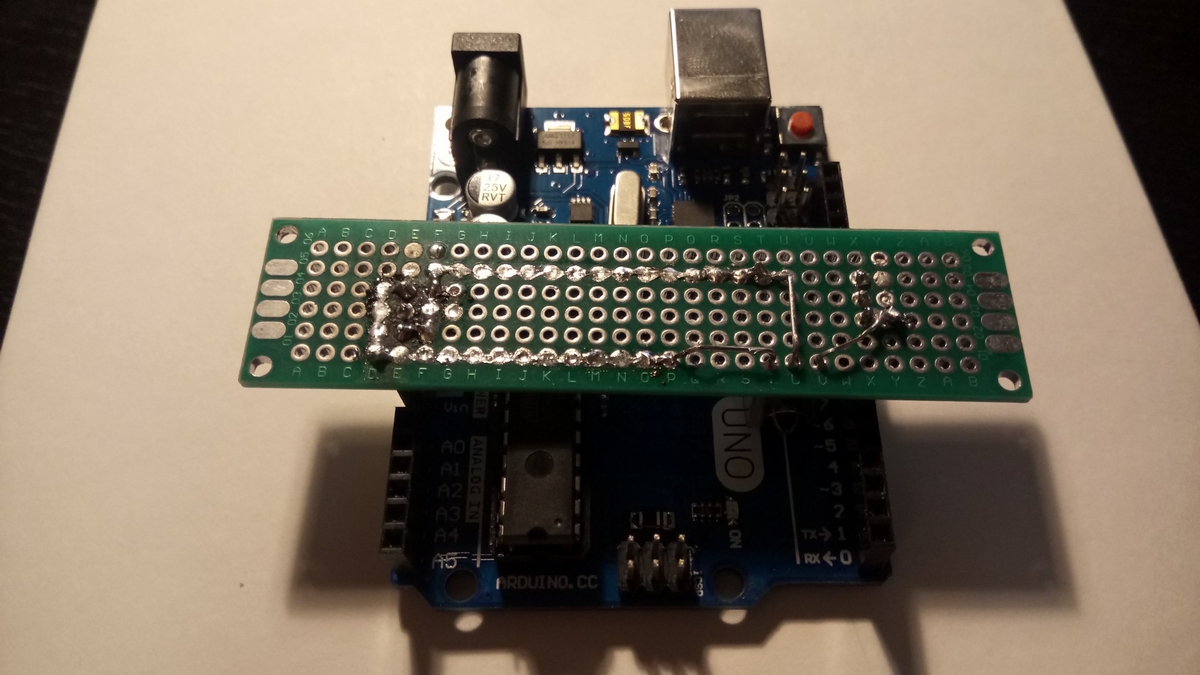
(Distorted. Most likely due to the Arduino clone. Nests are unevenly relative to each other.)
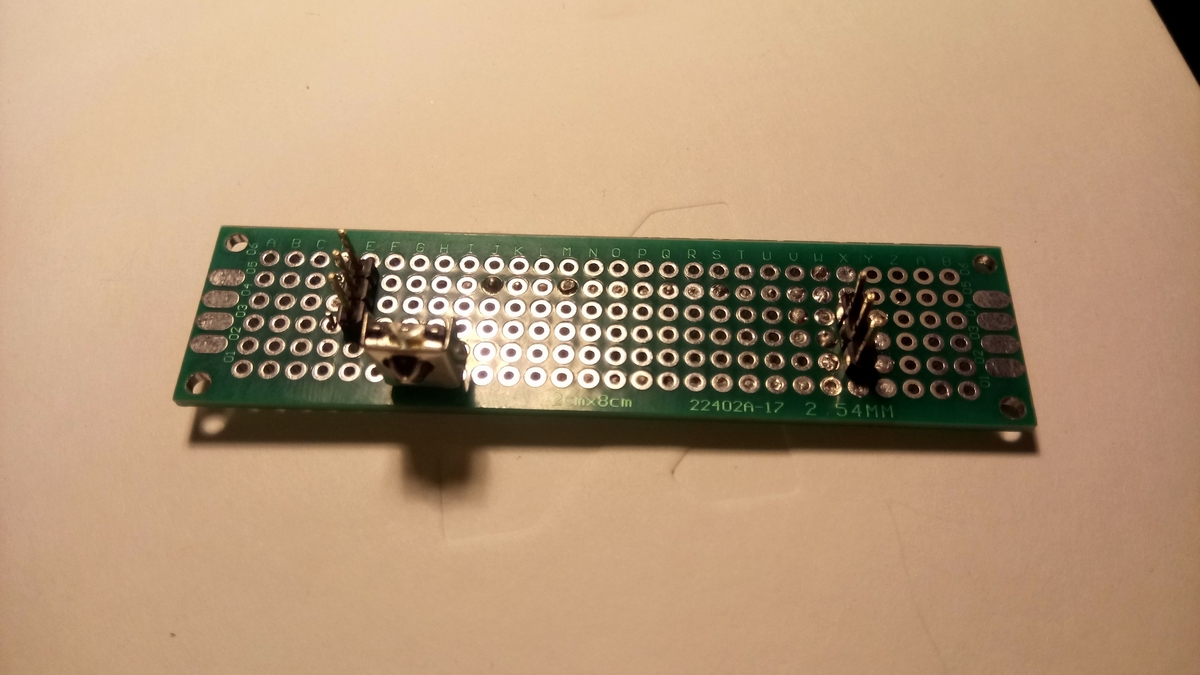
I deliberately put the infrared receiver in between the boards. So the device is easily placed under the amplifier. He decided to make the tracks by connecting tin holes on the board, instead of connecting them with wires. And finally, I stuck an adhesive tape upward so that the board would not close on the metal case of the amplifier.
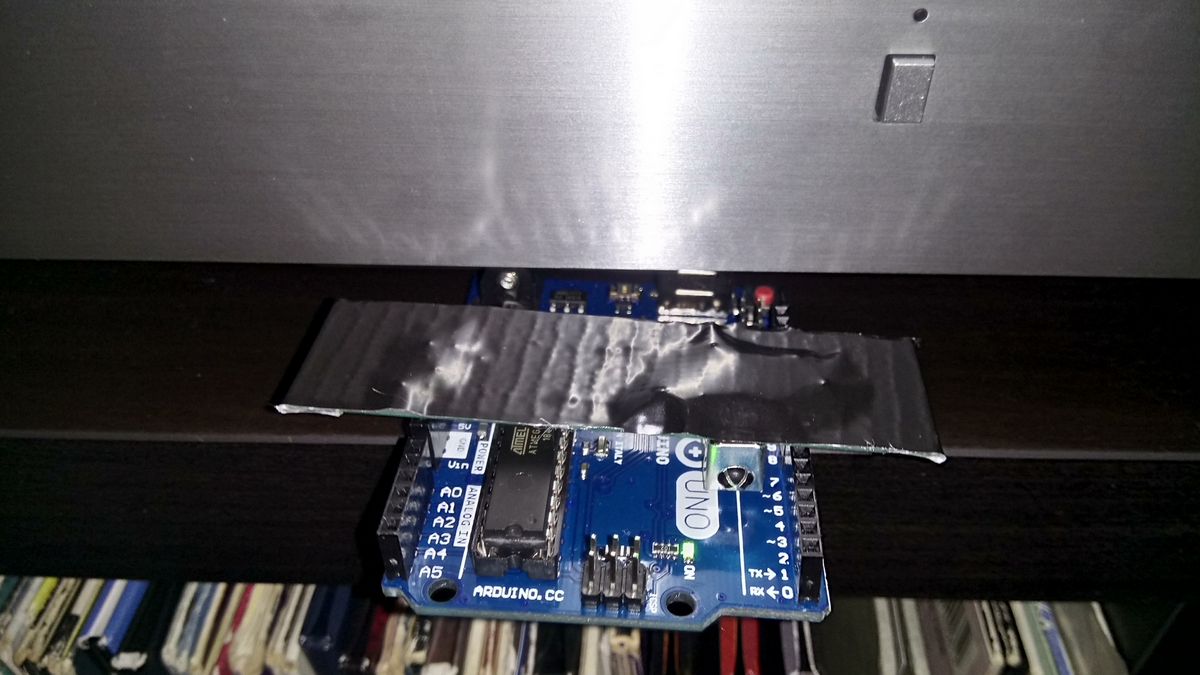
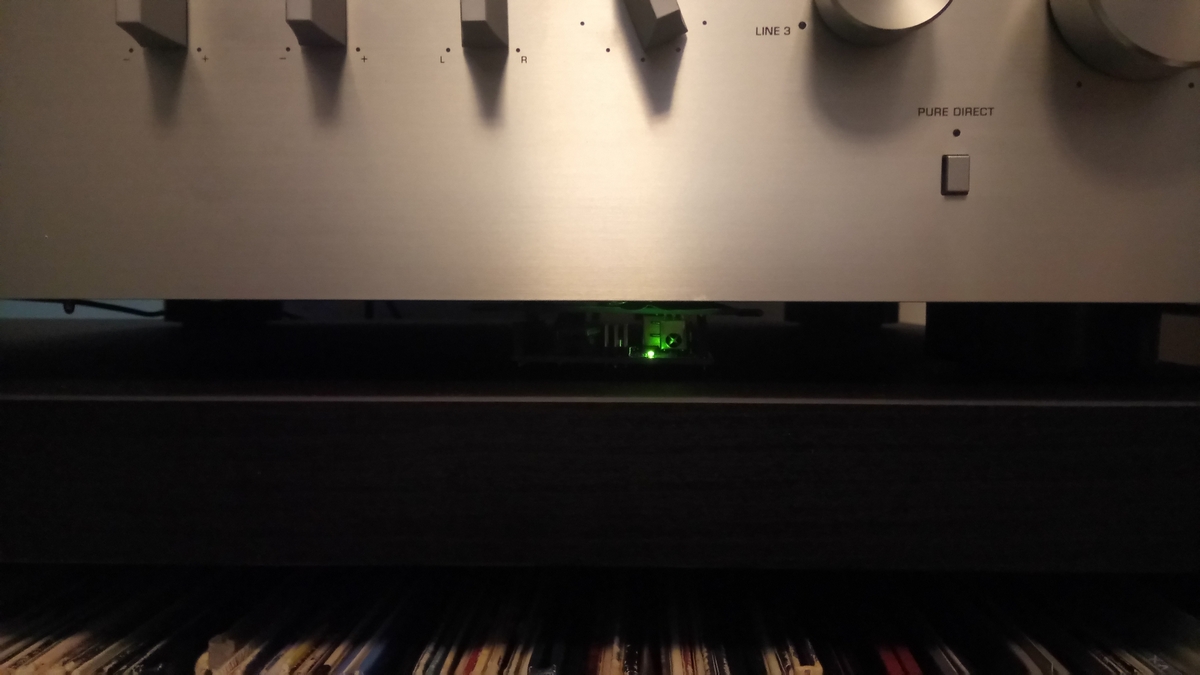
The result: a fully working device and software for ≈ $ 14. The experience and joy of the work done and the result is priceless! :-)
Thanks for attention!
Demo:
PS Thank you ramanchik 'for the consultation :)
')
Source: https://habr.com/ru/post/453474/
All Articles