We play in the browser console
How beautiful is this world
console.log () is a good method to display debugging information in the web console. You can output numbers, strings, arrays, objects, functions, plain text, besides, you can add formatting, color, background and in general quite a lot of other styles to all this ... And is that all? Is this all that one method can do? Well ... What about the implementation in the console of a simple platformer, Ray casting algorithm or fabric physics?
For those who came here just to watch, I will leave a link to the demo at the very beginning:
')
GitHub: GitHub
Living Example: Demo
Open the page, press F12, stretch the console wider and go to the demo you are interested in. And of course you need to focus on the page in order to be able to manage the image in the console.
It is desirable to run in chrome, but it may be the case when the characters used for displaying images may not be supported and displayed as squares. Alternatively, download the code for yourself and change the output characters to others.
And now a little more about it.
Console as a canvas
Let's look at the console.log () method and the console as a whole, not as a debugging tool, but as a canvas. Yes, as a place where we can “draw” a little and even make it move. In addition, Unicode characters have not been canceled.
I implemented methods for “drawing” in the console, like methods for working with canvas. But compared to a real canvas, the output to the console and, moreover, its redrawing imposes big restrictions that unfortunately cannot be bypassed (at least I think so). About them in order.
Pixel size
When drawing on canvas, we are dealing with pixels that are sized, focused on a pixel on your monitor! When displayed in the console, “pixel” acquires a slightly different concept. Yes, with respect to the console, this is its original pixel, but with respect to a real pixel, this is just a special character, for example, such? But the characters have a small limitation, or rather a recommendation: it must have a height equal to the height of the line break in the console. But this is only if we want to get a beautiful picture (as far as it is possible at all).
Redrawing
This is the main problem because the console is not designed to frequently update data on it. We output them there, output and output. There is console.clear () which clears it, but I think it is used very rarely. Oh yes, but not in my case, where everything is built on the fact that it is necessary to constantly clean it and display the text again. Here is just one console.clear () causes its full overload, which is accompanied by a millisecond blink. And if you need to redraw it constantly with some frequency, then people with hypersensitivity should not look at it. But unfortunately nothing can be done about it.
Colour
As I wrote at the beginning of the conclusion, formatting can be applied, but in my case I decided not to do everything and be content with a black and white image, which can be achieved thanks to a wide choice of Unicode characters.
More detailed limitations can be seen on live examples, links to which I left at the end of the article. You can already familiarize yourself with them, but for the time being I will describe the process of drawing itself. I designed all this in a small library with the help of which at the end I implement simple games and Raycasting algorithm
We draw in the console
The names of the methods, as well as the drawing process, I took over from the canvas (later I will describe why) and this is what happened in the end
engine.js
const canvas = { width: 70, height: 40, getContext(type) { if (type != '2d') { return console.log('Only 2d'); } return new Context2D(type); } } class Context2D { constructor(type) { this.fillStyle = '?'; this.emptyStyle = '?'; this.map = []; for (let i = 0; i < canvas.height; i++) { this.map[i] = []; for (let j = 0; j < canvas.width; j++) { this.map[i][j] = this.emptyStyle; } } this.path = []; this.clear(); } fillRect(x, y, width, height) { for (let i = y; i < y + height; i++) { for (let j = x; j < x + width; j++) { if (!this.map[i]) break; this.map[i][j] = this.fillStyle; } } this.draw(); } strokeRect(x, y, width, height) { for (let j = x; j < x + width; j++) { this.map[y][j] = this.fillStyle; this.map[y + height - 1][j] = this.fillStyle; } for (let i = y + 1; i < y + height - 1; i++) { this.map[i][x] = this.fillStyle; this.map[i][x + width - 1] = this.fillStyle; } this.draw(); } clearRect(x, y, width, height) { for (let i = y; i < y + height; i++) { for (let j = x; j < x + width; j++) { this.map[i][j] = this.emptyStyle; } } this.draw(); } beginPath() { this.path = []; } moveTo(x, y) { this.path.push([Math.round(x), Math.round(y), true]); } lineTo(x, y) { this.path.push([Math.round(x), Math.round(y)]); } closePath() { if (!this.path.length) return false this.path.push([this.path[0][0], this.path[0][1]]); } stroke() { const path = this.path; for (let i = 0; i < path.length - 1; i++) { const x0 = path[i][0]; const y0 = path[i][1]; const x1 = path[i+1][0]; const y1 = path[i+1][1]; this.fillPixel(x1, y1); if (path[i+1][2]) continue; const deltaX = Math.abs(x1 - x0); const deltaY = Math.abs(y1 - y0); const signX = x0 < x1 ? 1 : -1; const signY = y0 < y1 ? 1 : -1; let error = deltaX - deltaY; let x = x0; let y = y0; while(x !== x1 || y !== y1) { this.fillPixel(x, y) const error2 = error * 2; if (error2 > -deltaY) { error -= deltaY; x += signX; } if (error2 < deltaX) { error += deltaX; y += signY; } } } this.draw(); } fillPixel(x, y) { if (!this.map[y]) return false; this.map[y][x] = this.fillStyle; } arc(x1, y1, r) { let x = 0; let y = r; let delta = 1 - 2 * r; let error = 0; while (y >= 0) { this.moveTo(x1 + x, y1 + y); this.moveTo(x1 + x, y1 - y); this.moveTo(x1 - x, y1 + y); this.moveTo(x1 - x, y1 - y); error = 2 * (delta + y) - 1; if (delta < 0 && error <= 0) { delta += 2 * ++x + 1; continue; } if (delta > 0 && error > 0) { delta -= 2 * --y + 1; continue; } delta += 2 * (++x - y--); } this.draw() } draw() { this.clear(); //2D to String const map = this.map.map(val => val.join('')).join('\n'); console.log(map); } clear() { console.clear(); } } Now we connect this file to the html file, open the console and we can try several methods.
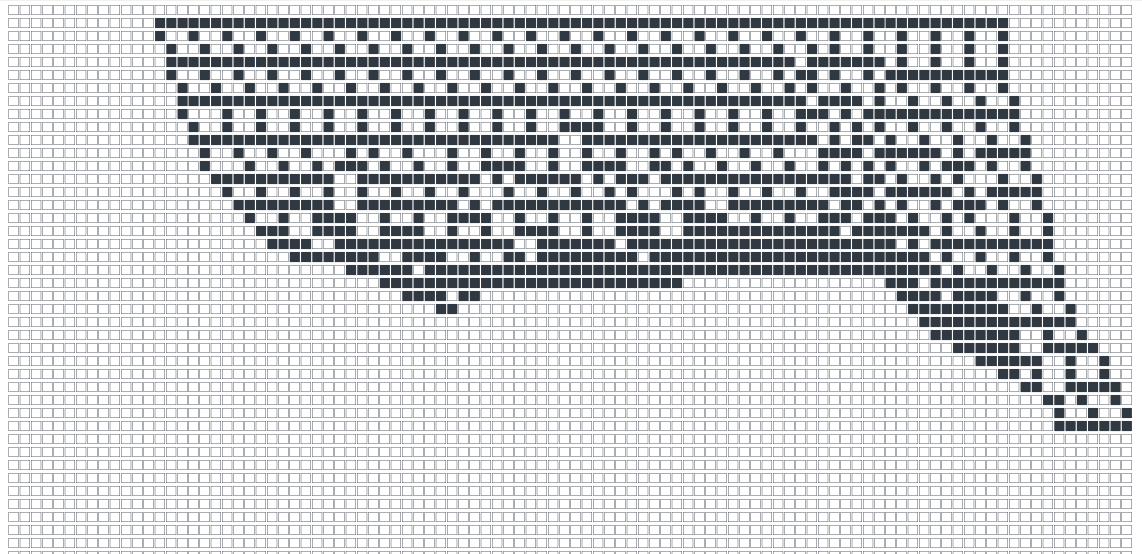
canvas.width = 70 canvas.height = 30 const ctx = canvas.getContext('2d') ctx.beginPath() ctx.moveTo(30, 5) ctx.lineTo(30, 25) ctx.moveTo(30, 15) ctx.lineTo(35, 13) ctx.lineTo(38, 13) ctx.lineTo(40, 16) ctx.lineTo(40, 25) ctx.stroke() Here is the result
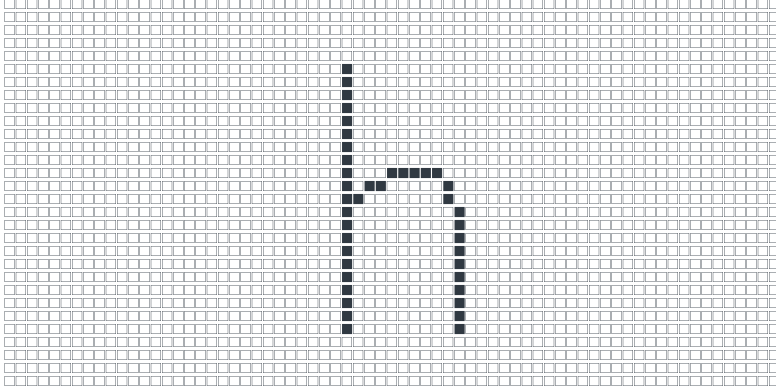
The output is the image I conceived, everything is drawn according to the coordinates and by analogy with the canvas.
Examples abruptly
My plans were to make the possibility of the simplest transfer of a regular game onto a canvas into a game in console. That is why I implemented the same methods with minimal changes. What does it mean? And the fact that for the implementation of any game I just take already ready on the canvas, correct a few lines of code and it will run in the console!
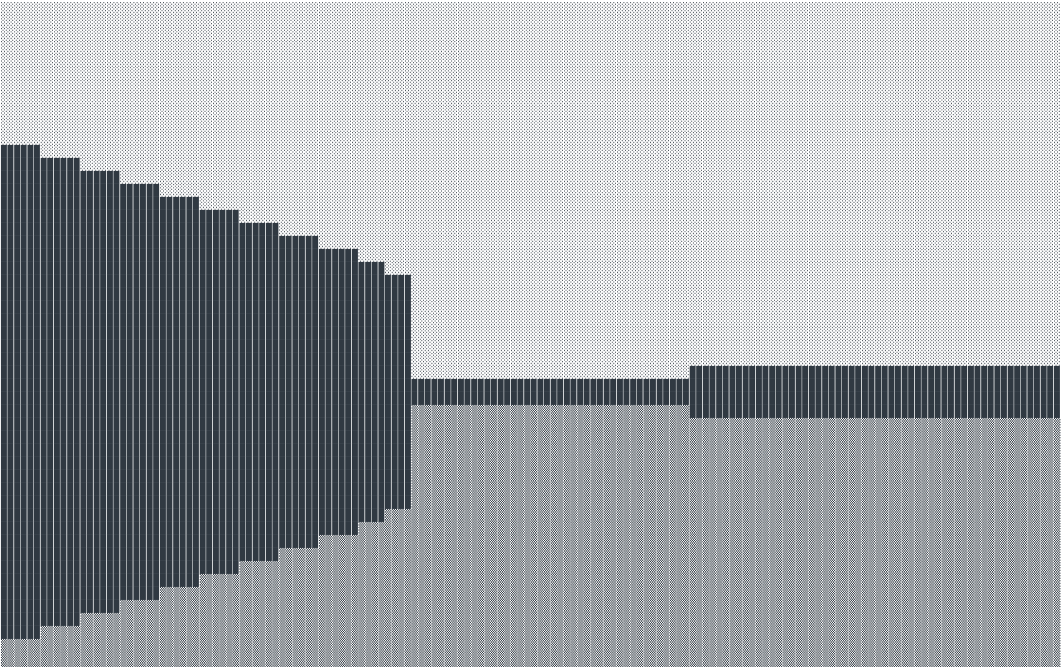
Actually, that's exactly what I did. And the first thing that occurred to me (except for a square that can be moved along the console) is to implement the Raycasting algorithm.
I did not write the algorithm itself, but simply borrowed it here and by changing a few lines I started it in the console.
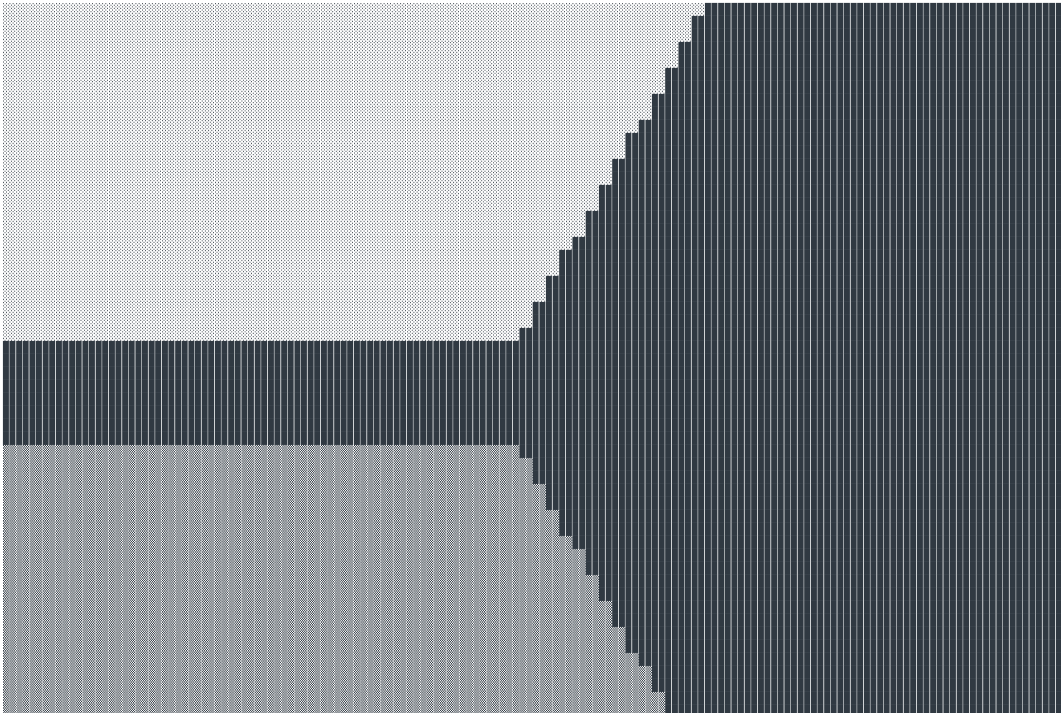
It looks impressive, isn't it?
Here are some more screenshots from what I transferred to the console.
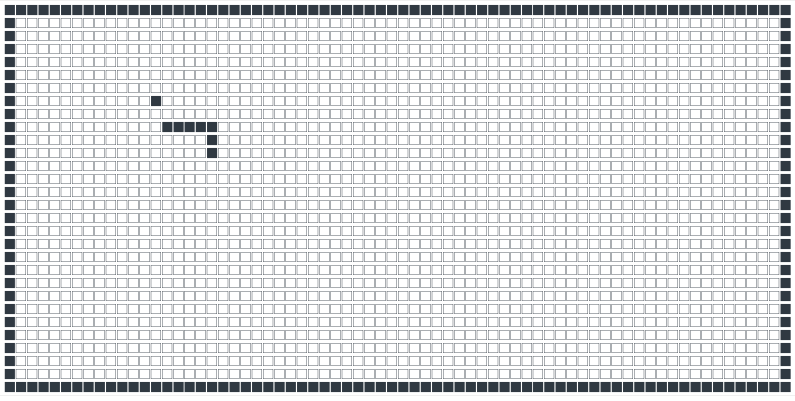
Snake
The physics of tissue that you can pull and even tear
Again, the implementation of this snake and the physics of the tissue is not mine, I just adapted it to the console. In the source files I left links to the original sources.
Source: https://habr.com/ru/post/452442/
All Articles