Timer in iOS
Imagine that you are working on an application in which you need to periodically perform certain actions. This is what Swift uses for the Timer class.
Timer is used to plan actions in the application. This can be a one-time action or a repetitive procedure.
In this tutorial, you will understand how the timer works in iOS, how it can affect the responsiveness of the UI, how to optimize battery consumption when using a timer, and how to use CADisplayLink to animate.
')
As a test site, we will use the application - a primitive task scheduler.
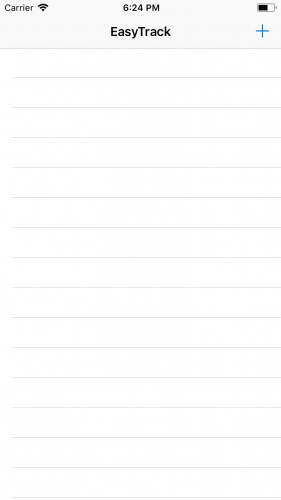
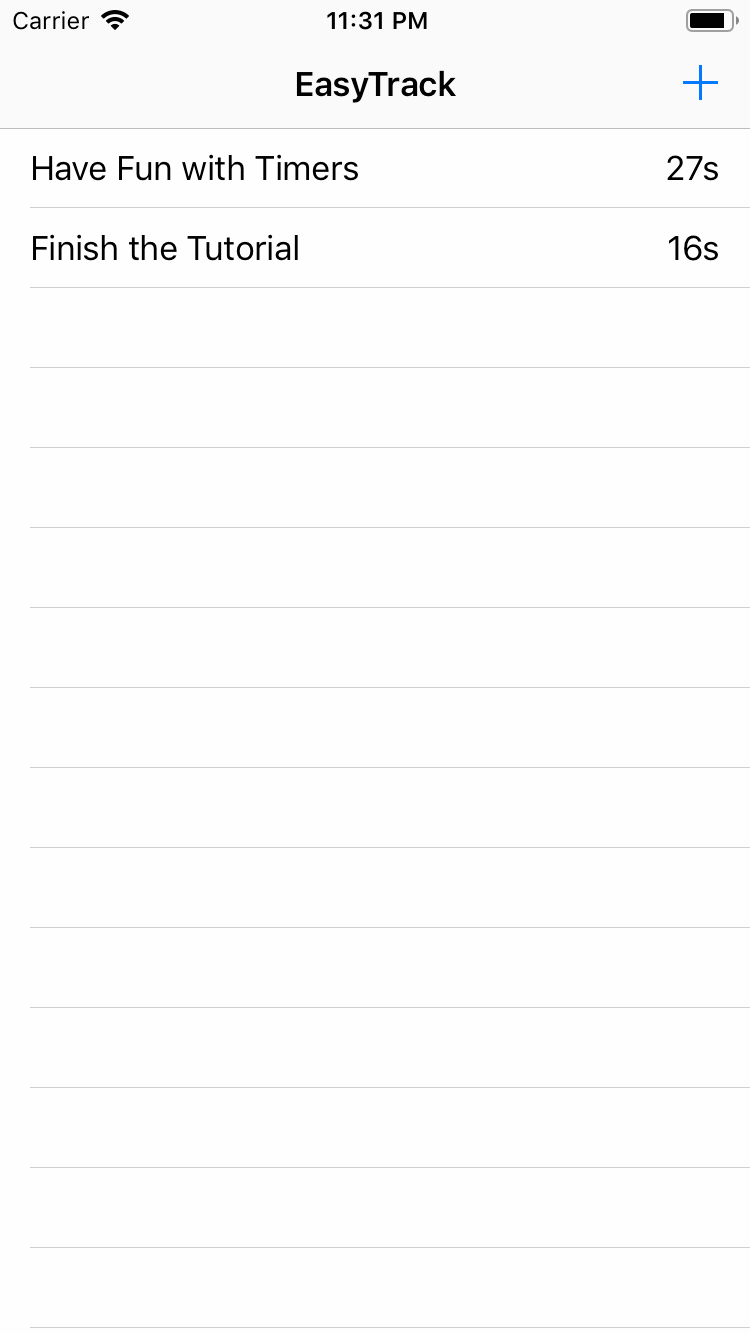
Download the original project. Open it in Xcode, look at its structure, compile and run. You will see the simplest task scheduler:
Add a new task to it. Tap on the + icon, enter the name of the task, tap Ok.
Added tasks have a time stamp. The new task you just created is marked with zero seconds. As you can see, this value does not increase.
Each task can be marked as completed. Tap on the task. The name of the task will be crossed out and it will be marked as completed.
Let's create the main timer of our application. The Timer class, also known as NSTimer, is a convenient way to schedule an action for a specific point, both one-time and periodical.
Open TaskListViewController.swift and add this variable to TaskListViewController :
Then add extension to the same place:
And paste this code into the extension:
In this method we:
Then add this code to the extension:
Here we:
Then we need to create a timer as soon as the user adds the first task. Add createTimer () at the very beginning of the presentAlertController (_ :) method.
Launch the app and create a couple of new tasks. You will see that each task timestamp changes every second.

Increasing the number of timers leads to worse UI responsiveness and greater battery consumption. Each timer tries to execute exactly at the allotted time, as by default its tolerance is zero.
Adding timer tolerance is a simple way to reduce energy consumption. This allows the system to perform a timer action between the assigned time and the assigned time plus the tolerance time - but never the previously assigned interval.
For timers that run only once, the tolerance value is ignored.
In the createTimer () method, immediately after assigning the timer, add this line:
Run the application. In this particular case, the effect will not be obvious (we have only one timer), but in the real situation of several timers your users will get a more responsive interface and the application will be more energy efficient.
Interestingly, what happens to the timers when the application goes to the background? To deal with this, add this code at the very beginning of the updateTimer () method:
This will allow us to track the timer events in the console.
Run the application, add the task. Now press the Home button on your device, and then return to our application.
In the console, you will see something like this:
The run loop is an event loop that schedules and processes inbound events. The cycle keeps the thread busy while it is working and puts it into a “sleeping” state when there is no work for it.
Every time you start an application, the system creates the main application thread, each thread has an automatically created execution loop for it.
But why is all this information important to you now? Now each timer starts in the main thread and joins the execution loop. You are probably aware that the main thread is engaged in user interface drawing, touch processing, and so on. If the main thread is busy with something, the interface of your application can become “non-responsive” (hang).
Did you notice that the timestamp in the cell is not updated when you drag the table view?

You can solve this problem by specifying the run loop to start timers in a different mode.
The run loop mode is a set of input sources, such as a touch of the screen or mouse clicks, which can be monitored and a set of “observers” receiving notifications.
There are three run cycle modes in iOS:
default : input sources that are not NSConnectionObjects are processed.
common : a set of input cycles is processed, for which you can define a set of input sources, timers, "observers".
tracking : handled by application UI.
For our application, the common mode looks most appropriate. To use it, replace the contents of the createTimer () method with the following:
The main difference from the previous code is that we add this timer to the run loop in the common mode before assigning the TaskLeader to the TaskLeader.
Compile and run the application.
Now the time labels of the cells are updated even in the case of scrolling the table.
Now we will add a congratulatory animation for the user to perform all the tasks - the ball will rise from the bottom of the screen to the very top.
Add these variables at the beginning of TaskListViewController:
The purpose of these variables:
Now add the following TaskListViewController text to the end of the TaskListViewController.swift file:
Here we do the following:
Now we need to create our own logic for updating the greeting animation. Add this code after showCongratulationAnimation () :
What are we doing:
Now replace // TODO: Animation here in showCongratulationAnimation () with this code:
Now updateAnimation () is called whenever a timer event occurs.
Hooray, we just created an animation. However, when you start the application, nothing new happens ...
As you probably guessed, there is nothing to "launch" our new animation. To do this, we need another method. Add this code to the TaskListViewController animation extension :
We will call this method whenever the user marks a task as completed, it checks whether all tasks have been completed. If so, it will call showCongratulationAnimation () .
Finally , add a call to this method at the end of the tableView (_: didSelectRowAt :) :
Run the application, create a couple of tasks, mark them as completed - and you will see our animation!
If you look in the console, you will see that, although the user has noted all the tasks completed, the timer continues. This is completely pointless, so it makes sense to stop the timer when it is not needed.
First, create a new method to stop the timer:
This will update the timer and reset it to nil so that we can correctly create it again later. invalidate () is the only way to remove a Timer from a run loop. The run loop will remove a strong reference to the timer, either directly after calling invalidate () or a little later.
Now let's replace the showCongratulationsIfNeeded () method as follows:
Now, if the user performs all the tasks, the application will first reset the timer, and then show the animation, otherwise it will try to create a new timer if it is not already there.
Run the application.

Now the timer stops and restarts as it should.
Timer is a non-ideal choice for controlling animations. You may have noticed the omission of several frames of animation, especially if you run the application in the simulator.
We set the timer to 60Hz. Thus, the timer updates the animation every 16 ms. Consider the situation more closely:

When using Timer, we do not know the exact time of the launch of the action. This can happen either at the beginning or at the end of the frame. Let's say the timer runs in the middle of each frame (blue dots in the figure). The only thing we know for sure is that there will be a call every 16 ms.
Now we only have 8 ms to execute the animation, and this may not be enough for our animation. Let's look at the second frame in the figure. The second frame cannot be completed within the allotted time, so the application will reset the second frame of the animation.
CADisplayLink is called once per frame and tries to synchronize real animation frames as far as possible. Now you will have all 16 ms and iOS will not drop a single frame.
To use CADisplayLink , you need to replace animationTimer with a new type.
Replace this code
on that:
You replaced Timer with CADisplayLink . CADisplayLink is a representation of a timer that is tied to a vertical sweep of the display. This means that the device's GPU will pause until the screen can process further GPU commands. This way we get smooth animation.
Replace this code
on that:
You replaced TimeInterval with CFTimeInterval , which is necessary for working with CADisplayLink.
Replace the text of the showCongratulationAnimation () method with this:
What are we doing here:
Now replace updateAnimation () with the following code:
Run the app!
Perfectly! We successfully replaced the Timer based animation with a more suitable CADisplayLink - and got the animation smoother, without jerks.
In this tutorial, you figured out how the Timer class works in iOS, what the run loop is and how it can make your application more responsive in terms of interface, and how to use CADisplayLink instead of Timer for smooth animation.
Timer is used to plan actions in the application. This can be a one-time action or a repetitive procedure.
In this tutorial, you will understand how the timer works in iOS, how it can affect the responsiveness of the UI, how to optimize battery consumption when using a timer, and how to use CADisplayLink to animate.
')
As a test site, we will use the application - a primitive task scheduler.
Getting started
Download the original project. Open it in Xcode, look at its structure, compile and run. You will see the simplest task scheduler:
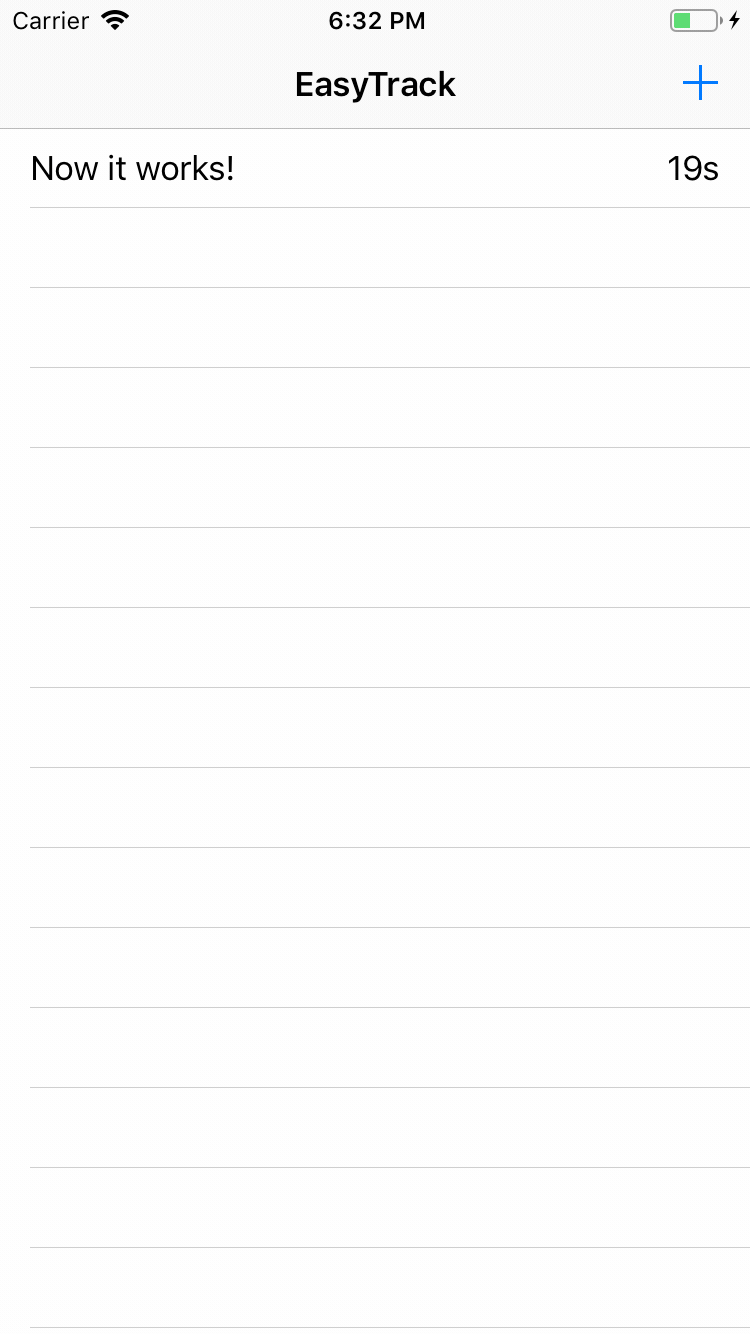
Add a new task to it. Tap on the + icon, enter the name of the task, tap Ok.
Added tasks have a time stamp. The new task you just created is marked with zero seconds. As you can see, this value does not increase.
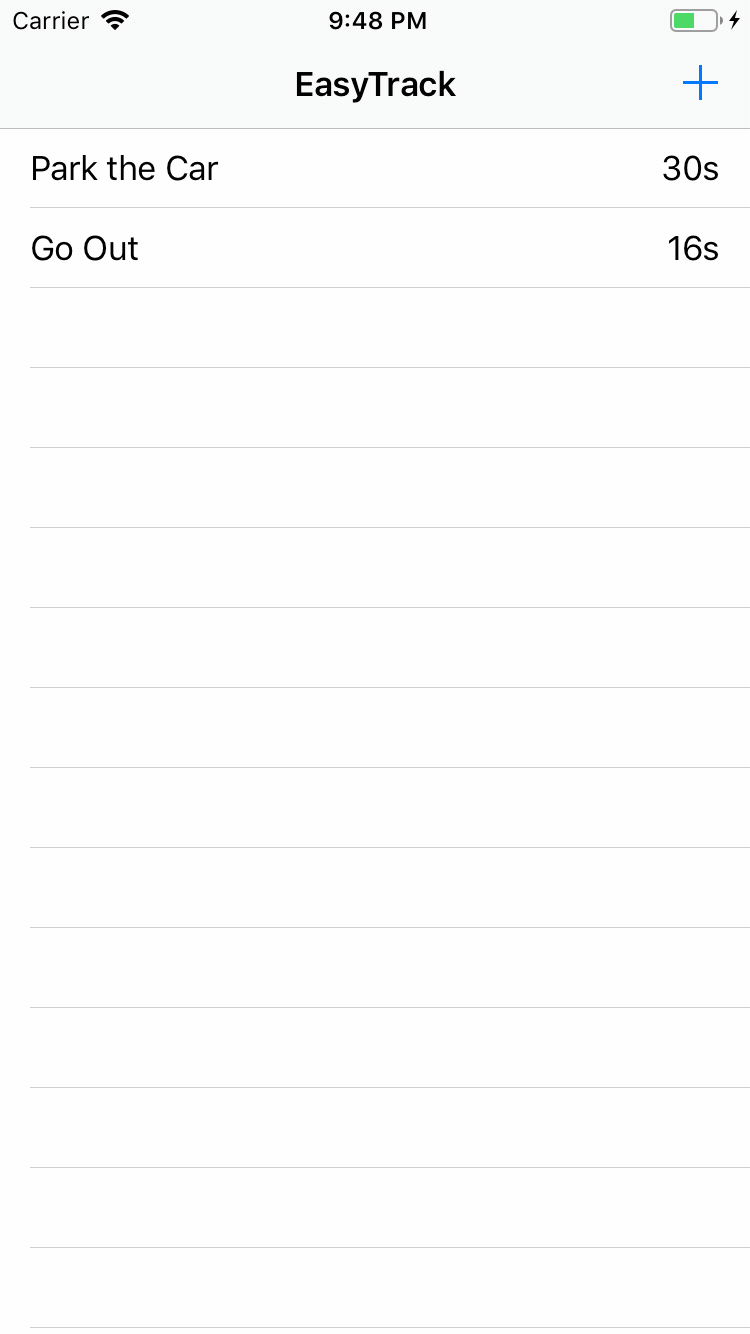
Each task can be marked as completed. Tap on the task. The name of the task will be crossed out and it will be marked as completed.
Create our first timer
Let's create the main timer of our application. The Timer class, also known as NSTimer, is a convenient way to schedule an action for a specific point, both one-time and periodical.
Open TaskListViewController.swift and add this variable to TaskListViewController :
var timer: Timer? Then add extension to the same place:
// MARK: - Timer extension TaskListViewController { } And paste this code into the extension:
@objc func updateTimer() { // 1 guard let visibleRowsIndexPaths = tableView.indexPathsForVisibleRows else { return } for indexPath in visibleRowsIndexPaths { // 2 if let cell = tableView.cellForRow(at: indexPath) as? TaskTableViewCell { cell.updateTime() } } } In this method we:
- Check if there are visible rows in the task table.
- Call updateTime for each visible cell. This method updates the timestamp in the cell (see TaskTableViewCell.swift ).
Then add this code to the extension:
func createTimer() { // 1 if timer == nil { // 2 timer = Timer.scheduledTimer(timeInterval: 1.0, target: self, selector: #selector(updateTimer), userInfo: nil, repeats: true) } } Here we:
- Check if timer contains a Timer instance.
- If not, create a timer that calls updateTimer () every second.
Then we need to create a timer as soon as the user adds the first task. Add createTimer () at the very beginning of the presentAlertController (_ :) method.
Launch the app and create a couple of new tasks. You will see that each task timestamp changes every second.
We add the admission to the timer
Increasing the number of timers leads to worse UI responsiveness and greater battery consumption. Each timer tries to execute exactly at the allotted time, as by default its tolerance is zero.
Adding timer tolerance is a simple way to reduce energy consumption. This allows the system to perform a timer action between the assigned time and the assigned time plus the tolerance time - but never the previously assigned interval.
For timers that run only once, the tolerance value is ignored.
In the createTimer () method, immediately after assigning the timer, add this line:
timer?.tolerance = 0.1 Run the application. In this particular case, the effect will not be obvious (we have only one timer), but in the real situation of several timers your users will get a more responsive interface and the application will be more energy efficient.
Timers in the background
Interestingly, what happens to the timers when the application goes to the background? To deal with this, add this code at the very beginning of the updateTimer () method:
if let fireDateDescription = timer?.fireDate.description { print(fireDateDescription) } This will allow us to track the timer events in the console.
Run the application, add the task. Now press the Home button on your device, and then return to our application.
In the console, you will see something like this:
Understanding Run Loops
The run loop is an event loop that schedules and processes inbound events. The cycle keeps the thread busy while it is working and puts it into a “sleeping” state when there is no work for it.
Every time you start an application, the system creates the main application thread, each thread has an automatically created execution loop for it.
But why is all this information important to you now? Now each timer starts in the main thread and joins the execution loop. You are probably aware that the main thread is engaged in user interface drawing, touch processing, and so on. If the main thread is busy with something, the interface of your application can become “non-responsive” (hang).
Did you notice that the timestamp in the cell is not updated when you drag the table view?
You can solve this problem by specifying the run loop to start timers in a different mode.
Understanding the run loop modes
The run loop mode is a set of input sources, such as a touch of the screen or mouse clicks, which can be monitored and a set of “observers” receiving notifications.
There are three run cycle modes in iOS:
default : input sources that are not NSConnectionObjects are processed.
common : a set of input cycles is processed, for which you can define a set of input sources, timers, "observers".
tracking : handled by application UI.
For our application, the common mode looks most appropriate. To use it, replace the contents of the createTimer () method with the following:
if timer == nil { let timer = Timer(timeInterval: 1.0, target: self, selector: #selector(updateTimer), userInfo: nil, repeats: true) RunLoop.current.add(timer, forMode: .common) timer.tolerance = 0.1 self.timer = timer } The main difference from the previous code is that we add this timer to the run loop in the common mode before assigning the TaskLeader to the TaskLeader.
Compile and run the application.
Now the time labels of the cells are updated even in the case of scrolling the table.
Add animation to complete all tasks.
Now we will add a congratulatory animation for the user to perform all the tasks - the ball will rise from the bottom of the screen to the very top.
Add these variables at the beginning of TaskListViewController:
// 1 var animationTimer: Timer? // 2 var startTime: TimeInterval?, endTime: TimeInterval? // 3 let animationDuration = 3.0 // 4 var height: CGFloat = 0 The purpose of these variables:
- storage timer animation.
- storage of start and end time of the animation.
- the duration of the animation.
- animation height
Now add the following TaskListViewController text to the end of the TaskListViewController.swift file:
// MARK: - Animation extension TaskListViewController { func showCongratulationAnimation() { // 1 height = UIScreen.main.bounds.height + balloon.frame.size.height // 2 balloon.center = CGPoint(x: UIScreen.main.bounds.width / 2, y: height + balloon.frame.size.height / 2) balloon.isHidden = false // 3 startTime = Date().timeIntervalSince1970 endTime = animationDuration + startTime! // 4 animationTimer = Timer.scheduledTimer(withTimeInterval: 1 / 60, repeats: true) { timer in // TODO: Animation here } } } Here we do the following:
- calculate the height of the animation, getting the height of the device screen
- center the ball outside the screen and set its visibility
- assign the start and end time of the animation
- start the animation timer and update the animation 60 times per second
Now we need to create our own logic for updating the greeting animation. Add this code after showCongratulationAnimation () :
func updateAnimation() { // 1 guard let endTime = endTime, let startTime = startTime else { return } // 2 let now = Date().timeIntervalSince1970 // 3 if now >= endTime { animationTimer?.invalidate() balloon.isHidden = true } // 4 let percentage = (now - startTime) * 100 / animationDuration let y = height - ((height + balloon.frame.height / 2) / 100 * CGFloat(percentage)) // 5 balloon.center = CGPoint(x: balloon.center.x + CGFloat.random(in: -0.5...0.5), y: y) } What are we doing:
- check that endTime and startTime are assigned
- save current time in constant
- make sure that the end time has not yet come. If it is already, update the timer and hide our ball
- calculate the new y-coordinate of the ball
- the horizontal position of the ball is calculated relative to the previous position
Now replace // TODO: Animation here in showCongratulationAnimation () with this code:
self.updateAnimation() Now updateAnimation () is called whenever a timer event occurs.
Hooray, we just created an animation. However, when you start the application, nothing new happens ...
Show animation
As you probably guessed, there is nothing to "launch" our new animation. To do this, we need another method. Add this code to the TaskListViewController animation extension :
func showCongratulationsIfNeeded() { if taskList.filter({ !$0.completed }).count == 0 { showCongratulationAnimation() } } We will call this method whenever the user marks a task as completed, it checks whether all tasks have been completed. If so, it will call showCongratulationAnimation () .
Finally , add a call to this method at the end of the tableView (_: didSelectRowAt :) :
showCongratulationsIfNeeded() Run the application, create a couple of tasks, mark them as completed - and you will see our animation!
Stop the timer
If you look in the console, you will see that, although the user has noted all the tasks completed, the timer continues. This is completely pointless, so it makes sense to stop the timer when it is not needed.
First, create a new method to stop the timer:
func cancelTimer() { timer?.invalidate() timer = nil } This will update the timer and reset it to nil so that we can correctly create it again later. invalidate () is the only way to remove a Timer from a run loop. The run loop will remove a strong reference to the timer, either directly after calling invalidate () or a little later.
Now let's replace the showCongratulationsIfNeeded () method as follows:
func showCongratulationsIfNeeded() { if taskList.filter({ !$0.completed }).count == 0 { cancelTimer() showCongratulationAnimation() } else { createTimer() } } Now, if the user performs all the tasks, the application will first reset the timer, and then show the animation, otherwise it will try to create a new timer if it is not already there.
Run the application.
Now the timer stops and restarts as it should.
CADisplayLink for smooth animation
Timer is a non-ideal choice for controlling animations. You may have noticed the omission of several frames of animation, especially if you run the application in the simulator.
We set the timer to 60Hz. Thus, the timer updates the animation every 16 ms. Consider the situation more closely:
When using Timer, we do not know the exact time of the launch of the action. This can happen either at the beginning or at the end of the frame. Let's say the timer runs in the middle of each frame (blue dots in the figure). The only thing we know for sure is that there will be a call every 16 ms.
Now we only have 8 ms to execute the animation, and this may not be enough for our animation. Let's look at the second frame in the figure. The second frame cannot be completed within the allotted time, so the application will reset the second frame of the animation.
CADisplayLink will help us.
CADisplayLink is called once per frame and tries to synchronize real animation frames as far as possible. Now you will have all 16 ms and iOS will not drop a single frame.
To use CADisplayLink , you need to replace animationTimer with a new type.
Replace this code
var animationTimer: Timer? on that:
var displayLink: CADisplayLink? You replaced Timer with CADisplayLink . CADisplayLink is a representation of a timer that is tied to a vertical sweep of the display. This means that the device's GPU will pause until the screen can process further GPU commands. This way we get smooth animation.
Replace this code
var startTime: TimeInterval?, endTime: TimeInterval? on that:
var startTime: CFTimeInterval?, endTime: CFTimeInterval? You replaced TimeInterval with CFTimeInterval , which is necessary for working with CADisplayLink.
Replace the text of the showCongratulationAnimation () method with this:
func showCongratulationAnimation() { // 1 height = UIScreen.main.bounds.height + balloon.frame.size.height balloon.center = CGPoint(x: UIScreen.main.bounds.width / 2, y: height + balloon.frame.size.height / 2) balloon.isHidden = false // 2 startTime = CACurrentMediaTime() endTime = animationDuration + startTime! // 3 displayLink = CADisplayLink(target: self, selector: #selector(updateAnimation)) displayLink?.add(to: RunLoop.main, forMode: .common) } What are we doing here:
- Set the height of the animation, the coordinates of the ball and visibility - about the same as they did before.
- Initialize startTime with CACurrentMediaTime () (instead of of Date ()).
- Create an instance of the CADisplayLink class and add it to the run loop in the common mode.
Now replace updateAnimation () with the following code:
// 1 @objc func updateAnimation() { guard let endTime = endTime, let startTime = startTime else { return } // 2 let now = CACurrentMediaTime() if now >= endTime { // 3 displayLink?.isPaused = true displayLink?.invalidate() balloon.isHidden = true } let percentage = (now - startTime) * 100 / animationDuration let y = height - ((height + balloon.frame.height / 2) / 100 * CGFloat(percentage)) balloon.center = CGPoint(x: balloon.center.x + CGFloat.random(in: -0.5...0.5), y: y) } - Add objc to the method signature (for CADisplayLink, the selector parameter requires such a signature).
- Replace initialization with Date () to initialize the date of CoreAnimation .
- Replace the animationTimer.invalidate () call with a CADisplayLink and invalidate pause. This will also remove CADisplayLink from the run loop.
Run the app!
Perfectly! We successfully replaced the Timer based animation with a more suitable CADisplayLink - and got the animation smoother, without jerks.
Conclusion
In this tutorial, you figured out how the Timer class works in iOS, what the run loop is and how it can make your application more responsive in terms of interface, and how to use CADisplayLink instead of Timer for smooth animation.
Source: https://habr.com/ru/post/450172/
All Articles