UITableView automatic header and footer sizes with AutoLayout

In this article, I will try to uncover some of the quirks of the UITableView class and show you the simplest and easiest ways to implement variable-height header and footer views. For me, simplicity is when it comes to writing user interface code, but the real thing is to not code any UI. In this article I will make the most of the interface builder :)
I'll talk about headers, but the same goes for footers.
')
TableView Setup
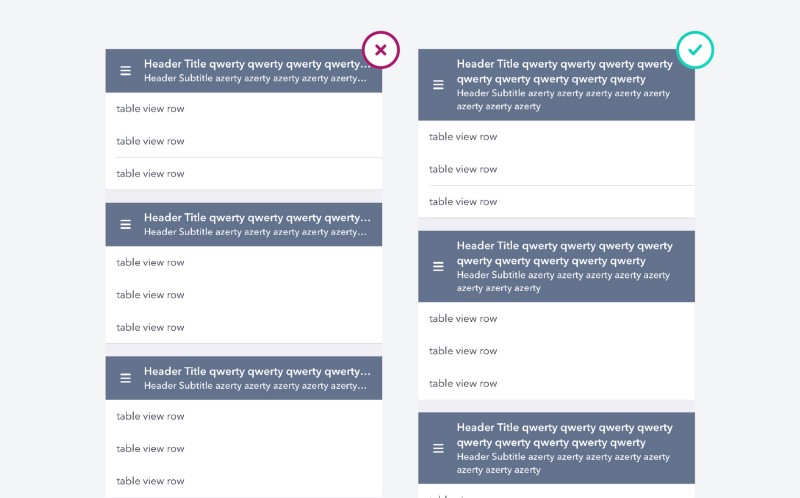
Headers in the tabular or simple TableView style are no different from any other UITableView rows. Setup is actually quite simple.
sectionHeaderHeightandestimatedHeaderHeightshould be installed.UITableView.automaticDimensionis what allows AutoLayout to calculate the height of each cell at run time.estimatedHeaderHeightshould be set to roughly estimate the total height of its contents in order to display a scroll indicator.
These properties can be set in the size inspector by selecting the TableView in your storyboard.

Creating a Header View
tableView(_: viewForHeaderInSection: ) should return an instance of UIView, but guess what? UITableViewCell is a subclass of UIView. This means that we can use our storyboard to create a cell prototype that can be removed and returned from this function. In my opinion, this is the best way to declare all your views in one place, instead of the many xib files scattered around your project.
I created a cell prototype that consists of an imageView on the left, a title, and a description label. In this project, the static height is not set. We want the layout to automatically calculate the cell height based on the size of the contents of the tags, which will be determined at run time.
Labels are placed on the StackView and are limited to all four sides of the cell content view. I prefer to use StackView when creating views to reduce restrictions.

To return a view, we call
dequeueReusableCell(withIdentifier identifier: String) -> UITableViewCell? . We do not use a kind of forIndexPath: function, because we do not have an indexPath for header lines. In addition, forIndexPath: states that a reuse identifier is defined for an excluded cell to prevent nil from returning. In our case, the section can be displayed without a title. guard let headerCell = tableView.dequeueReusableCell(withIdentifier: "header") else { return nil } Blank section headings
As planned, if the header for the section in the table view in the group style is not defined, the framework will display an empty view of 30 pixels. Apple decided that it would be strange if the different sections looked like one. But sometimes we just want to break the rules. :)
To get around this, you can use the constant
CGFLOAT_MIN . It represents the minimum non-negative value for CGFloat. The value is 1.17549435e-38F or 2.2250738585072014e-308 for 32-bit and 64-bit code, respectively. In the end, it is not zero pixels. On the other hand, in a simple table view, the height of the header can be set to any value greater than or equal to 0.For this special case, we need to use
tableView(_:estimatedHeightForHeaderInSection:) and tableView(_:heightForHeaderInSection:) . As stated in the documentation, two functions must be implemented to determine the height of the custom view.Conclusion
I was puzzled to see so many hacks on StackOverflow from people wanting to implement headers of different heights. This is a simple trick that I constantly use when working with the TableView, and I hope that it will be as useful for you as it is for me. Happy coding! :)
Source: https://habr.com/ru/post/448546/
All Articles