CUBA 7: what's new?
Three years ago we announced the release of CUBA 6 . That version became revolutionary: instead of a closed proprietary license, we began to distribute the framework freely, under the Apache 2.0 license. At that time, we could not even imagine how closely this would affect the development of the framework in the long term. The CUBA community began to grow exponentially, and we were faced with all possible (and sometimes impossible) ways to use the framework. Now we bring to your attention CUBA 7 . We hope that this version will make the development even easier and more pleasant for all members of the community: from beginners who just got acquainted with CUBA and Java, to experienced developers, who have more than one completed project of a large company.
Development tools
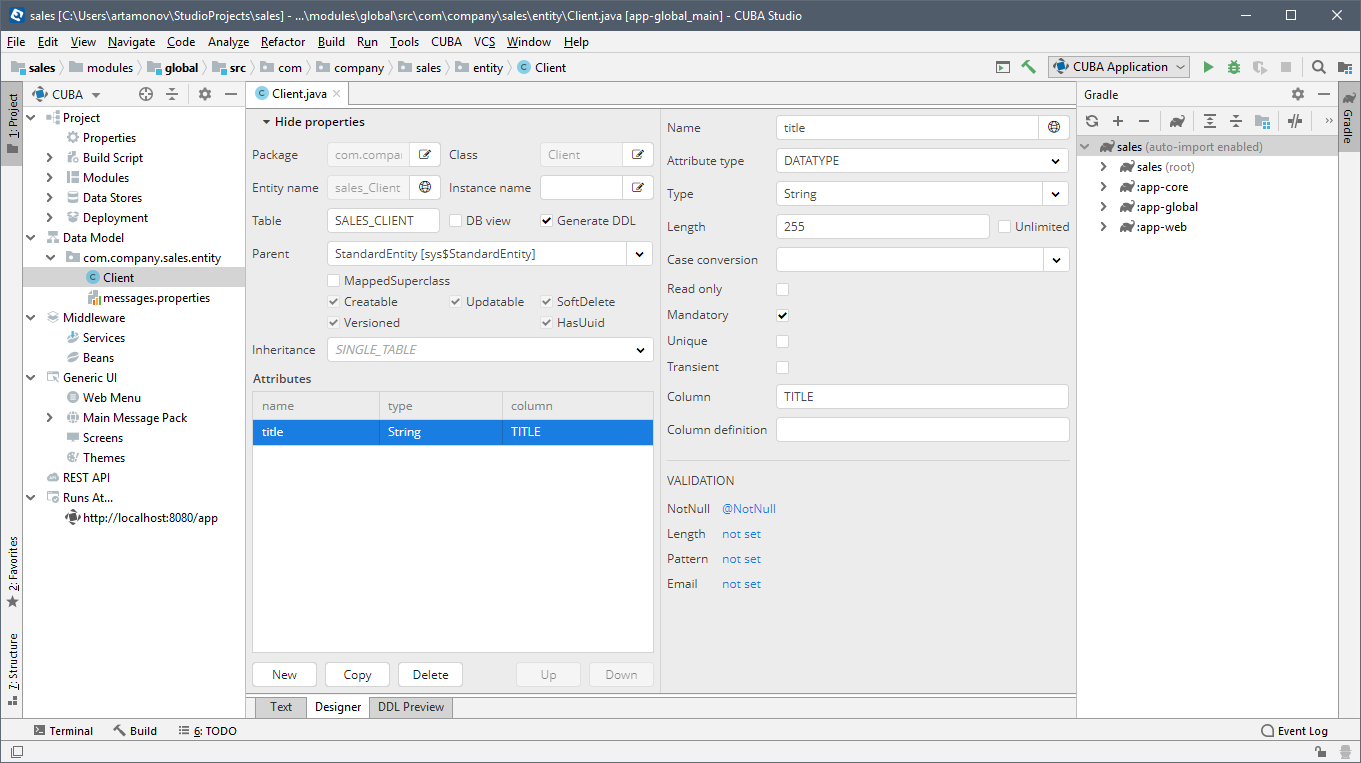
Much of the success of CUBA is due to CUBA Studio . This development environment significantly simplified the execution of typical tasks that are done in every Java project, reducing them to creating simple configurations in visual designers. You do not need to know all the attributes of the Persistence API annotations, the Gradle syntax or the subtleties of the Spring configuration to develop a complete and multifunctional CRUD application — CUBA Studio undertakes the creation of sample code.
Studio was a separate web application, which caused a number of significant limitations:
- Firstly, Studio was not a full-fledged IDE, so developers had to switch between Studio and IntelliJ IDEA or Eclipse in order to develop business logic and still use easy navigation, code completion and other necessary things, which strained a little.
- Secondly, all this magical simplicity was built on a huge amount of work that we spent on writing algorithms for parsing and generating the source code. The implementation of even more advanced functionality would mean a transition to the development of a full-fledged IDE - too ambitious idea for us.
We decided to rely on another giant to overcome these limitations and built a Studio based on IntelliJ IDEA. Now you can install Studio both as a separate application (IntelliJ IDEA Bundle) and as a plugin for IDEA.
And it gives us new opportunities:
- Support for other JVM languages (and, above all, Kotlin)
- Improved Hot deploy
- Intuitive navigation throughout the project
- More clever tips and code generators
Currently, we are actively developing a new version of Studio - we transfer functionality from the old version and add new things using the functionality of the IntelliJ platform. In the near future, we are going to translate CUBA-specific editors to IntelliJ components and improve navigation through the project code.
Technology stack update
By tradition, the technological stack at the heart of CUBA has been updated to new versions: Java 8/11, Vaadin 8, Spring 5.
By default, new projects use Java 8, but you can specify the Java version by adding the following code to the build.gradle file:
subprojects { sourceCompatibility = JavaVersion.VERSION_11 targetCompatibility = JavaVersion.VERSION_11 } An especially big problem was the upgrade to Vaadin 8, which greatly changed the data binding API. Fortunately, CUBA shields developers from internal Vaadin components, wrapping them in their own API. The CUBA team did a great job updating the internal components without changing the CUBA API. This means that compatibility is fully preserved, and you can use all the new features of Vaadin 8 immediately after migrating the project to CUBA 7 without doing any refactoring.
A complete list of updated dependencies is available in the list of changes .
New Screen API
This section could be called “the first API for working with screens”, since CUBA never had an officially declared API for working with screens in the web client module. This happened historically, including due to some prerequisites that arose at the initial stage:
- The declarative-oriented approach - everything that can be described declaratively, it was necessary to declare it in the screen descriptor, and not to do it in the controller code.
- Standard screens (browser and editor) provided some common functionality, and there was no need to change it.
Already at the time when the first thousand participants joined our community, we understood how many different requirements are being placed on the “standard” CRUD screens. And all these requirements were far beyond the initial functionality. Nevertheless, for a long time we could satisfy the requests for the implementation of non-standard screen behavior without changing the API - thanks to another architectural principle laid down at the initial stage: Open Inheritance. In fact, Open Inheritance means that you can rewrite any public or protected method of the main class to customize its behavior according to your needs. This may seem like a wonderful cure-all, but in fact you could not rely on it even in the short term. What if the override method is renamed, deleted, or simply never will be used in future versions of the framework?
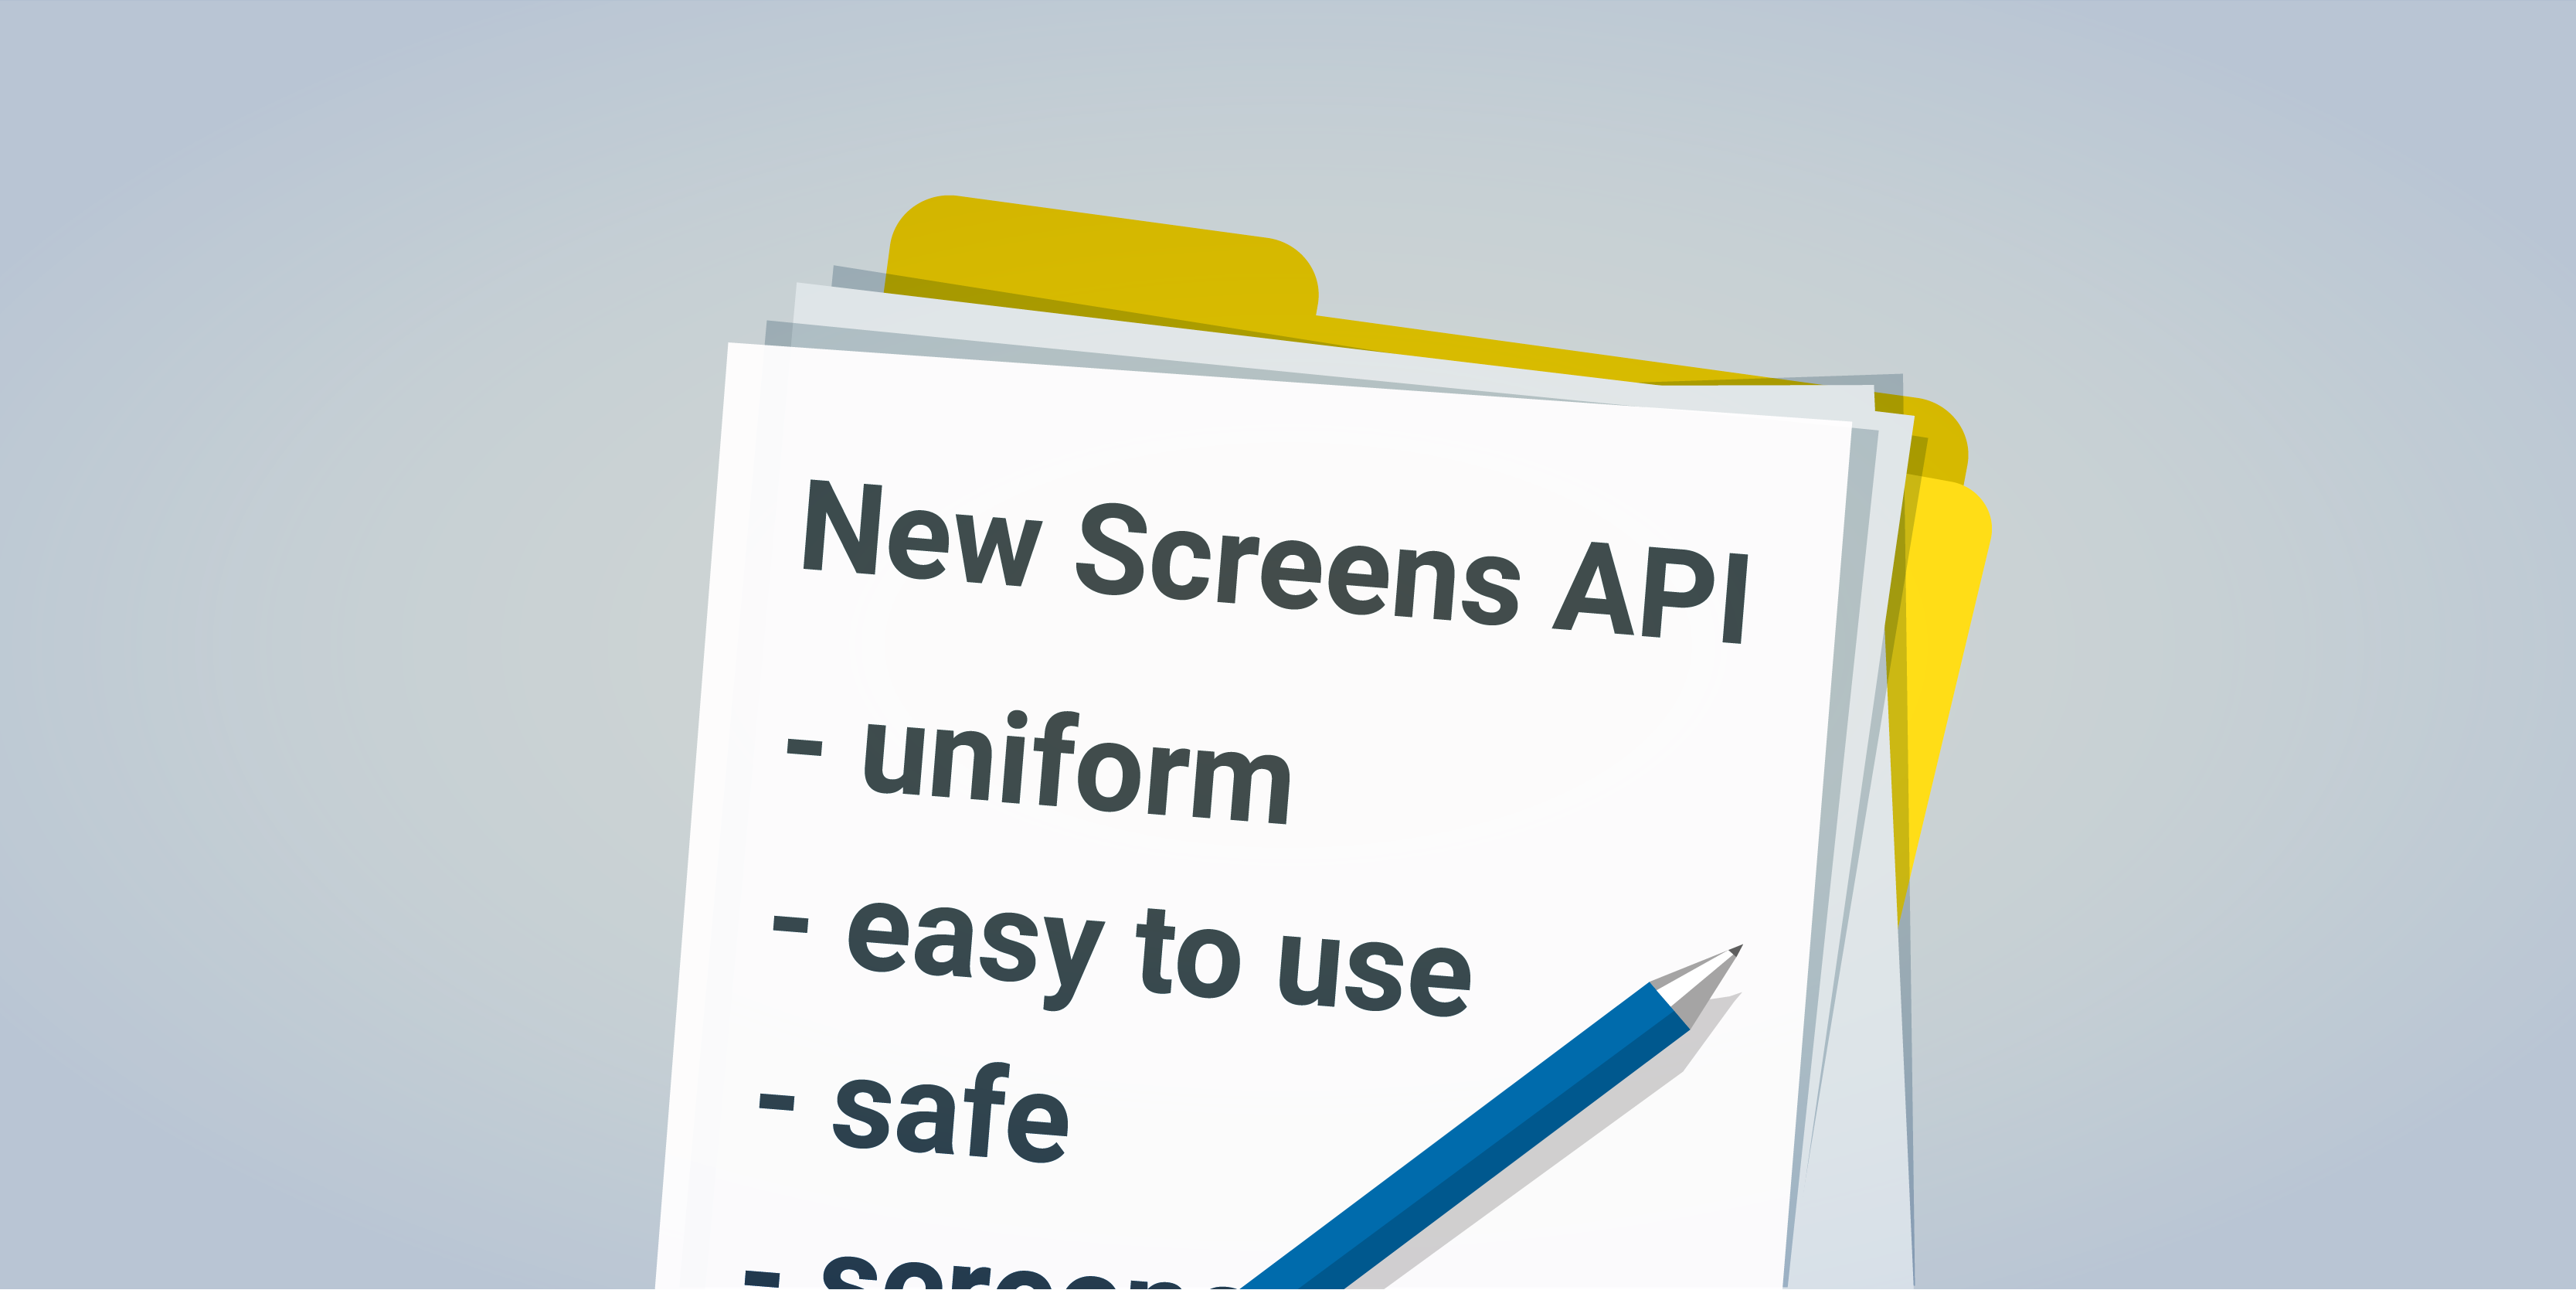
So in response to the growing demand from the community, we decided to introduce a new API of screens. This API provides clear (without hidden magic) flexible and easy-to-use extensibility points that are guaranteed not to change for a long time.
Screen Declaration
In CUBA 7, declaring screens is extremely simple:
@UiController("new-screen") // screen id public class NewScreen extends Screen { } In the example above, you can see that the screen identifier is clearly defined just above the controller class declaration. In other words, the screen ID and controller class now match each other in a unique way. So, we have good news: now the screens can be safely accessed directly by the type of controller:
@Inject private ScreenBuilders screenBuilders; @Subscribe private void onBeforeClose(BeforeCloseEvent event) { screenBuilders.screen(this) .withScreenClass(SomeConfirmationScreen.class) .build() .show(); } The screen handle becomes an optional part of the screen. The UI can be created programmatically or declared as an xml screen descriptor, which is defined by the @UiDescriptor annotation over the controller class. This makes controllers and markup much easier to read and understand - this approach is very similar to the one used in Android development.
Previously, it was also required to register a screen descriptor in the web-screens.xml file and assign it an identifier. In CUBA 7, this file is saved for compatibility, but a new way of creating screens does not require such registration.
Screen life cycle
The new API presents simple and self-explanatory screen life cycle events:
- Init
- AfterInit
- BeforeShow
- Aftershow
- BeforeClose
- AfterClose
All events in CUBA 7 can be subscribed as follows:
@UiController("new-screen") public class NewScreen extends Screen { @Subscribe private void onInit(InitEvent event) { } @Subscribe private void onBeforeShow(BeforeShowEvent event) { } } Compared to the old approach, the new API shows that we do not overlap hook methods that are implicitly called during initialization, but explicitly define the logic for handling a specific, defined screen life cycle event.
Event handling and functional delegates
In the previous section, we learned how to subscribe to life cycle events, but what about the other components? Is it still necessary to put all the necessary listeners in one heap when initializing the screen, in the init () method, as it was in versions 6.x? The new API is quite uniform, so you can subscribe to other events as you would to screen life cycle events.
Consider a simple example with two UI elements: a button and a field for displaying the amount of money in a certain currency; The XML descriptor will look like this:
<?xml version="1.0" encoding="UTF-8" standalone="no"?> <window xmlns="http://schemas.haulmont.com/cuba/screen/window.xsd" caption="msg://caption" messagesPack="com.company.demo.web"> <layout> <hbox spacing="true"> <currencyField id="currencyField" currency="$" currencyLabelPosition="LEFT"/> <button id="calcPriceBtn" caption="Calculate Price"/> </hbox> </layout> </window> When you click on the button, we call the service from the backend, which returns a number, we write it in the amount field. This field should change the style depending on the price value.
@UiController("demo_MyFirstScreen") @UiDescriptor("my-first-screen.xml") public class MyFirstScreen extends Screen { @Inject private PricingService pricingService; @Inject private CurrencyField<BigDecimal> currencyField; @Subscribe("calcPriceBtn") private void onCalcPriceBtnClick(Button.ClickEvent event) { currencyField.setValue(pricingService.calculatePrice()); } @Subscribe("currencyField") private void onPriceChange (HasValue.ValueChangeEvent<BigDecimal> event) { currencyField.setStyleName(getStyleNameByPrice(event.getValue())); } private String getStyleNameByPrice(BigDecimal price) { ... } } In the above example, we see two event handlers: one is called when the button is pressed, and the other is started when the currency field changes its value - everything is simple.
Now imagine that we need to check the price and make sure that its value is positive. This can be done “in the forehead” - add a validator during screen initialization:
@UiController("demo_MyFirstScreen") @UiDescriptor("my-first-screen.xml") public class MyFirstScreen extends Screen { @Inject private CurrencyField<BigDecimal> currencyField; @Subscribe private void onInit(InitEvent event) { currencyField.addValidator(value -> { if (value.compareTo(BigDecimal.ZERO) <= 0) throw new ValidationException("Price should be greater than zero"); }); } } In real applications, the initialization method after some time will be a mess of initializers, validators, listeners, etc. To solve this problem, CUBA has a useful @Install annotation. Let's see how she can help in our case:
@UiController("demo_MyFirstScreen") @UiDescriptor("my-first-screen.xml") public class MyFirstScreen extends Screen { @Inject private CurrencyField<BigDecimal> currencyField; @Install(to = "currencyField", subject = "validator") private void currencyFieldValidator(BigDecimal value) { if (value.compareTo(BigDecimal.ZERO) <= 0) throw new ValidationException("Price should be greater than zero"); } } In fact, we delegate the logic of validating a currency field to the currencyFieldValidator method in the screen. This may seem a bit complicated at first glance, however, developers surprisingly quickly got used to this method of adding functionality and immediately started using it.
Screen builders, notifications, dialogs

CUBA 7 has a set of useful components with a convenient API:
- ScreenBuilders integrates fluent factories to create standard screens for viewing and editing entities, as well as custom screens. The example below shows how you can open one screen from another. Note that the build () method immediately returns the screen of the desired type without the need for a cast:
CurrencyConversions currencyConversions = screenBuilders.screen(this) .withScreenClass(CurrencyConversions.class) .withLaunchMode(OpenMode.DIALOG) .build(); currencyConversions.setBaseCurrency(Currency.EUR); currencyConversions.show(); - The Screens component provides a lower level of abstraction for creating and displaying screens, unlike the ScreenBuilders API . It also provides access to information about all open screens in your CUBA application ( Screens # getOpenedScreens ), if you suddenly need to go through them all in one cycle.
- The Notifications and Dialogs components provide a convenient and literally self-documenting API. The following is an example of creating and displaying a dialog box and notification:
dialogs.createOptionDialog() .withCaption("My first dialog") .withMessage("Would you like to thank CUBA team?") .withActions( new DialogAction(DialogAction.Type.YES).withHandler(e -> notifications.create() .withCaption("Thank you!") .withDescription("We appreciate all community members") .withPosition(Notifications.Position.MIDDLE_CENTER) .withHideDelayMs(3000) .show()), new DialogAction(DialogAction.Type.CANCEL) ) .show();
Data binding
CUBA provides extremely fast UI development for the back office, not only through advanced visual development tools and a powerful code generation system, but also thanks to a rich set of components available directly from the box. These components just need to know what data they are working with, and the rest will be done automatically. For example, drop-down lists, calendars, tables with embedded CRUD operations, and so on.
Prior to version 7, data binding was carried out through the so-called datasource, objects that wrap one or more entities for their reactive binding to components. This approach worked very well, but in terms of implementation it was a monolith. Monolithic architecture is usually problematic to tune, so in CUBA 7 this huge cobblestone was divided into three components for working with data:
- Data loader (data loader) is a data provider for data containers. The loader does not store data, it simply transfers all the necessary request parameters to the data warehouse and places the resulting data in data containers.
- Data container (data container) saves the loaded data (one or several entities) and provides them to the data components: all changes in these entities are transferred to the corresponding components, and vice versa, all changes in the components will lead to corresponding changes in the entities lying in the data container.
- Datacontext (data context) is a class that tracks changes and saves all changed entities. Tracked entities are marked as "dirty" whenever they change their attributes, and the DataContext saves dirty instances to the Middleware when its commit () method is called.
Thus, the flexibility to work with data. Artificial example: the loader can select data in the UI from the RDBMS, and the context can save changes to the REST service.
In CUBA 6.x, you will need to write your own datasource, which can work with RDBMS and REST. In CUBA 7, you can take a standard loader that can work with a database and write only your own context implementation for working with REST.
Components for working with data can be declared in screen descriptors or created programmatically using a specialized factory, DataComponents.
Other
Whew ... The most significant parts of the new screen API are described, so let's briefly list other important functions at the web client level:
- URL history and navigation . This feature solves a very common SPA problem — not always the correct behavior of the back button in a web browser. Now an easy way to assign routes to application screens is provided and allows the API to display the current screen status in a URL.
- Form instead of FieldGroup . FieldGroup is a component for displaying and changing fields of a single entity. It displays the UI for the field in runtime. In other words, if there is a Date field in the entity, it will be displayed as a DateField . However, if you want to work with this field programmatically, you will need to enter it into the screen controller and manually bring it to the correct type ( DateField in our example ). If we later change the field type to another, then our application will crash at runtime. The form solves this problem by explicitly declaring the field type. More information about the component can be found here .
- The integration of third-party JavaScript components is greatly simplified; read the documentation for embedding custom JavaScript components in the CUBA application.
- HTML / CSS attributes can now be easily defined directly from the xml screen descriptor or set programmatically. More information can be found here .
New features backend module
The previous section on the new screen API turned out to be more than I expected, so in this section I will be brief.
Entity Changed Event
The Entity Changed event is an event in the Spring application that runs when an entity enters the data store, physically fits, and is in a step from commit. When processing this event, you can configure additional checks (for example, check the availability of goods in stock before order confirmation) and change the data (for example, recalculate totals) right before they are visible to other transactions (of course, if you have a level isolation read committed). This event may also be the last opportunity to abort a transaction, throwing an exception, which can be useful in some tricky cases.
There is also a way to handle the Entity Changed event immediately after the commit.
You can look at an example in this chapter of the documentation .
Transactional Data Manager
When developing an application, we usually work with detached entities - those that are not in the context of any transaction. However, working with detached entities is not always possible, especially when you need to fully comply with ACID requirements - this is the case when you can use transactional data manager. He is very similar to the usual manager, but differs in the following aspects:
- He can join an existing transaction (being called in the context of this transaction) or create his own transaction.
- It does not have a commit method, but there is a save method, which does not lead to an immediate commit, but waits until the current transaction is committed.
Here is an example of its use.
JPA callbacks
Finally, CUBA 7 supports JPA callbacks. In order not to repeat known materials, for which these callbacks can be used, I will simply leave a link here. In this article, the topic kollbekov fully disclosed.
How about compatibility?
A fair question with any major release, especially when there are so many critical changes! We developed all of these new features and APIs with backward compatibility:
- The old API is supported in CUBA 7 and under the hood is implemented through a new one :)
- We also provided adapters for data binding through the old API. These adapters will work fine for screens created according to the old scheme.
The good news is that the migration process from version 6 to 7 should be pretty simple.
Conclusion
Concluding the technical review, I want to note that there are other important innovations, especially in the field of licensing:
- The 10 entity limit for Studio is now removed.
- Add-ons Reporting, BPM, Charts and Maps and Full text search are now free and open source.
- The commercial version of Studio adds convenience to the development using visual designers of entities, screens, menus, and other platform elements, while the free version is focused on working with code.
- , 6.x Platform Studio !
')
Source: https://habr.com/ru/post/447538/
All Articles