Updating Web and Azure Tools in Visual Studio 2019
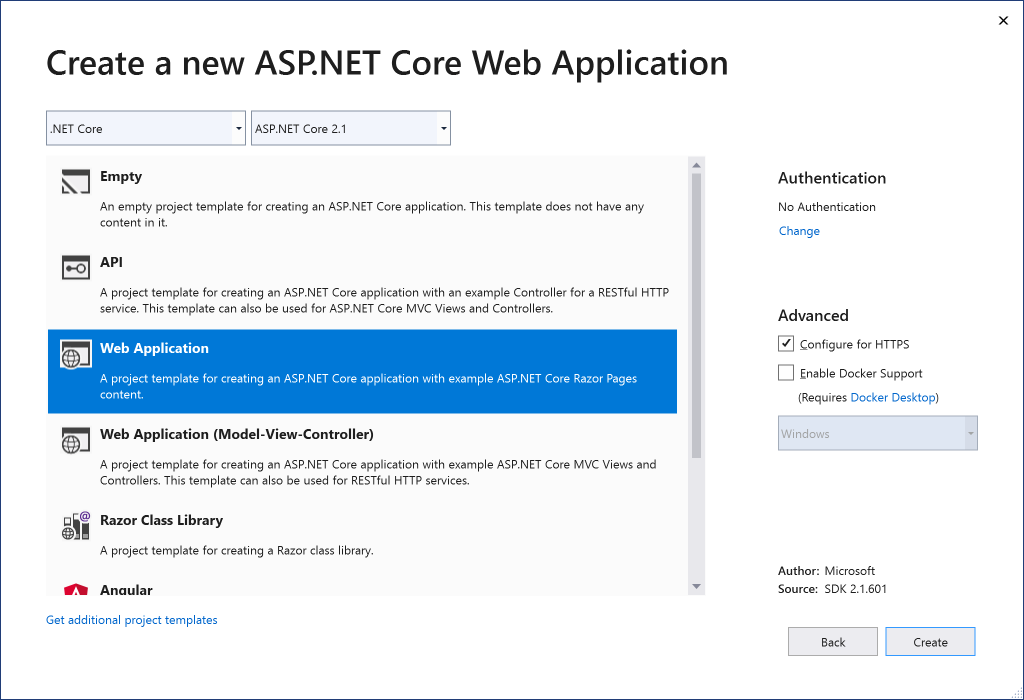
Most likely you have already seen the release of Visual Studio 2019 . As you would expect, we added improvements for web development and development with Azure. As a starting point, Visual Studio 2019 provides new features to get started with your code , and we also updated the experience of creating ASP.NET and ASP.NET Core projects to meet the following requirements:
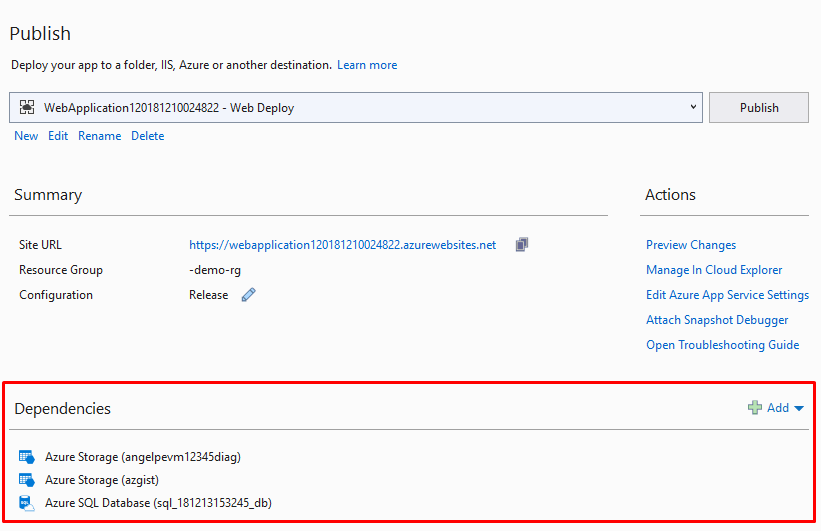
If you are publishing your application to Azure, you can now set up your Azure App Service to use instances of Azure Storage and Azure SQL Database directly from the summary information page in your publishing profile, without leaving Visual Studio. This means that for any existing web application running in the application service, you can add SQL and Storage, since it is no longer limited to creation time.
')
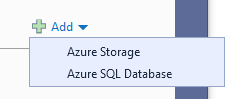
By clicking the “Add” button, you can choose between Azure storage and Azure SQL Database (more Azure services will be supported in the future):
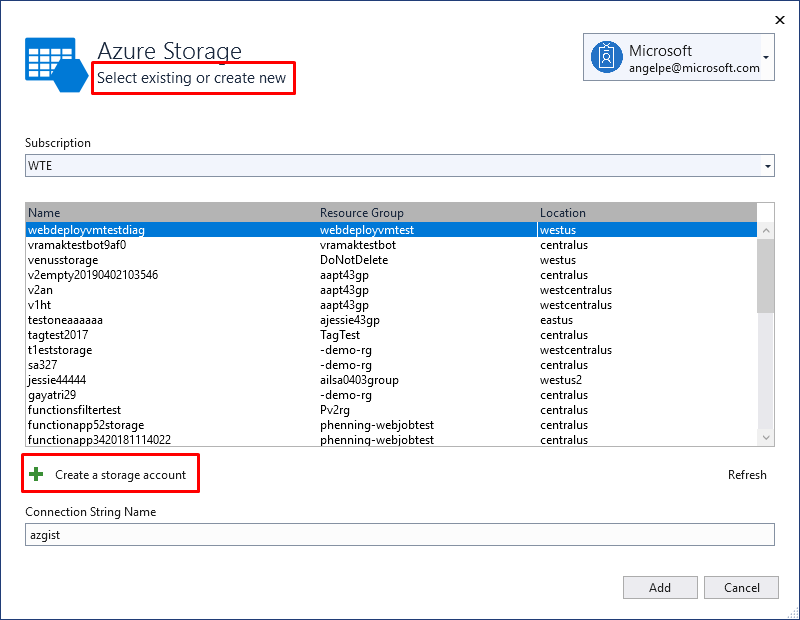
and then you can choose between using the existing Azure storage instance that you prepared earlier, or start preparing a new one right now:
When you configure Azure App Service through the publish profile, as shown above, Visual Studio will update the app settings in the Azure App Service to include the connection strings you have configured (for example, in this case, azgist). The studio will also apply hidden tags to the instances in Azure about how they are configured to work together so that this information is not lost and can be later re-discovered by other instances of Visual Studio.
Check out the 30-minute overview of Azure development in Visual Studio that we created during the launch :
As always, we welcome your feedback. Tell us what you like and what you don't like, tell us what features you are missing and which parts of the workflow work or do not work for you. You can do this by posting questions to the developer community or by contacting us via Twitter.
If you are publishing your application to Azure, you can now set up your Azure App Service to use instances of Azure Storage and Azure SQL Database directly from the summary information page in your publishing profile, without leaving Visual Studio. This means that for any existing web application running in the application service, you can add SQL and Storage, since it is no longer limited to creation time.
')
By clicking the “Add” button, you can choose between Azure storage and Azure SQL Database (more Azure services will be supported in the future):
and then you can choose between using the existing Azure storage instance that you prepared earlier, or start preparing a new one right now:
When you configure Azure App Service through the publish profile, as shown above, Visual Studio will update the app settings in the Azure App Service to include the connection strings you have configured (for example, in this case, azgist). The studio will also apply hidden tags to the instances in Azure about how they are configured to work together so that this information is not lost and can be later re-discovered by other instances of Visual Studio.
Check out the 30-minute overview of Azure development in Visual Studio that we created during the launch :
Send us your feedback.
As always, we welcome your feedback. Tell us what you like and what you don't like, tell us what features you are missing and which parts of the workflow work or do not work for you. You can do this by posting questions to the developer community or by contacting us via Twitter.
Source: https://habr.com/ru/post/447284/
All Articles