My Marble Machine, printed on a 3D printer
I'm trying to master 3D printing - I have a FLSUN-QQ printer, I installed 3D editors: Fusion 360, Blender, try Compass 3D. Something turns out, something does not work. This Marble Machine on video is one of my first successful projects. The project, although visually and not large, but its implementation required from me considerable effort. I had to learn 3D editors and to invent and debug the mechanics of this device.
Further I will tell from what parts this car consists.
The most important part is undoubtedly the lifting spiral. She had the most problems. I developed many different types of spirals and many versions were rejected either for aesthetic reasons or for technical reasons. Yes, even due to the fact that the promised printing time was too big, I had to give up different ideas ... I wanted to get something airy, beautiful, and so that I could print on my printer at a reasonable time.
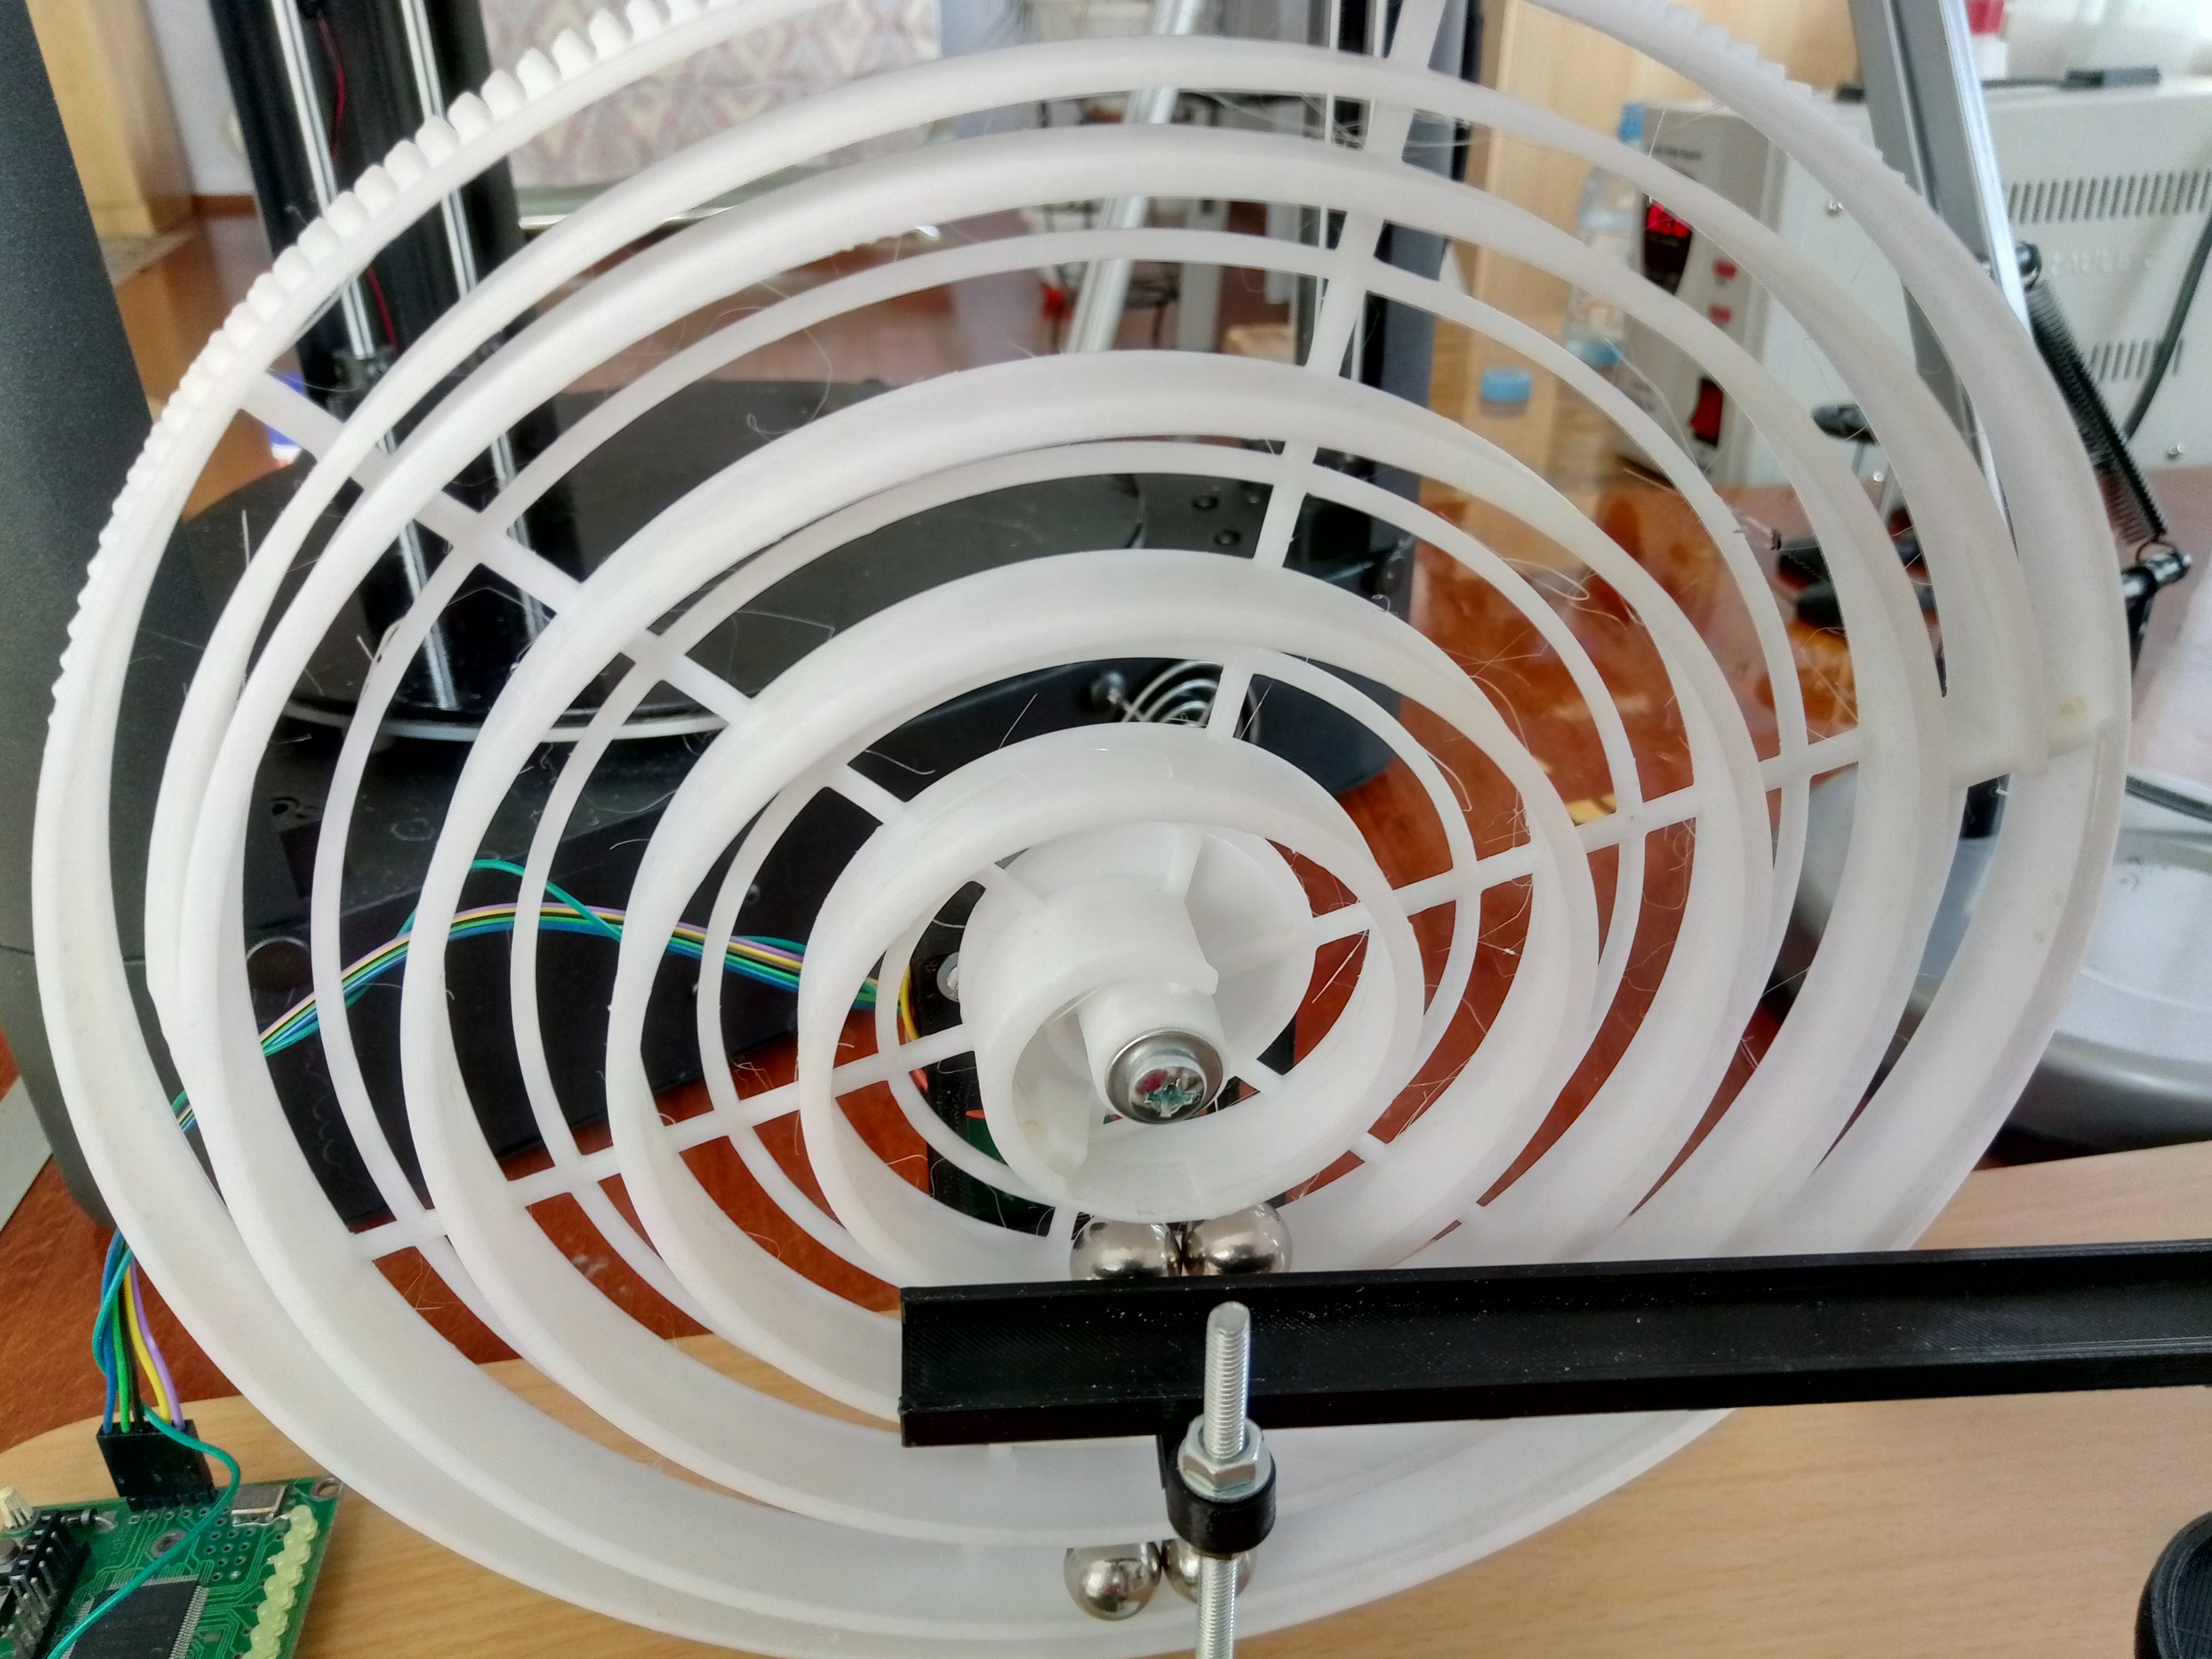
The final helix model looks like this:
')

Spiral mounted on the machine:
There were several problems with the helix. First - it was necessary to decide what should be the profile of the spiral. Several options were considered. The simplest of them can be represented schematically in the section like this:
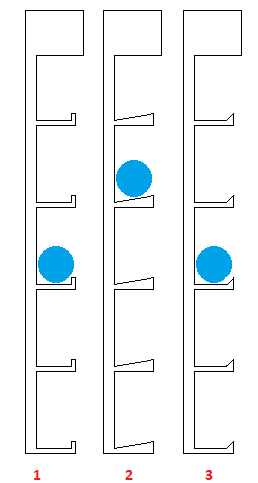
There is such a thing - in the first version, if the border at the ledge will be very strong, then the printer software, and I use the Ultimaker Cura, will make me support that will need to be removed manually, and then if it is bad to clean, then they will also stop the ball from rolling . If you take the second option with a thickening shelf so that the ball rolls towards the helix plane, then there will be no support exactly, but it is not known how well the ball will be held. I even printed a fragment of such a spiral to see how it would be in real life. But still won the third option, intermediate, with curb / curb in the form of a corner. If it is not made very large, then the printer manages to print it without support.
Another problem with the printing of the helix was purely production. I could not manage to print it entirely. Not sure what the reason - it is possible that such a figure is too large surface cooling. While the extruder will pass along the entire trajectory, part of the model has probably already cooled significantly. But this is only my guesswork. And, oddly, at the very table, which is heated - the seal goes fine, but the seal rises above and plastic splits appear. At the same time, printing of small test models occurred without problems. Not very nice when I started typing and everything seems to be going well for an hour. You leave to print for the whole day (another 13 hours of printing) while you go to work. You come home, the print is over, but it turned out to be a marriage - the model exfoliated on the upper layers. I even thought about printing a spiral by sector, and then gluing it together. However, later I managed to choose print modes, temperature and speed, when printing went completely from beginning to end with an acceptable result. A few hairs-tansuchki, it would be necessary to clean them all, but then a little lazy.
There was also the question of how to rotate the spiral. As you can see, there is a gear on the edge of the helix. I honestly did not count it too much. I thought the main teeth on the edge of the spiral to do, and then somehow give rotation from a toy collector engine with another gear. This idea did not work for me for several reasons. First, the gears still need to be pre-calculated. Secondly, the idea was almost implemented like this:
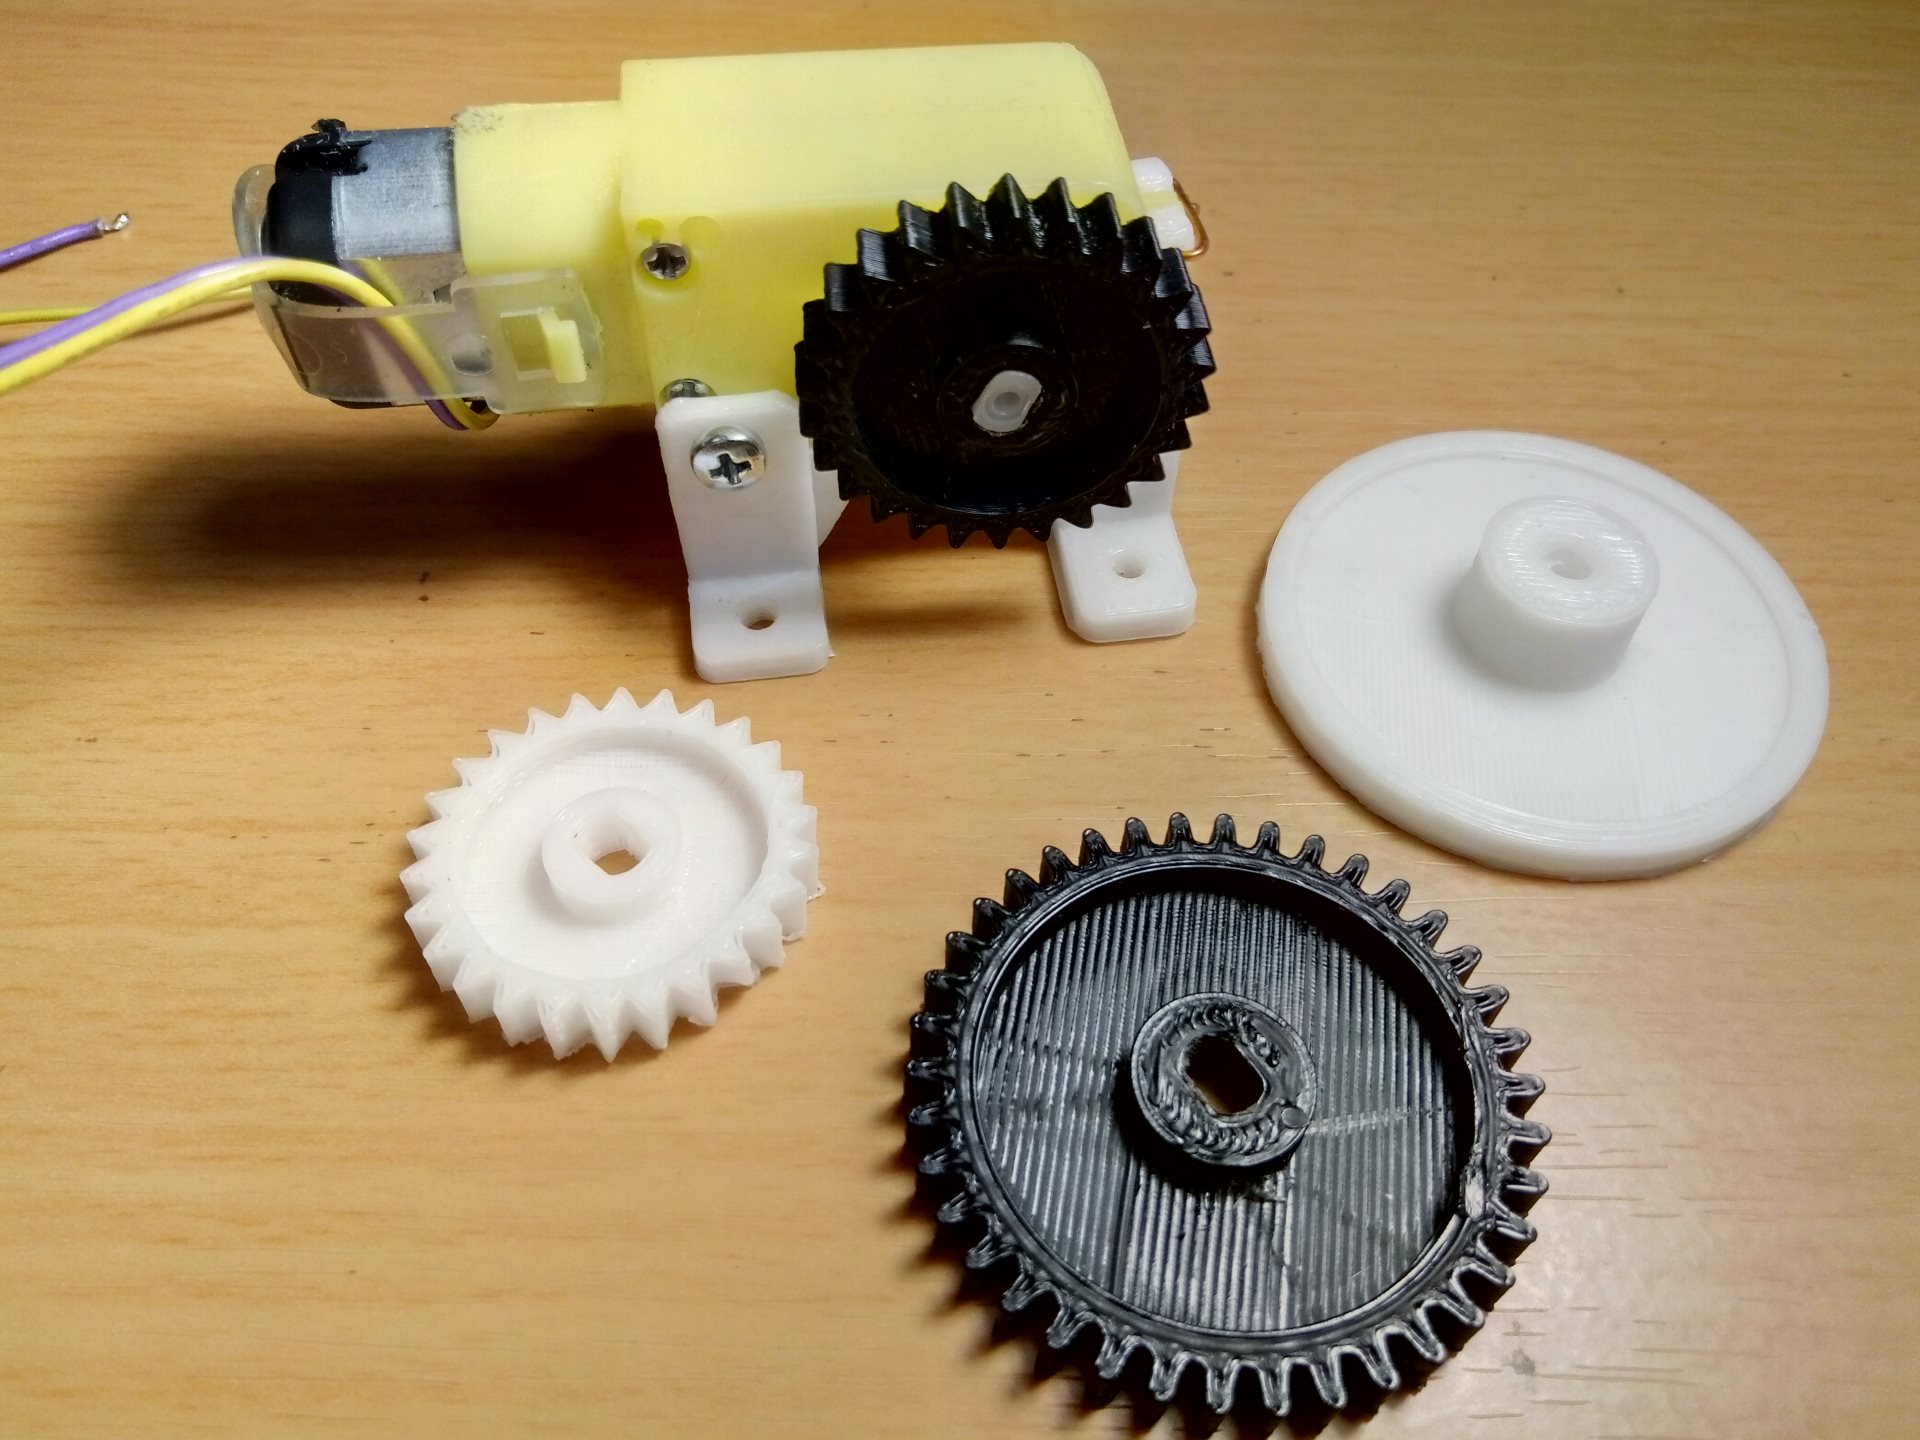
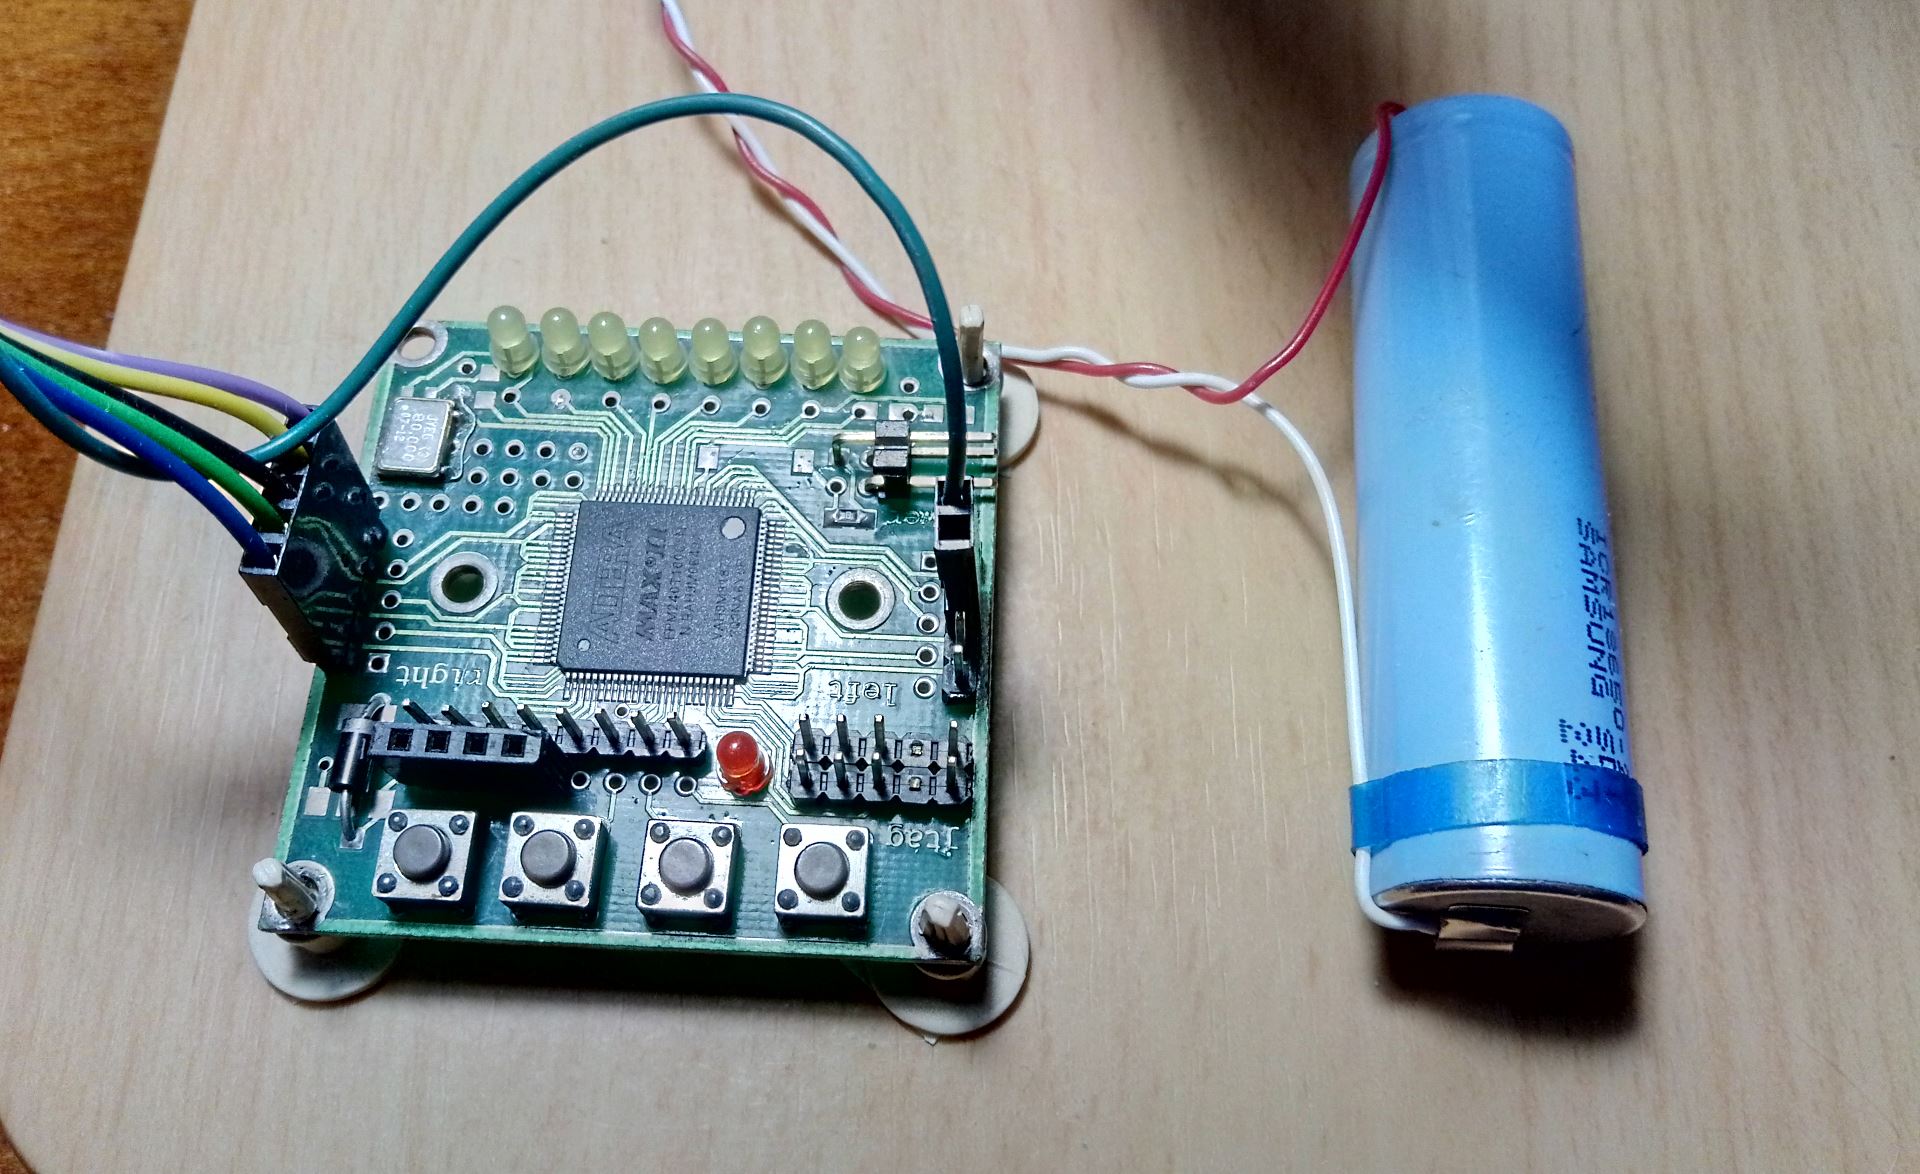
But it turned out that it was not easy to regulate the revolutions of the collector engine, then the shaft of the toy engine was quite loose, and it was unpleasantly noisy in operation. In general, this idea was abandoned. I took a stepper motor 28BYj-48 with an engine driver:

Managing steps made on the Verilog in the FPGA motherboard rover:
If anyone is interested in how to program the control of a stepper motor on Verilog, then this is the topic of a separate article . Now and the speed can be easily programmed and works almost silently. Only now it is a pity that when printing a helix, a significant amount of printing time took exactly the print of the gear. I think without her 2 hours printing would save.
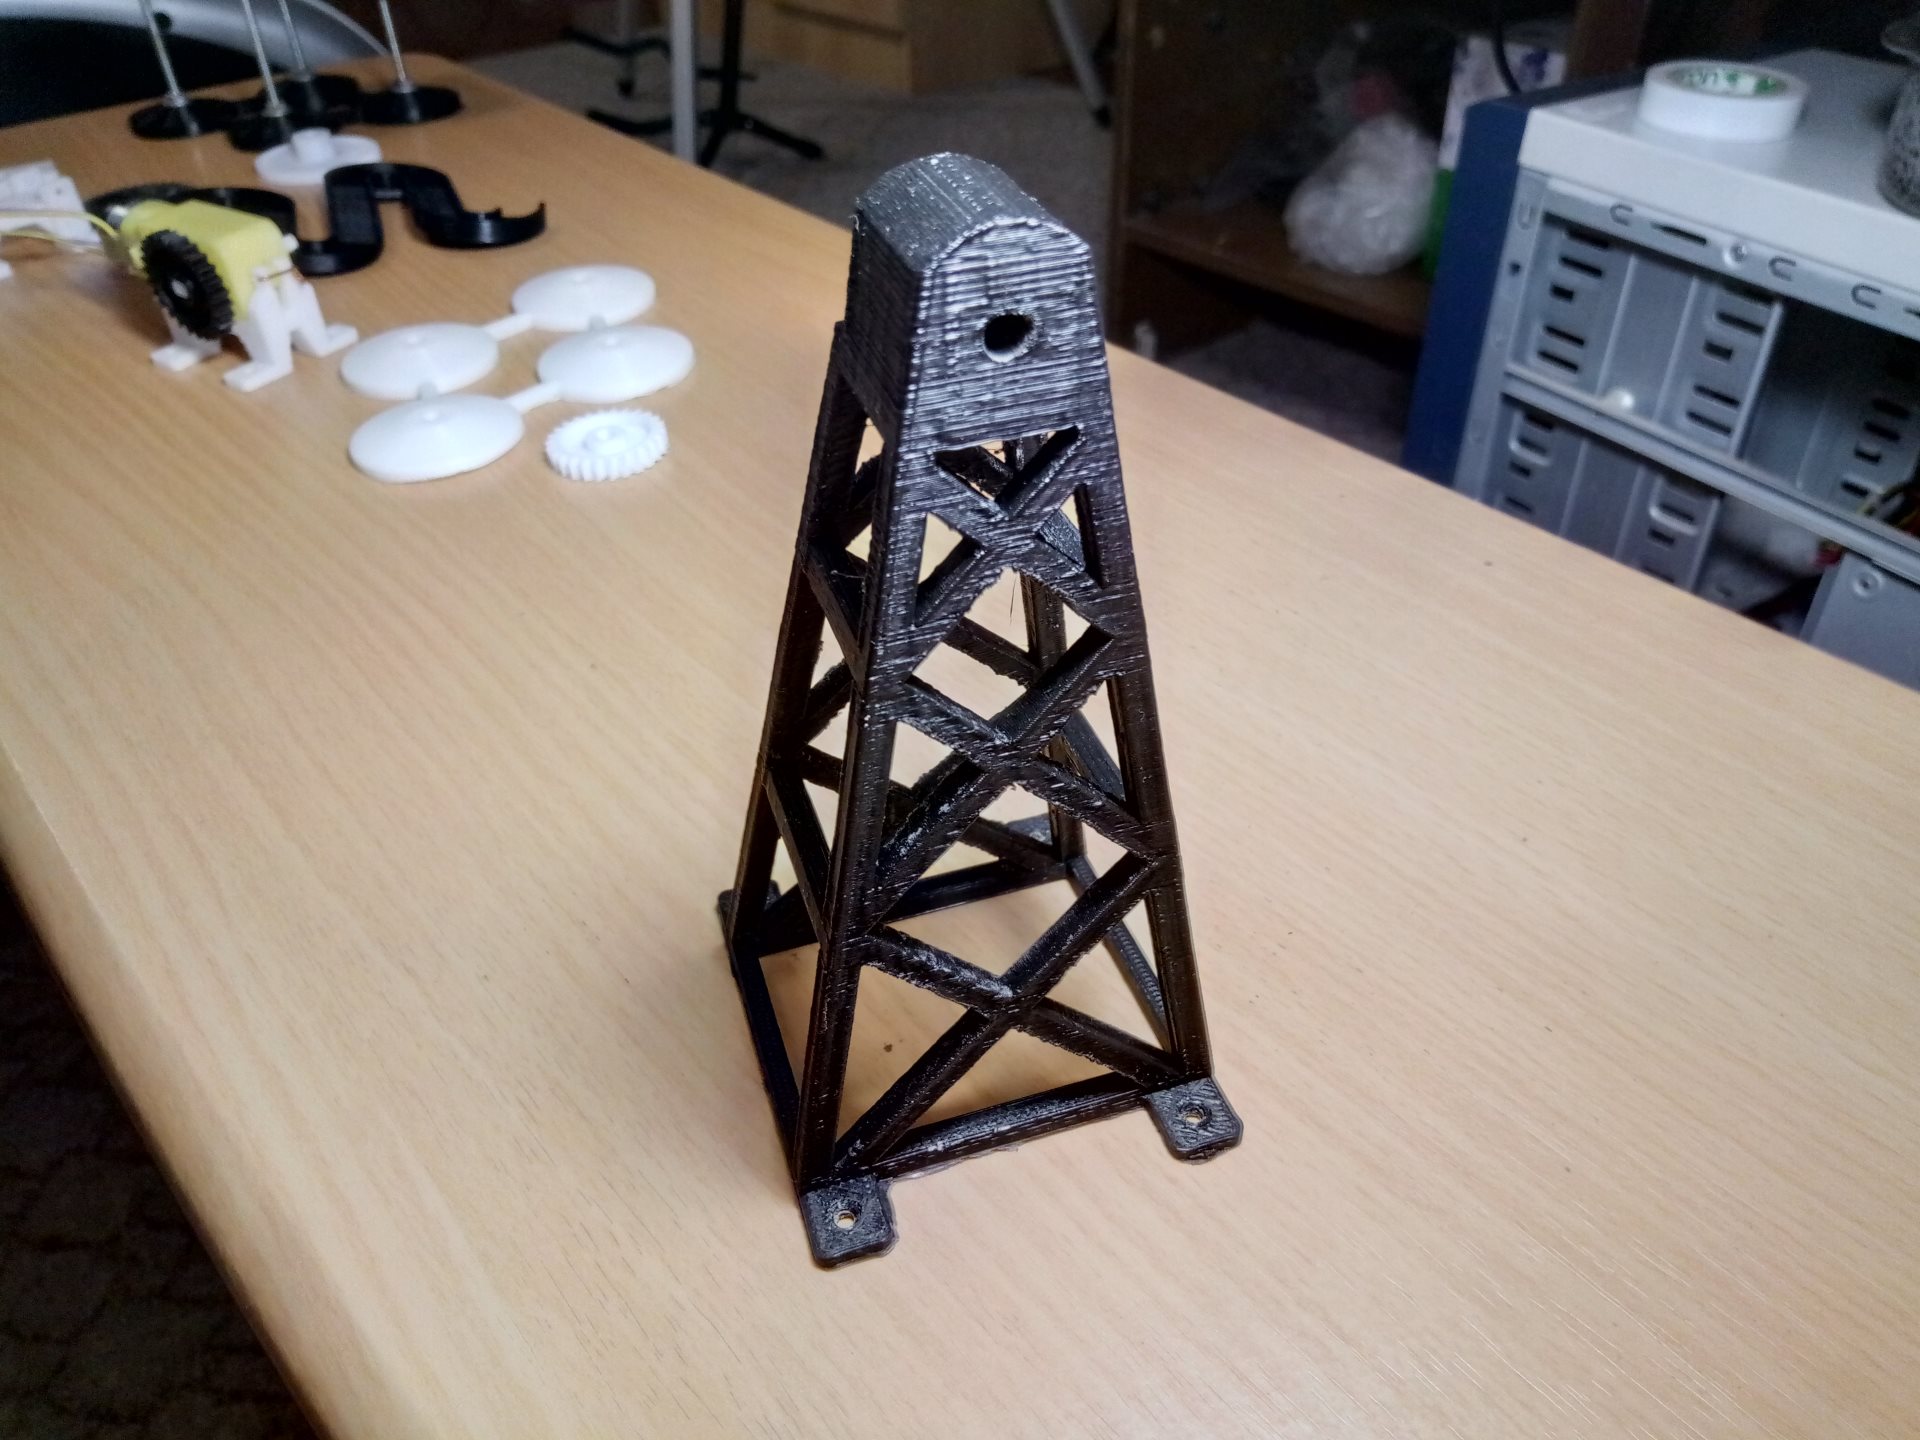
So, the stepping motor 28BYj-48 is installed in a special rack. The rack model that I developed looks like this:

In the car, the stand with the engine is as follows:

Since the stand is somewhere behind and it is not particularly visible, then when printing, I set a layer thickness of more, 0.25 mm, there is no need for accuracy and beauty, but to save a little bit of printing time. Although, what time there really is, if you remember that the first version of the rack, which was supposed to be used in the variant with a collector engine, was this:
The problem with this stand - a large gap shaft spiral. Well, again, as I have already written, the option with a collector engine and gear did not work, so I had to do a new stand for a stepper motor.
So it turns out that almost every detail I printed at least twice. The first option, even if almost a worker had to reject often. Here, for example, the snake detail:

It would seem that there might not be so, but it turned out that when the ball descends in a straight line, it accelerates decently and flies due to centrifugal force. I had the first turn to increase the height of the side. Well, at the same time when re-printing reduced the height of the printing layer. Let prints longer and better. Here is the "snake" installed in the car:
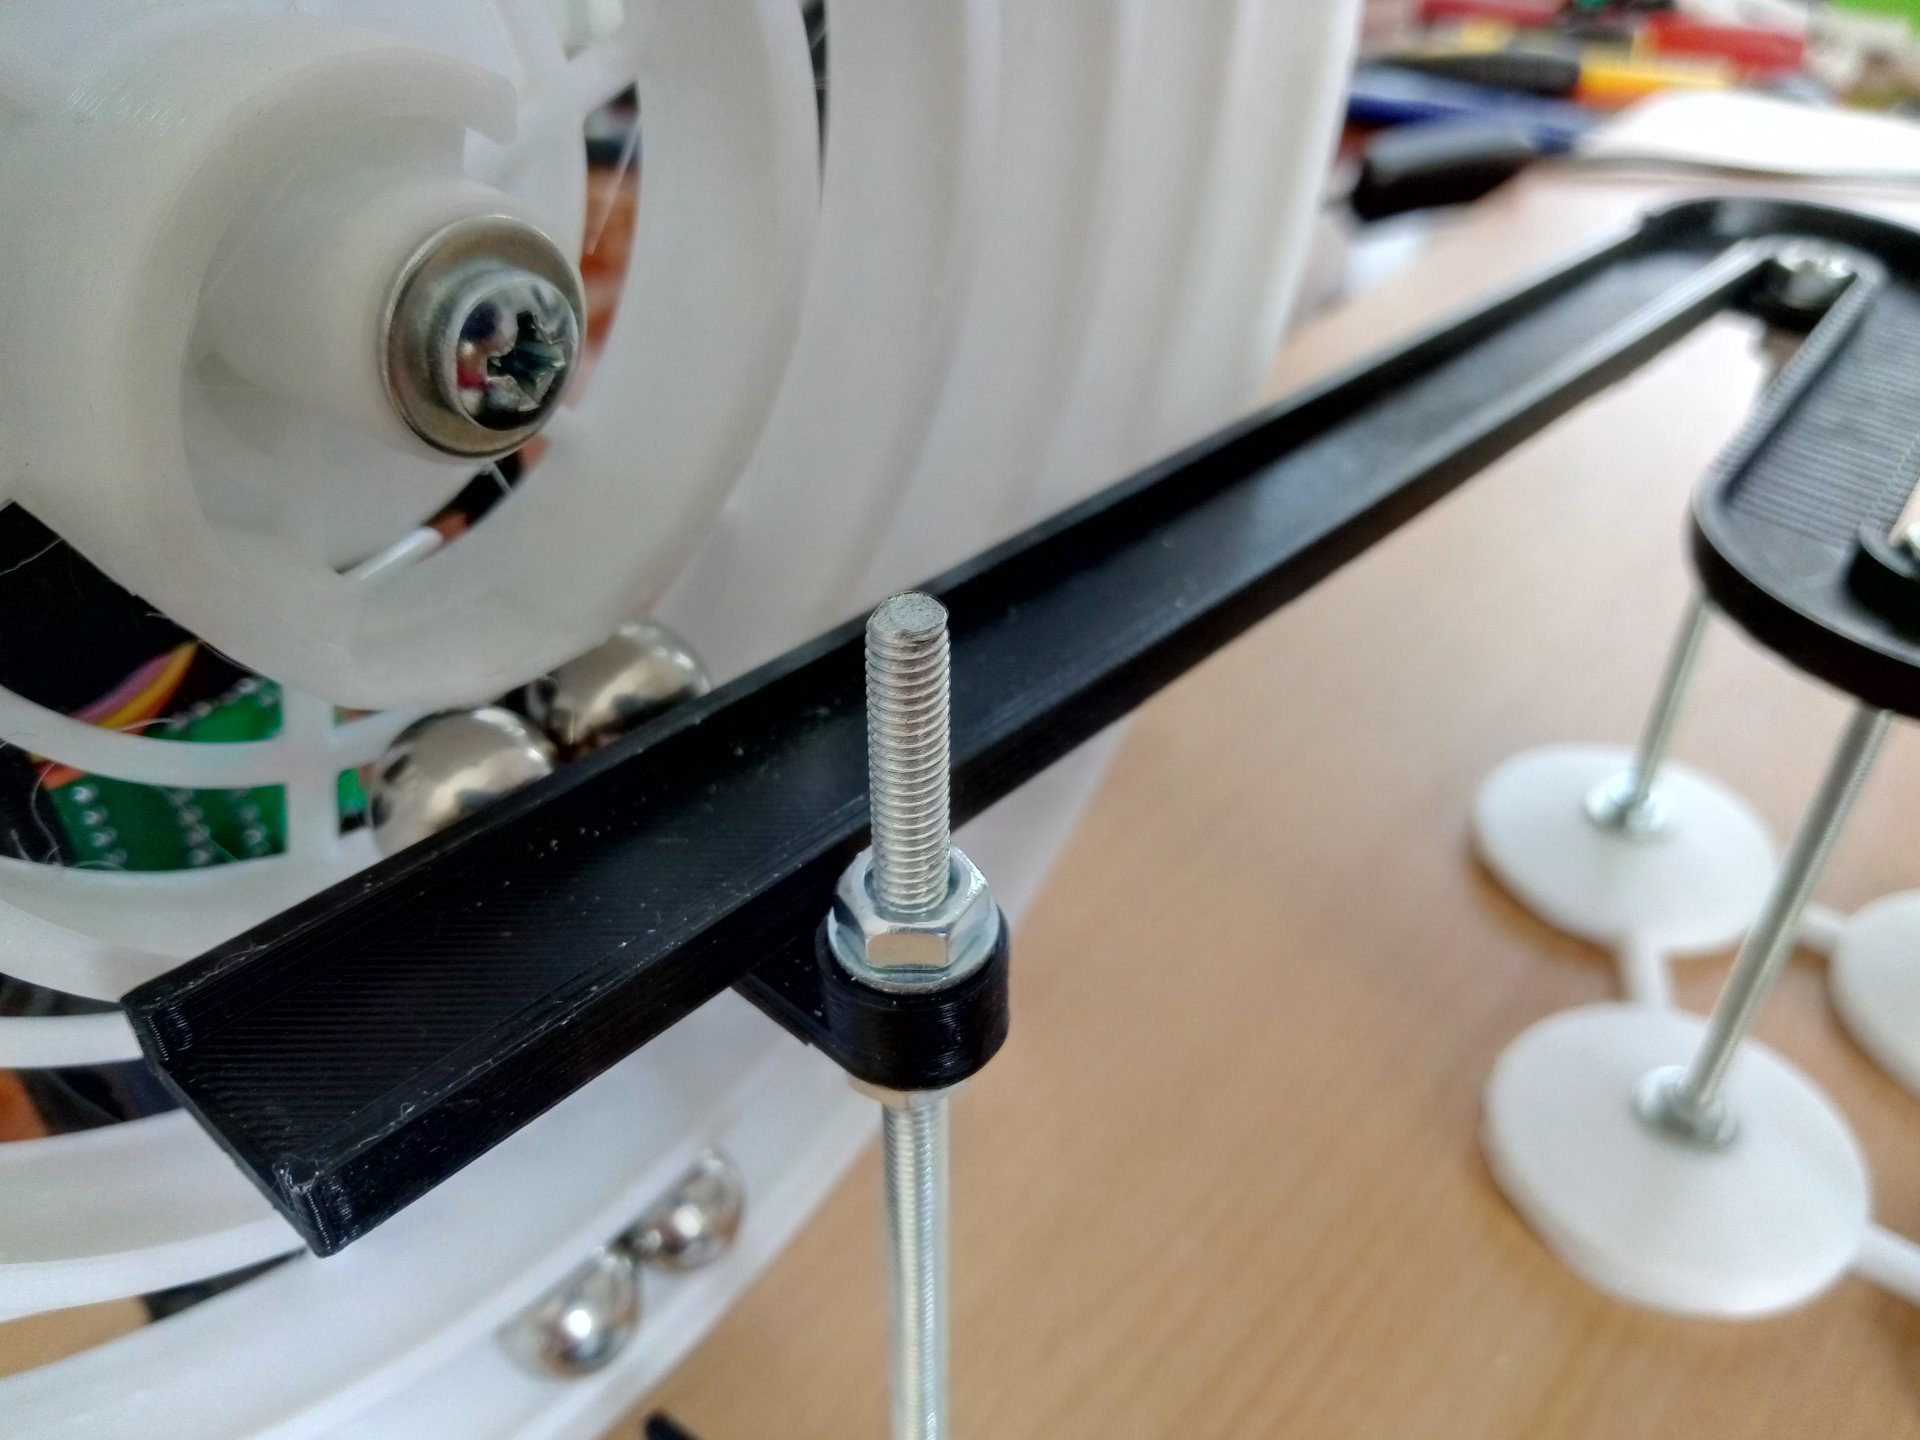
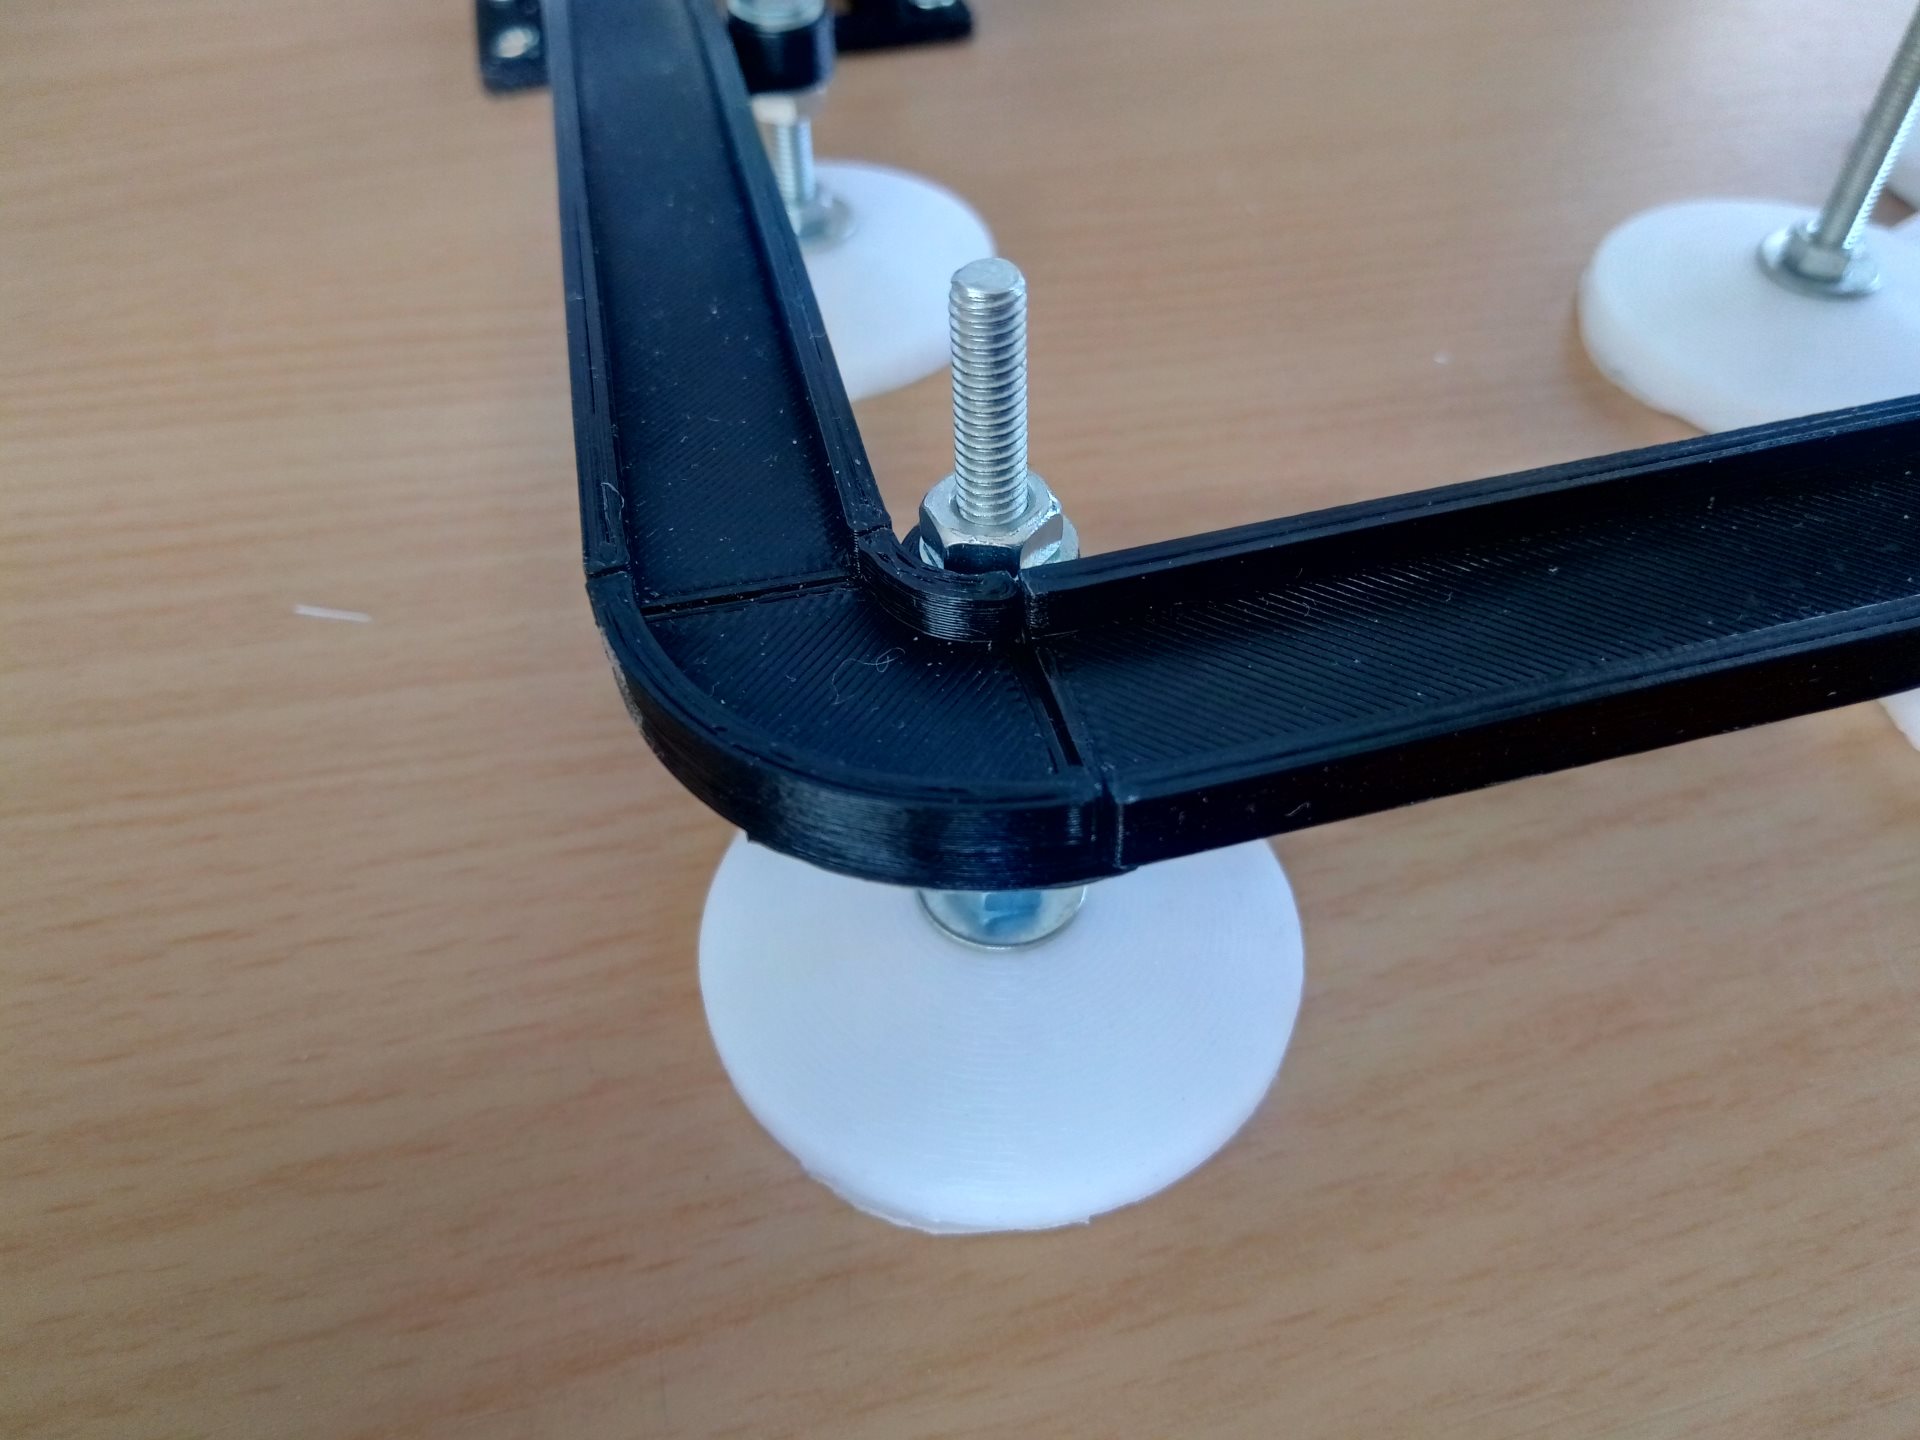
Even for the project, buns were required for fastening M4 studs:
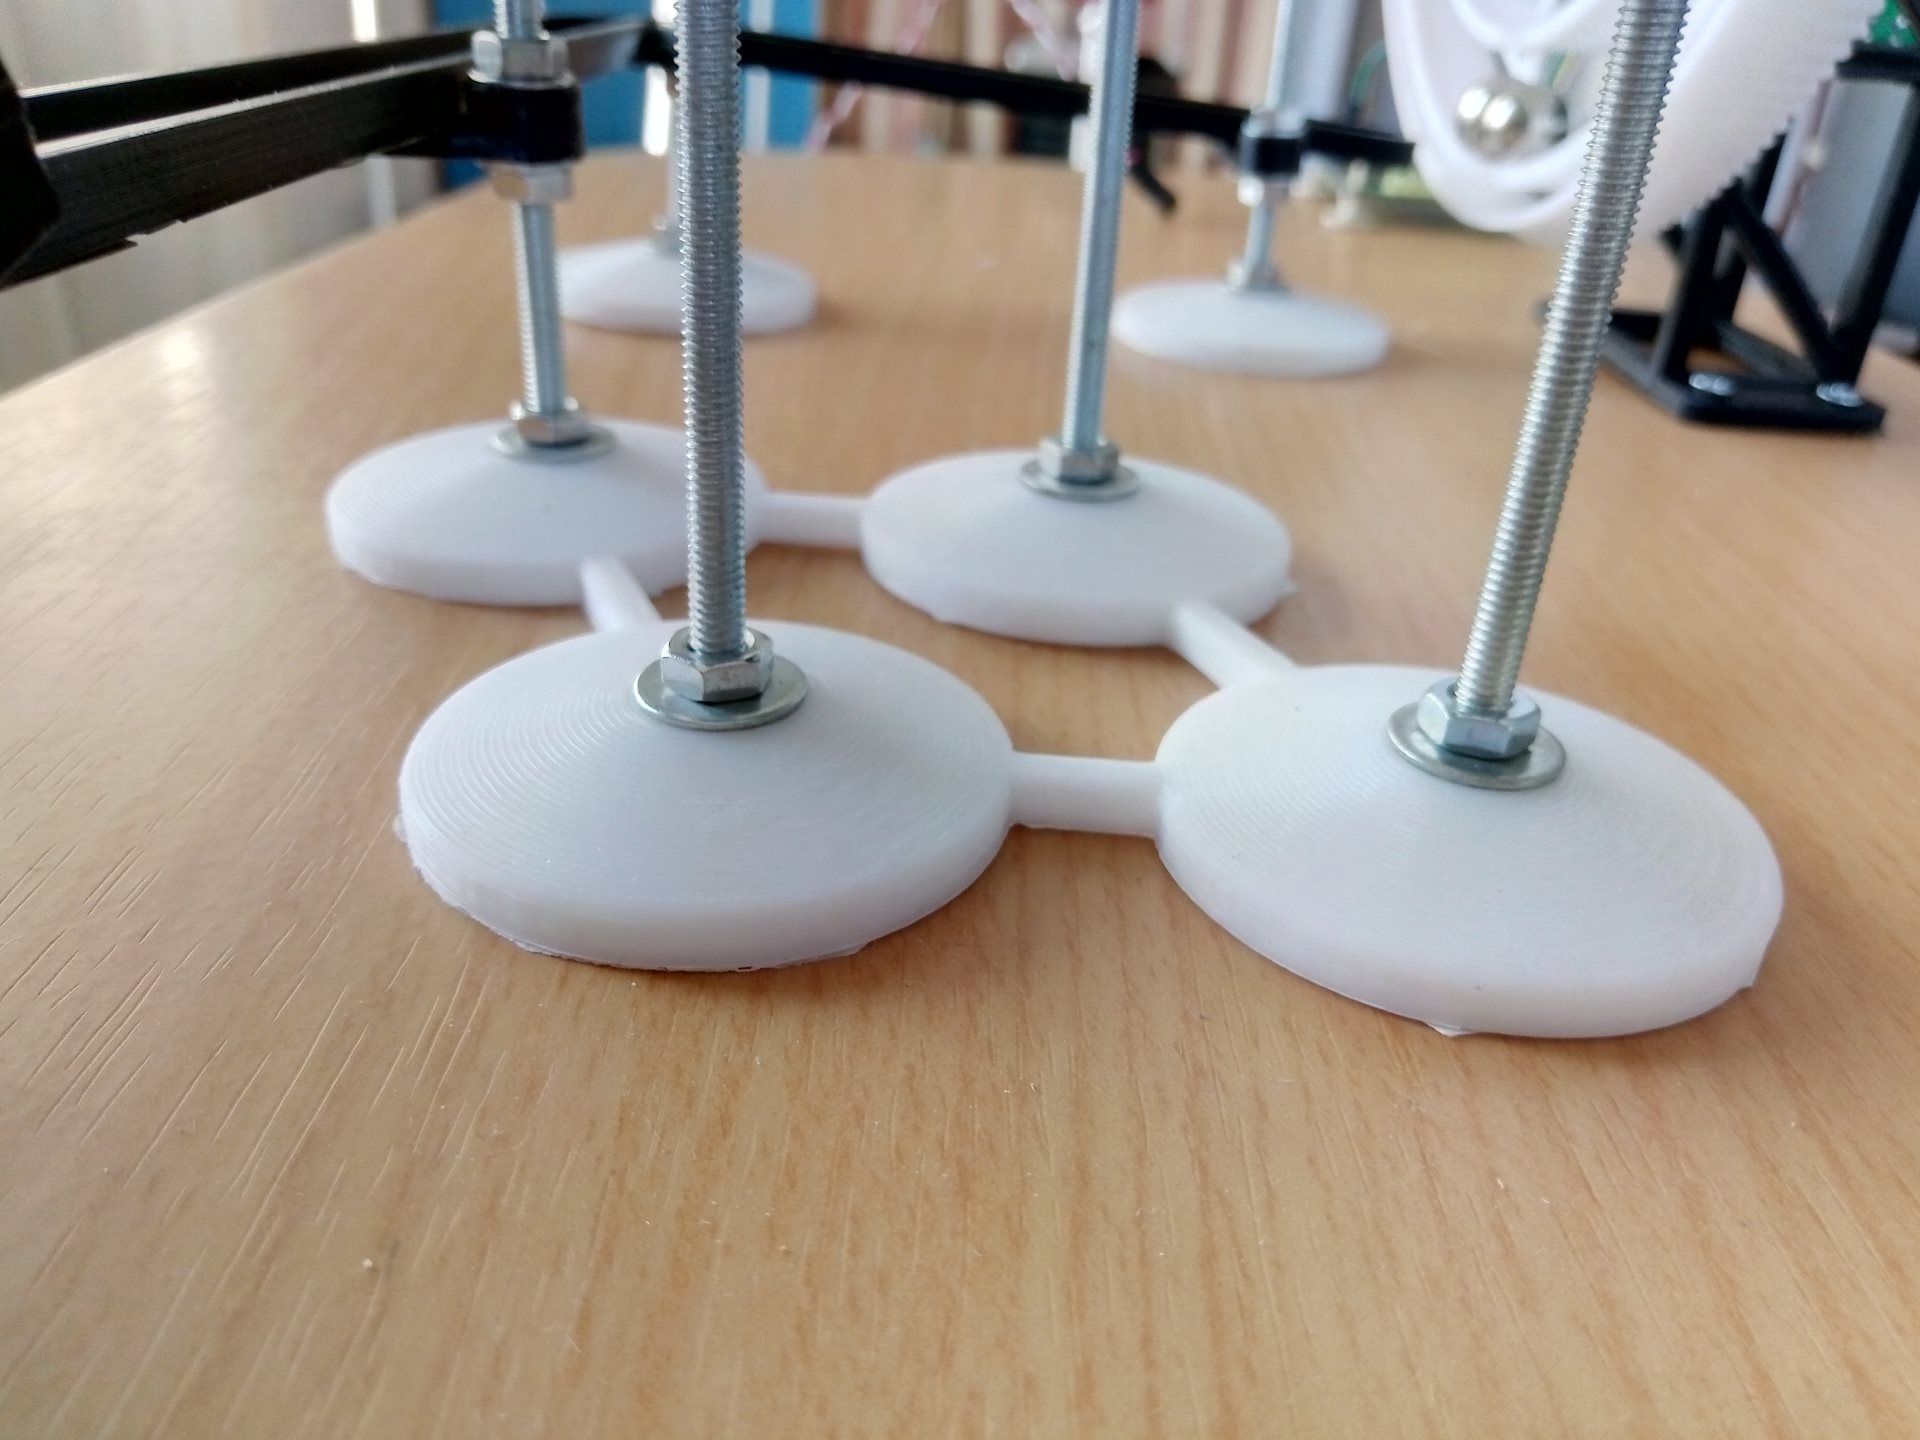
These buns are attached to the board with double-sided tape - it worked pretty well. It's funny that I printed quadruple buns twice. First printed with black plastic and with a small filling. The model stuck so tightly to the table of the 3D printer that, while tearing it off, bent a little. And that's all - it does not stand on the table exactly. But it’s also good that I reprinted; it seemed to me a good idea to combine white and black.
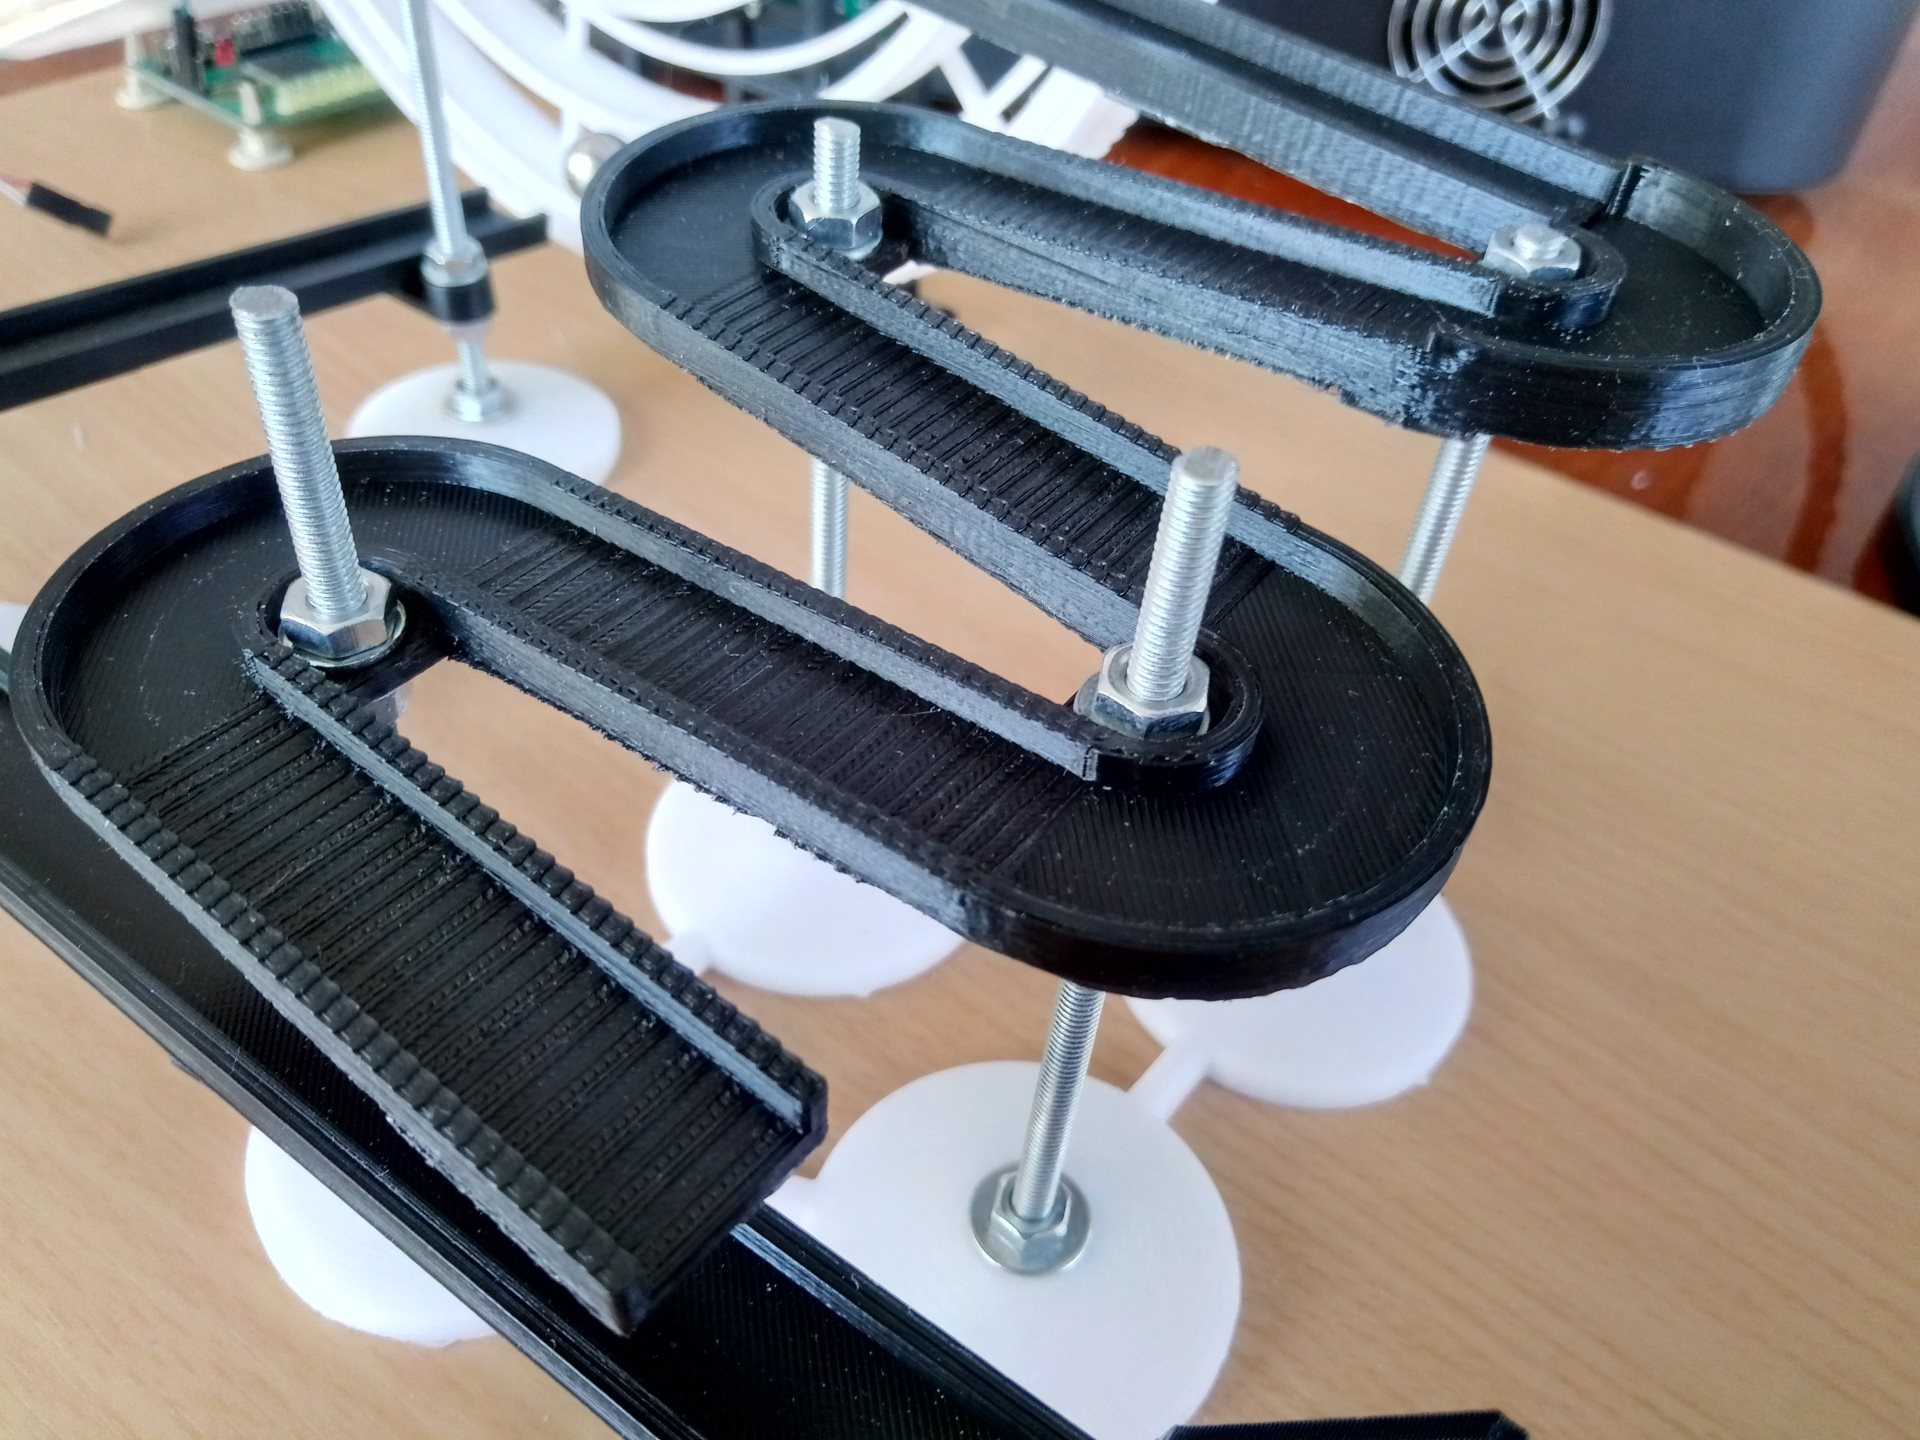
Gutters:
Single turn:
Well, a number of minor details. In general, I had to print and reprint a lot. Nevertheless, I am glad that I completed this project. Maybe after a while I will be able to expand this Marble Machine, add new lifts and descents, because on the board on the right there is still room for the next machine.
I thought about placing the source of my models, but then I decided that there was no point in this, because each Marble Machine is first of all the fantasy of its creator. Hardly anyone wants to repeat everything exactly as it is there. You can do better or just different.
Source: https://habr.com/ru/post/446136/
All Articles