Atari 65XE - USB Keyboard

A simple revision of the Atari 65XE computer will allow it to be used as a USB keyboard for a modern PC. The ability to work in normal mode is saved. An additional device is made on Arduino Leonardo. In UNIX-like systems, the keyboard starts working immediately. To work in Windows, you must enable USB Legacy Support in the BIOS. When using the keyboard with Apple computers, you will need to adjust the layout in the sketch.
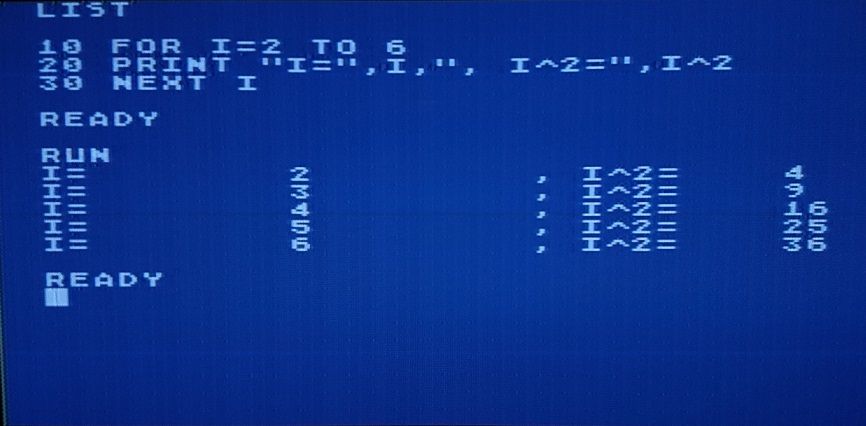
Everything described for nostalgic reasons has been done.
')
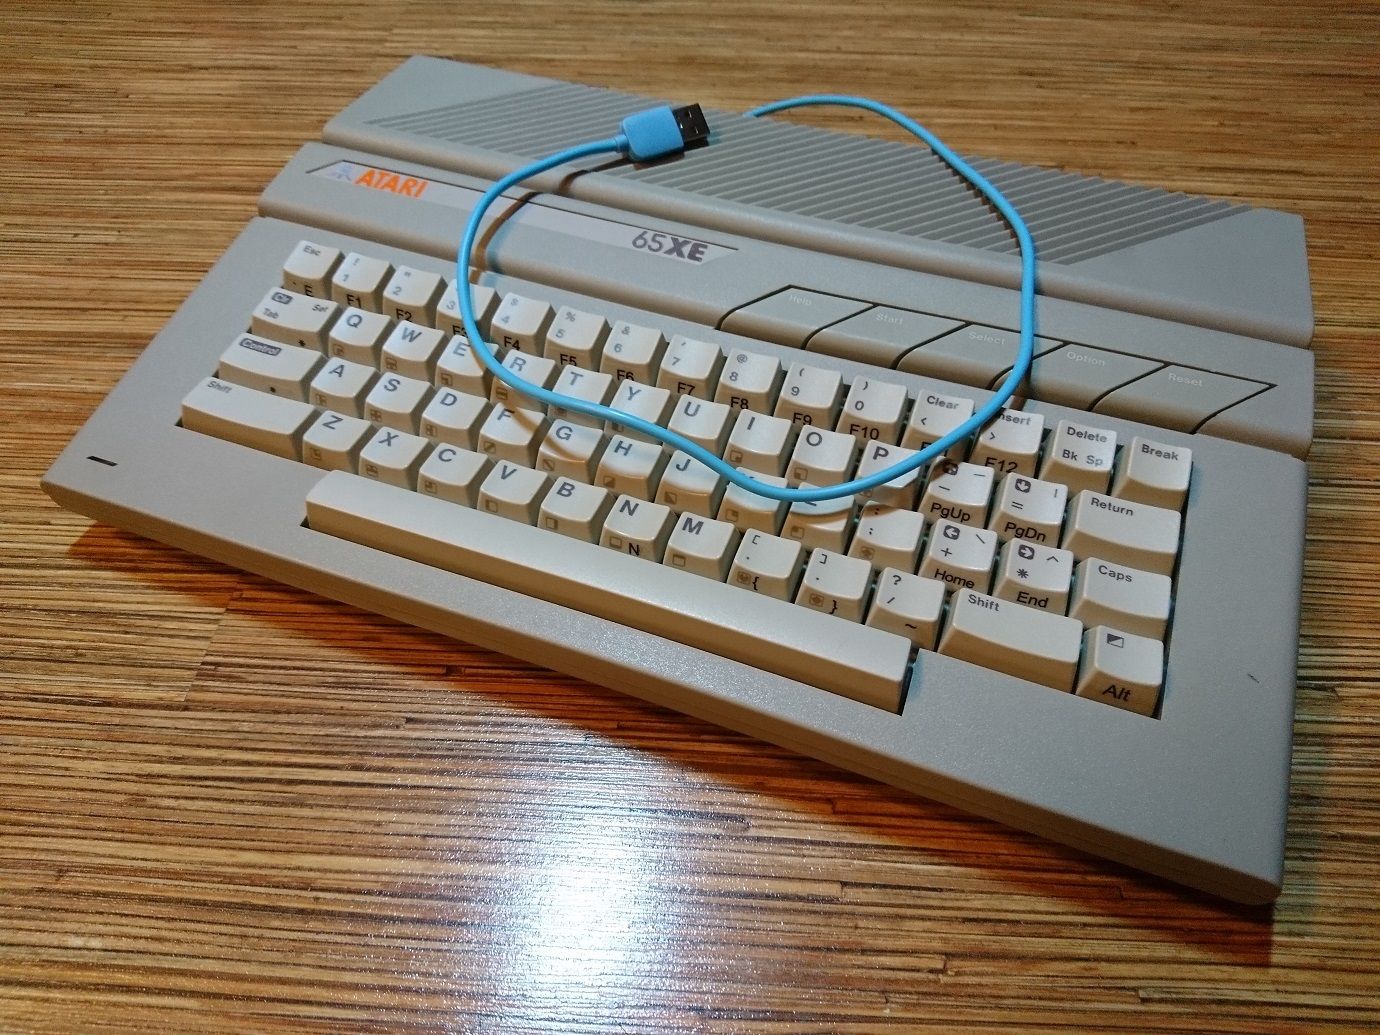
This Atari 65XE is about 30 years old. And it works. To add the USB keyboard function to it, the author took the Arduino Leonardo, some jumpers and a USB cable. The power supply when working in the appropriate mode to the computer is not necessary to connect.
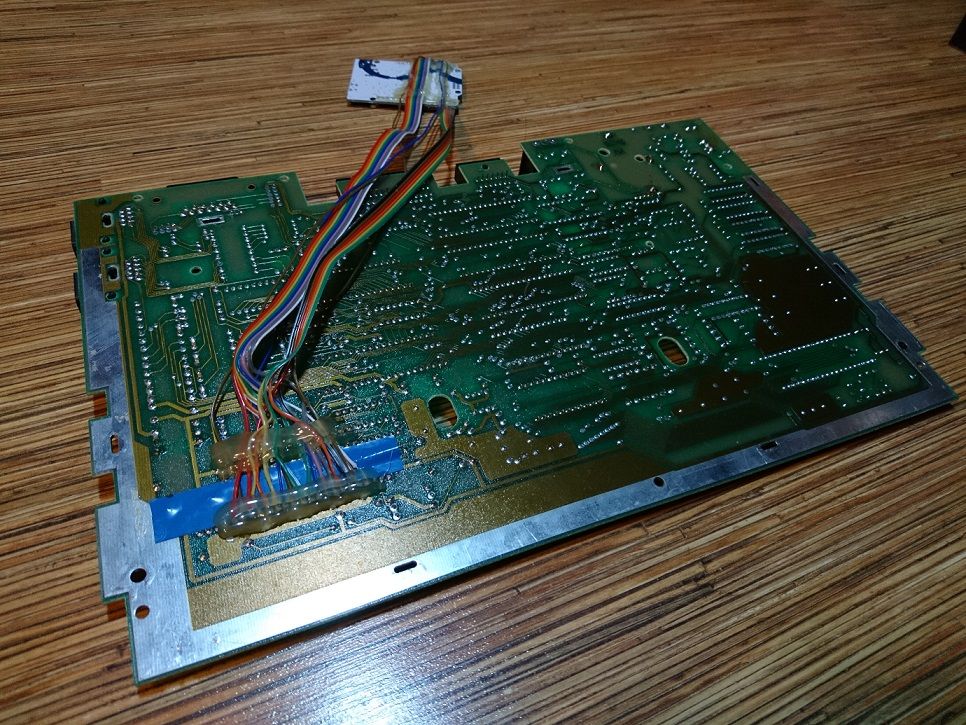
It is necessary to connect Arduino to 17 points on a set of contact pads J8. The first ground there is square, the rest are round. Since the lead pitch is 2.54 mm both on the Arduino and it is not necessary to be a “jeweler” for soldering wires.
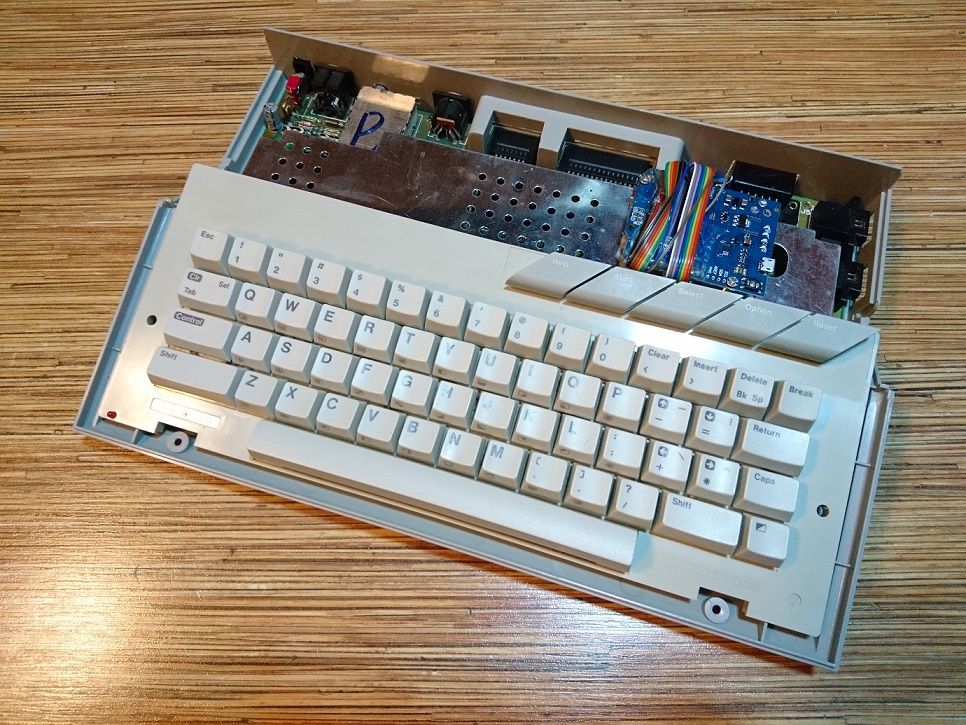
Arduino | J8 --------+---- 2 | 19 3 | 4 4 | 8 5 | 9 6 | 10 7 | 11 8 | 17 9 | 16 10 | 20 11 | 13 12 | 14 A0 | 12 A1 | 15 A2 | 7 A3 | 18 A4 | 5 A5 | 6 Arduino needs to be fixed inside the Atari so that the conductors of this board are not in contact with the metal parts of the computer. USB cable to output.
Since there are fewer keys on the Atari keyboard than on the PC keyboard, there are “chords” in the device’s firmware. They can be changed according to user preferences. By default, they are as follows:
PC | Atari --------------+---------------------------- F1 | Control+Tab+1 Help F2 - F9 | Control+Tab+2 - 9 F10 | Control+Tab+0 F11 | Control+Tab+< F12 | Control+Tab+> --------------+---------------------------- ~ () | Control+Tab+/ --------------+---------------------------- ` () | Control+Tab+Esc --------------+---------------------------- PgUp | Control+Tab+ PgDn | Control+Tab+ --------------+---------------------------- Home | Control+Tab+ End | Control+Tab+ --------------+---------------------------- Alt | Atari --------------+---------------------------- Ctrl | Control --------------+---------------------------- Sfift | Shift --------------+---------------------------- Shift+Alt | Shift+Alt ( Alt+Shift) --------------+---------------------------- Ctrl+Alt+Del | --------------+---------------------------- | Control+. | (, | , | | --------------+---------------------------- | Shift+Tab+. | (Shift | | | Atari will work in normal mode, if you apply voltage to it from the power supply unit, or in USB keyboard mode, if you connect it to a computer. You cannot connect both at the same time.
To flash the Arduino, you need to download the sketch (free for non-commercial use), as well as the modified Keypad v.3.1.1 and Keyboard v.1.0.2 libraries (both under the GPL). They differ from the same original libraries in that they take into account the presence on the Atari board of microcircuits connected to the keyboard matrix and prevent incorrect reading of the key states, first of all, Control and Pause.
By redoing the sketch, you can add the function of a USB keyboard to almost any retrocomputer in a similar way.
Source: https://habr.com/ru/post/444456/
All Articles