How I tried to beat TP4056
Greetings
A few words about the popular module for charging lithium batteries based on the controller TP4056.
Some time ago, the Chinese brothers began to produce modules for charging li-on elements based on the TP4056 chip. At first they were just charge modules, with the first versions being released with a MiniUSB connector. Then they began to install MicroUSB. The latest versions of this module come with a built-in battery protection based on the DW01 (short-circuit protection, overdischarge).
')

So here.
These are small modules for embedding in various hardware, mainly for DIY (DIY) and repair. It is extremely convenient to replace almost any salt and alkaline batteries: batteries AA, AAA, D, "Crown" and so on, the main requirement is that the battery "draws out" the required parameters. As a rule, lithium cells are much more powerful than the same salt AA batteries.
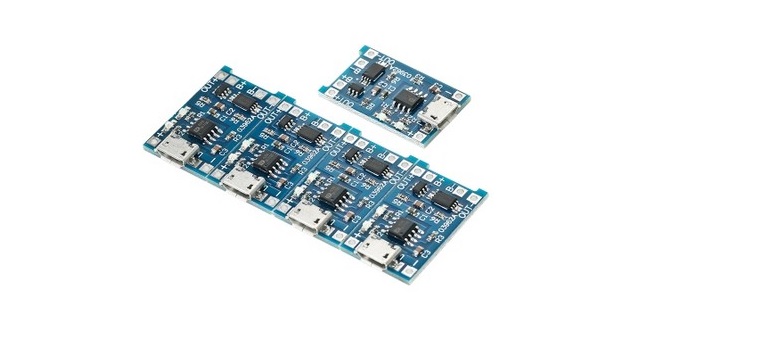
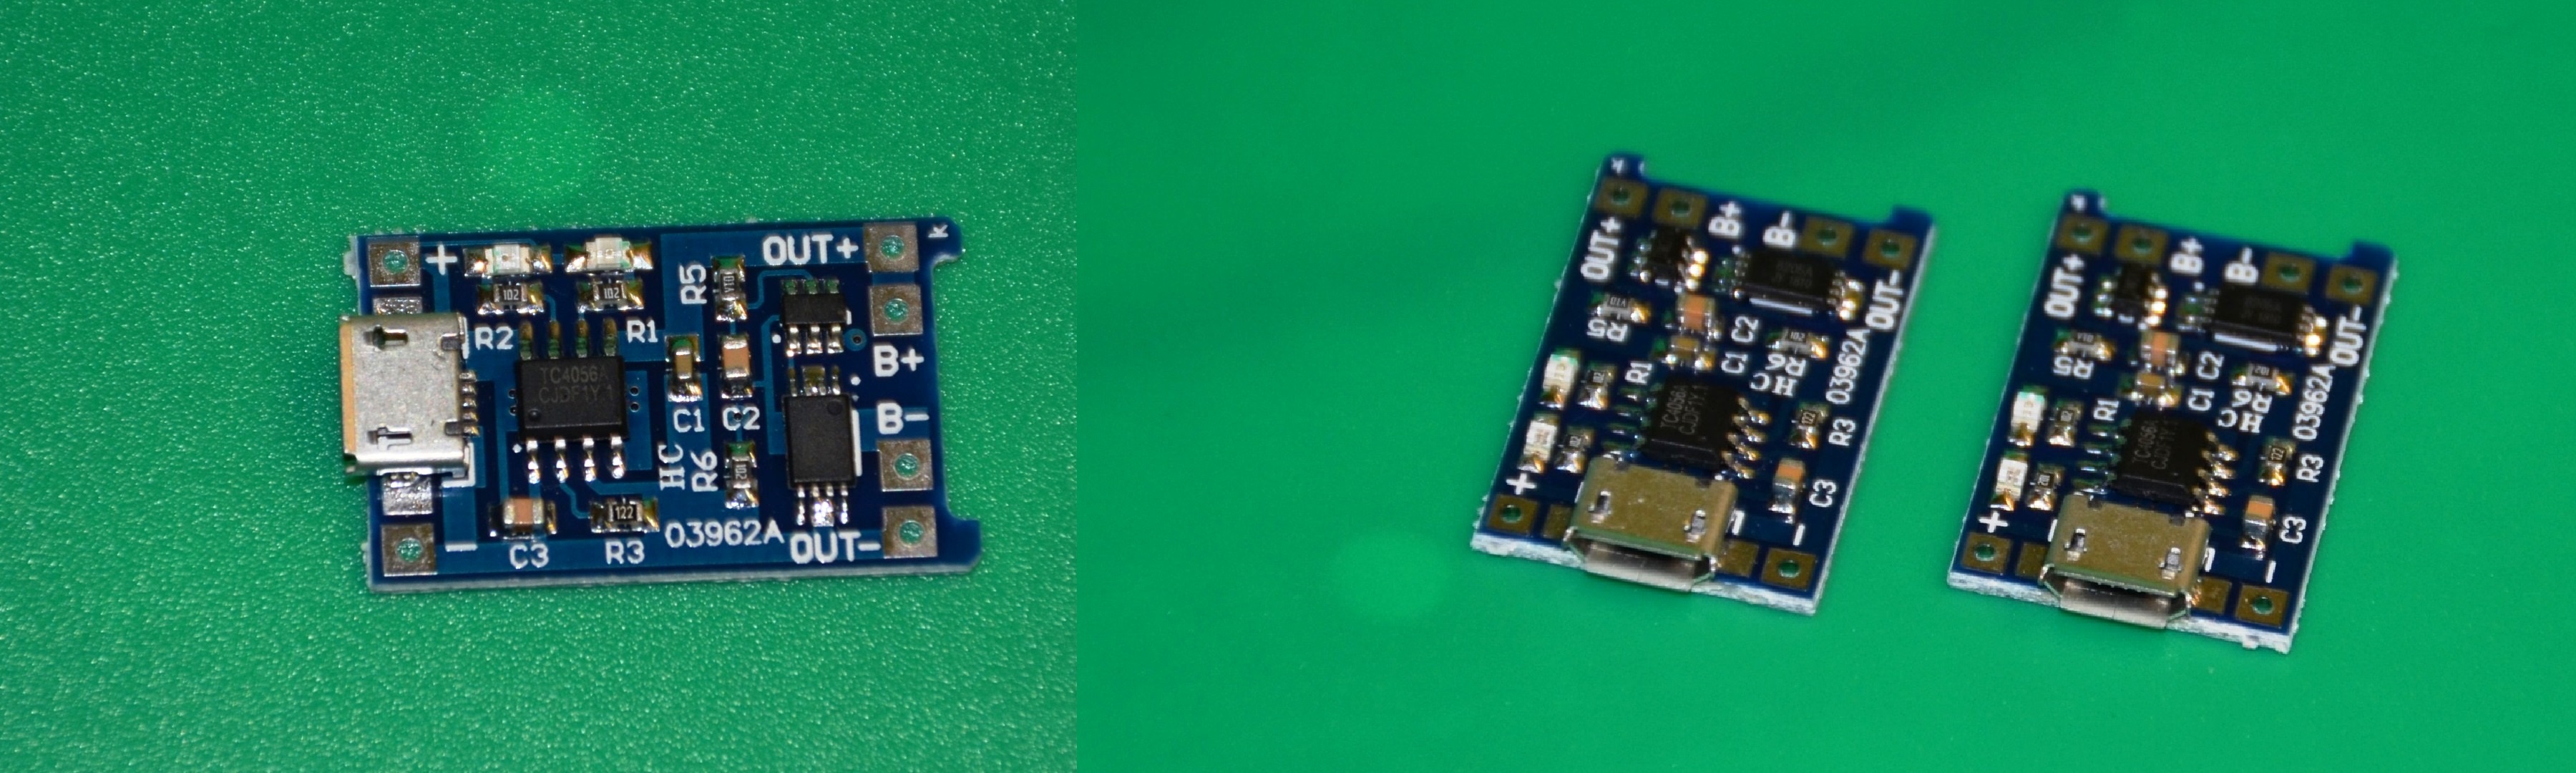
Appearance of the charging module on TP4056
Such “upgrades” usually come either from despair (there are no items on sale, outdated hardware design, but should be used), or with increased battery consumption. For example, in children's toys are used either Ni-Cd batteries (4-5 cells for 1.2V), or AA batteries, 5-6 pieces. How convenient it would be if all these toys, multimeters and other equipment would not be powered by batteries, but charged from common USB.

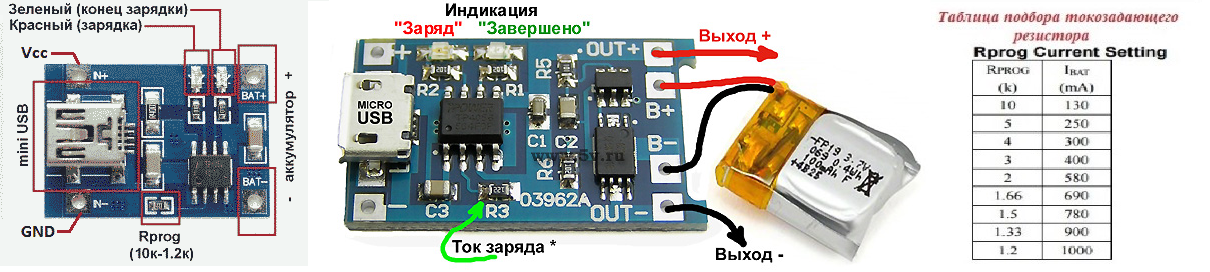
The picture below shows: the first version of the board (with MiniUSB), with the designation of the main functional units, the second version of the board (with microUSB and protection). Pay attention to Rprog / R3. With this resistor, you can set the battery charging current. The table on the right shows the selection value of this resistor.
I tried to “refine” the circuit, modifying the module for parallel connection of modules, adding diodes to the circuit for decoupling the supply circuits, combined tracks, etc. Attempting such improvements led to the fact that it seems like you can connect 2-3 modules together to charge a 2S (or 3S) battery, but when a protection is triggered on one of them, the current flowing through the other elements increases and can lead to failure other modules.

So, I conclude that such modules are not suitable for combination and parallel connection of type 2S-3S. There is another way. This module can work well with 1S2P (1S3P ...) battery cells, for example, 18650. And to get the desired voltage at the output, it is better to use a Step-Up DC-DC module of the required power.

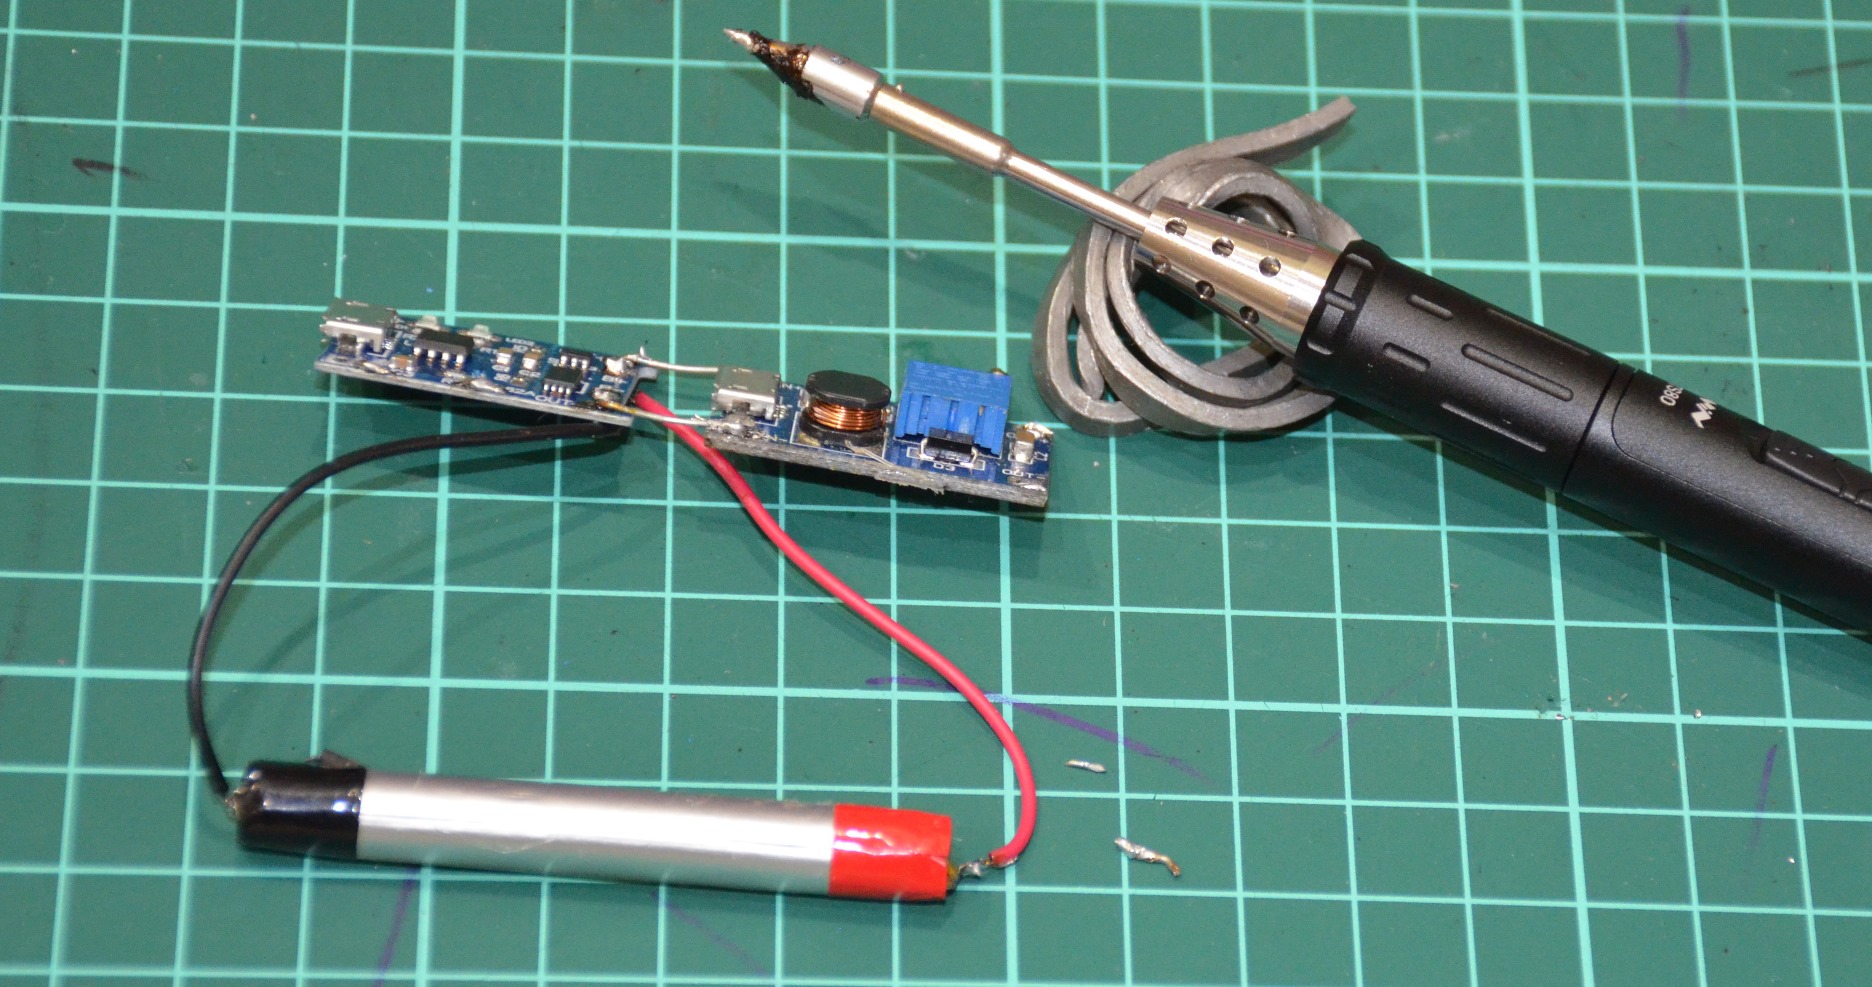
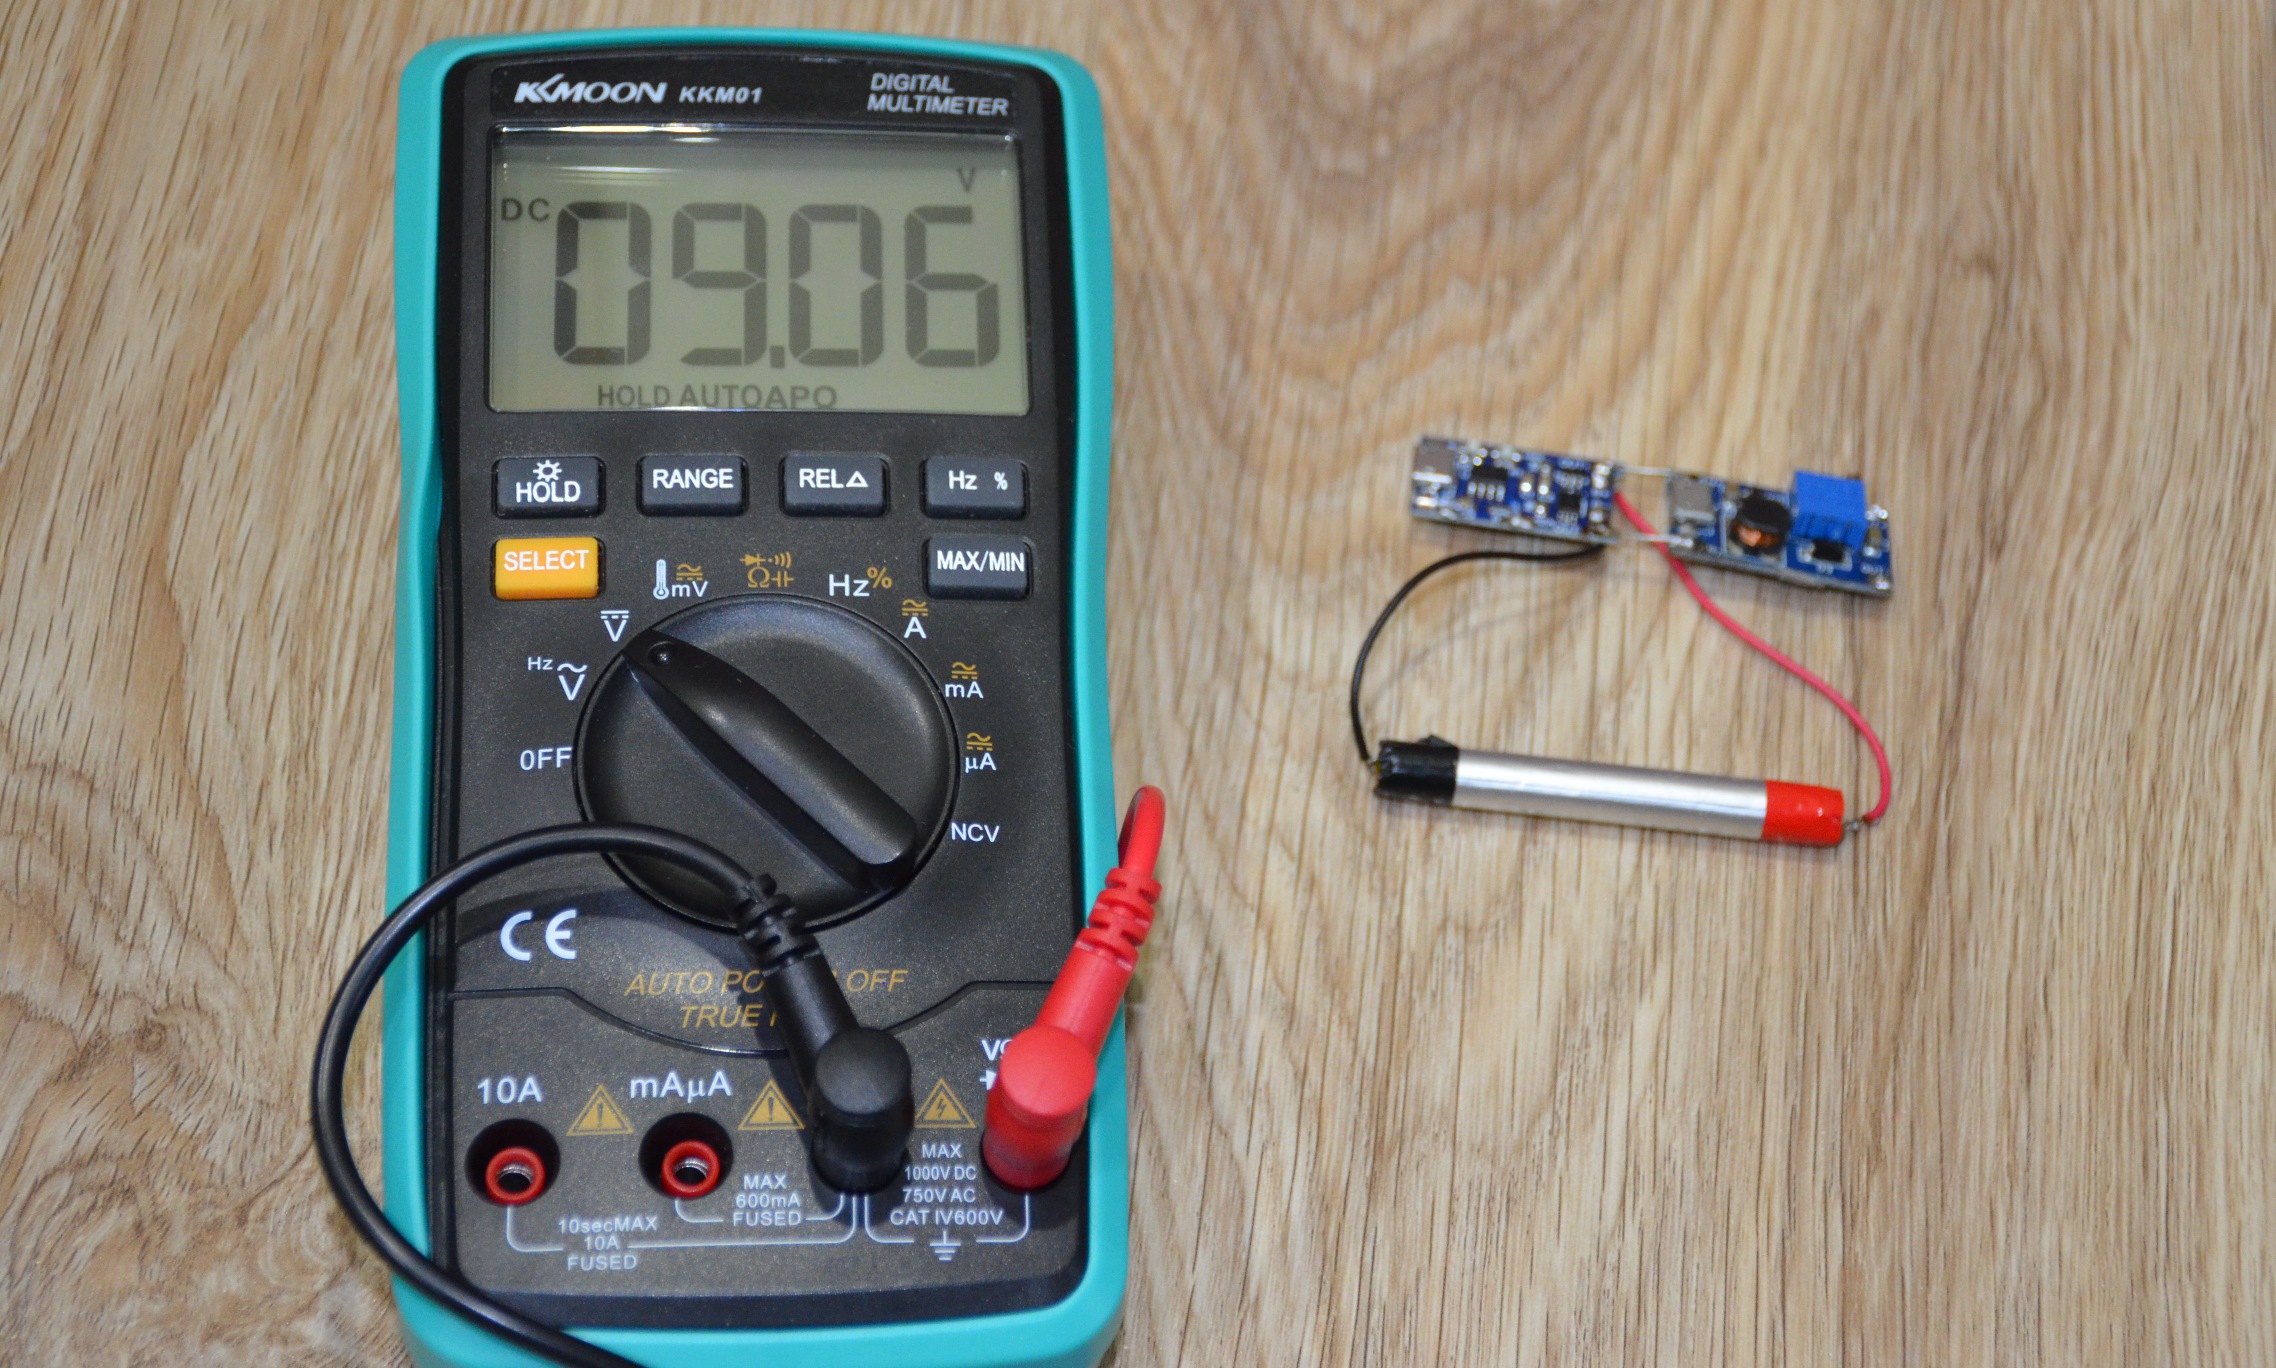
We simply connect to the output of the module on TP4056 Step-Up DC-DC (they are available on a fixed output, and with an adjustable output). A similar module in the photo has an output of up to 2A and an adjustable voltage.
On the photo is a module with a Step-Up and 08570 battery from an electronic cigarette.
I plan to install a similar assembly into the multimeter, to replace the 9V battery “Krona”. Minus - you will have to “gash” the MicroUSB connector outside to charge the device.
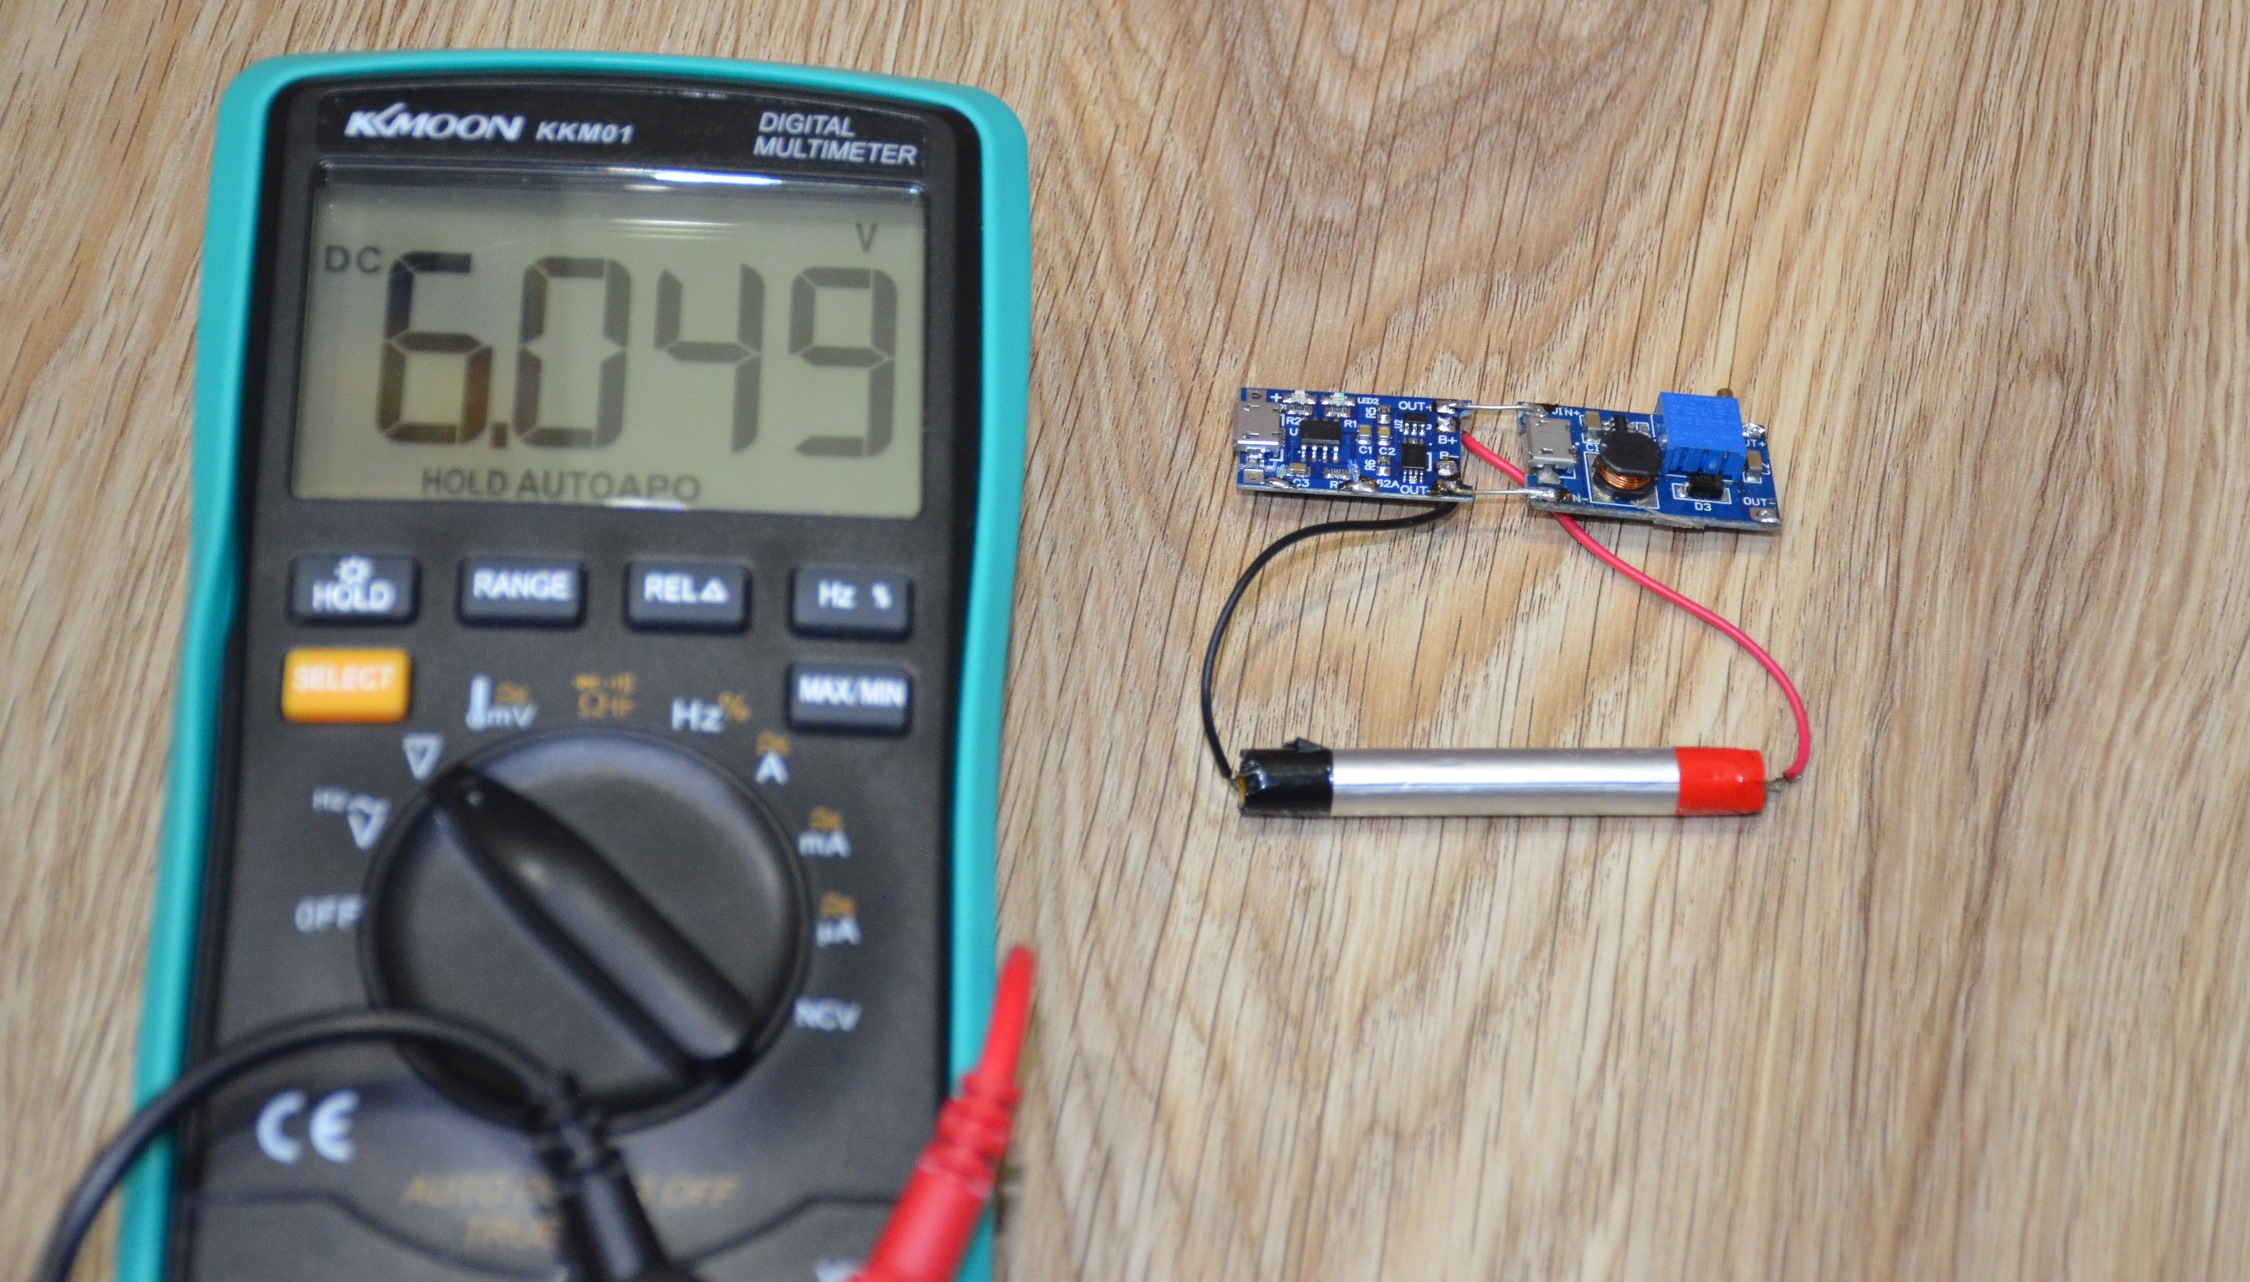
To replace 5 Ni-Cd elements on the converter, you can install 6.0V. Similar assemblies are used in old r / u toys and not only.
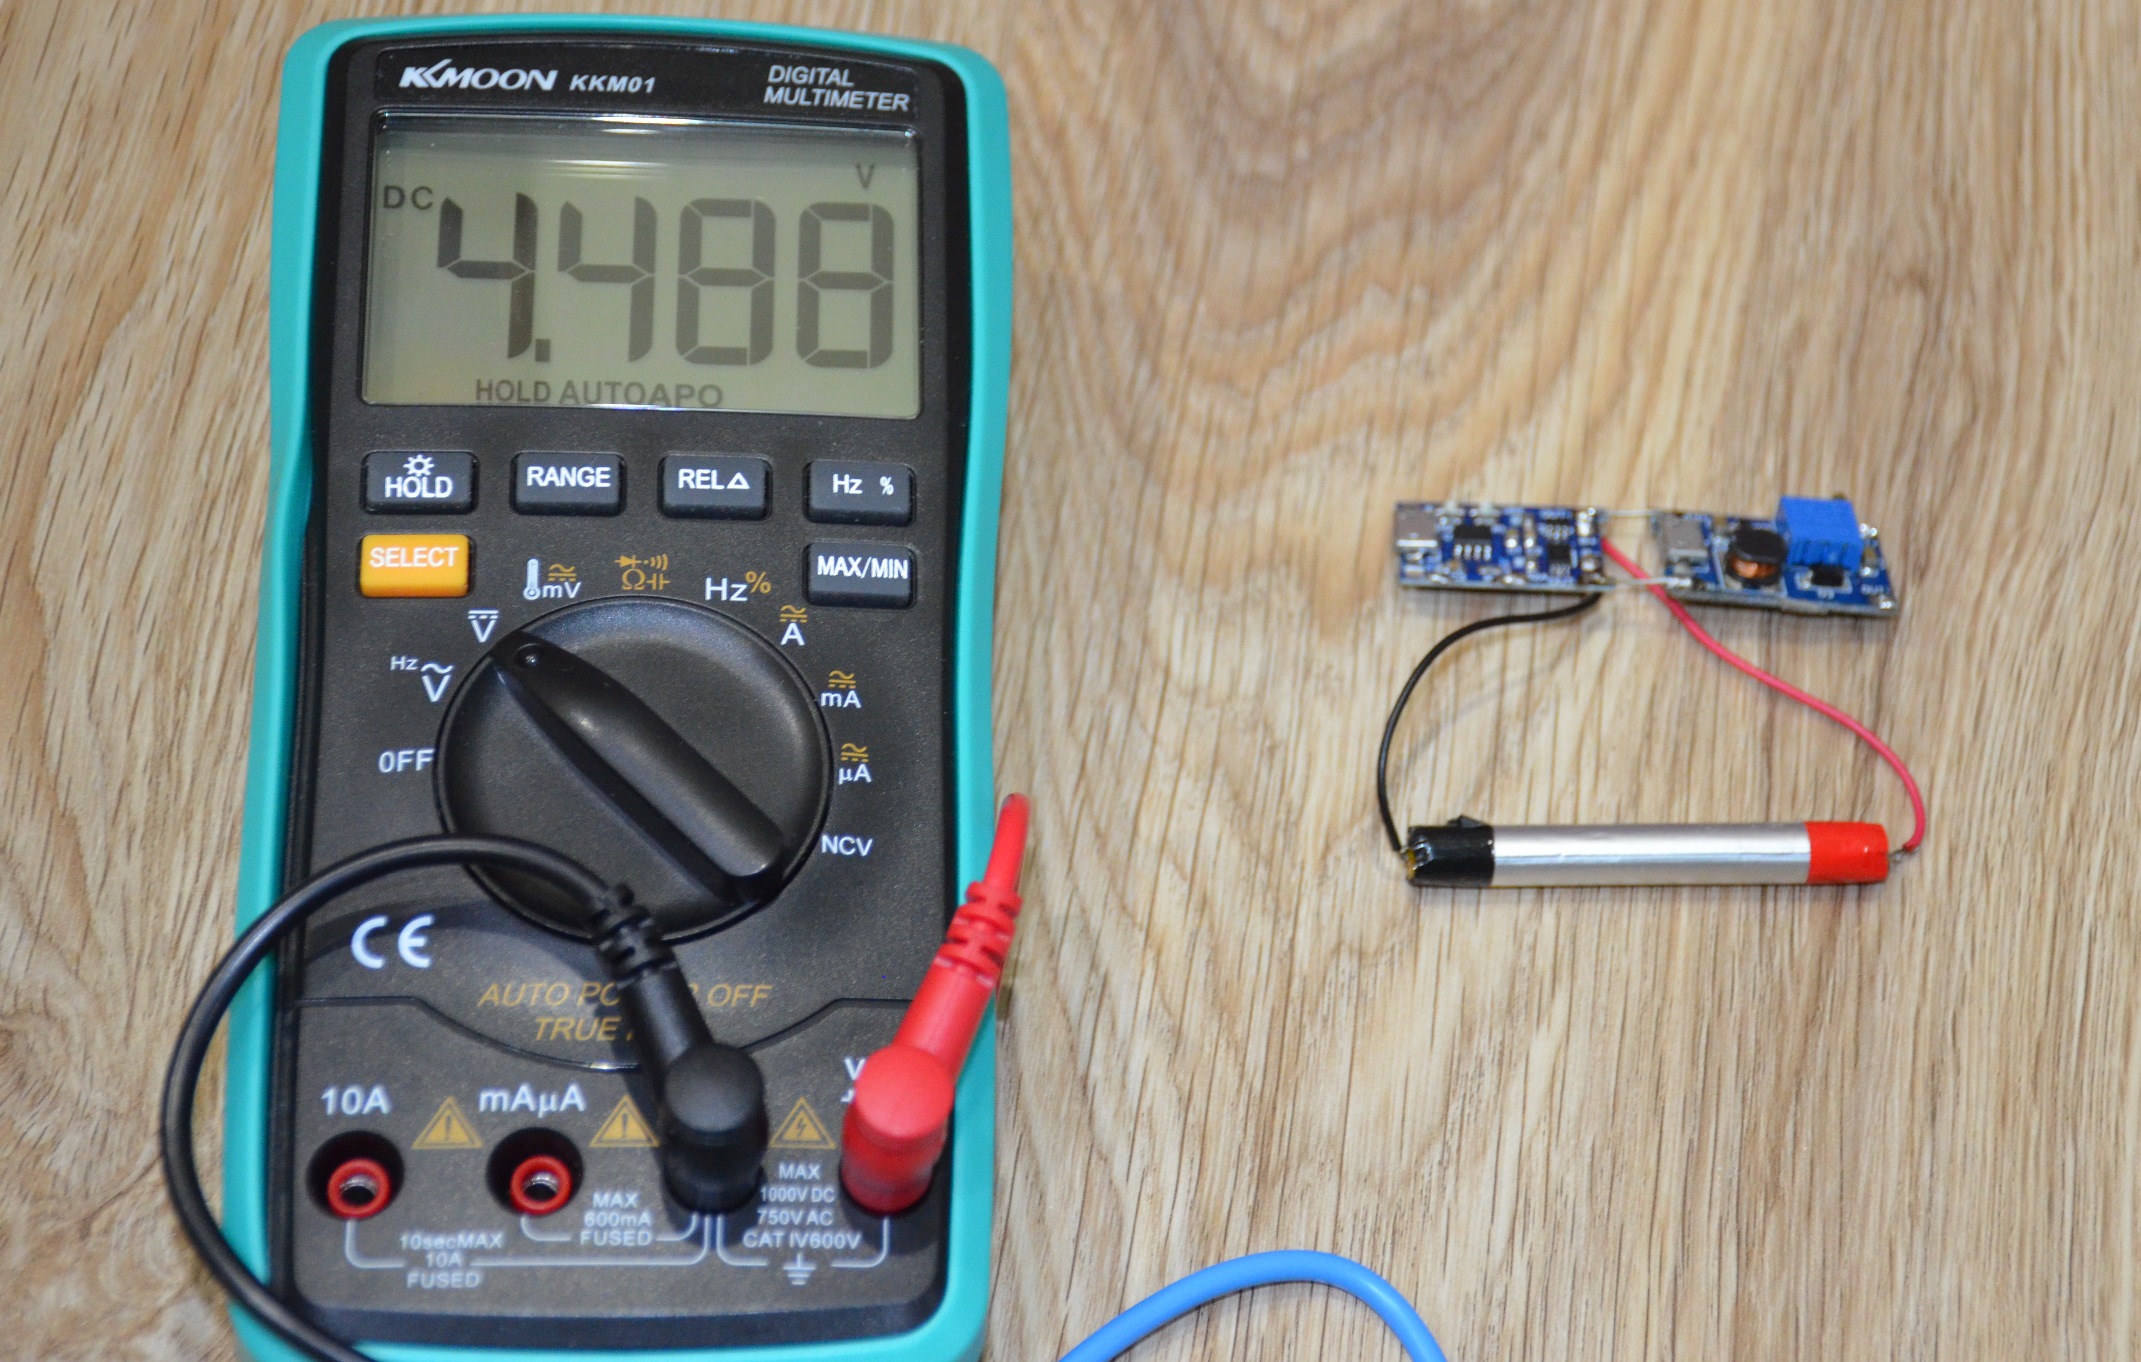
But to replace the three AA or AAA batteries, we install 4.5V. These are the most common cases of using such a module.
The module of the charge controller TP4056 + protection for batteries BW01 (5 pieces in a lot) took a DIY3M coupon, the price is about $ 2. While all the boards have gone to the devices, but for the 2S ... 3S variants it is better to look for specialized BMS modules with balancing and protection.
A few words about the popular module for charging lithium batteries based on the controller TP4056.
Some time ago, the Chinese brothers began to produce modules for charging li-on elements based on the TP4056 chip. At first they were just charge modules, with the first versions being released with a MiniUSB connector. Then they began to install MicroUSB. The latest versions of this module come with a built-in battery protection based on the DW01 (short-circuit protection, overdischarge).
')
So here.
These are small modules for embedding in various hardware, mainly for DIY (DIY) and repair. It is extremely convenient to replace almost any salt and alkaline batteries: batteries AA, AAA, D, "Crown" and so on, the main requirement is that the battery "draws out" the required parameters. As a rule, lithium cells are much more powerful than the same salt AA batteries.
Appearance of the charging module on TP4056
Such “upgrades” usually come either from despair (there are no items on sale, outdated hardware design, but should be used), or with increased battery consumption. For example, in children's toys are used either Ni-Cd batteries (4-5 cells for 1.2V), or AA batteries, 5-6 pieces. How convenient it would be if all these toys, multimeters and other equipment would not be powered by batteries, but charged from common USB.
The picture below shows: the first version of the board (with MiniUSB), with the designation of the main functional units, the second version of the board (with microUSB and protection). Pay attention to Rprog / R3. With this resistor, you can set the battery charging current. The table on the right shows the selection value of this resistor.
I tried to “refine” the circuit, modifying the module for parallel connection of modules, adding diodes to the circuit for decoupling the supply circuits, combined tracks, etc. Attempting such improvements led to the fact that it seems like you can connect 2-3 modules together to charge a 2S (or 3S) battery, but when a protection is triggered on one of them, the current flowing through the other elements increases and can lead to failure other modules.
So, I conclude that such modules are not suitable for combination and parallel connection of type 2S-3S. There is another way. This module can work well with 1S2P (1S3P ...) battery cells, for example, 18650. And to get the desired voltage at the output, it is better to use a Step-Up DC-DC module of the required power.
We simply connect to the output of the module on TP4056 Step-Up DC-DC (they are available on a fixed output, and with an adjustable output). A similar module in the photo has an output of up to 2A and an adjustable voltage.
On the photo is a module with a Step-Up and 08570 battery from an electronic cigarette.
I plan to install a similar assembly into the multimeter, to replace the 9V battery “Krona”. Minus - you will have to “gash” the MicroUSB connector outside to charge the device.
To replace 5 Ni-Cd elements on the converter, you can install 6.0V. Similar assemblies are used in old r / u toys and not only.
But to replace the three AA or AAA batteries, we install 4.5V. These are the most common cases of using such a module.
The module of the charge controller TP4056 + protection for batteries BW01 (5 pieces in a lot) took a DIY3M coupon, the price is about $ 2. While all the boards have gone to the devices, but for the 2S ... 3S variants it is better to look for specialized BMS modules with balancing and protection.
Source: https://habr.com/ru/post/444076/
All Articles