Univention Corporate Server (UCS) - installation of a simple and convenient LDAP server with a web-panel and its link with Nextcloud
Sooner or later, in any small or medium-sized enterprise, the task arises of creating a single user authorization center in numerous services and company portals. Among the candidates for such an authorization center immediately comes to mind Microsoft Active Directory or one of the implementations based on Linux.
In this series of articles, we will use the Univention Corporate Server (hereinafter referred to as UCS ) as a convenient and easy-to-use LDAP authorization server with a clear web-interface and a built-in application store. This product was developed by the German company Univention GmbH .
')
In this article, we describe the installation of UCS and the deployment of Nextcloud with the possibility of subsequent authorization via LDAP.
In the next articles, we will also connect the Zimbra mail server and the OnlyOffice portal to UCS .
Univention Corporate Server (UCS) is a server operating system created on the basis of Debian GNU / Linux, with an integrated management system for centralized and cross-platform administration of servers, services, clients, desktops and users, as well as virtualized computers running UCS. In addition to working with local virtual instances, UCS can also work in cloud environments based on OpenStack, Microsoft Azure, and Amazon EC2.
By integrating the open source software Samba 4, Univention also supports the features provided by many Microsoft Active Directory companies to administer computers running Microsoft Windows. UCS-based components and UCS-certified, third-party installed products can be installed and integrated through the Univention Application Center.
UCS provides all Application Center applications with a runtime and services to work, including centralized, consistent application management. Docker containers can also be run on UCS systems, and some of the applications available in the Application Center are based on Docker.
GitHub page
according to wikipedia
Nextcloud is a cloud storage with data protection and control functions, as well as a local audio and video chat connection service. Downloaded files can be accessed by third parties on any platform. The system allows you to optimize workflow between colleagues and customers. Integration with iOS, Android, Mac, Windows, Linux, Outlook and Thunderbird.
Thanks to enhanced security, the service will interest healthcare professionals to protect customer information, educational and research organizations, advertising and media enterprises, as well as lawyers and notaries. It is also useful for home use - storing calendars, personal records, contacts and photos. For private users, the choice of server is offered: at home, in the data processing center or at the supplier. Open source platform gives developers the opportunity to optimize it in accordance with personal preferences.
Nextcloud provides security through end-to-end encryption. Video call, chat, and tagging options for contacts are available in the comments. At any time, you can find the necessary items through a full-text search. The resource provides processing of invitations in the calendar, automatic integration with email and support for setting up an email address that stores attachments directly in Nextcloud. Collaboration options allow you to collaborate with the team via webmail, contacts and calendars, which you can share with colleagues or make them publicly available. All data is synchronized with phones and tablets account. The service can be used for web meetings, online brainstorming and webinars.
Key features:
- Enhanced privacy options
- Multiple accounts with a unified mailbox
- Integration of external calendar resources (WebCal)
- HD audio / video calls
- GitHub Code
Description taken at coba.tools/nextcloud
Also there you can find videos and screenshots of the product.
Table of contents:
- OS installation
- First launch, mail confirmation and system update
- Installing Nextcloud from App Center
- Creating a user and first running Nextcloud
OS installation
An ISO image for installation can be obtained on the official website via the link.
https://www.univention.com/downloads/
We start installation from an image
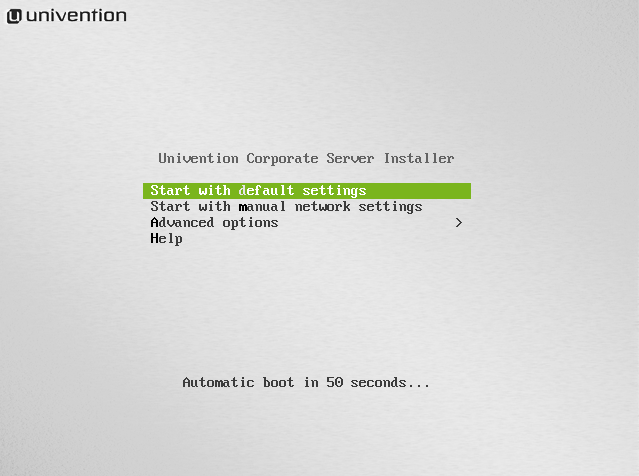
The first item is the choice of installation type.
Choose the best option - Start with default settings
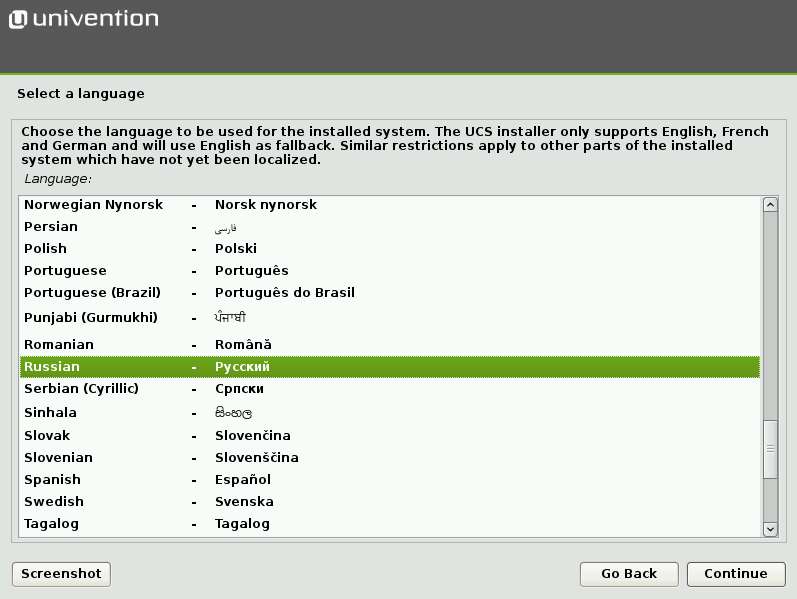
The next item is the choice of installation language.
Supported languages: English, French and German. Choose Russian . The installation will continue in English, but this is a necessary step, because the next item ( Select your location ) offers countries to choose from based on the language we have chosen
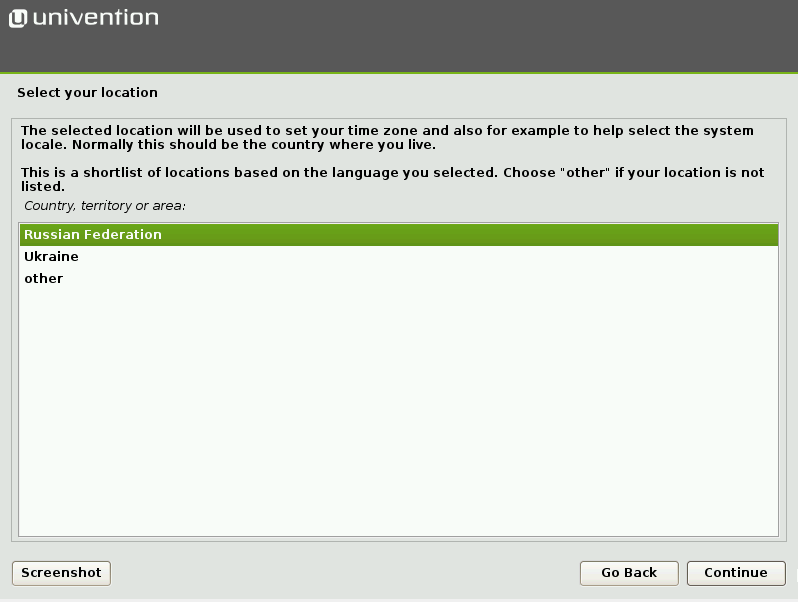
Location selection
Since we have chosen the Russian language, in this list we are offered to choose the Russian Federation.
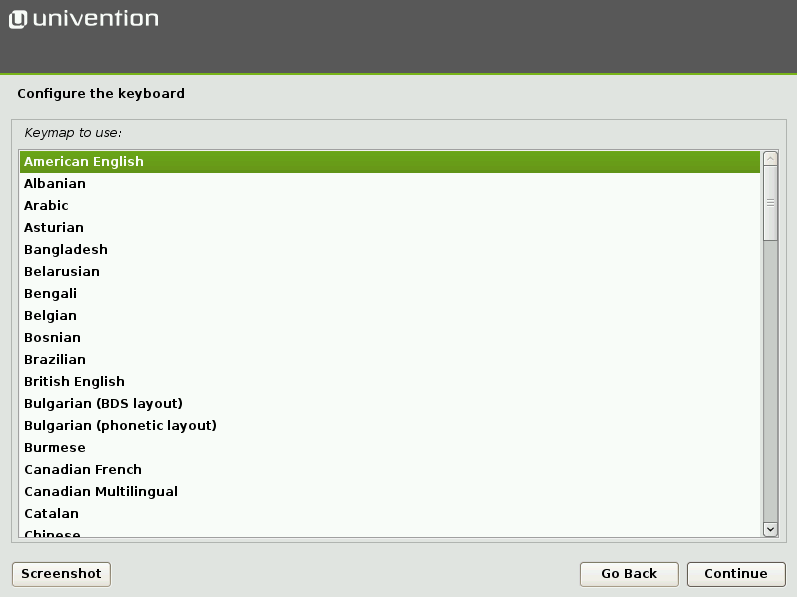
Keyboard selection
Because of the previous steps we are offered the Russian layout, we change to American English
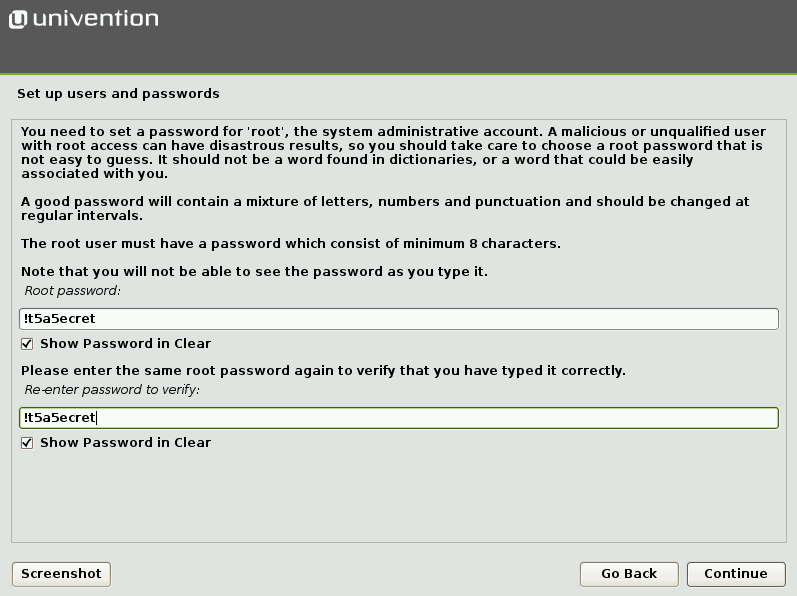
Setting a password for root user
The installer warns us that the password must be strong. It may contain letters, numbers and punctuation marks. The minimum length is 8 characters. In the screenshot, the Show Password in Clear checkbox is activated, showing the password I entered
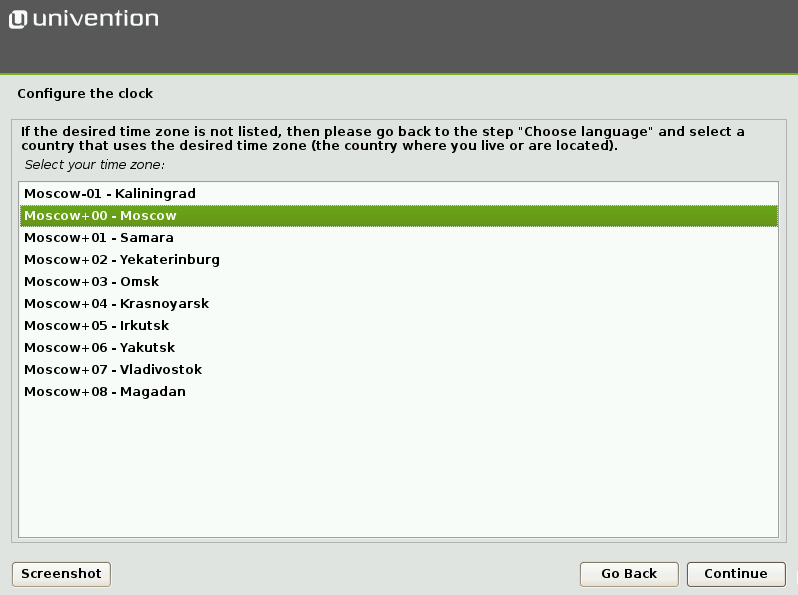
Time zone setting
My choice is Moscow
Hard drive setup
This can be done manually (the Manual item), however, in most cases, the default option is also suitable - Guide - use the entire disk and set up LVM .
LVM (Logical Volume Manager) is a subsystem that allows you to combine several disks into one and then split it in a convenient way.

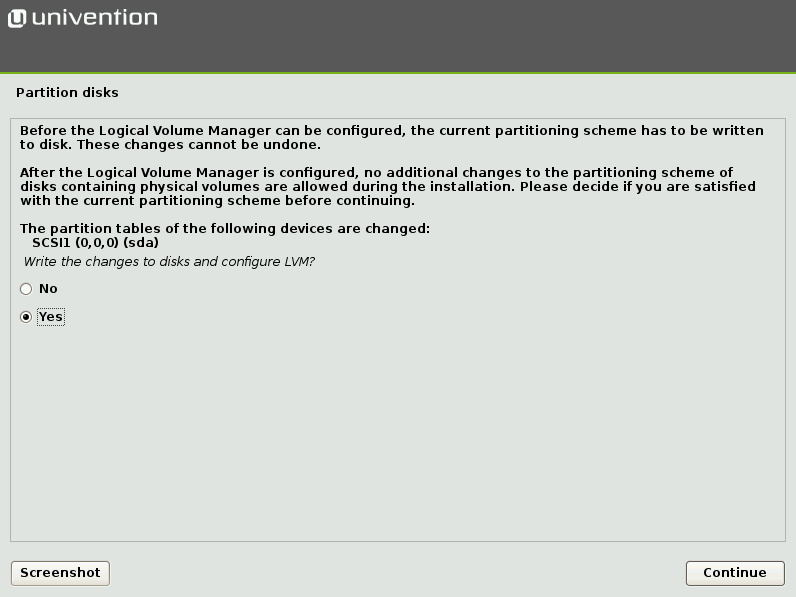
Next, the installer offers us to choose a disk and warns that after confirmation the disk will be formatted

You must specify a partitioning scheme. I select the default item All files in one partition

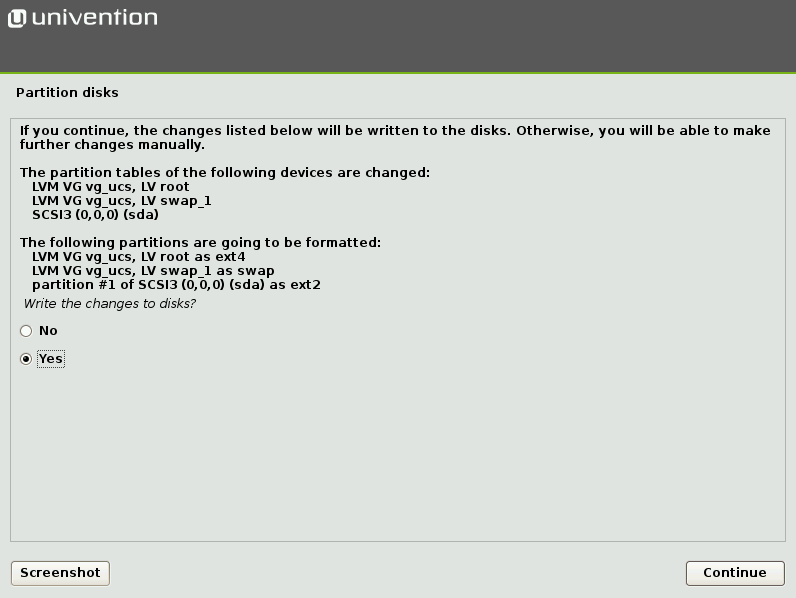
After the installer asks for confirmation of the applied partition and warns about the formatting of the disk, select Yes
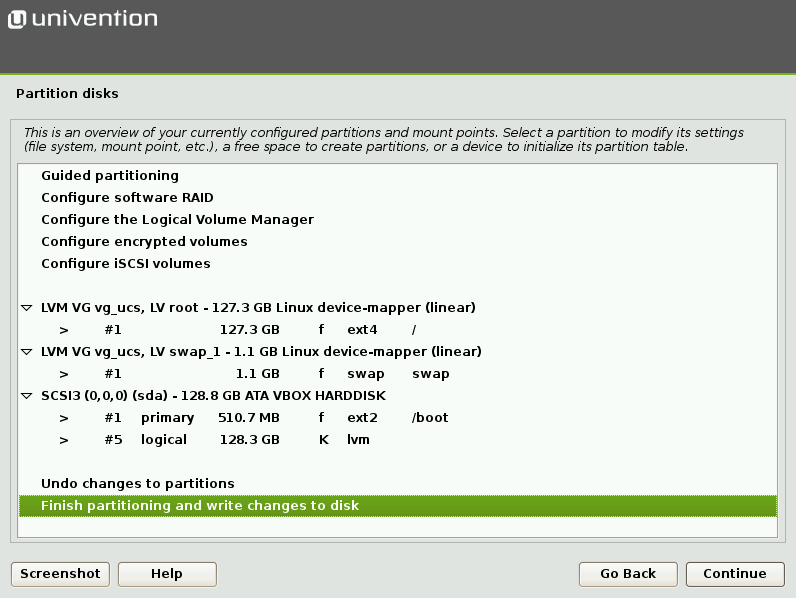
You are presented with a configuration overview.
The installer offers to save the configuration. If everything suits - Continue
The installer asks to confirm the upcoming changes - Yes
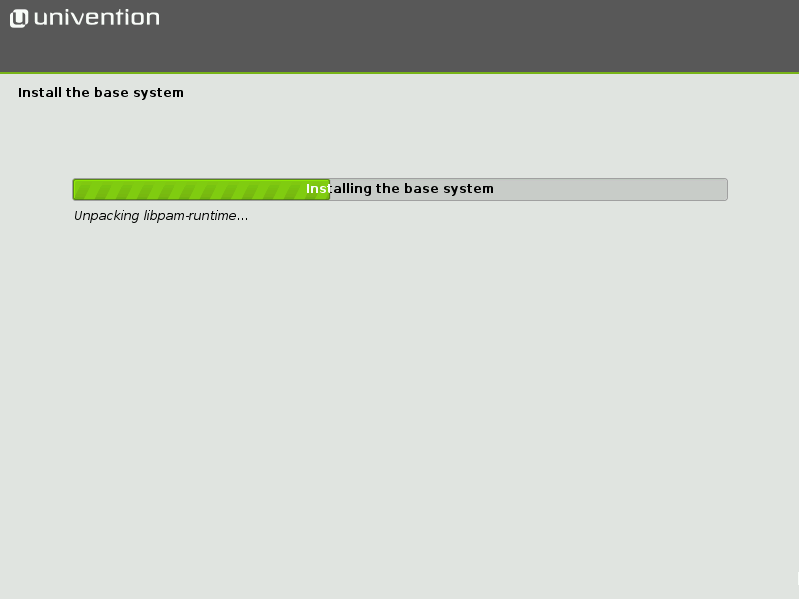
The initialization process has begun.
Upon completion of the installation, we are welcomed by the domain settings window. At this stage, we need to define the role of the domain.
There are four options for this:
- Create a new UCS domai n - create a new domain. If you select this option, later additional systems can join this domain;
- Join into an existing UCS domain - if we want to join a new system to an existing UCS domain as a slave or backup storage;
- Join to an existing Active Directory domain - become part of an Active Directory domain;
- Do not use any domain - do not use domain.
To create a new domain, select the first option - Create a new UCS domain , then we will be able to see the process of creating a domain

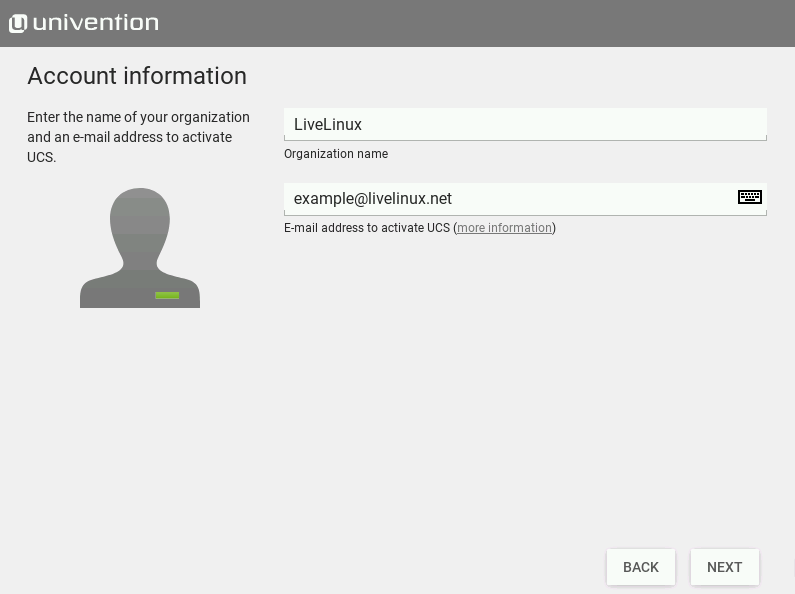
The installer offers us to provide some information about us.
Then, based on the data we specified in the previous step, generates a domain name. It can be changed, then we need to enter the full domain name. It is recommended to choose the subdomain of the DNS domain that we manage. For example, if we have registered the livelinux.org domain, we can use ldap.livelinux.org. ldap in this case is the hostname.
A dedicated LDAP database is automatically detected.
The screenshot shows the final domain name

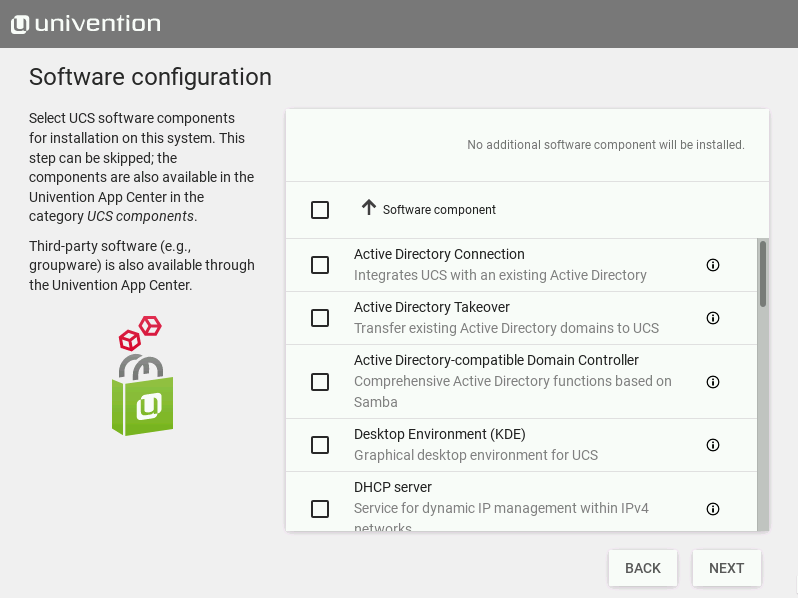
At the next stage we are offered to choose the software components that we want to include in the initial installation.
At the current stage, we leave everything by default.
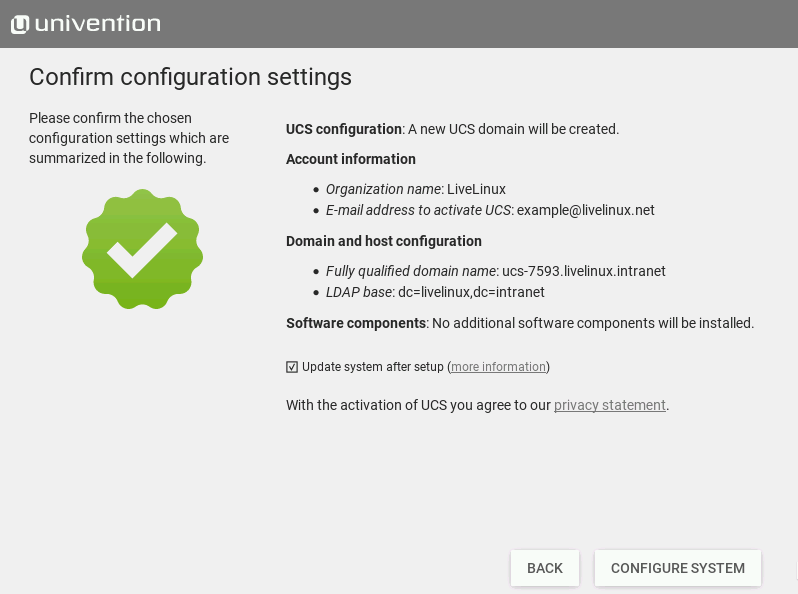
The next step is to confirm the settings.
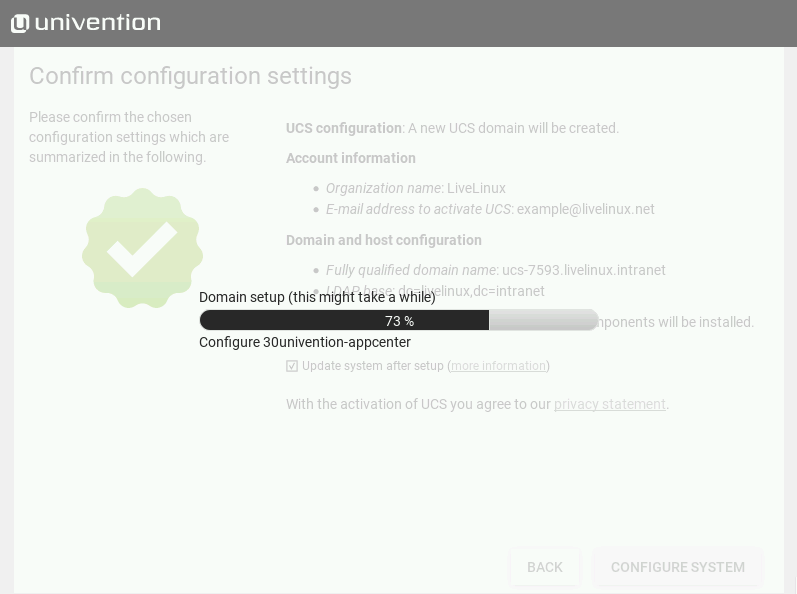
Then the process of applying the final settings begins.
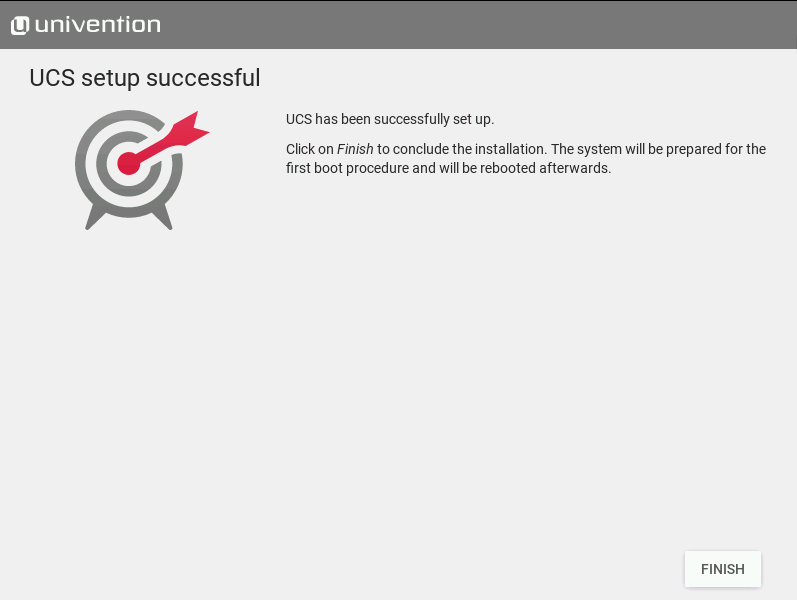
Finish! Univention installation completed successfully
First launch, mail confirmation and system update
After installing the system, we are waiting for instructions on opening the Web Management Interface in the browser.

I open the browser and write in the address bar 192.168.0.103
where 192.168.0.103 is the ip address of the server that we assigned during the installationThe browser warns me about the insecurity of the site, after which I get to the main page
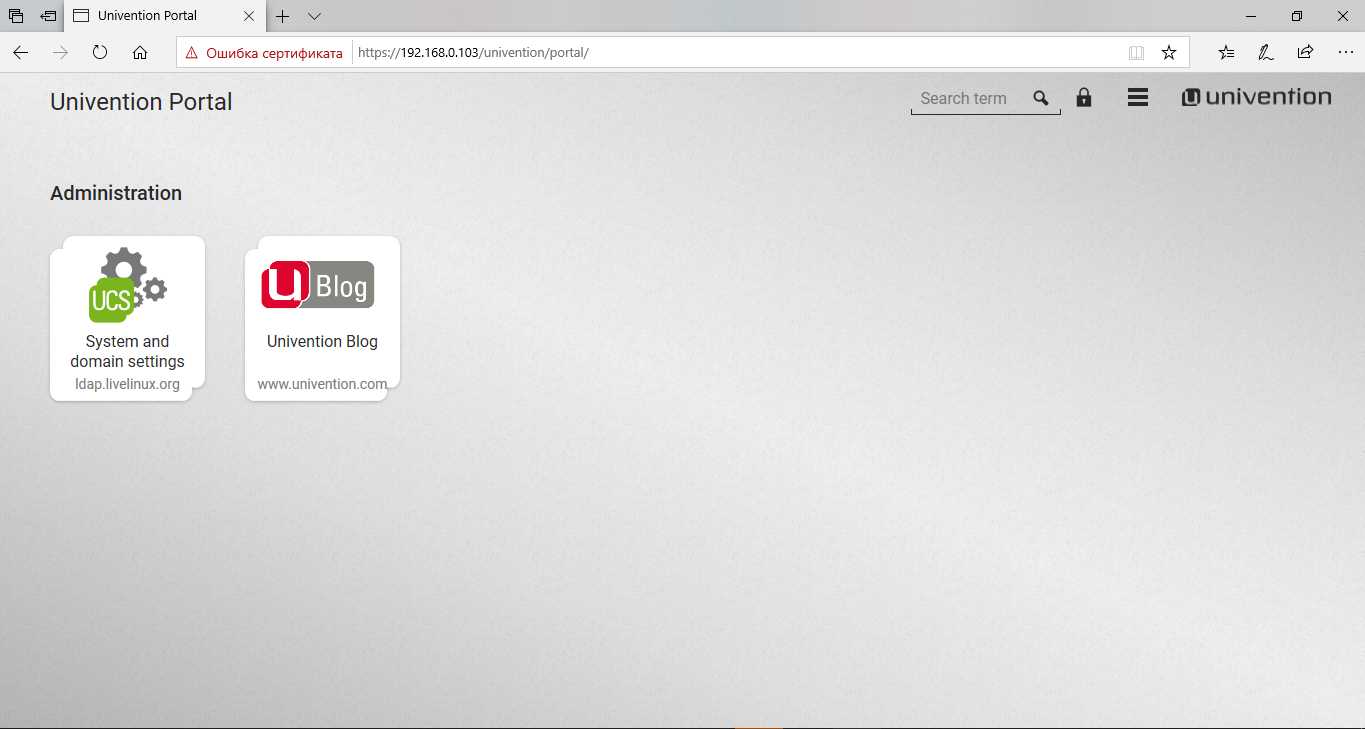
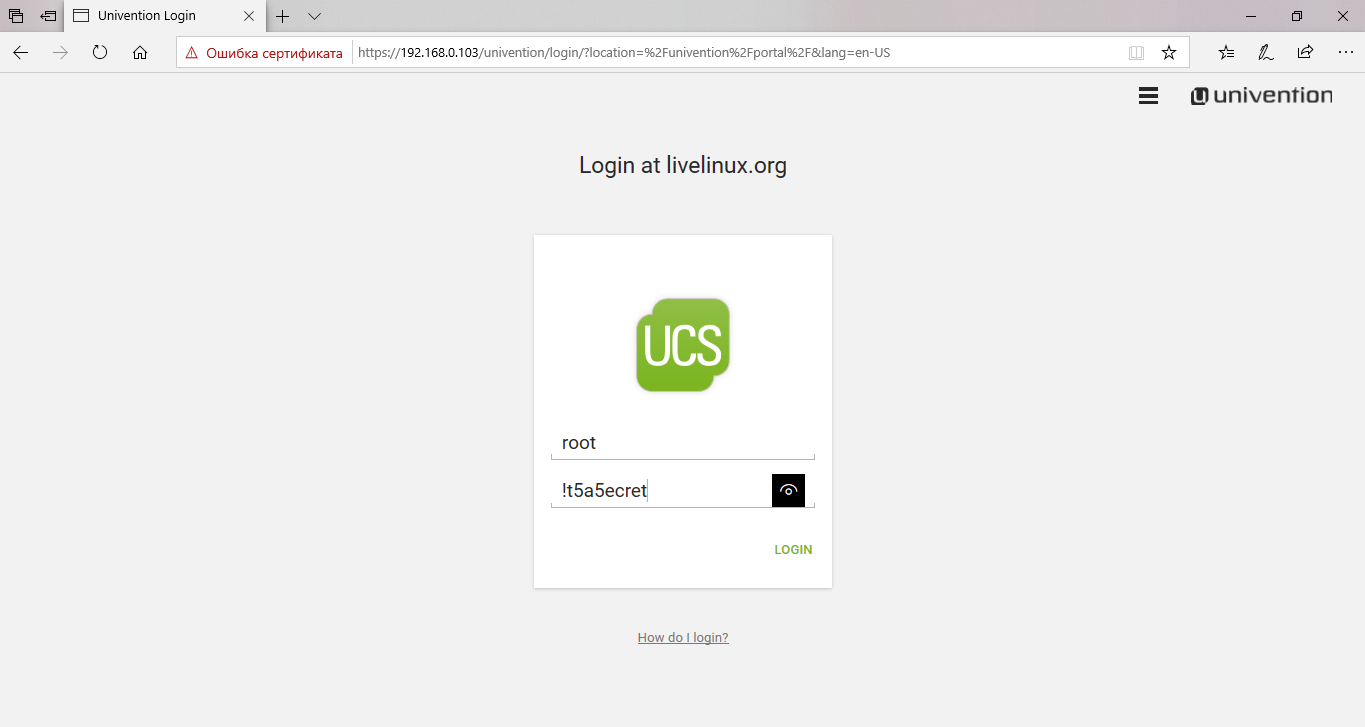
Log in by clicking on the lock button in the upper right corner
This login / password pair we set when installing the OS
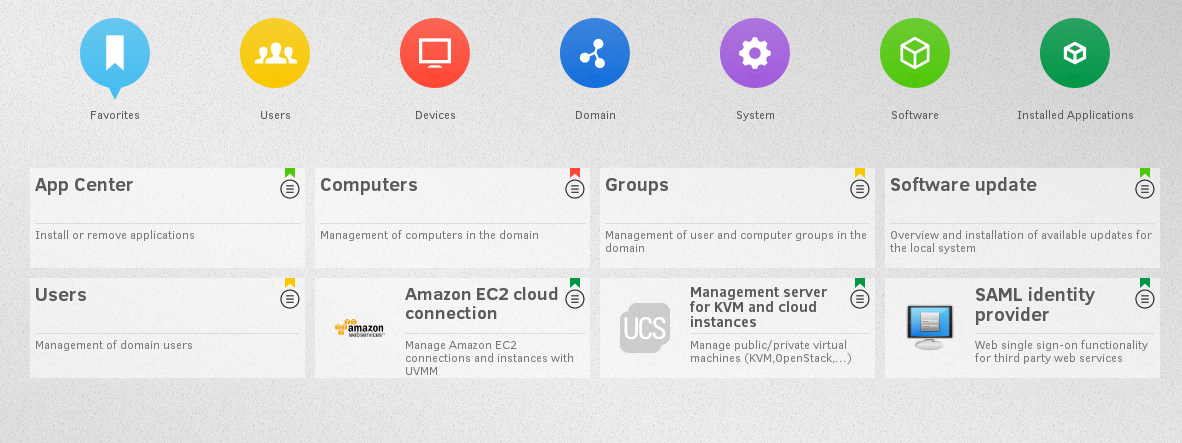
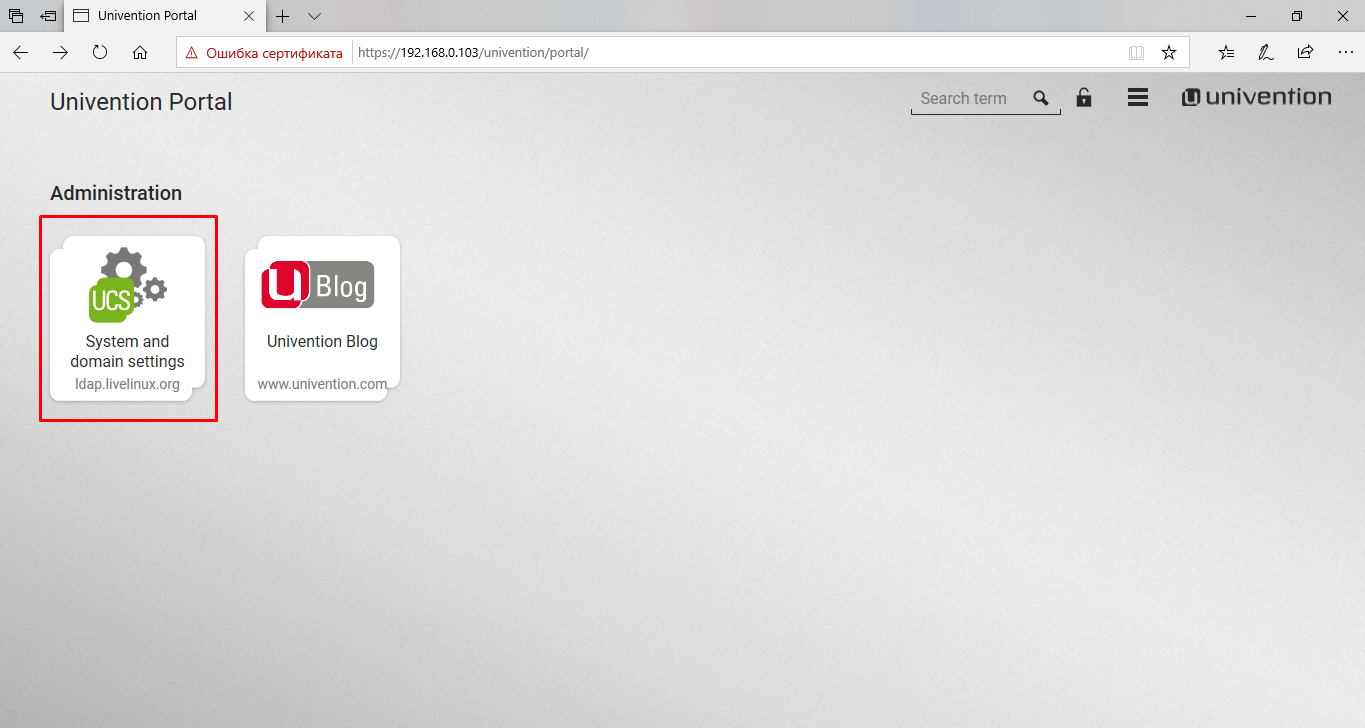
After login, we are thrown on the main screen, where we need to click on System and domain settings
In the window that opens, we are greeted by a notice
Notification
As the app center. For this you need to log in as Administrator.
Notification
As the root user, you have no access to domain administration or to the Application Center. To do this you need to log in as Administrator.

Log in as Administrator
In UCS, by default, the Administrator user is created with the password specified to the root user during installation.
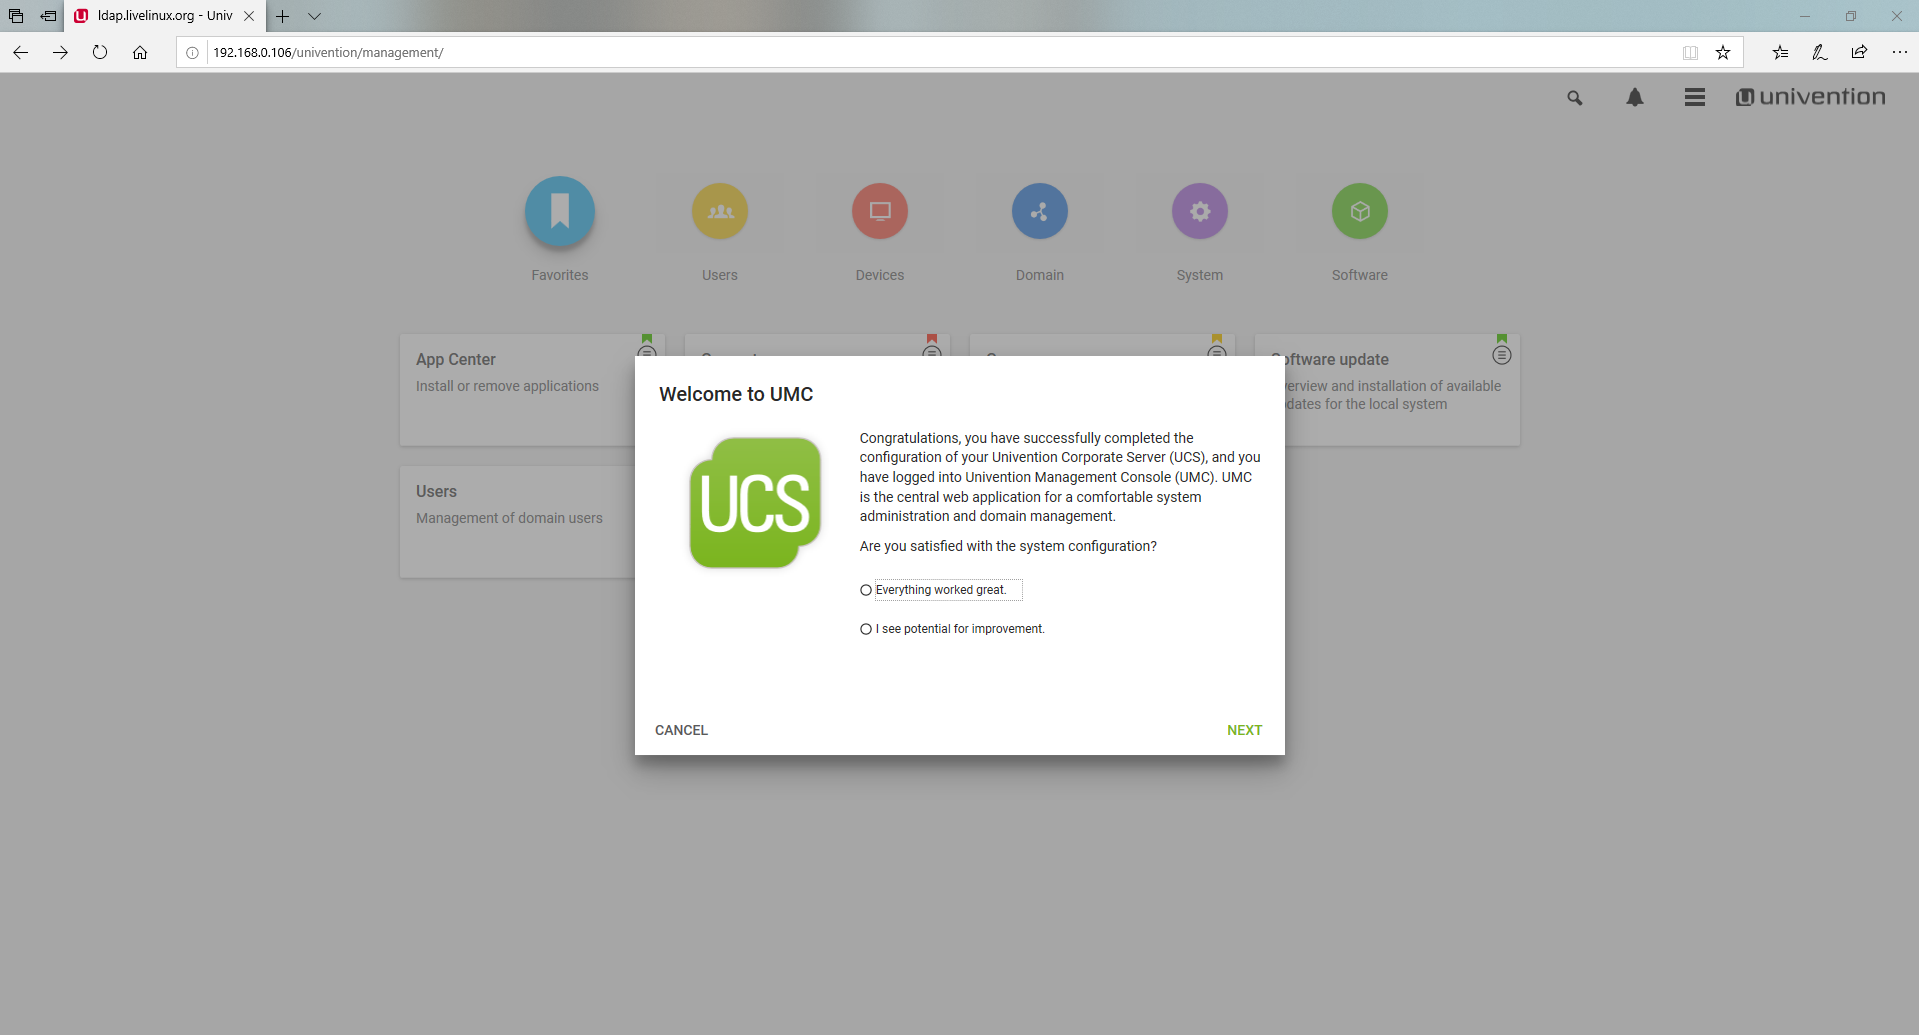
We return to System and domain settings already under the Administrator user, where a welcome window is waiting for us. Click Next
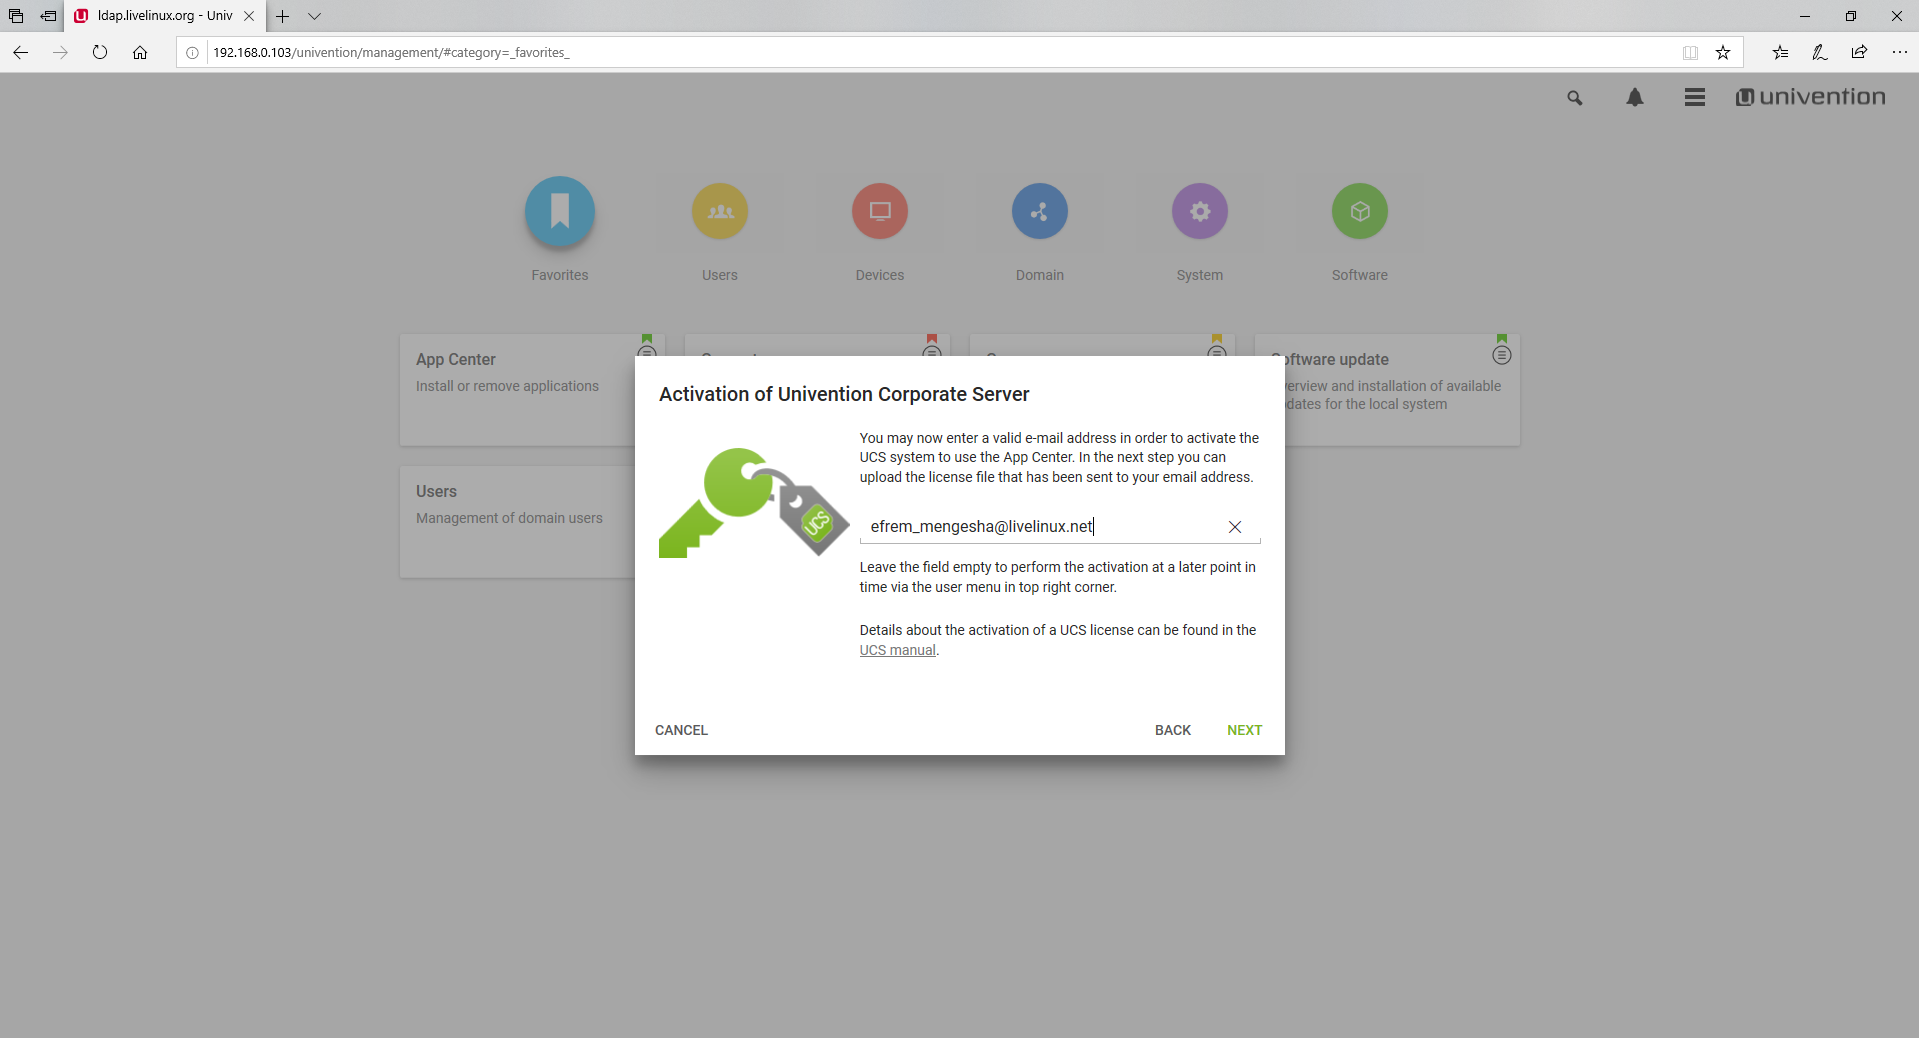
We are offered to confirm the mail in order to activate the UCS system, without this we will not be able to install applications from the App Center.
Enter your email
After we receive a letter to our e-mail as follows
The App Center requires the activation of UCS.
For this you can find a license key to this mail. To save the license key, first save it locally on your computer.
Then upload the license key as specified. If you need help with your setup, you can use our user forum 'Help' [https://help.univention.com/].
Best regards
Your Univention team
In addition to this letter attached file ucs.license , which must be downloaded to confirm the license

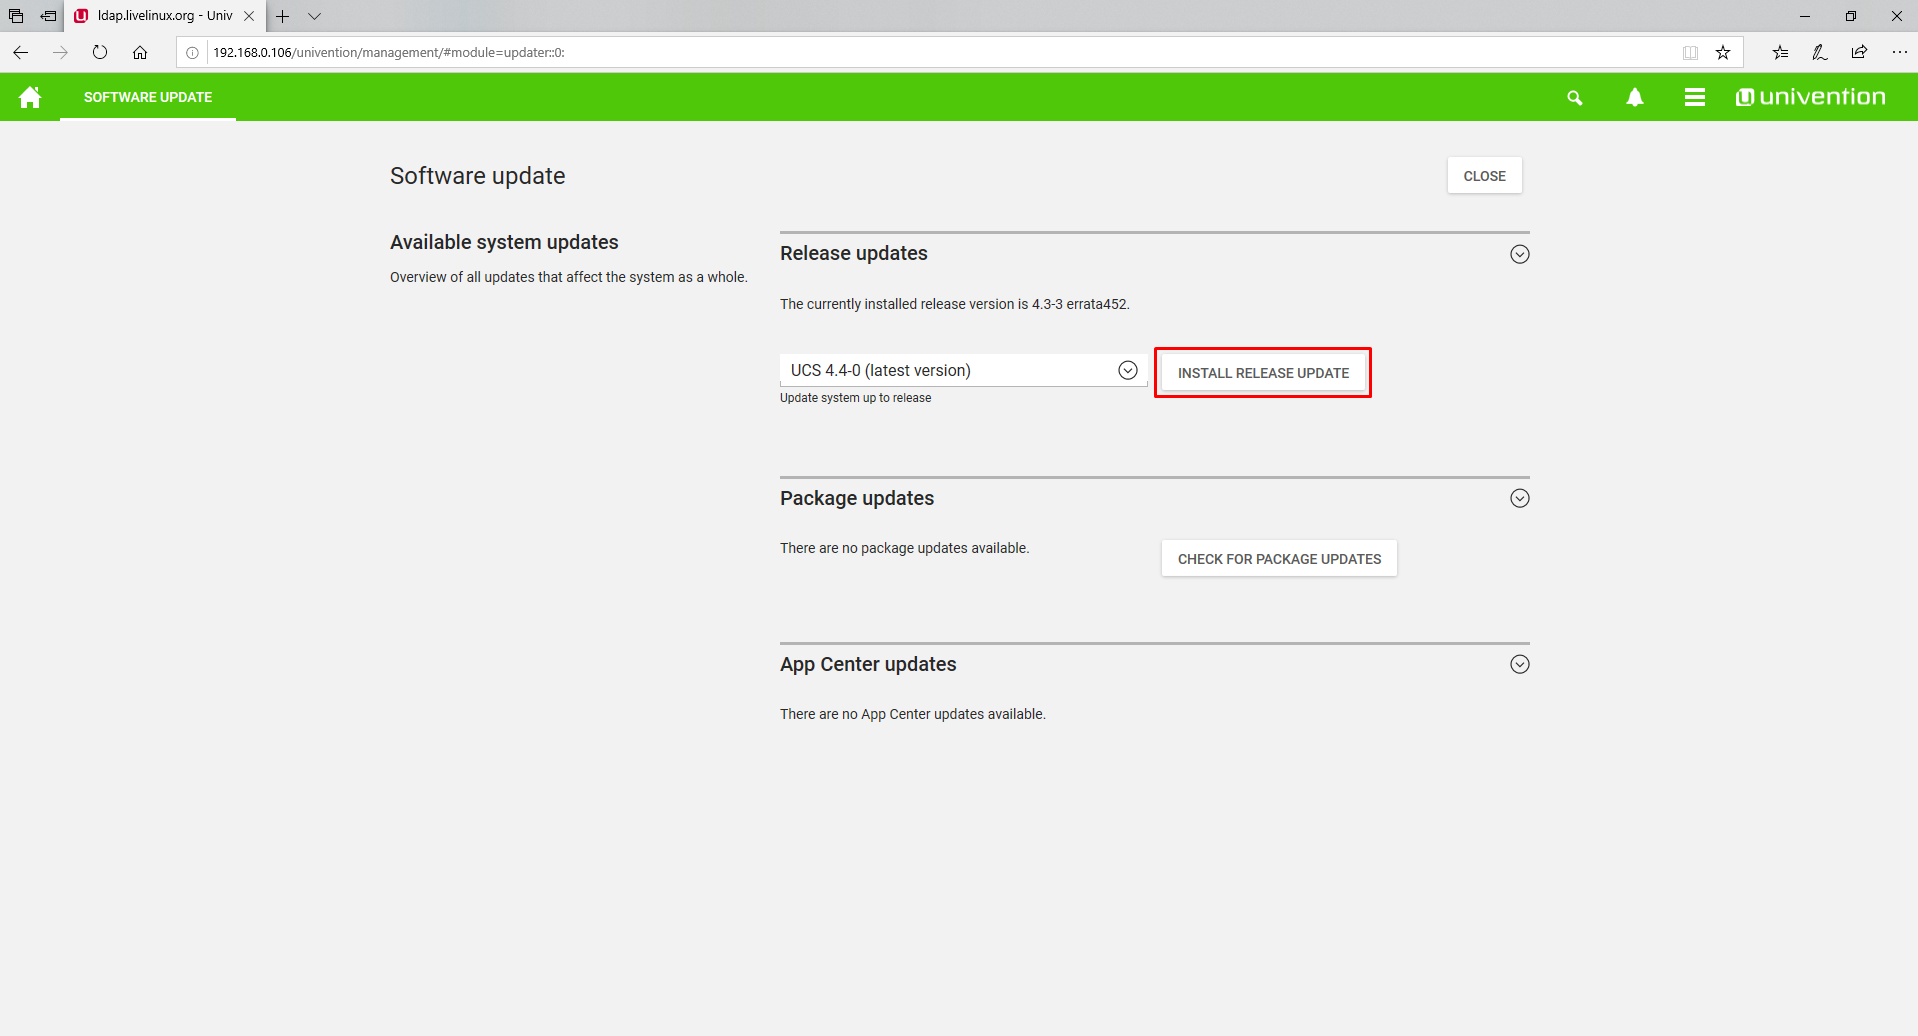
Getting the update system, click Software Update

In the opened window INSTALL RELEASE UPDATE
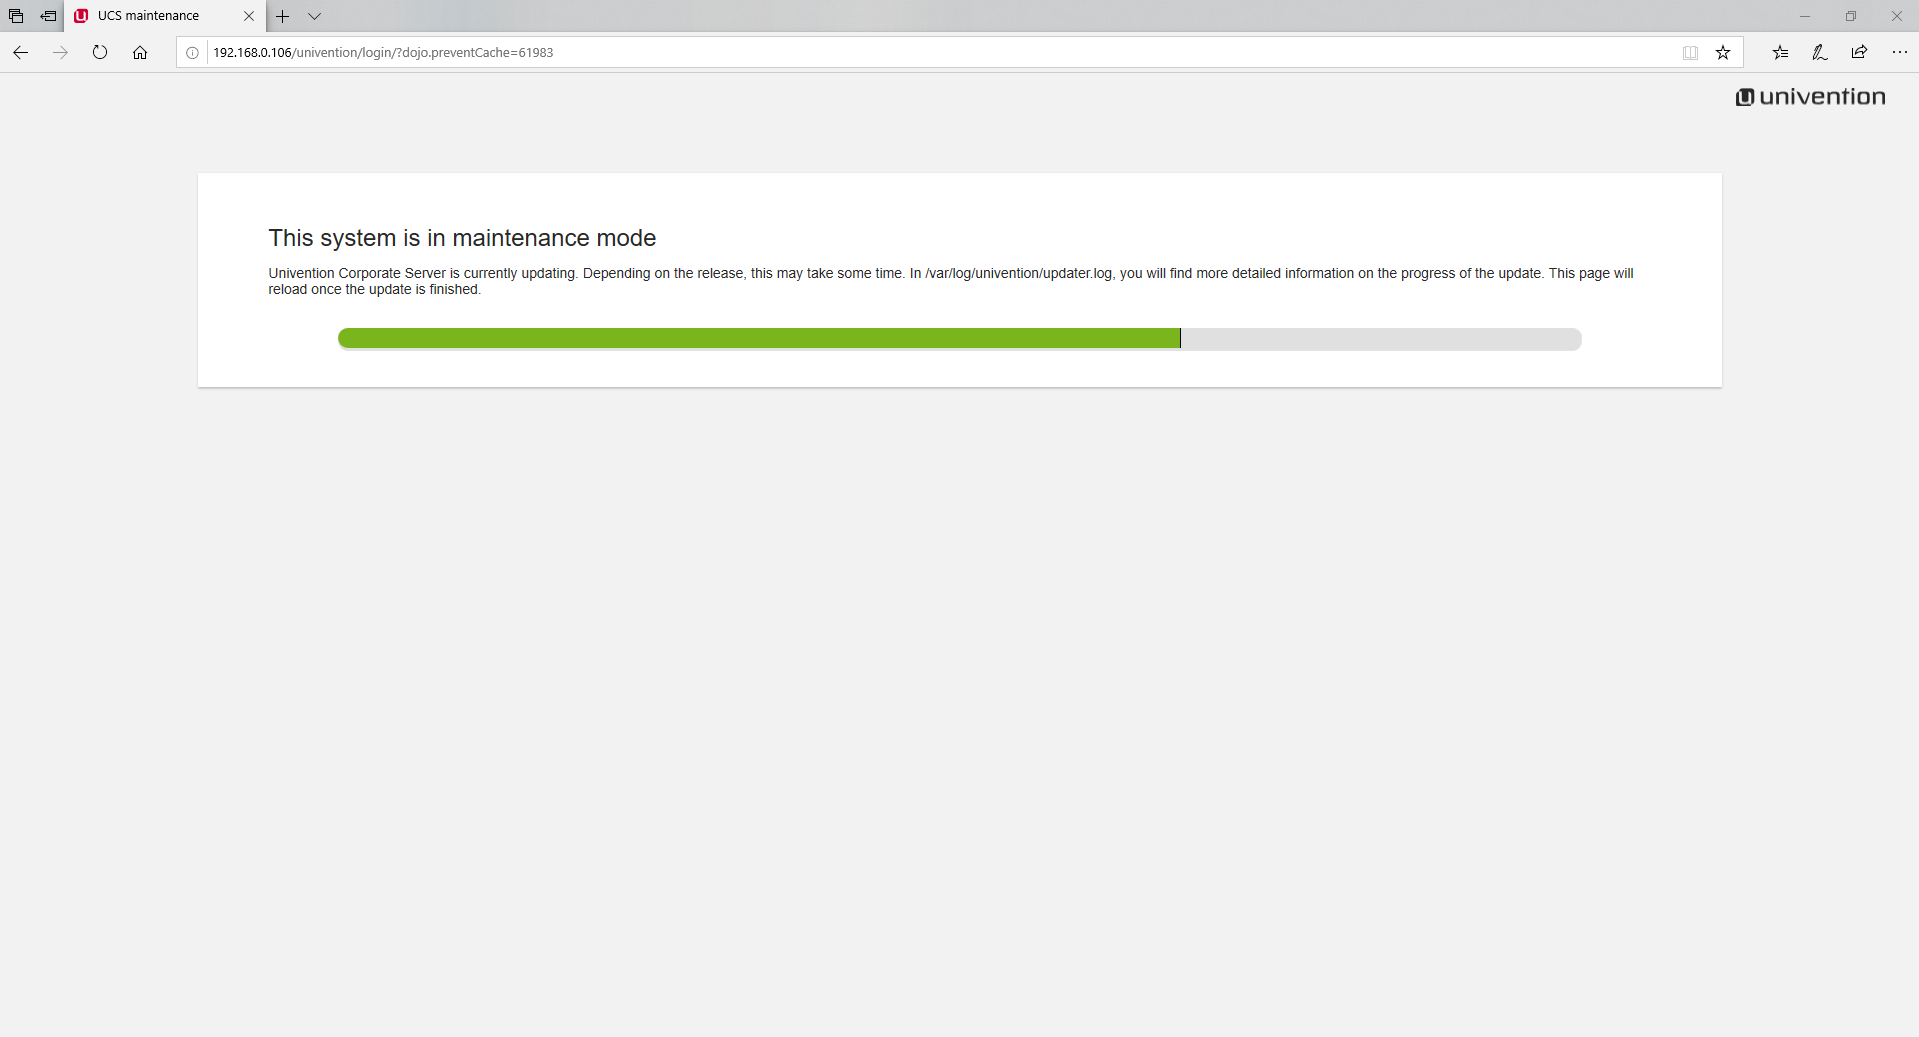
Directly installation process
The installer warns us that the page will be reloaded after the update is completed.
After installation, we are again offered to log in.
Log in as Administrator

Installing Nextcloud from App Center
After we logged in as Administrator
We open already familiar to us System and domain setting , where we are interested in the item App Center

We see a window in which we are warned that the company collects statistics about our actions in the store.
Click Continue . It is recommended to tick the box next to Do not show this message again so as not to watch this message on each input.

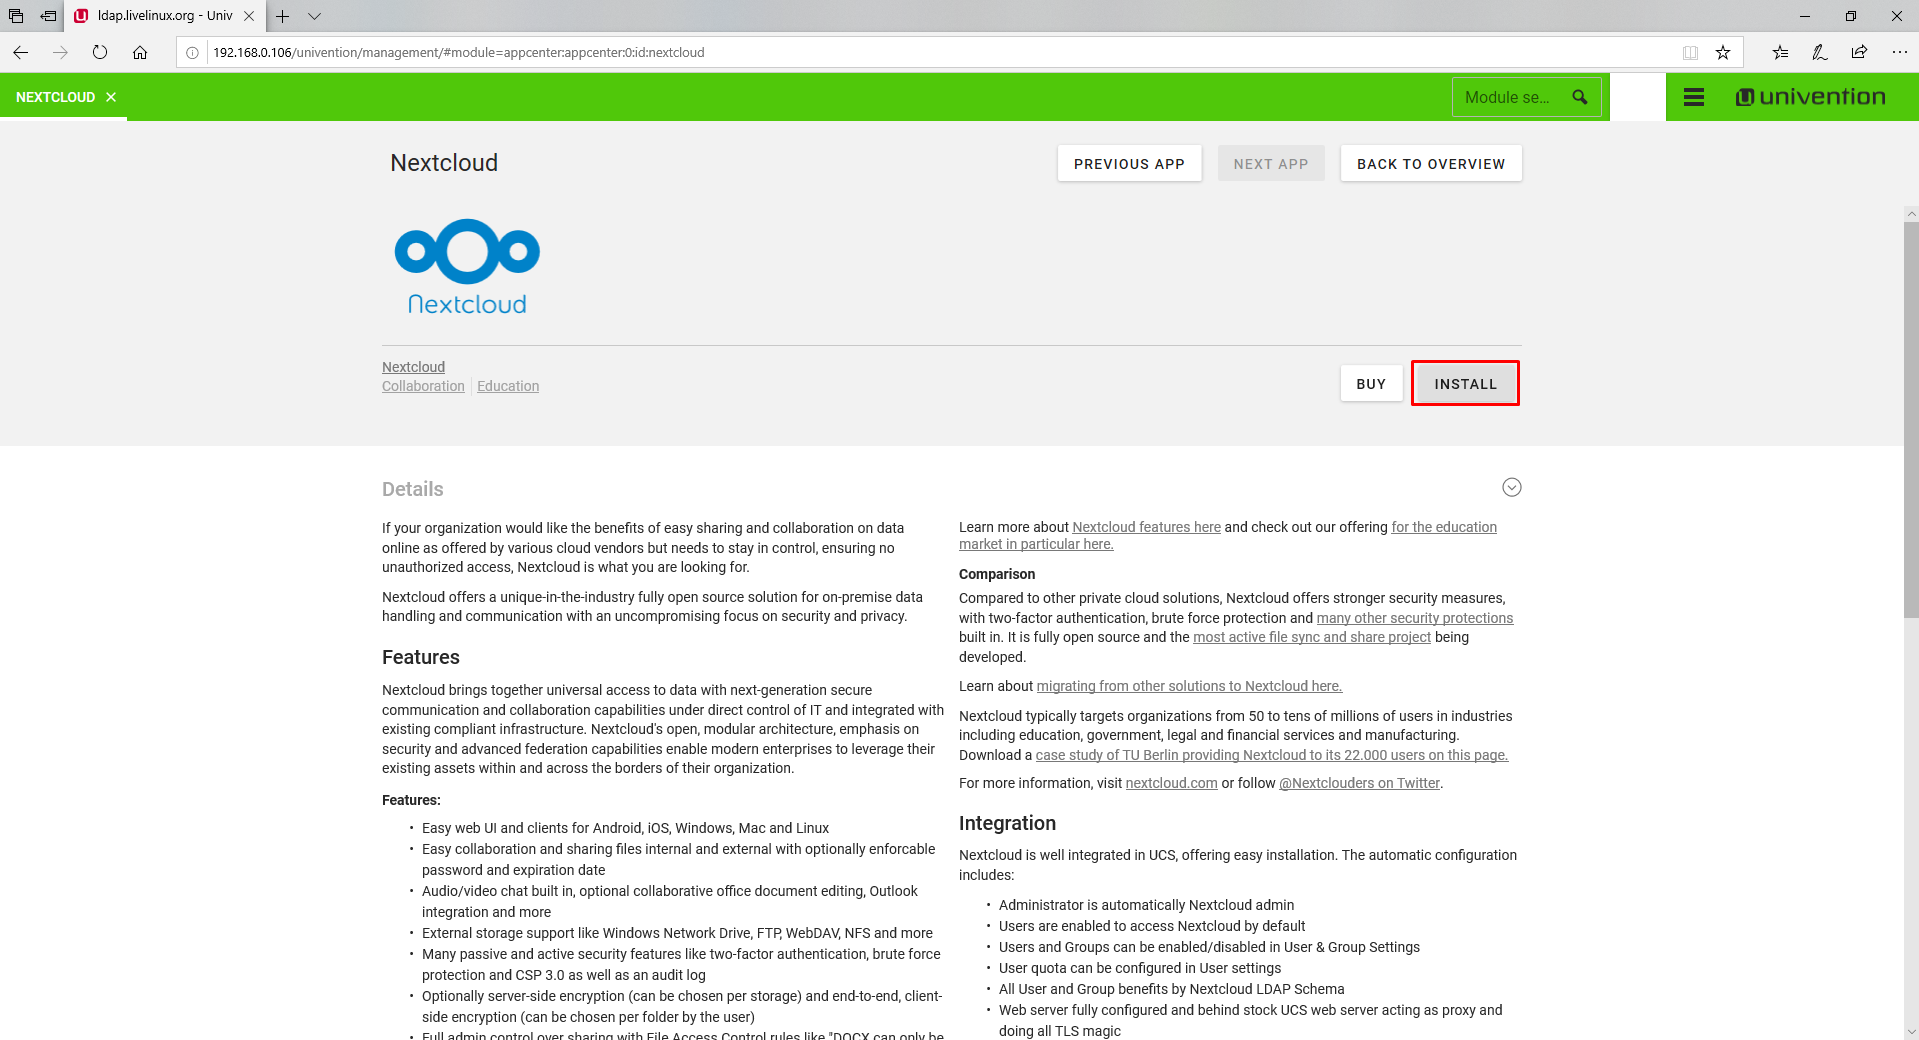
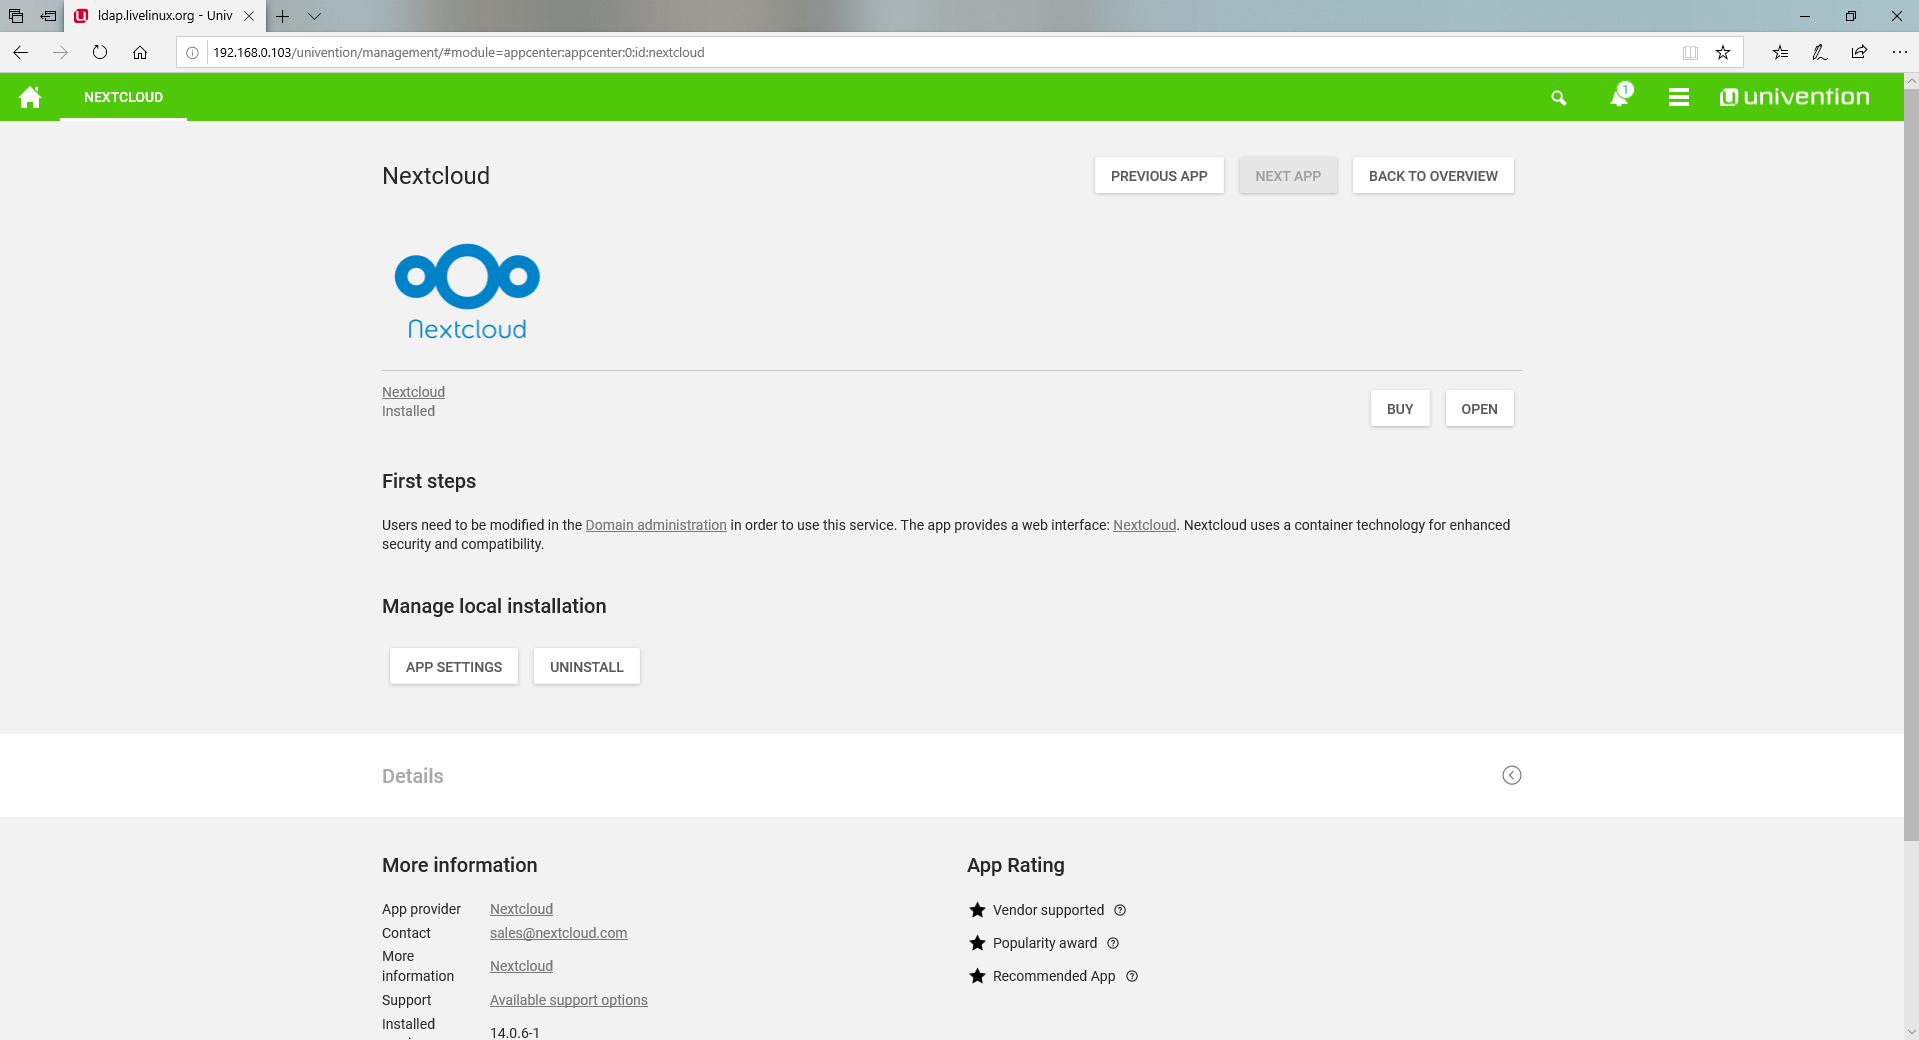
We are looking for the application Nextcloud
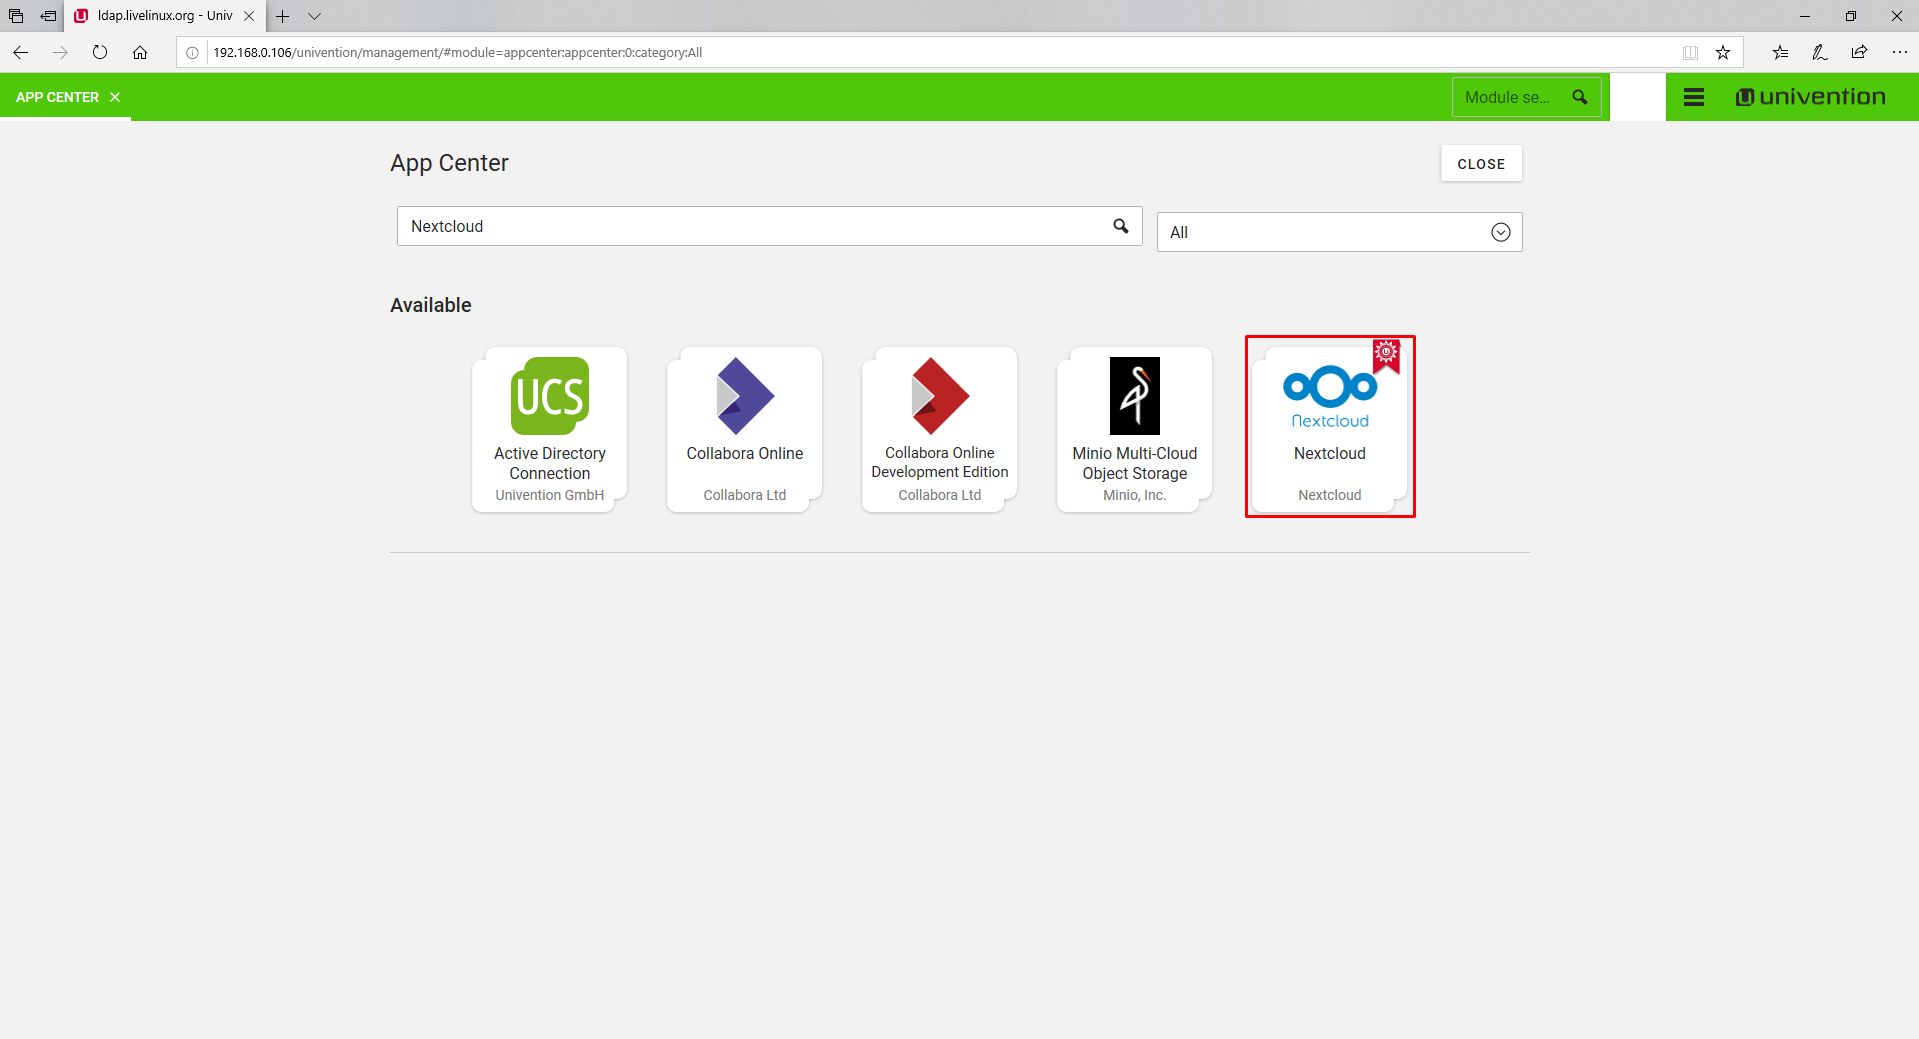
Then we start the installation


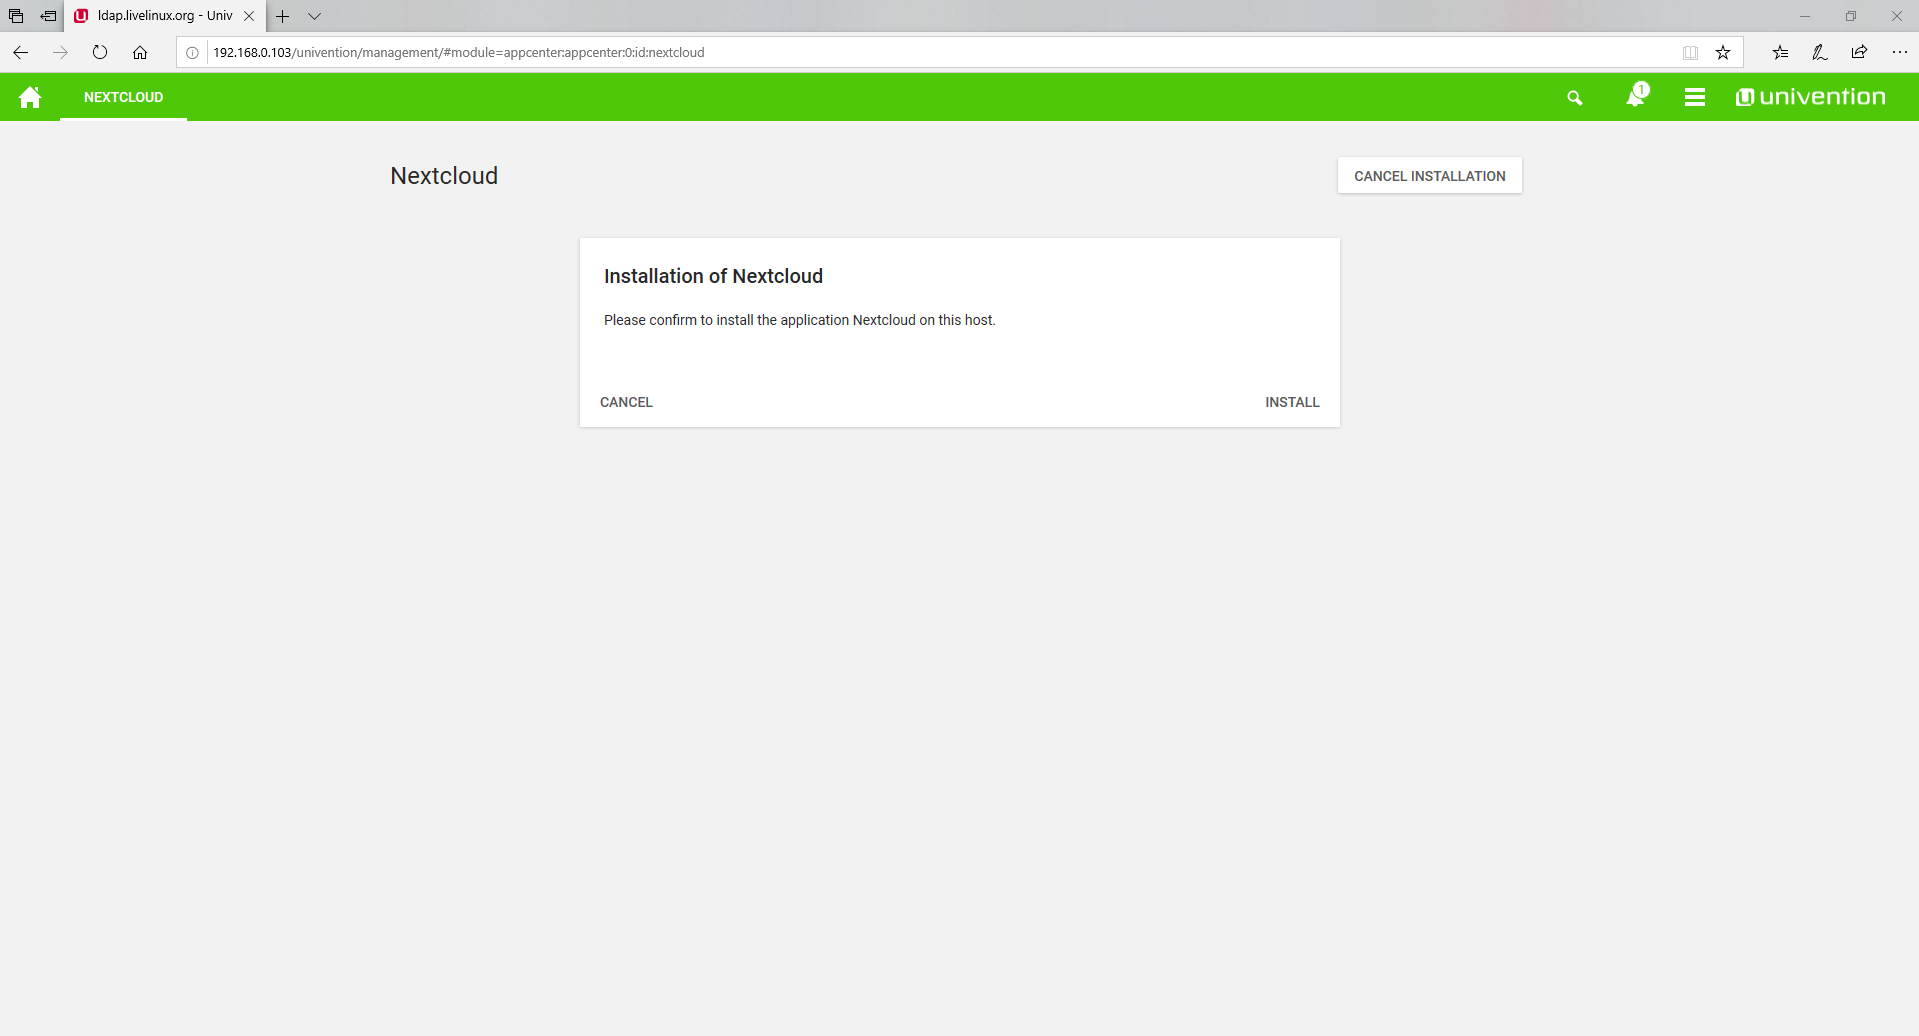

Application installed
Creating a user and first running Nextcloud
To create a new user, go to the Users category.
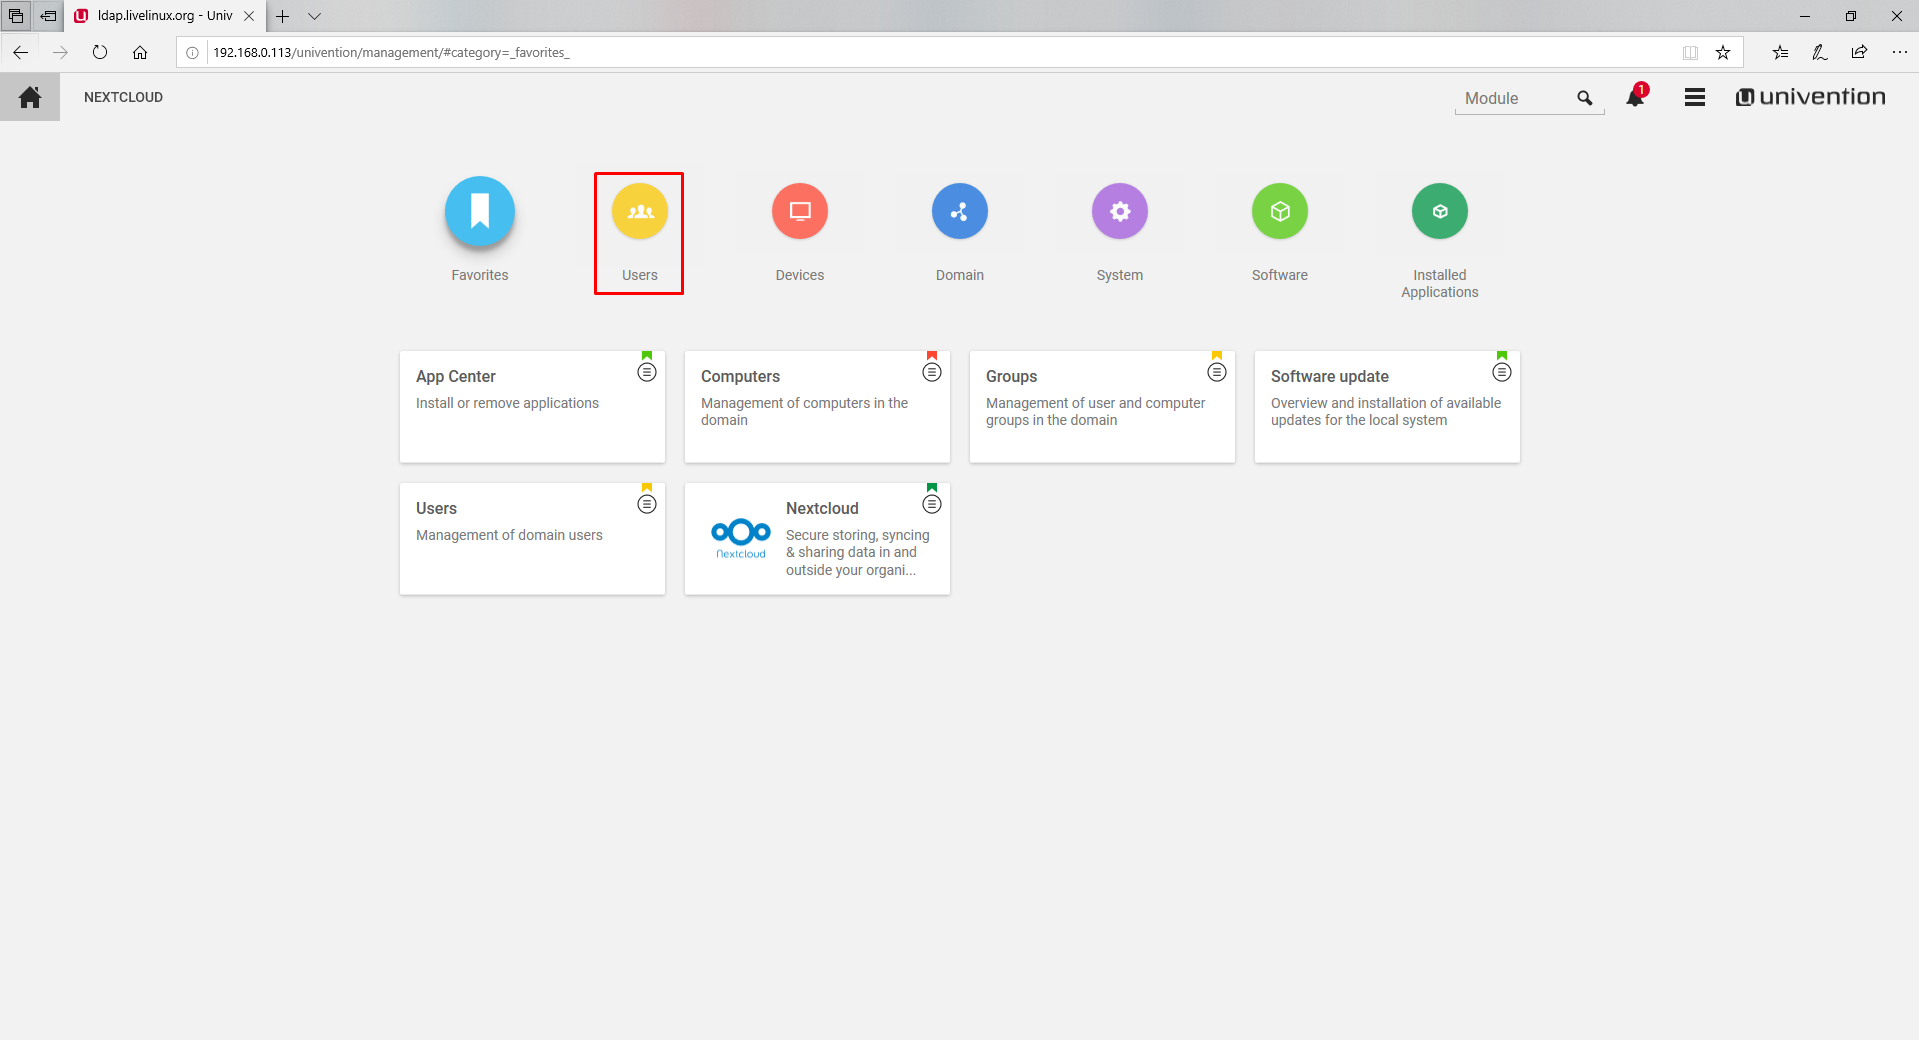
Where we choose the following items

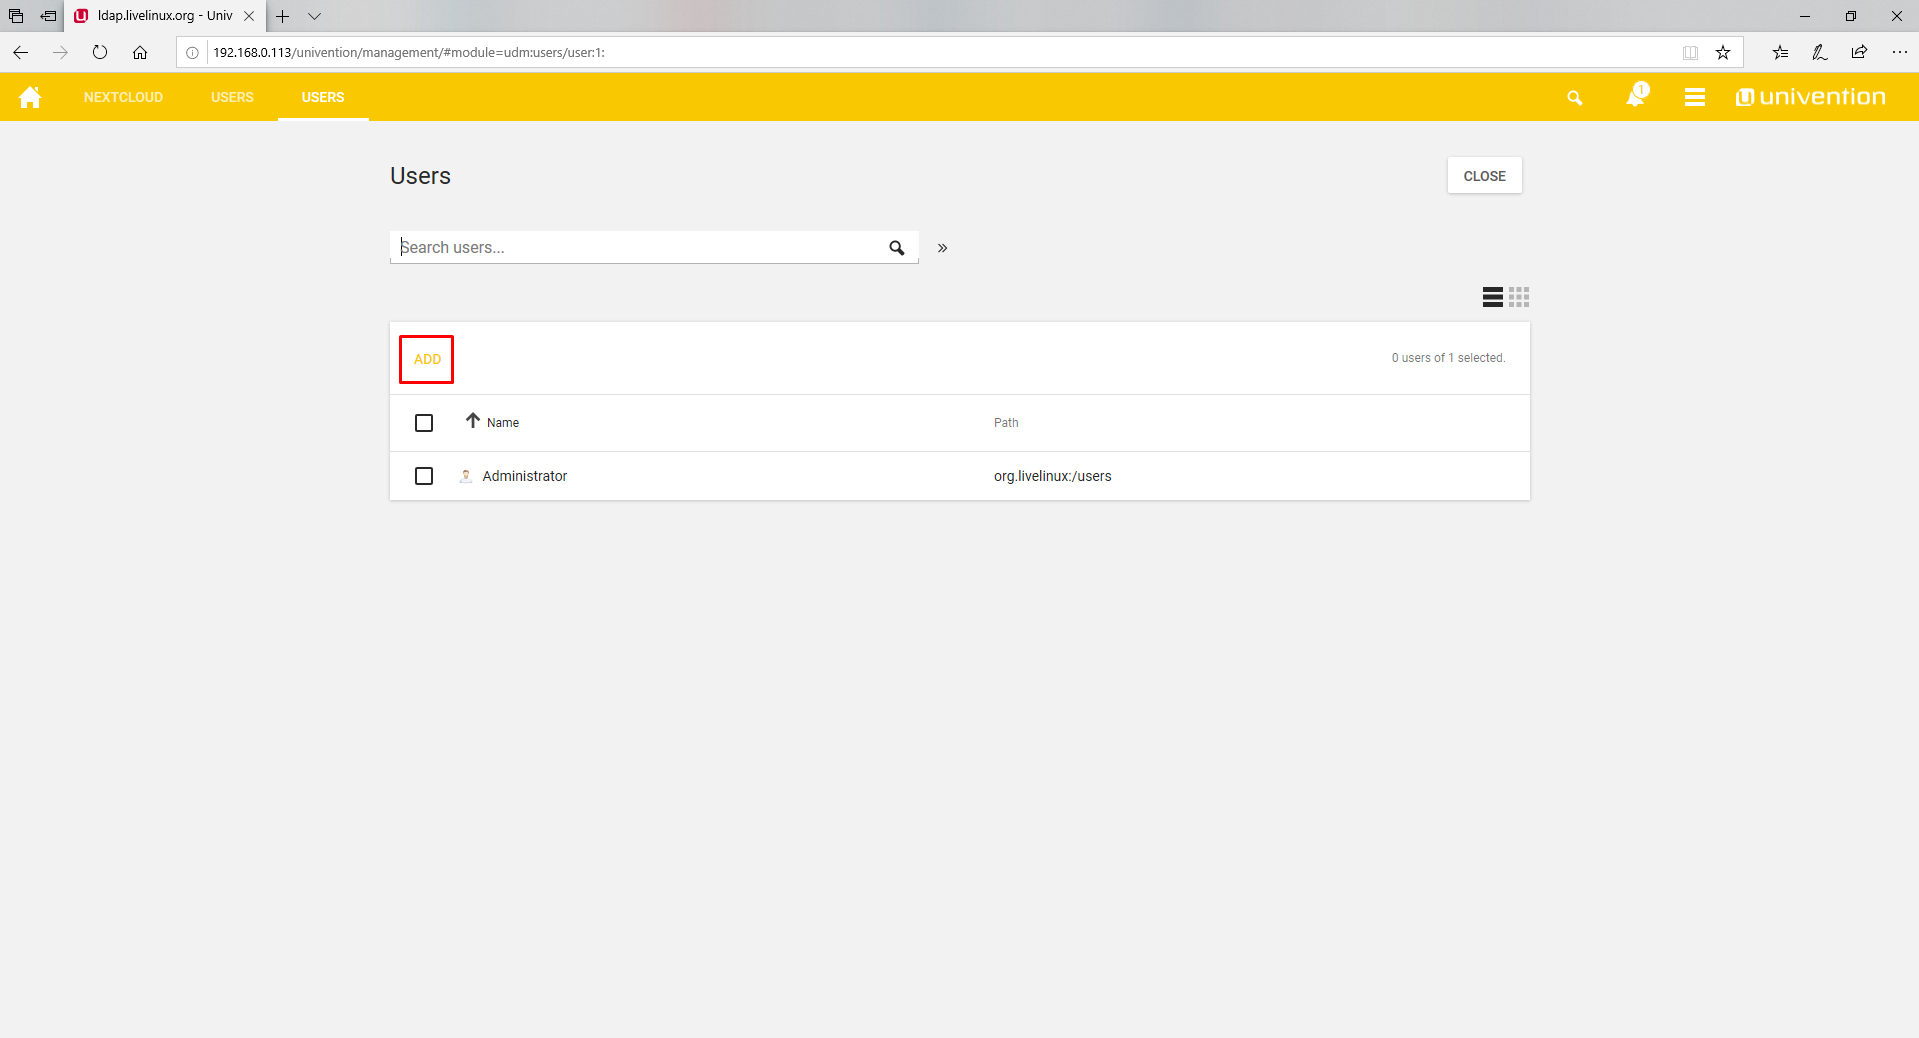
In the window that opens, we are prompted to enter the name of the user to be created.
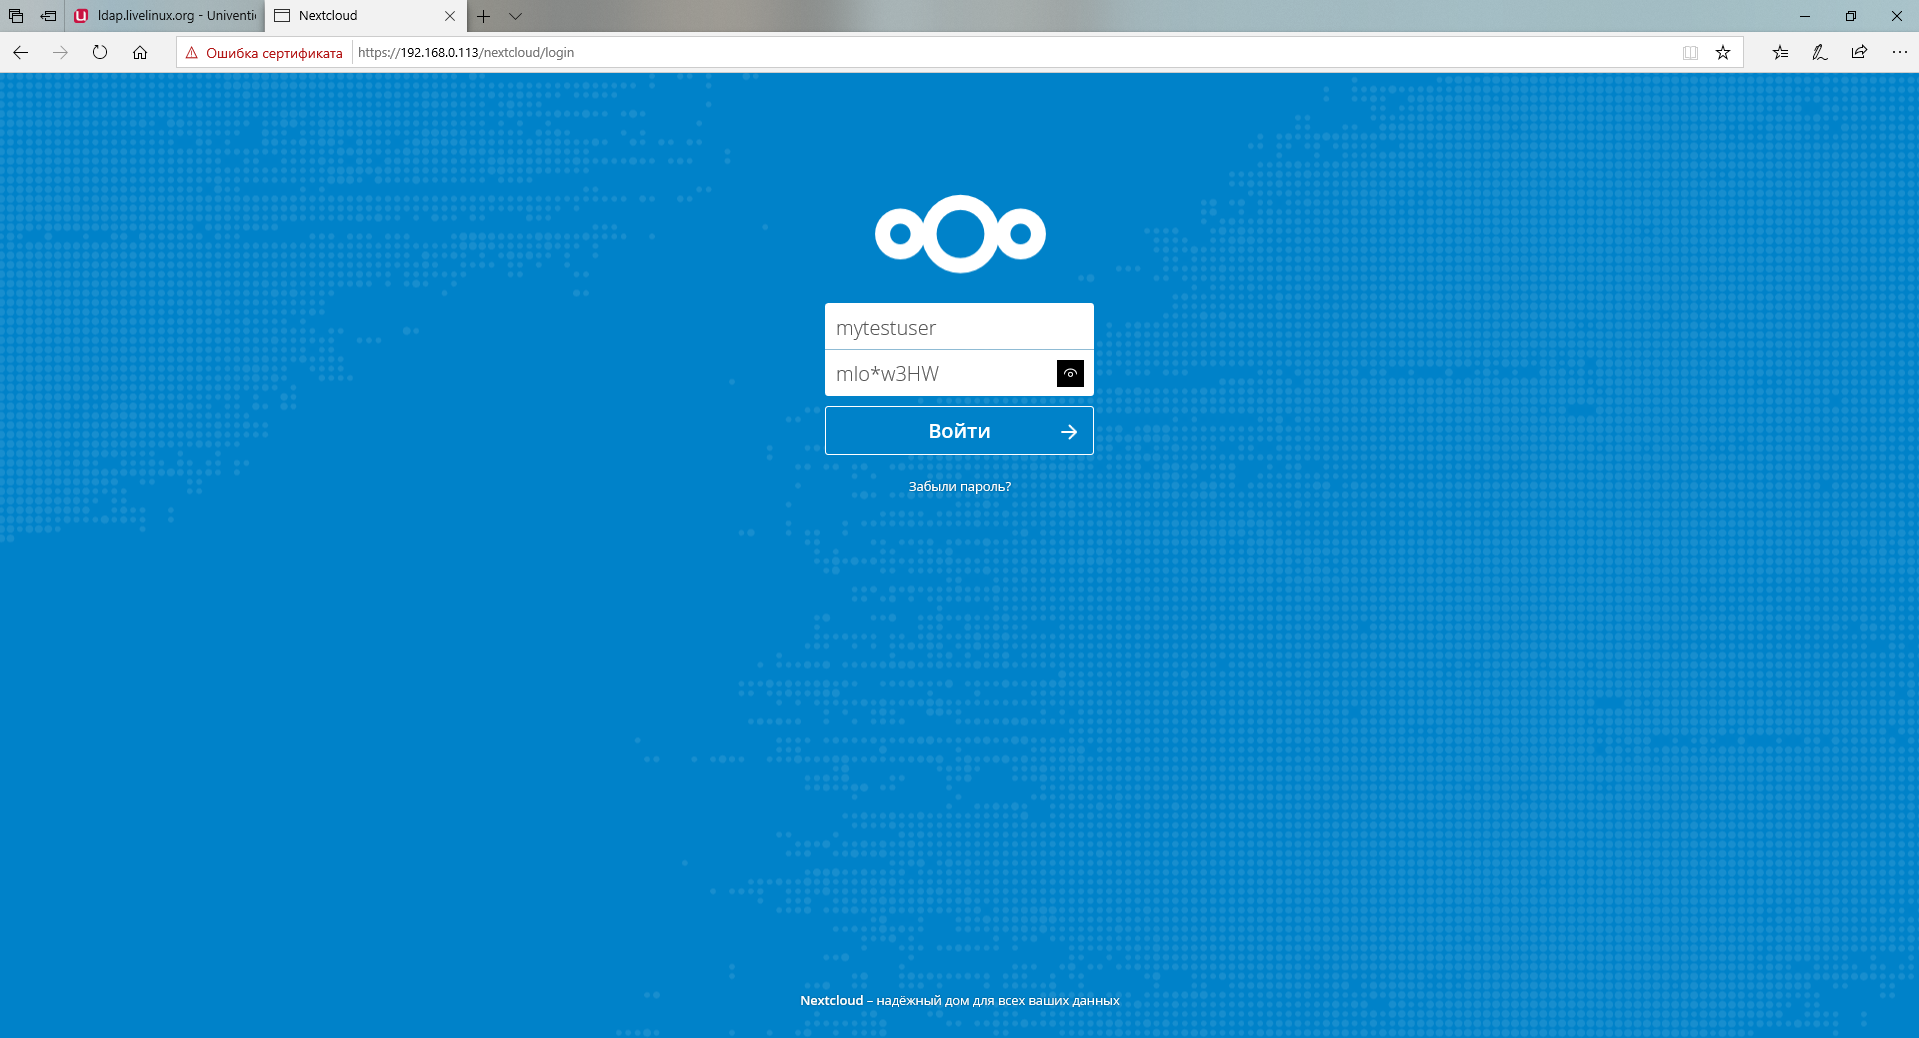
For example, I create a user named mytestuser. Fields marked with an asterisk are required.

Set him a password
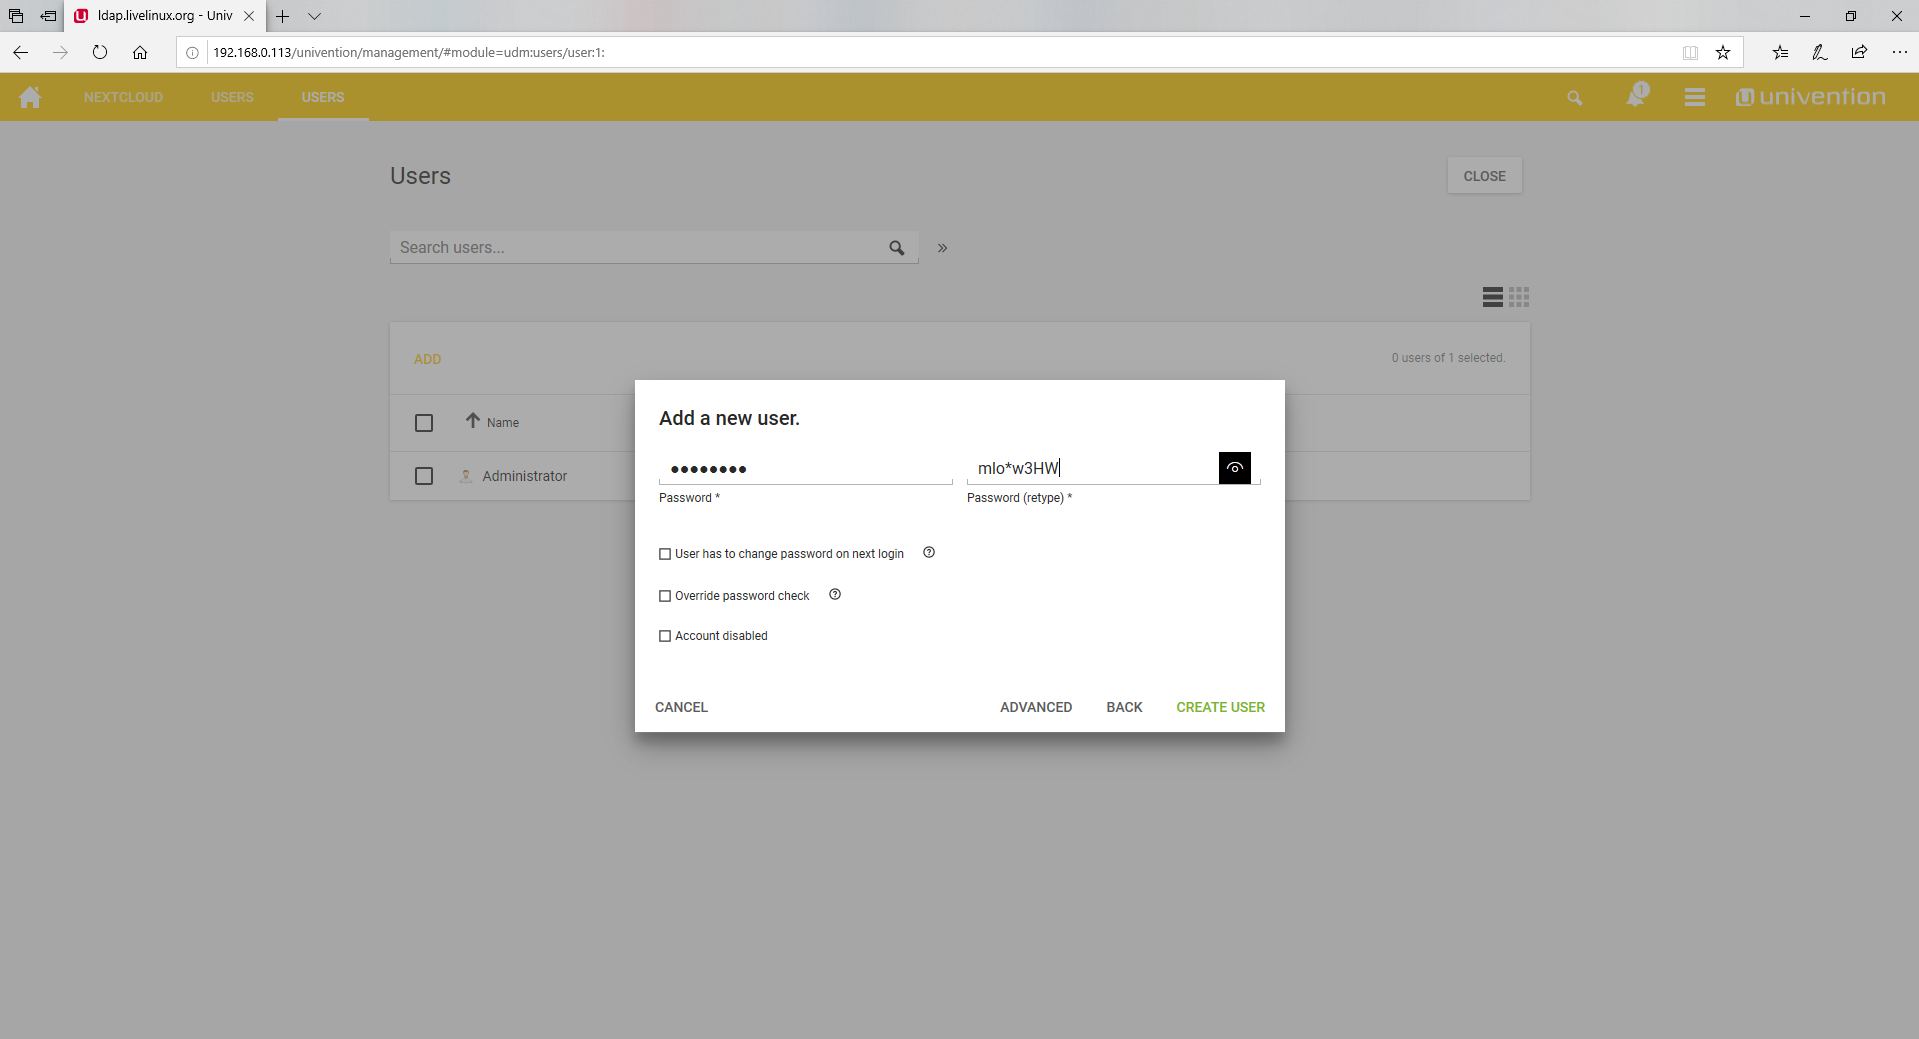
User created. Log in to it in Nextcloud
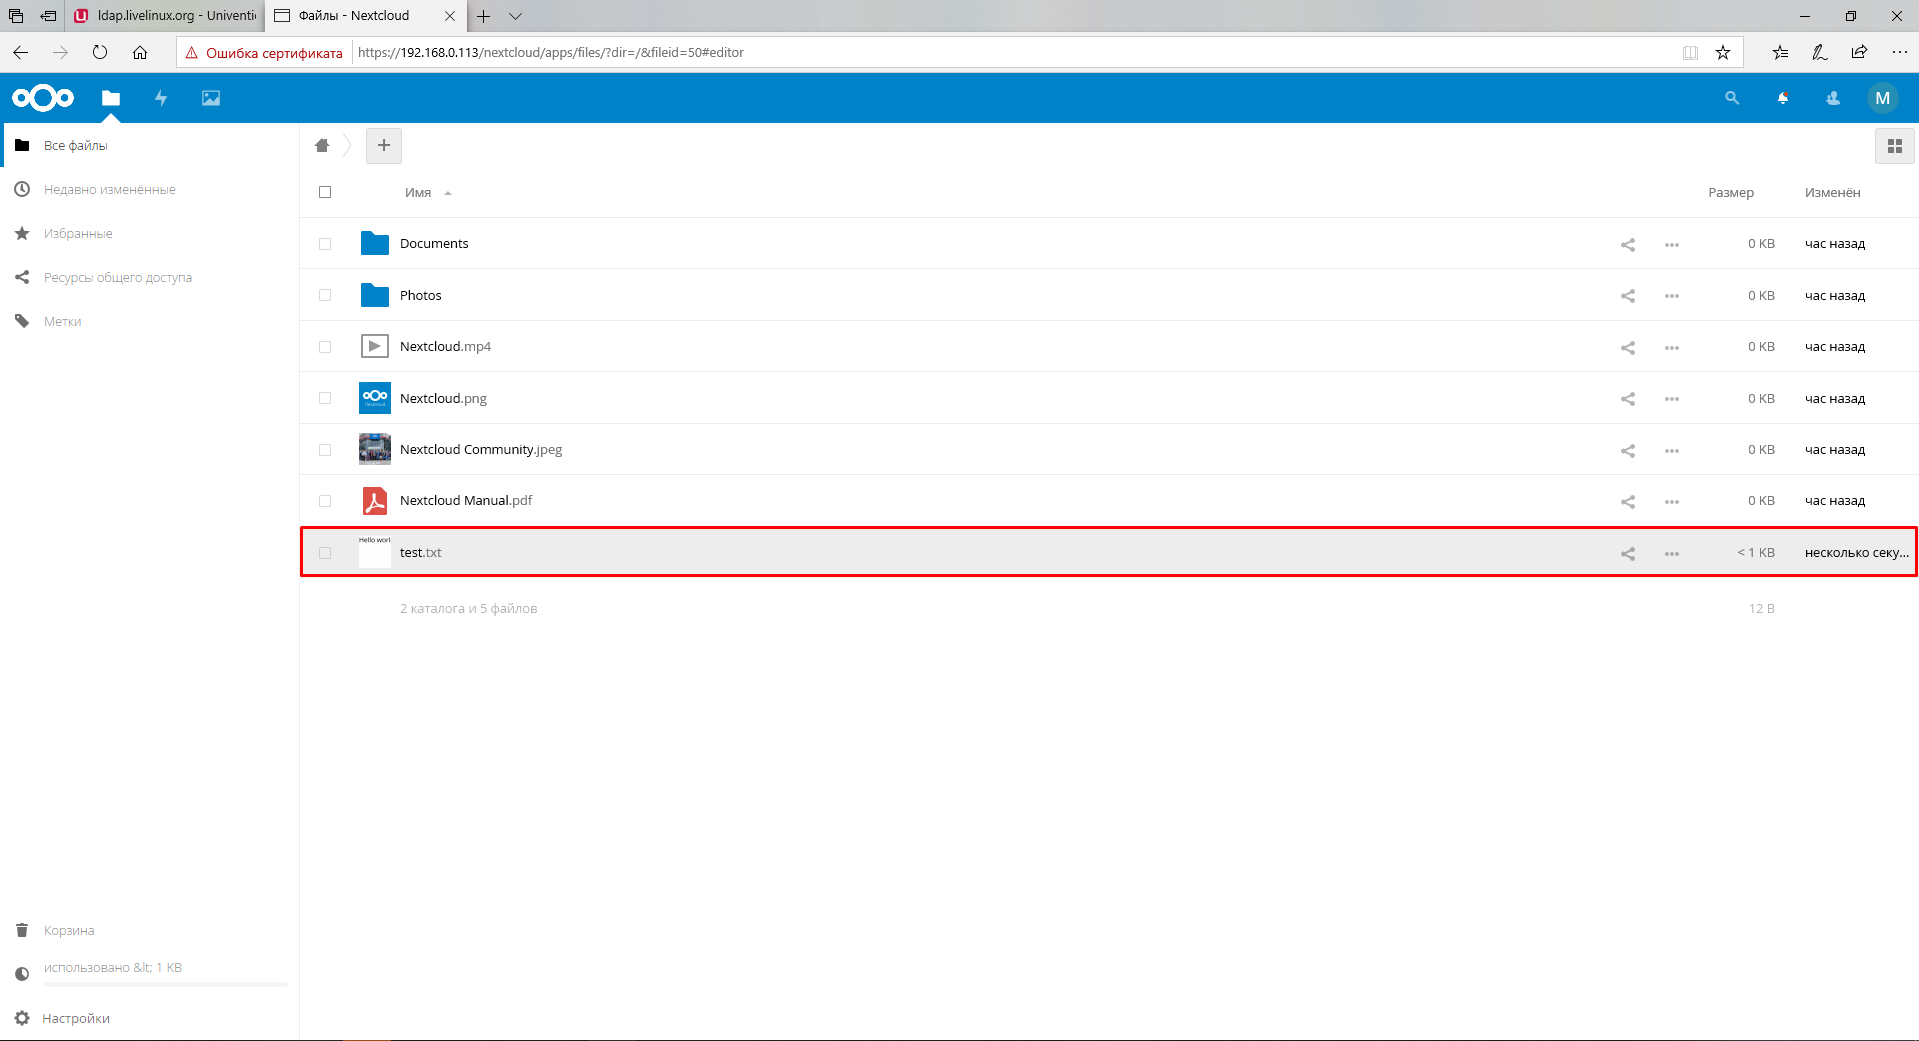
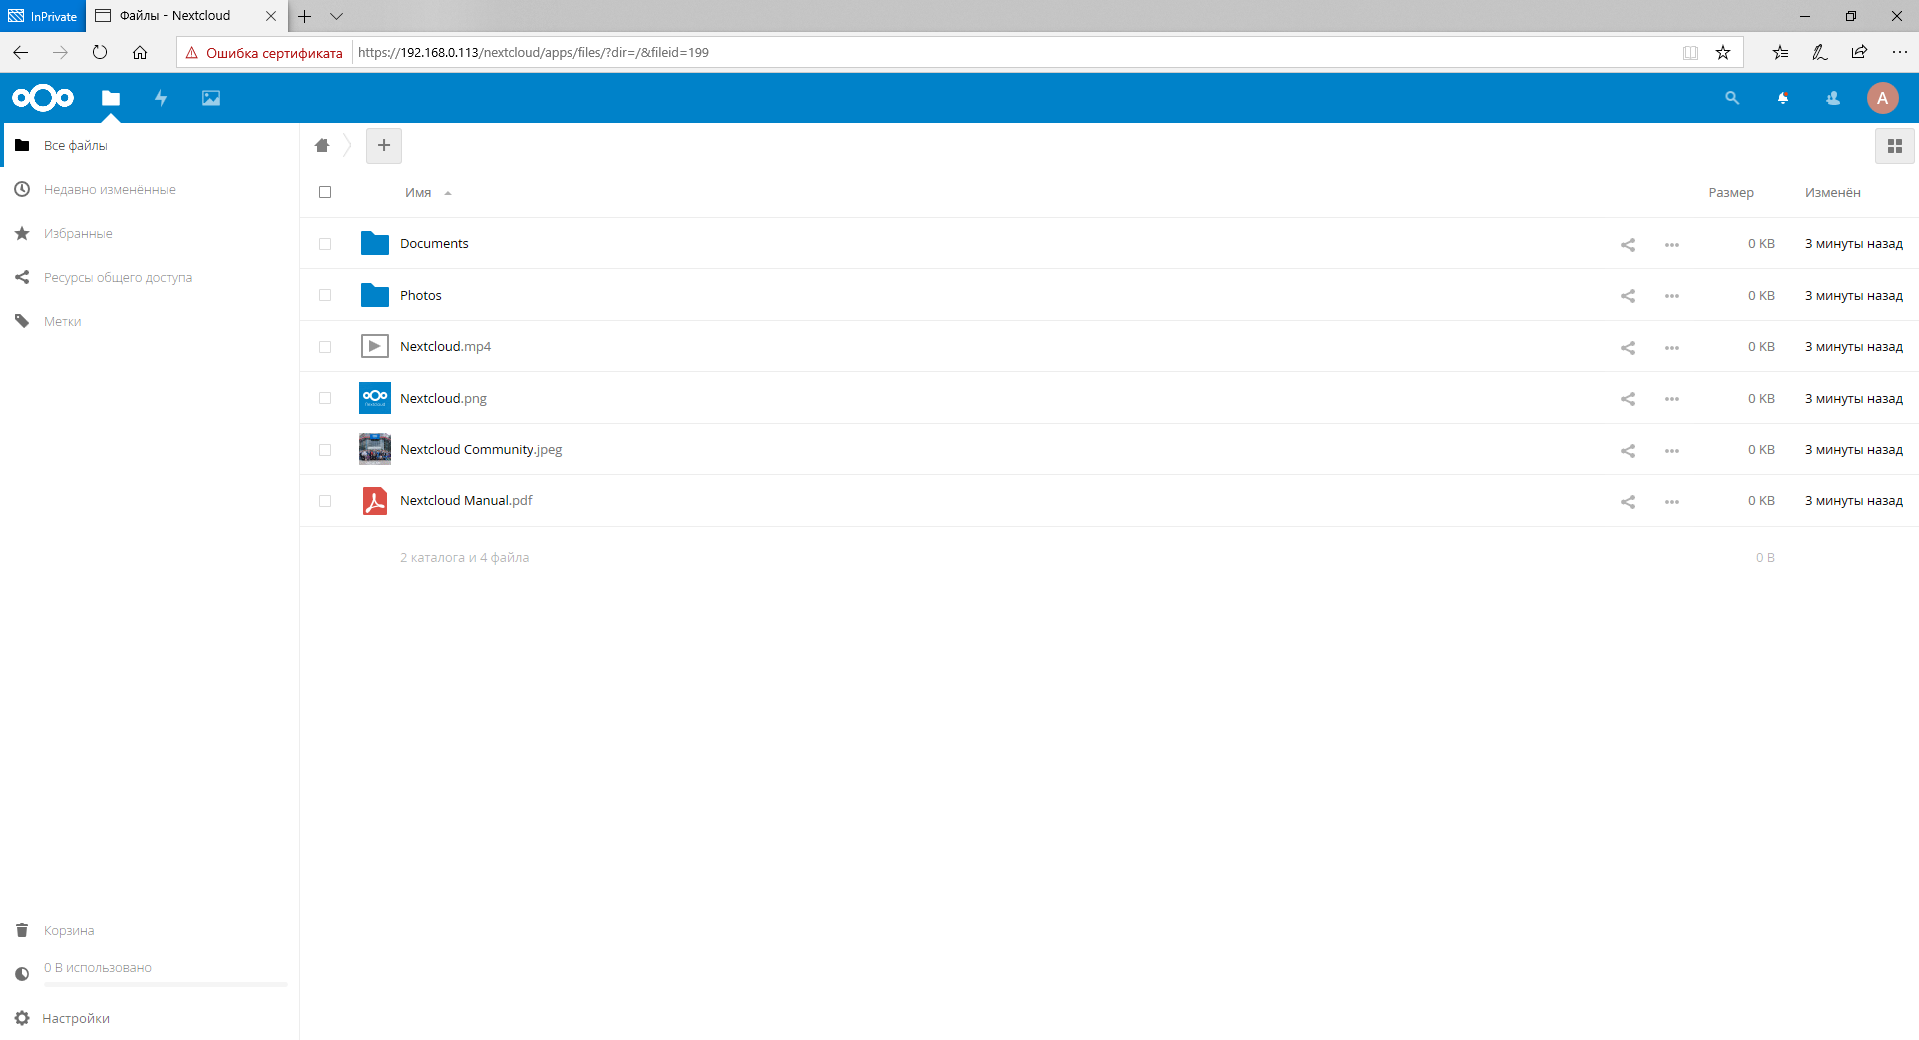
Nextcloud meets us with the All files section, where the default files are stored.

If you have experience in interacting with cloud storage, then you can easily figure out the interface

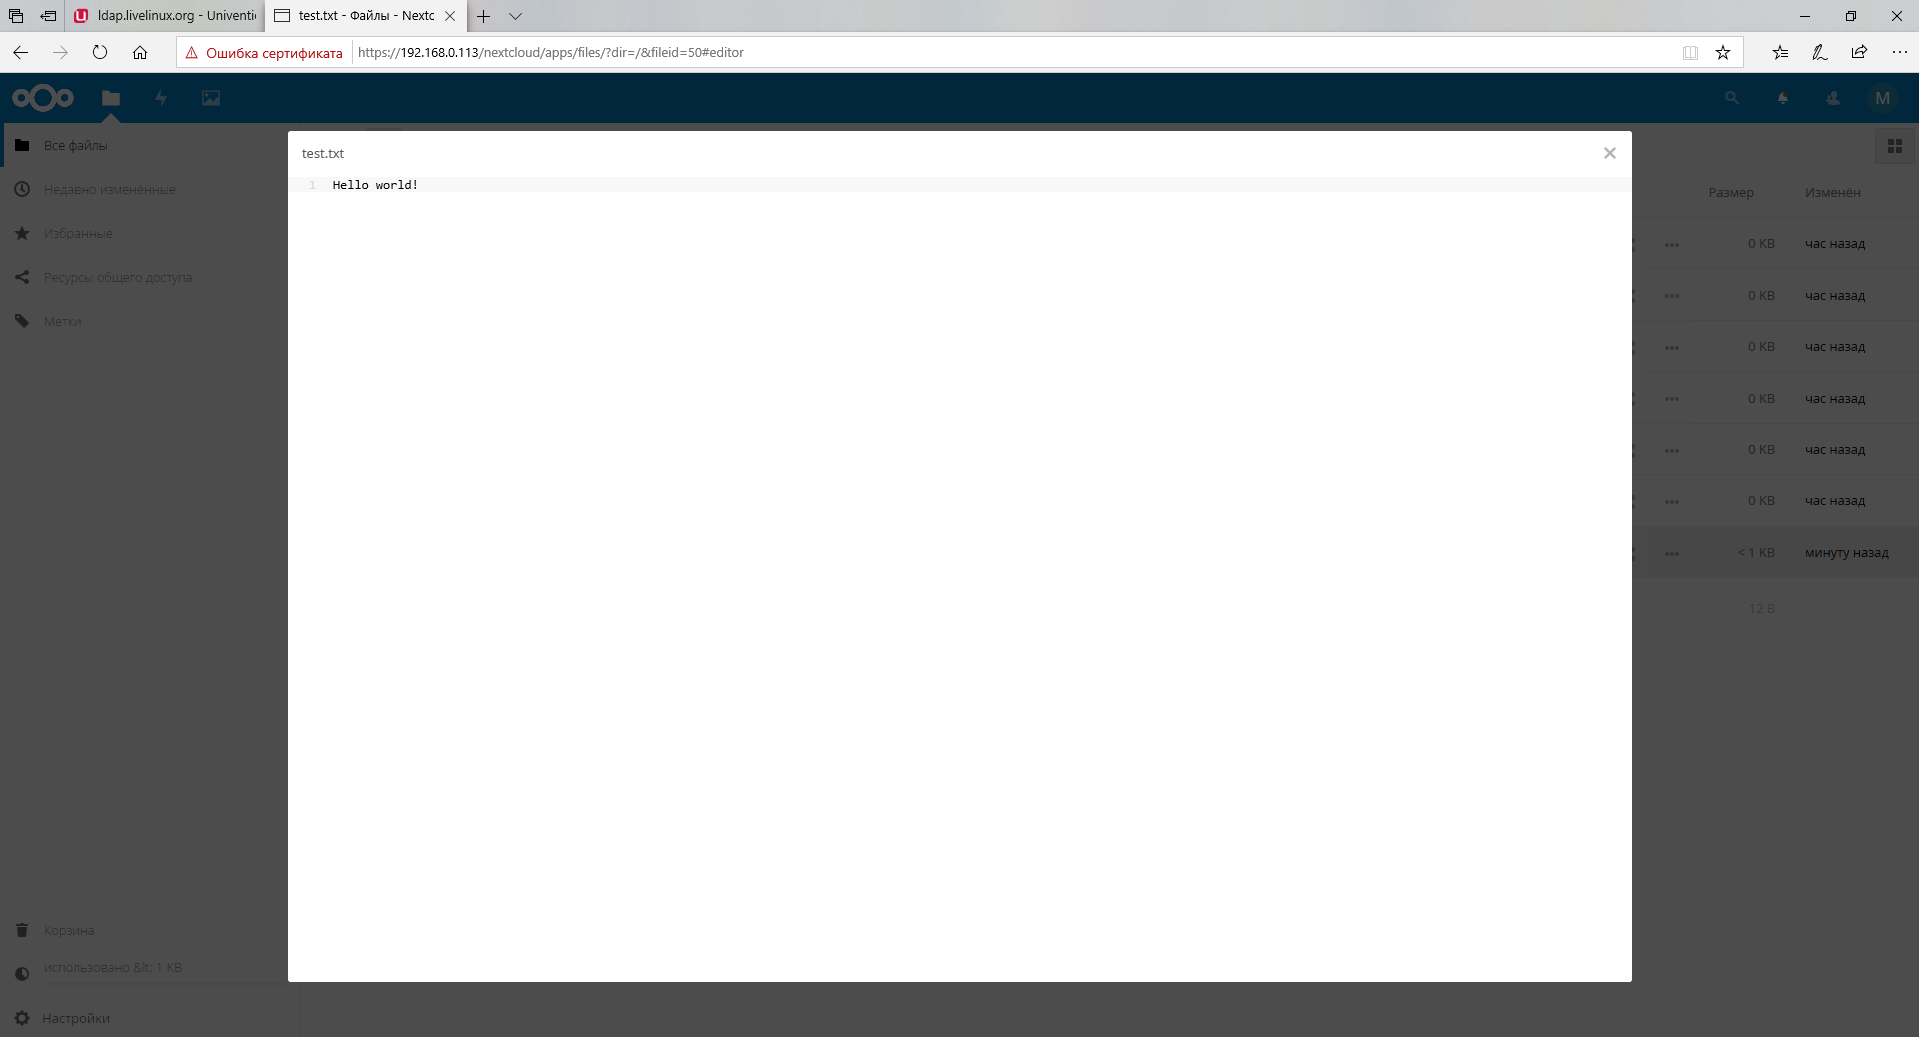
Our file has loaded
In case we need to delete files
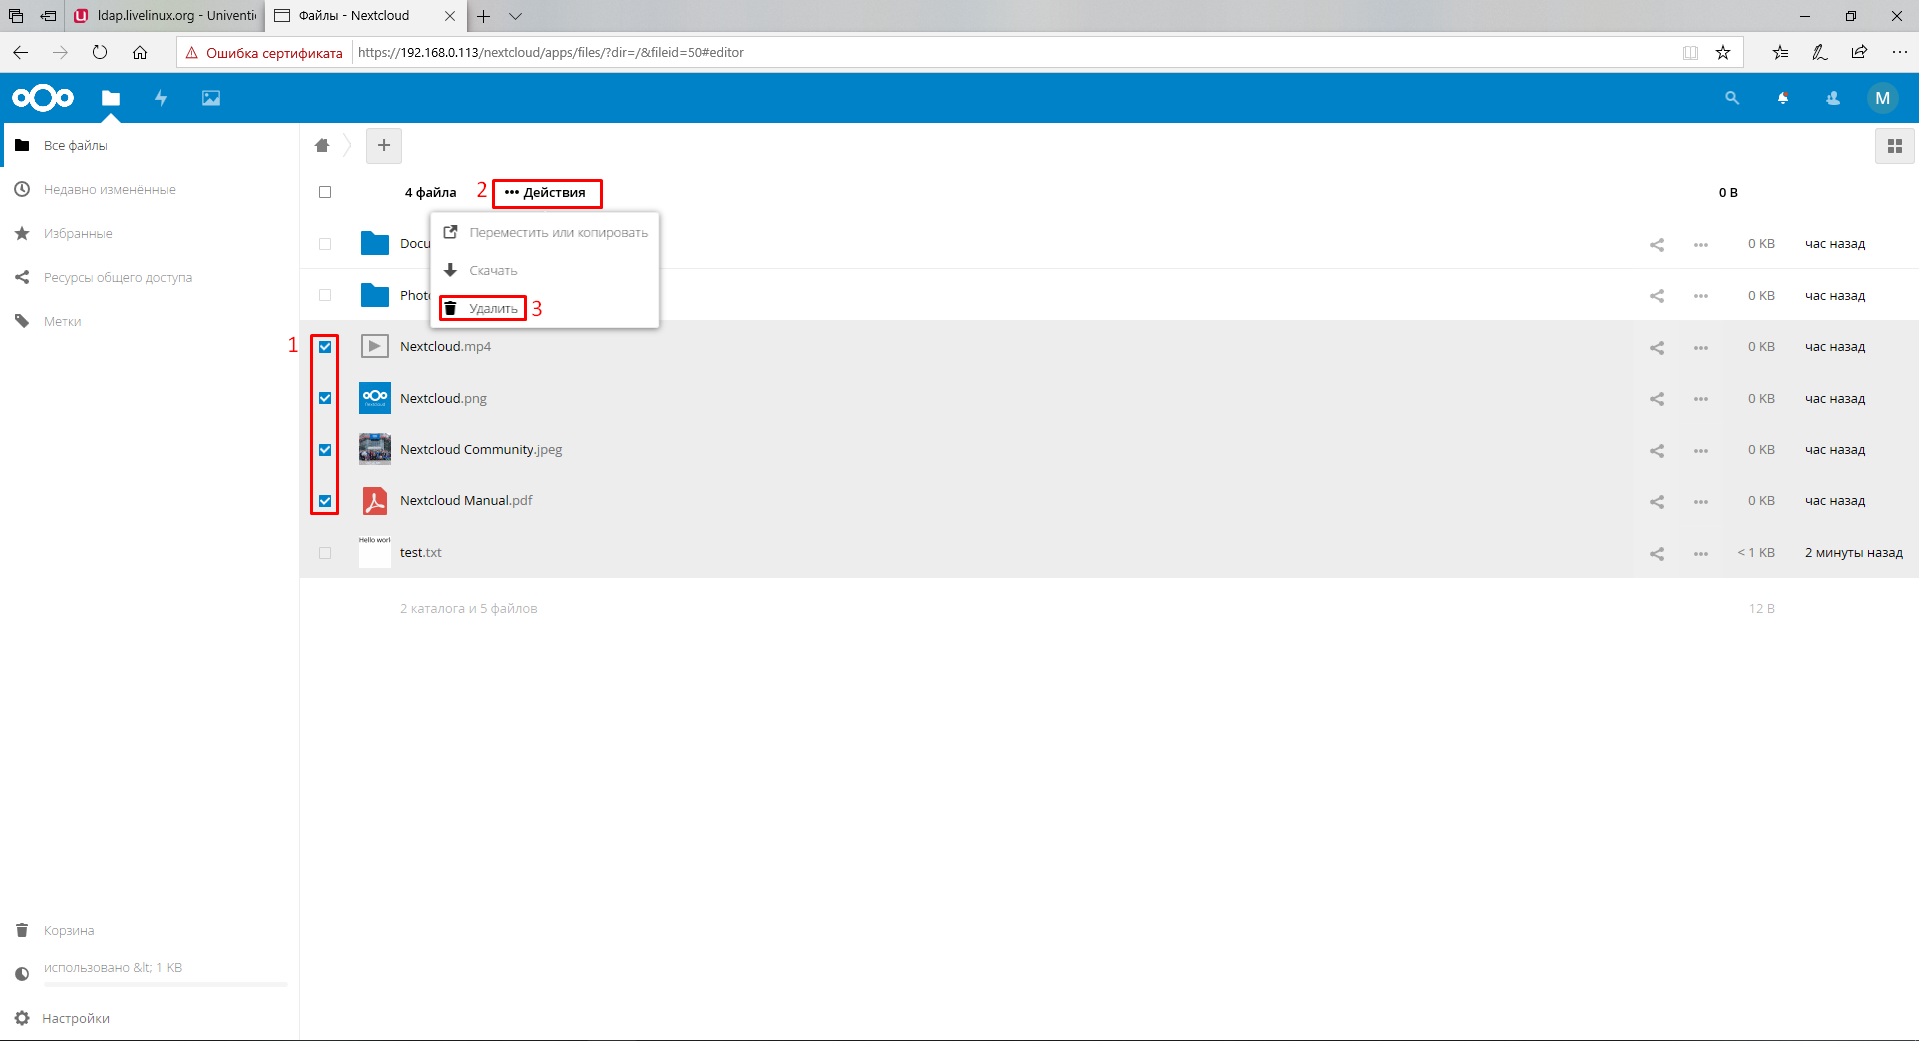
Deleted files are moved to the recycle bin, where we can restore them or permanently delete them.
Logging in as Administrator, we will not see our test.txt file
In this article, I described all the steps necessary to install an LDAP server and how to associate it with Nextcloud, I hope it was useful.
Thank you for attention,
Author: Mengesha Efrem, edited by Alexei Zhadan and the Live Linux team
Source: https://habr.com/ru/post/443840/
All Articles