hellOGL: OpenGL hello world
Today I will show you how to open a window and create an OpenGL context. This is surprisingly not an easy task, OpenGL still does not have official cross-platform context creation tools, so we will rely on third-party libraries (in this case, GLFW and glad). There are already a lot of similar hello worlds on the Internet, but I don’t like everything I saw: either it is very sophisticated, or the pictures in the examples are very primitive ( or both !). Many thanks to all the authors, but I will download another tutorial :)
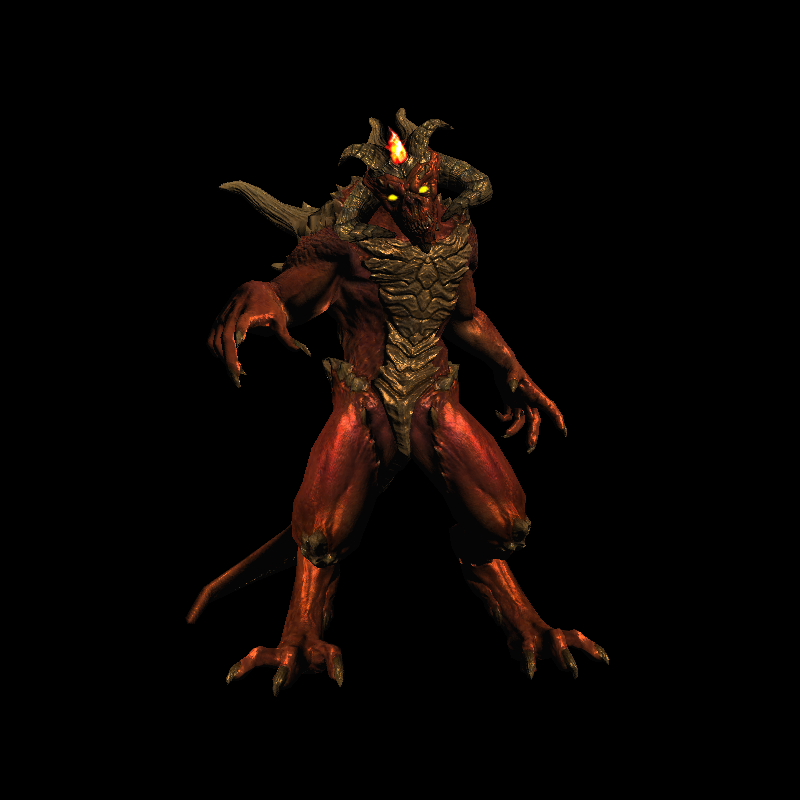
Today we draw this:

This model was painted by artist Samuel Sharit (arshlevon) , thank you so much for allowing it to be used in my course of lectures on computer graphics!
')
Generally speaking, the best (although not necessary) to read this lecture after reading my entire course is tinyrenderer . For those who do not speak English, this course of lectures is available in Habré , although I no longer support the Russian version. In the framework of this course of lectures, I showed how only five hundred lines of code, and even with a complete ban on third-party libraries, you can draw just such a picture:
Surprisingly, many of my students do not understand that this software rasterizer is not just a toy, but a real introduction to how OpenGL works. Therefore, today I will show how to draw diabetes with hardware acceleration, and in many respects I will use the code from the software rasterizer repository.
Attention, I don’t set myself the task of explaining every line of code, since I rely on the fact that reading documentation is the best way to understand everything. My code is needed only to know what exactly to read in the documentation, and in what order. Moreover, I will not explain what shaders are , and I will not explain how to count normal maps . I spent a lot of time on tinyrenderer, where it's all laid out on the shelves.
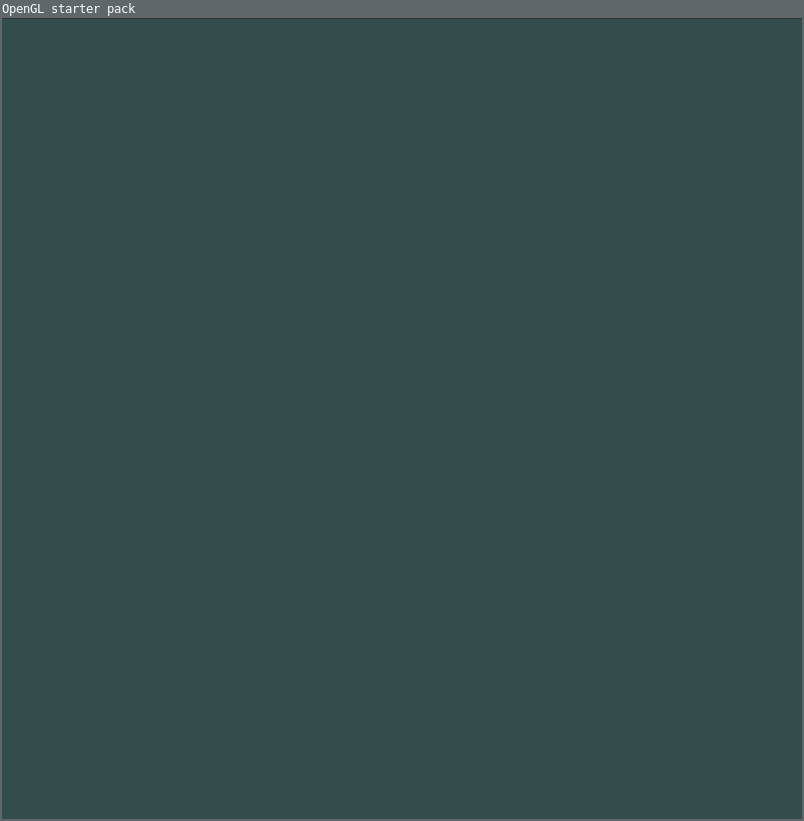
The whole repository lives here ; created one commit for each step of the tutorial, since the githab gives a very convenient viewer for all changes made. We start here from here , our goal is to get this window:
Compile code with CMake; I checked under Linux (g ++) and Windows (Visual Studio 2017). Under Linux the latest version of the code is compiled like this:
Use `git checkout` if you want to compile a separate commit, not the latest version. This code loads glad and GLFW, creates a window with the necessary keyboard callback, and loads empty vertex and pixel shaders from the disk.
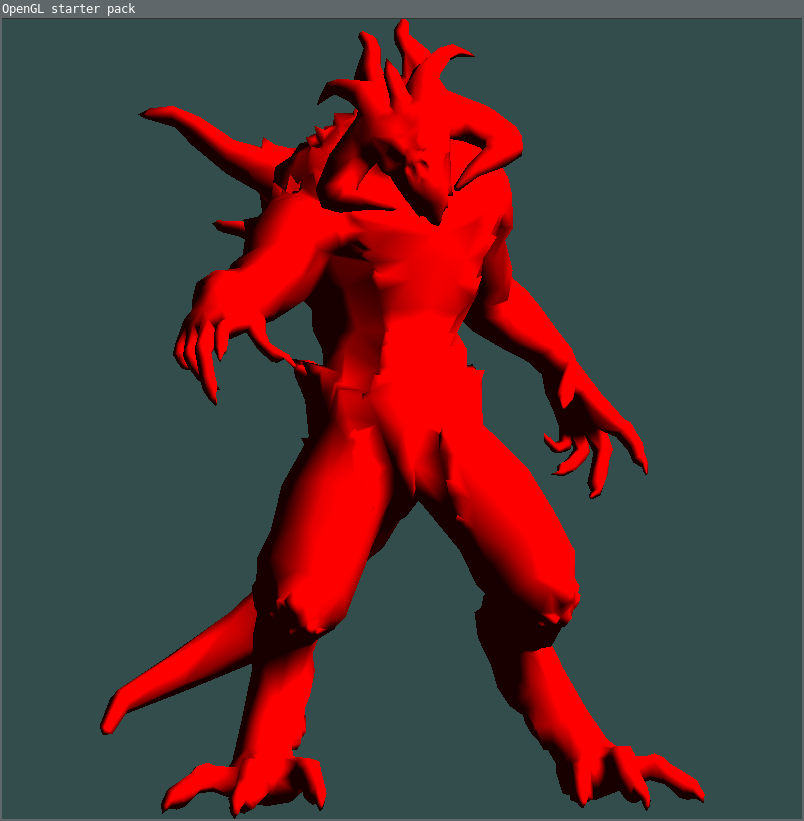
Changes in the project made at this stage, see here . At this stage, our goal is to parse the 3D model file, and draw the first triangles, without worrying at the moment about the lighting:

Please note that both the model itself and the library for working with vectors, and the model parser itself, I took entirely from tinyrenderer. Maybe not so useless software renderer?
The basic idea in modern OpenGL is very simple. We first loaded the 3D model, and then I create an array of vertices of size 3 * 3 * (the number of triangles). Each triangle has three vertices, right? Each vertex is described by three numbers (x, y, z). In total, to describe the entire model, 3 * 3 * model.nfaces () is enough for us:
And then we’ll tell OpenGL that here is an array, draw, dear!
The vertex shader does nothing of interest, it simply passes the data to the fragment shader as is:
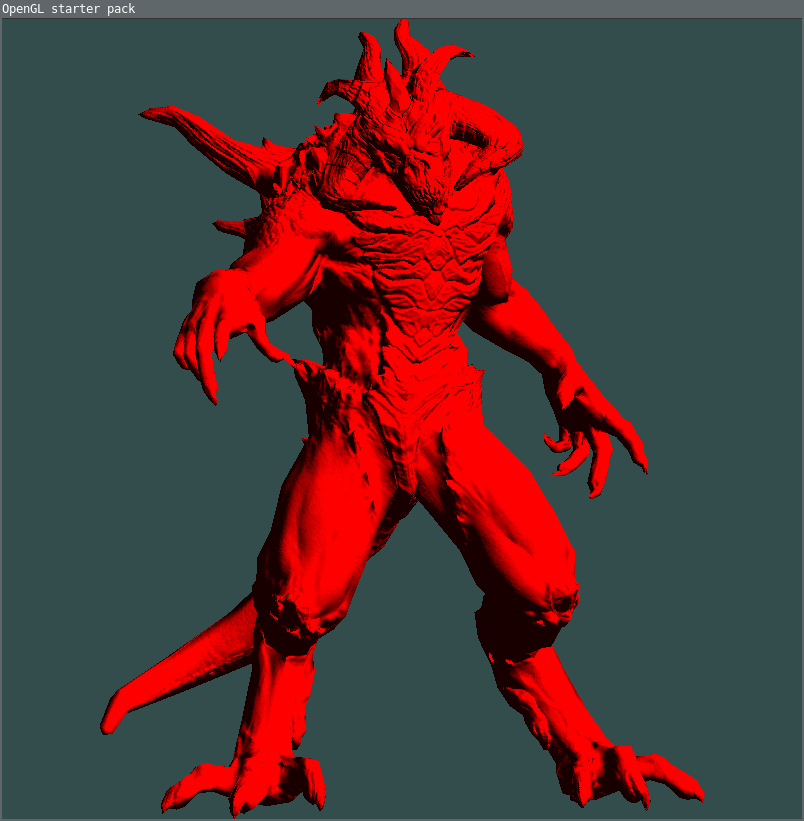
Well, the fragment shader is also unpretentious. It simply draws the current picesl in red:
The most difficult thing is done, now the matter of technology!
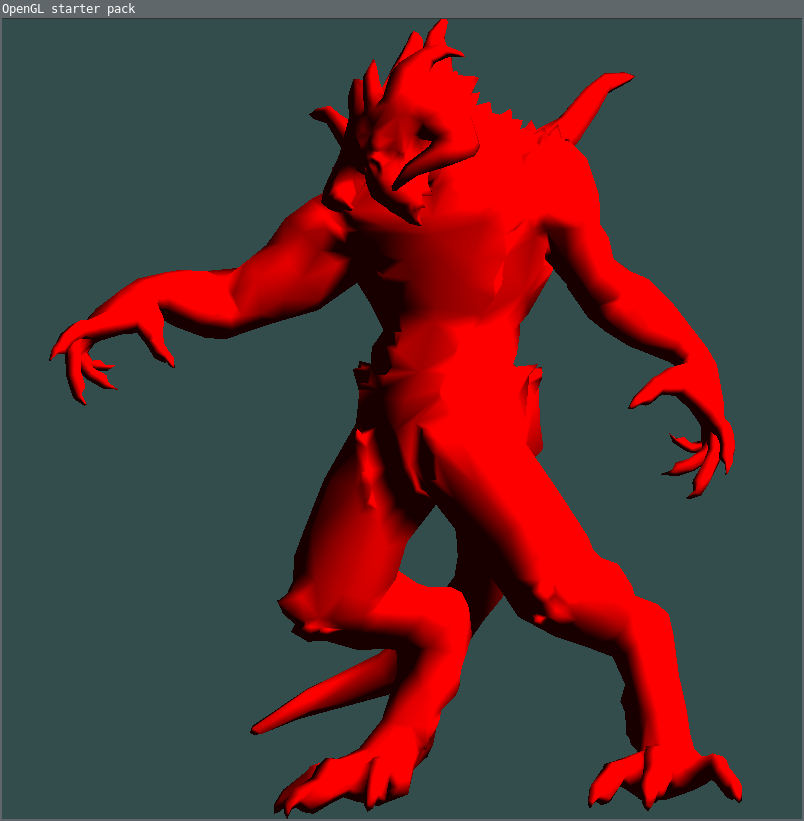
Changes in the project made at this stage, see here . We need to get this picture:
Diffuse lighting in the Phong model is known to be a simple scalar product between
normal vector and lighting vector. Therefore, in addition to the vertices array, I added another normals array. Without looking at the code, tell me what size it is?
The most interesting thing happens in the fragment shader, basically the .cpp file only loads the data:
Changes in the project made at this stage, see here . At this stage, I code Model, View and Projection matrixes. At the very beginning they are just single ones, but if you press the spacebar, the model will start to rotate: with each drawing of the picture, I turn the Model matrix around the z axis by 0.01 radians:
Here, the function rot_z () returns the rotation matrix around the z axis at a given angle. Since OpenGL does not know anything about my matrix class, I had to add void export_row_major () matrix export to a simple pointer to float.
Changes in the project made at this stage, see here . At this stage, we will learn to apply textures. Since the usual diffuse texture is boring, I will immediately apply the normal map, and moreover in the tangent space. Normal maps look like this:

The relevant calculations, to put it mildly, are not obvious, so again, read the explanations in tinyrenderer . From the data point of view, you need to add several buffers: uv coordinates, and arrays of tangent and bitwise vectors.
Well, if we can already count normal maps, then the usual diffuse texture is simply trivial to impose. Changes in the project made at this stage, see here .
Changes in the project made at this stage, see here . The final stage is adding another texture, which will allow us to simulate the glare of illumination from shiny surfaces:
In this code, a lot of things can be improved, and the visual effects can be infinitely inverted. But this is not my goal, my goal is to show that absolutely all the techniques I touched on in software rendering are applicable in the present OpenGL context. And personally, I still think that it is necessary to begin acquaintance with 3D graphics by drawing pictures without using the magic of graphic libraries.
As a continuation, try, for example, add shadows , or calculate global illumination , or, finally, make a glow map: after all, the eyes and the crystal in Diablo's forehead should glow!
Today we draw this:
This model was painted by artist Samuel Sharit (arshlevon) , thank you so much for allowing it to be used in my course of lectures on computer graphics!
')
Stage 0: read tinyrenderer
Generally speaking, the best (although not necessary) to read this lecture after reading my entire course is tinyrenderer . For those who do not speak English, this course of lectures is available in Habré , although I no longer support the Russian version. In the framework of this course of lectures, I showed how only five hundred lines of code, and even with a complete ban on third-party libraries, you can draw just such a picture:
Surprisingly, many of my students do not understand that this software rasterizer is not just a toy, but a real introduction to how OpenGL works. Therefore, today I will show how to draw diabetes with hardware acceleration, and in many respects I will use the code from the software rasterizer repository.
Attention, I don’t set myself the task of explaining every line of code, since I rely on the fact that reading documentation is the best way to understand everything. My code is needed only to know what exactly to read in the documentation, and in what order. Moreover, I will not explain what shaders are , and I will not explain how to count normal maps . I spent a lot of time on tinyrenderer, where it's all laid out on the shelves.
Stage One, the Most Difficult: Creating a Window
The whole repository lives here ; created one commit for each step of the tutorial, since the githab gives a very convenient viewer for all changes made. We start here from here , our goal is to get this window:
Compile code with CMake; I checked under Linux (g ++) and Windows (Visual Studio 2017). Under Linux the latest version of the code is compiled like this:
git clone --recurse-submodules https://github.com/ssloy/hellOGL.git cd hellOGL mkdir build cd build cmake .. make Use `git checkout` if you want to compile a separate commit, not the latest version. This code loads glad and GLFW, creates a window with the necessary keyboard callback, and loads empty vertex and pixel shaders from the disk.
Stage two: load 3D model
Changes in the project made at this stage, see here . At this stage, our goal is to parse the 3D model file, and draw the first triangles, without worrying at the moment about the lighting:
Please note that both the model itself and the library for working with vectors, and the model parser itself, I took entirely from tinyrenderer. Maybe not so useless software renderer?
The basic idea in modern OpenGL is very simple. We first loaded the 3D model, and then I create an array of vertices of size 3 * 3 * (the number of triangles). Each triangle has three vertices, right? Each vertex is described by three numbers (x, y, z). In total, to describe the entire model, 3 * 3 * model.nfaces () is enough for us:
std::vector<GLfloat> vertices(3*3*model.nfaces(), 0); for (int i=0; i<model.nfaces(); i++) { for (int j=0; j<3; j++) { for (int k=0; k<3; k++) vertices[(i*3+j)*3 + k] = model.point(model.vert(i, j))[k]; } } And then we’ll tell OpenGL that here is an array, draw, dear!
while (!glfwWindowShouldClose(window)) { [...]  glDrawArrays(GL_TRIANGLES, 0, vertices.size()); [...] } The vertex shader does nothing of interest, it simply passes the data to the fragment shader as is:
#version 330 core // Input vertex data, different for all executions of this shader layout(location = 0) in vec3 vertexPosition_modelspace; void main() { gl_Position = vec4(vertexPosition_modelspace, 1); // Output position of the vertex, in clip space } Well, the fragment shader is also unpretentious. It simply draws the current picesl in red:
#version 330 core // Output data out vec3 color; void main() { color = vec3(1,0,0); } The most difficult thing is done, now the matter of technology!
Stage Three: Diffuse Lighting
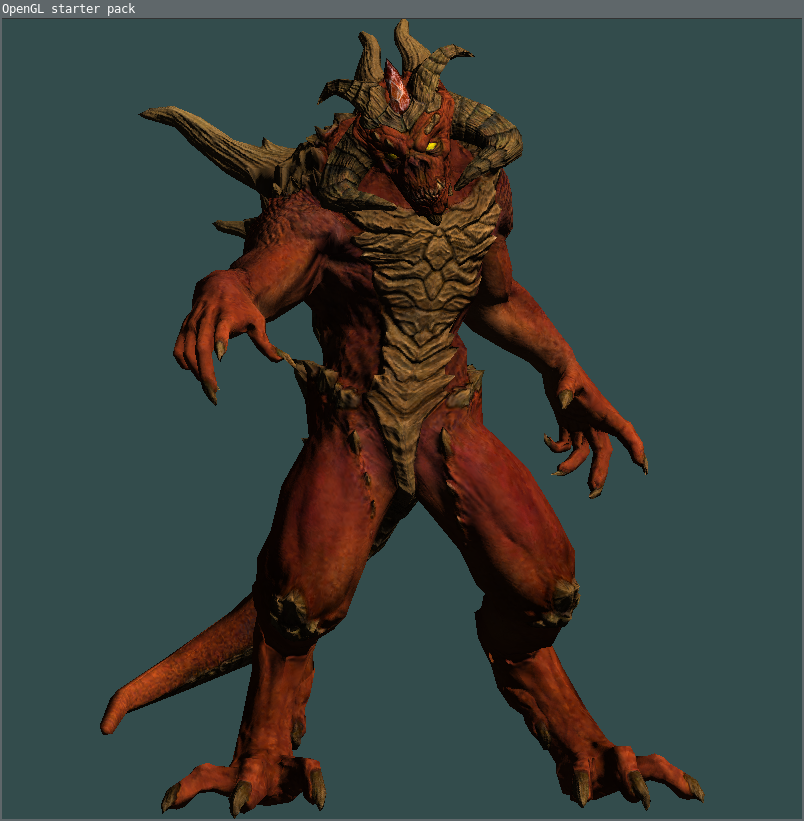
Changes in the project made at this stage, see here . We need to get this picture:
Diffuse lighting in the Phong model is known to be a simple scalar product between
normal vector and lighting vector. Therefore, in addition to the vertices array, I added another normals array. Without looking at the code, tell me what size it is?
The most interesting thing happens in the fragment shader, basically the .cpp file only loads the data:
#version 330 core // Output data out vec3 color; // Interpolated values from the vertex shaders in vec3 Normal_cameraspace; in vec3 LightDirection_cameraspace; void main() { vec3 n = normalize(Normal_cameraspace); // Normal of the computed fragment, in camera space vec3 l = normalize(LightDirection_cameraspace); // Direction of the light (from the fragment to the light) float cosTheta = clamp(dot(n,l), 0, 1); // Cosine of the angle between the normal and the light direction, color = vec3(1,0,0)*(0.1 + // ambient lighting 1.3*cosTheta); // diffuse lighting } Stage Four: Transformation Matrices
Changes in the project made at this stage, see here . At this stage, I code Model, View and Projection matrixes. At the very beginning they are just single ones, but if you press the spacebar, the model will start to rotate: with each drawing of the picture, I turn the Model matrix around the z axis by 0.01 radians:
{ // rotate the model around the z axis with each frame Matrix R = rot_z(0.01); if (animate) M = R*M; } Here, the function rot_z () returns the rotation matrix around the z axis at a given angle. Since OpenGL does not know anything about my matrix class, I had to add void export_row_major () matrix export to a simple pointer to float.
Stage Five: Normal Maps
Changes in the project made at this stage, see here . At this stage, we will learn to apply textures. Since the usual diffuse texture is boring, I will immediately apply the normal map, and moreover in the tangent space. Normal maps look like this:
The relevant calculations, to put it mildly, are not obvious, so again, read the explanations in tinyrenderer . From the data point of view, you need to add several buffers: uv coordinates, and arrays of tangent and bitwise vectors.
Stage Five: diffuse texture
Well, if we can already count normal maps, then the usual diffuse texture is simply trivial to impose. Changes in the project made at this stage, see here .
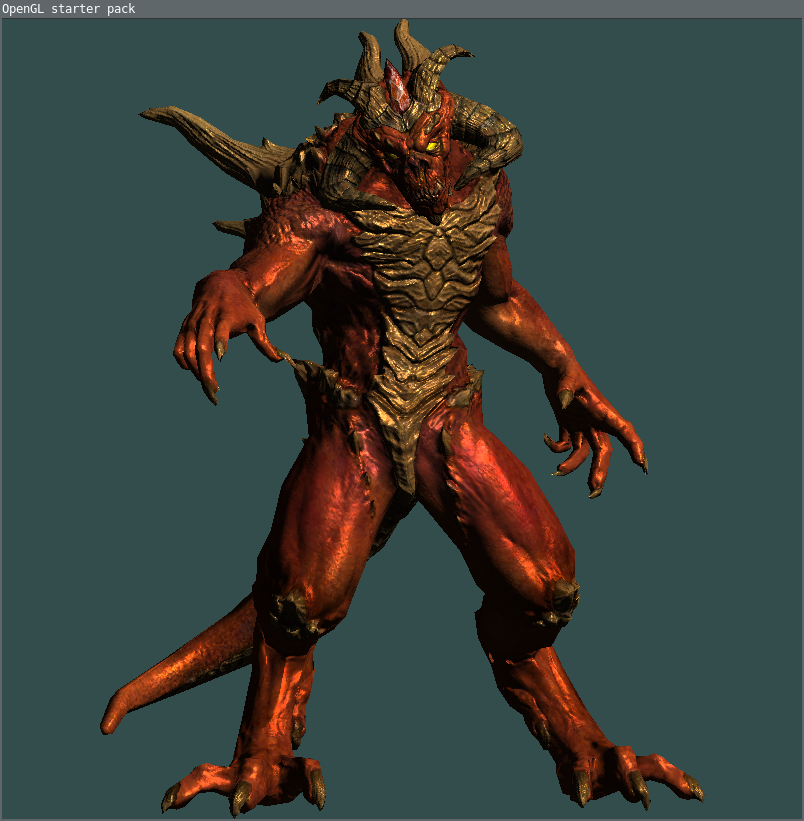
Stage Six: Glare
Changes in the project made at this stage, see here . The final stage is adding another texture, which will allow us to simulate the glare of illumination from shiny surfaces:
Conclusion
In this code, a lot of things can be improved, and the visual effects can be infinitely inverted. But this is not my goal, my goal is to show that absolutely all the techniques I touched on in software rendering are applicable in the present OpenGL context. And personally, I still think that it is necessary to begin acquaintance with 3D graphics by drawing pictures without using the magic of graphic libraries.
As a continuation, try, for example, add shadows , or calculate global illumination , or, finally, make a glow map: after all, the eyes and the crystal in Diablo's forehead should glow!
Source: https://habr.com/ru/post/443174/
All Articles