CI / CD simple system administrator

In the process of work, an idea appeared to automate the delivery of powershell scripts, as well as synchronize teamwork among system administrators with scripts running on different servers. The article is designed for simple win administrators unfamiliar deeply with git, gitlab, ci / cd and other devops zamorochkami, so if you're interested, I ask under the cat.
Let's start with the problems that occurred during the work.
- lack of versioning;
- inconsistency between colleagues when finalizing the scripts;
- loss of useful scripts in the care of colleagues;
- manual delivery of scripts to the places of their execution;
- banal mess
All these problems are in fact petty in isolated cases, but when all this is already on the scale of a team and heaps of scripts, I would like to put things in order.
To simplify life, I used a great Gitlab product, already deployed here and used by coders. I will not consider the installation of gitlab and gitlab-runner , I’ll just clarify that we already have a configured gitlab with domain authorization and a separate runner on windows with powershell executor , which will perform our deployment tasks. For writing scripts, I use an excellent Visual Studio Code .
We organize work in gitlab
And so let's get started, first we need to make a group in gitlab, which will include all our system administrators.
')
Group creation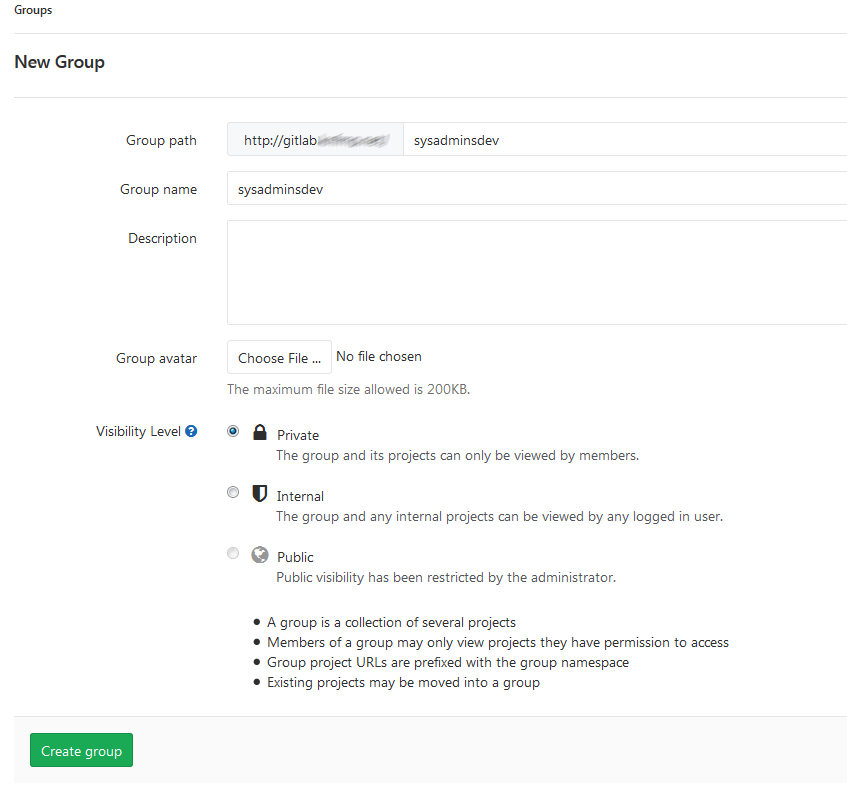
Next, we will add our colleagues to Members with Developer rights and you can start creating a project. We are sure to create a project in our group, so that our colleagues would automatically get access to it.
Project creation
After creating the project, on the very first page there will be all the hints on the topic “what to do next”. In our case, you need to launch existing files from your workstation in gitlab. For example, all this is in the “E: \ scripts \ powershellmegaproject” directory. Let's use the appropriate hint and execute on your computer:
cd E:\scripts\powershellmegaproject git init git remote add origin http://gitlab.domain.net/sysadminsdev/powershellmegaproject.git git add . git commit -m "Initial commit" git push -u origin master Bingo! All our files from the “E: \ scripts \ powershellmegaproject” directory are now in our project.
What's next? Open the VSCode and try to make changes to our powershell script located in this directory. After saving the file, we will see a notification in the “Source Control” section where you can see the changes and make a commit. Next, we push to the server:
vscode git
Check on the project site in gitlab, there will be the actual contents of the files, and you can track changes in the commit history.
CI / CD setup
It's time to configure the delivery of scripts to the server. For a CI / CD to work, a runner must be available for your project. You can assign it in the admin gitlab - runners, or use the shared runner `s.
And now to the project. In order for CI / CD to work, you need to create in the directory with our project a .gitlab-ci.yml file with a description of actions (a hint and help about this can also be seen by going to the gitlab menu - CI / CD - Pipelines). You can choose from a variety of ways to deliver files, from simply copying files to rsync or git pull to the correct server. Since we are considering the simplest scenario, it will be just copying powershell. To do this, you need to make a folder on the target server with a script publicly available on the network and provide access to change to the user under which our gitlab-runner service is running.
Fill .gitlab-ci.yml with simple content:
deploy_stage: variables: DEST_DIR: \\srv-megaserver\scripts\powershellmegaproject script: - remove-item -path $DEST_DIR\* -recurse - gci -Recurse | Copy-Item -Destination $DEST_DIR Here we write to the variable path to our directory (in other projects, you can simply copy this file and change the target directory) and the simple powershell command first deletes the entire contents of the directory, and then we copy everything from our project to this folder.
Commit, push changes and check. In our folder on the server should update all the files. You can see the status and implementation of Pipeline in the same section of our gitlab - ci / cd - pipelines, an example of successful execution:
Running with gitlab-runner 11.3.1~beta.4.g0aa5179e (0aa5179e) on gl-runner2-windows a24eda81 Using Shell executor... Running on SRV-GL-RUNNER2... Fetching changes... HEAD is now at e6e9a2c update ci file From http://gitlab.domain.net/sysadminsdev/powershellmegaproject e6e9a2c..5f5cfce master -> origin/master Checking out 5f5cfceb as master... Skipping Git submodules setup $ remove-item -path $DEST_DIR\* -recurse $ gci -Recurse | Copy-Item -Destination $DEST_DIR Job succeeded Suppose on this server the task is already configured to run this script from the project in the scheduler, as a result we always get the execution of the actual project files.
What with colleagues?
It's simple, create a folder for projects, go to it in ps / cmd and clone the project to yourself.
cd e:\projects git clone http://gitlab.domain.net/sysadminsdev/powershellmegaproject.git Everything, further we just work in VSCode by opening the folder, making commits and pushes.
What we have achieved in the end
- all scripts are stored in the repository;
- the whole administration group can work with scripts;
- all changes are visible in history;
- any new administrator can immediately see all the developments and he does not need to run around the servers and find out “where-what is being done”;
- all productive changes are automatically delivered to the “productive workplace”.
We have eliminated all our problems, and also significantly simplified our life in a team.
A bonus
Add the README.md file to the project directory to describe what happens in these scripts.
Add a Changelog file to describe the changes.
ps: what else can? You can turn the runner into the docker, you can configure the scheduler in ansible , you can still much more complicated, but the purpose of the article was to simplify the understanding of this toolkit for beginners.
Source: https://habr.com/ru/post/427377/
All Articles