We manage hundreds of different smart home devices with voice and text from a smartphone. Alexa Echo in messenger

The number of smart devices for the home is growing every day.
More and more manufacturers are starting to release their devices.
All this is wonderful, but at the same time there is one problem - software for managing such devices.
Imagine buying TP Link smart outlets, a switch from Sonoff, iRobot Roomba smart vacuum cleaner, Philips Hue smart light bulbs, Smarter smart coffee maker, Kenmore air conditioner, smart locks, smart garage doors, etc.
')
This means that to control each device you need to install your application.
If you have 20 smart devices from different manufacturers, then you need to install 20 different applications!
How to manage with such a zoo Internet of Things?
In general, if you look at the emergence of such a large number of clever things, you can see that all of them appeared not by themselves, but as a result of the appearance of voice assistants, which are the forming center of IoT control.
And number one here, without a doubt, is Alexa Echo.
Exceptionally thanks to this column and inexpensive smart sockets, lamps, refrigerators, etc., appear like mushrooms.
At the very beginning, even Google on its website had a description of how to manage devices from its Assistant via Amazon's Alex.
But in order to manage different devices, you need to buy Alexa Echo, and we do not want to spend money.
And then our application can come to the rescue - M1 Messenger .
In addition to managing voice commands, as in Alexa Echo, we made it possible to send text messages to devices (for example, if you need to keep quiet), as well as to make pre-configured buttons with certain commands, to call them only on tapu from the screen.
So, a small tutorial on how to manage different devices, different vendors, through one application - M1 Messenger .
If you are going to buy any smart device for home on Aliexpress, then just look in the description of any device for the phrase - works with Alexa.
If you plan to make a purchase in the store, then pay attention - not all sellers know that this or that device can work with Alexa - in this case you need to google this opportunity.
Consider the step-by-step process of connecting and configuring the example of a TP Link HS100 wifi outlet.
1. Configure the TP Link HS100 smart socket
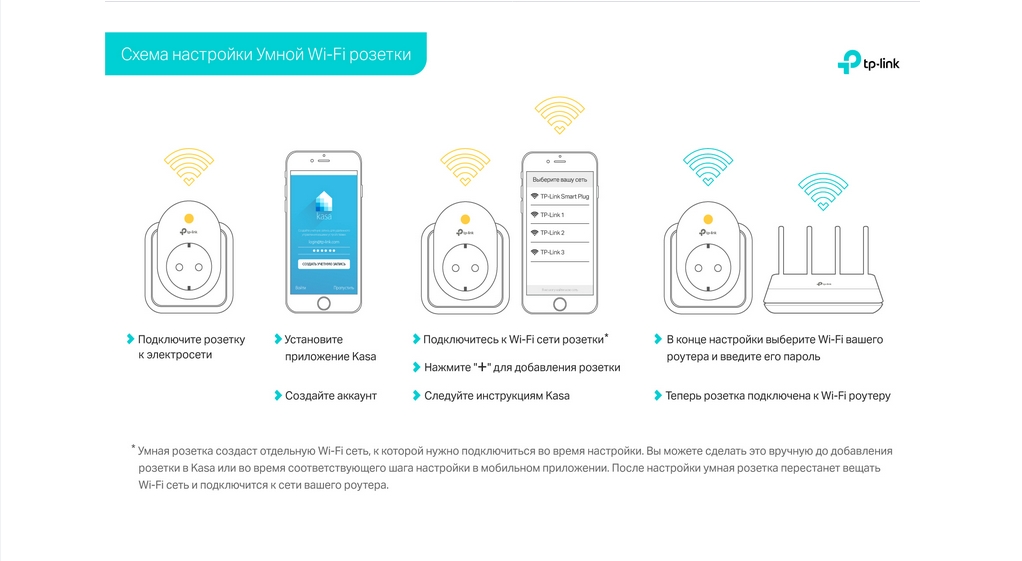
There is nothing complicated here - download the Kasa application, register and follow the instructions.
The most important thing - remember the login-password for this application - it will be needed later.
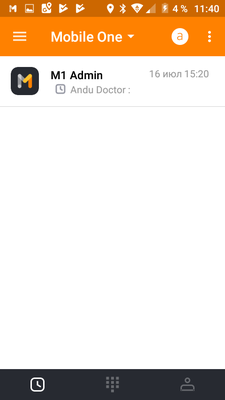
2. Download and install M1 Messenger
Also, nothing complicated - download, register (without a phone number), then click the icon with the letter “a” - launch Alexa Echo in the messenger:
After the very first click on the icon "a" the application will open the page on
Amazon website with a suggestion or enter an existing username / password, or register an account:
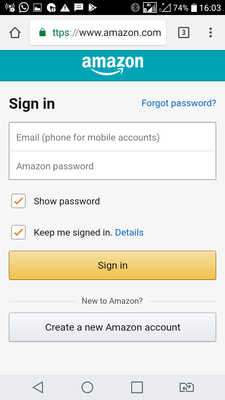
Enter existing data or register and then you need to allow access to the application to Alexa Voice Service:

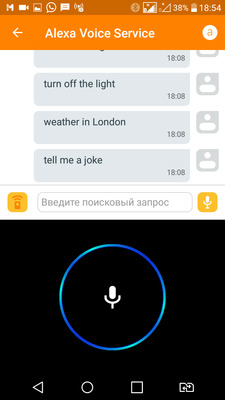
After that, a screen with Alexa in the messenger will open and you can already communicate with the voice assistant from Amazon with voice or text:
3. Bind smart socket to your account on Alexa Amazon
Now we need to bind the smart socket to Alexa and assign an activation word to it, for example, Kitchen.
To do this, go to alexa.amazon.com
There are several lifehacks here.
Firstly, if you are in a country where Alexa Echo is not sold officially, then do not open this page on your mobile device - you will be transferred to the mobile store where you will be offered to download the application, but you will not be able to download the application - it will not be available in your country .
Therefore, open this page on the desktop.
Secondly, if you didn’t do point 2, that is, you didn’t download or install the M1 Messenger application, even if you have an account on Amazon, you’ll see this page:
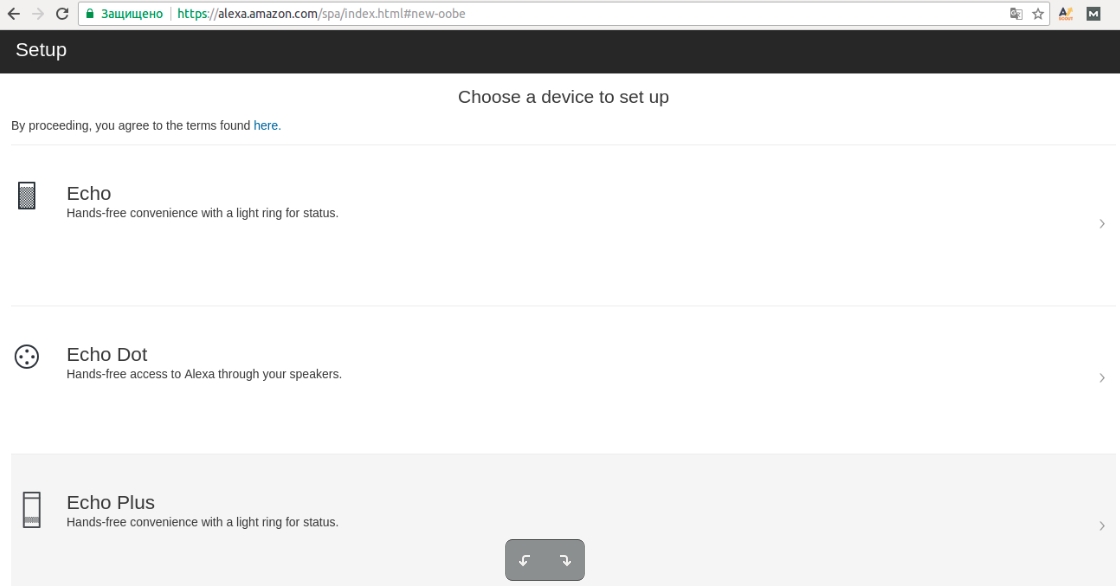
This is not what we need - since there is an opportunity to configure only official products from Amazon, and we do not want to buy Echo.
Only after installing the M1 Messenger you will see this page:
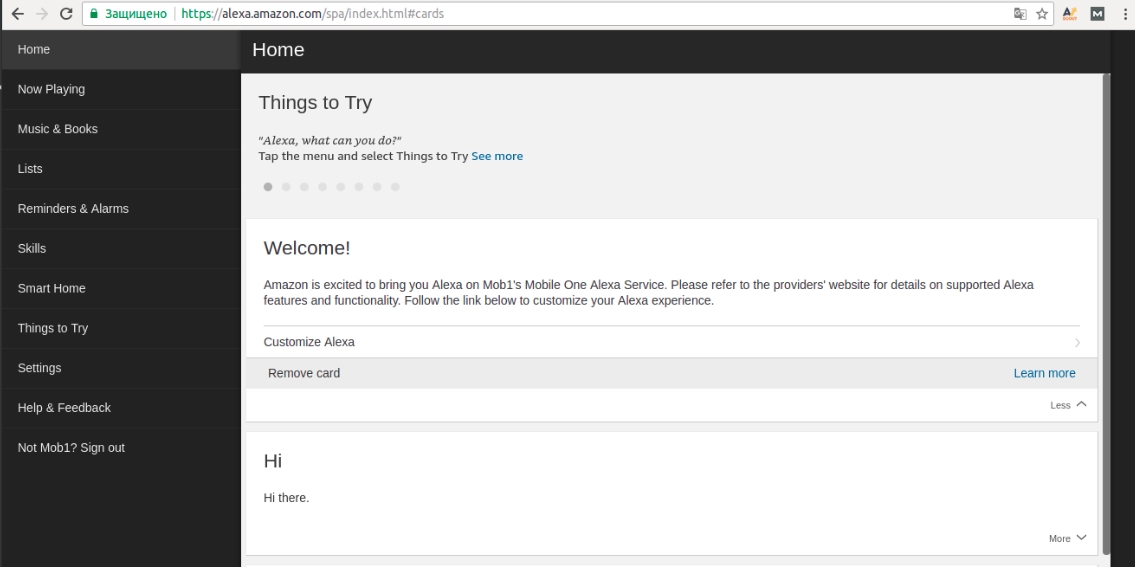
Thus, if you see the phrase:
Welcome!
Amazon is one of the Mobile One Alexa Service.
That means you did everything right and you can attach smart devices.
Go to the section Skills.
In the search we type the name of the device vendor - in our case, this is TP Link Kasa:

Select the appropriate item and get to the section with the activation of this skill:
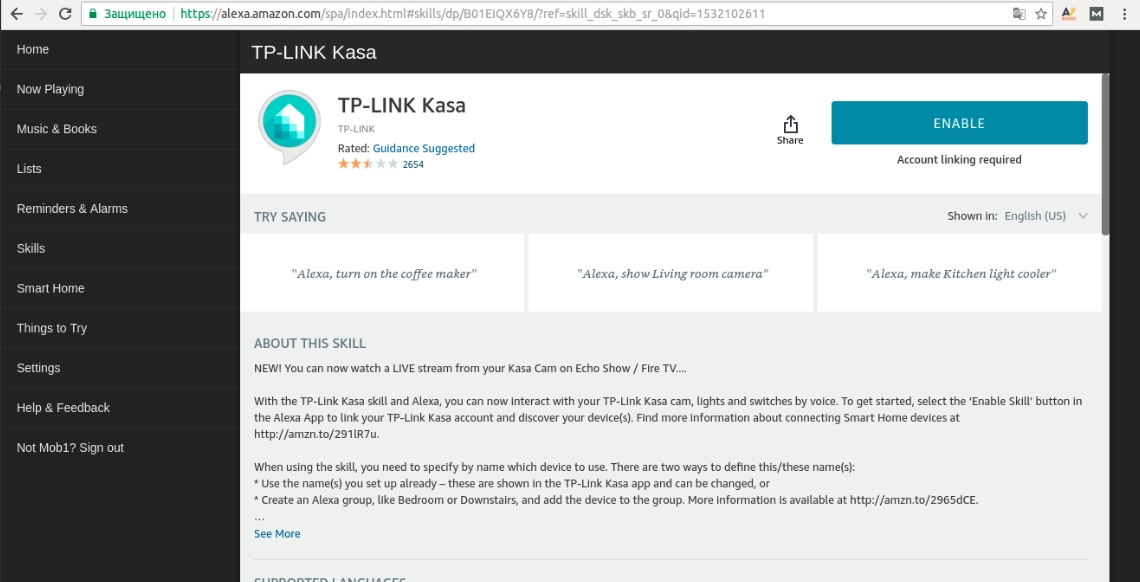
Click Enable and get to the next window (note that the opening will take place in a new window and you need to allow pop-ups to be shown if you have a blocker):
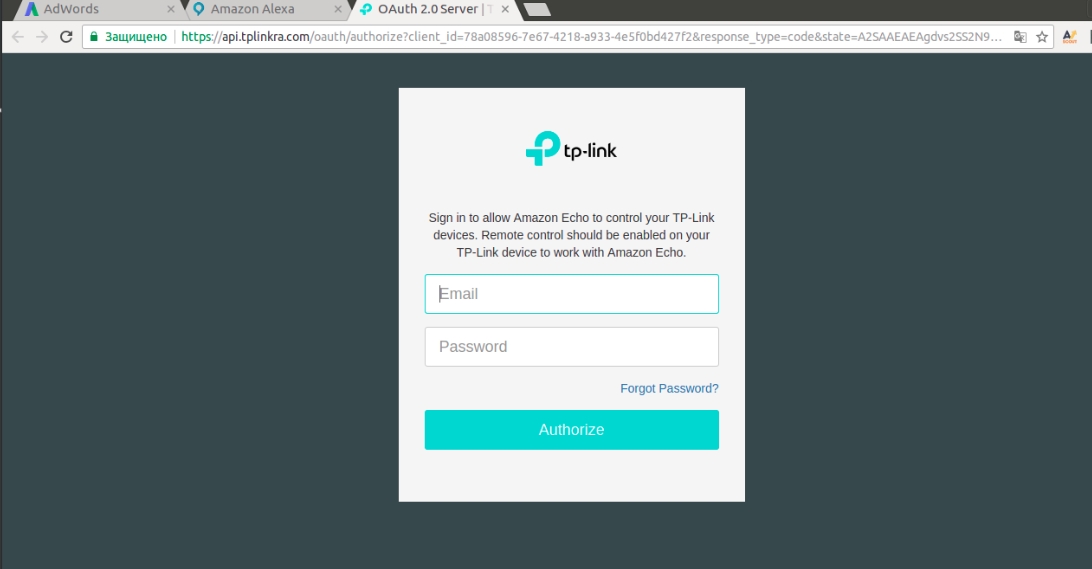
It is here that you will need to enter the login / password that you got as a result of setting up your Wi-Fi outlet in claim 1.
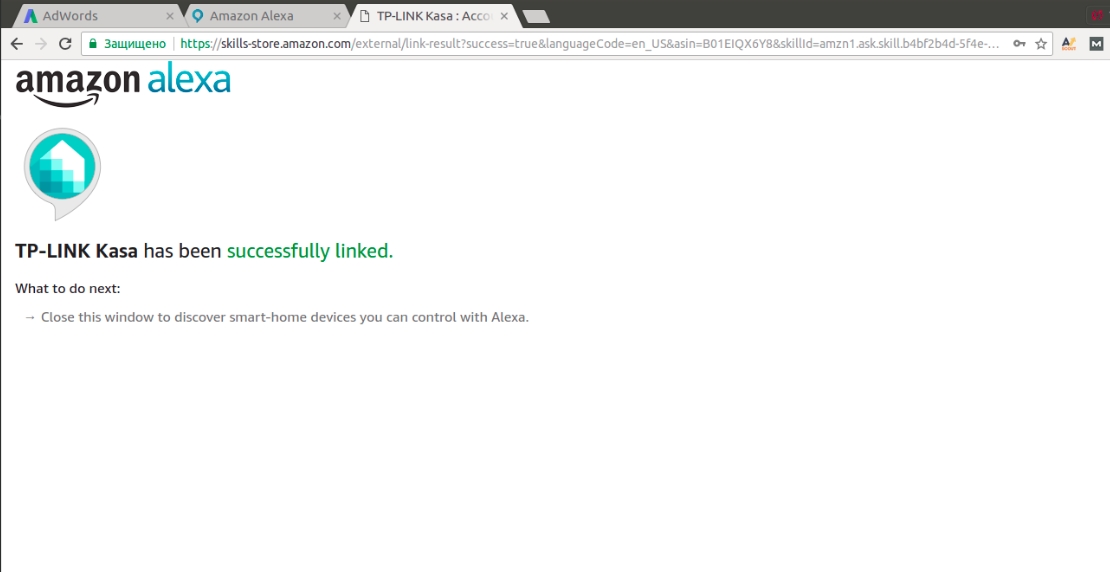
If you entered the correct data, the confirmation page will open:
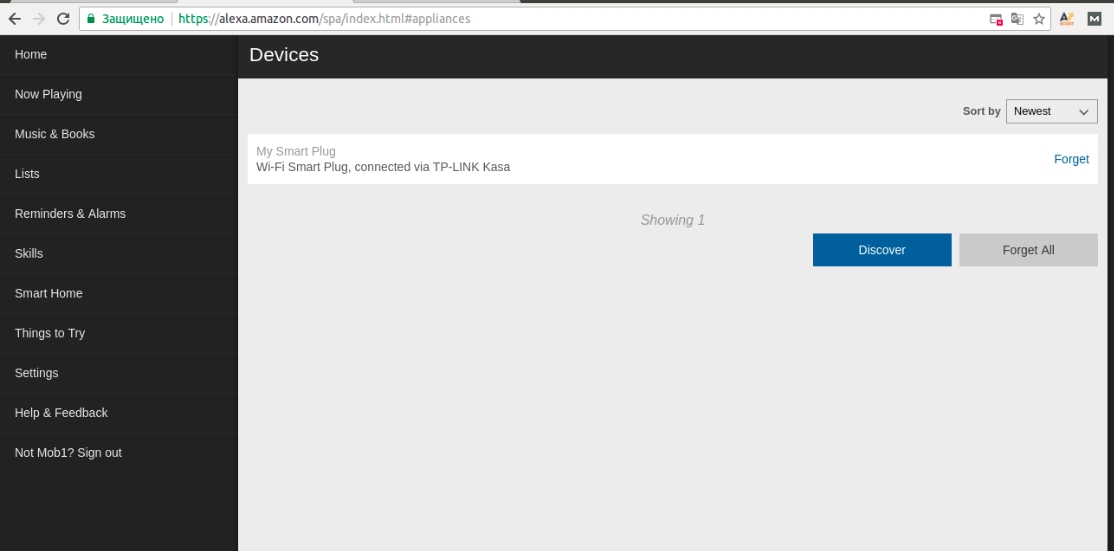
Next, go to the section Smart Home and start the detection of devices (the socket at this time should be included in the network):

Then a page with the name of the device that you specified when registering the WiFi outlet in Kasa will open:
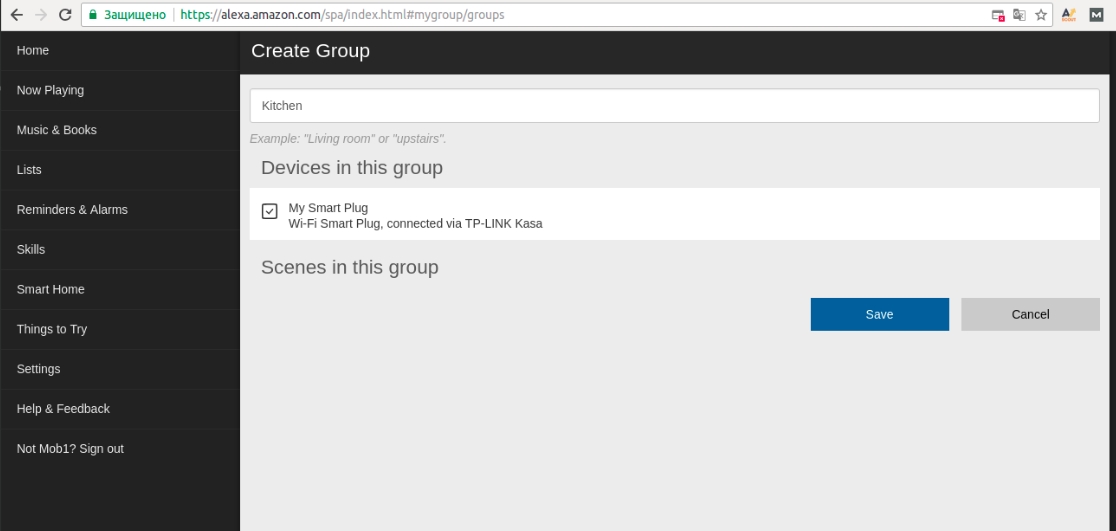
Next, go to the configuration of Smart Home:

Go to the Groups and prescribe an outlet called for example Kitchen:
Now, if you say in the messenger Turn kitchen On or Switch kitchen off,
then your outlet will turn on / off.
It should be noted that this is a general principle of attaching smart things to Alexa Echo - whether it is a smart outlet, a watering system or a car - you will need to do the exact same steps.
We can also not only say, but also write Turn kitchen On or Switch kitchen off and also your outlet will work.
4. Programming of virtual buttons
To program virtual buttons, you need to click on the control panel icon:
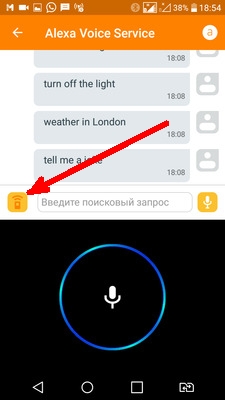
Then a field will appear to which you can enter any command:
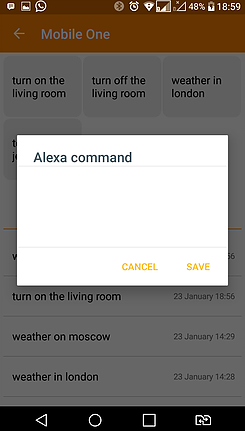
After saving, virtual buttons will appear, according to which your devices can execute frequently called commands:
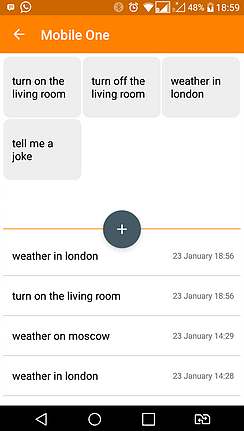
At any time, you can either edit these buttons or delete and create new ones.
Source: https://habr.com/ru/post/426685/
All Articles