Why do I need a 3D printer
From the first mentions about 3d printers, I became interested in this topic and in my head I wondered: “I’ll collect and print!”. A little later, the idea was reformed into "Buy", and a little later, "And what for it to me." But I didn’t give an interest to the technology of rest to my head, and in time for the holiday I still bought myself a miracle of the Chinese industry 3d printer Anicubic Kossel.
I bought it because it was one of the cheapest (15t.r.) but at the same time, the descriptions are quite strong. In the most common review, it is delivered as a set of parts for assembly, and according to reviews, the biggest difficulty is calibration, since this type of printer belongs to Delta-printers with unusual at first glance mechanics.
The seller had several options:
I ordered the option on rails with a table.
')
A package weighing eight kilos arrived by courier in a week. As it turned out, the Chinese are not standing still and are doing more and more for the person - the printer came almost assembled, it only remained to put everything together.
Upper and lower triangles with mounted motherboard:

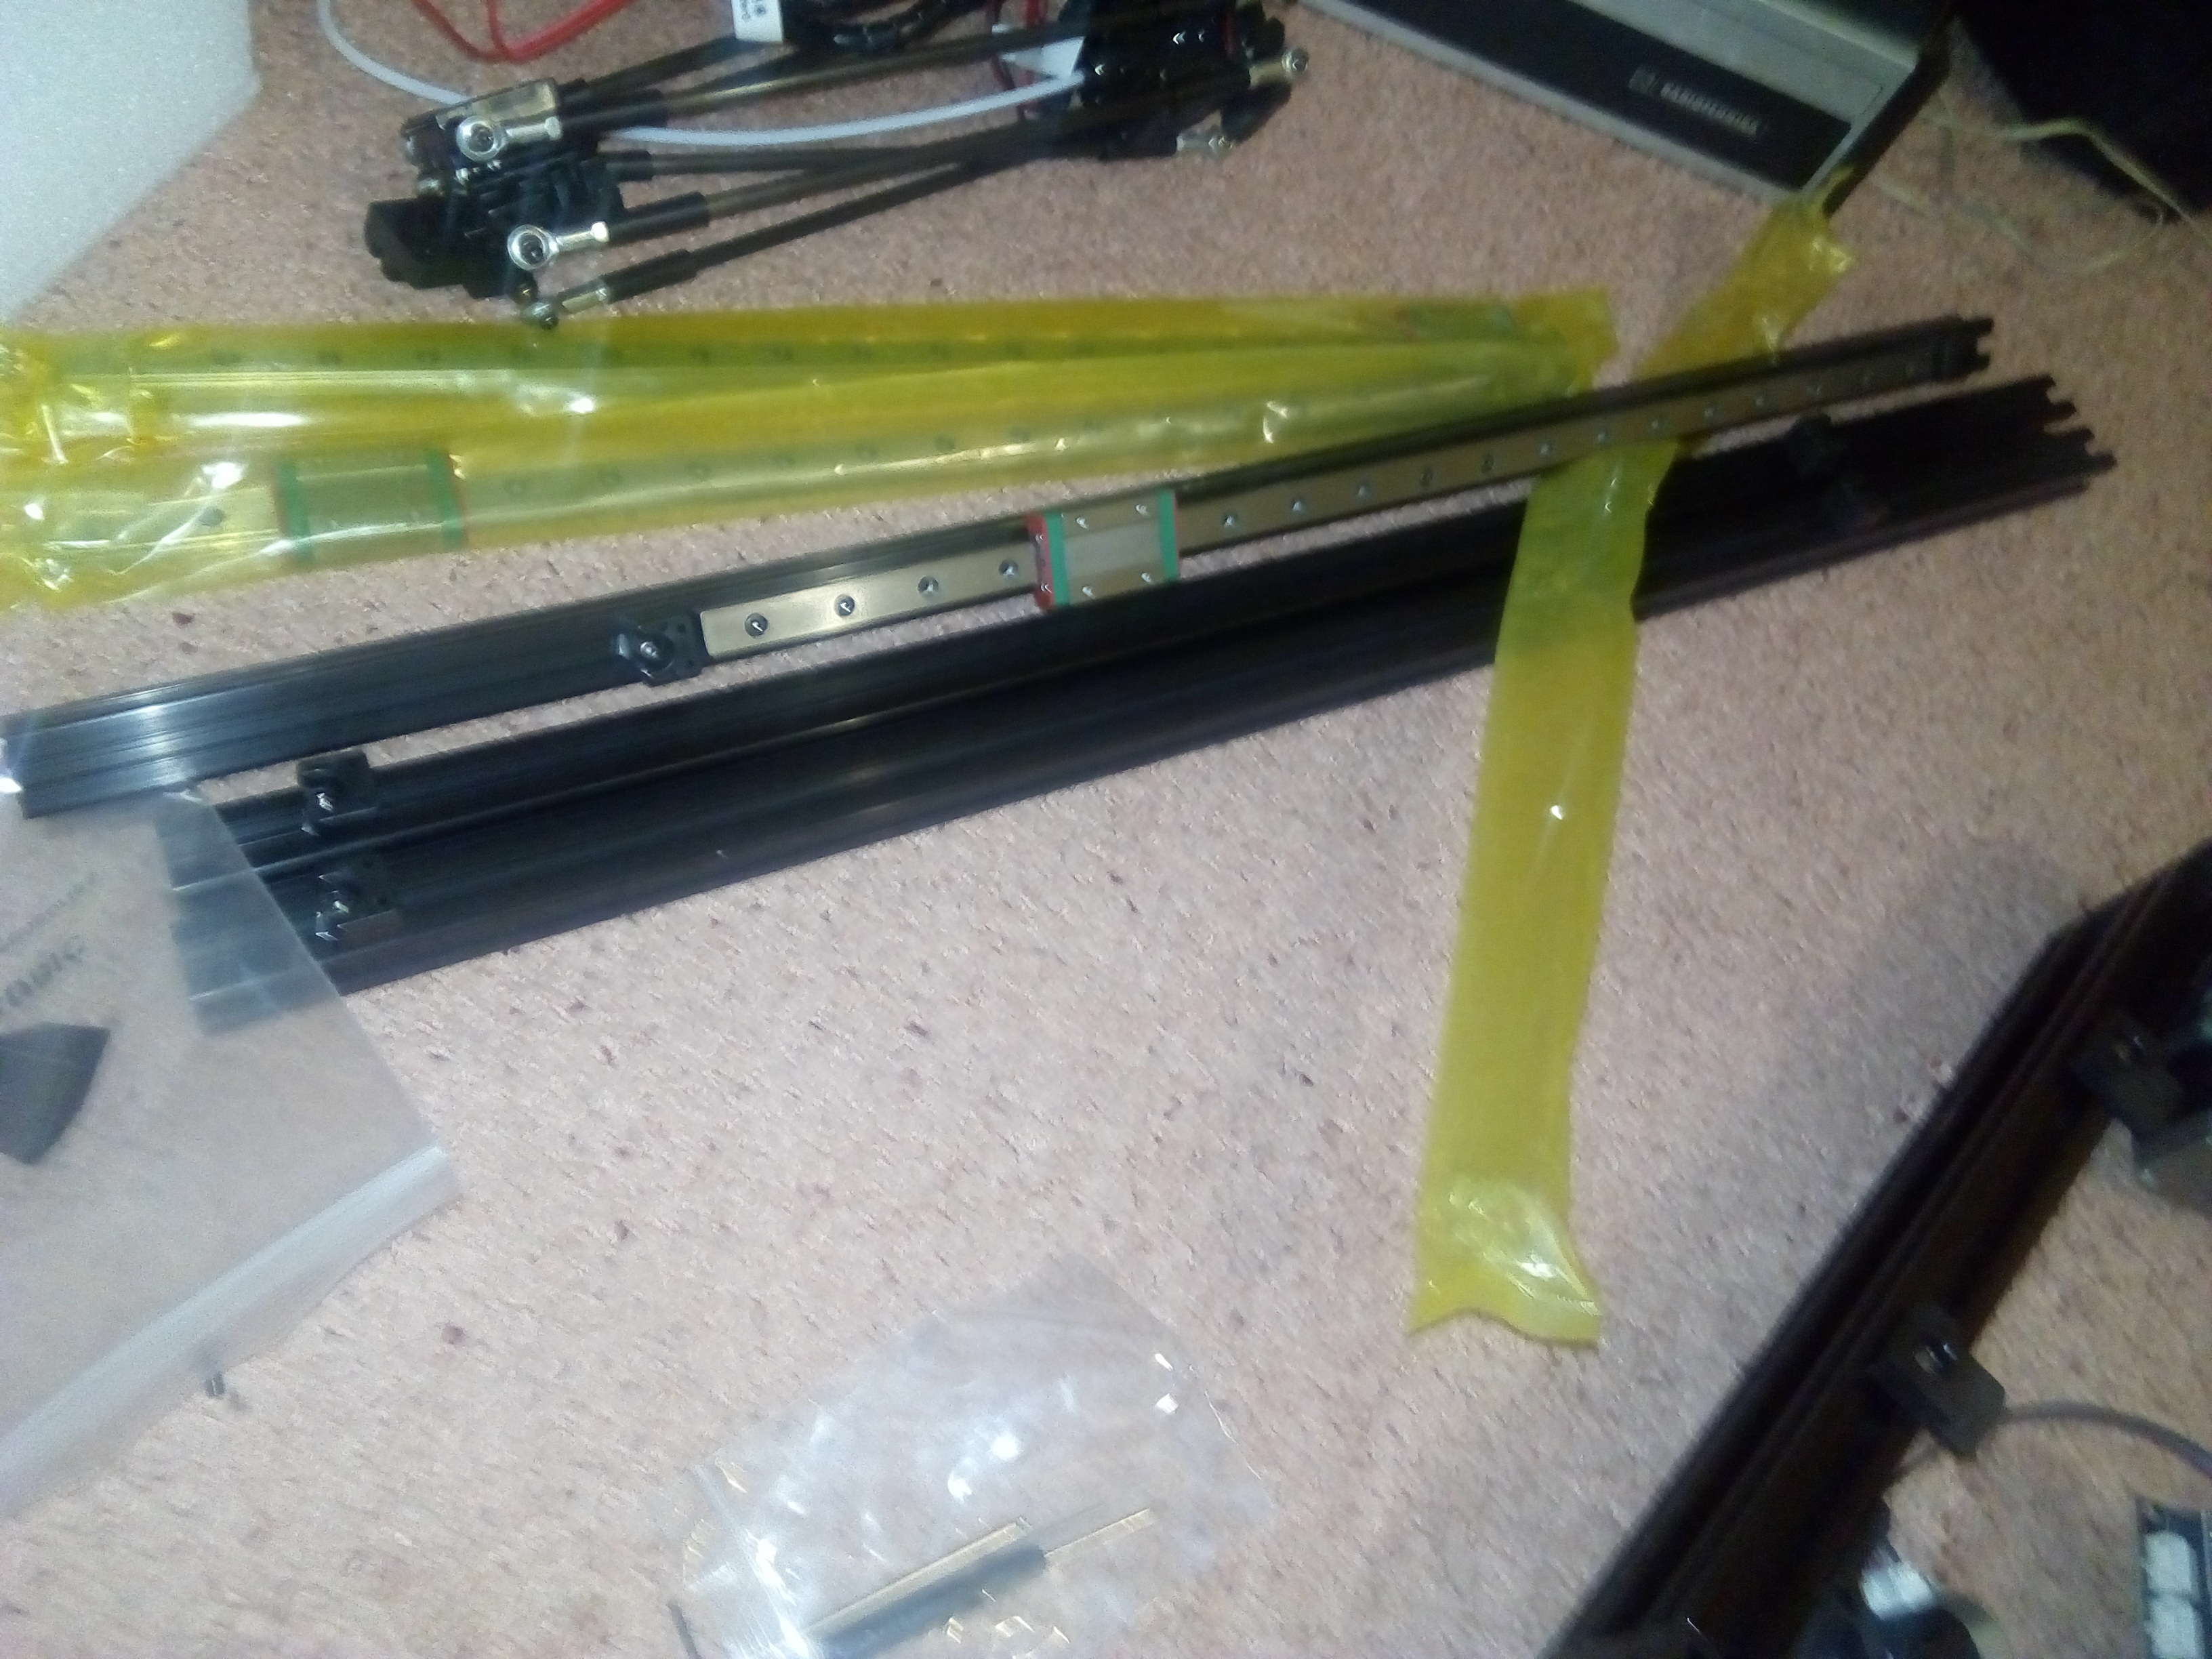
Rails and vertical racks, rails separately in dense polyethylene with silica gel:
Table, control panel, power supply, feeder (bowden), all also in different compartments of the foam box:

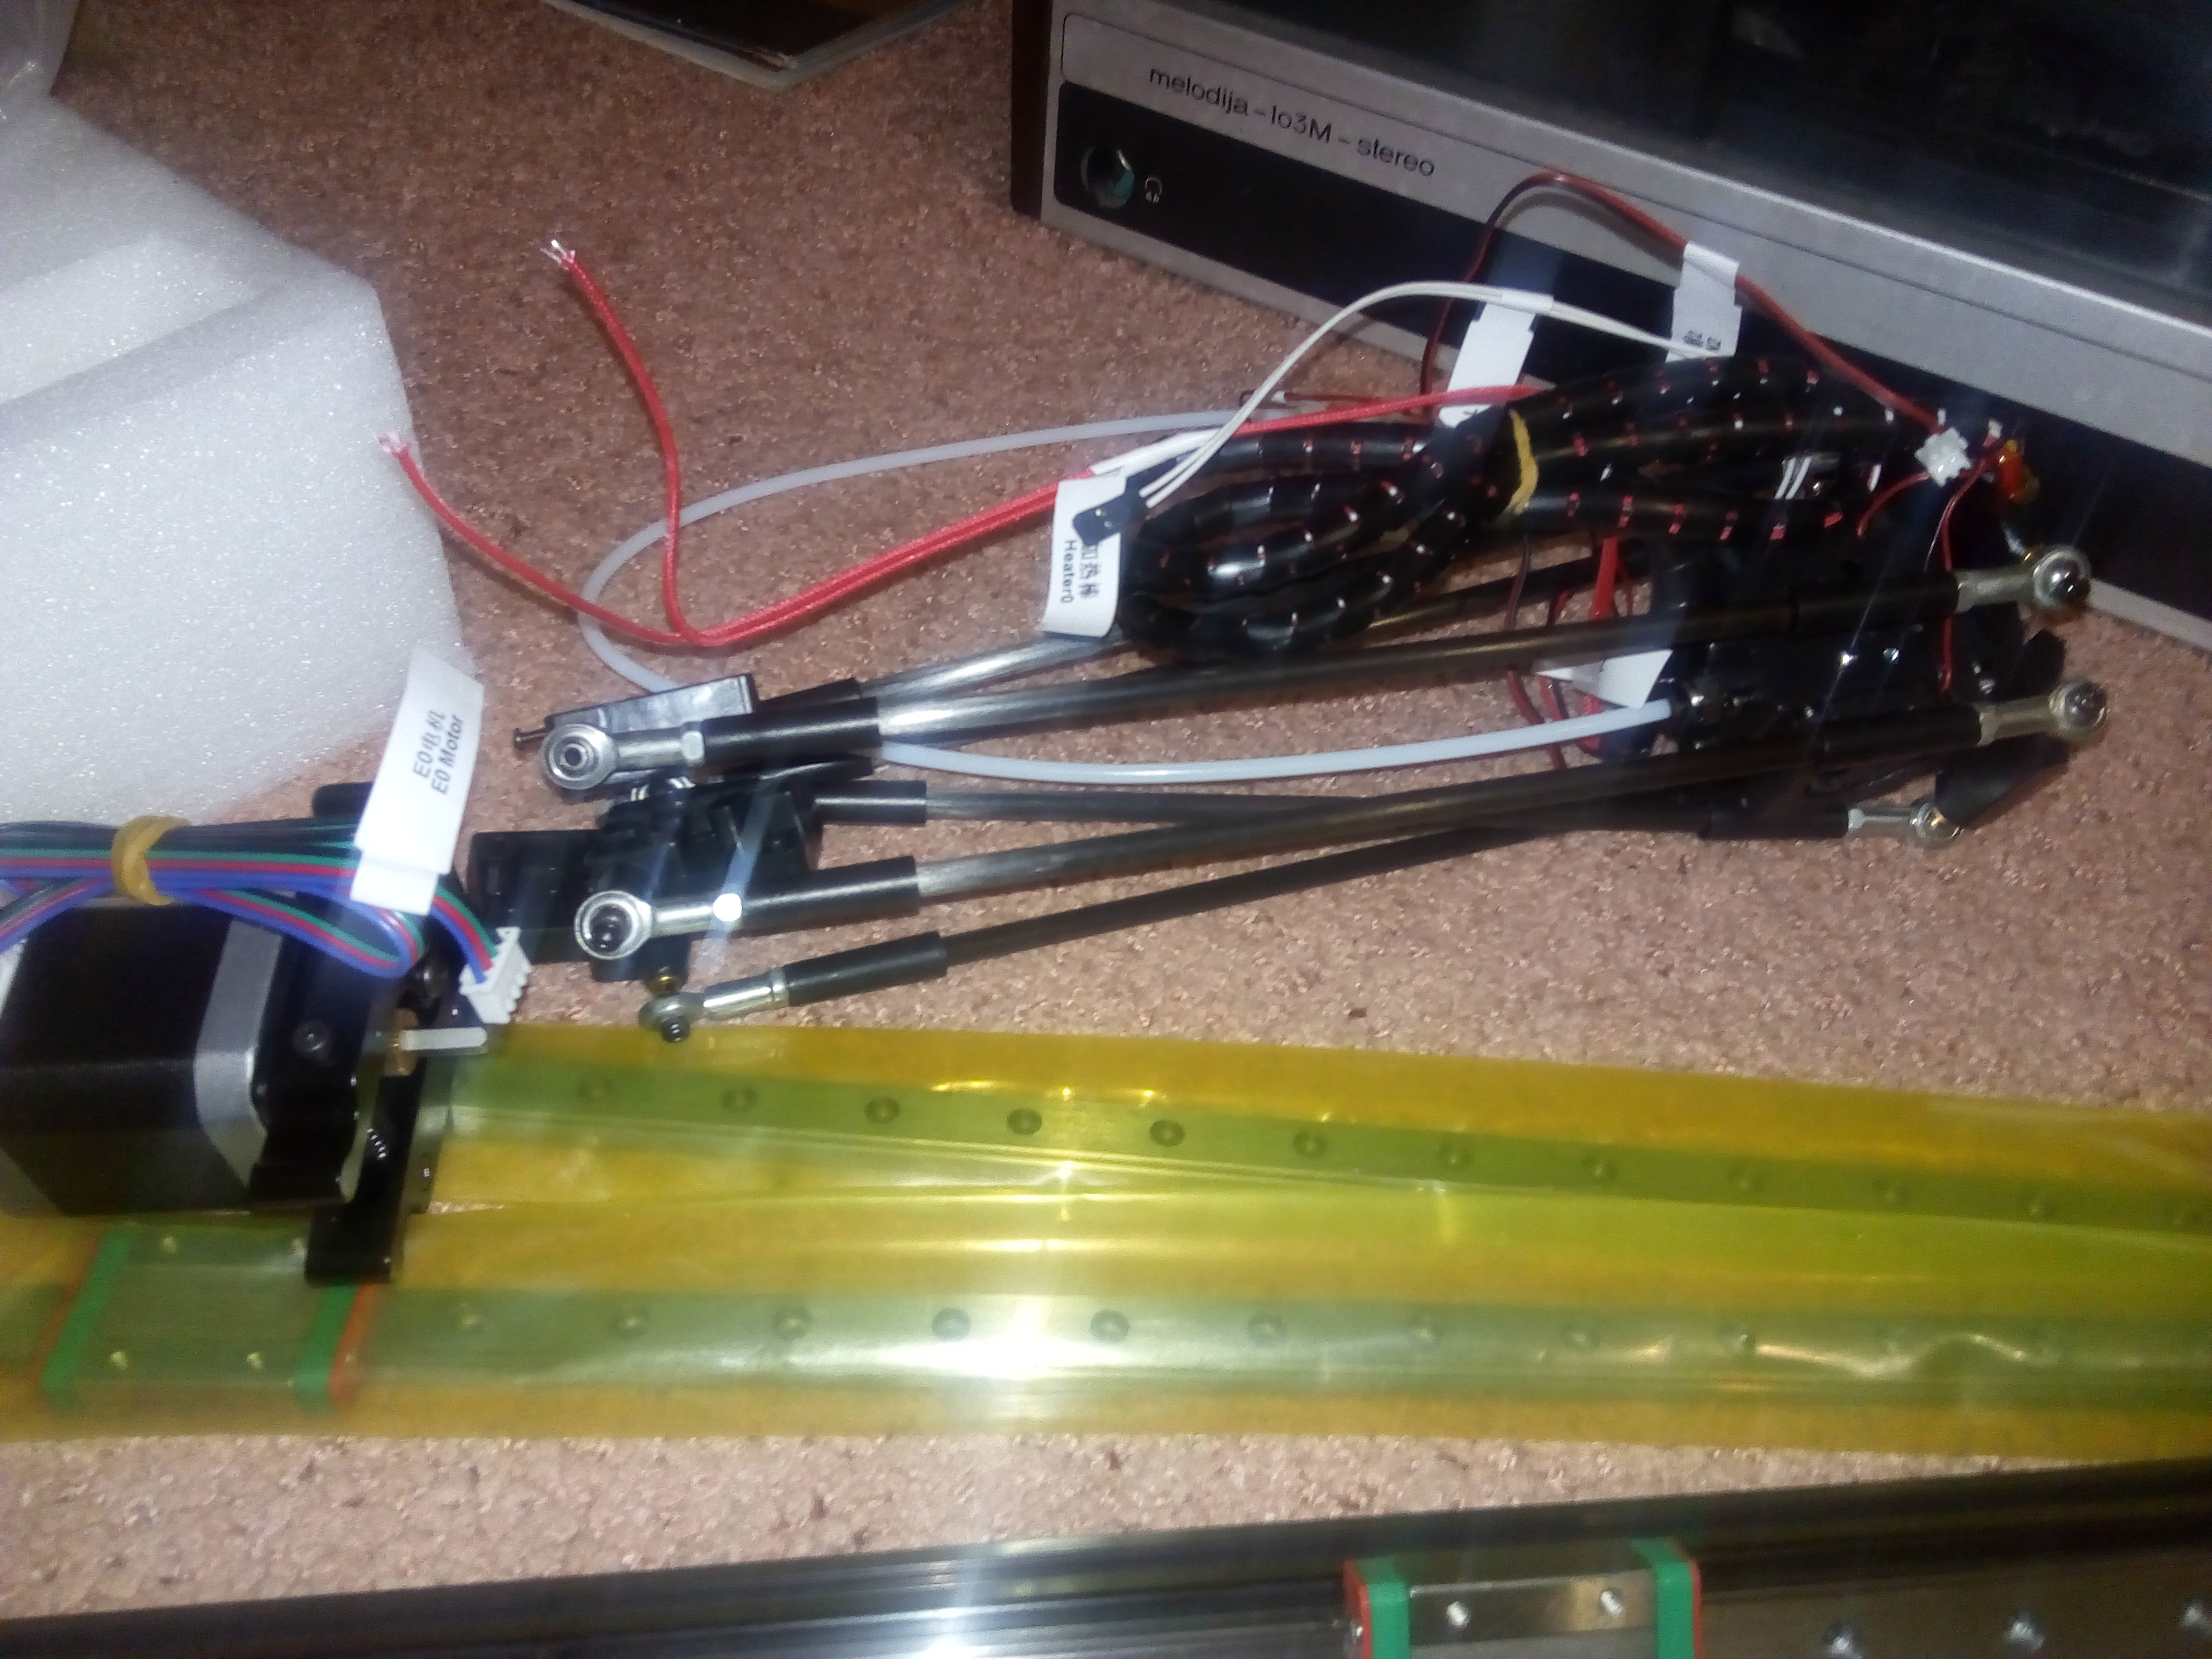
Hotend (the second part of the extruder) with the rod assembly - it is also called the spider:
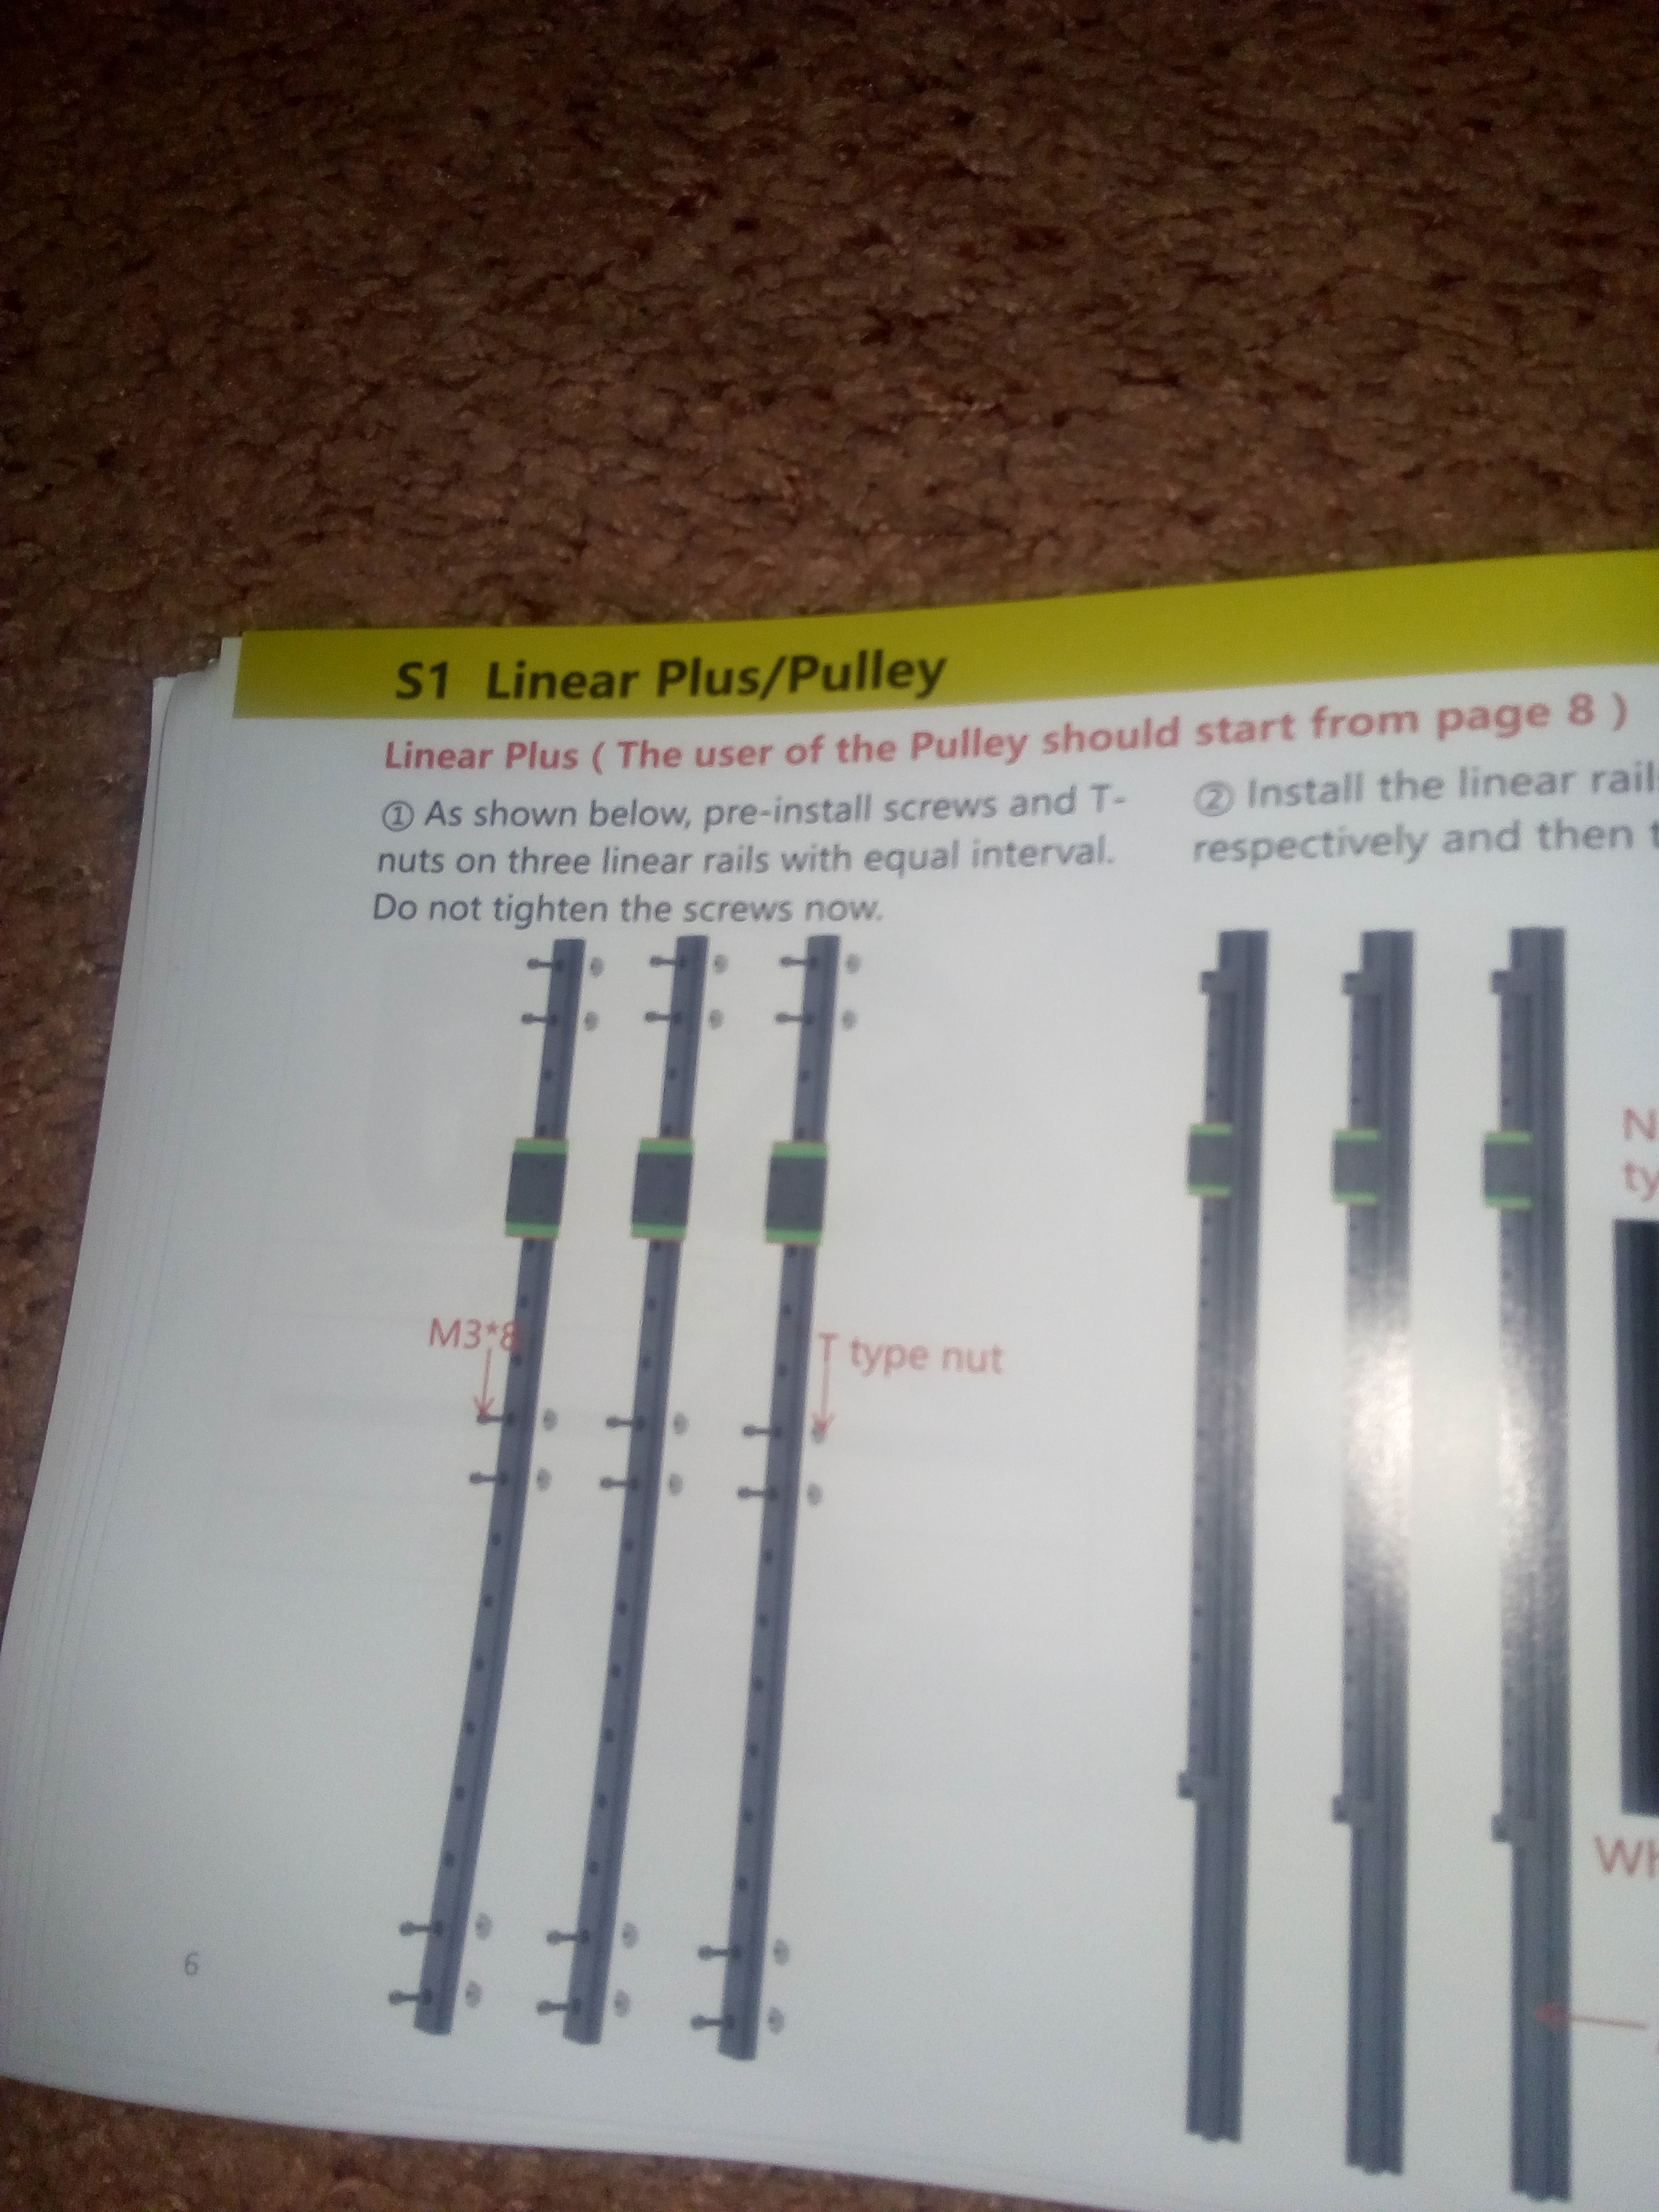
Instructions with pictures, all pages are numbered:
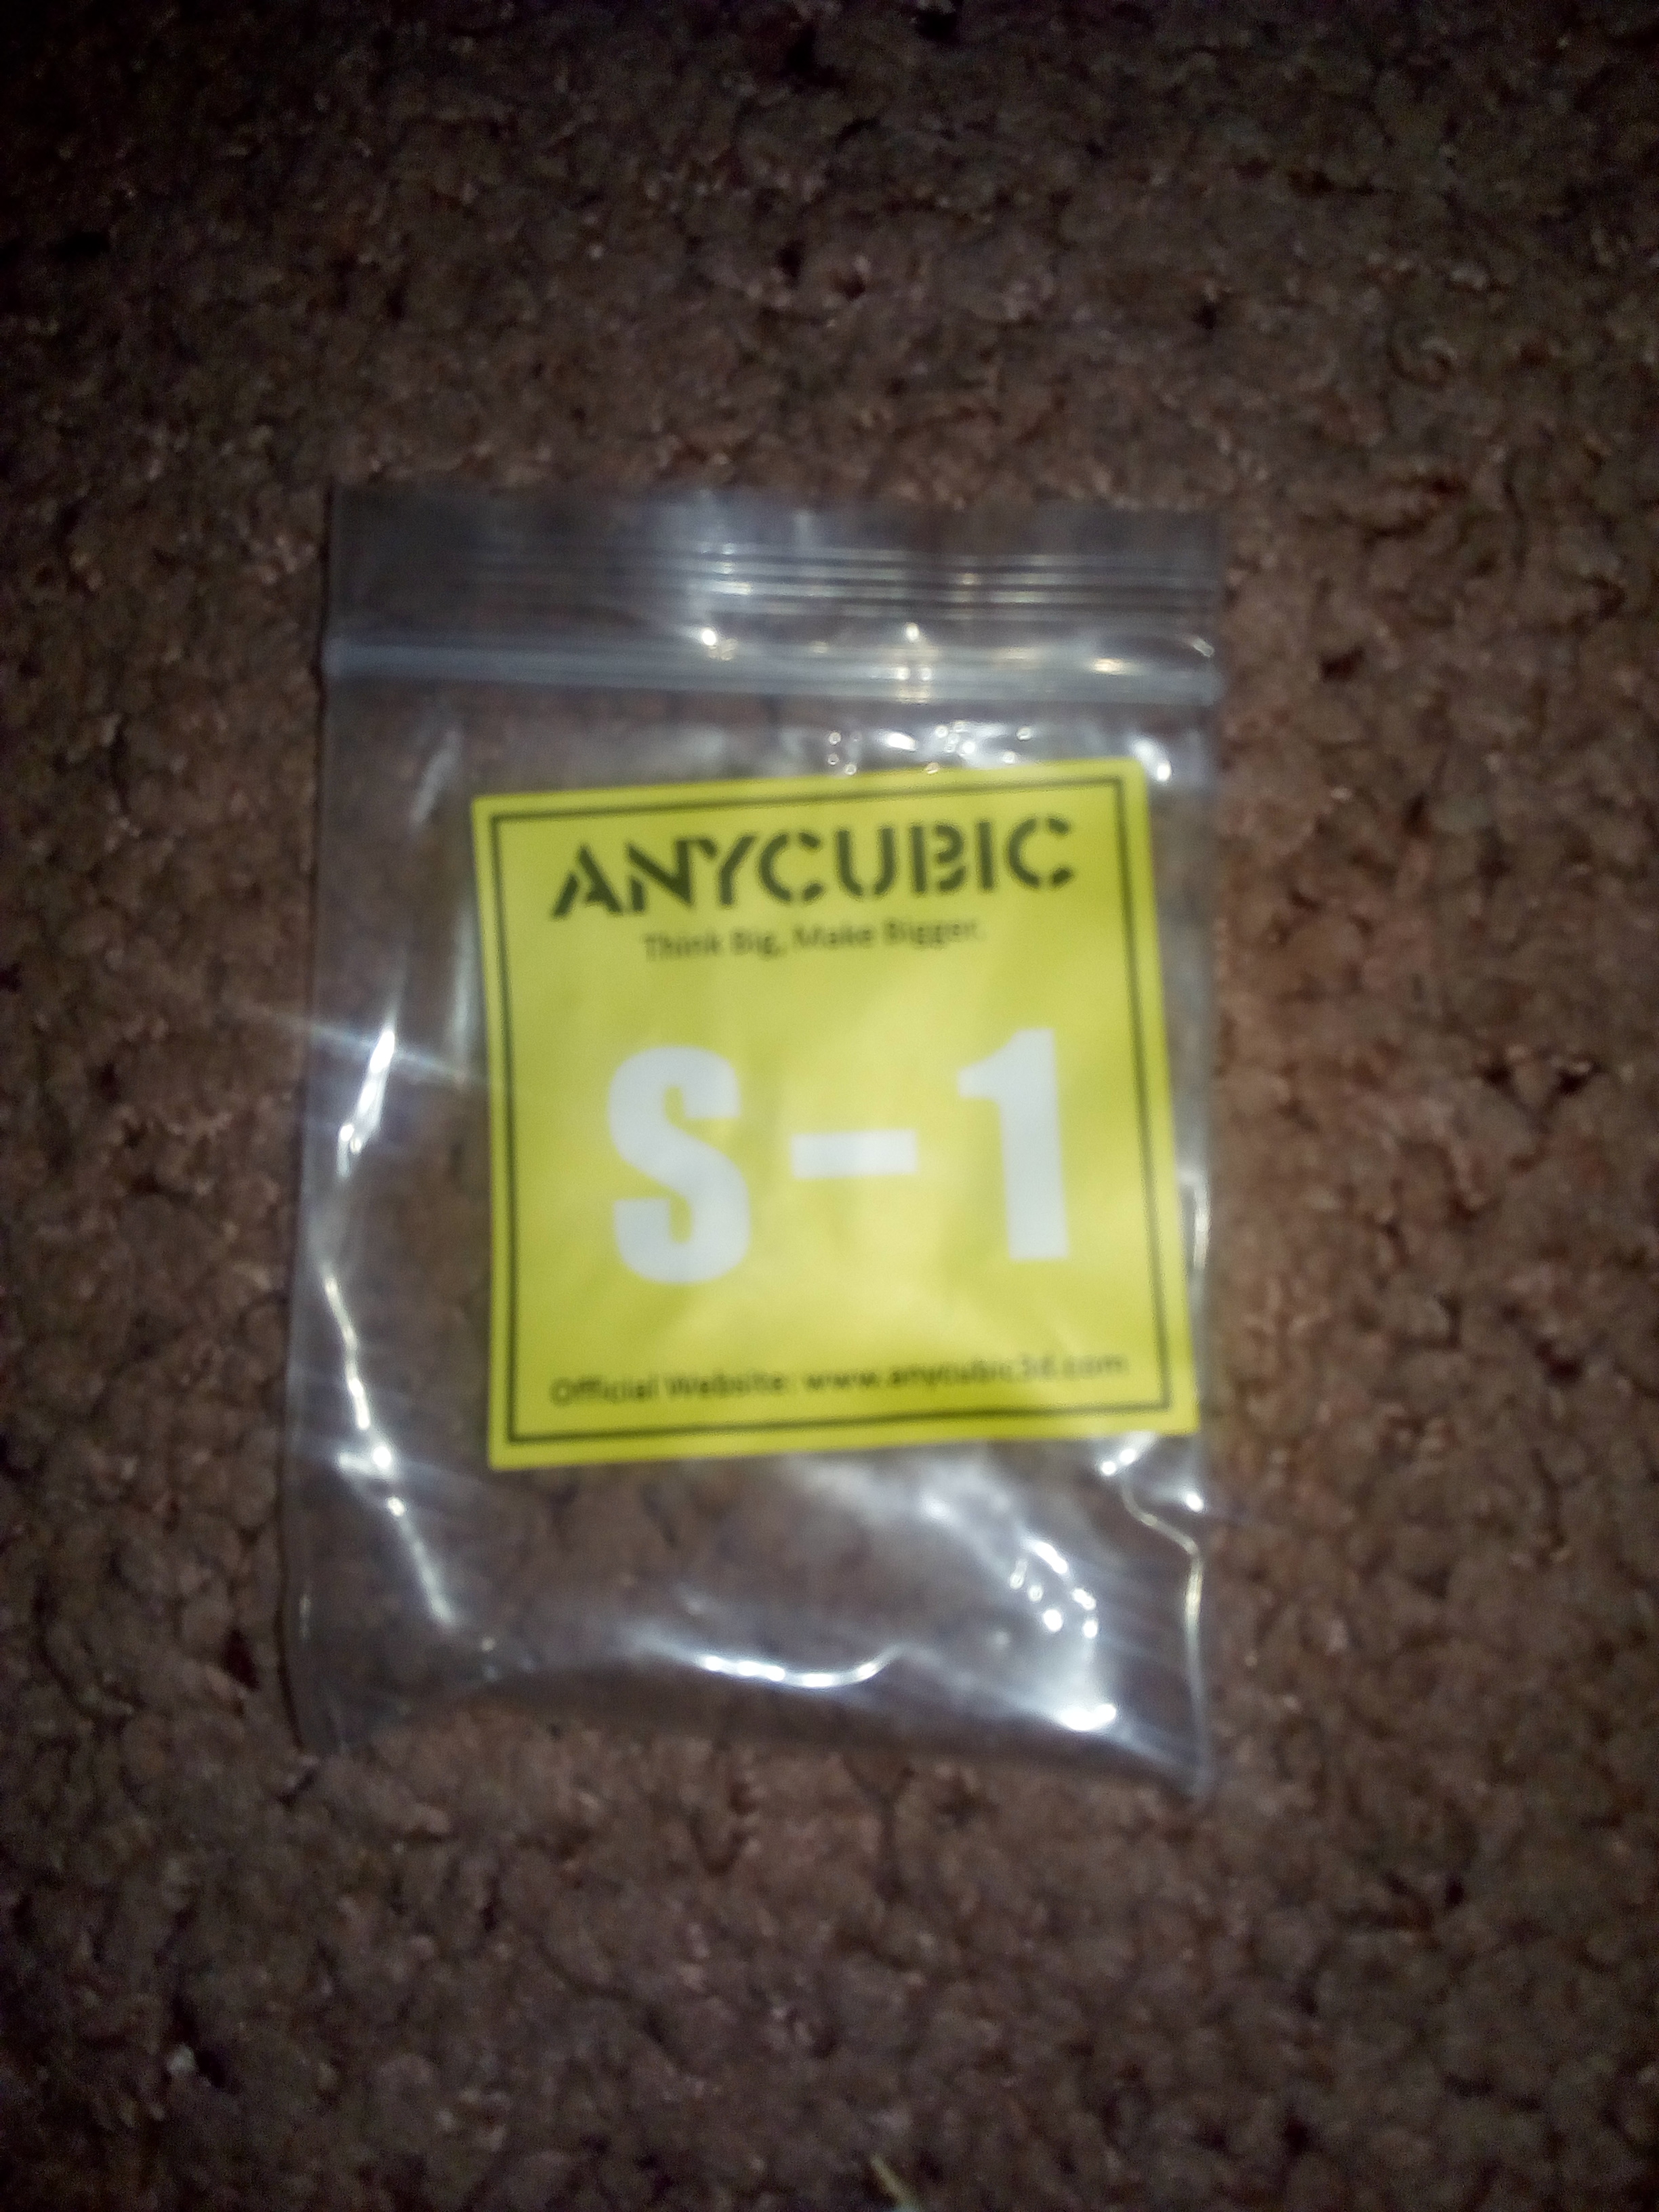
The same number numbered bags with fasteners:
In each bag exactly one set of fasteners more than necessary.
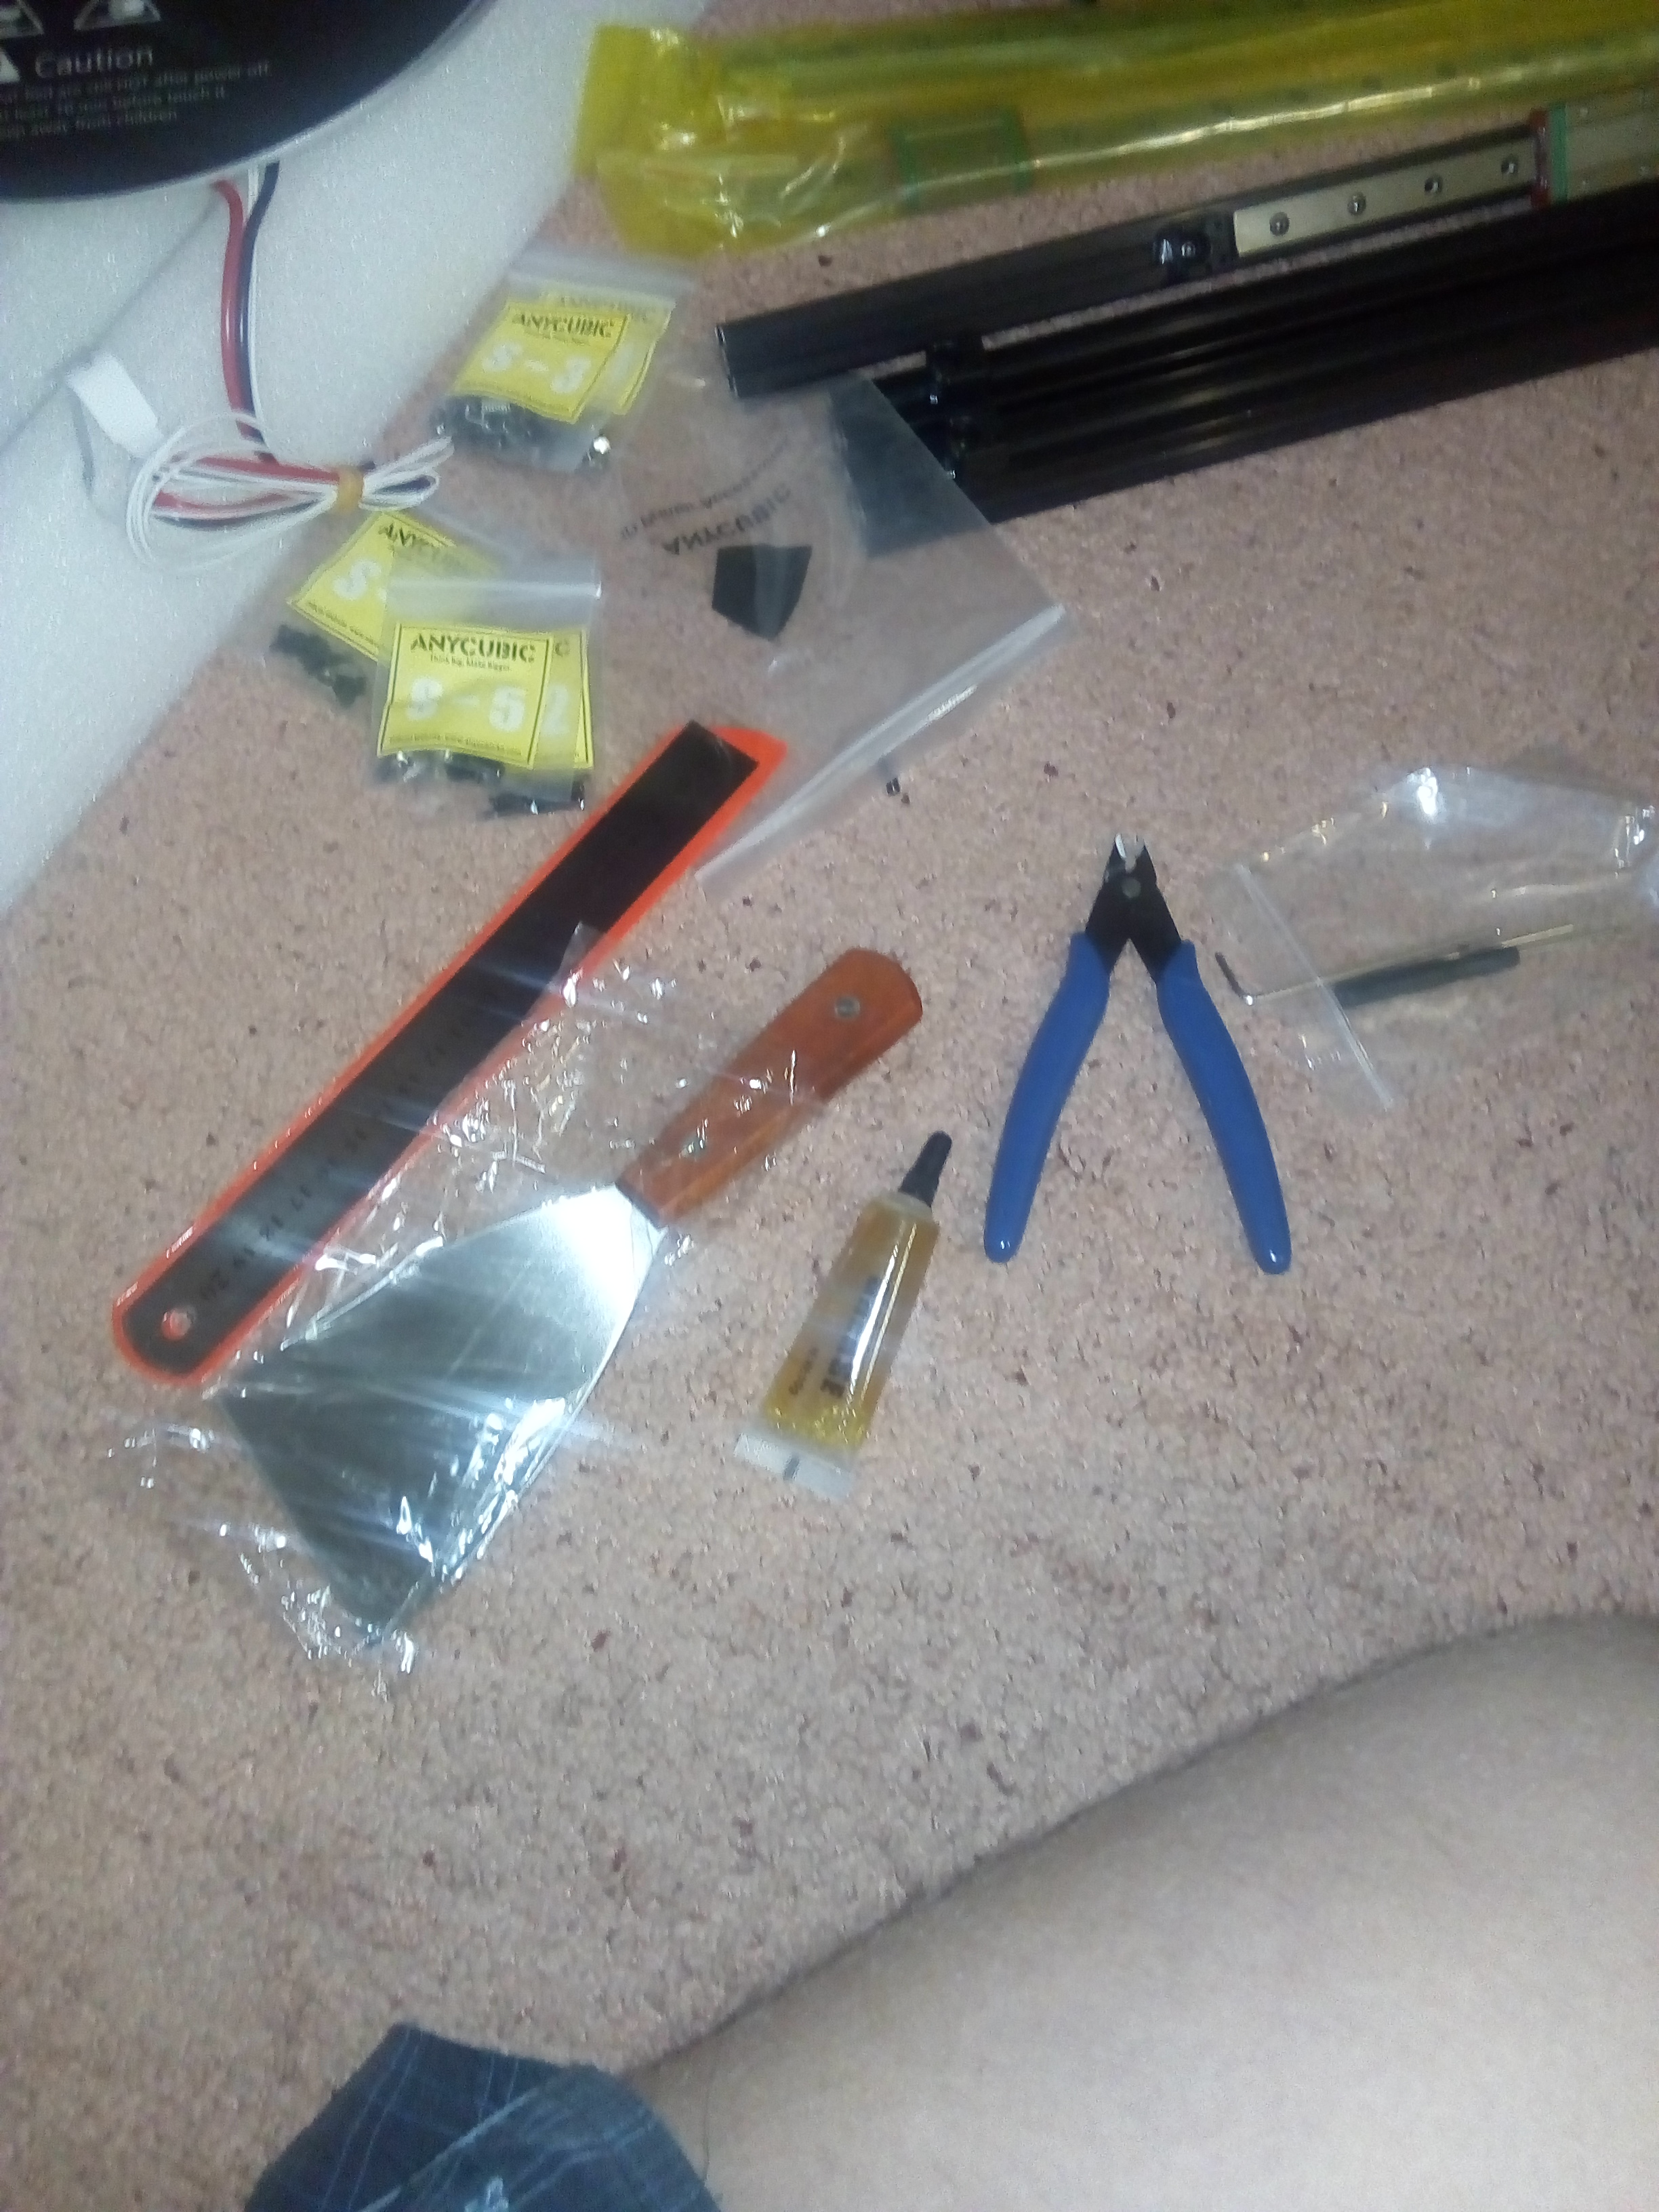
And a bonus line, side cutters, spatula, a tube of lubrication and rubber gloves:
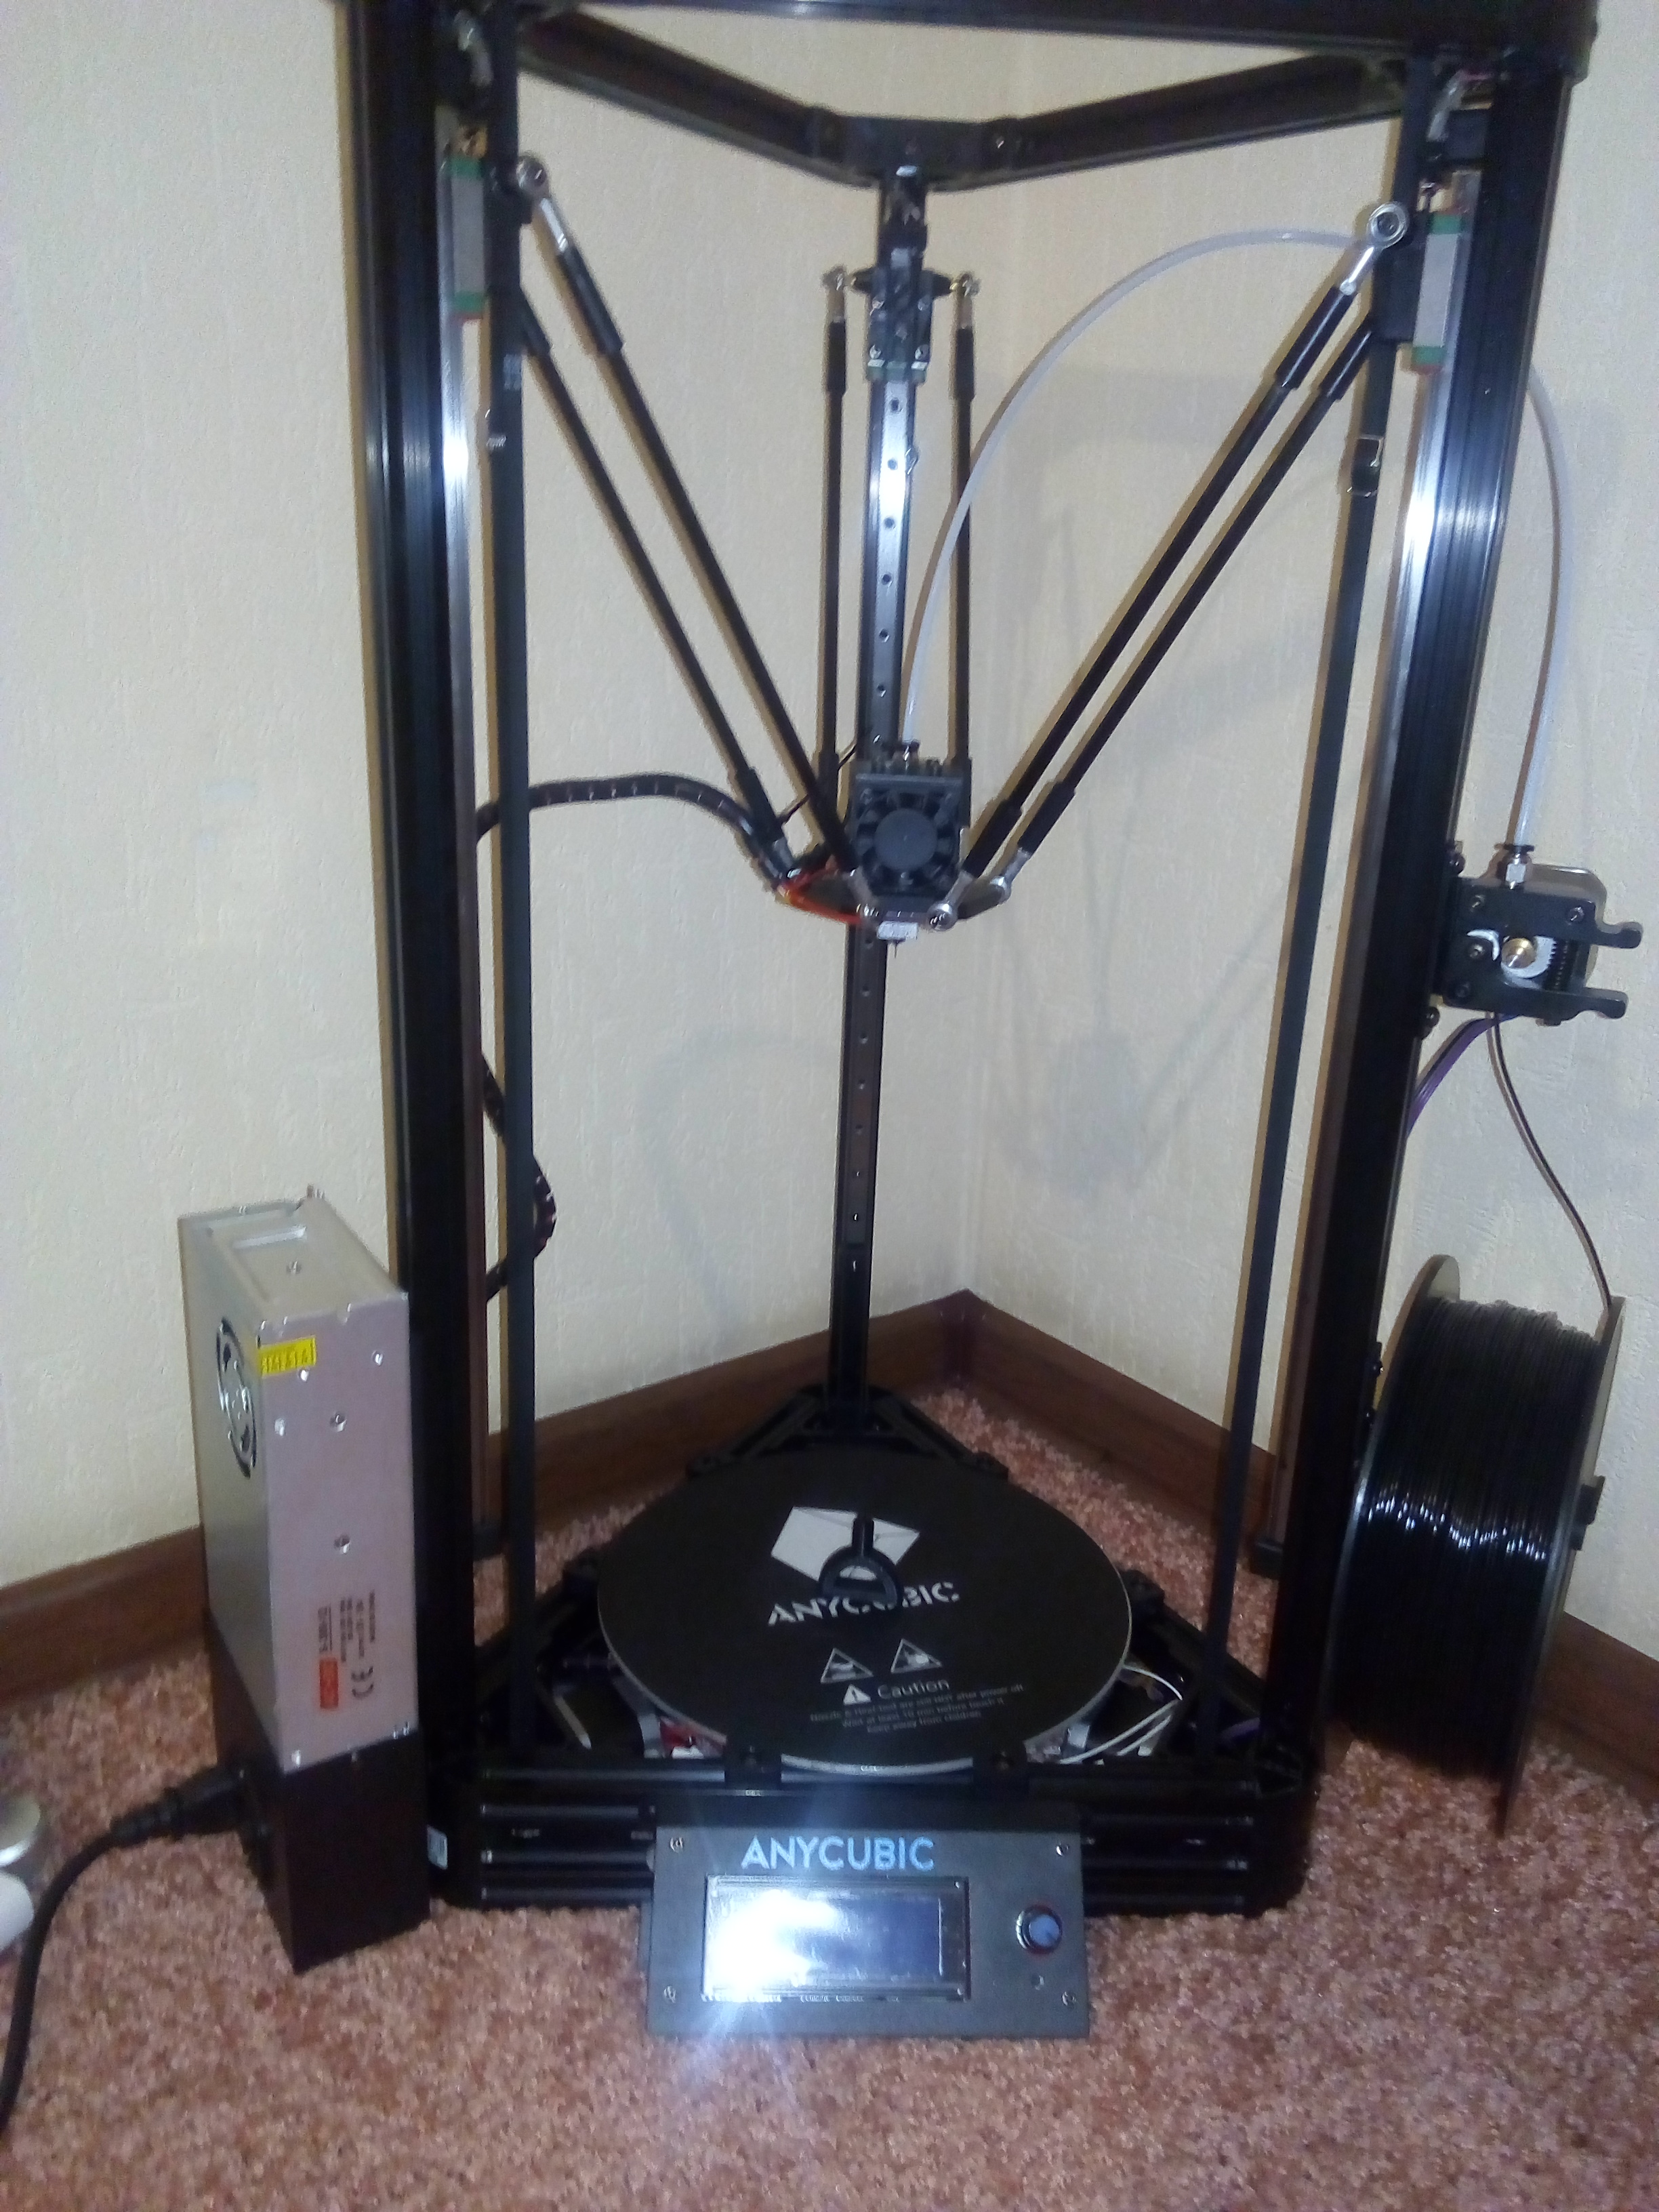
In the end, after a couple of hours of pleasure, you get a complete construction:
The belt comes in one piece, snapped leaving a couple of centimeters for refueling in the carriage - I was afraid that it would not be enough, in the end about 10 centimeters were left over. It is assembled with all the hex keys, but with those that are not exactly assembled in the kit - the metal is wet, as a result, it was collected with its old screwdriver with bits. An electrician is assembled according to the picture in the instructions, and on all the wires there are stickers with inscriptions corresponding to the inscriptions on the board. Over the calibration, the manufacturer also thought and did an auto calibration: on the hot end, a trailer is put on the magnet and a special item is launched in the menu.
When starting the calibration, the head rises up to the limit switches, then begins to descend to the table, touches the table a couple of dozen times and rests against the Z!? Restarted - again the same, rechecked all the connections - again the same. By the method ofmathematical deduction, I found out that there is an inaccuracy in the instruction: there are 6 connectors for the X +, Y +, Z +, X-, Y-, Z- connectors on the board, and there are only three connectors, and you need to connect a pair of limit switches with the - ". After re-switching, the calibration was successful.
The kit also includes a memory card with the Cura program, and test examples. All test cases are in STL format, that is, you first need to install a slicer (Cura) and save the model in gcode format, after which you can insert a flash drive into the printer and start printing. The first such model was printed very not very well preserved.
Then I had to answer the question: Why do I need a printer? I installed the home version of the Compass and for a couple of evenings I was able to draw some simple models.
Handle of the oil dipstick mitsubisi lancer:
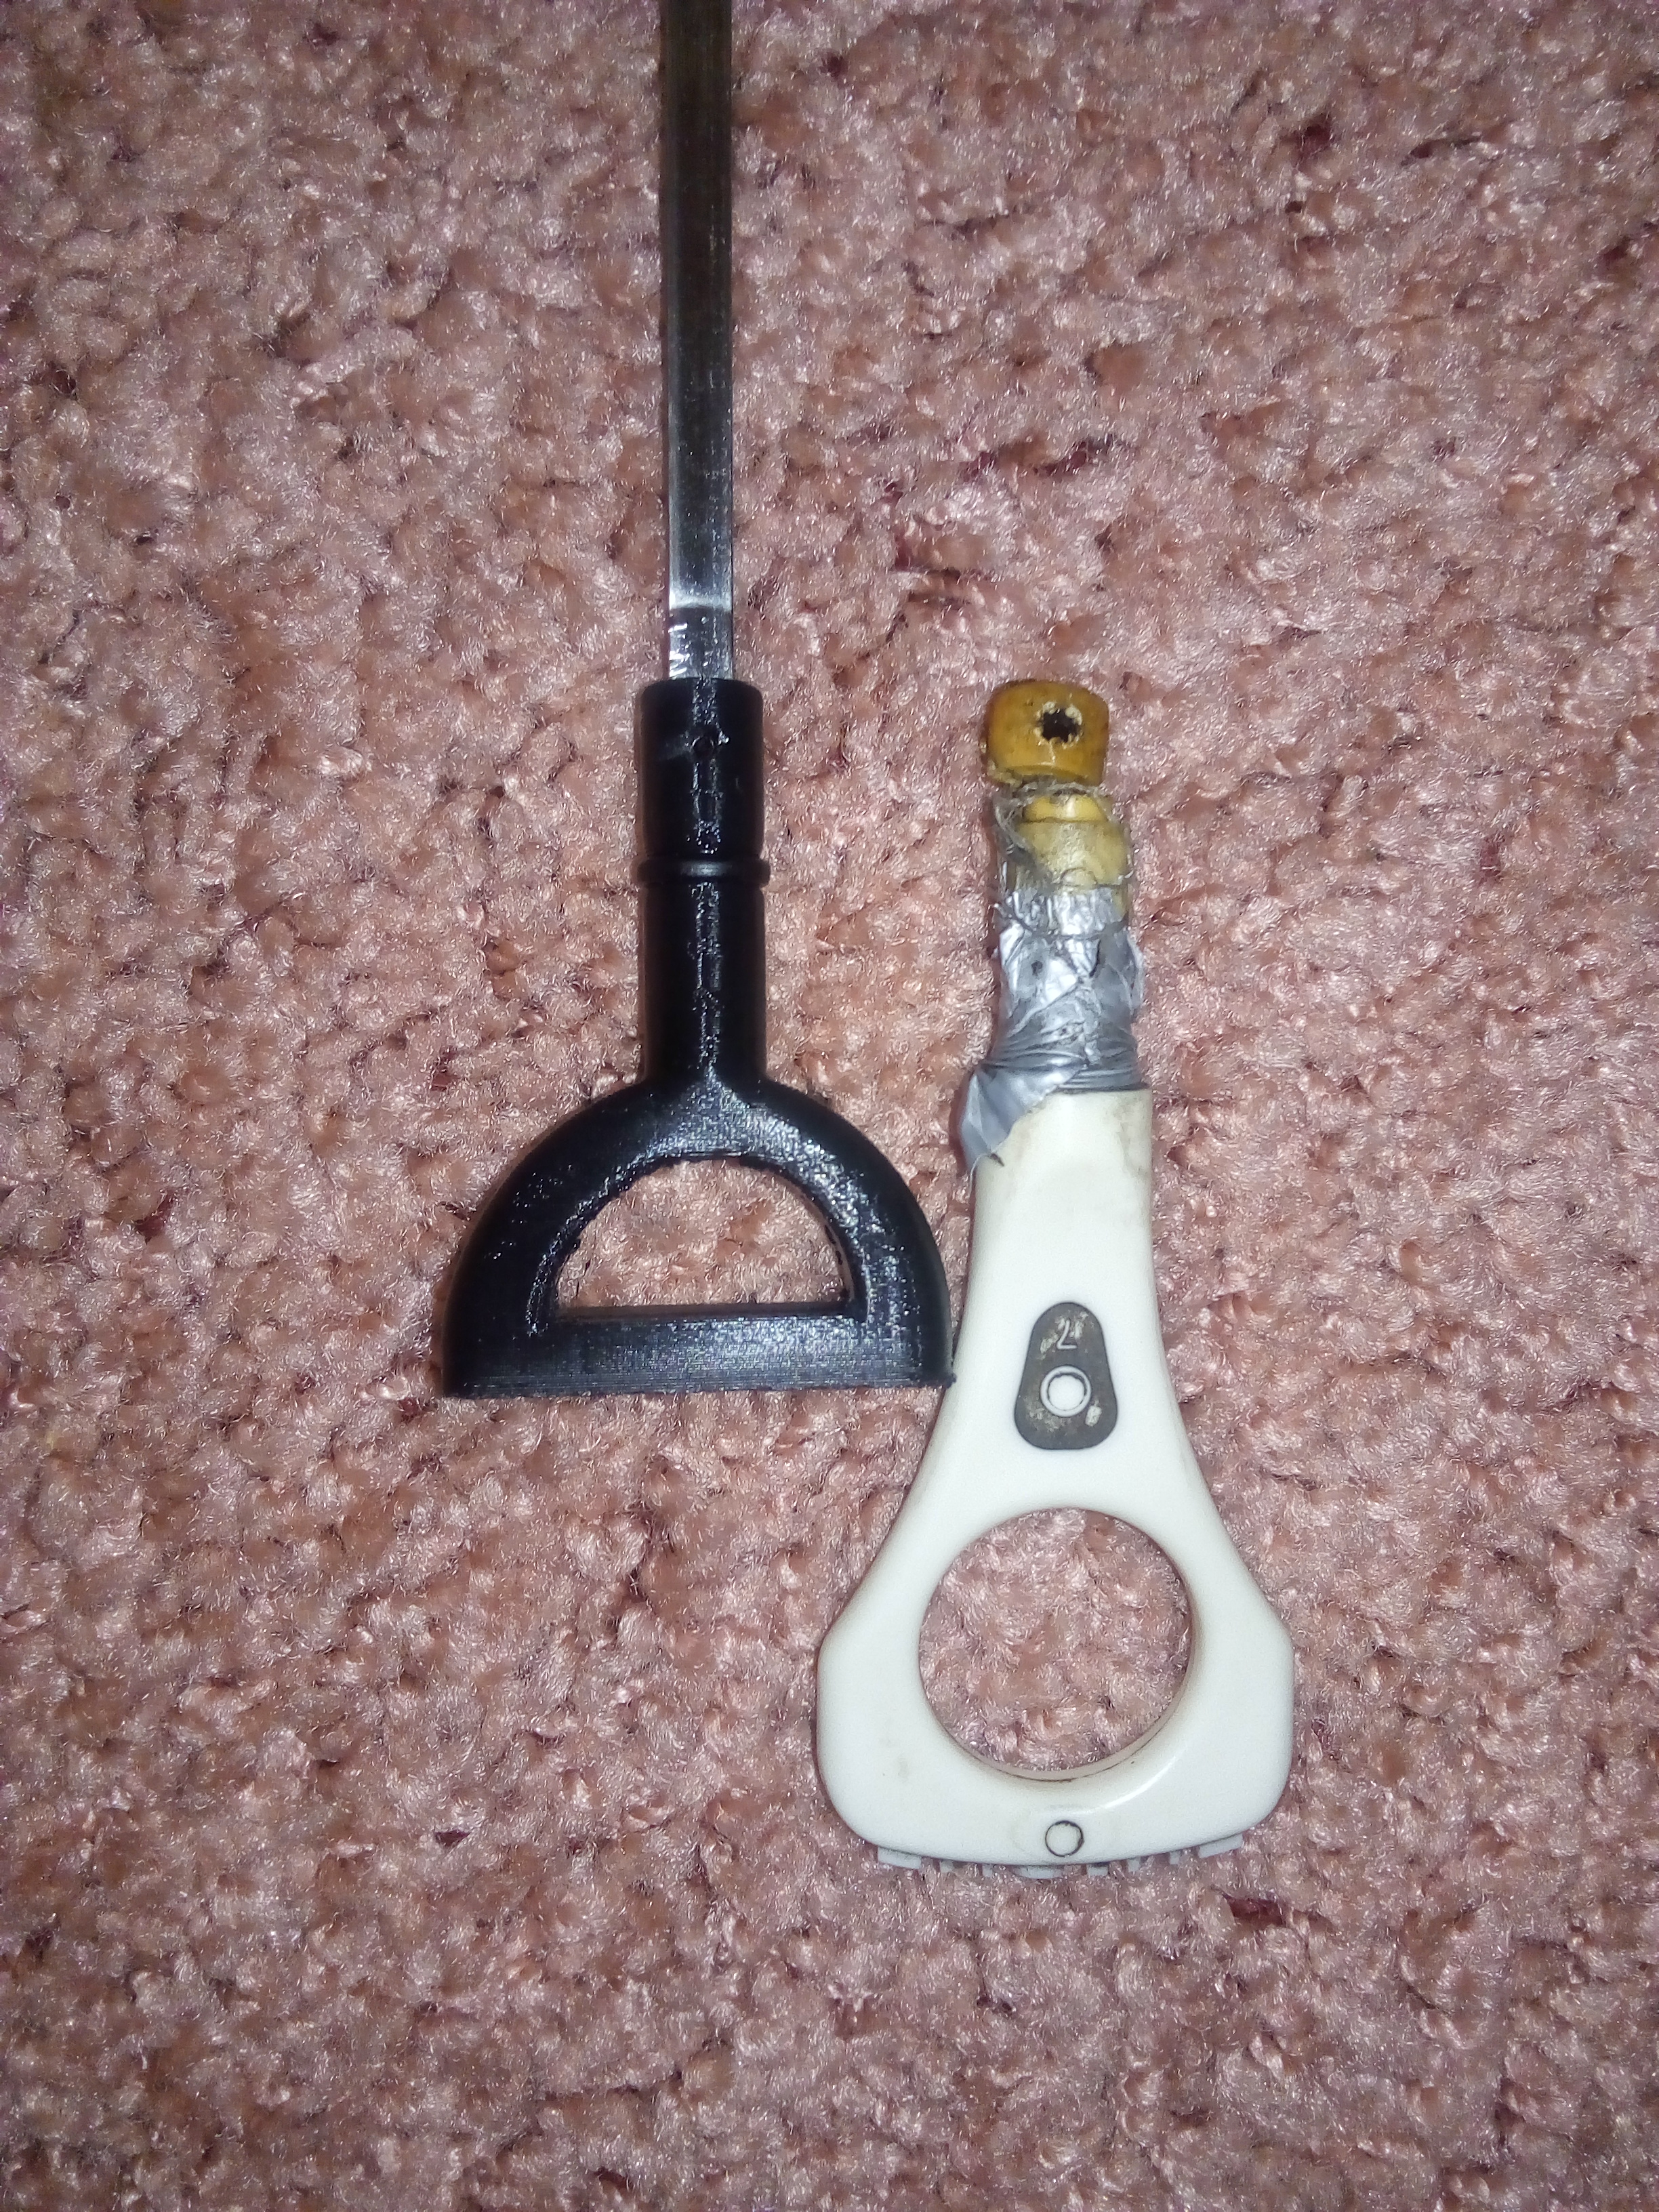
printed without support
A set of parts for one project that has been stuck long ago:
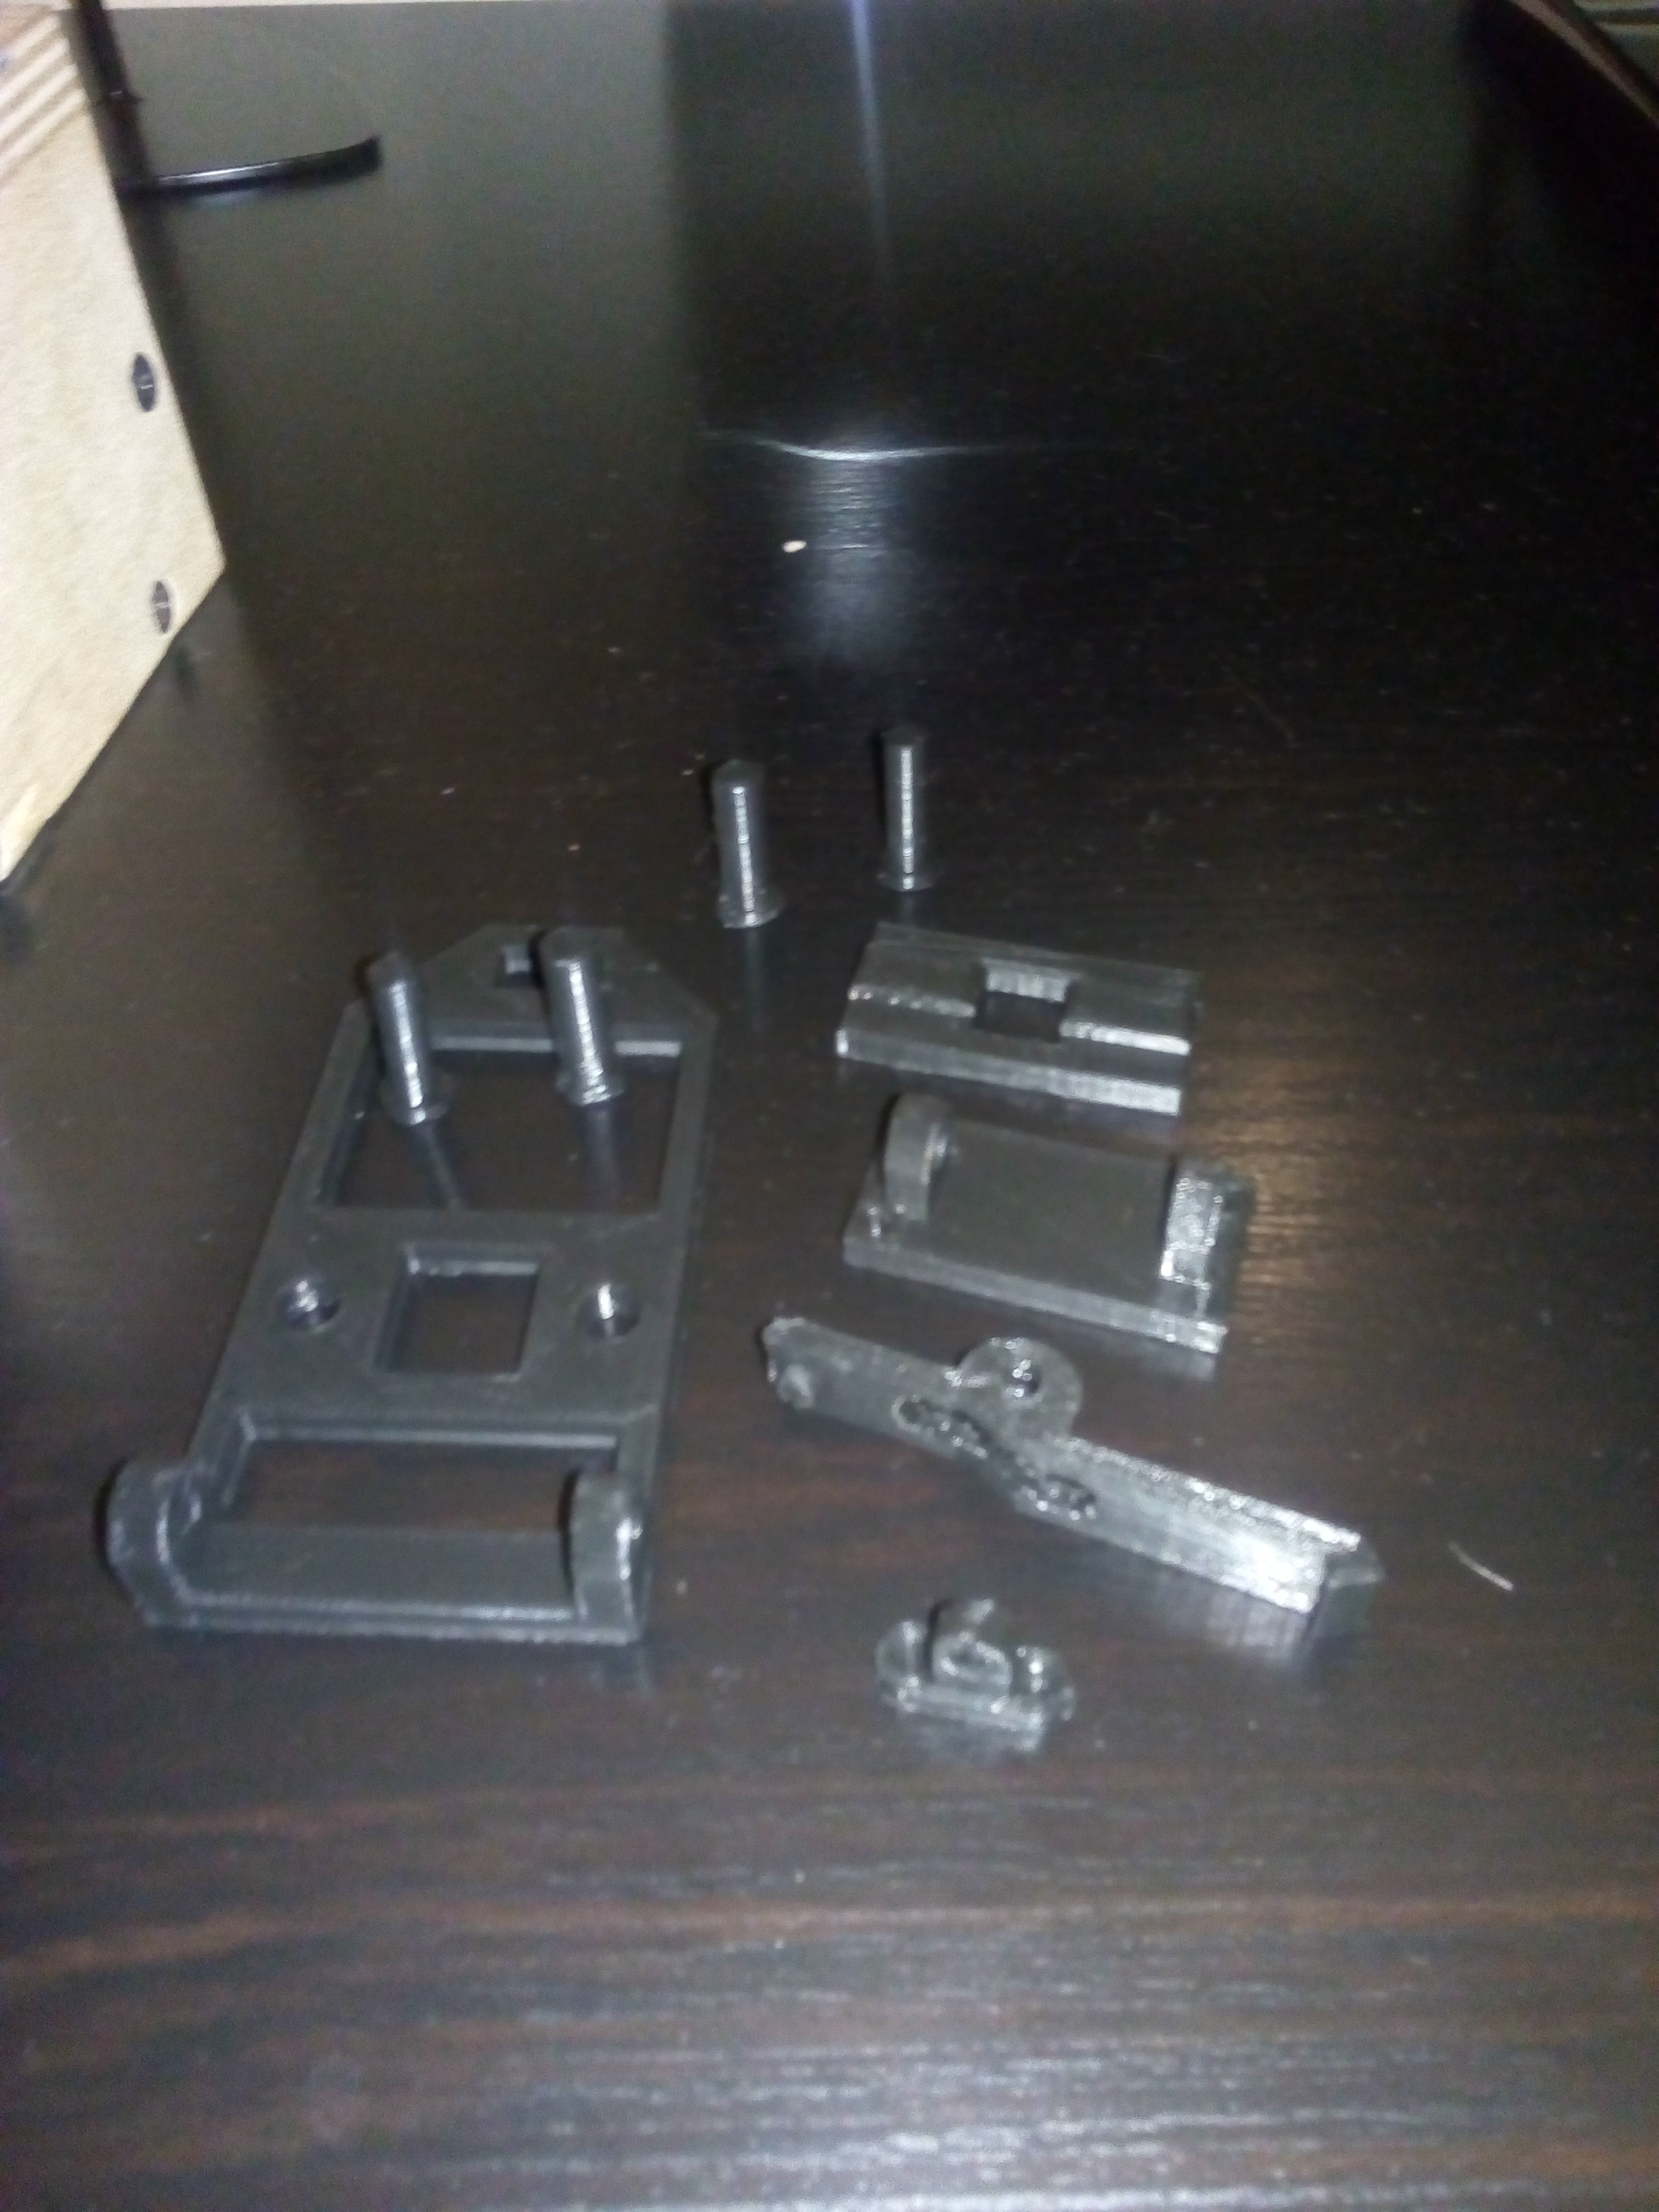
Parts assembled:
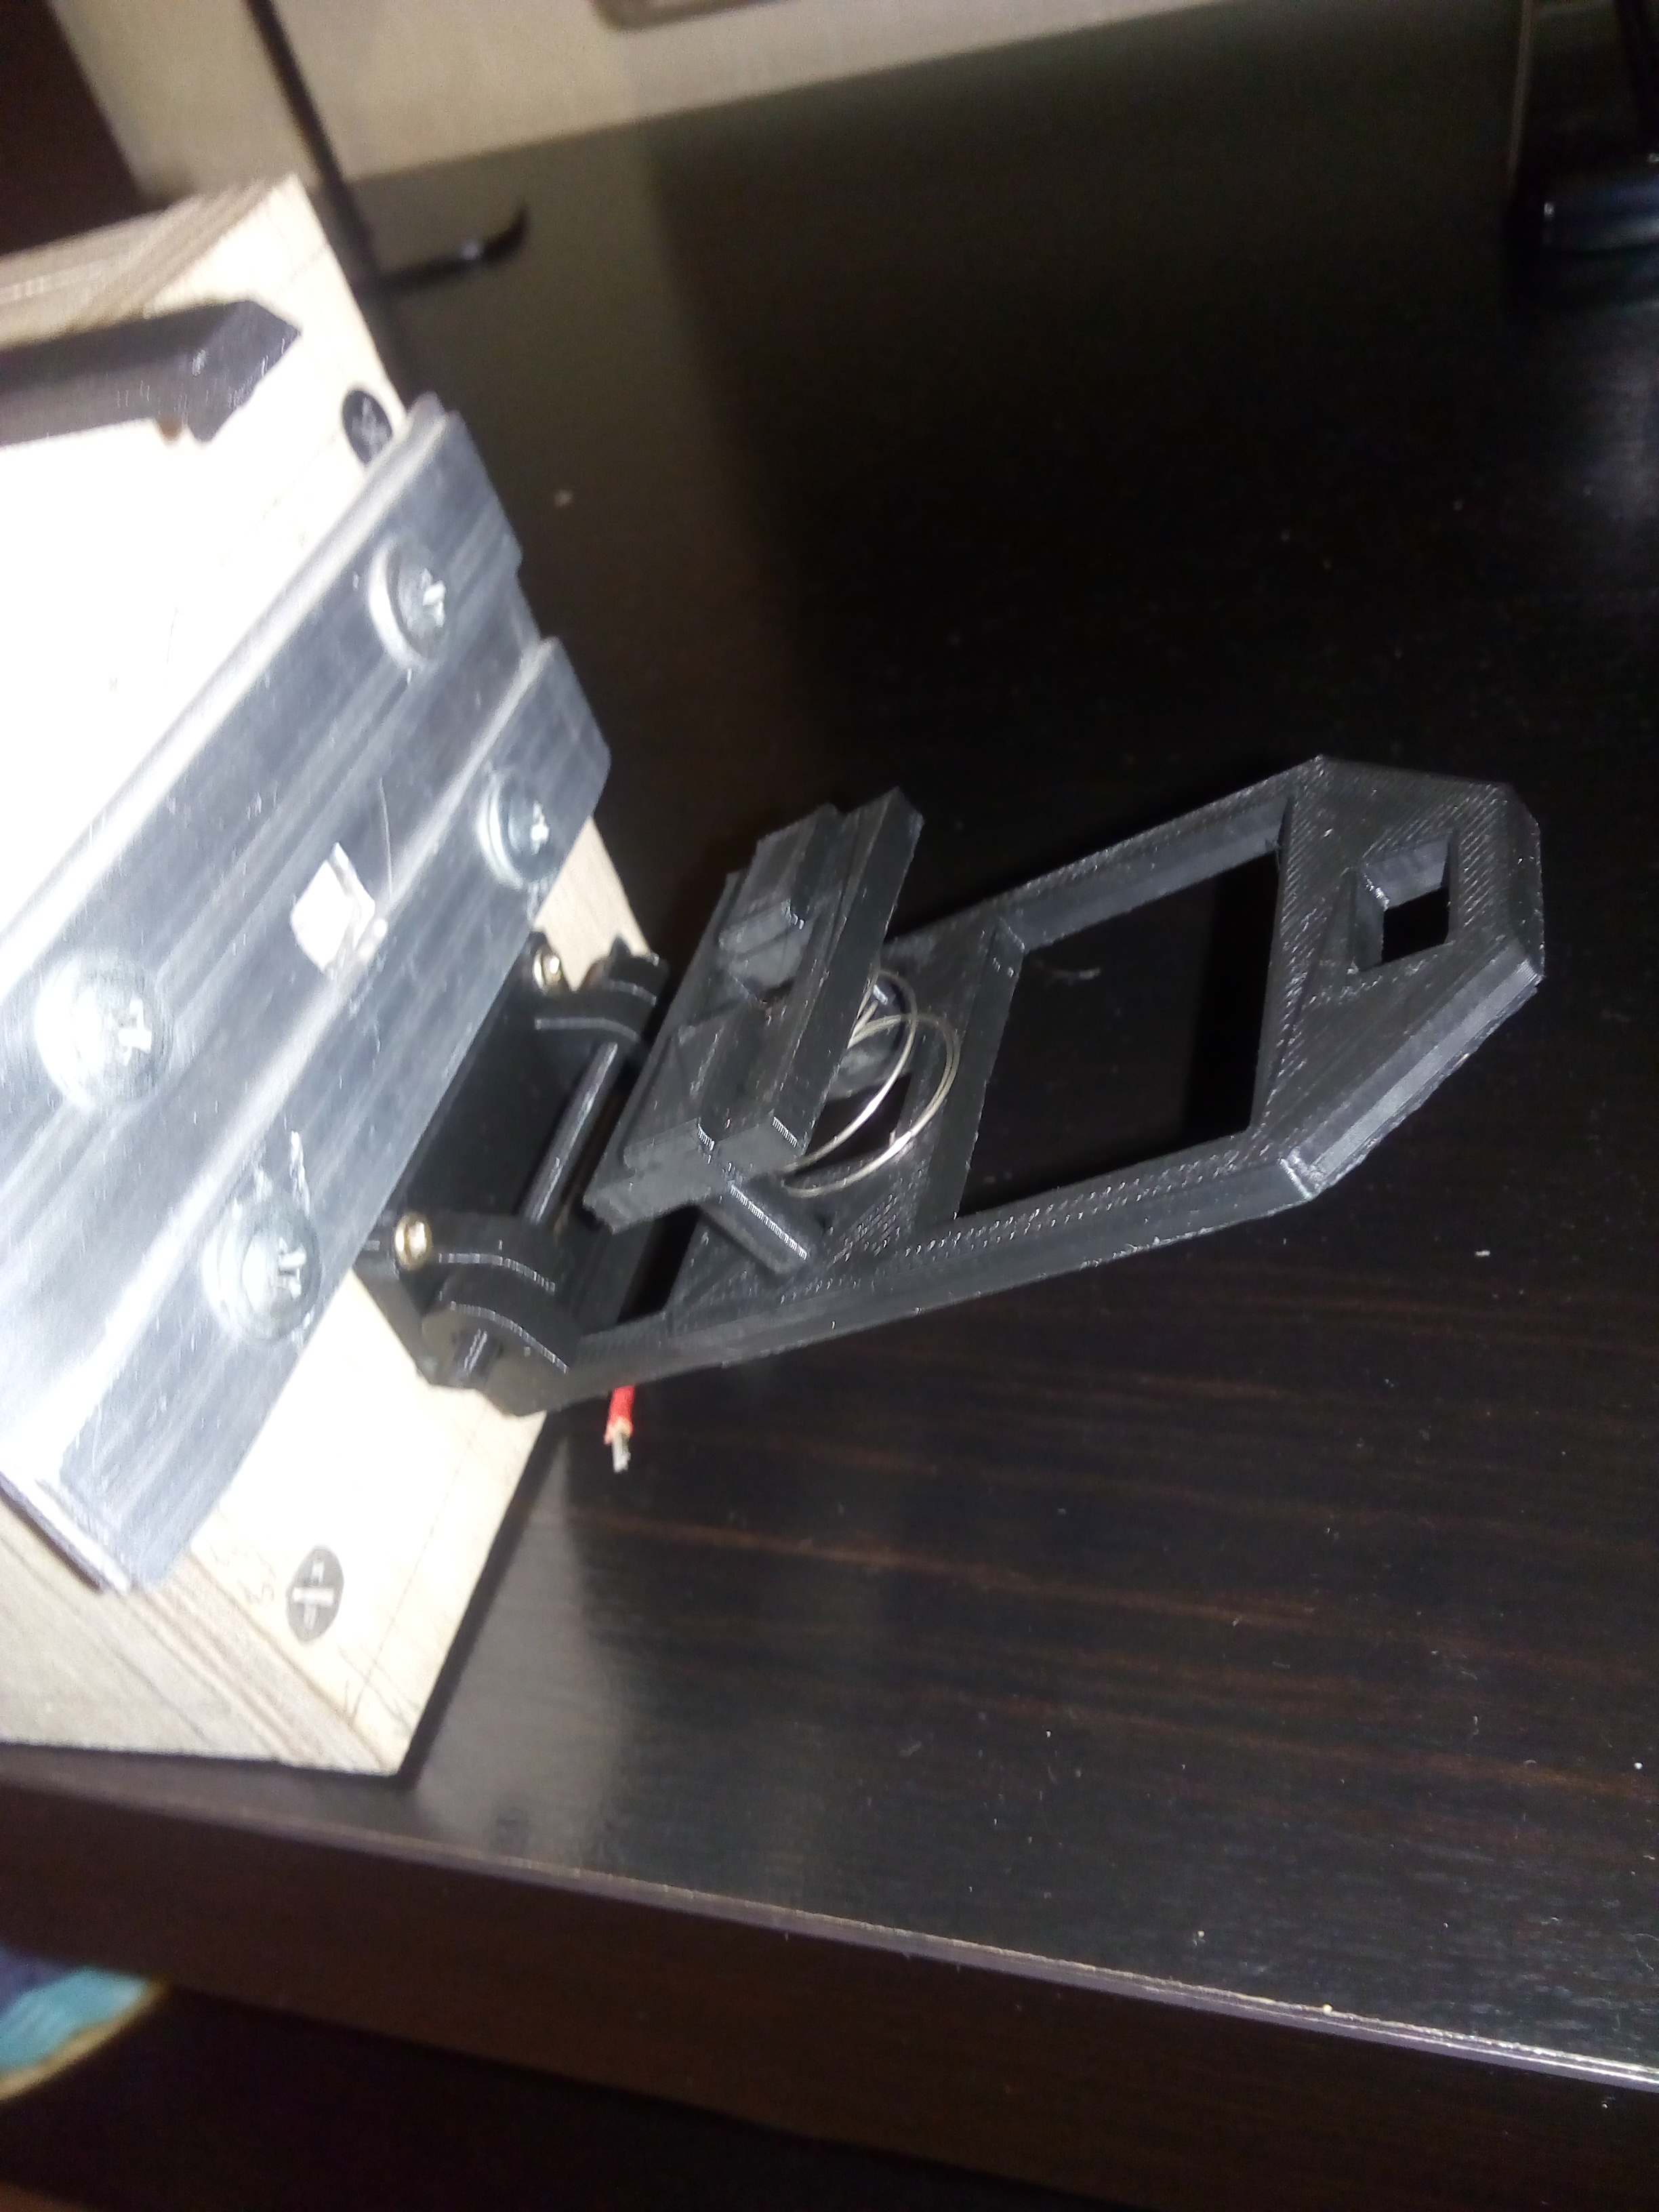


Another couple of details:
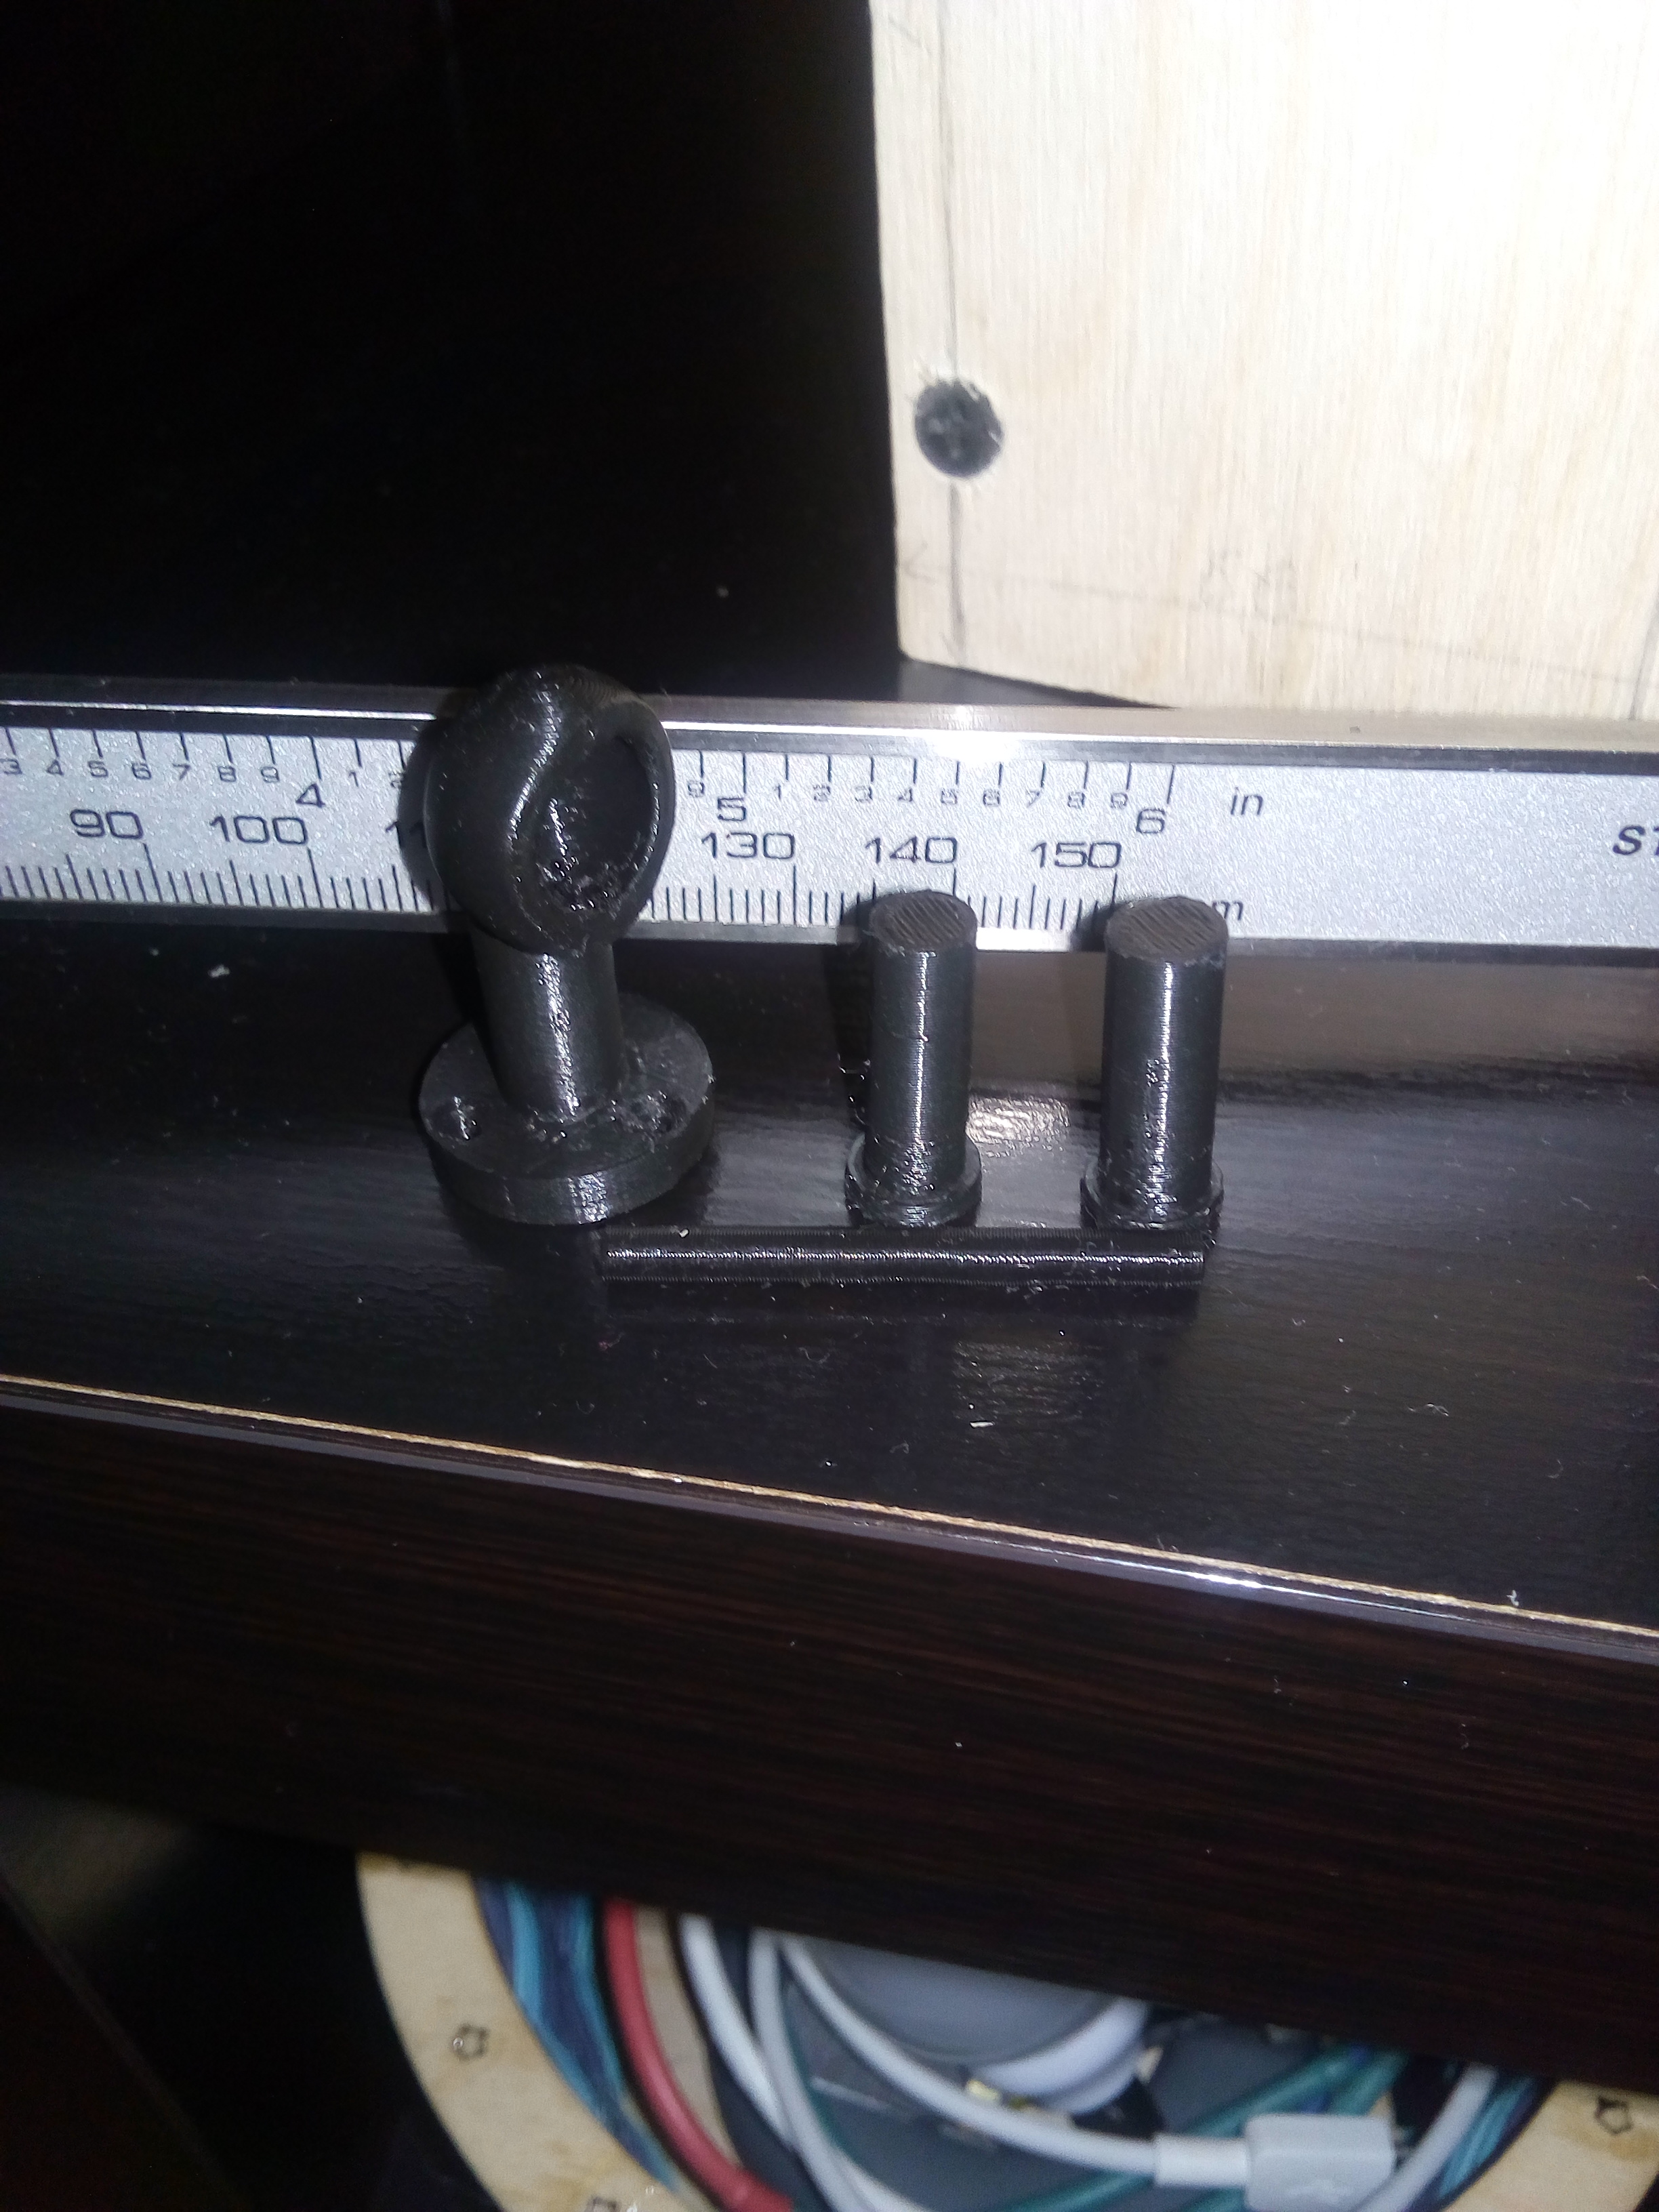
I printed all the PLA, the coil of which was bundled with the printer (1 kilogram). An axis with a diameter of 3.5 mm and a height of 110 mm was printed with a barely noticeable vertical seam, for example, I could not break the handle for the oil dipstick with my hands. Of course, everything is not as simple as I saw at first: you have to choose the temperature and print speed depending on the configuration and the size of the print, sometimes you even need to change the speed depending on the print height, reprint the details several times due to errors.
But in the end I am satisfied with the result - quite a good thing for small home hobby projects.
I bought it because it was one of the cheapest (15t.r.) but at the same time, the descriptions are quite strong. In the most common review, it is delivered as a set of parts for assembly, and according to reviews, the biggest difficulty is calibration, since this type of printer belongs to Delta-printers with unusual at first glance mechanics.
The seller had several options:
- On the rollers - this is when an aluminum profile plays the role of guides, and carriages with plastic rollers roll along them.
- There are steel rails on the rails (industrial linear guides), and steel carriages with circulating steel balls run along them.
- Options 1 and 2 with a heated table.
I ordered the option on rails with a table.
')
A package weighing eight kilos arrived by courier in a week. As it turned out, the Chinese are not standing still and are doing more and more for the person - the printer came almost assembled, it only remained to put everything together.
Upper and lower triangles with mounted motherboard:
Rails and vertical racks, rails separately in dense polyethylene with silica gel:
Table, control panel, power supply, feeder (bowden), all also in different compartments of the foam box:
Hotend (the second part of the extruder) with the rod assembly - it is also called the spider:
Instructions with pictures, all pages are numbered:
The same number numbered bags with fasteners:
In each bag exactly one set of fasteners more than necessary.
And a bonus line, side cutters, spatula, a tube of lubrication and rubber gloves:
In the end, after a couple of hours of pleasure, you get a complete construction:
The belt comes in one piece, snapped leaving a couple of centimeters for refueling in the carriage - I was afraid that it would not be enough, in the end about 10 centimeters were left over. It is assembled with all the hex keys, but with those that are not exactly assembled in the kit - the metal is wet, as a result, it was collected with its old screwdriver with bits. An electrician is assembled according to the picture in the instructions, and on all the wires there are stickers with inscriptions corresponding to the inscriptions on the board. Over the calibration, the manufacturer also thought and did an auto calibration: on the hot end, a trailer is put on the magnet and a special item is launched in the menu.
When starting the calibration, the head rises up to the limit switches, then begins to descend to the table, touches the table a couple of dozen times and rests against the Z!? Restarted - again the same, rechecked all the connections - again the same. By the method of
The kit also includes a memory card with the Cura program, and test examples. All test cases are in STL format, that is, you first need to install a slicer (Cura) and save the model in gcode format, after which you can insert a flash drive into the printer and start printing. The first such model was printed very not very well preserved.
Then I had to answer the question: Why do I need a printer? I installed the home version of the Compass and for a couple of evenings I was able to draw some simple models.
Handle of the oil dipstick mitsubisi lancer:
printed without support
A set of parts for one project that has been stuck long ago:
Parts assembled:
Another couple of details:
I printed all the PLA, the coil of which was bundled with the printer (1 kilogram). An axis with a diameter of 3.5 mm and a height of 110 mm was printed with a barely noticeable vertical seam, for example, I could not break the handle for the oil dipstick with my hands. Of course, everything is not as simple as I saw at first: you have to choose the temperature and print speed depending on the configuration and the size of the print, sometimes you even need to change the speed depending on the print height, reprint the details several times due to errors.
But in the end I am satisfied with the result - quite a good thing for small home hobby projects.
Source: https://habr.com/ru/post/420875/
All Articles