Apparatus for the issuance of cookies "Cooker 3000"
Hello! I work in a company that develops equipment for monitoring oil rigs, mining farms, diesel generator sets and other boring things. But this time we automated something else. So, meet: "Kukinator 3000" - the apparatus for issuing cookies to the best employees.
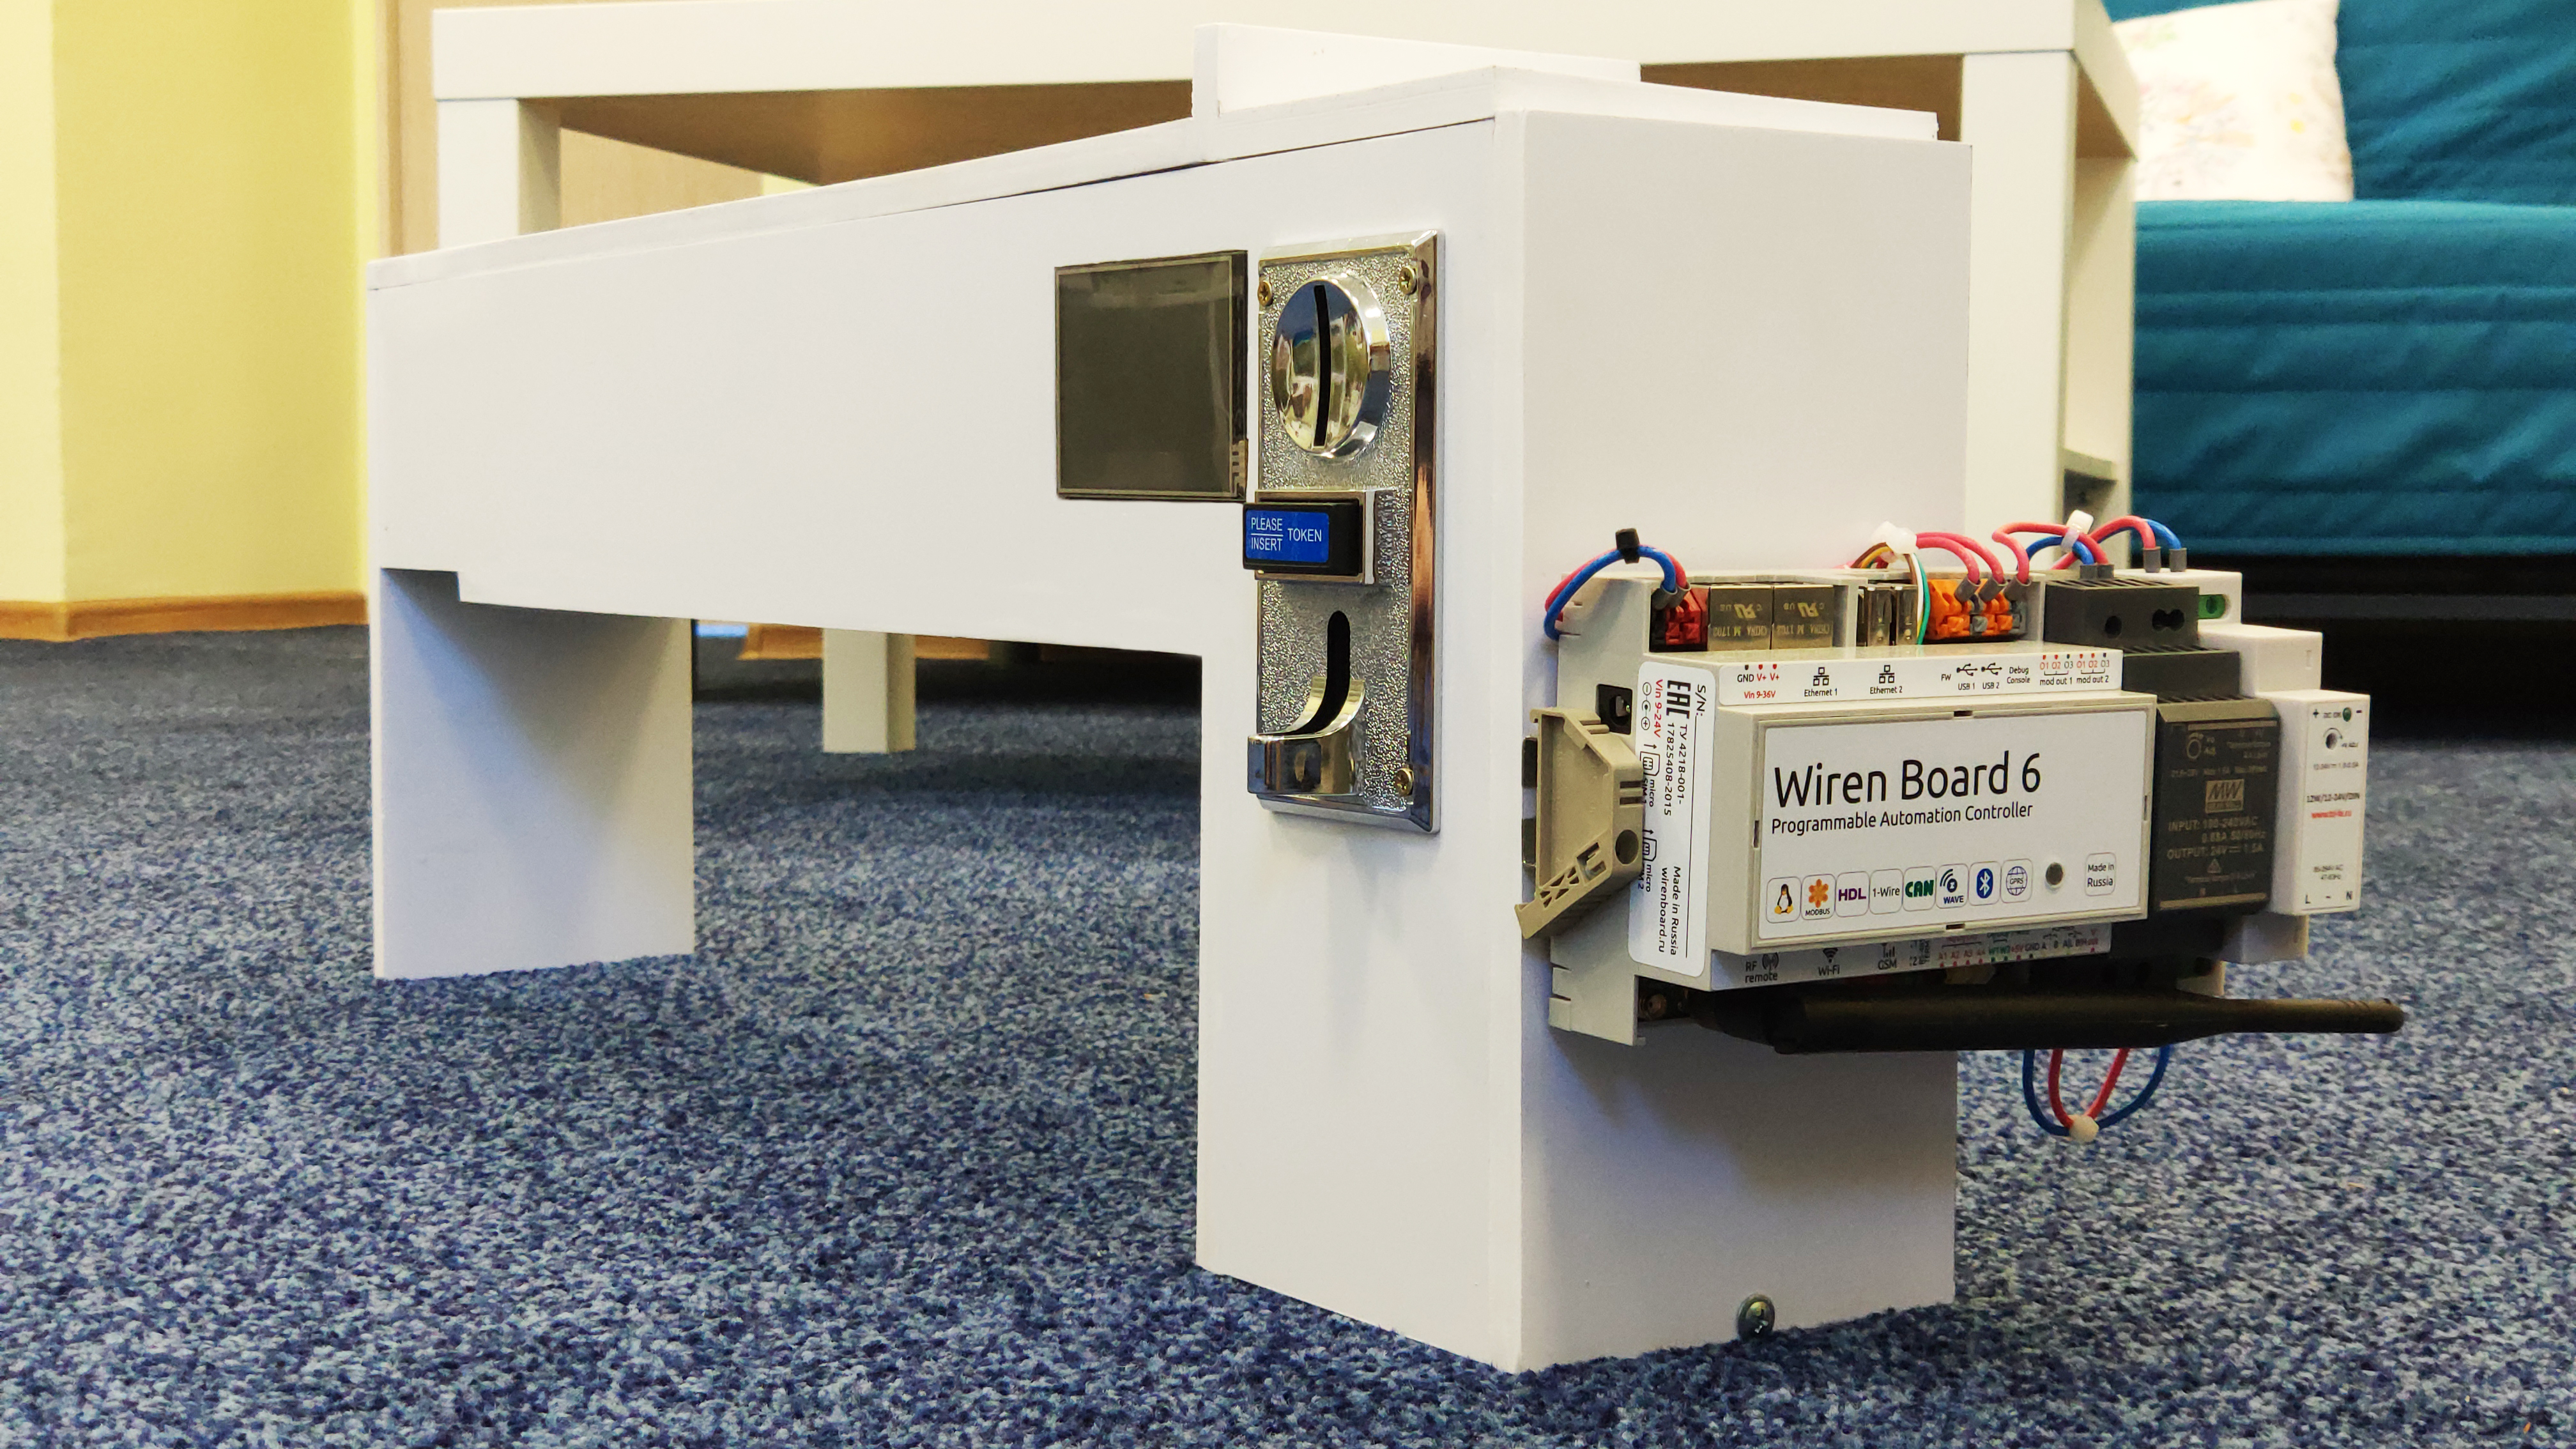
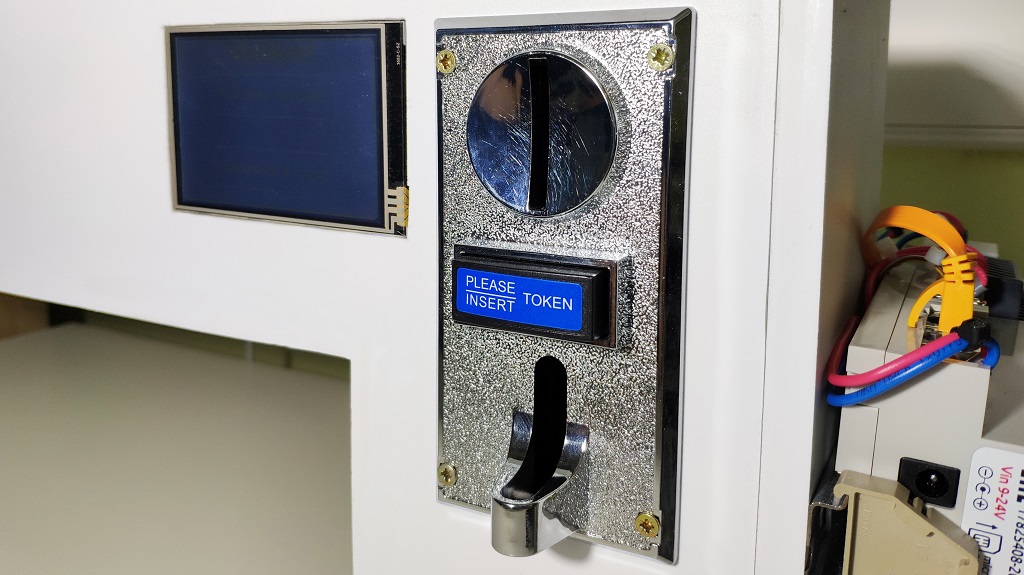
The device is a PVC construction and some parts:
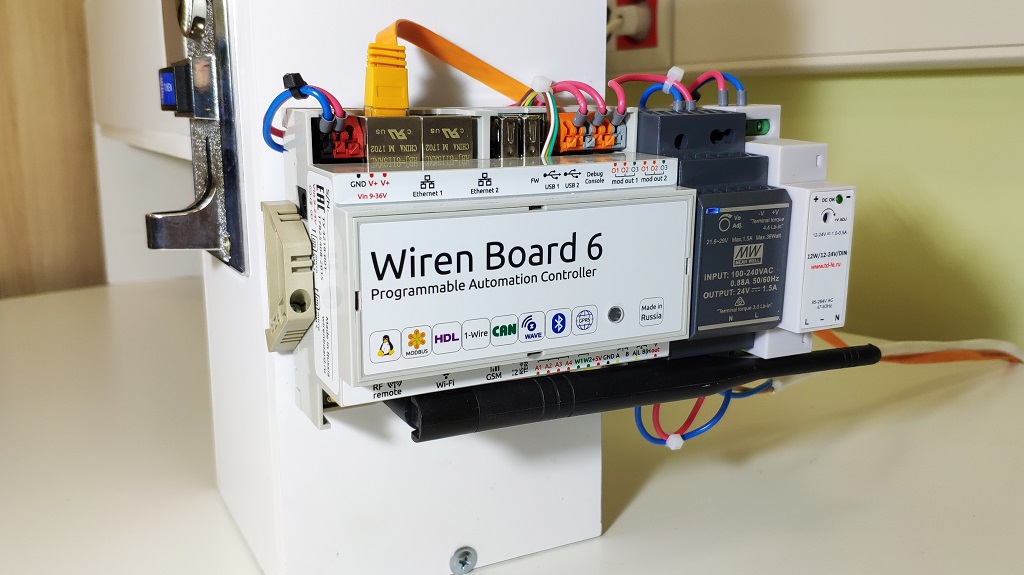
The spiral c is driven (serves to supply the goods), the screen, the coin acceptor, and the brain of the whole structure - the Wiren Board 6 controller.
')
Screen
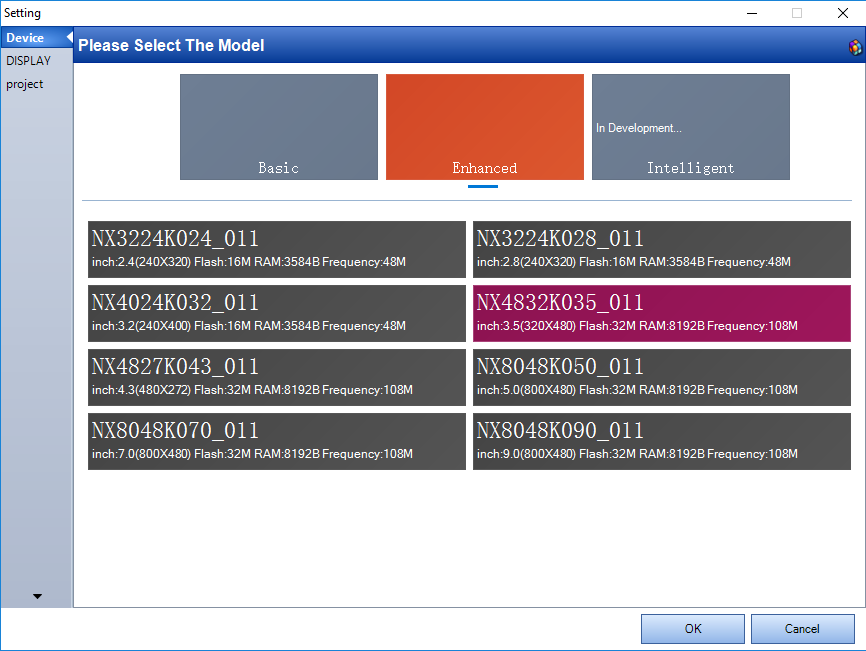
I use the Nextion screen module (NEXTION ENHANCED NX4832K035) as a screen for WB6 .
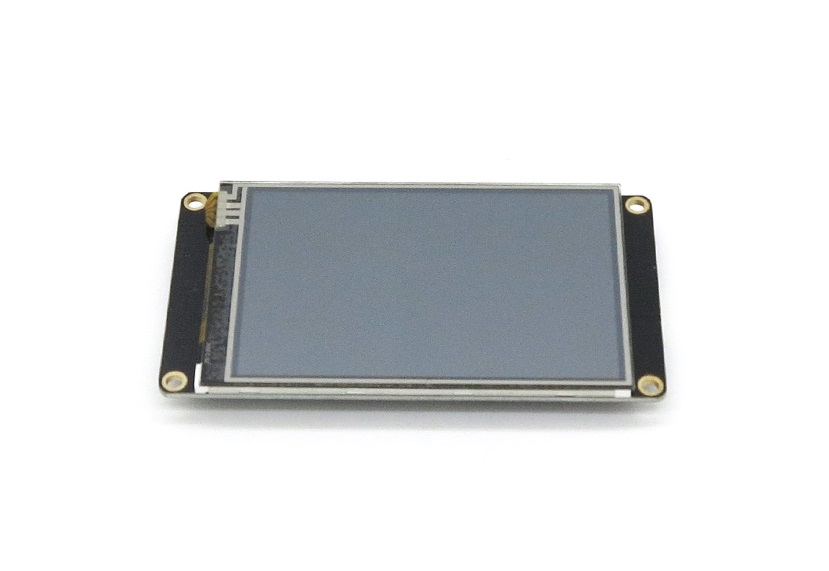
The module is equipped with an AVR processor. It has a 3.5 '' TFT display with a resolution of 480 * 320, 32Mb of internal memory, 1024 byte EEPROM, 8192 byte RAM.
This device stores and displays graphics, animates interface elements and handles clicks. Only event codes are transmitted to the controller via the UART, which makes it easy to configure interfaces of varying complexity.
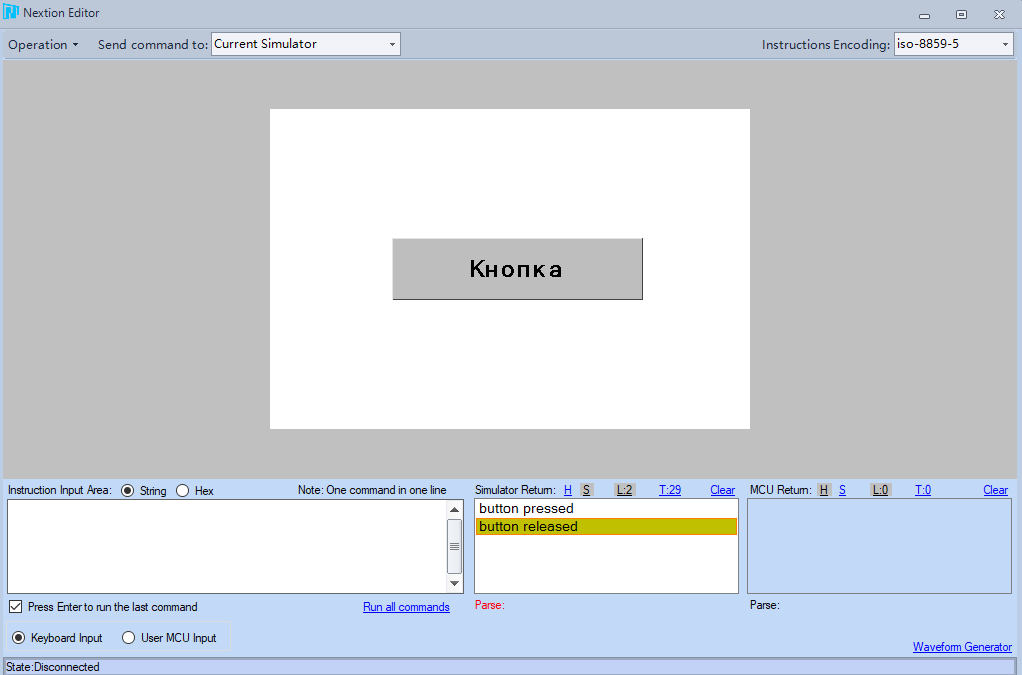
To load the necessary settings and graphics into the on-screen module, the visual interface editor “Nextion Editor” is provided. You can download it on the official website of itead.
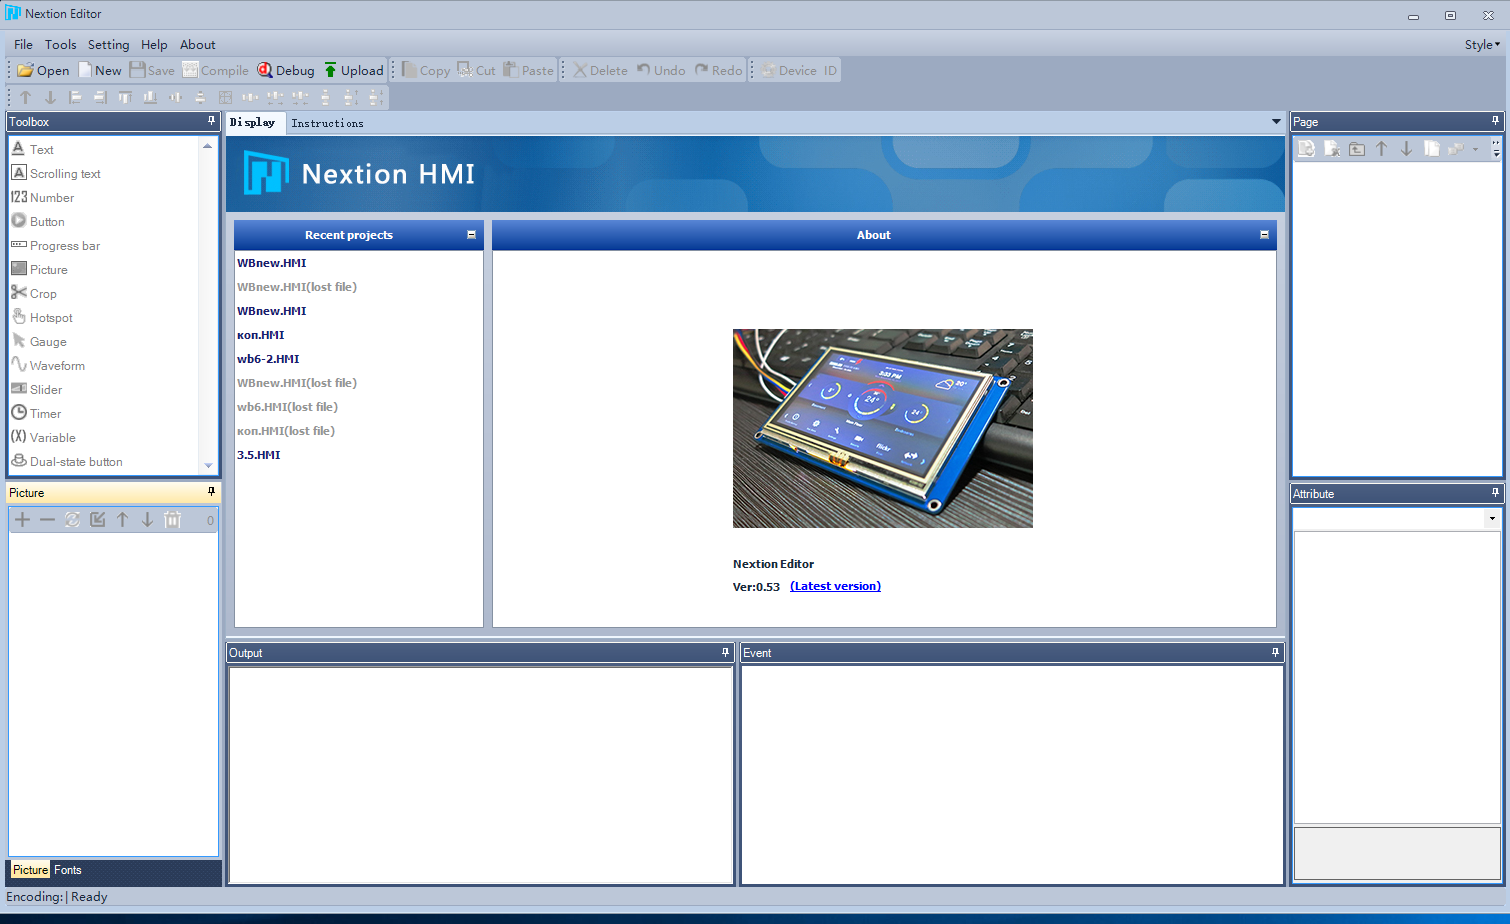
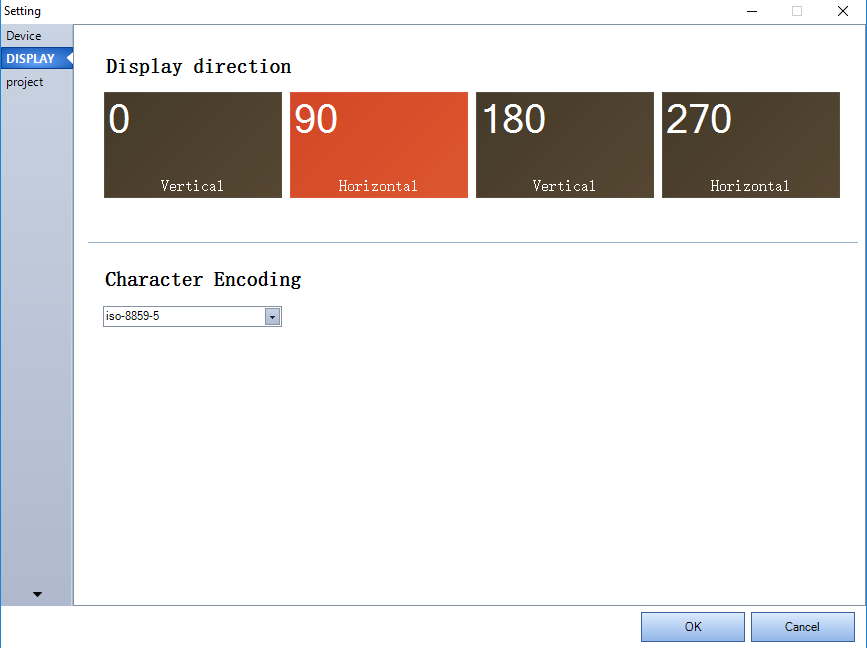
When you create a new project, you must specify the model, screen position and character encoding. To display Cyrillic correctly, you need to select iso-8859-5.
On the left is a toolbar. Here you can find the most necessary elements to create an interface.
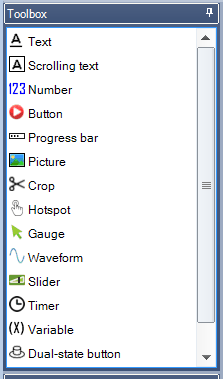
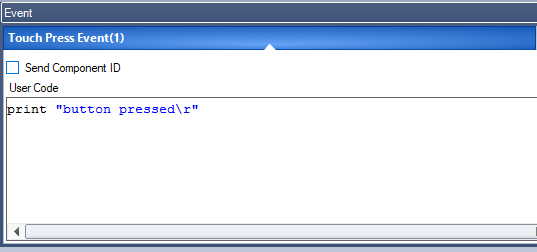
Let's click on the Button. A conditional button will appear in the edit box. Stretch it, edit the text and title. To display the text you need to add a font. Use the “Font Creator” tool in the tools tab. In the "Event" field, you must write the code that will be played by events.
For example, if in the tab “Touch press event” you register the print “button pressed \ r”, then when you press the button, the device sends to UART: button pressed and the line break symbol.
A description and examples of codes can be found in the screen documentation. For debugging, you can use the Debug function. This window allows you to test all the functions of the firmware before pouring into the screen itself.
If everything is in order, then you can connect the display to the computer via a USB / UART adapter and upload the firmware by clicking on the “Upload” button.
But how do we now make friends with the screen with WB6?
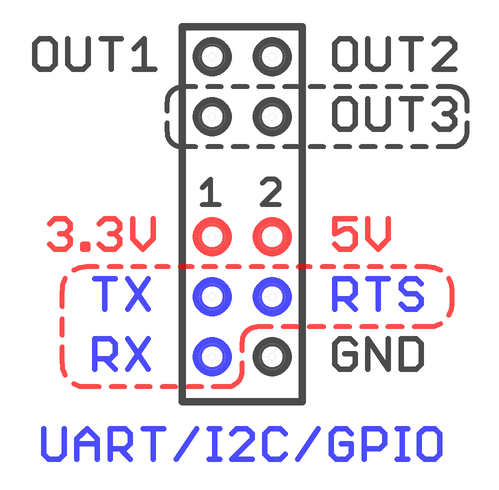
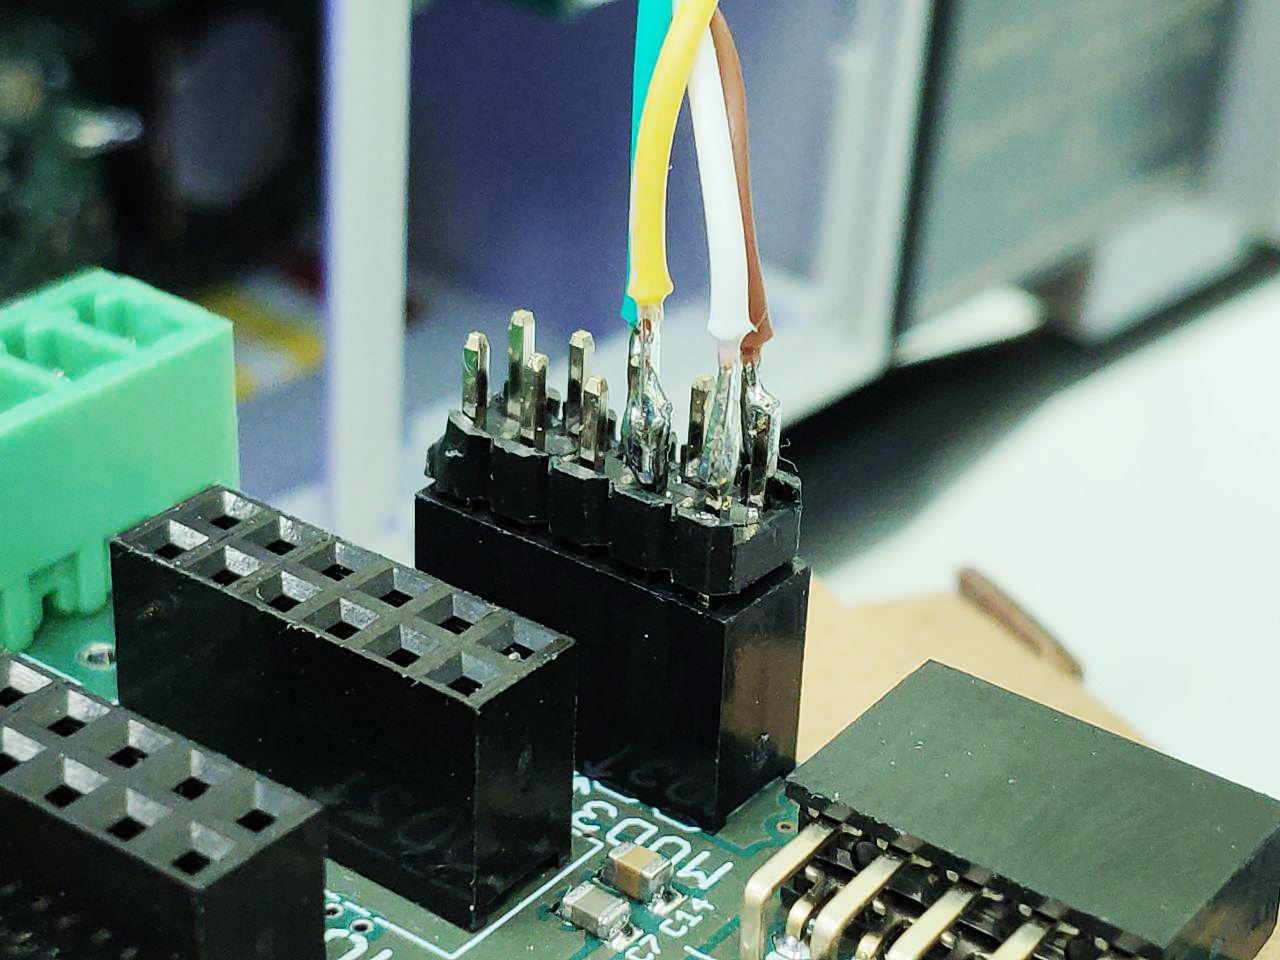
You can connect the screen either through the same USB \ UART adapter to one of the USB ports on the controller, or directly to one of the expansion slots on the controller board.
We are interested in pins TX, RX, 5V and GND.
After connecting the screen to the controller, we will receive event data directly to the Serial port.
In order to somehow react to these events, let's write a small script that will send all the event data to the MQTT topic. First, create a file in the root folder of the controller and name it serial.sh
serial.sh
#!/bin/bash # /dev/ttyMOD3 stty -F /dev/ttyMOD3 ospeed 9600 ispeed 9600 raw clocal -parenb -echo cs8 CR="$(echo -e '\r')" exec 4<> /dev/ttyMOD3 cat <&4 | while : do IFS="$CR" read -r line case "$line" in quit*) break ;; *) if [[ -n "$line" ]]; then echo $line # MQTT mosquitto_pub -t /devices/screen/controls/raw/meta/type -r -m text mosquitto_pub -t /devices/screen/controls/raw/on -r -m "$line" fi ;; esac done If you did everything correctly, then after launching the script when you click on the button - in the web interface of the controller you will see a topic with data that the screen module sends.
On Wiren Board controllers, a system of rules is provided - wb-rules . The rules are created via the web interface and are written in a simple Javascript-like language.
In the WB6 web interface, go to the Scripts tab and create a new script by clicking on the "New ..." button, name it "screen_button.js" or something else. Next, we write the rule: When you change the screen / raw topic (it is in it, we send data from the screen) some actions will take place. In this case, when you click on the screen, we will see the message “The button is pressed” in the debug window of the web interface:
screen_button.js
defineVirtualDevice("screen", { // title: "nextion screen", cells: { raw: { type: "text", value: "" }, } }); defineRule("screen_button", { whenChanged: "screen/raw", then: function(newValue, devName, cellName) { log(newValue); if (newValue == "button pressed") { // «button pressed» log(" "); // . } else if (newValue == "button released") { log(" "); } dev["screen"]["raw"] = ""; // . } }); Fine. With how to handle clicking on the screen, we figured out. Now let's talk about how we manage the screen with WB6. For example, change the text of the button. The screen accepts commands on the UART. A list and description of the commands can be found in the documentation for the screen.
To determine the end of the command, the screen waits for three special characters (\ xff \ xff \ xff). To simplify the task in the future: create a script in the bash root folder. Let's call it text.sh:
text.sh
#!/bin/bash TEXT=""; UNIT=""; while [ -n "$1" ] do case "$1" in -a) UNIT=$2;; -b) TEXT=$2;; esac shift done echo -en "$UNIT.txt=\"$TEXT\"\xff\xff\xff" > /dev/ttyMOD3 exit 0 Now, in order to change the text of the button, we just need to call the script with arguments:
bash /mnt/data/root/text.sh -a b0 -b 'Some Text'Where b0 is the name of the button on the screen, and Some Text is the desired text.
An example of using WB6 rules engine:
var txt1 = "some text"; runShellCommand("bash /mnt/data/root/text.sh -a b0 -b '" + txt1+ "'"); Similarly, you can change the currently displayed page on the screen, the text on the various elements, variables and other parameters. I will not paint here all the functionality of the screen module. For our project, the information already written above is sufficient.
Coin acceptor
As a coin acceptor, I use the Chinese version, found in the vast Aliexpress Aliexpress for 400.
With the connection, everything is simple. + 12v and a pulse output that needs to be connected to the Dry Contact expansion module WBE2-DI-DR-3 . Further, to determine the coin, we only need to count the pulses. To do this, create a new script in the rules engine:
money.js
var timeout_ms = 1 * 200; var timer_id = null; var timerTime = Date.now(); var timerLast = 0; var countMoney = 0; defineRule("money", { whenChanged: "wb-gpio/MOD1_IN2", then: function(newValue, devName, cellName) { if (newValue) { timerLast = Date.now() if ((timerLast - timerTime) >= 500) { // ? timerTime = Date.now(); countMoney = 1; } else { timerTime = Date.now(); // countMoney++; } if (timer_id) { clearTimeout(timer_id); } timer_id = setTimeout(function() { // if (countMoney == 5) { log("10 ") } else if (countMoney == 4) { log("5 ") } else if (countMoney == 3) { log("2 ") } else if (countMoney == 2) { log("1 ") } timer_id = null; }, timeout_ms); } } }); Pretty simple rule. Perhaps not the most accurate.
Bitrix24
Now probably the most interesting. Let's try to figure out how to translate the phrase “Well done. Take a cookie from the shelf. ” In our company, Bitrix24 is used as CRM. The idea is that for each completed task (Task) in the bitrix an employee receives certain electronic points. These same points can be used as currency for our device. Let's figure out how to connect to Bitrix24 and monitor employee success.
We will take bitrix24-python-sdk as a basis.
Install the SDK on the controller with the command
pip install bitrix24-python-sdkNext, create a python script in the root folder, let's call it bitrix.py:
bitrix.py
#!/usr/bin/python3 import pprint from bitrix24 import bitrix24 import sys import subprocess b24_webhook_key = 'some_key' # , . b24_webhook_user = 1 # ID - . b24_domain = 'some_domain' # . page = 1 user_id = [16, 10, 6, 55, 8, 14, 67, 20] # , ord_status = 5 # 5 - order_list = 0 total_orders = 0 bx24 = bitrix24.Bitrix24(b24_domain, webhook_key=b24_webhook_key, webhook_user=b24_webhook_user) def get_order_list_len(_user_id): result_ = bx24.call( 'task.item.list', {'ORDER': {'DEADLINE': 'desc'}}, {'FILTER': {'RESPONSIBLE_ID': _user_id,'REAL_STATUS': ord_status}}, {'PARAMS': {'NAV_PARAMS': {'nPageSize': 50, 'iNumPage': page}}} ) if result_: return (len(result_['result'])) for user in user_id: while True: order_list = get_order_list_len(user) total_orders = total_orders + order_list page = page + 1 if(order_list < 50): subprocess.call("mosquitto_pub -t /devices/%s/controls/orders_finished/on -r -m %s" % (user, total_orders), shell=True) # MQTT. page = 1 total_orders = 0 break This script requests all completed tasks of a given list of users, counts them and sends the number to mqtt topics. Then we just have to compare the received quantity with the previous values and if the new data is more, then add points to the employee for the work done.
Bluetooth
I use Bluez to scan BLE devices. The program is already installed on the controller. In order to scan the ble device it is enough to enter several commands into the console:
hciconfig hci0 up hcitool lescan --duplicates However, this is not enough for us. It is advisable to see the level of the signal. To do this, install the additional utility hcidump:
apt-get install bluez-hcidump And complement our team:
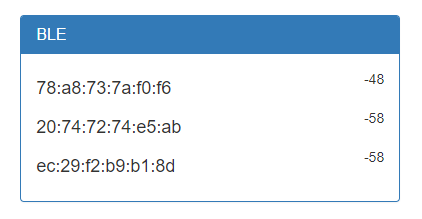
hciconfig hci0 up hcitool lescan --duplicates | hcidump -a | grep -E 'bdaddr|RSSI' At the output we get MAC addresses and RSSI bluetooth (ble) devices nearby.
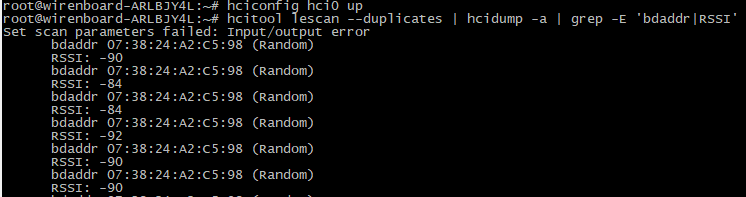
These two lines can be beautifully wrapped in a bash script, and the output sent to the MQTT.
The second way is aioblescan script
It requires Python 3, preferably 3.5. The advantage of this script is that you can monitor specific MAC addresses, and not all by passing smart watches and smartphones passing by the window. The script output is also redirected to MQTT, for the convenience of working with the rules engine.
Now we know how to interact with WB6 using the on-screen module, we are able to count coins, monitor the success of employees in Bitrix, scan the ble devices and their signal level. It remains to collect this in one pile and prescribe some logic. I will not paint all the scripts of this project. Everything will be available on the link in the public domain. Perhaps one of you will find for this all the most useful and clever use.
Housing
The body is made of 10mm PVC foam. Sold such plastic sheets. Moderately mild. You can cut with a hacksaw or with a regular stationery knife along the ruler.
As a fastener was used a children's set of metal parts "Designer" and short screws. In this set there was almost everything needed to assemble the case.

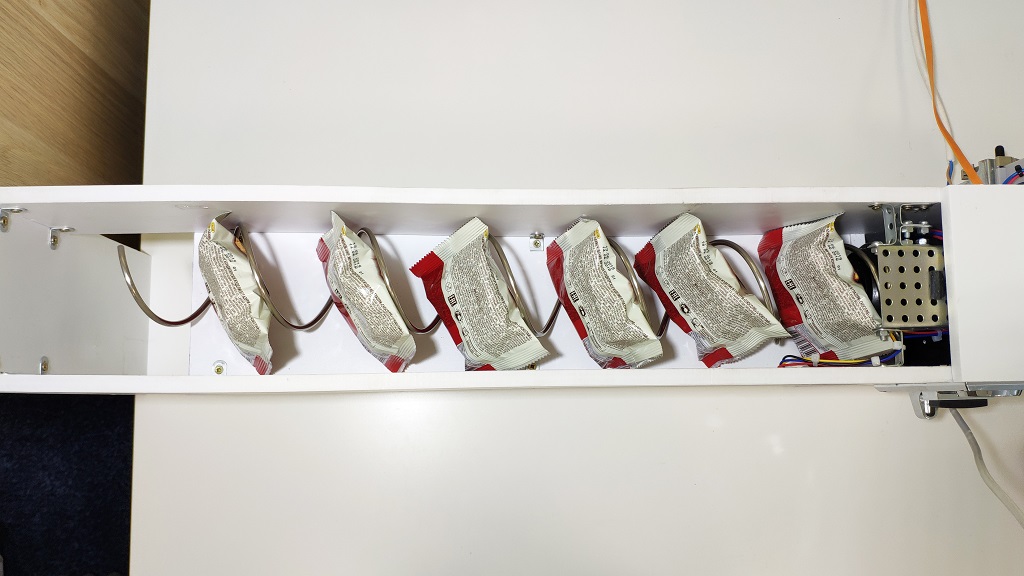
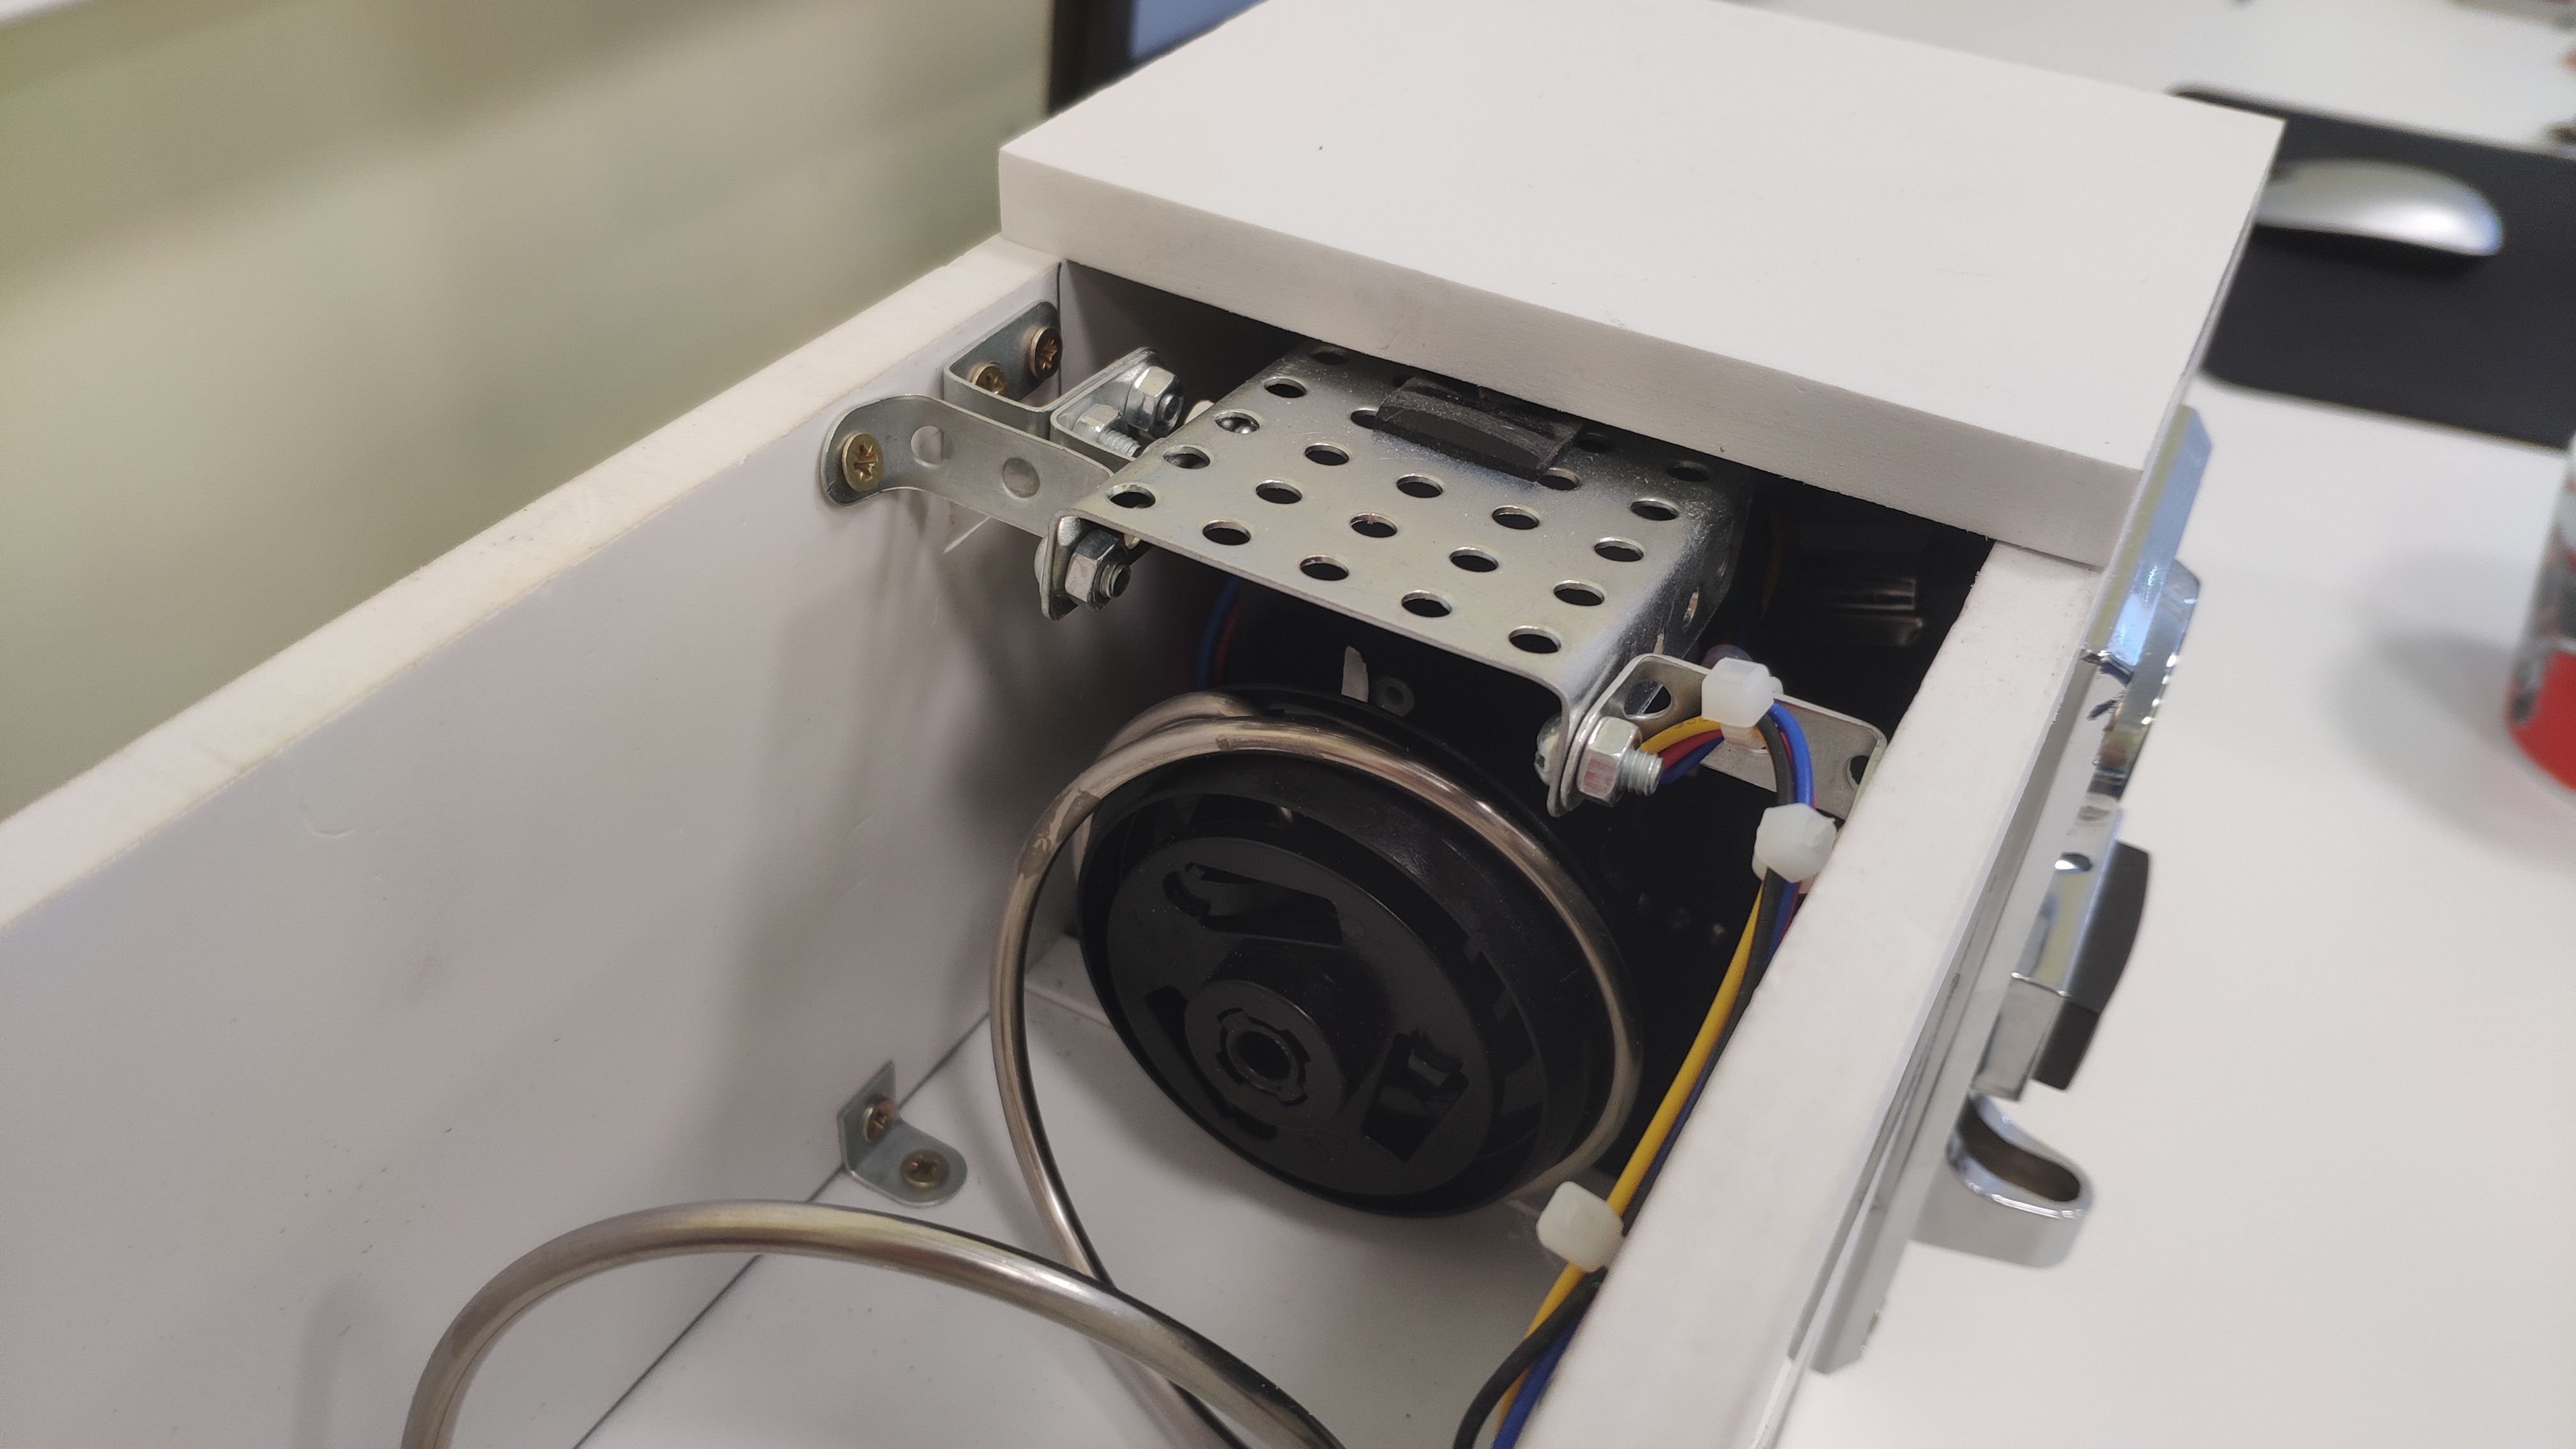
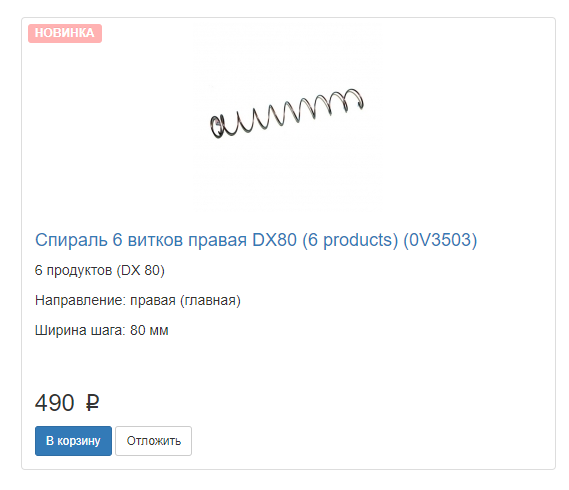
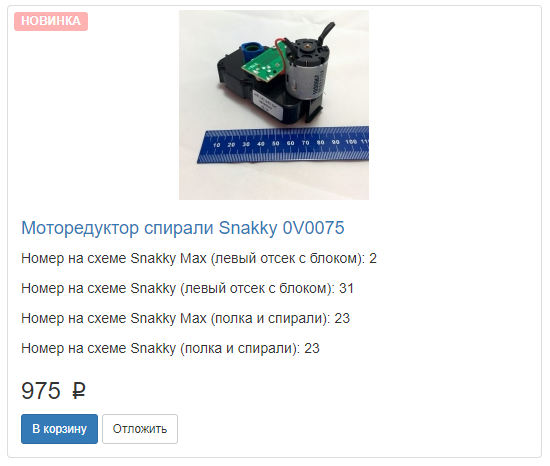
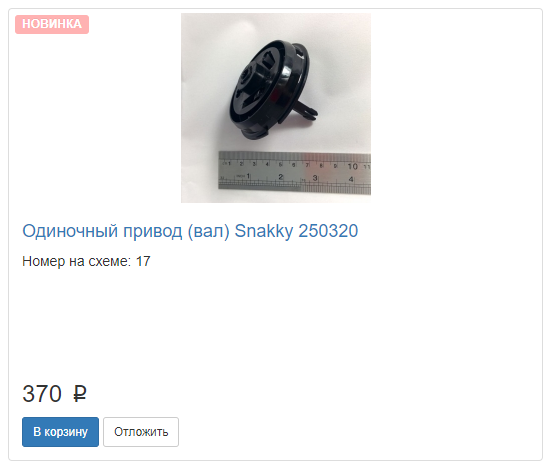
Drive unit
The spiral and the drive were purchased in the online store B \ U app. parts for vending machines. Powered by 24v power supply. Commuted through the relay module expansion WBE2-DO-R6C-1 .
Functional
Functionally similar to a regular vending machine. Gives cookies for money and not only.

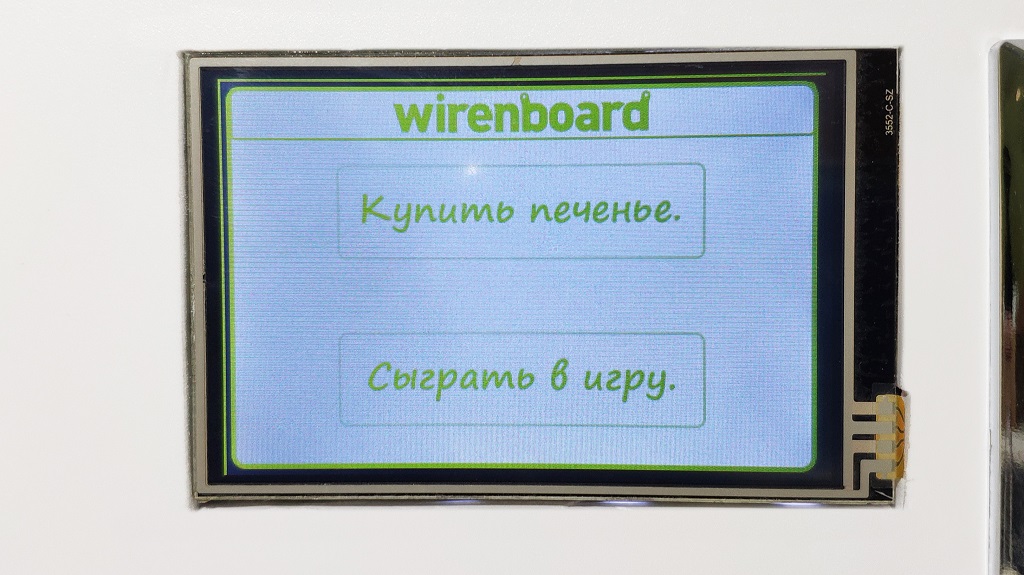
When you start the device, the screen shows a splash screen with a logo, then jumps to the main screen, where we are invited to either buy cookies or play a game.
The game for the user is free, but you can set a small price for motivation. The rules are simple. The player is offered to solve three simple puzzles. If he gives three correct answers, he gets a prize in the form of cookies. Perhaps this is all you need to know about this item. Let's go back to the main menu and click "Buy Cookies".
Further, the system will offer to choose a payment method. When you select the “For Money” payment method, a window appears on the screen with the price and the paid amount, which increases when you make money in the coin acceptor.
As soon as the amount is sufficient to complete the purchase, the device will automatically close this window and issue the goods.
But, as I mentioned earlier, another currency is provided for - these are points obtained for the success of employees in the Bitrix24 system. If the employee closes the task assigned to him - points are awarded to him. Also, points may accrue to the boss for particularly good results.
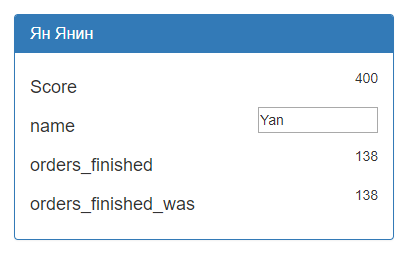
To pay points, the employee must select the item "Buy for points", then the device will try to determine who is standing in front of him. To do this, he scans the Bluetooth device around him and if he sees the MAC address of the device belonging to the employee and listed in the database, as well as the signal level is powerful enough to assume that he is standing nearby, then the data on the account status of the employee, his name and offer to pay for cookies by points.
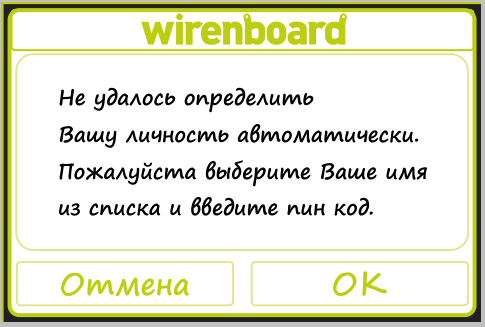
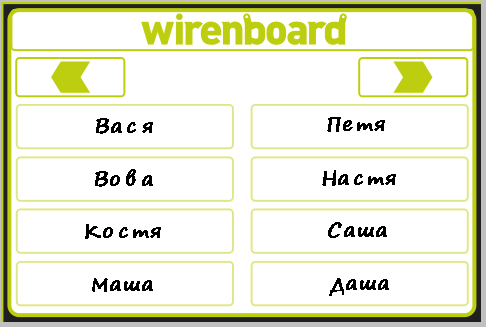
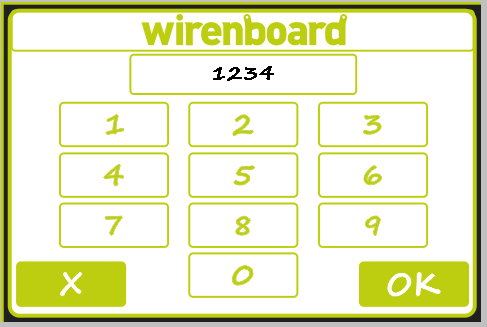
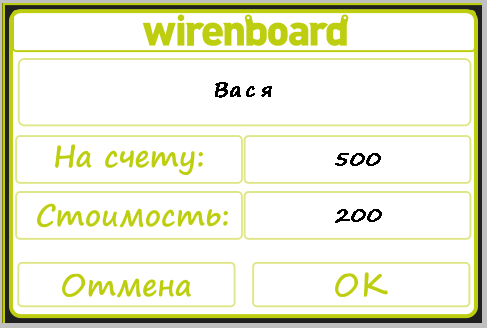
If the system failed to identify a single familiar device, it will issue a warning and prompt you to choose your name from the list and then enter your PIN code.
In the case of correct input, the same window will open with data on the state of the user's account and the value of the product. Upon confirmation of the purchase, the required amount of points is deducted from the user's account and the device issues the goods.
That's all. This project was created solely for educational purposes, and to show that the use of the Wiren Board controller is limited only by imagination. All files and scripts can be found by reference .
Source: https://habr.com/ru/post/420831/
All Articles