Using the Android Studio Debugger to the Maximum

This is a trick I recently learned from a Senior Android developer at my company, and now I feel unhappy, regretting the time I spent waiting for Gradle to check my changes when writing Android applications.
Here is a typical scenario that every Android developer could come across at least once during their development life cycle. You have a list of items you want to show in a ListView or RecyclerView .
Below is our beloved onBindViewHolder method, which links your model with your RecyclerView view components.
@Override public void onBindViewHolder(ViewHolder holder, final int position) { final String name = values.get(position); holder.txtHeader.setText(name); holder.txtFooter.setText("Footer: " + name); } Now let's say you want to change the text color for every third item in the list. Thus, the code will look something like this:
@Override public void onBindViewHolder(ViewHolder holder, final int position) { final String name = values.get(position); holder.txtHeader.setText(name); if (position % 3 == 0) { holder.txtHeader.setTextColor(Color.GREEN); } holder.txtFooter.setText("Footer: " + name); } Then you click Run and wait for the build to complete and see your changes, right?
Now you would think, is there another way to achieve this goal?

Your output, Android Studio! Yes, we do not need an external plugin or tool to achieve the above task, and moreover, we don’t even have to re-build the project. You heard right, we can do without the Gradle :) Here's how!
Step 1 - It is necessary to determine the launch configuration
This launch configuration will allow us to launch our application and attach a debugger to it from Android Studio, and you can also attach it to an already running process.
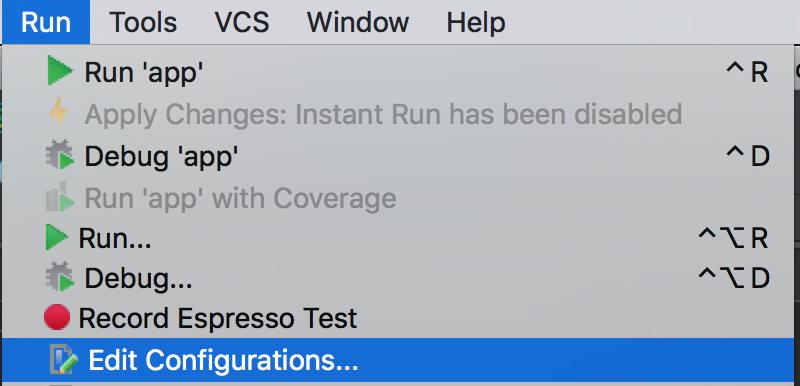
Click Run → Edit Configurations .
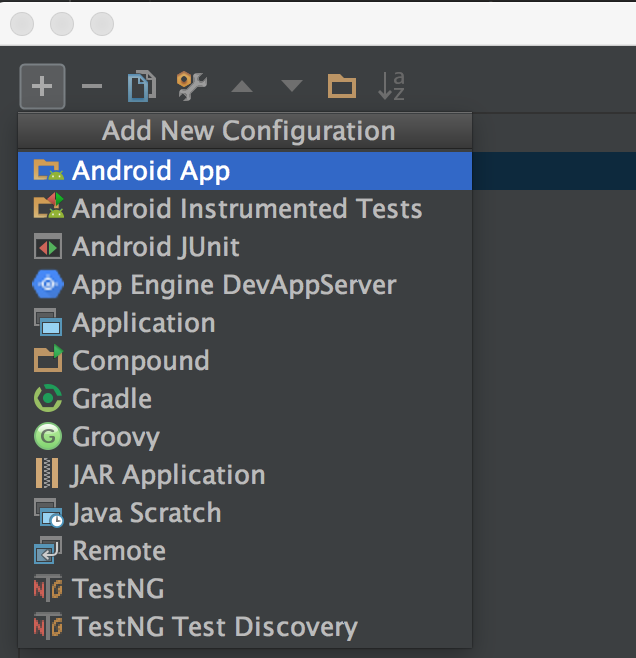
In the upper left corner of the dialog box, click the “+” icon and select the Android App .
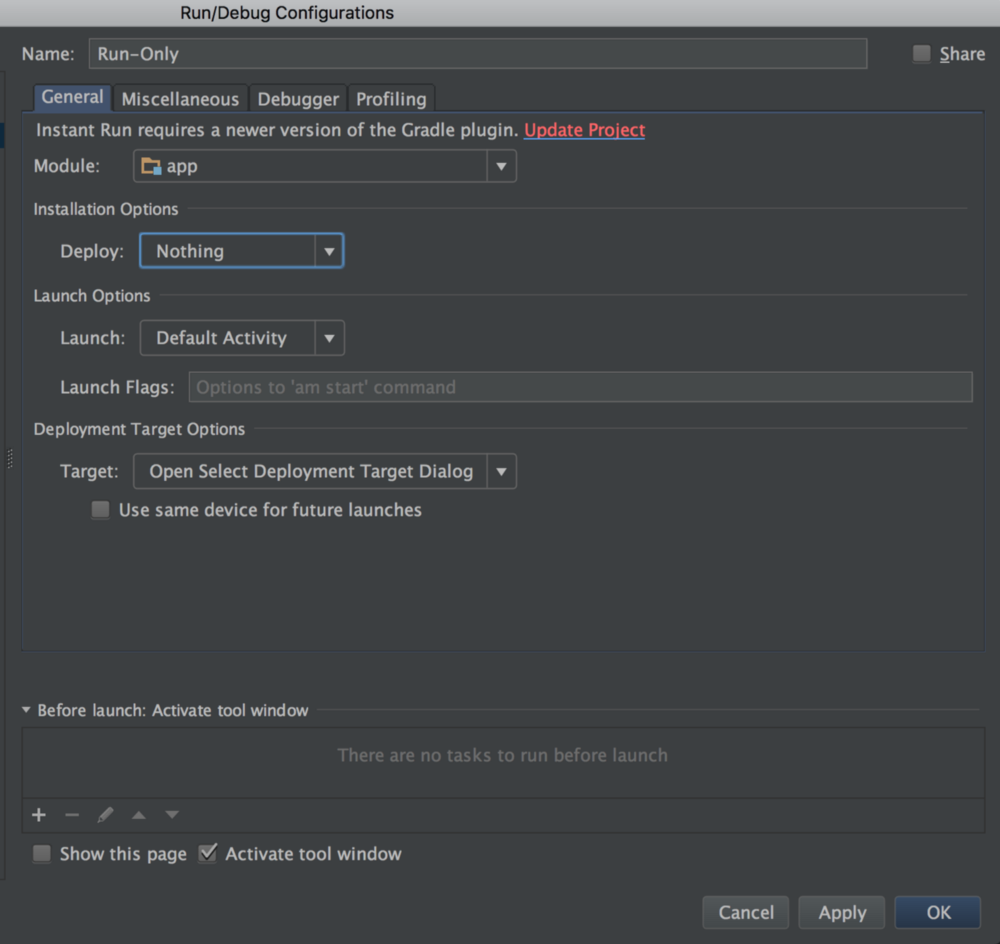
Now give it a name, I like to call it Run-Only , but you can call it whatever you like.
Select the module that contains the code for your application in the screenshot below it is called app .
Important step:
In the Installation Options section, select Nothing ;
In Launch Options, select Default Activity ;
In the Before Launch section, remove Gradle-aware Make .
Thus, the configuration should look like this:
Now you can apply and save this configuration. Now it should be selected automatically. If not, just select it from the list.
Now place the breakpoint closer to the line you want to check. In our case, we will place it where we set the text.

Right-click on breakpoint and uncheck the Suspend box.
As soon as you clear the checkbox, the dialog will expand and show more options.
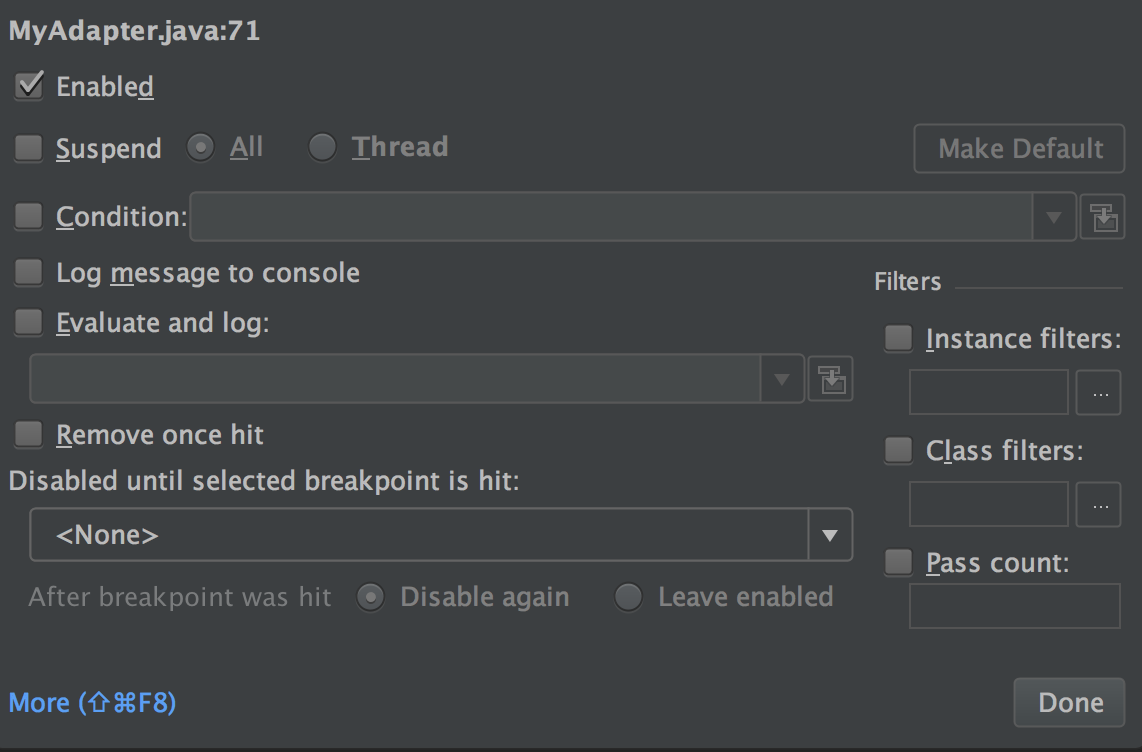
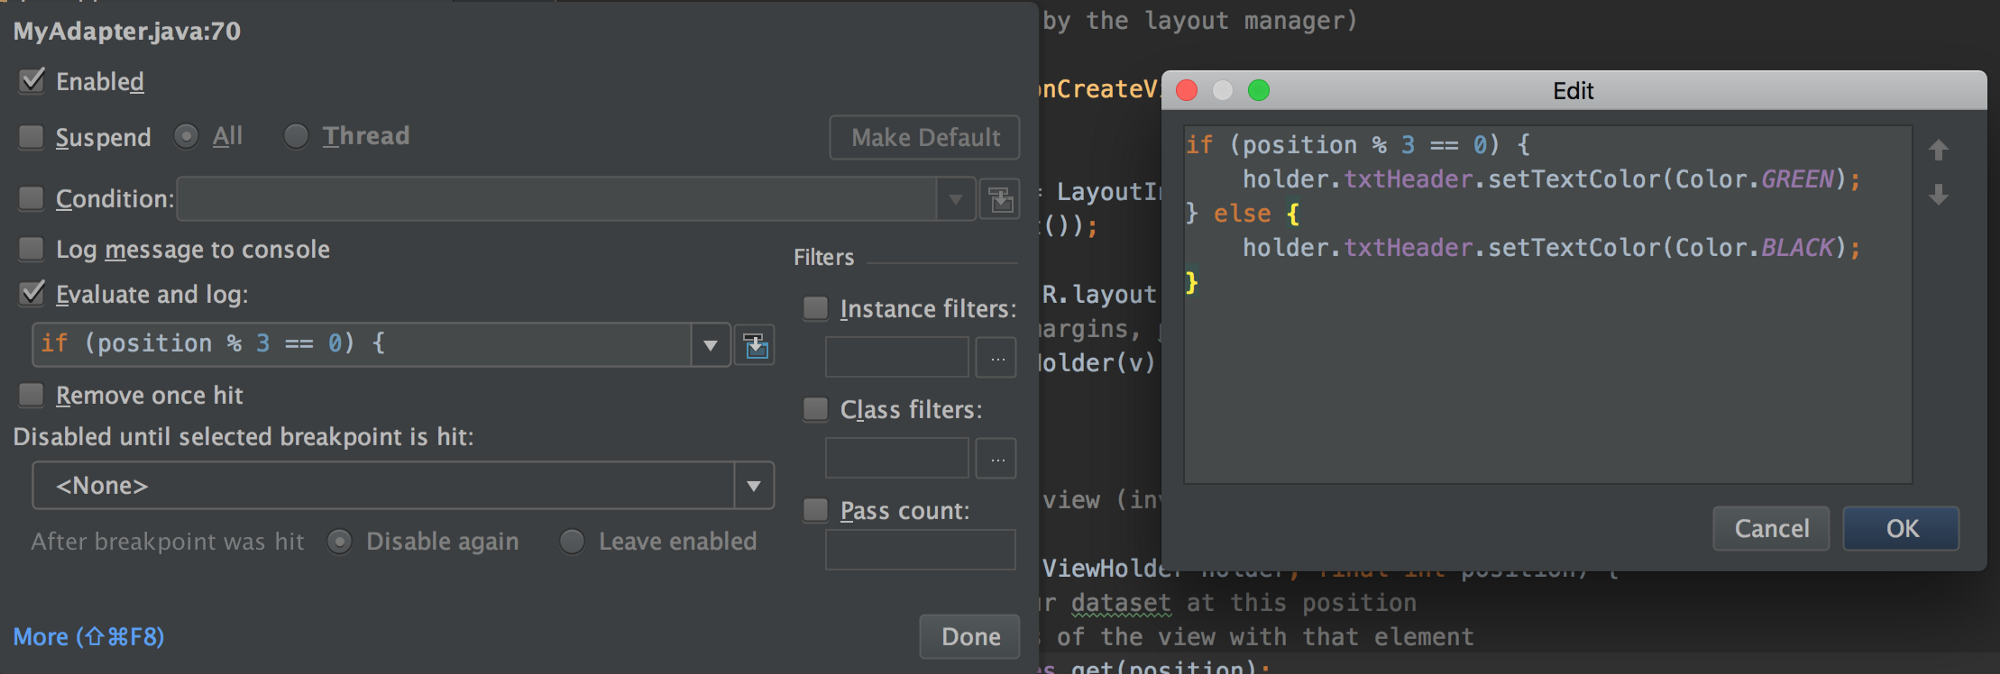
We are interested in the section Evaluate and log . We will write an expression there to check for changes in our RecyclerView element. Click the small blue icon to the right of the Evaluate and log input window to expand it to a larger editor, and add an expression to test, and click Ok , and then Done .
Now click on the Debug icon with the selected Run-Only configuration and look at this magic.

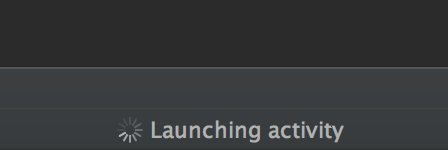
The application should start with your Activity by default, and you should see the changes made there. Also, if you pay close attention to the IDE, at the very bottom you will see only one task being launched: Launching Activity .
I would like to hear your impressions when you try out this trick!
')
Source: https://habr.com/ru/post/419613/
All Articles