Review of the desktop robot DoBot Magician
Hello! Today we are talking about a small desktop multifunctional robot manipulator DoBot Magician , designed for education - acquaintance with robotics, CNC and additive technologies, the basics of programming.
Video
')
A small video review will give the first idea of this roboruk. More details - further in the article.
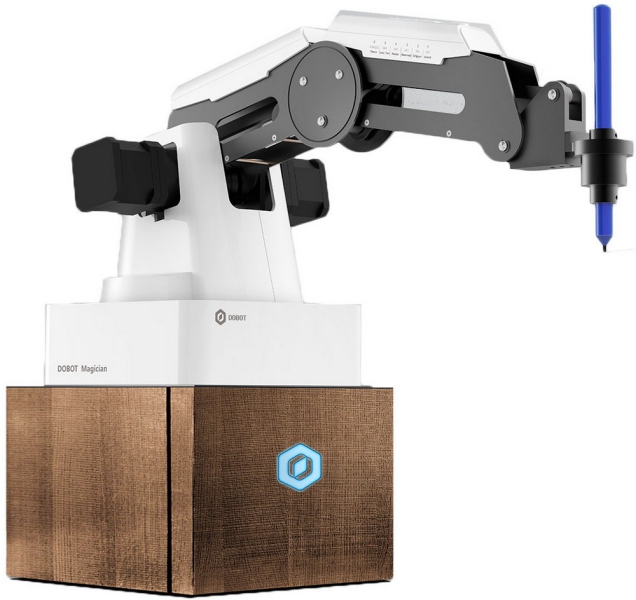
Dobot magician
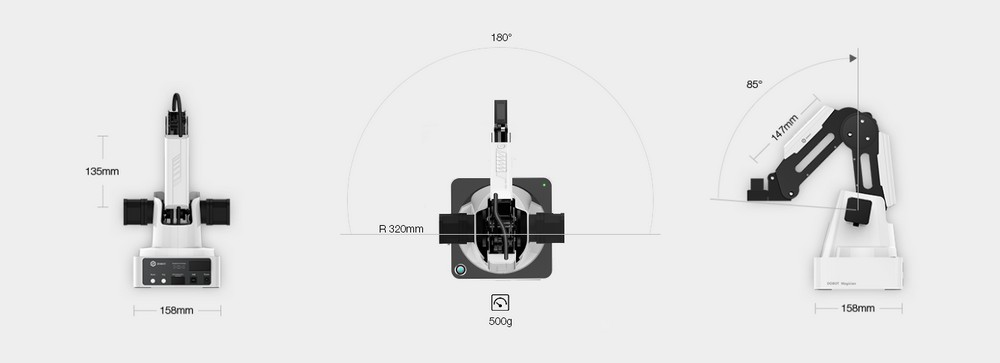
Specifications
- Axles: 4
- Loading: 500g
- The distance of the manipulator: 320mm
- Accuracy: 0.2 mm
- Connection: USB / Wi-Fi / Bluetooth
- Power supply: 100-240V, 50/60 Hz
- Power supply output: 12V / 7A
- Consumption maximum, Watt: 60
- Operating temperatures, ° C: -10 - +60
- The weight of the robot without attachments, kg: 3.4
- Standard pack weight, kg: 7.2
- The weight of the educational package in a pack., Kg: 8
- Stand diameter: 158mm
- Materials: Aluminum alloy 6061, ABS
- Form Factor: Desktop
- 3D printer: print max., Mm: 150 × 150 × 150; printing material: PLA; Resolution: 0.1mm
- Laser: power: 0.5W; wavelength: 405nm; voltage: 12V; TTL trigger (With PWM Driver)
- Pen holder: tool diameter: 10mm
- Vacuum suction cup: diameter: 20mm, pressure -35 kPa
- Capture: pneumatic, disclosure up to 27,5 mm, force: 8 Newtons
- Price: 106 120 rubles
The unique mini-robot has an open hardware and software platform - it is equipped with 13 I / O ports and can work with two dozen programming languages.
Thanks to the set of nozzles DOBOT Magician can move objects, perform laser engraving and 3D printing, drawing and drawing.
Unpacking
The robot comes in this box:
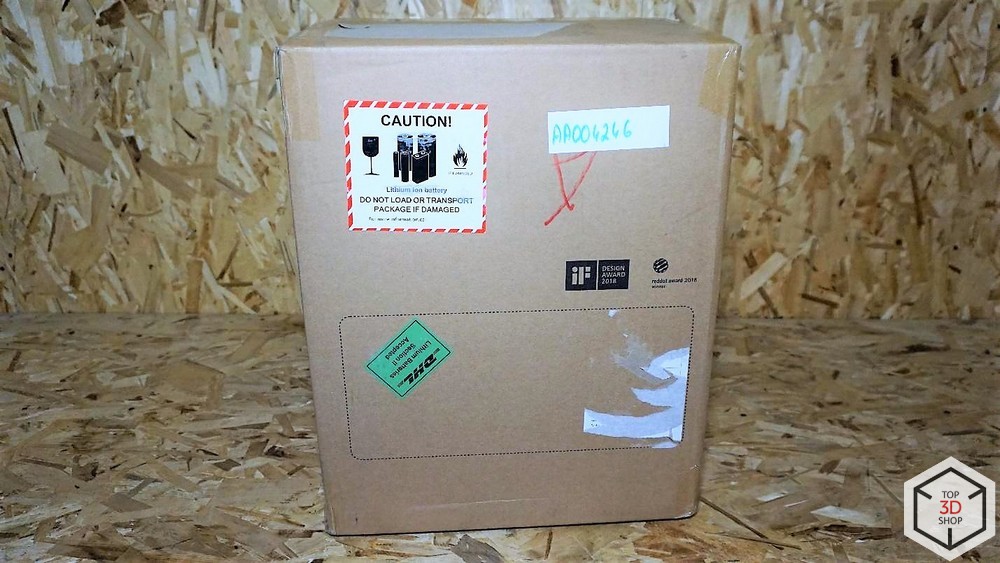
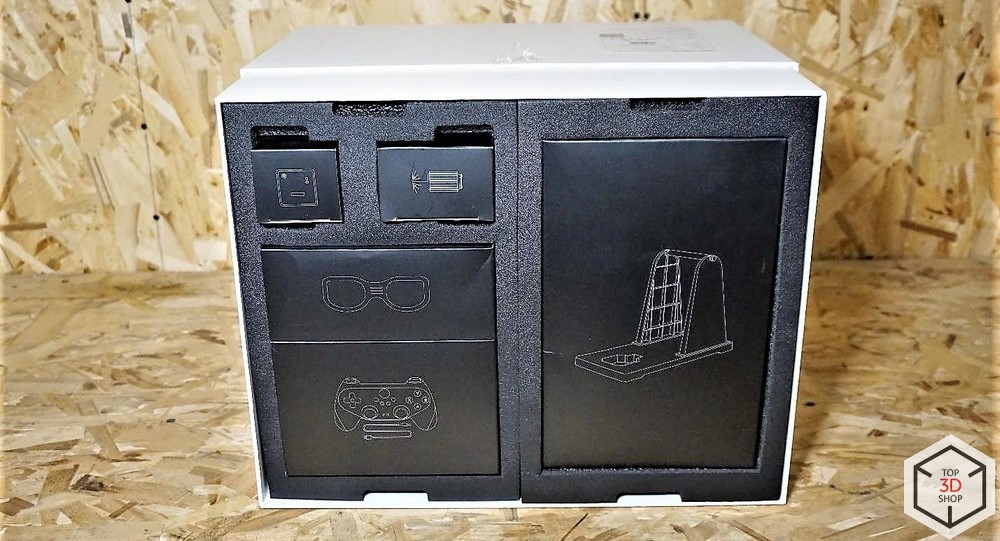
Inside is another one.
And in it, in the transport foam, the boxes are smaller.
Equipment
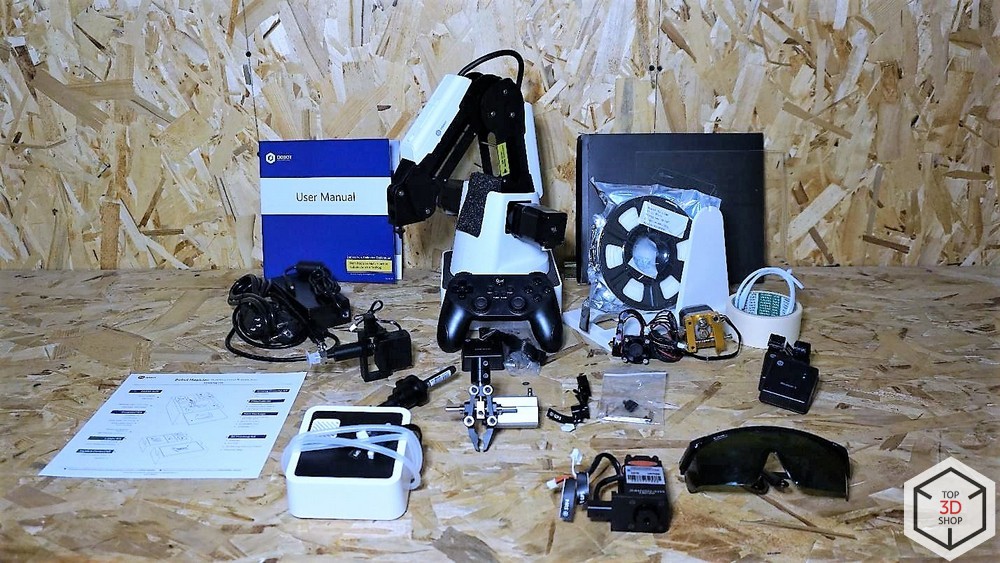
DoBot Magician comes in two configurations: Basic and Educational. We have an Educational set on the review, the basic one differs from it only in the absence of Bluetooth and Wi-Fi modules, a joystick, a laser and glasses for working with it.
The delivery kit of the Dobot Magician educational robot includes: mechanical grip, vacuum suction cup, 3D printing kit, laser, pen holder. The manufacturer is constantly expanding the range of available attachments and accessories, it is possible to pre-order a slider, a miniature conveyor and a computer vision module. In the near future, DoBot plans to release a nozzle for milling.
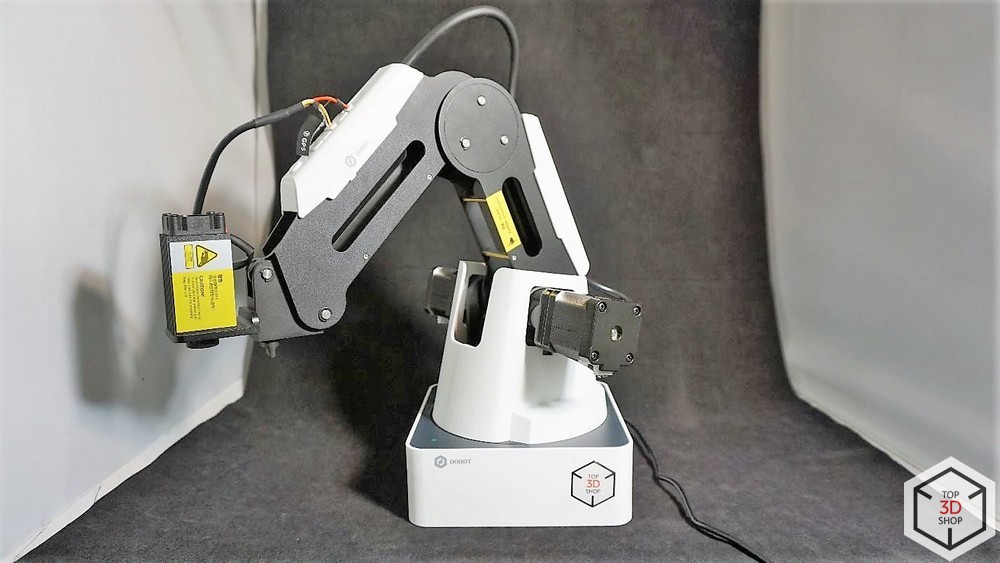
More details:
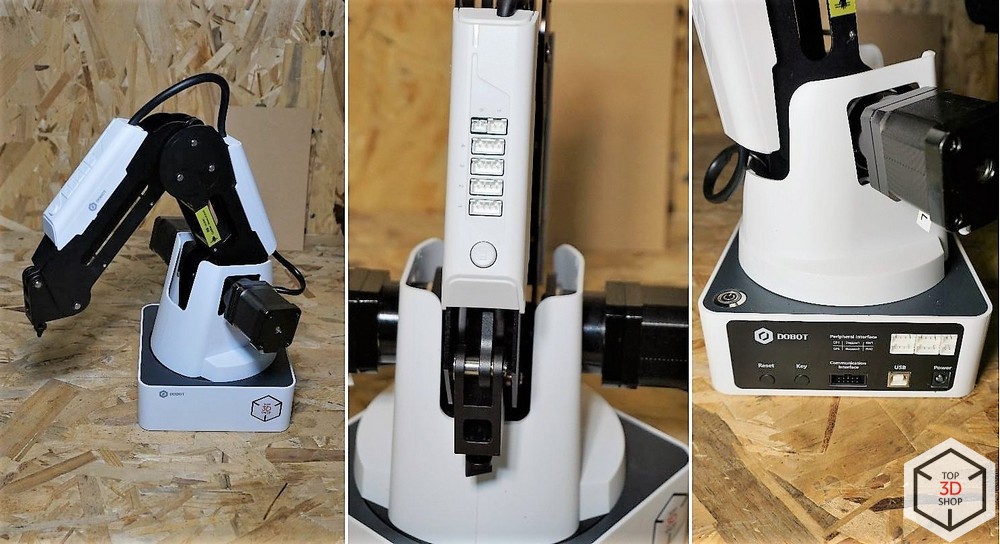
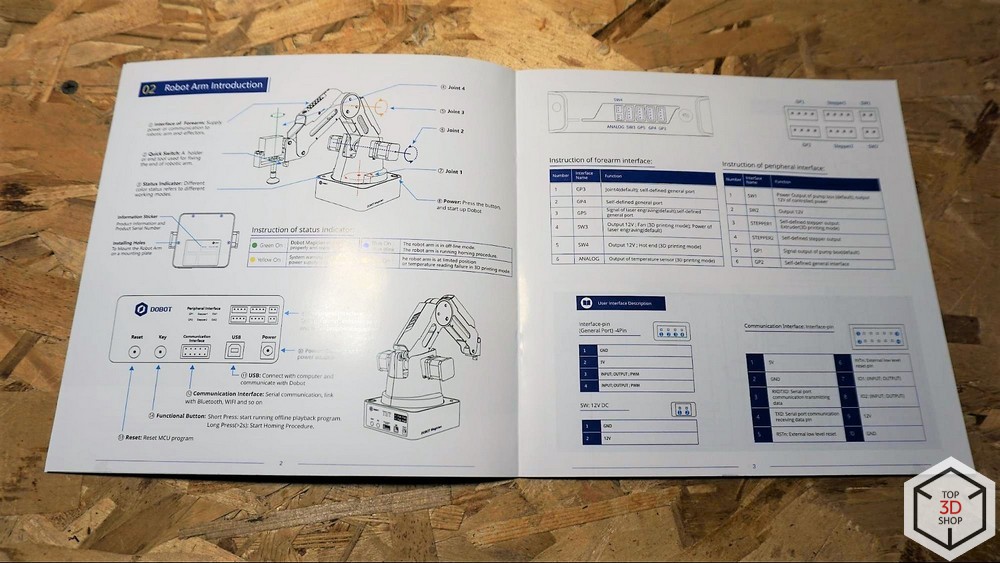
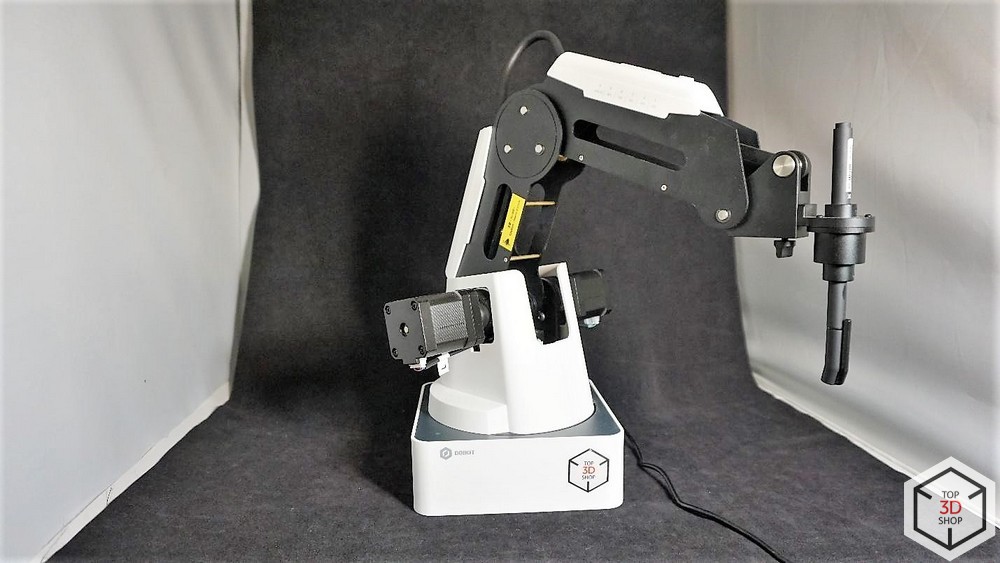
The manipulator itself, which has slots connecting peripherals on the second joint and on the back wall of the base of the robot. The manipulator is driven by three stepper motors, which are equipped with feedback sensors and gearboxes.
Servomotor, which acts as the fourth axis of the robot. On it you can fix the vacuum or mechanical grip.
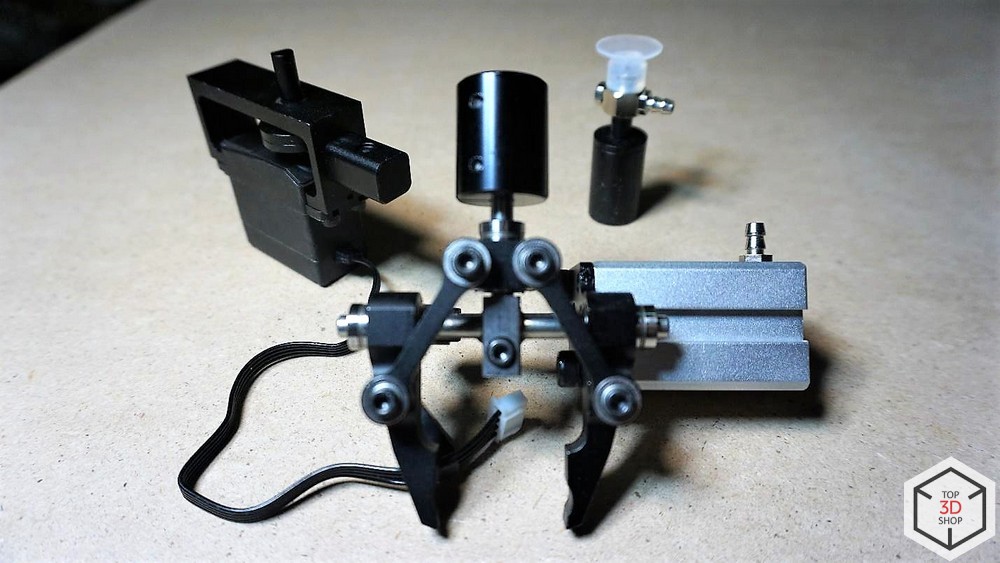
The grippers are driven by an air pump.
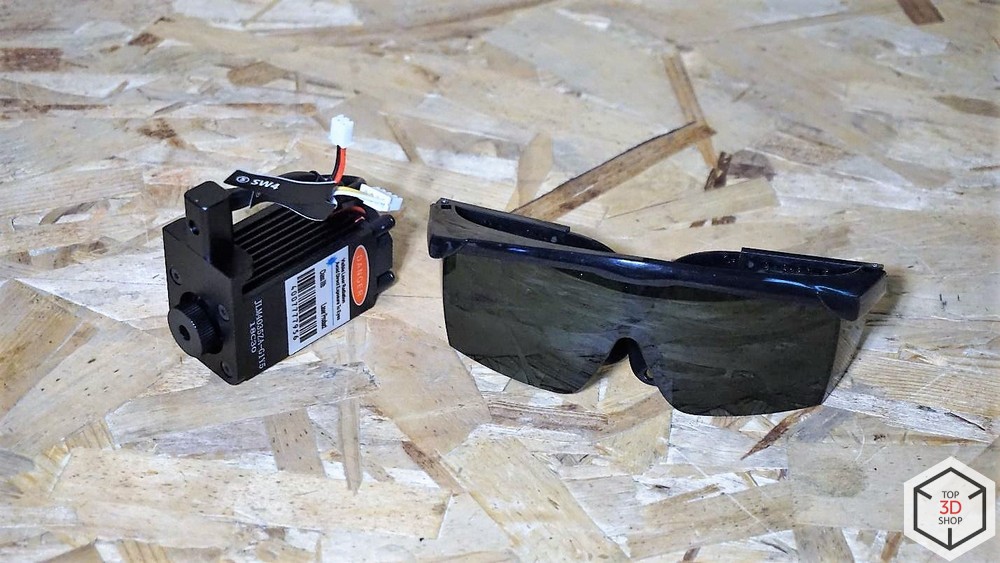
As a working tool you can install a laser head. Included, to protect the user's view, there are special glasses.
There is a pen holder, for writing text or drawing, you can install a fountain pen, liner or pencil with a diameter of up to 10 mm.

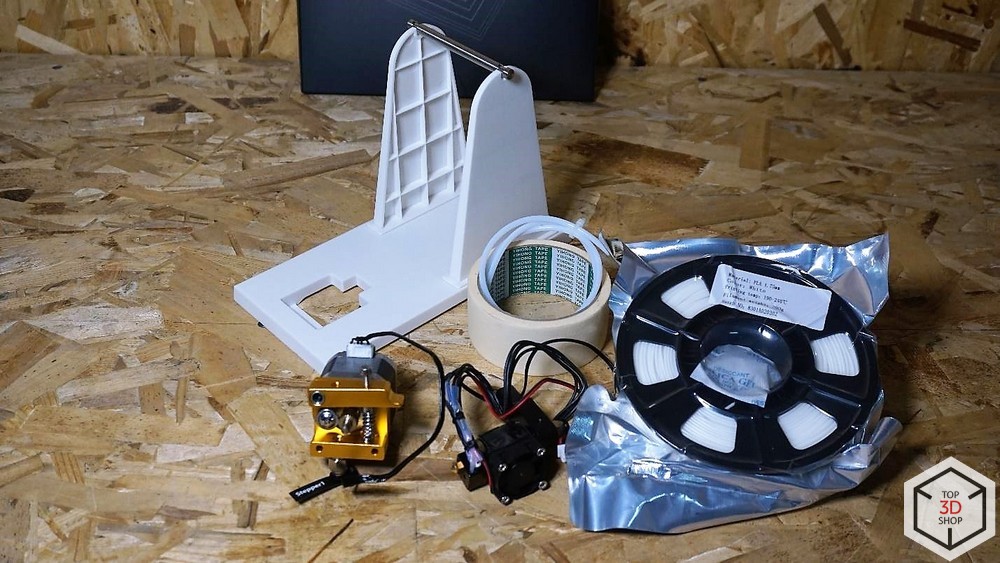
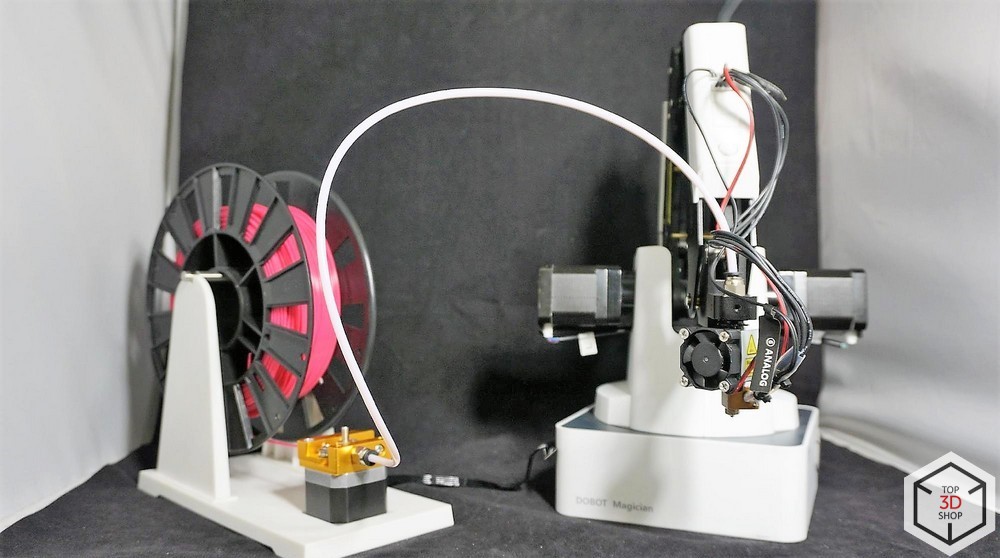
3D printing kit: extruder block, plastic coil stand, PLA coil, teflon tube, glass and masking tape. Scotch tape is used to secure the glass on the table.
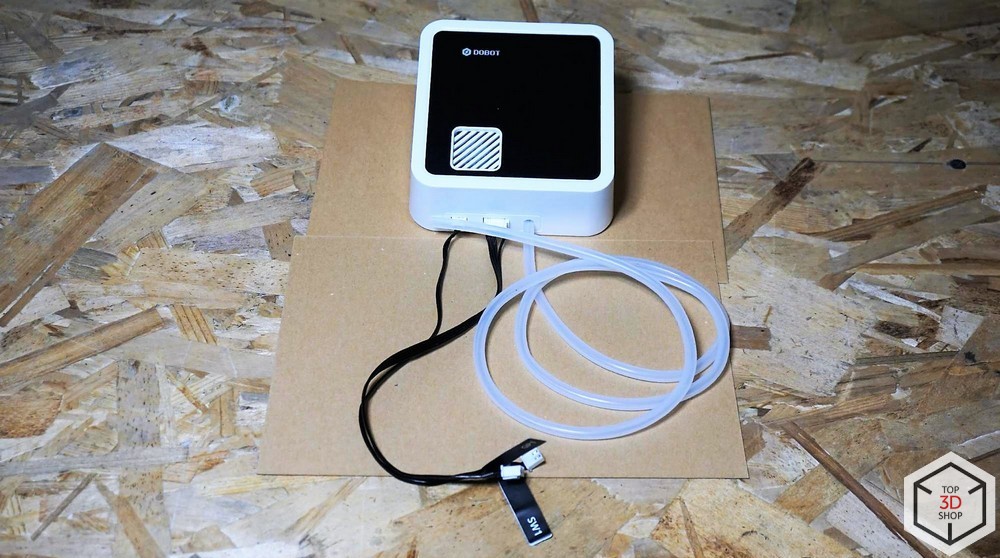
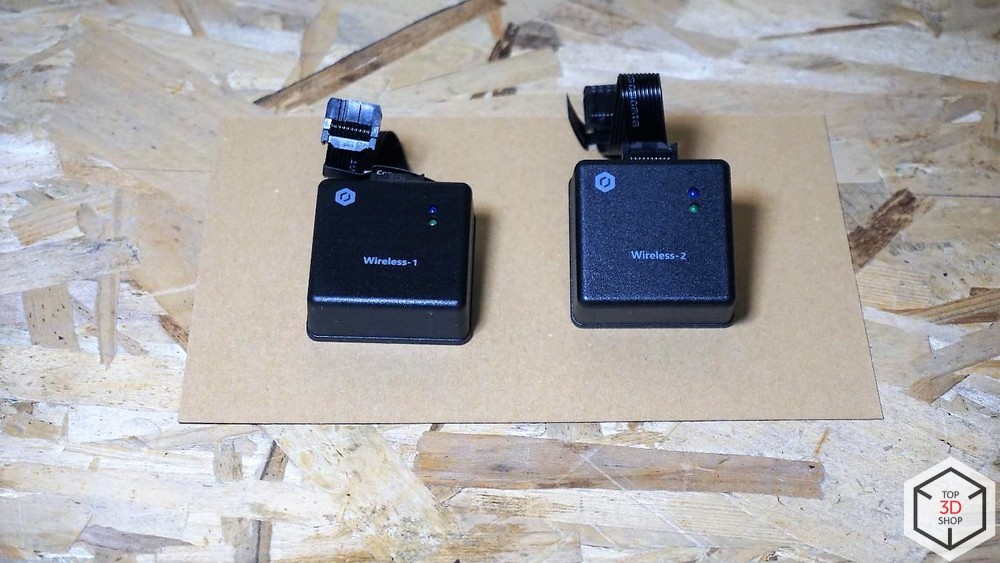
You can control the manipulator not only from a computer, but also remotely, using a joystick connected via Bluetooth. A USB cable is needed to charge the battery in the joystick.

Bluetooth and Wi-Fi.
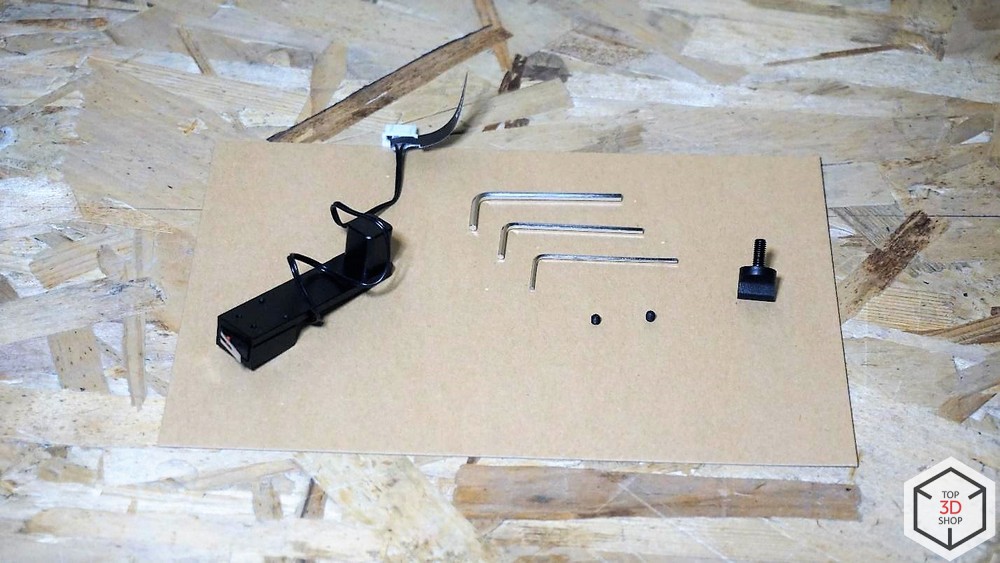
Device for automatic calibration, spare screws and hexagons.
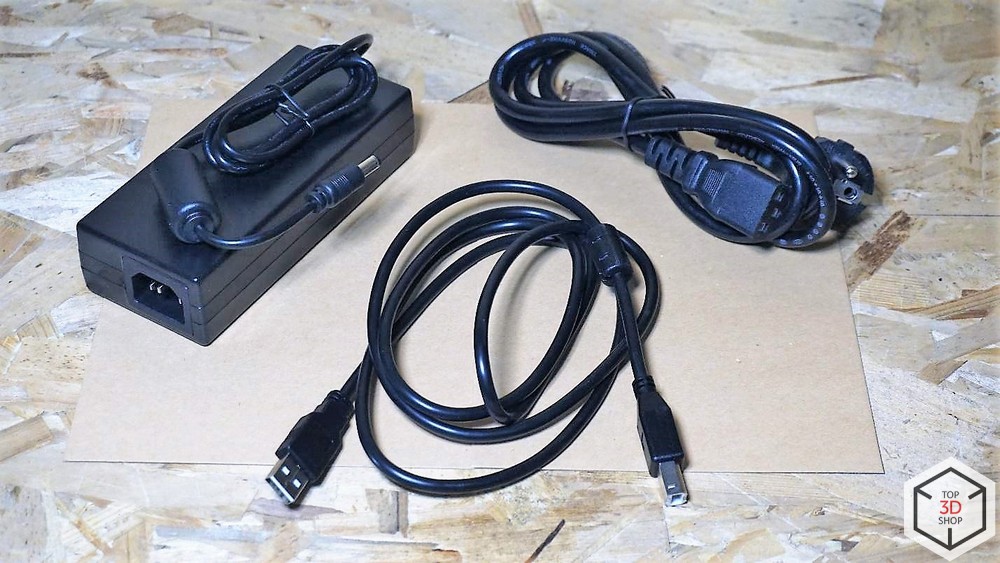
Power supply, USB cable for connecting to a PC.
Brief instructions.
BY
To control the manipulator, you need to install the driver and the DoBot Studio program, which can be downloaded from the official site .
Magician is compatible with many current hardware and software tools that are widely used in robotics. For example, declared support for the software platform ROS (Robot Operating System) and Arduino microcontrollers.
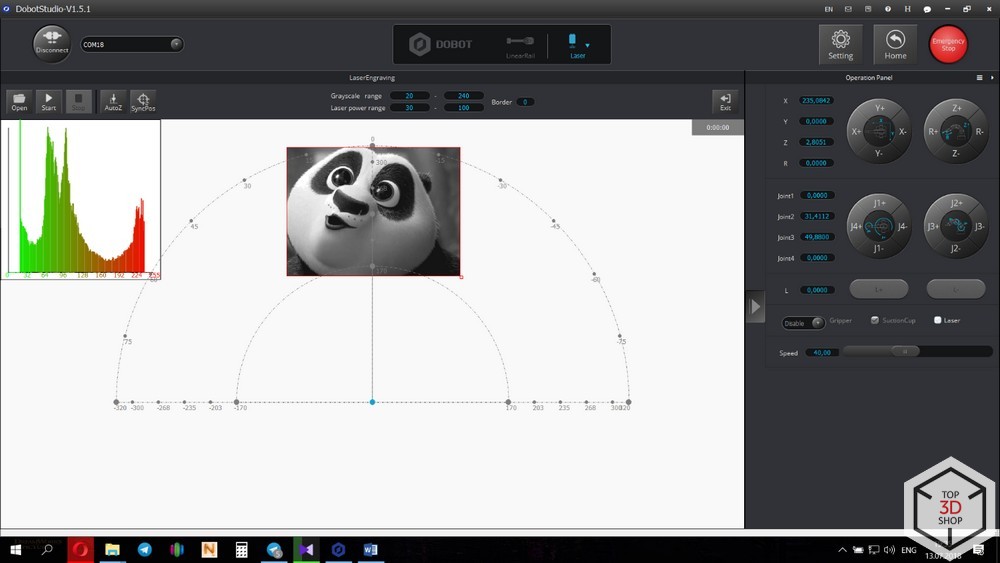
This is the main screen of Dobot Studio.
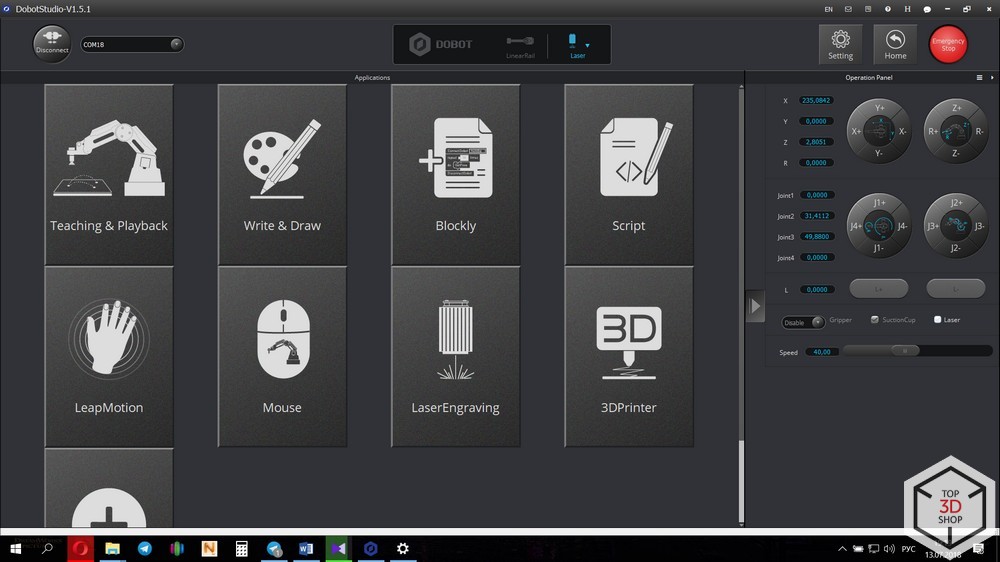
In the main window, we see the selection of the operating modes of the robot, on the right is the control panel of the manipulator, just above is the settings menu, the emergency stop button and the Home button, and in the middle is the tool selection window.
DoBot Studio software allows control of several robots simultaneously. In fact, it is possible to create an imitation of an assembly line right on the table, this is also facilitated by a set of technical parameters, among which are acceptable repeatability.
Control
DoBot Magician is flexible in management - you can program a robooruk and control it in real time using a computer, smartphone or tablet. As a communication channel is used as a Wi-Fi or Bluetooth, and a wired USB-connection. The robot can recognize voice commands and gestures.
Programming modes
The main mode is "Learning and repetition."
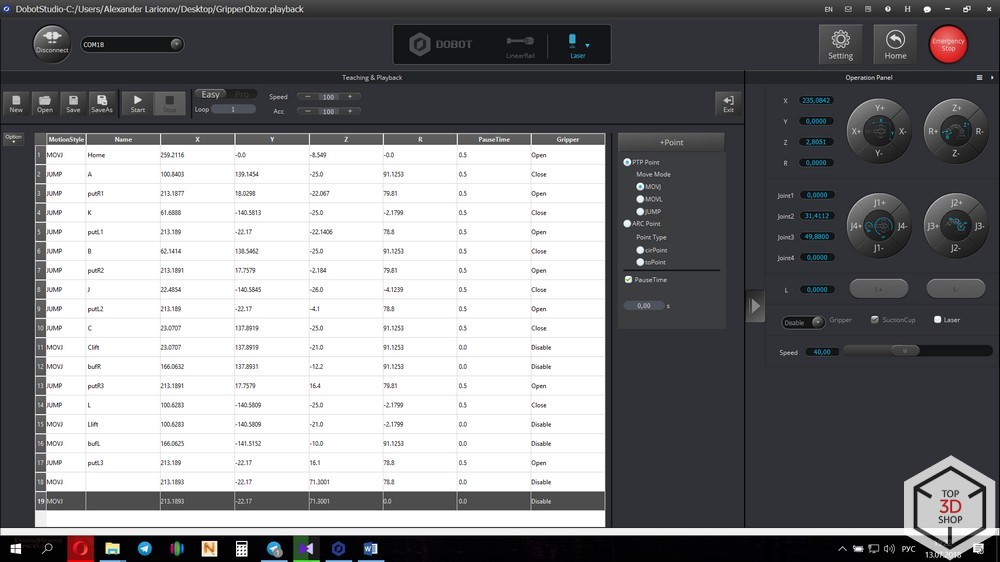
In this mode, you can create control programs that the robot will be able to perform once or cyclically. There are two ways to train a robot:
1 .: On the second joint there is a button, when pressed, the holding current is removed from the motors and, thanks to this, it is possible to move the manipulator manually. After moving the tool and releasing the button, the coordinates will be recorded in the table.
2.: You can move the tool to the desired position using the control panel, which is located on the right side of the screen. You can move both linearly, along the axes, and each joint alternately. After moving, the corresponding coordinate is saved by pressing the “+ Point” button.
After recording all the coordinates and setting the movement methods, pressing the Play button, we will launch the execution of the control program.
The control program can be loaded into the memory of the manipulator so that it performs the work offline.
For debugging, there is a Step Run button that allows you to start the program step by step to make sure that the movement is correct.
The following two modes, “Block Programming” and “Script”, are created for deeper study of programming and robotics. They can create much more complex algorithms of behavior, add conditions for the execution of various scenarios.
For beginners who are not yet familiar with programming languages, the Block programming mode is perfect. Instead of memorizing complex syntactic forms and symbols, blocks are used to designate conditions, cycles, functions, and mathematical transformations. The body of the program is built by inserting some blocks into others.

For advanced users, there is a “Scripts” mode, where they can use the full potential of this robot using the Python programming language.

Modes of operation
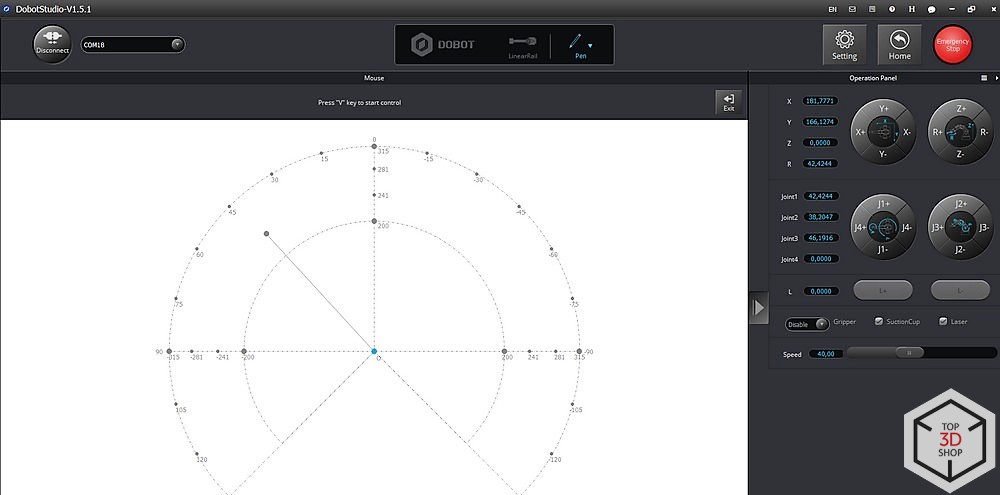
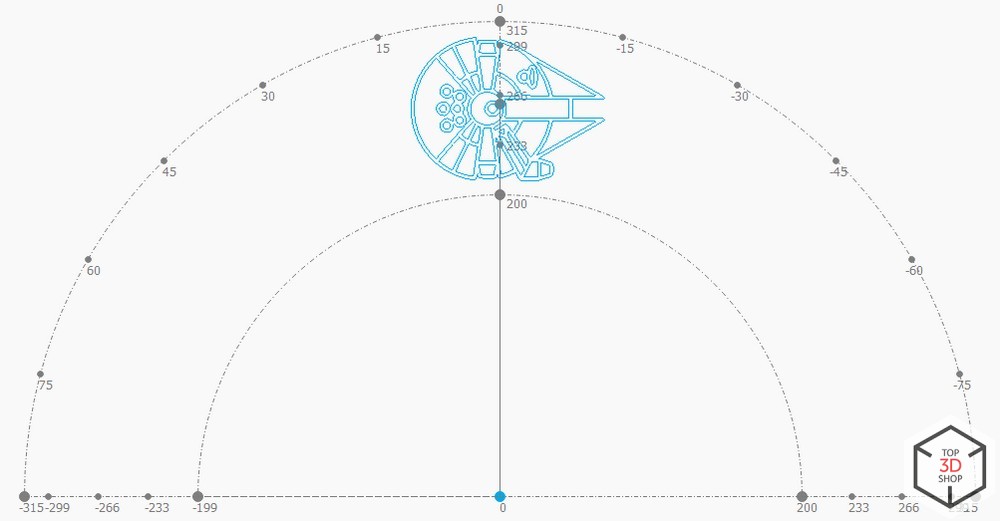
In order to estimate the maximum possible area of movement of the tool “live”, you can use the function of manipulator control using the “mouse”.
The next mode is “Drawing”. As a tool on the manipulator, in a special spring-loaded holder, set the handle.
You can create a label, insert a picture from the built-in library, or add your own.

Contours are reproduced with high accuracy.
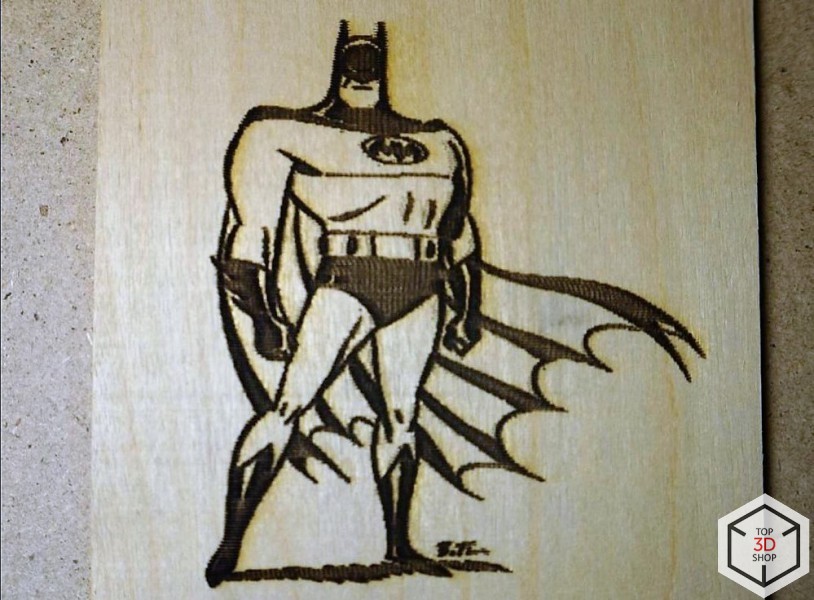
Laser engraver. Using a laser, you can burn or engrave images.
From the settings are available "range of shades of gray", the minimum and maximum power, in the general settings you can adjust the speed and acceleration.
Many materials can be processed, such as wood, leather, paper, cardboard, acrylic.
3D printing. In order to proceed to the preparation of a file for printing, you will need to download a new firmware. When you click on the “3D print” button in the main menu, the program will offer to change the firmware itself, you just need to wait for the download and installation to finish.
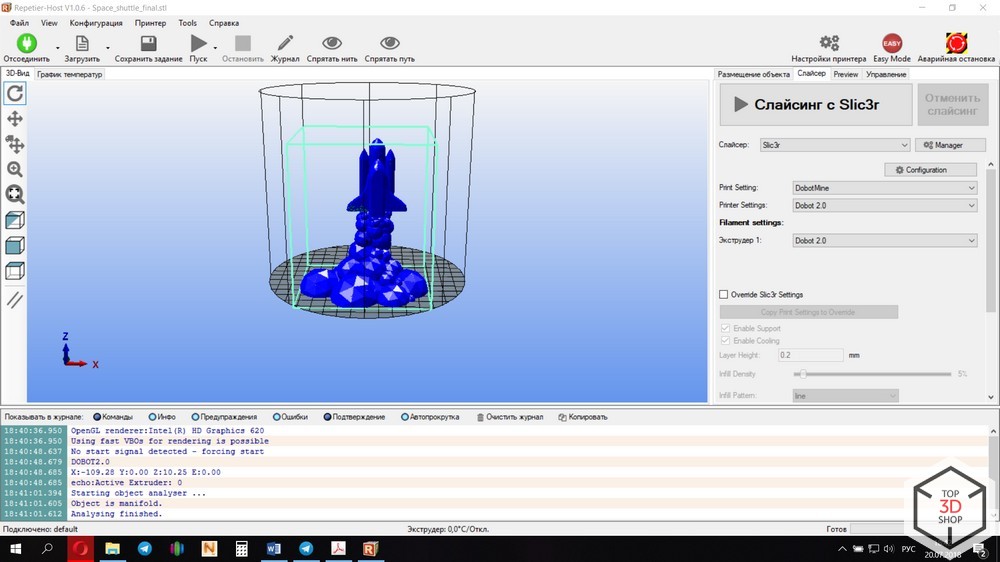
After that, the window of the Repitier Host program, which is quite familiar to many 3D printers, will open.
Here we drive in the parameters of the printer, load the print profiles, and you can proceed to the slicing.
The following parts were printed at a speed of only 4 mm / s, so the print took about 14 hours. This is the standard speed value taken from the native profile. To facilitate the weight of the extruder, the plastic feed motor is brought separately to the coil holder platform. Because of this, it is necessary to reduce or even remove retracts in the settings of the slicer.
This is how printing happens.
Unfortunately, due to the specific structure of the device, the manipulator has a significant gap in the tool. This does not interfere with precise positioning at low acceleration values and when using vacuum or mechanical gripping. When using a laser module and hot-end, which have considerable weight, this gap becomes noticeable.
Manual mode. By controlling the robot with a joystick, you can improve your skills in controlling such a device and just have fun.
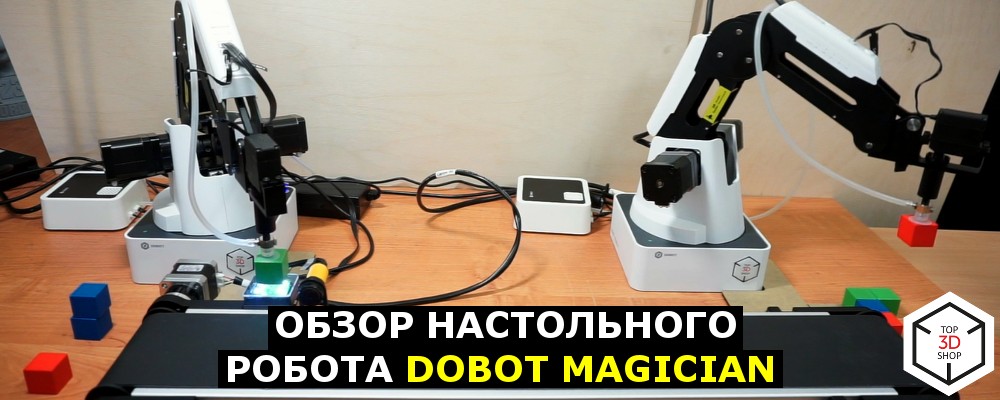
If you need a deeper understanding of the principles of operation of robotic manipulators and their applications, then using a second DoBot, a conveyor , an infrared and a color sensor, you can assemble a small production line.
To synchronize and launch them, you need to connect both robots to one computer and open two Dobot Studio windows into which executable programs are downloaded, which are downloaded from the manufacturer’s website, for each individual robot. Before the first start, the system needs to be calibrated, for this purpose there are special variables in the program that can be changed.

The right manipulator, according to a predetermined algorithm and with a specified frequency, puts the cubes on a conveyor belt, and the left manipulator detects the presence of a cube on the tape (using an infrared sensor), determines its color (using a color sensor), and places the cube in the appropriate stack.
Purpose
DoBot application example by Volkswagen.
DoBot Magician is perfect for teaching children. The educational process with his participation can begin with the simplest game form, due to the presence of a joystick. The next step is the basics of programming, first in the block editor, and then the scripts.
Such visual and interactive learning is much more effective than working with dry code, especially at the very beginning.
Considering the interests of more advanced potential users, the developers have provided the ability to connect a variety of peripherals, which are not supplied in the kit. It can be all sorts of sensors, servos and stepper motors, LED devices and many other electronic devices, including microcomputers and microcontroller platforms, such as the Arduino. Given this, you can recommend DoBot Magician not only to schools, but also to technical schools and universities, as an exceptionally good visual aid.
Already today, this mini-robot is used as one of the main STEM training facilities in leading Chinese universities - Tsinghua University and Shandong Polytechnic University, as well as in Australia - at the Sydney University of Technology.
findings
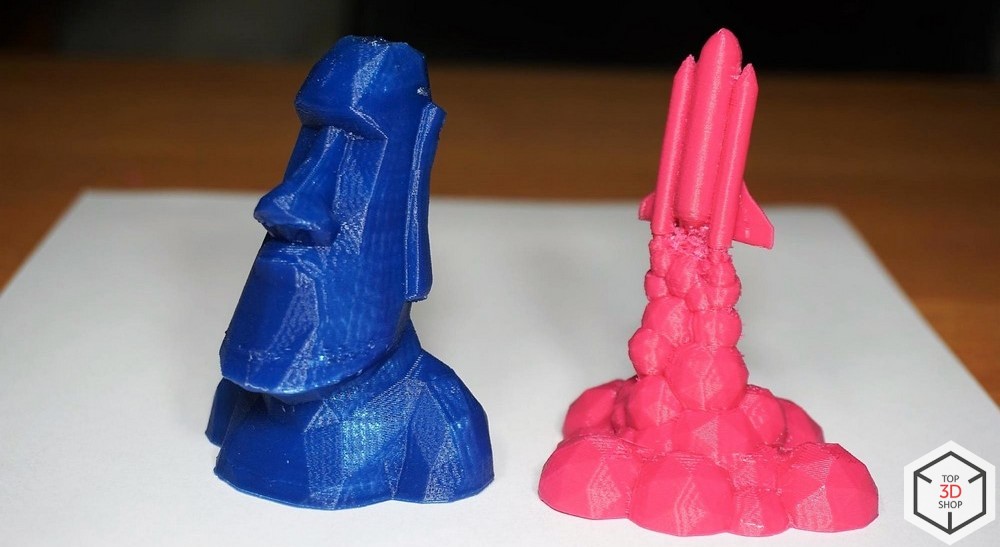
It is impossible to consider the quality of work of DoBot Magician in comparison with a conventional 3D printer or laser engraver. It will never give a 3D print quality comparable even with budget printers, but this is natural: it is not a printer or an engraver, it is a completely different device, with other tasks that it performs perfectly.
If you are working in the field of education and are looking for the most effective training tools, contact Top 3D Shop - our employees will select the equipment that is optimal for your tasks.
Want more interesting news from the world of 3D technology?
Subscribe to us in the social. networks:


Source: https://habr.com/ru/post/418963/
All Articles