Kivy - framework for cross-platform development №1
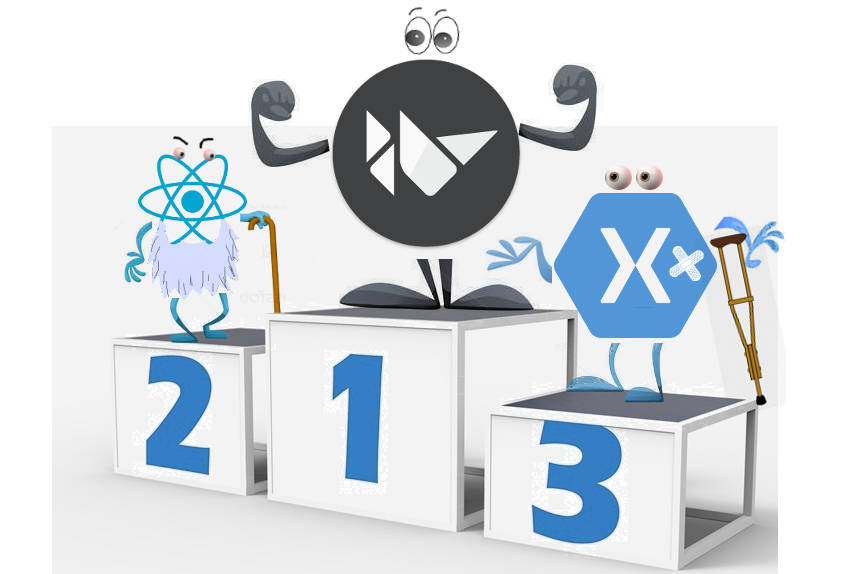
In the world of cross-platform development for mobile platforms now, probably, unfortunately, two frameworks dominate - Xamarin and React Native. Xamarin - because it is the "adopted son" of Microsoft and, proudly waving crutches, is actively promoted by the latter, and React Native is a scion of not less well-known Facebook, which grows beards to develop programmers with no less pride. For myself, I have long found an alternative, and those who are not yet familiar with the Kivy framework for cross-platform development, welcome…
What good is kivy? First, because it is not javascript. This is Python. Hence the speed of development, the laconism of the code, the ability to instantly change and track changes in applications, it is the ability to simply write code while others grow beards in unsuccessful attempts to finish their application or make regular trendy crutches for their projects. Secondly, this is a 99.9% real cross-platform framework, with which you can be sure that your code, once written, will run and work on all available platforms. For reference: Xamarin is only 60% of the code that can be reused, despite the developers' statements about 80%. Kivy is a mature framework that has been developed since 2011, older than its counterpart React Native (2015) and the same year Xamarin (2011).
For today's article, I prepared a small example that clearly demonstrates all of the above advantages of Kivy. We will create a new project using the console tool CreatorKivyProject , see how to animate widgets in Kivy and build one screen with the following content:
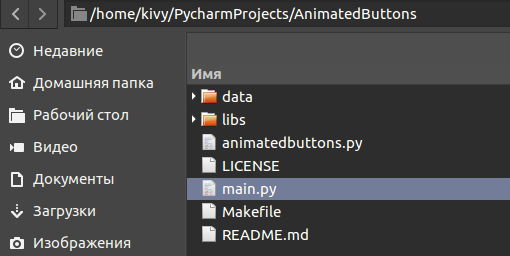
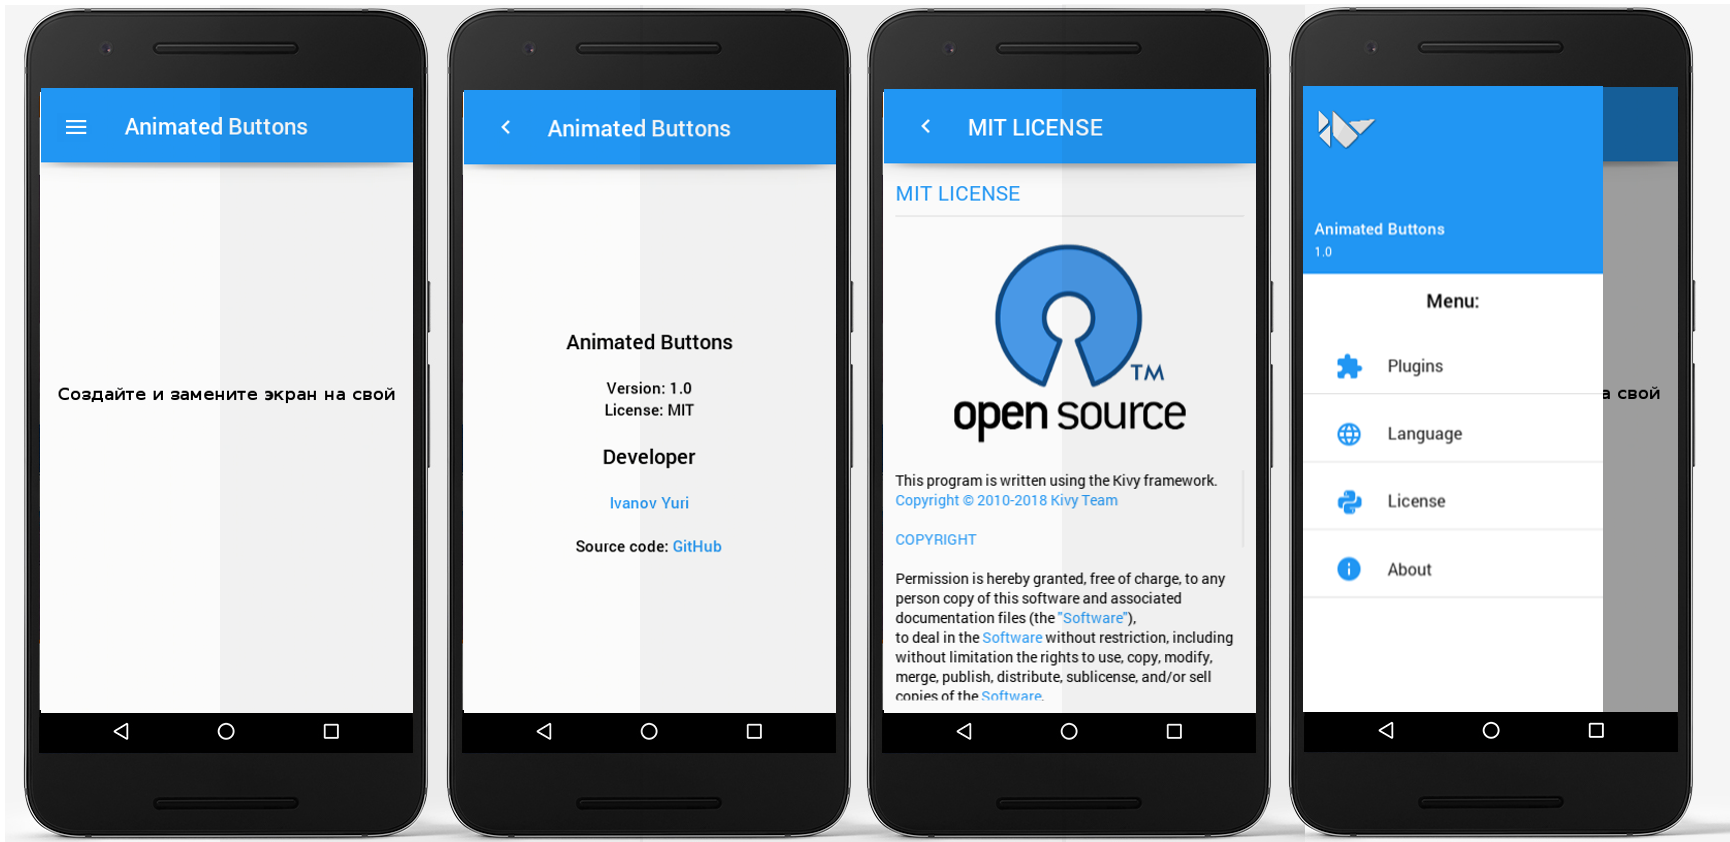
So, download the CreatorKivyProject utility and create a new project, following the instructions in the README. After executing a simple command, an empty project will be created with one main screen and two additional screens, About and License, which can be opened in the Navigation Drawer menu. This is not yet a ready application for mobile platforms, but it can already be launched and tested directly from source texts on your computer. To run the project, you need to execute the main.py script, which is the entry point to the application.
')
After launch, the following screens will be available:
Our task is to integrate into the screen a stack of four buttons of the FloatingActionButton type, floating labels for them and minimal functionality for button events. By a stack of buttons, I mean buttons that are placed in the lower right corner of the screen and overlap each other. Since such a stack can be useful in more than one project, we will make the module floatingactionsbuttons.py, which later we can use everywhere, in any project and on any platform. Open the libs / applibs directory where the packages and modules of the application are located and create the floatingactionsbuttons package with the __init__.py , floatingactionsbuttons.kv and floatingactionsbuttons.py files:

The floatingactionsbuttons.kv file describes the layout of UI elements in the special language Kv Language, which is much simpler and clearer than XAML in Xamarin, xml in Java or JSX markup in React Native.
The floatingactionsbuttons.py file controls the behavior of the elements and their logic, which are described in floatingactionsbuttons.kv .
So clearly and structured with an easy-to-see hierarchy of elements, the layout of the stack with our buttons looks like:
floatingactionsbuttons.kv
#: import Window kivy.core.window.Window #: import MDFloatingActionButton kivymd.button.MDFloatingActionButton <FloatingButton@MDFloatingActionButton>: x: Window.width - (self.width + dp(21)) y: dp(25) size_hint: None, None size: dp(46), dp(46) elevation: 5 md_bg_color: app.theme_cls.primary_color on_release: self.parent.callback(self) <FloatingLabel>: size_hint: None, None height: dp(20) width: label.texture_size[0] border_color_a: .5 md_bg_color: app.theme_cls.primary_color x: -self.width Label: id: label color: 0, 0, 0, 1 bold: True markup: True text: ' %s ' % root.text <FloatingActionButtons>: FloatingButton: id: f_btn_1 icon: list(root.floating_data.values())[0] FloatingButton: id: f_btn_2 icon: list(root.floating_data.values())[1] FloatingButton: id: f_btn_3 icon: list(root.floating_data.values())[2] FloatingLabel: id: f_lbl_1 text: list(root.floating_data.keys())[0] y: dp(117) FloatingLabel: id: f_lbl_2 text: list(root.floating_data.keys())[1] y: dp(170) FloatingLabel: id: f_lbl_3 text: list(root.floating_data.keys())[2] y: dp(226) MDFloatingActionButton: icon: root.icon size: dp(56), dp(56) x: Window.width - (self.width + dp(15)) md_bg_color: app.theme_cls.primary_color y: dp(15) on_release: root.show_floating_buttons() Let's take a quick look at which elements in our stack correspond to the markup. We have created a label that will correspond to each button:
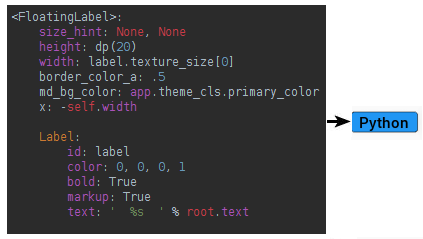
button to be stacked:

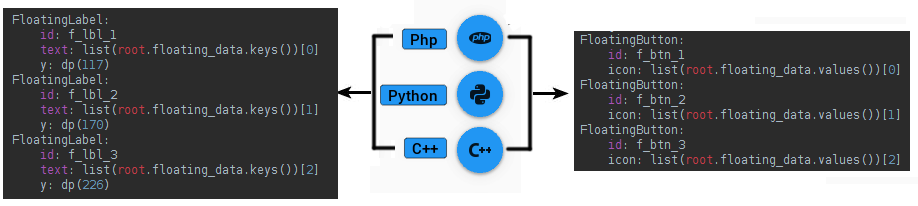
the main button, which is anchored in the lower right corner of the screen:

and put it all on the screen, indicating the captions of the position on the left side of the screen (out of sight), and all the buttons - the position in the lower right corner:
The buttons we just overlap. Now is the time to revive them. Open the file
floatingactionsbuttons.py
import os from kivy.animation import Animation from kivy.lang import Builder from kivy.core.window import Window from kivy.uix.floatlayout import FloatLayout from kivy.logger import PY2 from kivy.lang import Builder from kivy.properties import StringProperty, DictProperty, ObjectProperty from kivy.metrics import dp from kivymd.card import MDCard kv_file = os.path.splitext(__file__)[0] + '.kv' if PY2: Builder.load_file(kv_file) else: with open(kv_file, encoding='utf-8') as kv: Builder.load_string(kv.read()) class FloatingLabel(MDCard): text = StringProperty() class FloatingActionButtons(FloatLayout): icon = StringProperty('checkbox-blank-circle') callback = ObjectProperty(lambda x: None) floating_data = DictProperty() show = False def __init__(self, **kwargs): super(FloatingActionButtons, self).__init__(**kwargs) self.lbl_list = [self.ids.f_lbl_1, self.ids.f_lbl_2, self.ids.f_lbl_3] self.btn_list = [self.ids.f_btn_1, self.ids.f_btn_2, self.ids.f_btn_3] def show_floating_buttons(self): step = dp(46) for btn in self.btn_list: step += dp(56) Animation(y=step, d=.5, t='out_elastic').start(btn) self.show = True if not self.show else False self.show_floating_labels() if self.show \ else self.hide_floating_labels() def show_floating_labels(self): i = 0 for lbl in self.lbl_list: i += .5 pos_x = Window.width - (lbl.width + dp(46 + 21 * 1.5)) Animation(x=pos_x, d=i, t='out_elastic').start(lbl) def hide_floating_buttons(self): for btn in self.btn_list: Animation(y=25, d=.5, t='in_elastic').start(btn) def hide_floating_labels(self): i = 1 for lbl in self.lbl_list: i -= .3 Animation(x=-lbl.width, d=i, t='out_elastic').start(lbl) self.hide_floating_buttons() In Kivy, animation is created using the Animation class. As in Java, it is enough to specify the parameter of the element that we want to animate, passing the final value. For example, note that the height of our buttons in the kv markup is set to 25, that is, 25 pixels from the bottom of the screen:
<FloatingButton@MDFloatingActionButton>: x: Window.width - (self.width + dp(21)) y: dp(25) # y Since we have three buttons, in the loop we indicate each height (parameter “y” ) to which we need to raise it, and pass the name of the function ( “out_elastic” ), which is responsible for the type of animation (in our project I used the animation of elastic spring) , and everything else is done automatically:
def show_floating_buttons(self): ''' . Puthon/C++/Php. ''' step = dp(46) for btn in self.btn_list: step += dp(56) Animation(y=step, d=.5, t='out_elastic').start(btn) Animating captions is exactly the same, except that in Animation we pass the value to the parameter x - the position of the element horizontally:
def show_floating_labels(self): ''' . Puthon/C++/Php. ''' i = 0 # for lbl in self.lbl_list: i += .5 pos_x = Window.width - (lbl.width + dp(46 + 21 * 1.5)) Animation(x=pos_x, d=i, t='out_elastic').start(lbl) Package is ready. How to add it to our only screen? Open the AnimatedButtons / libs / uix / baseclass / basescreen.py file that controls the main screen:
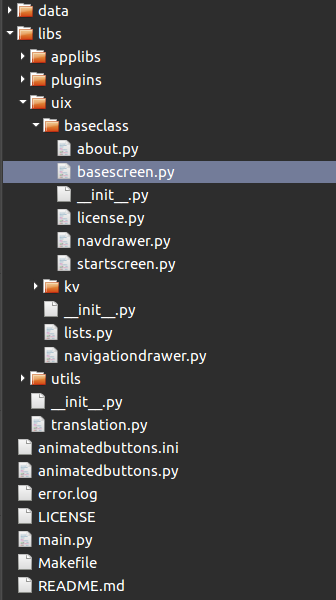
... import the package we created and add it to the screen:
from libs.applibs.floatingactionbuttons import FloatingActionButtons class BaseScreen(Screen): ''' .''' def on_enter(self): ''' .''' # . self.add_widget(FloatingActionButtons( icon='lead-pencil', floating_data={ 'Python': 'language-python', 'Php': 'language-php', 'C++': 'language-cpp'}, callback=self.set_my_language)) As you can see, everything is simple, transparent and fast. I'm afraid to imagine how the implementation of this functionality, considering how much code the author took to implement an application, like “Hello World” in this article , will look like on React Native. Next to Kivy, I can only put Xamarin, which, when building packages, pulls Mono and other libraries along with it, just as Kivy pulls the Python interpreter along with it. Ready-made applications on Kivy and Xamarin have the same size and approximate launch speed, but Xamarin has a lot more problems at the moment, so I can say with confidence that today Kivy is the # 1 cross-platform development framework!
You can download the source code of the project on GitHub .
Examples of Kivy applications:
vimeo.com/29348760
vimeo.com/206290310
vimeo.com/25680681
www.youtube.com/watch?v=u4NRu7mBXtA
www.youtube.com/watch?v=9rk9OQLSoJw
www.youtube.com/watch?v=aa9LXpg_gd0
www.youtube.com/watch?v=FhRXAD8-UkE
www.youtube.com/watch?v=GJ3f88ebDqc&t=111s
www.youtube.com/watch?v=D_M1I9GvpYs
www.youtube.com/watch?v=VotPQafL7Nw
youtu.be/-gfwyi7TgLI
play.google.com/store/apps/details?id=org.kognitivo.kognitivo
play.google.com/store/apps/details?id=net.inclem.pyonicinterpreter
play.google.com/store/apps/details?id=com.madhattersoft.guessthequote
play.google.com/store/apps/details?id=com.prog.ders.ceyhan
play.google.com/store/apps/details?id=com.heattheatr.quotessaints
Source: https://habr.com/ru/post/418839/
All Articles