Hot, summer DataGrip 2018.2
Hello! This post is about what's new in DataGrip 2018.2 . From this version, database support is available in CLion and AppCode . In WebStorm, you can enable it if you are using DataGrip in parallel.

- Log all requests
- New code formatter
- Run stored procedures
- Source Migration
- Request plan in the form of a diagram
- SQL editing
- Data Editor
- UI improvements
')
All queries that DataGrip launches are now displayed in the Output panel of each console. Both user requests and internal ones are included here.
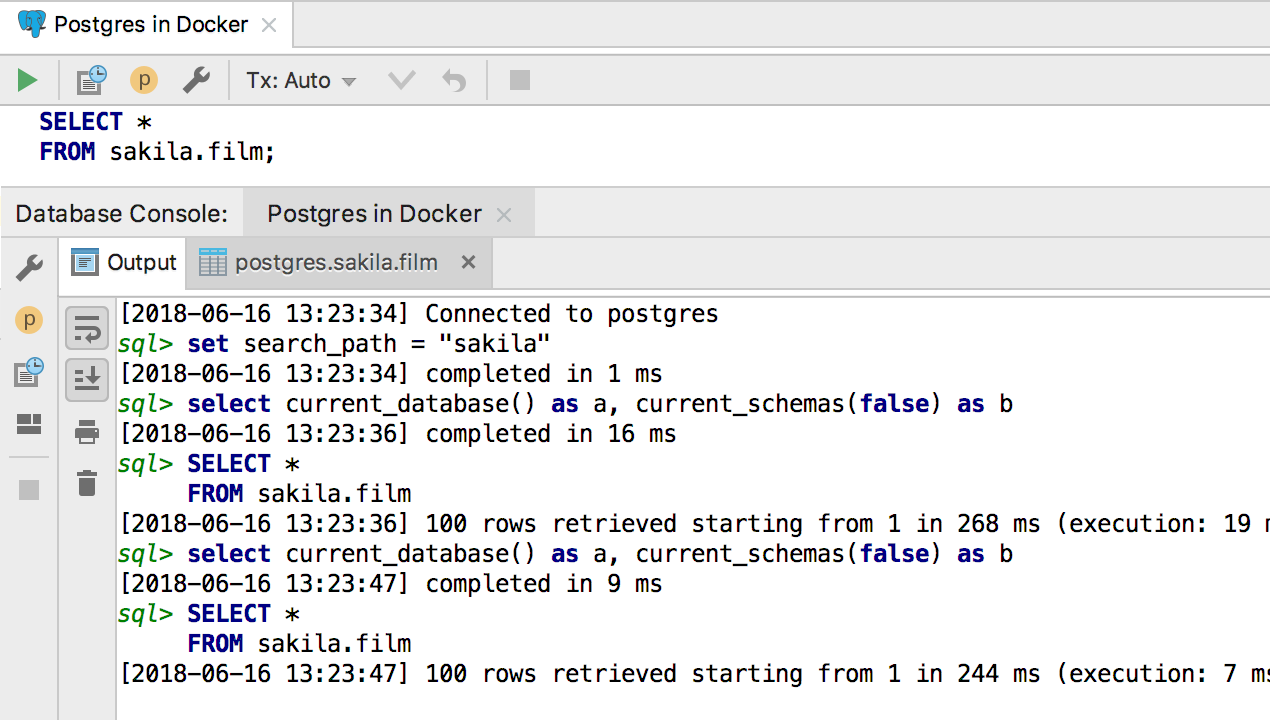
Everything that runs in DataGrip gets into a separate log file.

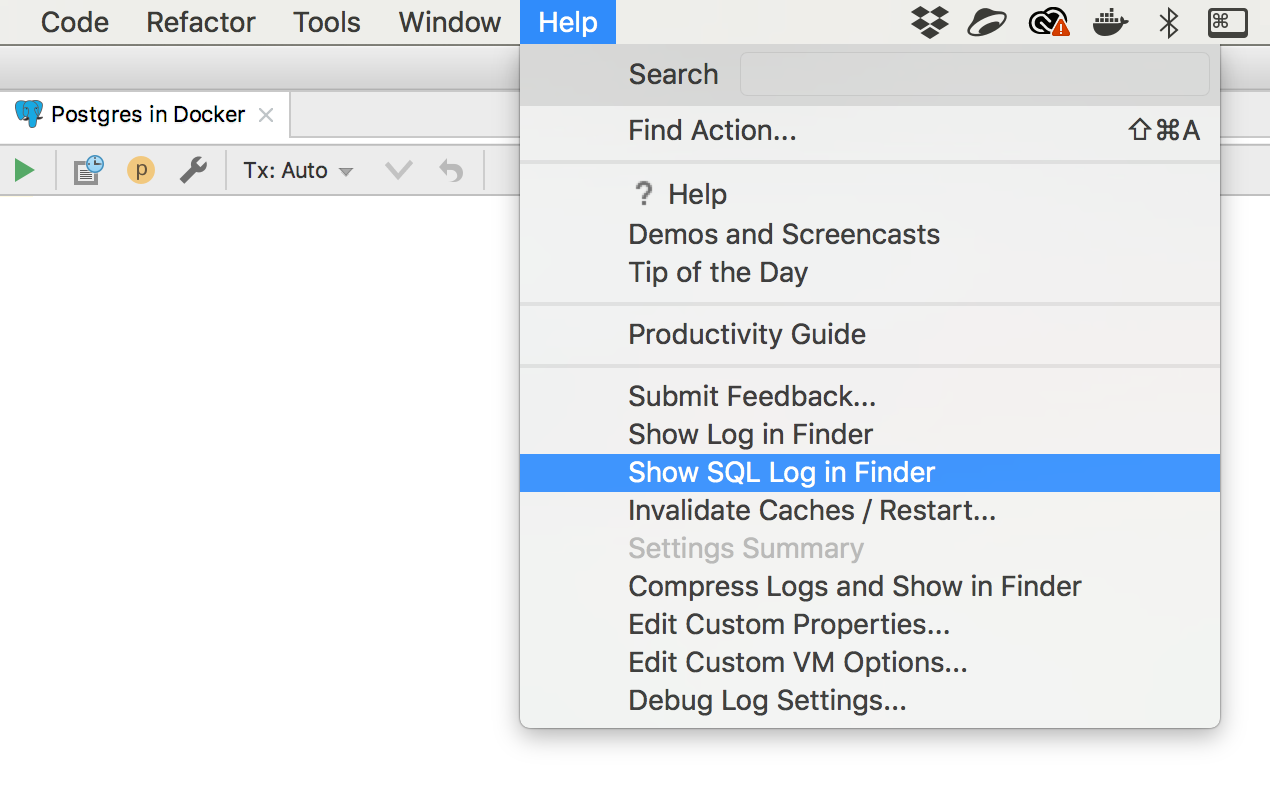
To open it, use Help -> Show SQL log .
Thanks to everyone who shared ideas about styles in SQL, we tried to accommodate your wishes. We have a lot to add, so we will be happy if you share styles that we have not covered.

You can create multiple code styles in DataGrip.
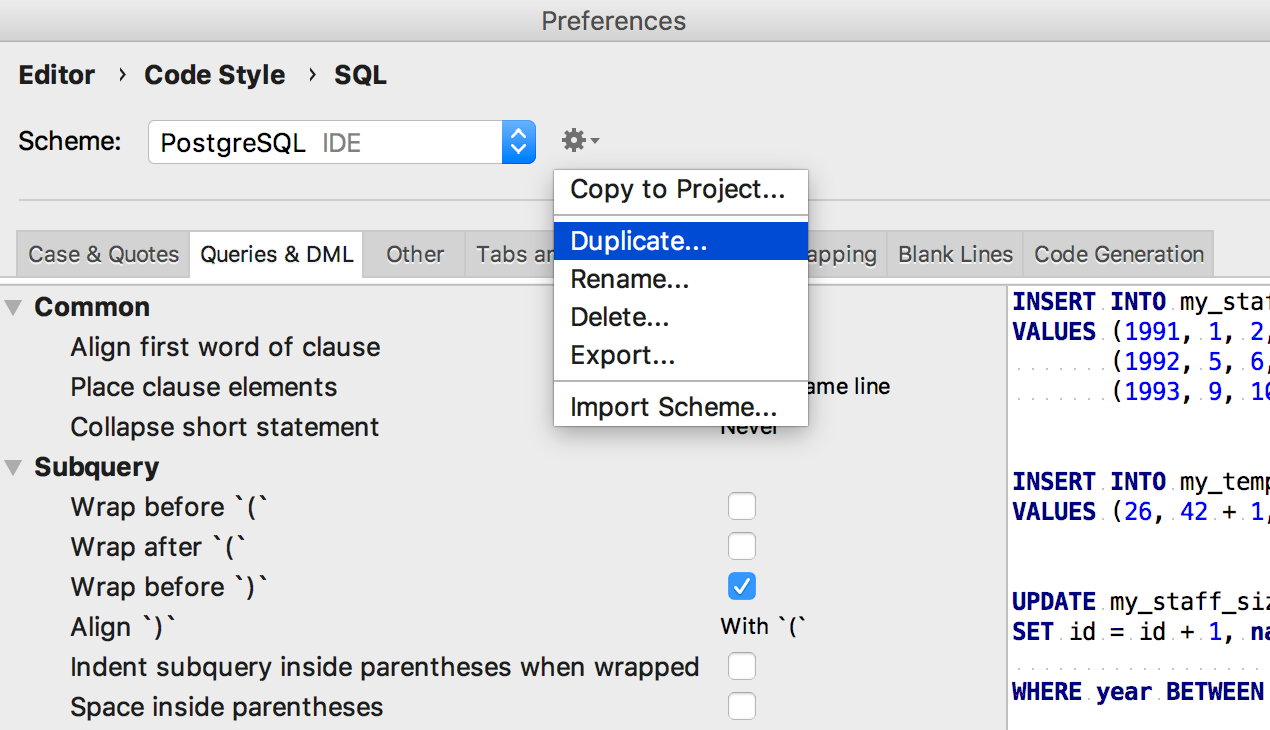
Now you can attach a style to each data source.

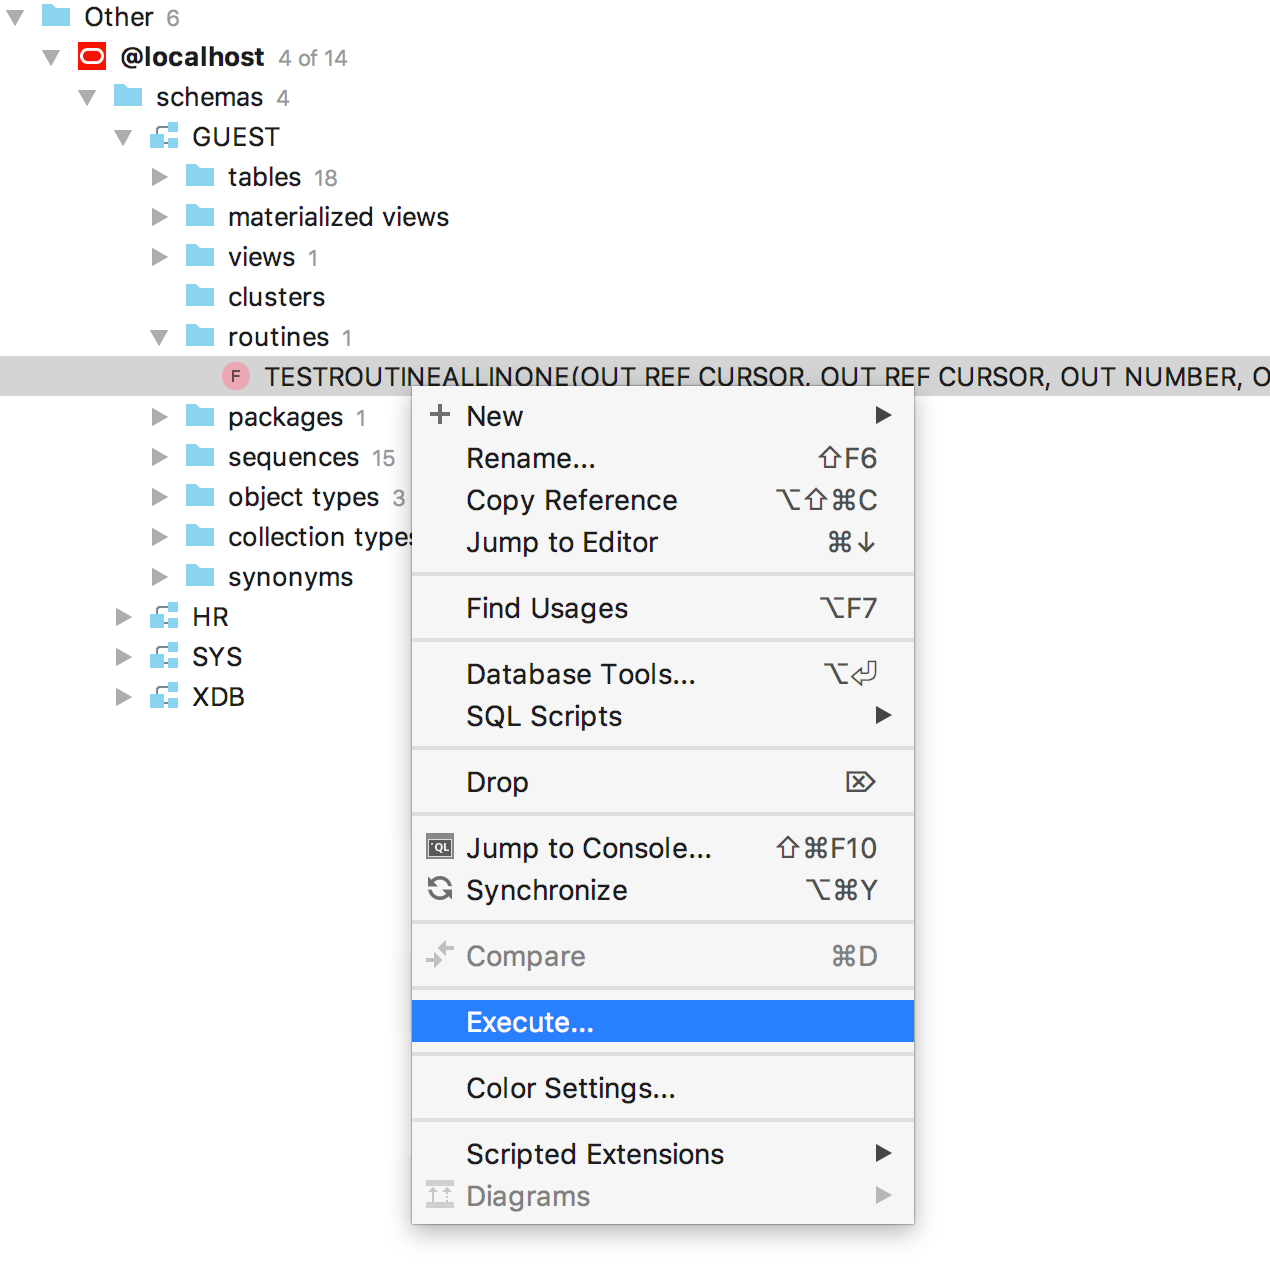
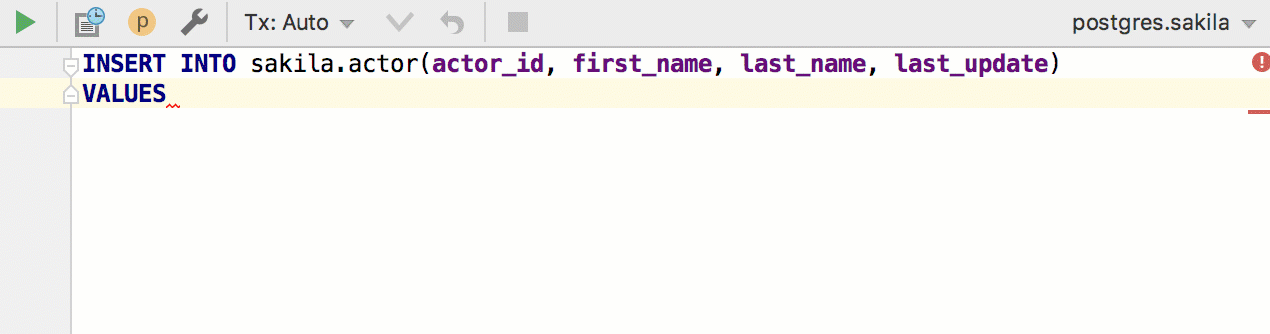
This thing has been waiting for hardcore enterprises with procedures for three hundred arguments :) Now it works for Oracle, PostgreSQL and for SQL Server only in DataGrip, but in version 2018.2.1 other IDEs will catch up.
To run the procedure, select Execute from the context menu.
Paste the values of the desired parameters into the generated code.

In this example, for Oracle, we display the output through the jbdc driver. Therefore, we need this code with questions.
In the more classic case, there is no output, then often simple enough code. This is an example for PostgreSQL.

The procedure can still be started by clicking on the green arrow in the toolbar of the source editor.
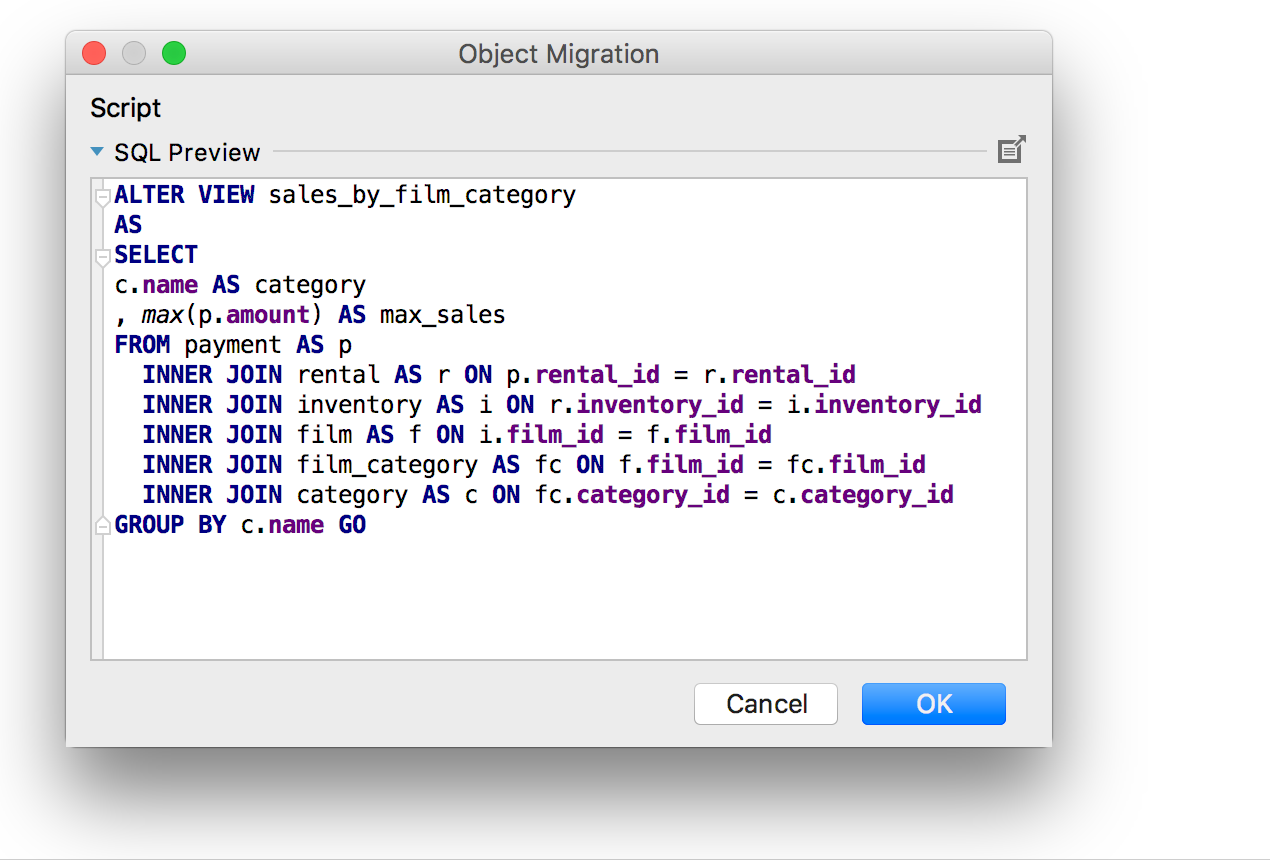
Do not think about CREATE OR REPLACE and so on, just change in the source code what you need. On the left panel shows the changes, you can see the difference with the server version. To submit changes to the database, click Submit.

A code will be generated. Click OK to execute it.
Someone is more comfortable than a tree. We have done :)
To open the diagram, find the Show Visualization button on the toolbar after launching Explain Plan .
When dealing with the source of a large procedure, it is useful to remind yourself of the context - inside what the cursor is: which procedure or which package. Use Alt + Q ( Shift + Ctrl + Q for OSX ) for this, the context will be displayed above.
This came from other IDEs: when you enter function parameters, pressing Tab sends the cursor by quotation marks or parentheses.
Turn it on here: Settings / Preferences | Editor | General | Smart keys | Select Jump outside closing brackets / quote with Tab.

There is nothing to explain here :)
Previously, only the number of selected fields was displayed below. Added lines.
For owners of Mac Book Pro with a touch panel, an Execute button will appear on it.

But you can add any action. To do this, go to Preferences → Appearance & Behavior → Menus and Toolbars → Touch Bar .
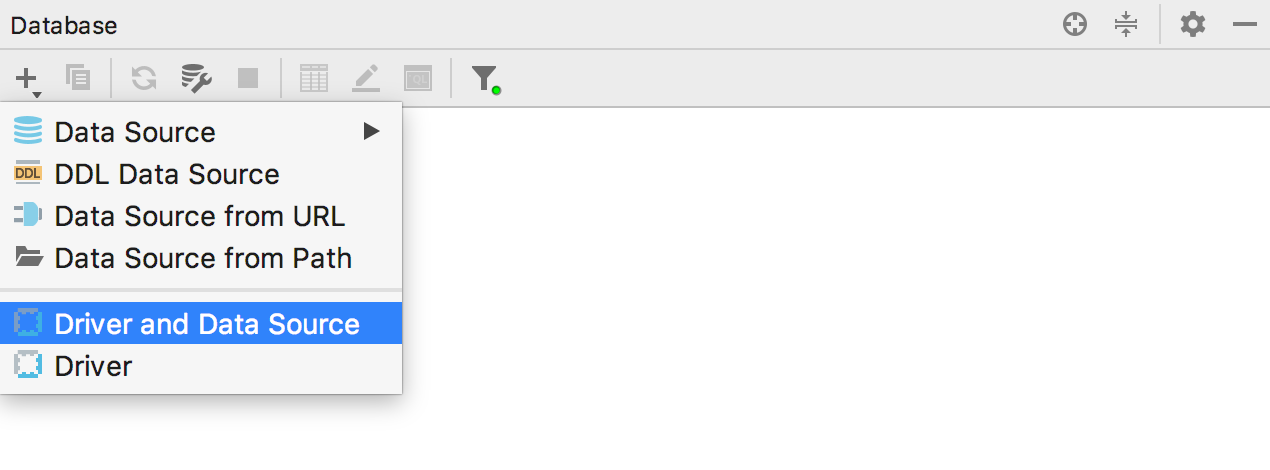
Such sources have become easier to create: in the drop-down list to create a source there is a Driver and Data Source item.
This thing is there for a long time, but it did not work for some layouts and hot circuits. Now it works everywhere :) So, on any action, you can press Alt + Enter and assign a keyboard shortcut.

Previously, it was necessary to do this: find the script file and run it on the necessary base. Now you can do the opposite: the Run SQL script item appeared in the context menu of the schema.

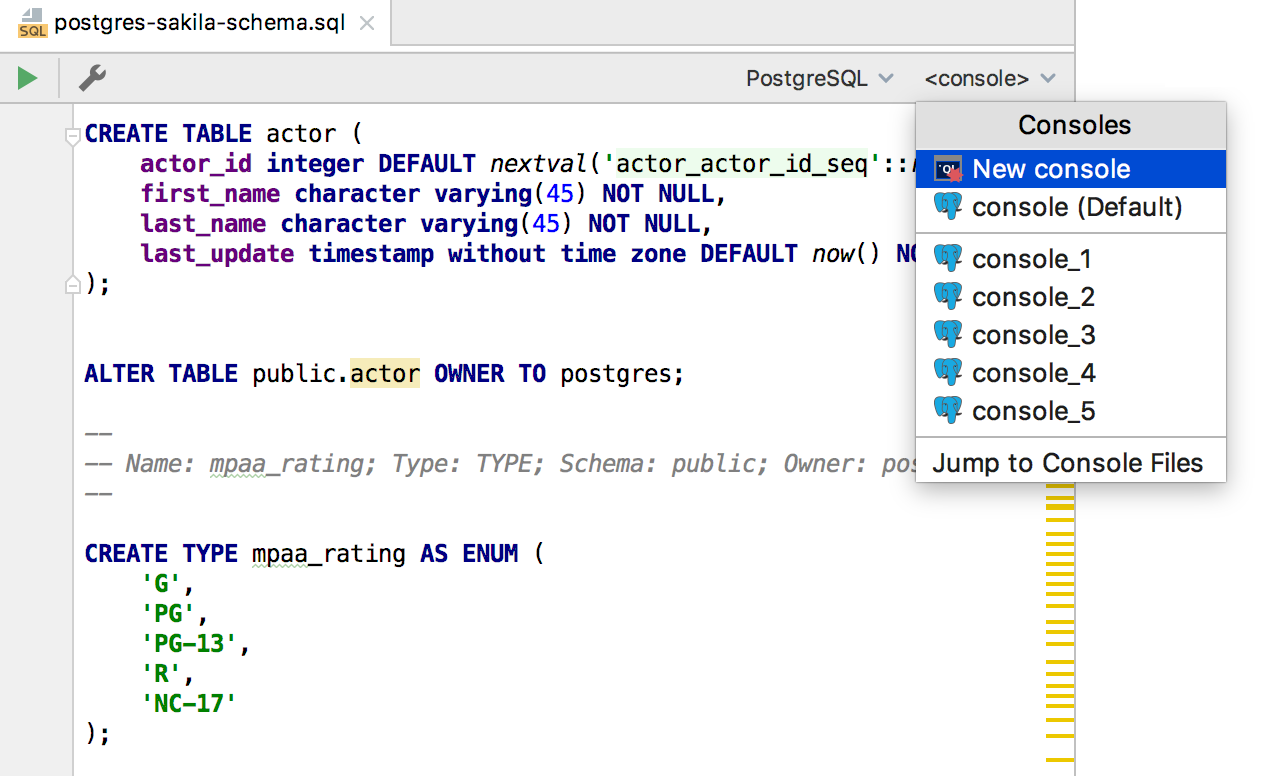
It became easier to work with files: select the necessary dialect from the toolbar and attach the console.
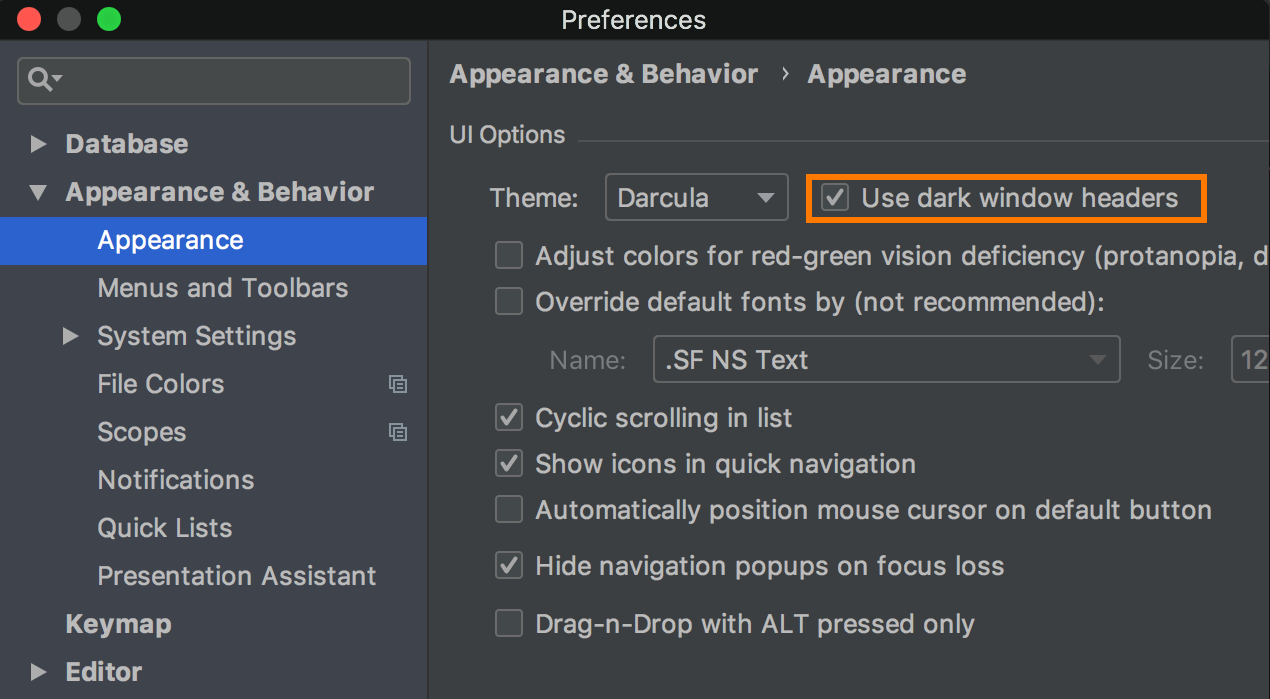
To do this for macOS, enable Preferences | Appearance & Behavior | Appearance | Use dark window headers .
We will be glad to questions in the comments and do not forget to look at the Features , suddenly did not know something?
DataGrip command.
- Log all requests
- New code formatter
- Run stored procedures
- Source Migration
- Request plan in the form of a diagram
- SQL editing
- Data Editor
- UI improvements
')
Log all requests
All queries that DataGrip launches are now displayed in the Output panel of each console. Both user requests and internal ones are included here.
Everything that runs in DataGrip gets into a separate log file.
To open it, use Help -> Show SQL log .
New code formatter
Thanks to everyone who shared ideas about styles in SQL, we tried to accommodate your wishes. We have a lot to add, so we will be happy if you share styles that we have not covered.
You can create multiple code styles in DataGrip.
Now you can attach a style to each data source.
Run stored procedures
This thing has been waiting for hardcore enterprises with procedures for three hundred arguments :) Now it works for Oracle, PostgreSQL and for SQL Server only in DataGrip, but in version 2018.2.1 other IDEs will catch up.
To run the procedure, select Execute from the context menu.
Paste the values of the desired parameters into the generated code.
In this example, for Oracle, we display the output through the jbdc driver. Therefore, we need this code with questions.
In the more classic case, there is no output, then often simple enough code. This is an example for PostgreSQL.
The procedure can still be started by clicking on the green arrow in the toolbar of the source editor.
Source Migration
Do not think about CREATE OR REPLACE and so on, just change in the source code what you need. On the left panel shows the changes, you can see the difference with the server version. To submit changes to the database, click Submit.
A code will be generated. Click OK to execute it.
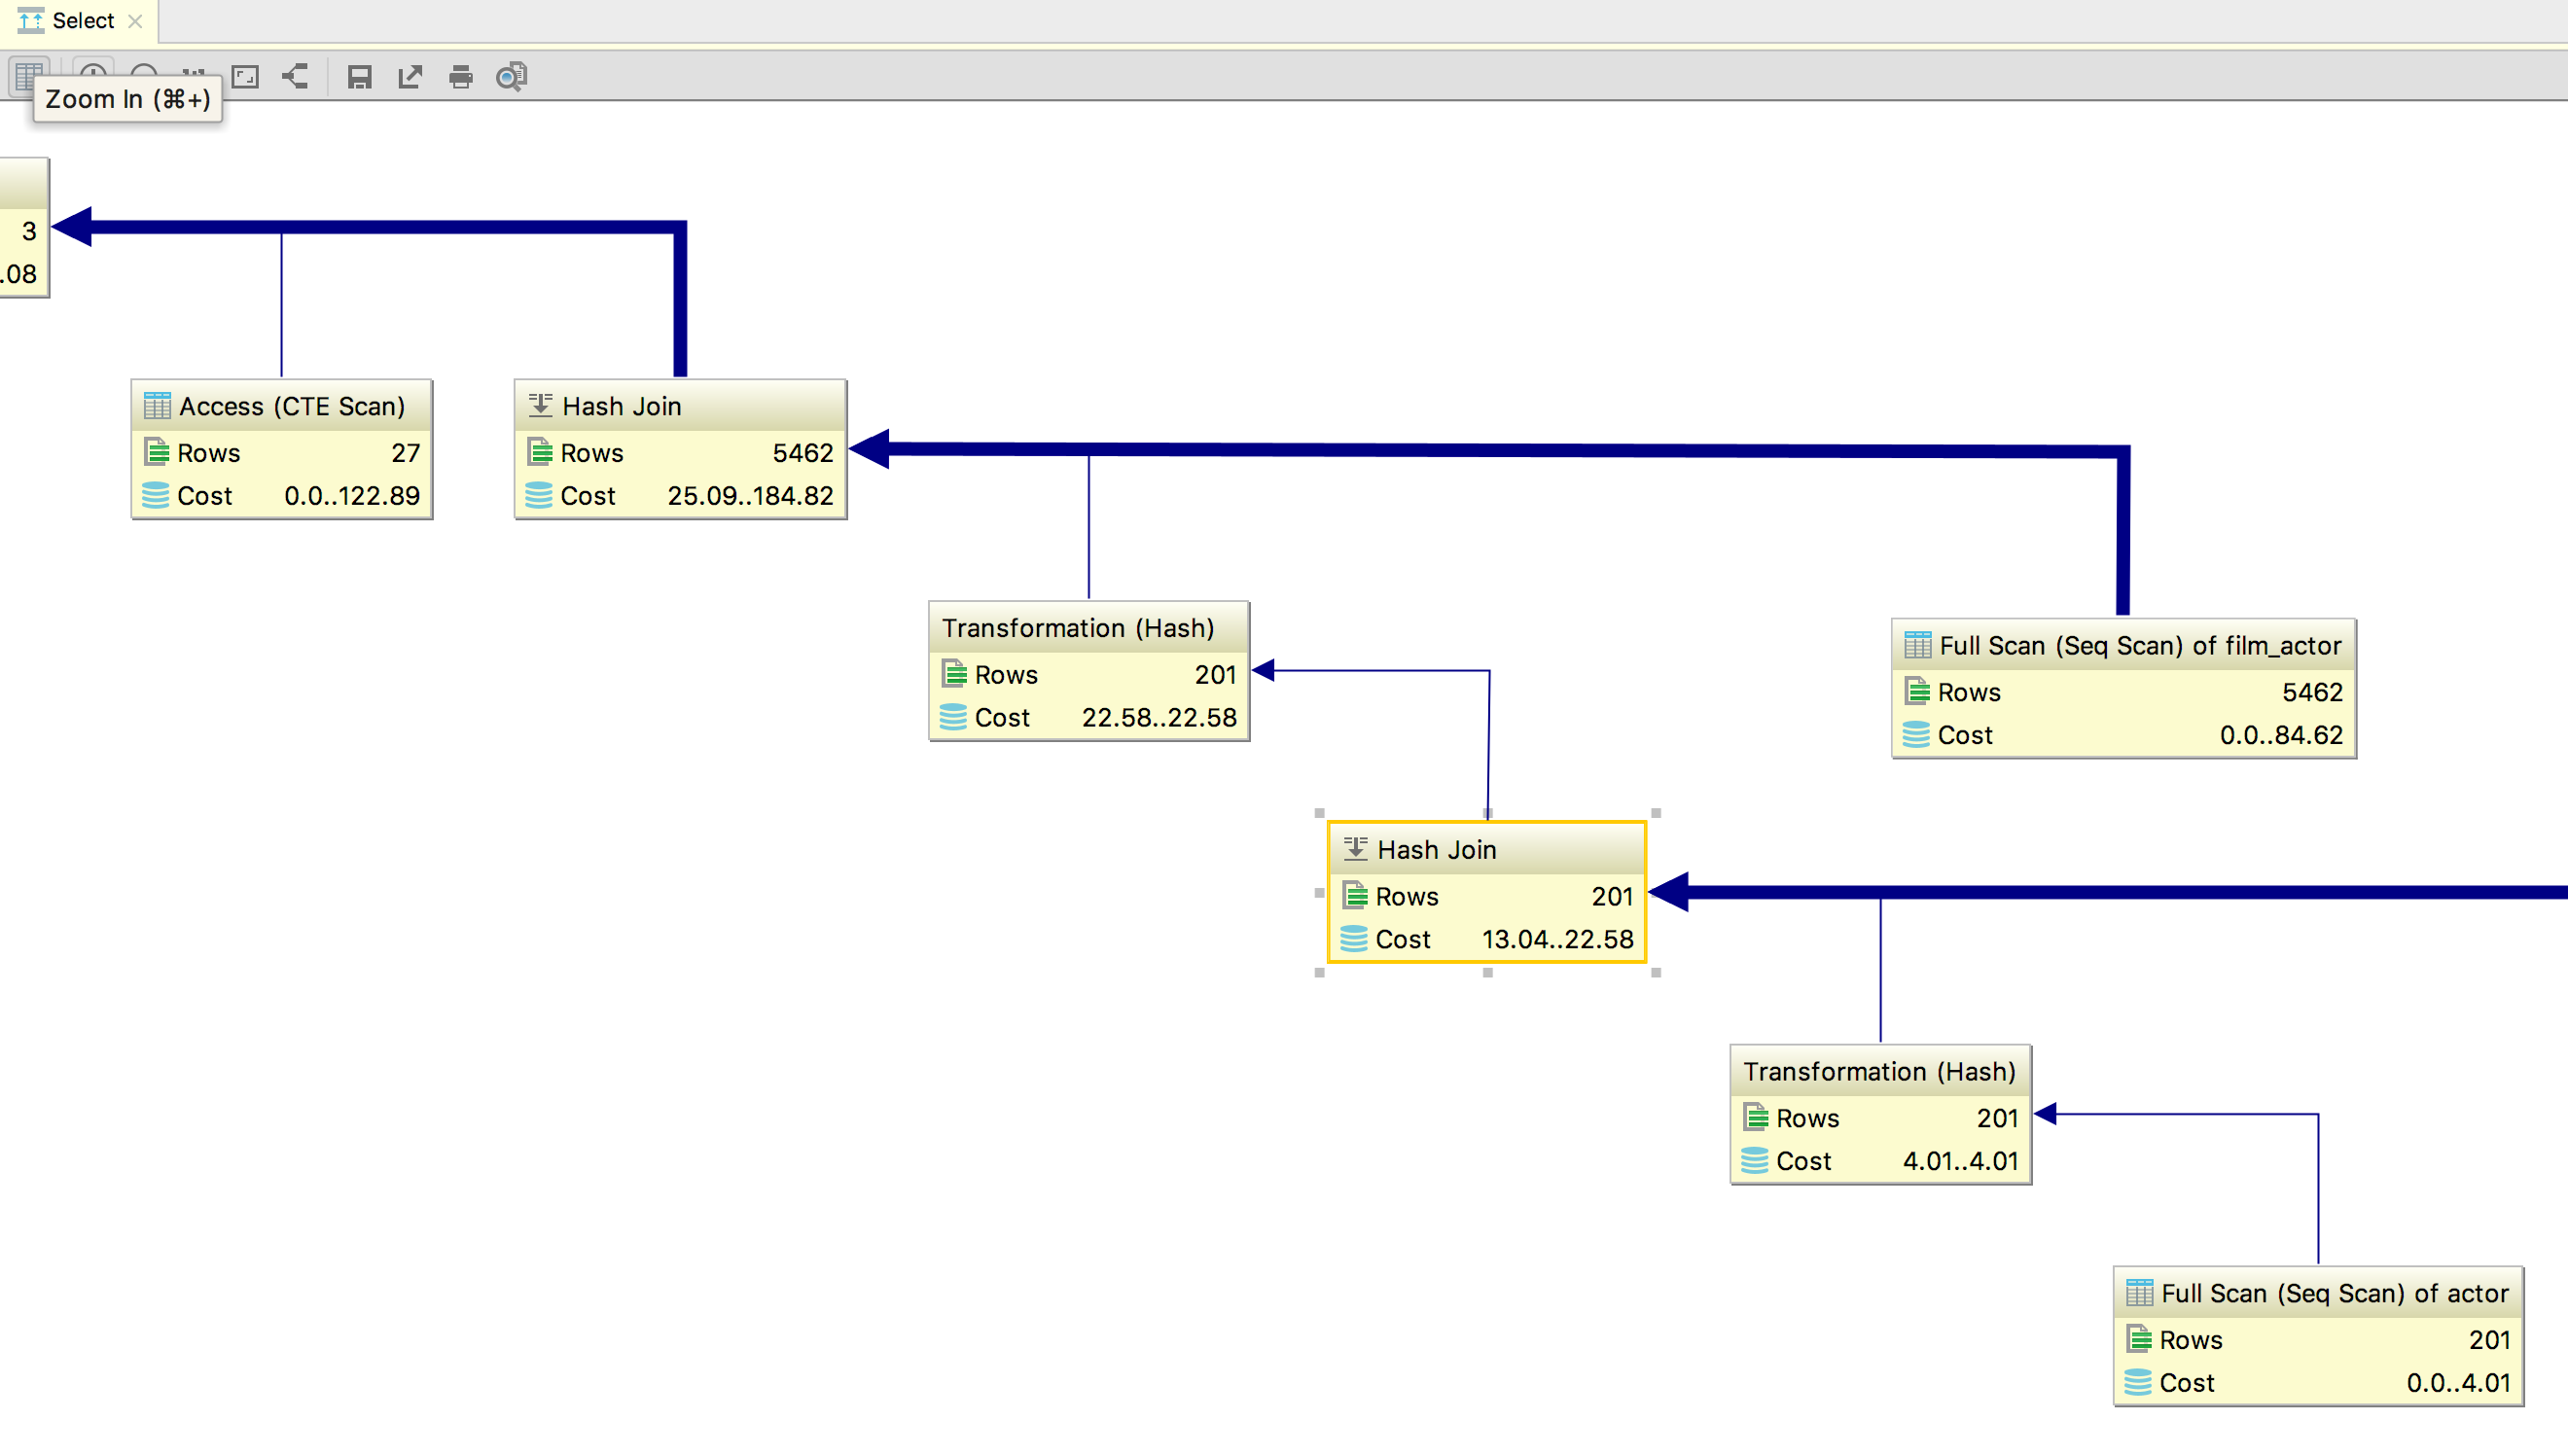
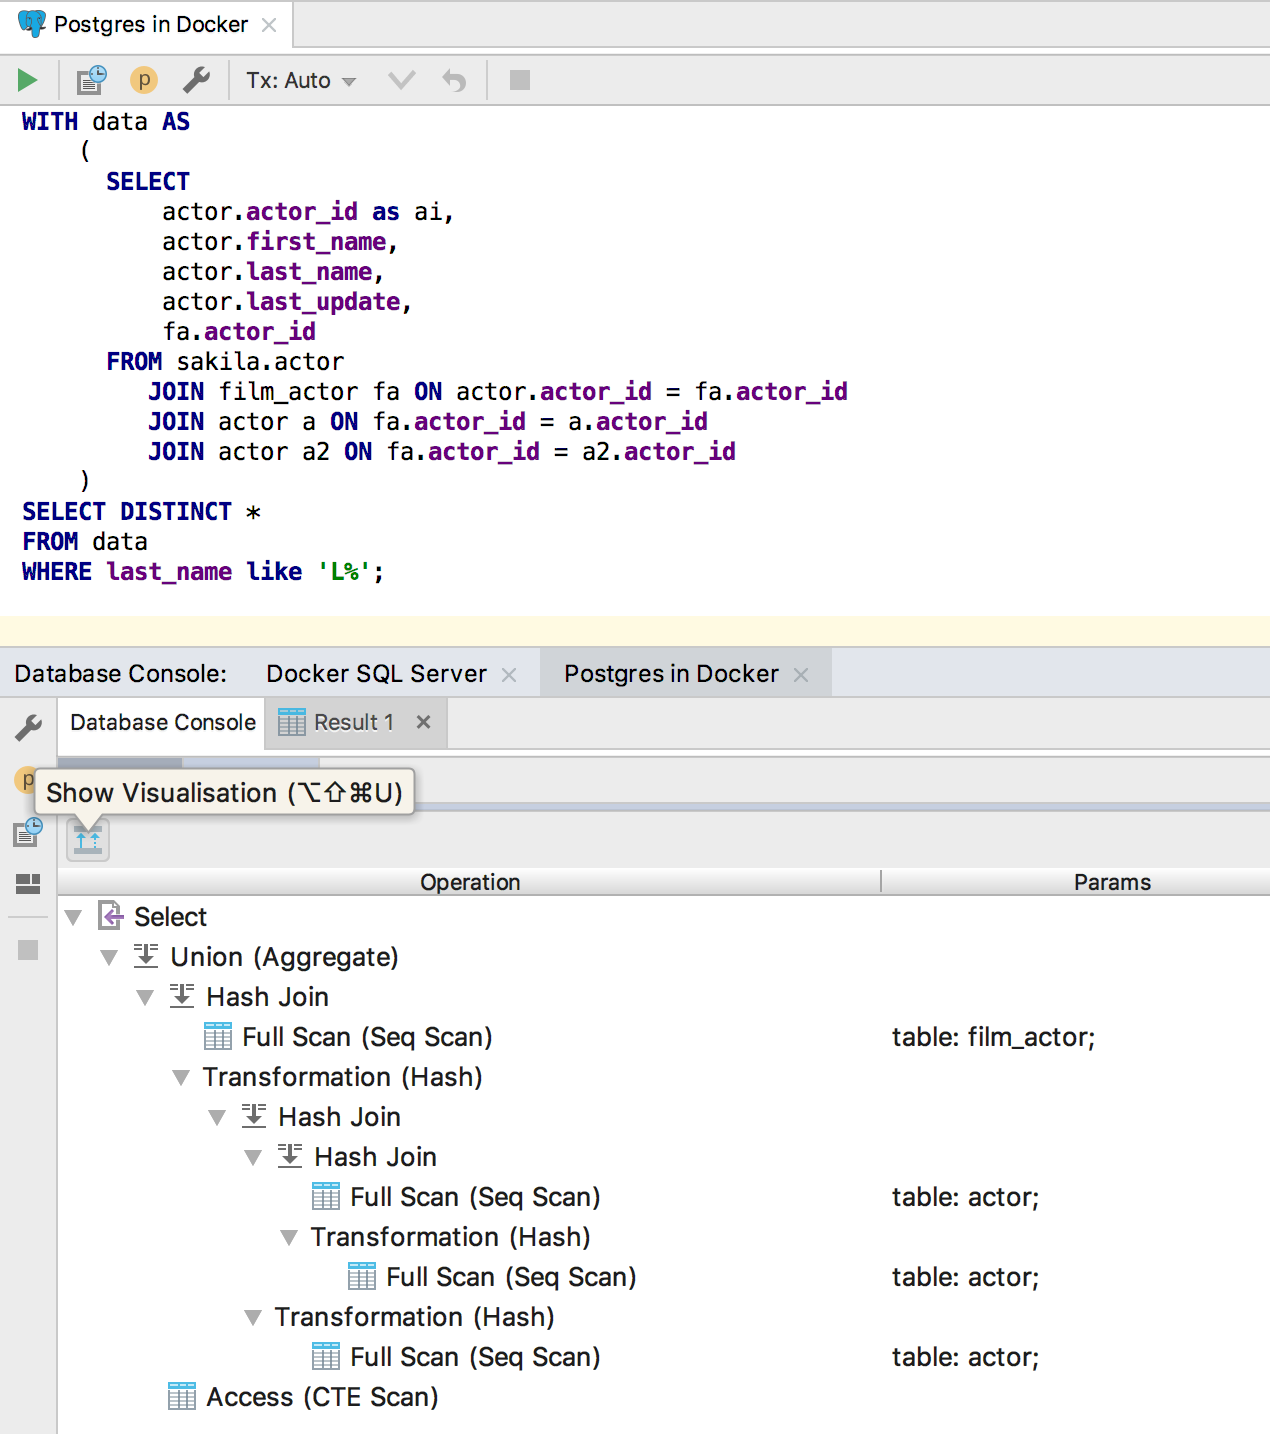
Query plan in chart form
Someone is more comfortable than a tree. We have done :)
To open the diagram, find the Show Visualization button on the toolbar after launching Explain Plan .
SQL editing
Context information
When dealing with the source of a large procedure, it is useful to remind yourself of the context - inside what the cursor is: which procedure or which package. Use Alt + Q ( Shift + Ctrl + Q for OSX ) for this, the context will be displayed above.
Jump over parentheses or quotes by pressing Tab.
This came from other IDEs: when you enter function parameters, pressing Tab sends the cursor by quotation marks or parentheses.
Turn it on here: Settings / Preferences | Editor | General | Smart keys | Select Jump outside closing brackets / quote with Tab.
Data editor
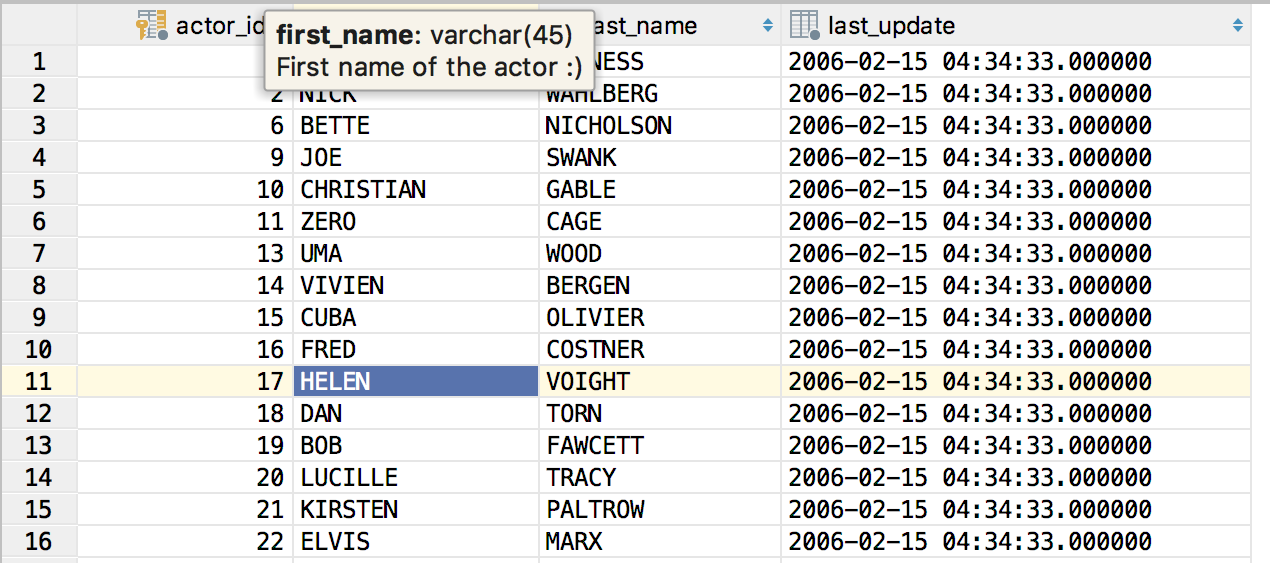
Comments on tips columns
There is nothing to explain here :)
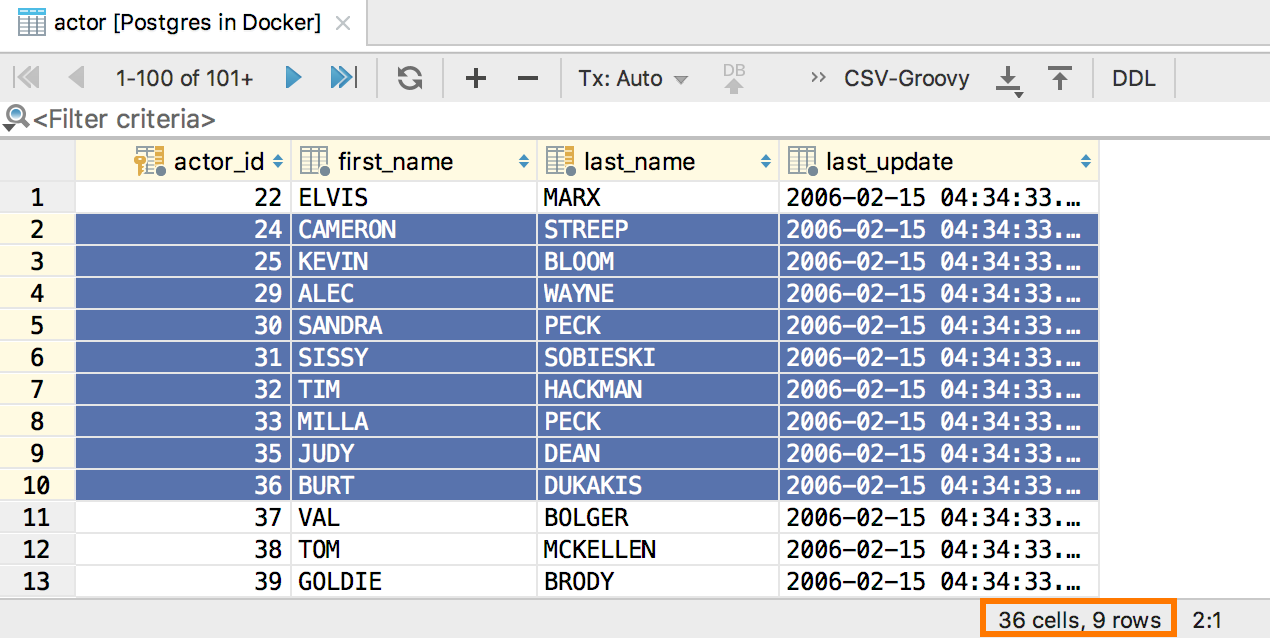
Number of selected lines
Previously, only the number of selected fields was displayed below. Added lines.
Interface improvements
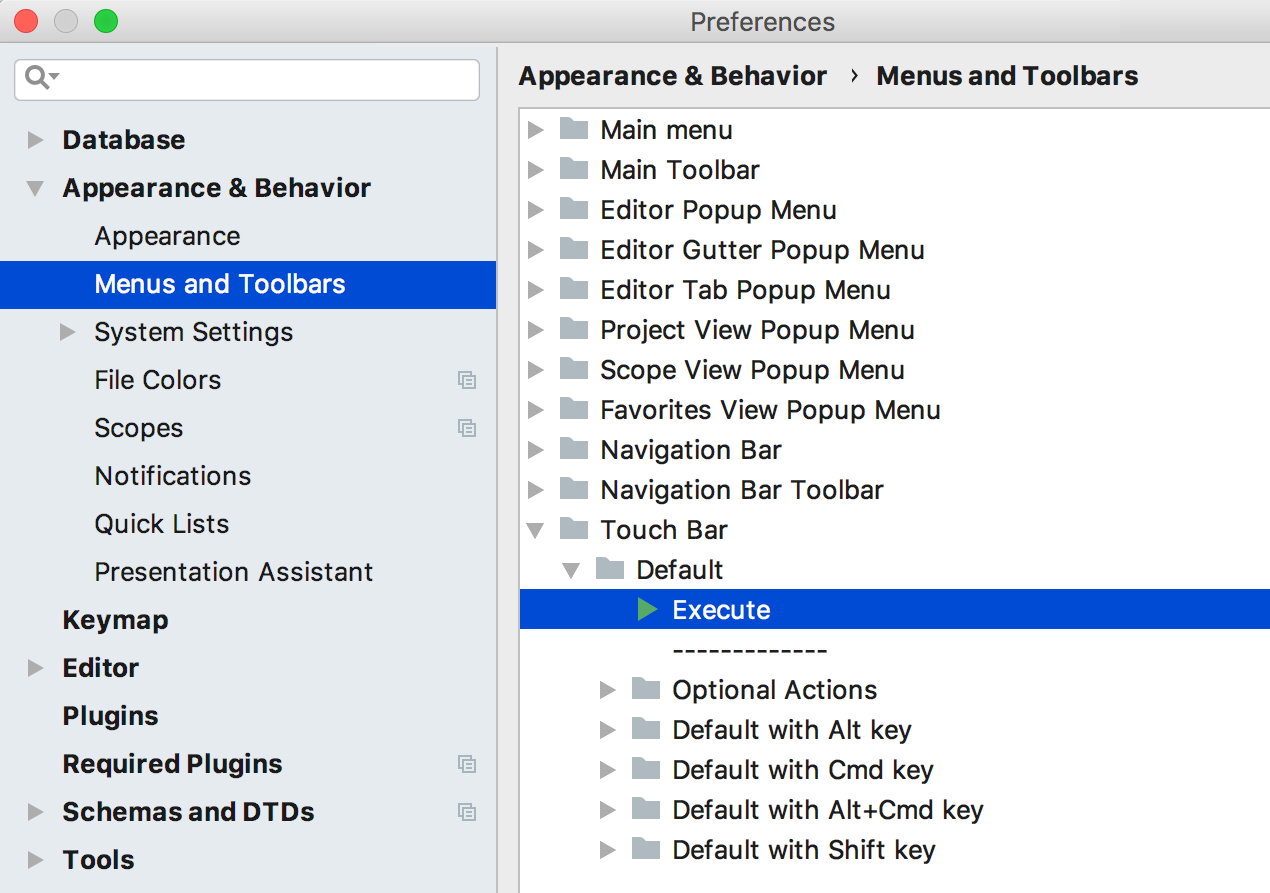
Touchpad support
For owners of Mac Book Pro with a touch panel, an Execute button will appear on it.
But you can add any action. To do this, go to Preferences → Appearance & Behavior → Menus and Toolbars → Touch Bar .
Driver-based data source
Such sources have become easier to create: in the drop-down list to create a source there is a Driver and Data Source item.
Finding the shortcut from Find Action
This thing is there for a long time, but it did not work for some layouts and hot circuits. Now it works everywhere :) So, on any action, you can press Alt + Enter and assign a keyboard shortcut.
Run the script on the diagram
Previously, it was necessary to do this: find the script file and run it on the necessary base. Now you can do the opposite: the Run SQL script item appeared in the context menu of the schema.
Dialect and attached console in the toolbar
It became easier to work with files: select the necessary dialect from the toolbar and attach the console.
Dark hats windows
To do this for macOS, enable Preferences | Appearance & Behavior | Appearance | Use dark window headers .
We will be glad to questions in the comments and do not forget to look at the Features , suddenly did not know something?
DataGrip command.
Source: https://habr.com/ru/post/418337/
All Articles