BEERBRAZZERS. Control the light. Vixen Lights 3. Quick Start (1/4)
Good evening ladies and gentlemen! I wish you all good health and good mood! Now I will begin a cycle of a dozen articles on the development of the brewery "BEERBRAZZERS". Take this cycle seriously - not recommended. It's all about fun and, as they say, purely for fun. The first article will be devoted to the management of light to music. Indeed, where in brewing without it? Nowhere. And if so - let's get started.

Actually, what are we talking about? Many of you probably know that in the states everyone is fond of decorating their lands for Christmas with various garlands, lamps, diode cords and other lighting products. There it sometimes has the character of a special Olympiad - a sort of measure, who has a garland longer ... A special trick, of course, is a variety of lighting effects: synchronous on / off, smooth increase / decrease in brightness, all running lights, and so on. But the special chic is the synchronization of its light show to the music.
')
Sometimes more than one thousand dollars come into such embellishments, and since demand creates supply, various control boards, specialized software and so on bloom in the market. There is very little information about this kitchen in Russian, and since my brewery is no worse than some redneck's ranch before Christmas, I had to figure it out. Thousands of dollars to allocate for this is not permissible. But a thousand rubles - the most it! I offer my research to everyone. Who cares - let's go to me under the cat…
If someone does not understand what they mean, then you can look at such a vidos, and everything will become clear.
So there is such a program, called Vixen Lights 3. I was somewhat surprised that Vixen is like a “fox” and a deer is clearly guessed on the logo. Although, who knows how foxes actually look like there in the states ... In general, a supra-brain could translate the name “Fox of Light” - which, by the way, sounds very good. In general, vixen can also be translated as a "shrew" - but it is better to let it be a fox.
Download the latest version of Foxes from the official site. The program is free. Rejoice. True, it works only with Windows. Let's get sad.
Choose a launcher in accordance with the width of your OSes. The restriction applies to the 32-bit version - you cannot create more than 2000 (!!!) channels. But believe me, 2000 channels is very, very dofiga. I doubt that someone will need so much. Although ... downloaded? Run!
Immediately there will be a welcome window.
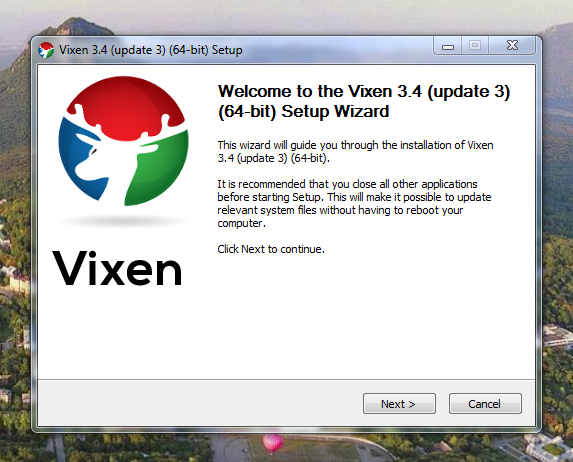
Click Next> I Agree> Next> Next> Install
After installation, uncheck Show readme and click Finish. During the installation, there will be a small pause for a minute, this is so necessary, nothing is stuck, do not be nervous.
After the program loads, a window pops up like this:
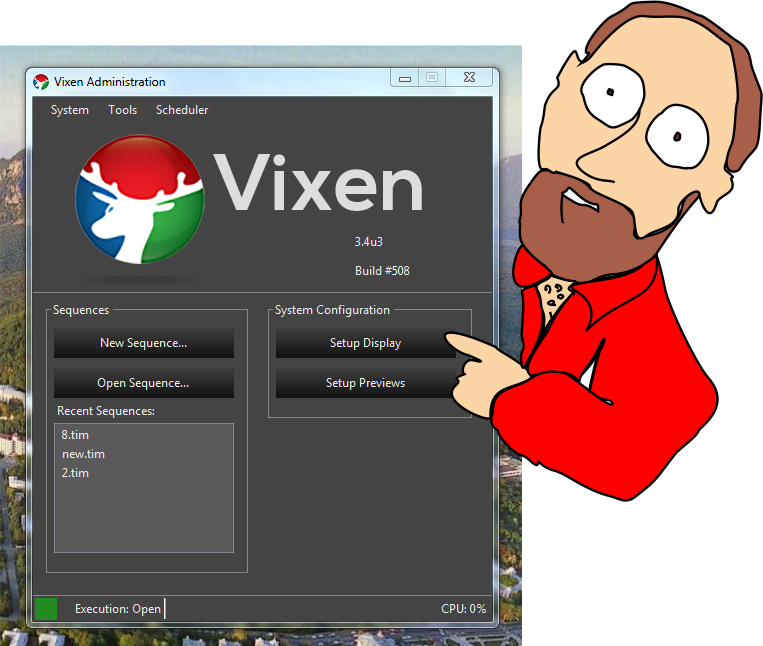
In the Recent Sequences field you will have nothing. And now more closely. We cannot create sequences immediately, because we first need to make adjustments.
Click the Setup Display, the settings window will open:
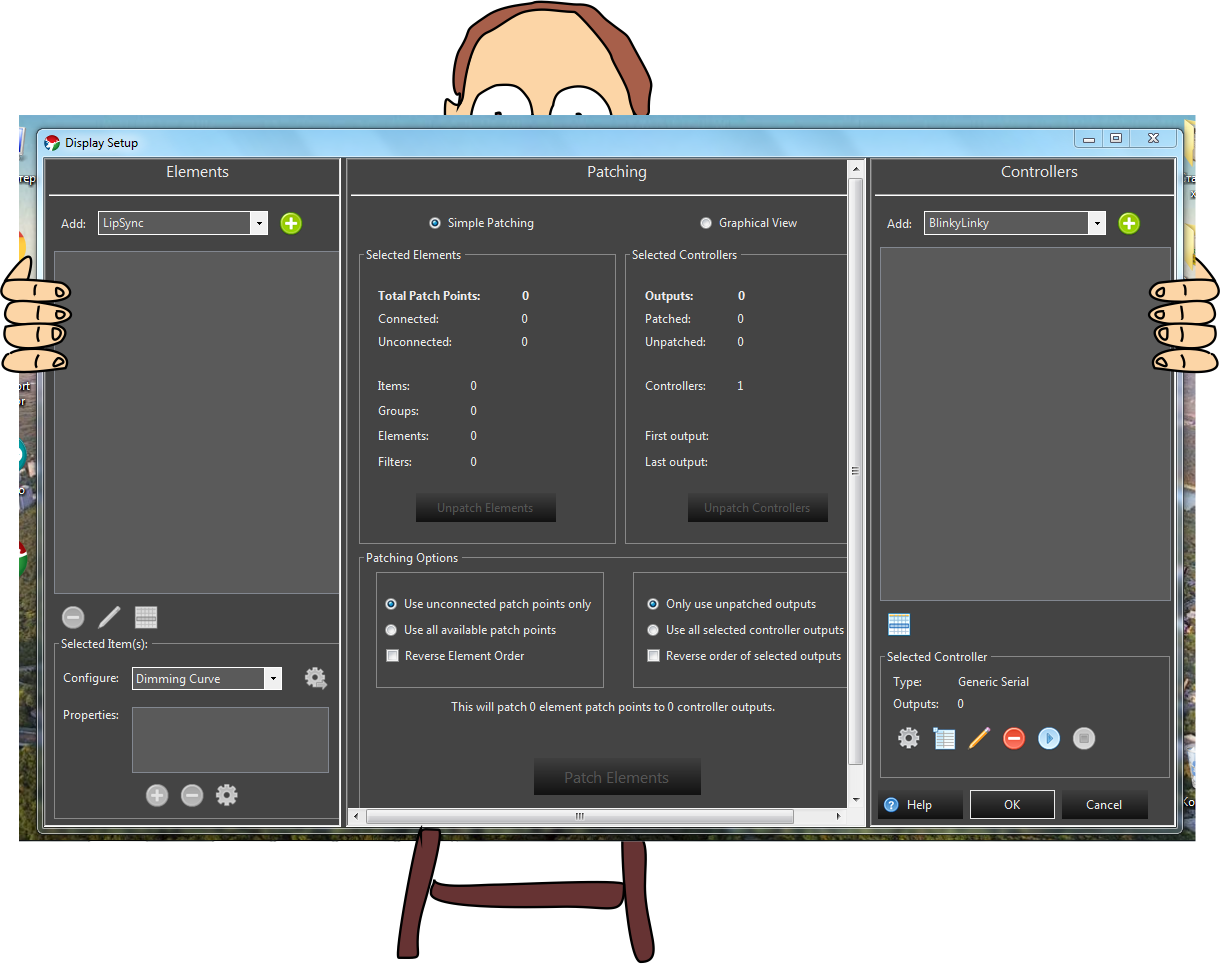
The first thing we need to do is add elements. The element is your light source. LED, incandescent, neon ... anything in general. We will add six sources. Three of them will be normal (on / off / blink), and three with adjustable brightness. This division is conditional, just for example. You can make everything adjustable, if your controller has enough pins with PWM, at this stage it doesn't matter - the settings are the same in both cases.
At the top left, click on the drop-down list “Add” and select Single Item. Then we press on the green plus sign next. Immediately pops up a window in which you must specify the name of the element. We have this Lamp 1. Ok. Similarly, we add 5 more sources. You can call it whatever you like, the main thing is to understand what is where, if you have different sources, call it as it is Led1, Led2, Lamp1, Lamp2 and so on.
When sources are added - you need to add a controller.

. In the Controllers window on the right, in the drop-down list “Add”, select Generic Serial and click +, then specify the name of our controller - we have UNO, because we will process the data using Arduino Uno. Why? Probably because they now have more habr users than habr users. You can use what you prefer, as long as it is able to read data from the com port. Well, instead of UNO, you can write anything at all, even “Bormatozavr” - as long as you are satisfied! Immediately after specifying the name, a window will pop up in which you need to specify how many channels will be involved on the controller - we put six by the number of light sources.
Our window now looks like this:
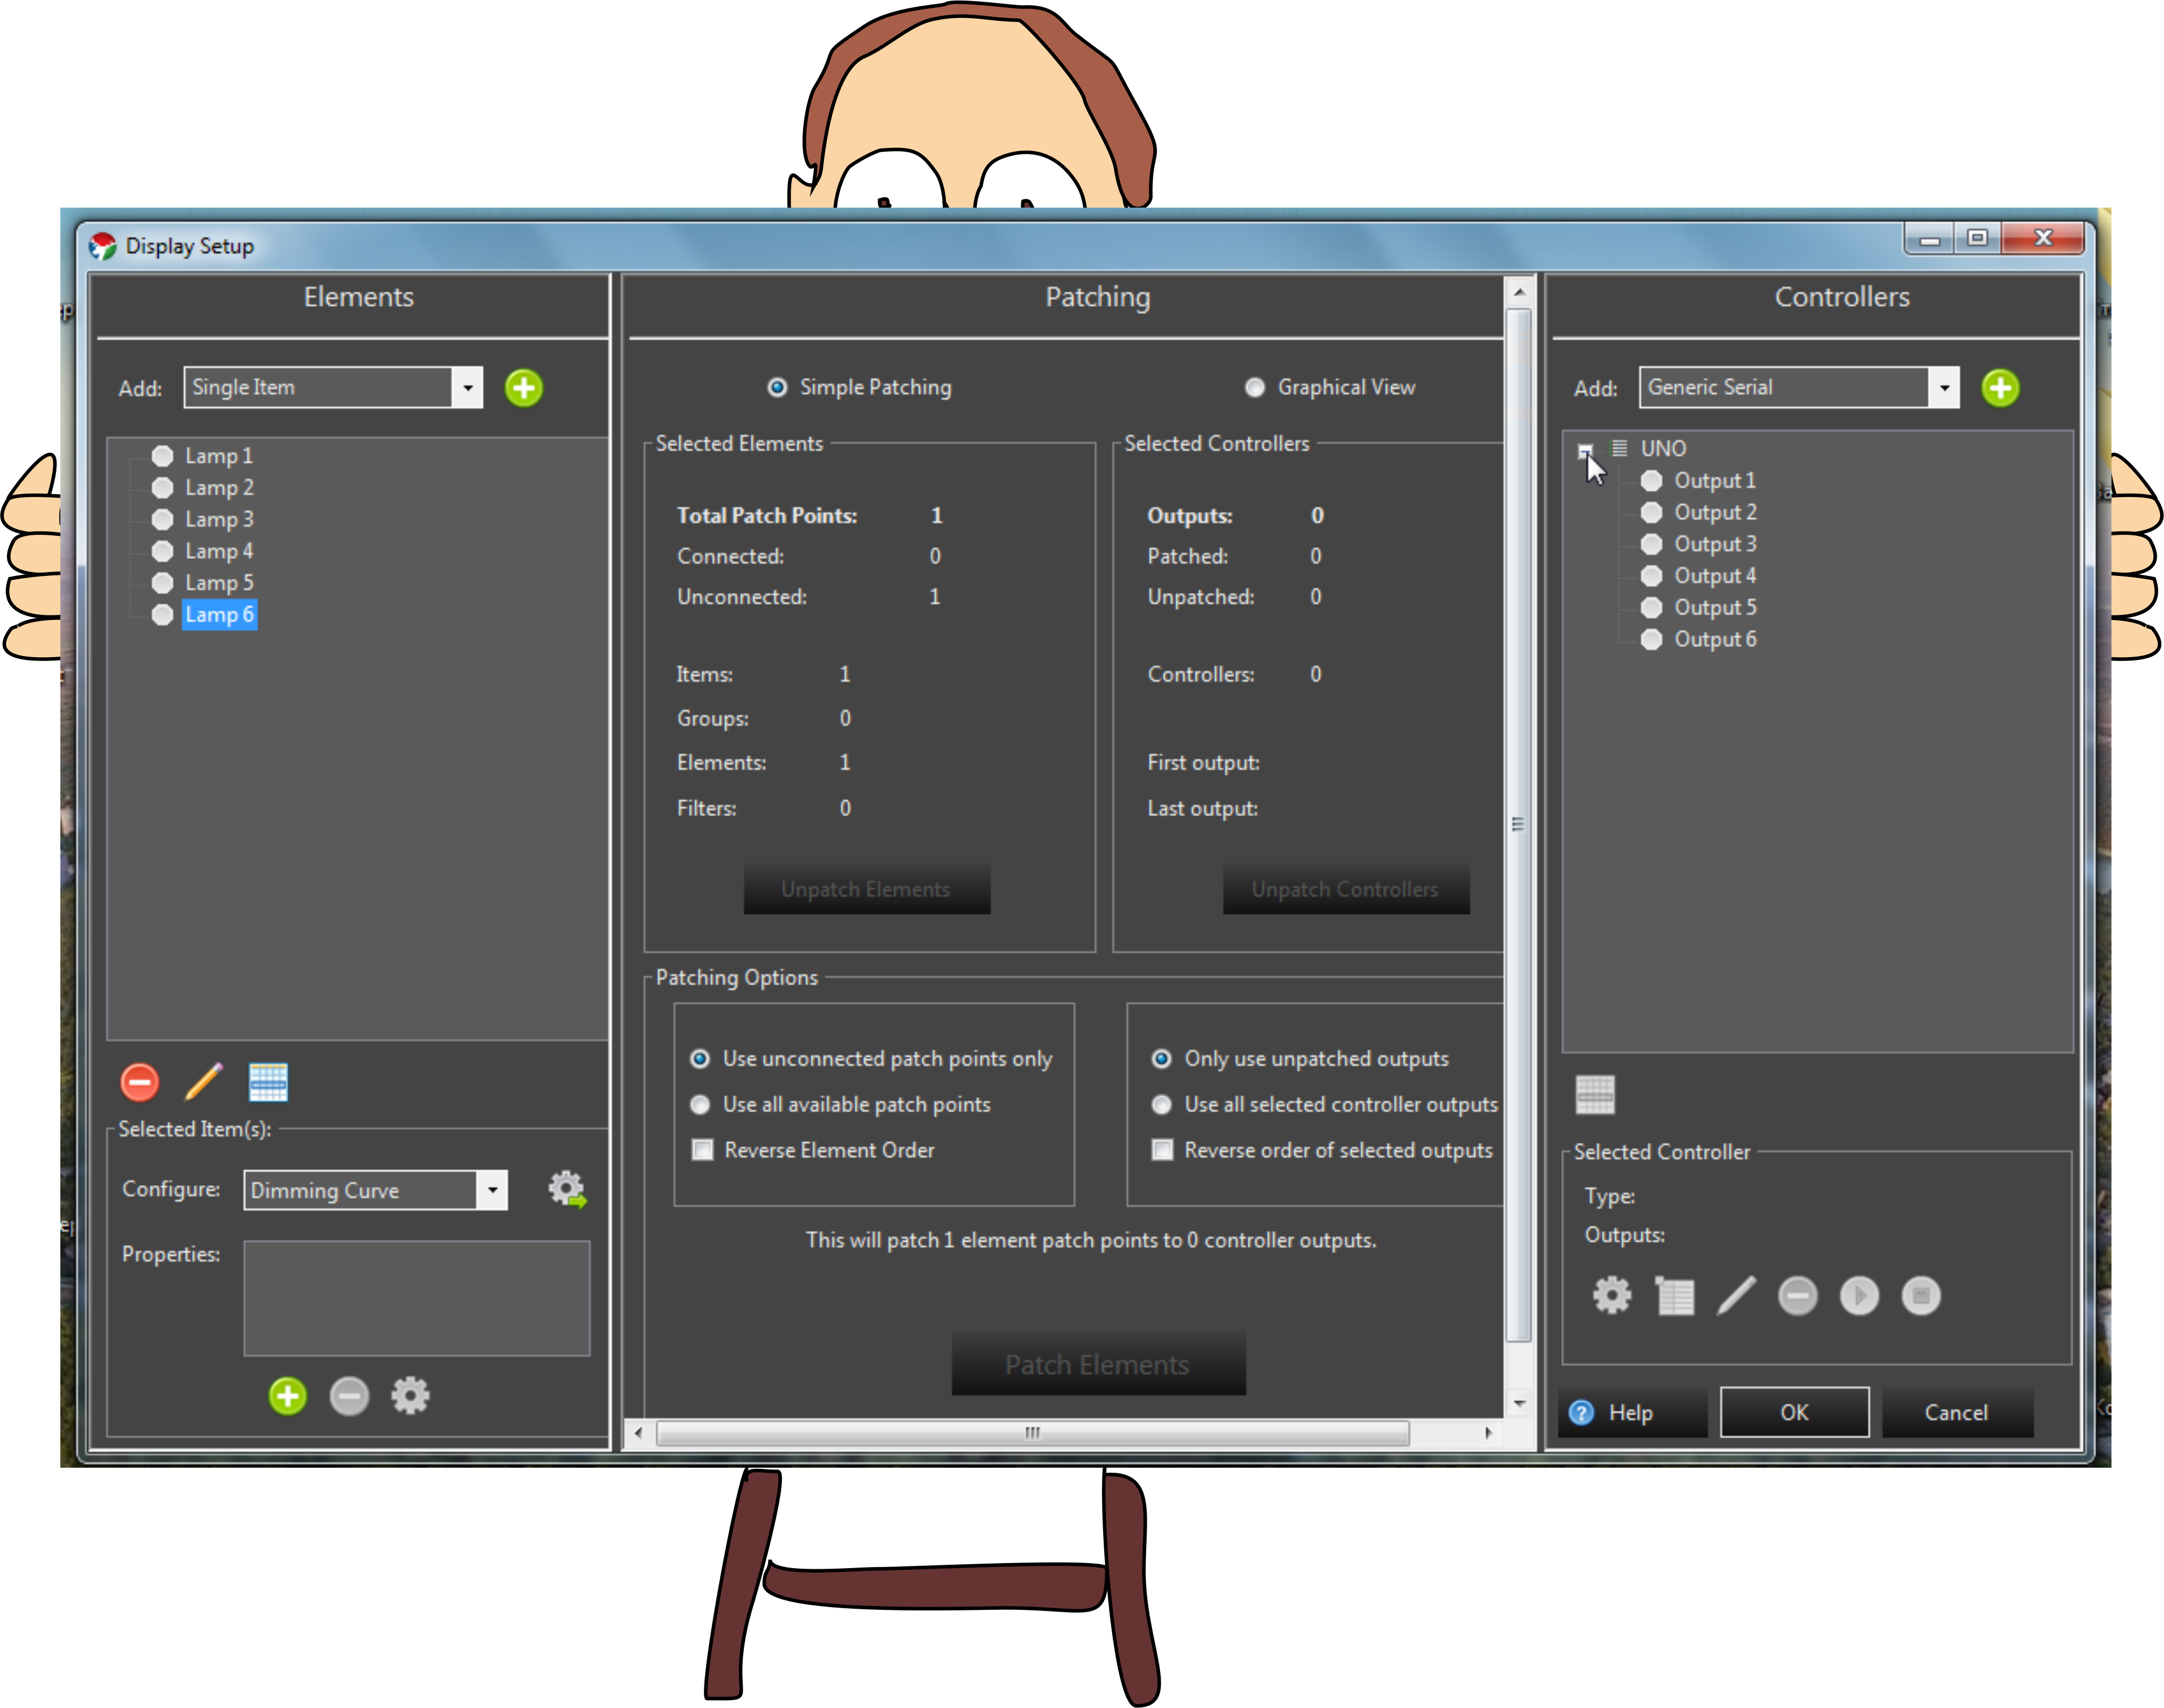
On the left we have 6 light sources, on the right there are 6 control channels. But they are not connected (gray). To link, you need to select all sources and all channels via ctrl or shift, and then click on the Patch Elements button in the bottom center of the window. A notification pops up saying that everything is patched, everything is nishtyak, well done, after which all the elements and channels will turn green. Okay. Let's go further.
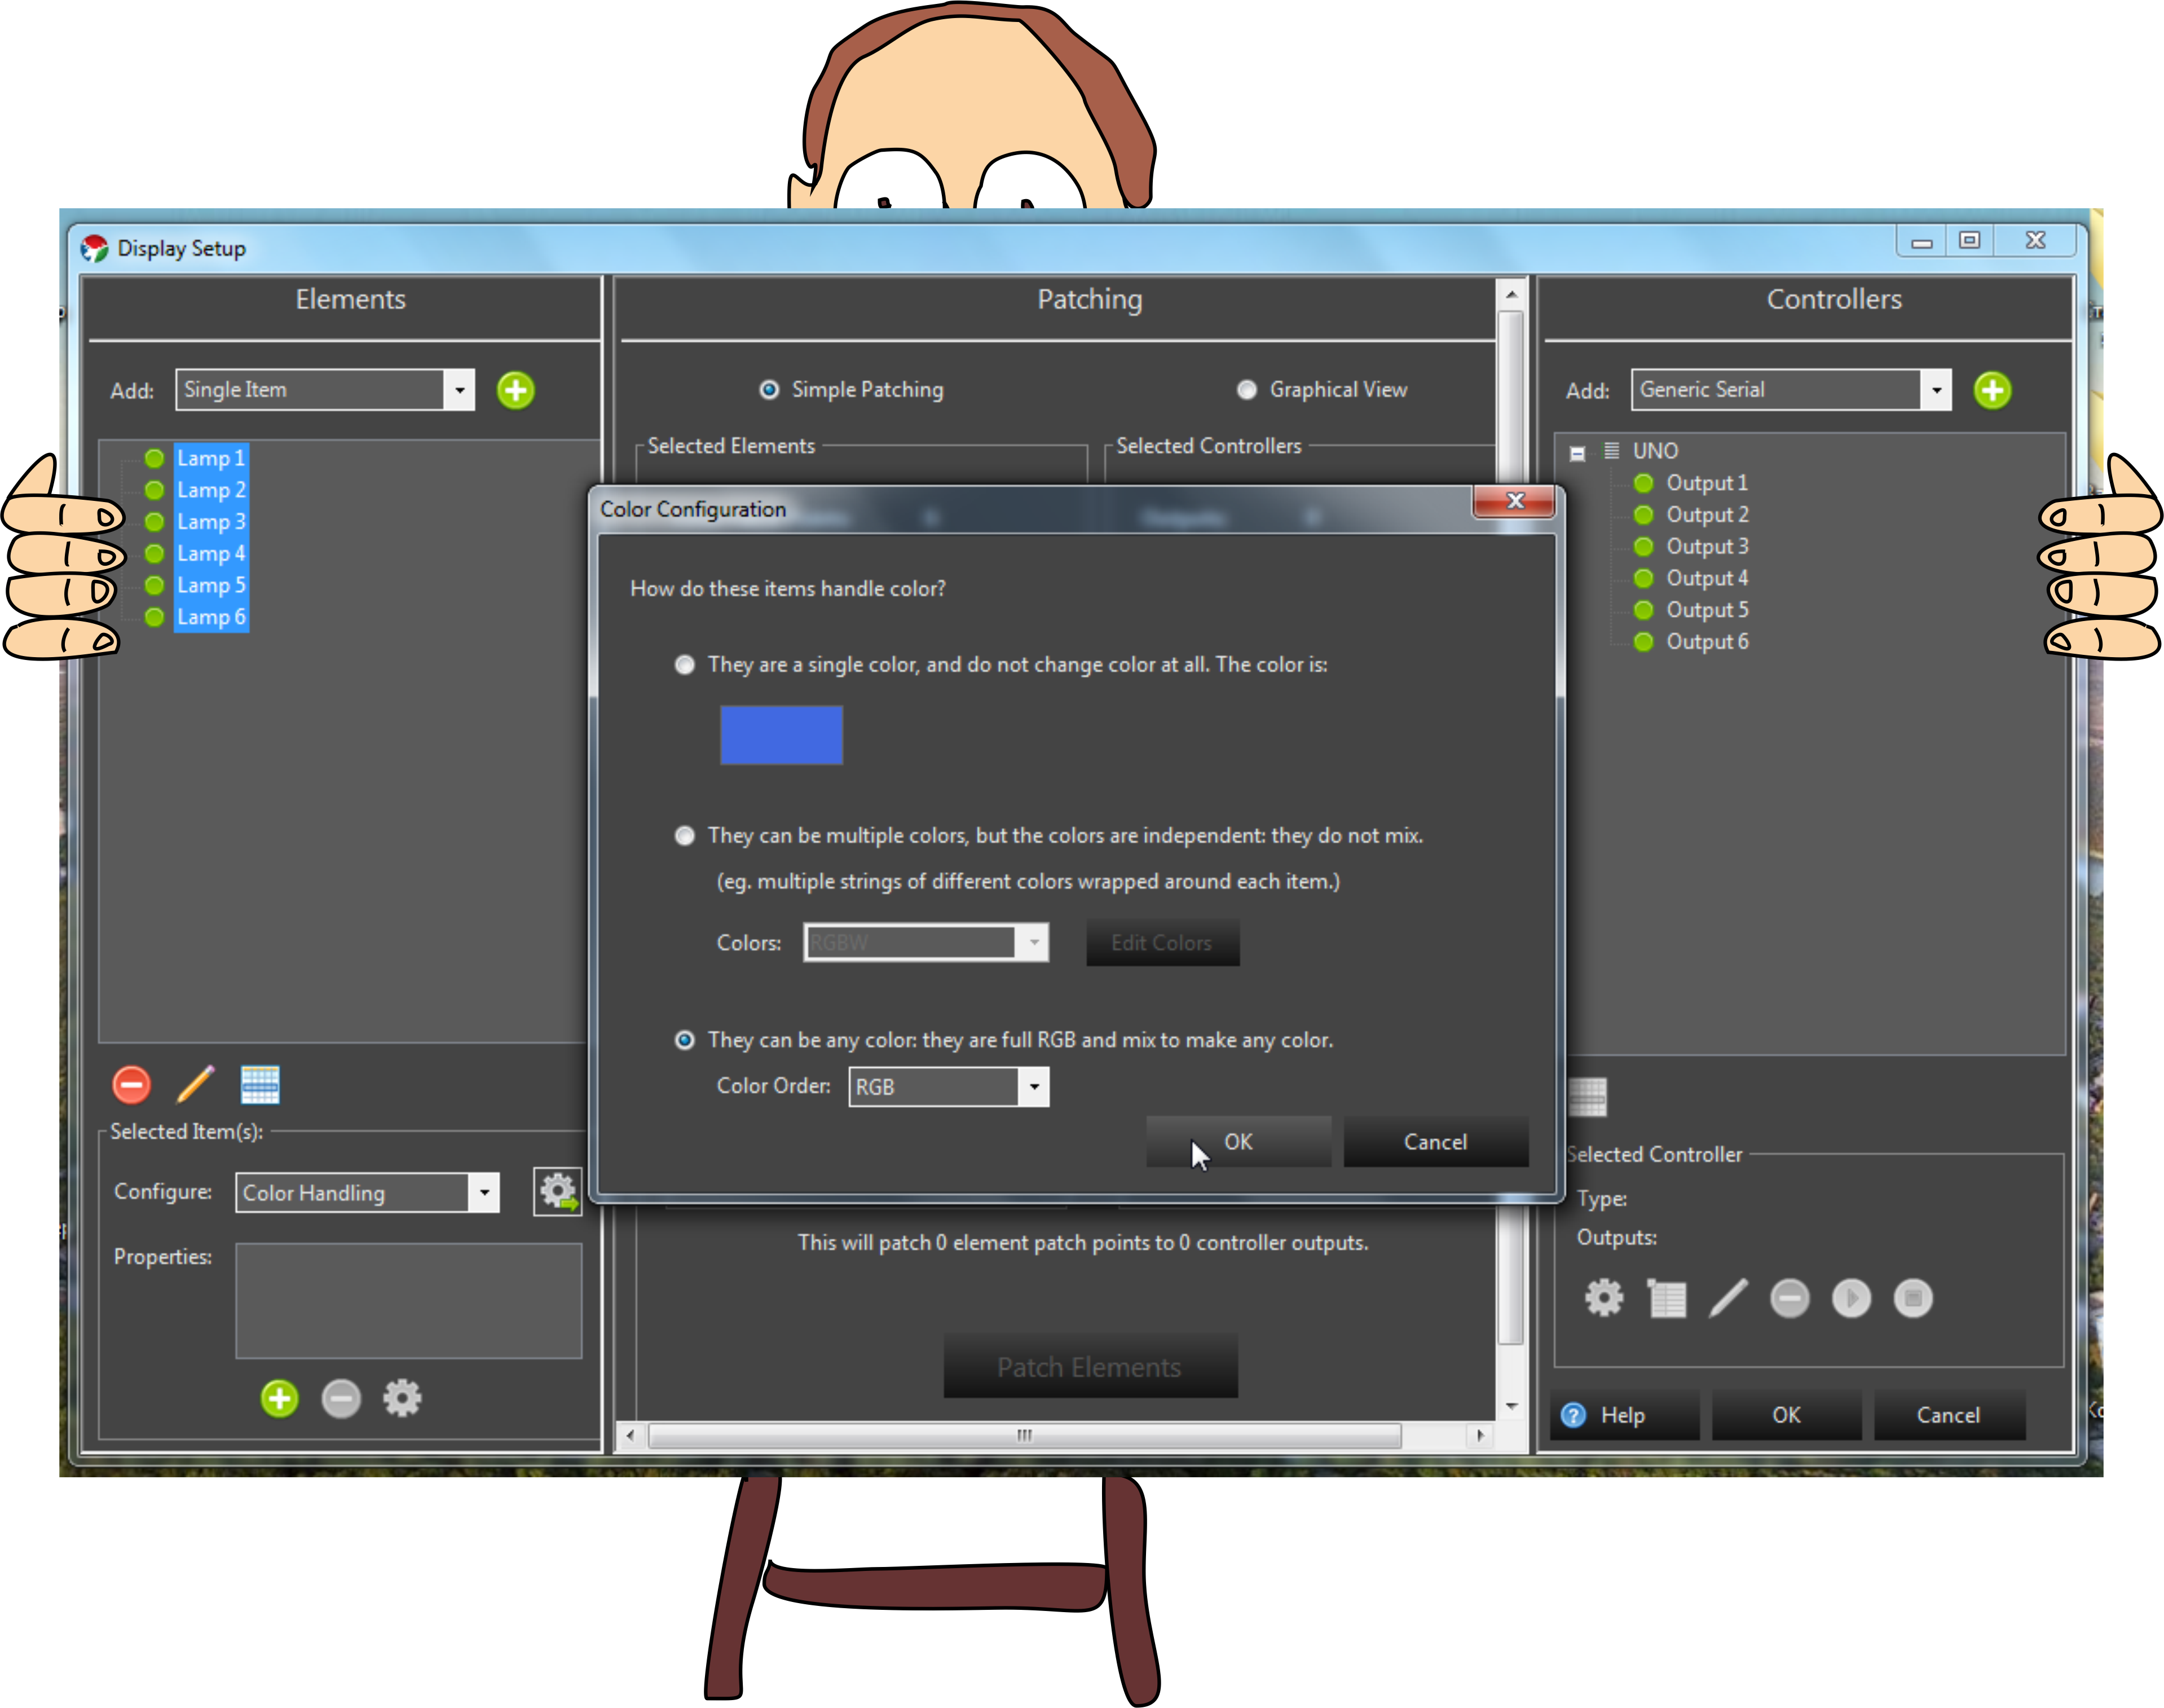
At the bottom left there is a list of Configure. We select there Color Handing and click the gear with the arrow to the right. Choose the last option, and leave Color Order RGB. Confirm windows pop up - we click OK everywhere. This is in reserve, so that later you can play with RGB LEDs.
Now you need to set the settings for the serial port. To do this, you need to open the port, for example, simply by connecting to an Arduino computer (unless of course you have an Arduino IDE installed and, if necessary, a driver to a USB-UART converter in the case of some Chinese cards) If the port is not open, then the settings will not be possible. So, we connect Arduino, then we click on the top right on the name of our controller (UNO) and at the bottom click on the gear. A com-port settings window will pop up.
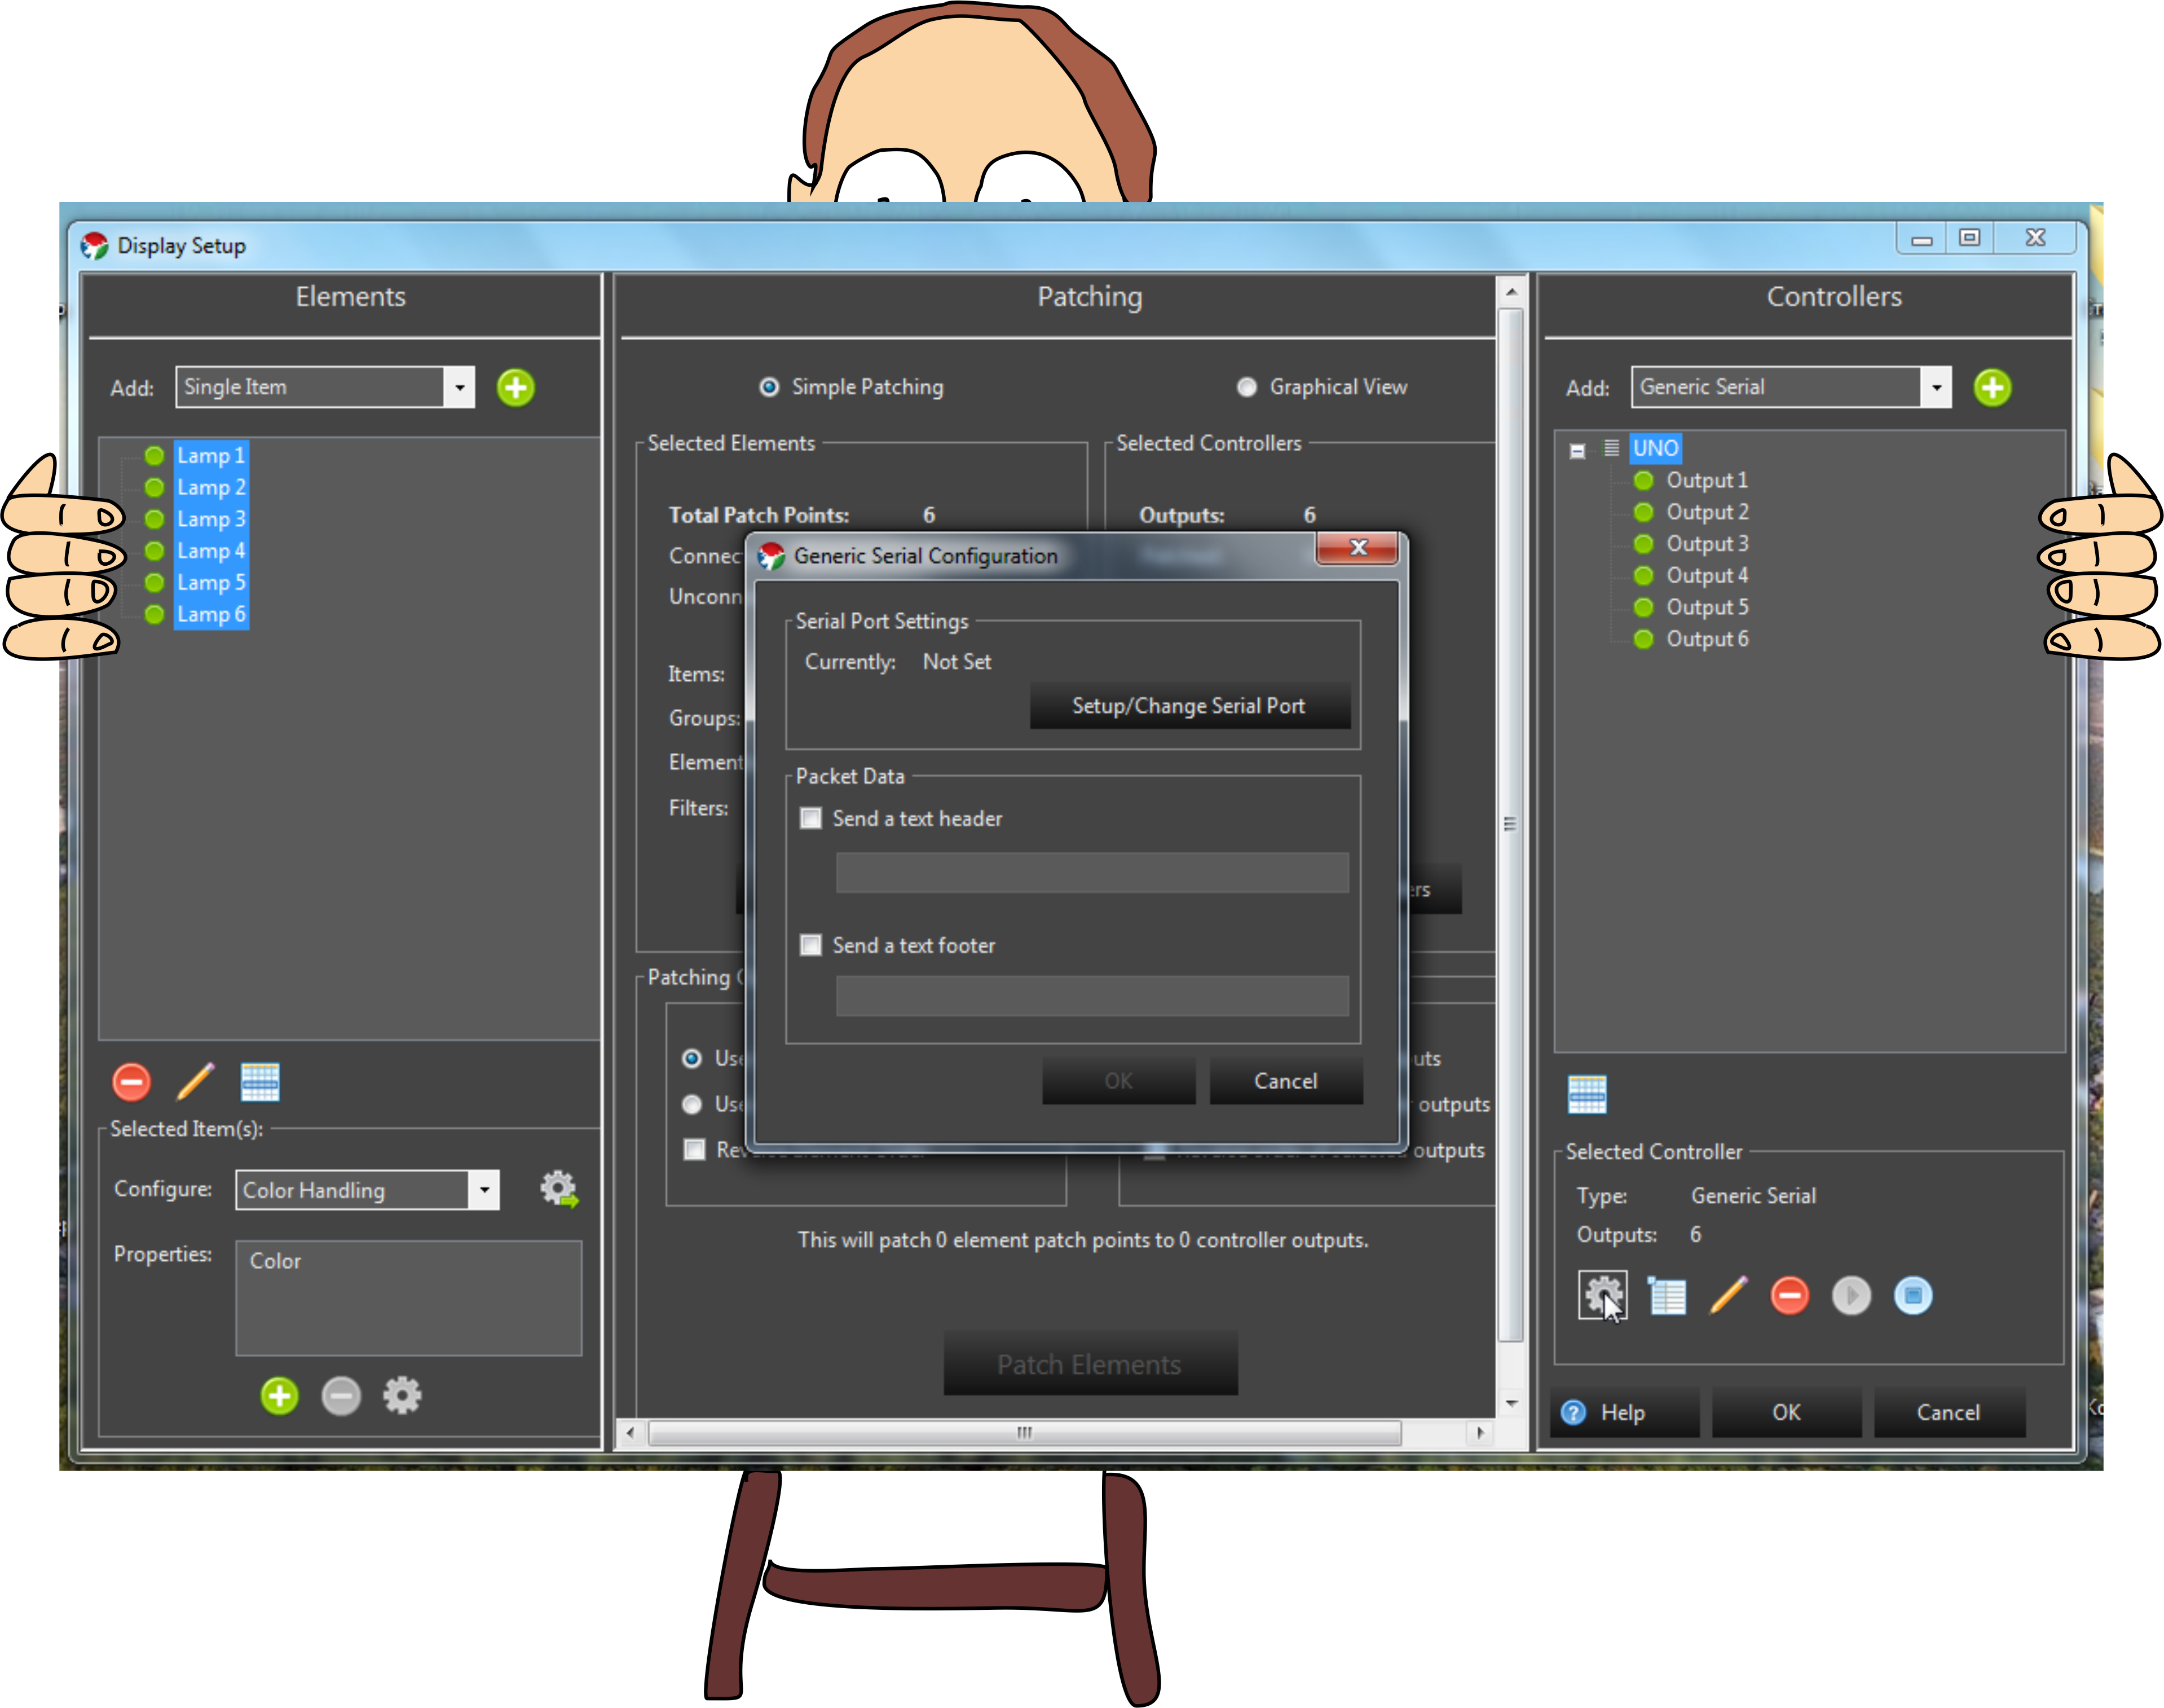
Put a tick Send a text header, and enter two characters there, not numbers, but something usually not used, for example "+>" without quotes, of course. It will be useful to us when we write a sketch.
Add +>, now press the Setup / Change Serial Port button, the following window will open:
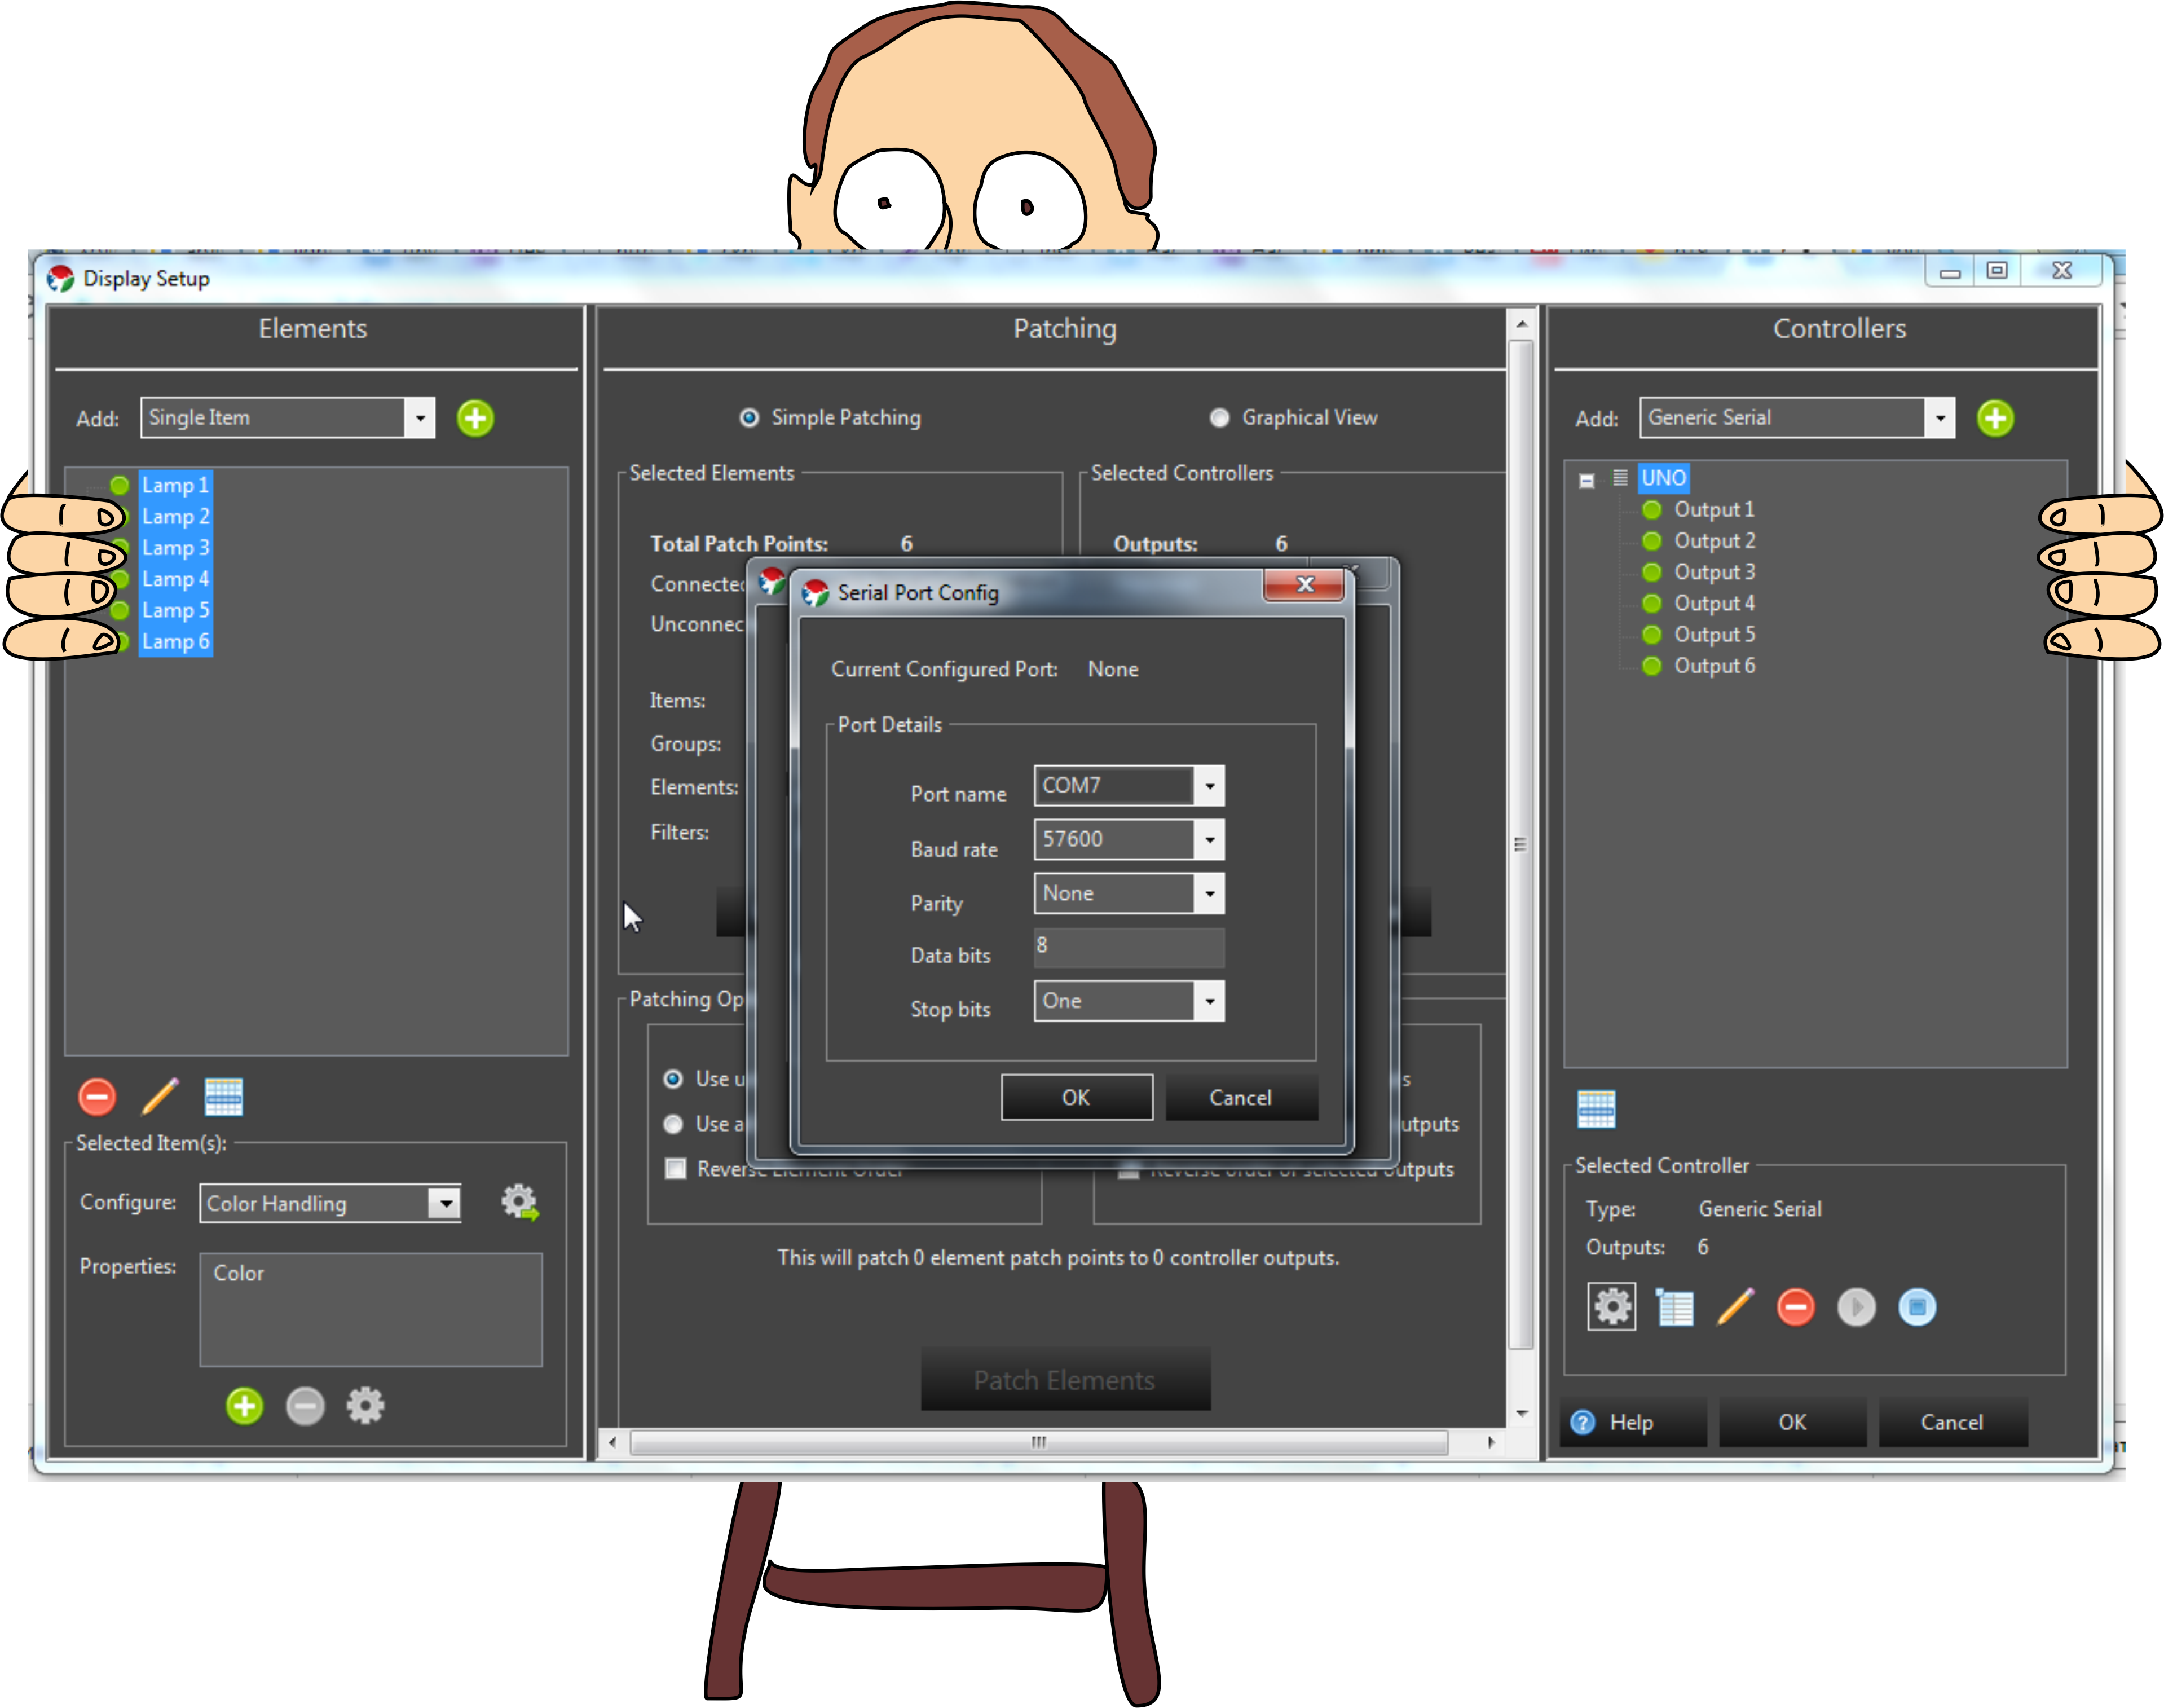
In the Port Name field, your port (COM7) will be defined, it can get up automatically, and it happens that you need to select it from the list. Also, if you have several ports, select the one that corresponds to the connected Arduino board. After disconnecting the board and then connecting it can change - every time you start work, check this point - it can pretty much spoil your nerves.
In the Baud Rate field, select the baud rate, the more light sources, the greater the speed you need to choose. I have always had 115200, 9600 is enough for this example. But we will supply 57600. It is important to set exactly the same bitrate when initializing the port on the arduino, otherwise nothing will work. Take care of this moment.
We press OK everywhere. Click OK again on the right at the bottom. Is done. We set up Vixen Lights to work with six light sources. This concludes the first part of the first article. If on the Arduino you have a blinking RX LED - it means you did everything correctly. In the second part we will assemble a wrap for Arduino so that in the third part you can see the result of your torments.
PS To avoid rakes.
Since the software is free, it sometimes shows character. For everything to be okay, keep to the following algorithm of actions:
Actually, what are we talking about? Many of you probably know that in the states everyone is fond of decorating their lands for Christmas with various garlands, lamps, diode cords and other lighting products. There it sometimes has the character of a special Olympiad - a sort of measure, who has a garland longer ... A special trick, of course, is a variety of lighting effects: synchronous on / off, smooth increase / decrease in brightness, all running lights, and so on. But the special chic is the synchronization of its light show to the music.
')
Sometimes more than one thousand dollars come into such embellishments, and since demand creates supply, various control boards, specialized software and so on bloom in the market. There is very little information about this kitchen in Russian, and since my brewery is no worse than some redneck's ranch before Christmas, I had to figure it out. Thousands of dollars to allocate for this is not permissible. But a thousand rubles - the most it! I offer my research to everyone. Who cares - let's go to me under the cat…
If someone does not understand what they mean, then you can look at such a vidos, and everything will become clear.
Part One, warm up
So there is such a program, called Vixen Lights 3. I was somewhat surprised that Vixen is like a “fox” and a deer is clearly guessed on the logo. Although, who knows how foxes actually look like there in the states ... In general, a supra-brain could translate the name “Fox of Light” - which, by the way, sounds very good. In general, vixen can also be translated as a "shrew" - but it is better to let it be a fox.
Download the latest version of Foxes from the official site. The program is free. Rejoice. True, it works only with Windows. Let's get sad.
Choose a launcher in accordance with the width of your OSes. The restriction applies to the 32-bit version - you cannot create more than 2000 (!!!) channels. But believe me, 2000 channels is very, very dofiga. I doubt that someone will need so much. Although ... downloaded? Run!
Immediately there will be a welcome window.
Click Next> I Agree> Next> Next> Install
After installation, uncheck Show readme and click Finish. During the installation, there will be a small pause for a minute, this is so necessary, nothing is stuck, do not be nervous.
After the program loads, a window pops up like this:
In the Recent Sequences field you will have nothing. And now more closely. We cannot create sequences immediately, because we first need to make adjustments.
Click the Setup Display, the settings window will open:
The first thing we need to do is add elements. The element is your light source. LED, incandescent, neon ... anything in general. We will add six sources. Three of them will be normal (on / off / blink), and three with adjustable brightness. This division is conditional, just for example. You can make everything adjustable, if your controller has enough pins with PWM, at this stage it doesn't matter - the settings are the same in both cases.
At the top left, click on the drop-down list “Add” and select Single Item. Then we press on the green plus sign next. Immediately pops up a window in which you must specify the name of the element. We have this Lamp 1. Ok. Similarly, we add 5 more sources. You can call it whatever you like, the main thing is to understand what is where, if you have different sources, call it as it is Led1, Led2, Lamp1, Lamp2 and so on.
When sources are added - you need to add a controller.
. In the Controllers window on the right, in the drop-down list “Add”, select Generic Serial and click +, then specify the name of our controller - we have UNO, because we will process the data using Arduino Uno. Why? Probably because they now have more habr users than habr users. You can use what you prefer, as long as it is able to read data from the com port. Well, instead of UNO, you can write anything at all, even “Bormatozavr” - as long as you are satisfied! Immediately after specifying the name, a window will pop up in which you need to specify how many channels will be involved on the controller - we put six by the number of light sources.
Our window now looks like this:
On the left we have 6 light sources, on the right there are 6 control channels. But they are not connected (gray). To link, you need to select all sources and all channels via ctrl or shift, and then click on the Patch Elements button in the bottom center of the window. A notification pops up saying that everything is patched, everything is nishtyak, well done, after which all the elements and channels will turn green. Okay. Let's go further.
At the bottom left there is a list of Configure. We select there Color Handing and click the gear with the arrow to the right. Choose the last option, and leave Color Order RGB. Confirm windows pop up - we click OK everywhere. This is in reserve, so that later you can play with RGB LEDs.
Now you need to set the settings for the serial port. To do this, you need to open the port, for example, simply by connecting to an Arduino computer (unless of course you have an Arduino IDE installed and, if necessary, a driver to a USB-UART converter in the case of some Chinese cards) If the port is not open, then the settings will not be possible. So, we connect Arduino, then we click on the top right on the name of our controller (UNO) and at the bottom click on the gear. A com-port settings window will pop up.
Put a tick Send a text header, and enter two characters there, not numbers, but something usually not used, for example "+>" without quotes, of course. It will be useful to us when we write a sketch.
Add +>, now press the Setup / Change Serial Port button, the following window will open:
In the Port Name field, your port (COM7) will be defined, it can get up automatically, and it happens that you need to select it from the list. Also, if you have several ports, select the one that corresponds to the connected Arduino board. After disconnecting the board and then connecting it can change - every time you start work, check this point - it can pretty much spoil your nerves.
In the Baud Rate field, select the baud rate, the more light sources, the greater the speed you need to choose. I have always had 115200, 9600 is enough for this example. But we will supply 57600. It is important to set exactly the same bitrate when initializing the port on the arduino, otherwise nothing will work. Take care of this moment.
We press OK everywhere. Click OK again on the right at the bottom. Is done. We set up Vixen Lights to work with six light sources. This concludes the first part of the first article. If on the Arduino you have a blinking RX LED - it means you did everything correctly. In the second part we will assemble a wrap for Arduino so that in the third part you can see the result of your torments.
PS To avoid rakes.
Since the software is free, it sometimes shows character. For everything to be okay, keep to the following algorithm of actions:
- Vixen is disabled.
- We connect to the computer Arduino, give her time to recover, blink, cough.
- We start Vixen, after the start window appears, the RX LED on the Arduino should start blinking quickly.
- If it does not blink, then the port has changed (plugged into another USB connector, for example), then
- Click Setup Display
- Click on the name of the controller in the upper right> click on the gear in the lower right> click on Setup / Change Serial Port
- Check the port number> click OK> OK> and OK again at the bottom right.
- Close Vixen, open Vixen.
Source: https://habr.com/ru/post/417037/
All Articles