Pi-Sonos v3.0: work on the bugs or a completely new project?
Pi-Sonos recently turned six months. During this time, the column managed to take root in the house and very often served as a source of background music in the living room in the mornings and evenings. But not as often as I would like. This was due to a number of miscalculations, which I initially made when designing the column. Each of them individually could be reconciled, but in sum, they made me completely redo the acoustics. What were these errors, and how they had to be solved, dear% username%, you will find out under the cut.
So, in order
')
1. Design
The most subjective and (by and large) least significant moment.
It was
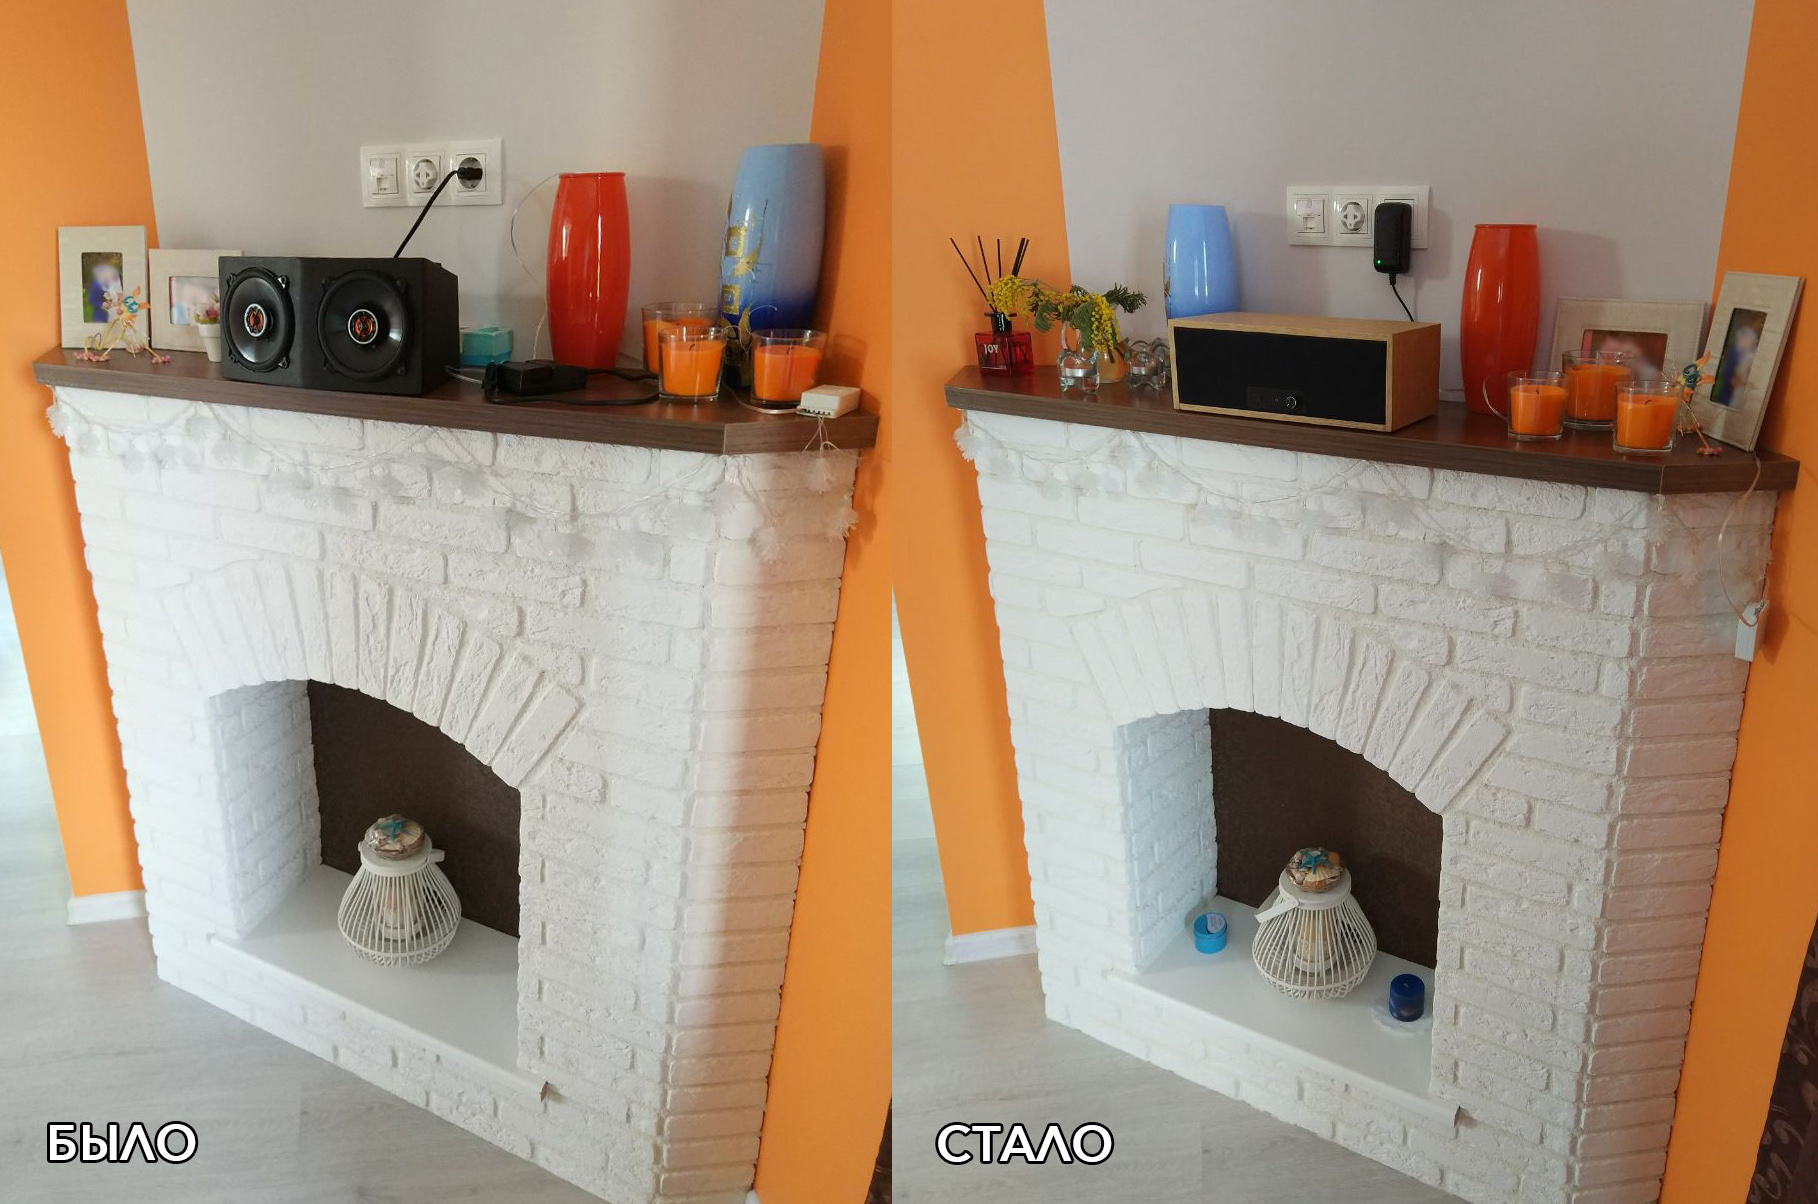
Despite the fact that the initial design of the column itself was neither vapid nor overly elaborate, the first Pi-Sonos didn’t fit well into the interior (because it’s black ?!). The living room has a lot of wood, both light and dark, but there are no black details at all. Here is the visual difference between the old and new versions:
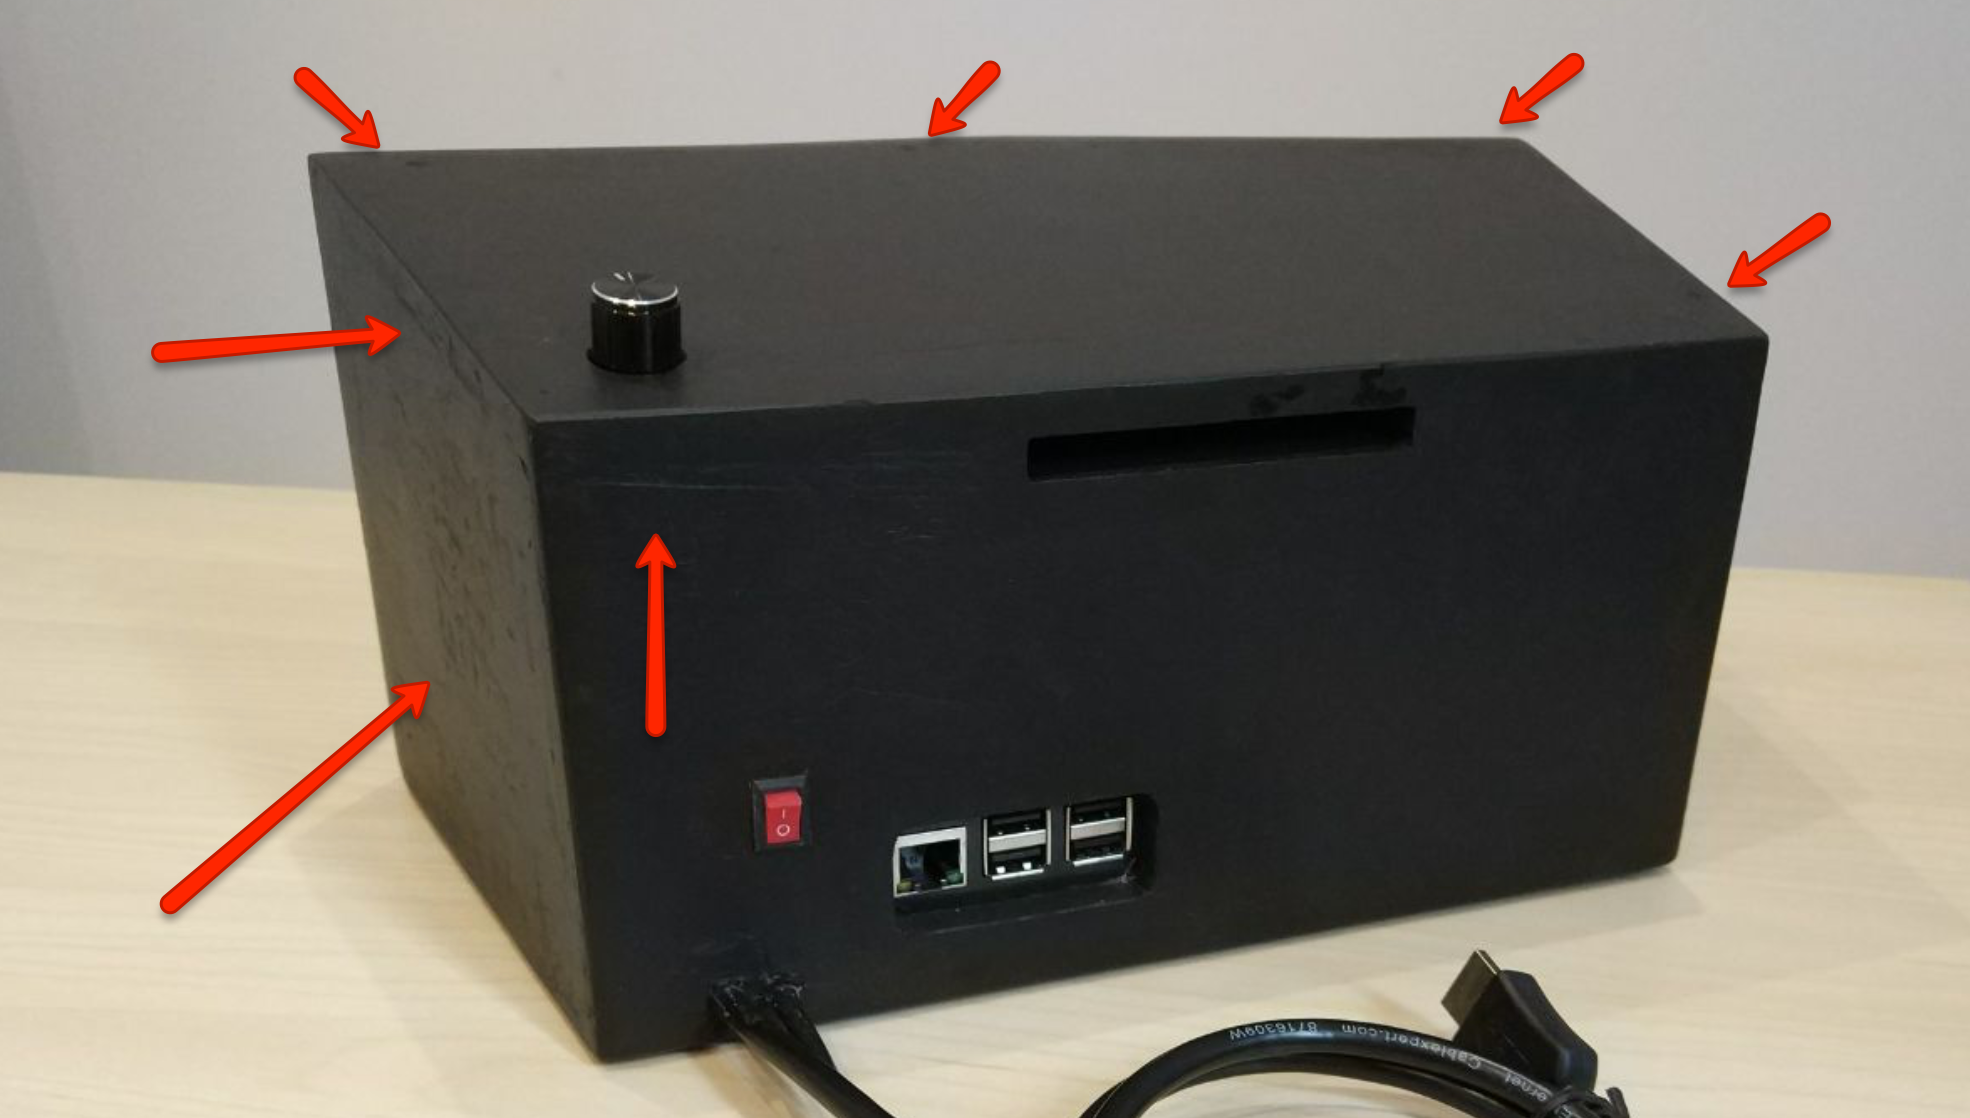
In addition, the uncovered mounting speakers looked unpresentable, and I could not find suitable “grills”. This is not to mention the small (and extremely unpleasant) flaws of my inept filling.
Proof (perfectionists do not open!)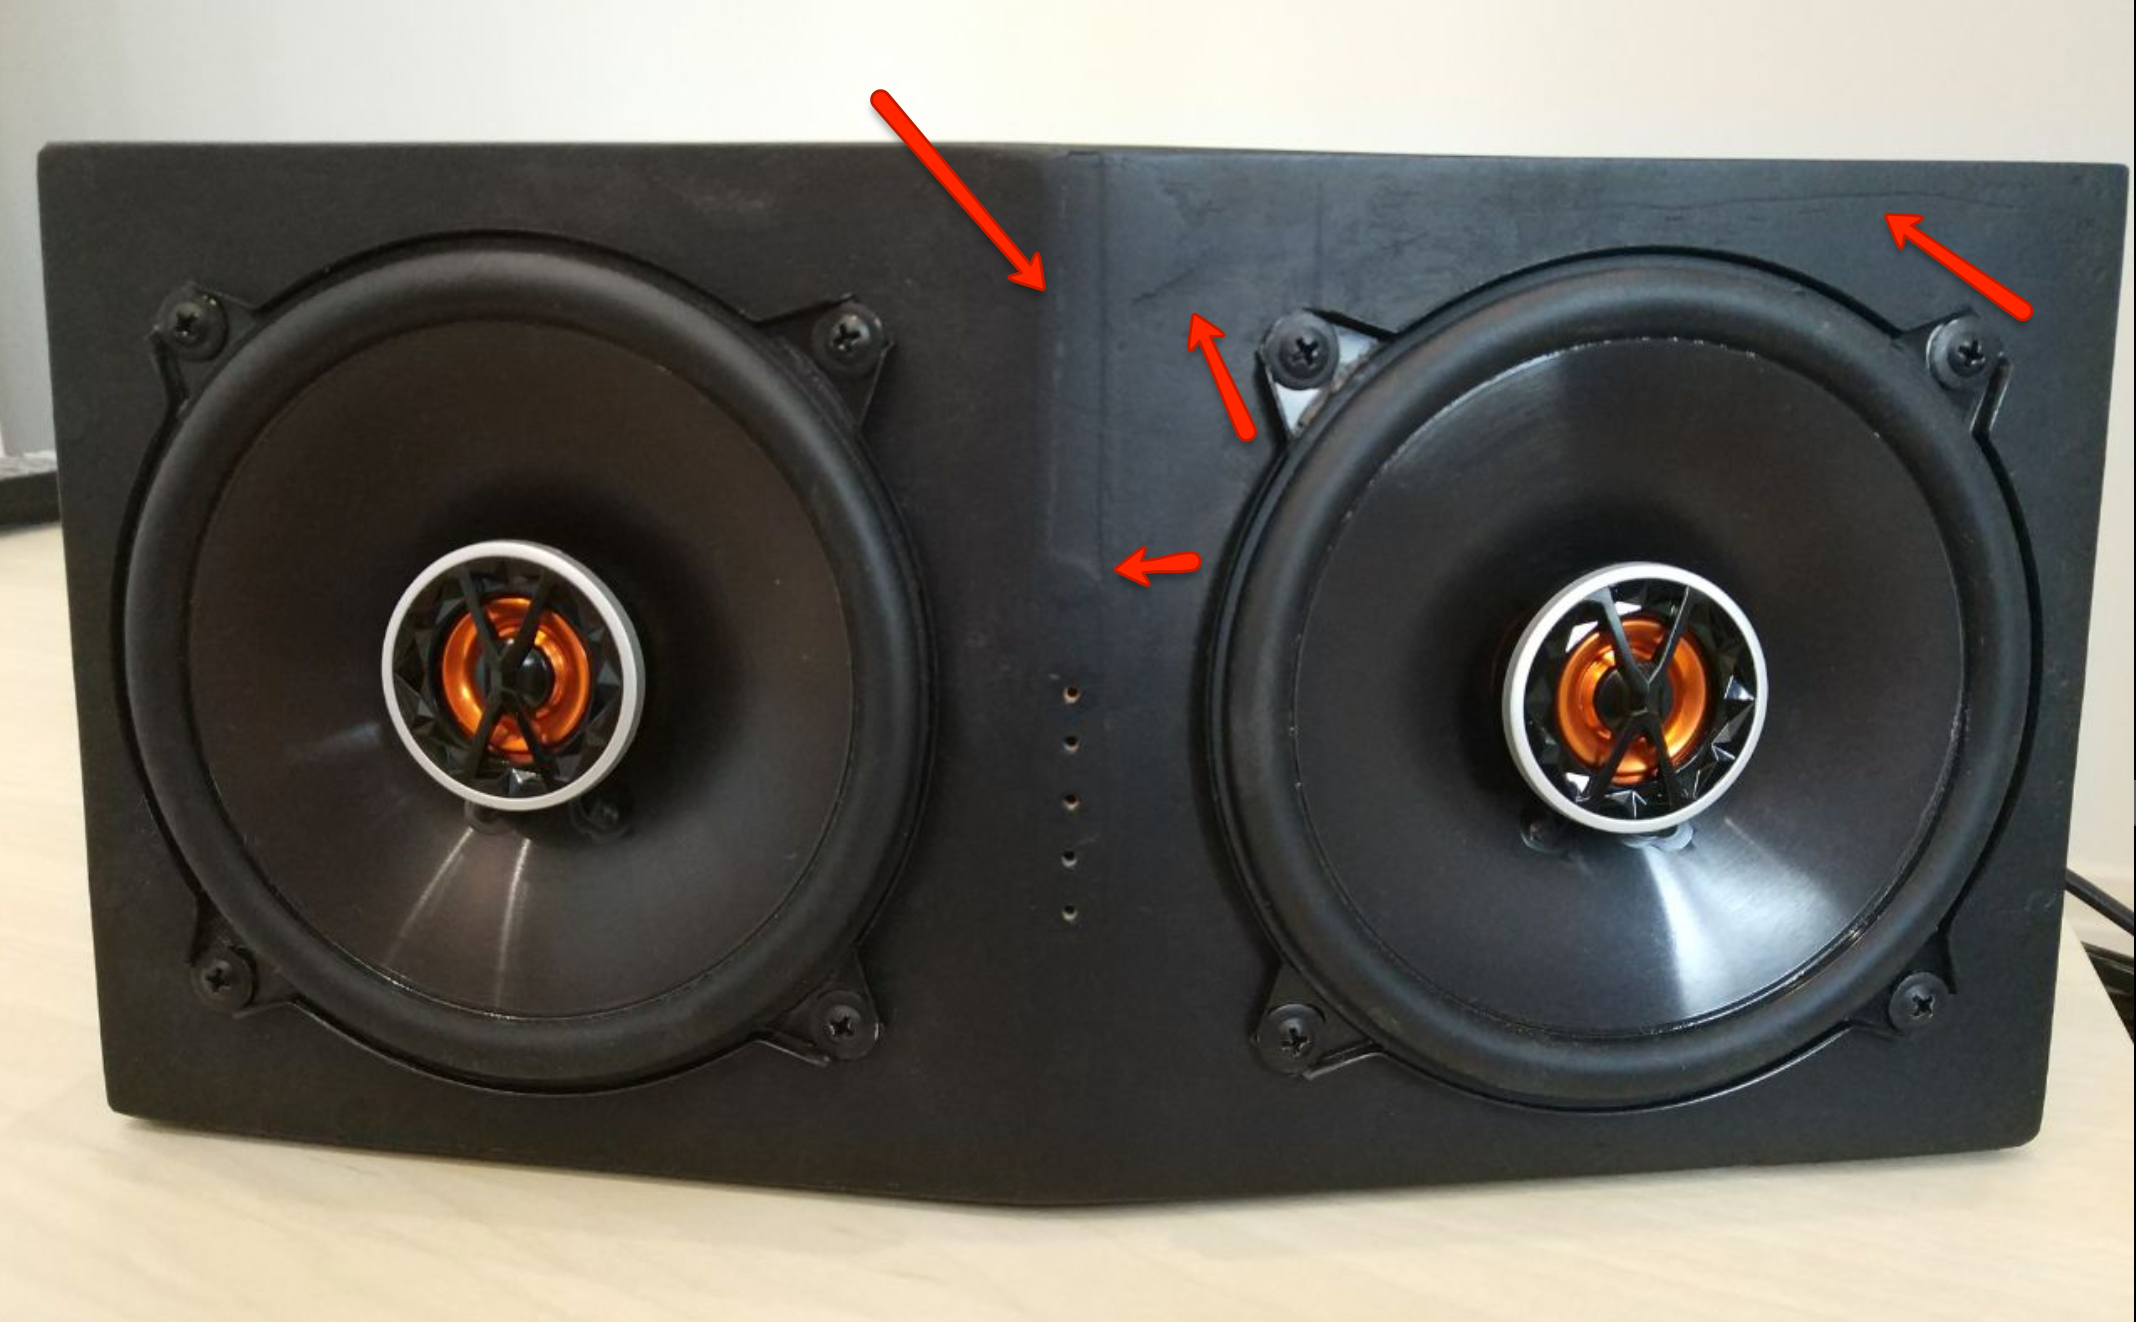
It became
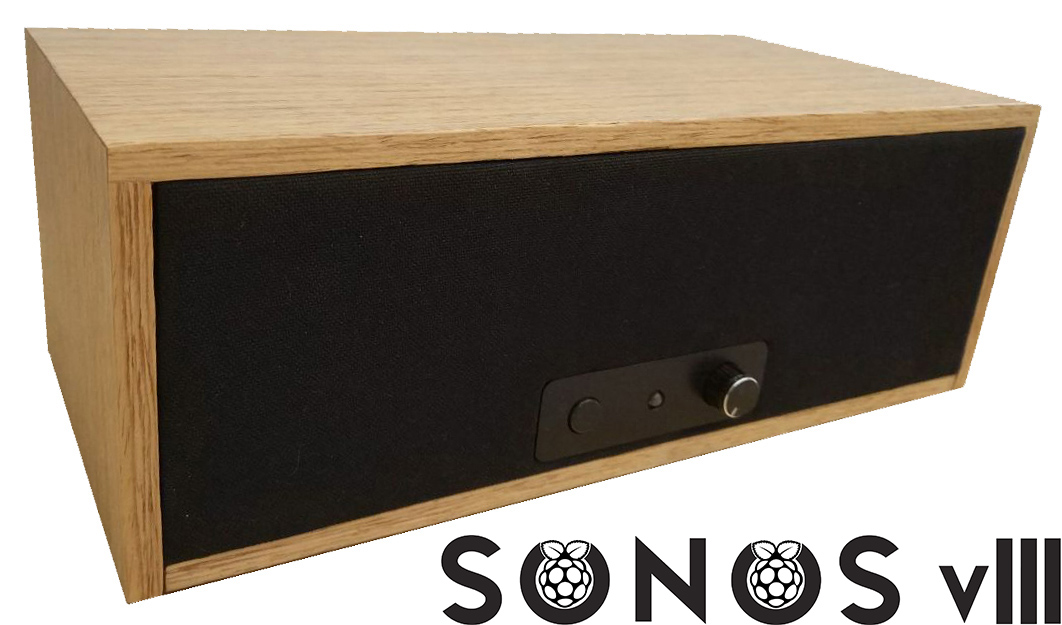
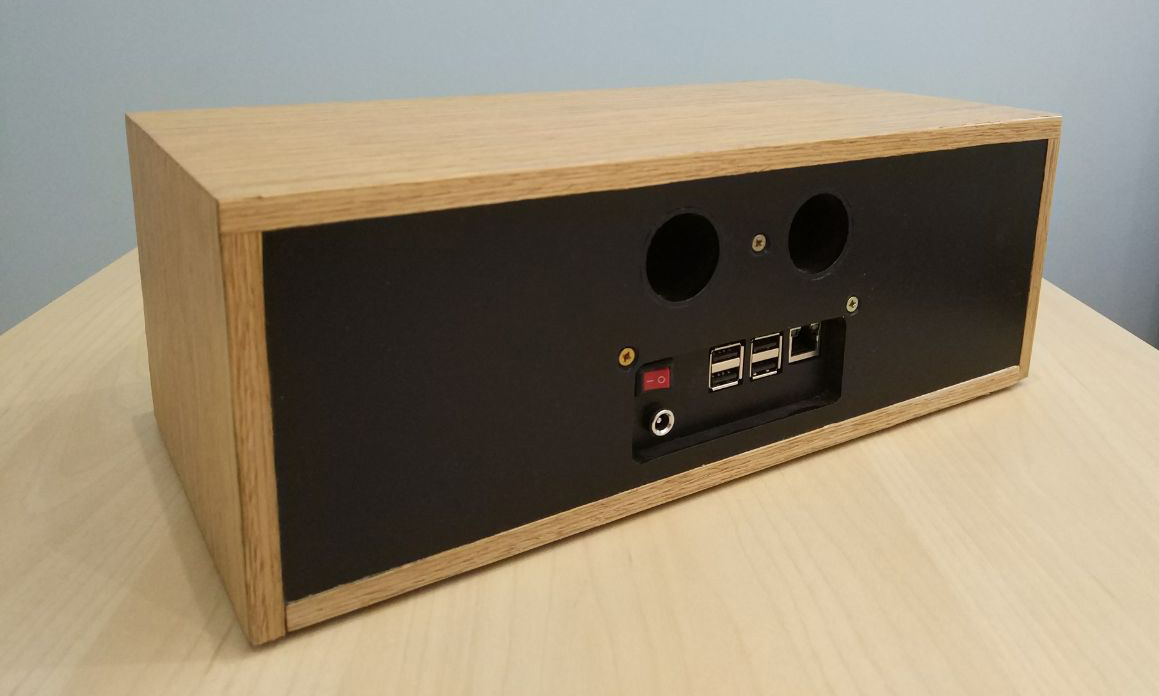
The body is assembled all from the same 8mm MDF, trimmed with natural veneer and coated with special wax. 4 speakers covered with a decorative screen of acoustic fabric. The volume control moved from the top to the front. A series of orange LEDs replaced by one white. In addition, a playback control button has appeared (more on this later in the text). The column got rid of the sticking out HDMI wire, the need for which was no longer with the refusal of OSMC.
The inspiration for the new design was SoundBlab channel and one of its projects .
2. Sound quality
It was
The original version of the sound had two fundamental flaws: the swollen bass, from which an hour later the head began to buzz a little, and the crumpled middle, especially pronounced in the ringing vocals and the sounds of hi-hats.
Whether the lack of acoustic separation of the stereo channels affected, or the corpus type for these speakers was chosen incorrectly (as noted in the comments, the car speakers, i.e. for the “shield”, and I assembled the phase inverter), or this is a problem but the fact remains that the pleasure of listening to music was weak. And the Chinese power supply unit issued a squeak, which could be clearly disassembled from a distance of half a meter. Trifle, but unpleasant.
It became
In the new building, each acoustic channel, as well as all the electronics, received separate compartments. The power supply was moved out of the case (a 5.5mm under 12V connector appeared on the back of the case). The new power supply has a lower power (36W vs. 60W), a standard case, and almost no beeps.
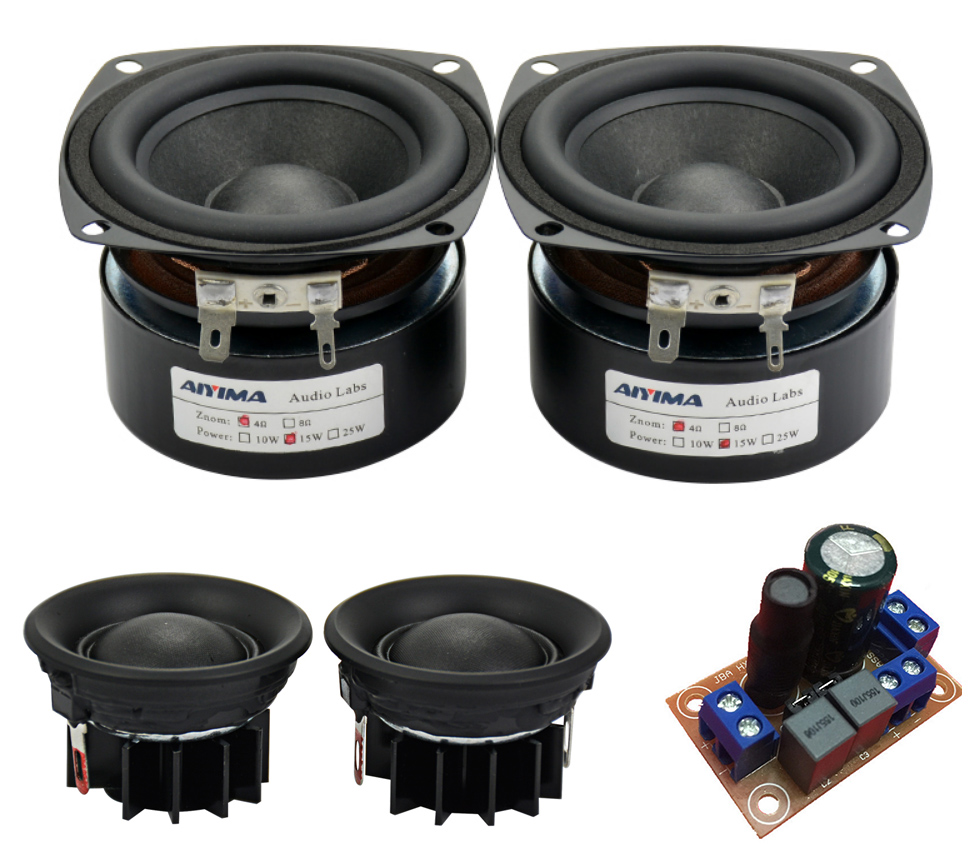
For sounding, 3-inch 15-watt midbass and 10-watt tweeters , separated by a crossover, are now responsible. The phase inverter for each channel at this time is implemented in the form of a pipe, designed for a frequency of ~ 100 Hz at a lower frequency of 108 Hz midbass.
All together they play on an order cleaner and without obvious failures in all parts of the range. Even the bottom grabs with his head. Compared with the reference Audioengine A5 +, the new system sounds at 4 with a huge plus (on a 5-point scale, of course).
3. Turn-on time
Yes, yes, the very period of time from pressing a button on the speaker to the beginning of music playback, to which the second article was devoted.
It was
Despite the fact that the boot time was reduced by half (from 45 to 20 seconds), the wait time was still unpleasantly long.
It became
When turning off the toggle switch or disconnecting the power supply from the outlet, it was not possible to change the time of the subsequent switching on, although I tried to disable unnecessary services in Raspbian. But now, along with the button on the front side, a pause mode has appeared, from which the column comes out in less than a second ! In addition, in the pause mode, “Malinka” cuts off the power of the audio amplifier in a cunning way, thereby saving energy. It turns out rather a kind of sleep-mode.
4. Convenience of management (apart from management from the smartphone)
It was…
... only 2 physical controls are a volume control and power switch. If there are no special claims to the regulator (even its strange position did not cause inconvenience), then the power switch had to be constantly groped on the back side. It was so uncomfortable that, for example, my wife often just pulled the power cord out of the socket.
It became
Now the “magic button” is responsible for playback control, and the power toggle switch is rarely used - only to completely turn off the speaker or to turn it on again.
What is so "magic" in the new button? A single press of the button pauses or pauses playback, and a long press switches the radio station to the next one in the list. Thus, to control the speaker does not necessarily hold the smartphone.
Any action with the "magic button" is immediately reflected in the client GUI, so that the user always sees the current state of the player and knows exactly which station is currently playing. The LED also received an interactive function - it flashes once every 2 seconds during a pause and 10 times per second while pressing a button, thus indicating that pressing is being processed. This principle of management is borrowed from the original Sonos Play 1, to the ideal of which the Pi-Sonos project aspires in its development.
A few words about how the button and the LED work
Button and LED are controlled via GPIO. The schematic diagram of this disgrace looks like this:
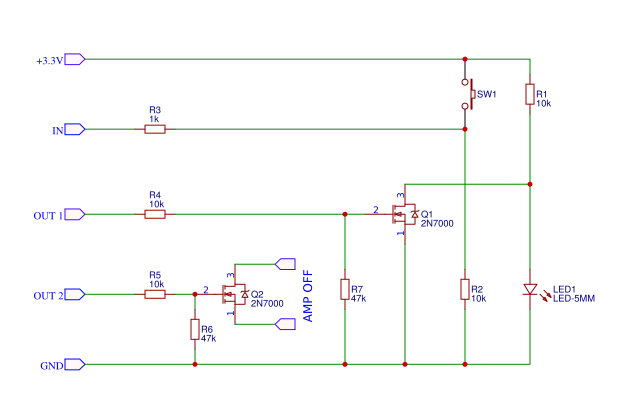
As can be seen from the diagram, the LED1 LED is connected in parallel with the drain-source transition of the MOSFET Q1. The output pin OUT1 supplies a control voltage to this transistor, opening and closing it. For simplicity, an example is that the drain-source transition resistance of such a transistor in the open state is 0, and in the closed state - infinity (according to my measurements, approximately 20 Ohm and 1.7 MΩ, respectively).
When Raspberry is turned on, the network through the pin 3.3V to the section of the LED1-Q1 circuit is energized through the limiting resistor R1. The transistor Q1 is closed at the same time, and the entire current of the LED1-Q1 section flows through the diode, i.e. the diode is on. If the pin OUT1 is set to 1, then the gate of the transistor Q1 will be applied to the opening voltage, and the entire current of the LED1-Q1 section will flow through the transistor, and the diode will go out. The value of the resistor R1 is taken 10kΩ so that the diode light is not too bright.
Obviously, the SW1 button itself is not galvanically connected to the Q1 gate, which means that it controls the flashing of the diode indirectly. Pressing the button supplies a voltage of logical 1 (~ 3V with respect to resistive divider R2-R3) to the IN pin, and an event handler for this pin is added to the player code. When the button is pressed, the handler starts the timer, which every 100 milliseconds changes the level on the OUT1 pin, turning the LED on and off, when released, turns off the timer and returns the diode to the on state. Similarly implemented flashing in pause mode. The code still lives on github (https://github.com/bellerofonte/rpi-radio).
The limiting resistors R2 and R3 are also designed to protect the pins of 3.3V and IN from overload.
A pair of resistors R4 and R7 (as well as a pair of R5 and R6) also represent a resistive divider. The fact is that the 2N7000 transistor has a limit gate-source voltage of 3V, and a pin OUT1 with a logical 1 at the output - 3.3V. In order not to burn the gate of the transistor, it is necessary to apply less voltage to it. But not less than 2.1V, otherwise the transistor will not open. The ratings of the resistors are chosen to:
Similarly, through the pin OUT2, the Q2 transistor opens and closes, which in turn closes and opens the amp disconnect contact on the Suptronics board

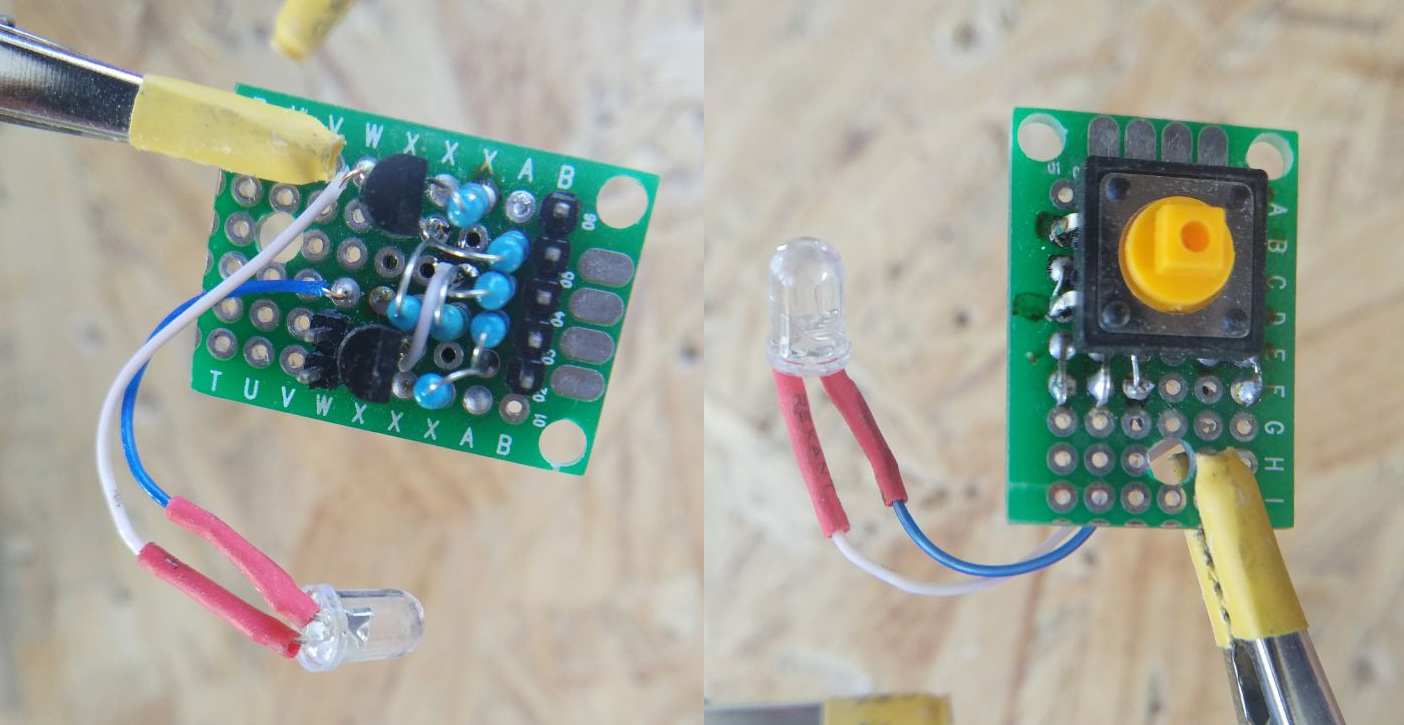
And so the board looks assembled (real size 2x3cm):
As can be seen from the diagram, the LED1 LED is connected in parallel with the drain-source transition of the MOSFET Q1. The output pin OUT1 supplies a control voltage to this transistor, opening and closing it. For simplicity, an example is that the drain-source transition resistance of such a transistor in the open state is 0, and in the closed state - infinity (according to my measurements, approximately 20 Ohm and 1.7 MΩ, respectively).
When Raspberry is turned on, the network through the pin 3.3V to the section of the LED1-Q1 circuit is energized through the limiting resistor R1. The transistor Q1 is closed at the same time, and the entire current of the LED1-Q1 section flows through the diode, i.e. the diode is on. If the pin OUT1 is set to 1, then the gate of the transistor Q1 will be applied to the opening voltage, and the entire current of the LED1-Q1 section will flow through the transistor, and the diode will go out. The value of the resistor R1 is taken 10kΩ so that the diode light is not too bright.
Obviously, the SW1 button itself is not galvanically connected to the Q1 gate, which means that it controls the flashing of the diode indirectly. Pressing the button supplies a voltage of logical 1 (~ 3V with respect to resistive divider R2-R3) to the IN pin, and an event handler for this pin is added to the player code. When the button is pressed, the handler starts the timer, which every 100 milliseconds changes the level on the OUT1 pin, turning the LED on and off, when released, turns off the timer and returns the diode to the on state. Similarly implemented flashing in pause mode. The code still lives on github (https://github.com/bellerofonte/rpi-radio).
The limiting resistors R2 and R3 are also designed to protect the pins of 3.3V and IN from overload.
A pair of resistors R4 and R7 (as well as a pair of R5 and R6) also represent a resistive divider. The fact is that the 2N7000 transistor has a limit gate-source voltage of 3V, and a pin OUT1 with a logical 1 at the output - 3.3V. In order not to burn the gate of the transistor, it is necessary to apply less voltage to it. But not less than 2.1V, otherwise the transistor will not open. The ratings of the resistors are chosen to:
Similarly, through the pin OUT2, the Q2 transistor opens and closes, which in turn closes and opens the amp disconnect contact on the Suptronics board
And so the board looks assembled (real size 2x3cm):
5. The impossibility of completion / maintenance
It was
Access to the insides of the acoustics was carried out by removing one of the speakers, but even in this case it was almost impossible to carry out any manipulations. There was no question of any revision of the hull. Even with the dismantling of the boards, it took me more than an hour to unscrew only 8 screws.
It became
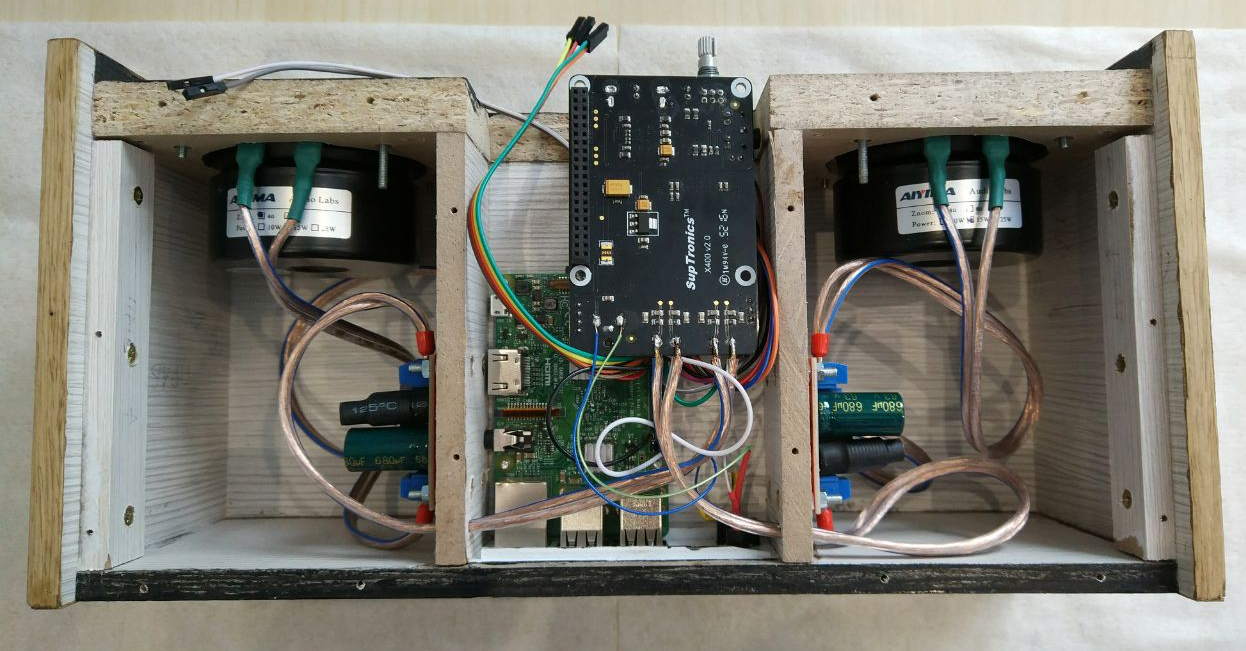
The lower edge is easily unscrewed, opening access to each of the three internal compartments and allowing, if desired, to completely dismantle any of the elements of the equipment. Also removed and the screen, allowing access to the speakers. In the electronics compartment there is still some room for additional functionality expansion. The photo captures the "fitting" of the components before the final assembly of the acoustics. A pair of tweeters are located under the electronics compartment, so they are not visible in the photo.
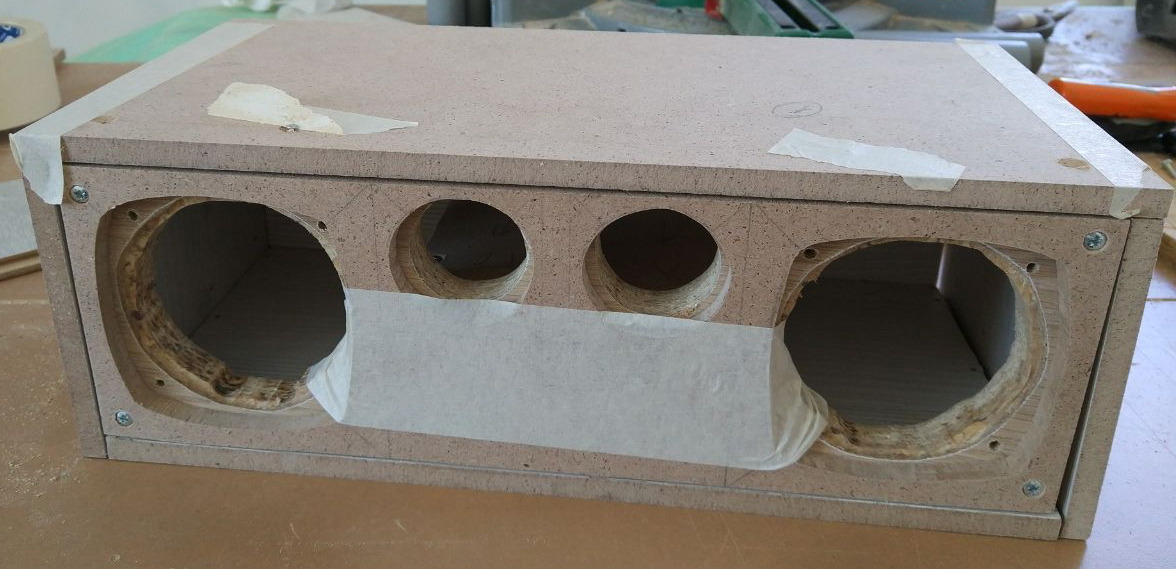
A couple of photos from the manufacturing process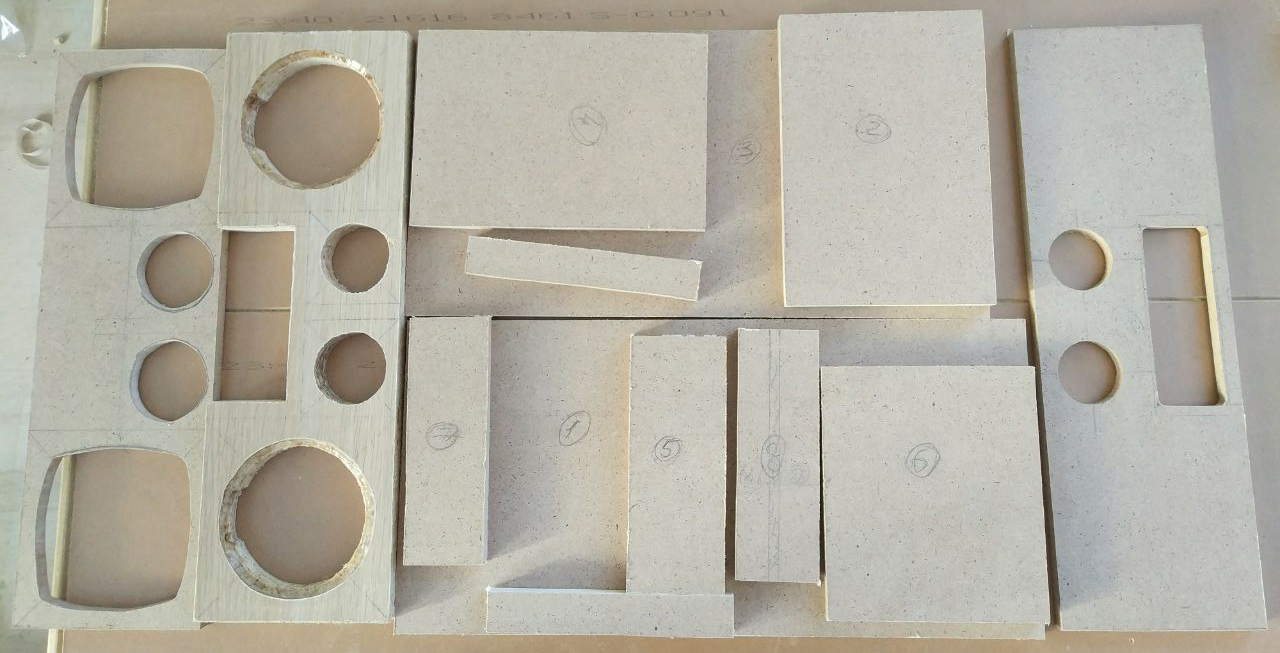
What is the result
The updated Pi-Sonos is almost completely consistent with my ideas about comfortable acoustics for the living room. The old Jobs was right - the user only need one button. And despite the fact that the column already seems to me almost perfect, the current version is just another step in a long and interesting way. In the near future - try to add voice control (you need to keep up with the times). And I also have complaints about the design - the veneer turned out to be a very capricious material, and it was not possible to do everything without blots. And the shape of a rectangular box looks quite old-fashioned. We'll have to practice working with the router to someday make the body more modern and attractive. In the end, the acoustics itself is not a goal. The goal is to always try to expand the range of your knowledge / skills and do something more complicated.
Source: https://habr.com/ru/post/411085/
All Articles