A selection of children's electronic designers for the first experiments
Today we have prepared a small selection of electronic designers, with the help of which the child can make his own first experiments and take the first steps in programming.
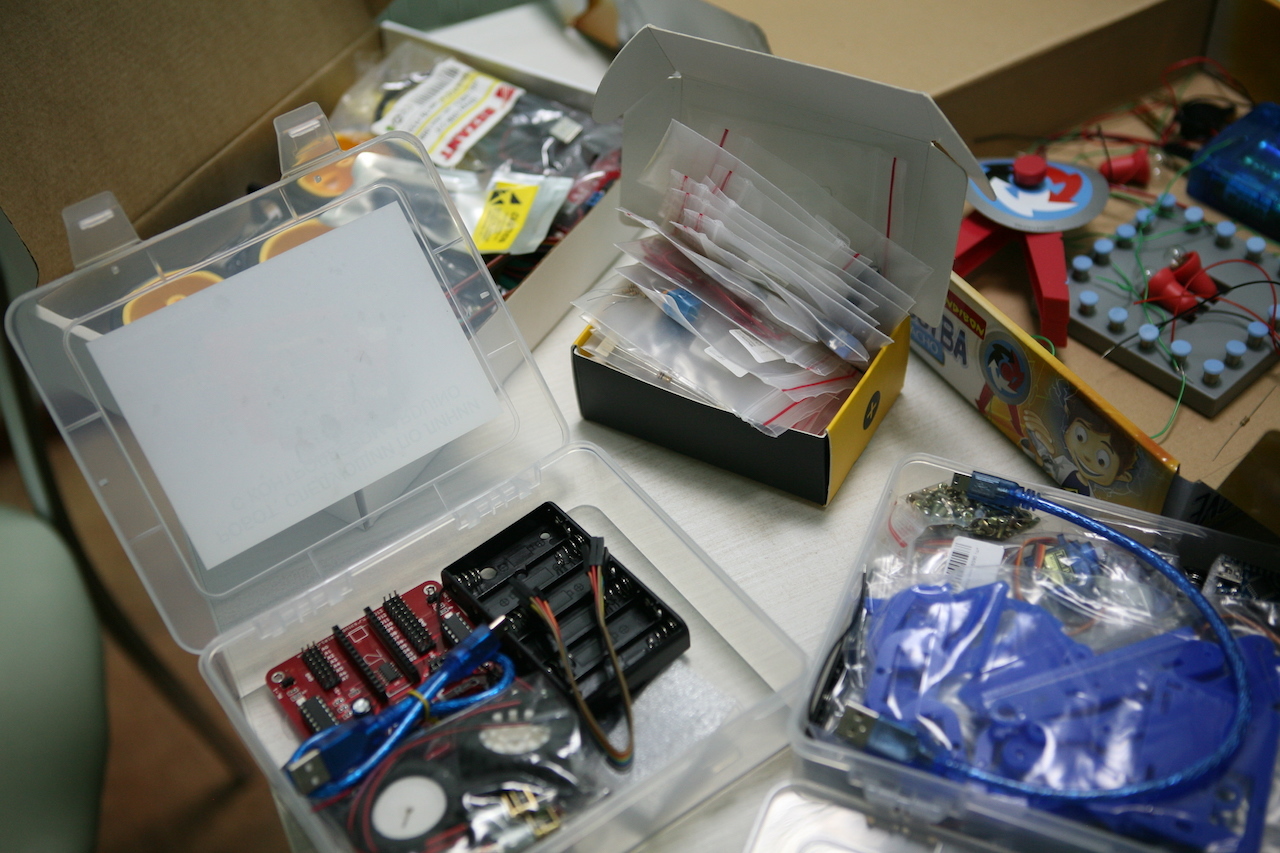
Experiments with electronics have recently become quite popular: even in retail stores you can find a large number of the same type, localized by different suppliers, gift boxes, inside which there are instructions for short projects.

')
One of the simplest examples is the “Potato Clock”, “ Natural Electricity ”, etc.
The latter is not exactly an electronic constructor, although the line between them is rather thin: there is a set of simple components; scheme for the assembly or activation of simple elements - there is; wires, instructions ... In general, trying to match.
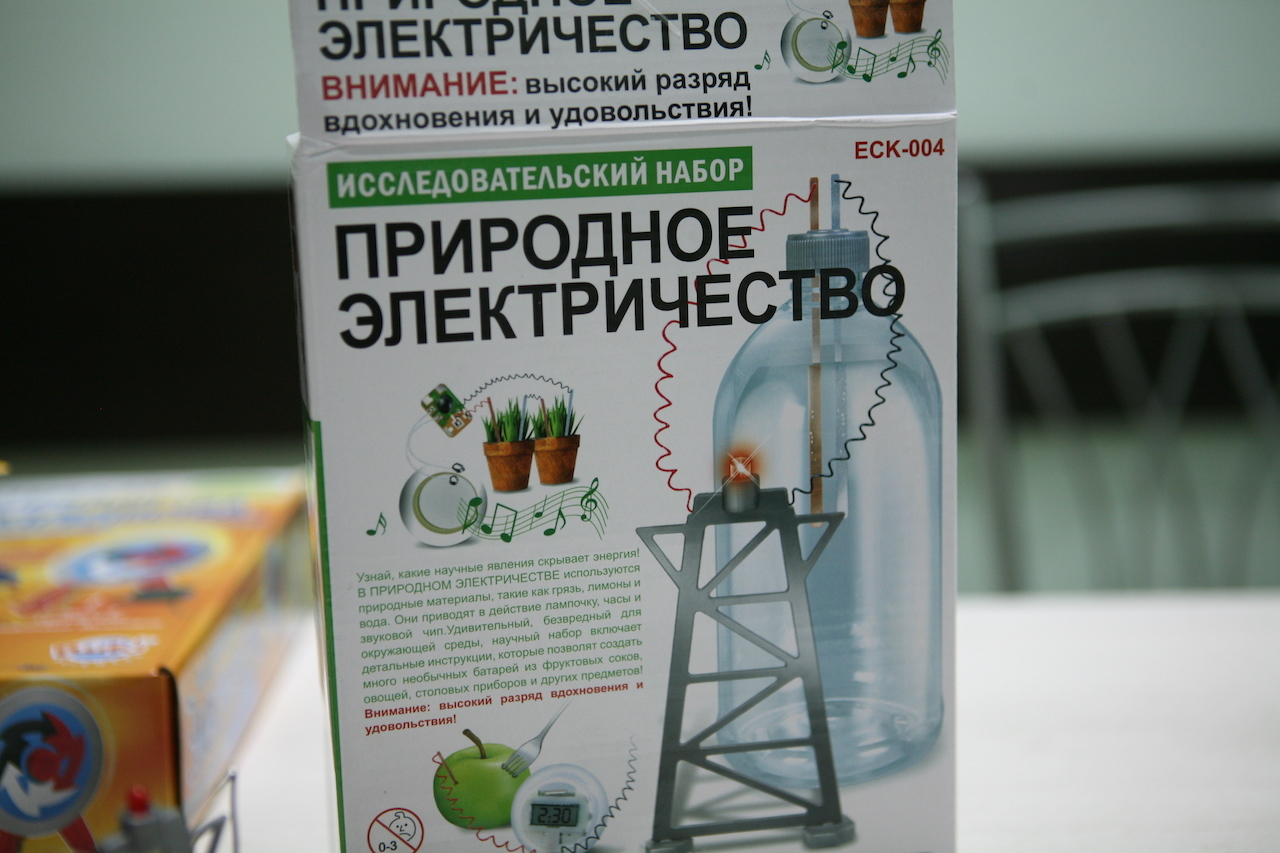
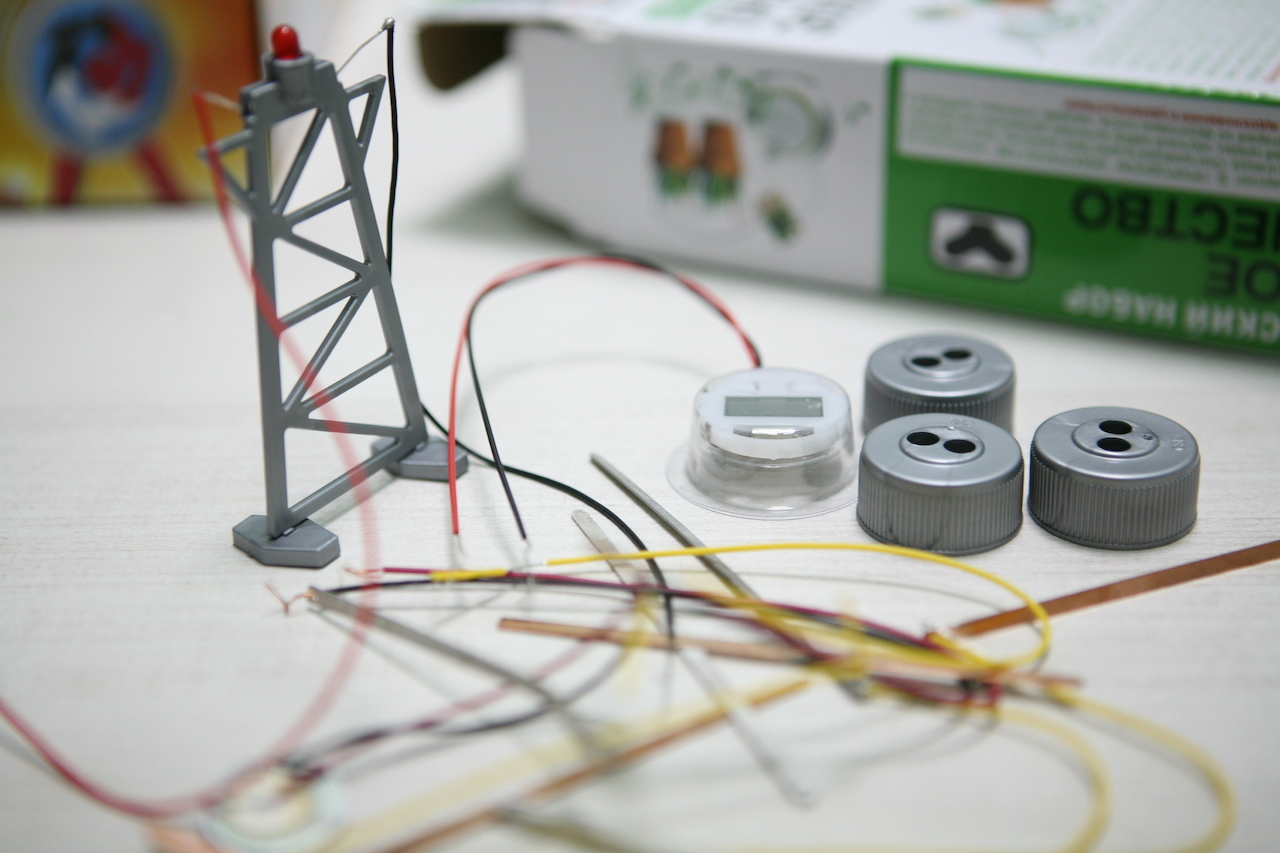
Honestly, with a fairly rich box - a very uncomplicated content. There are several copper and zinc plates, wires and covers for which you will have to search for bottles yourself, a diode on a stand and a very simple digital watch.
What can attract? In order to activate something, you need to make some effort beyond the set: find salt water, a flower in a pot or a couple of apples. In this sense, a small child may be curious and helpful to learn that some things that surround us are a bit unusual.
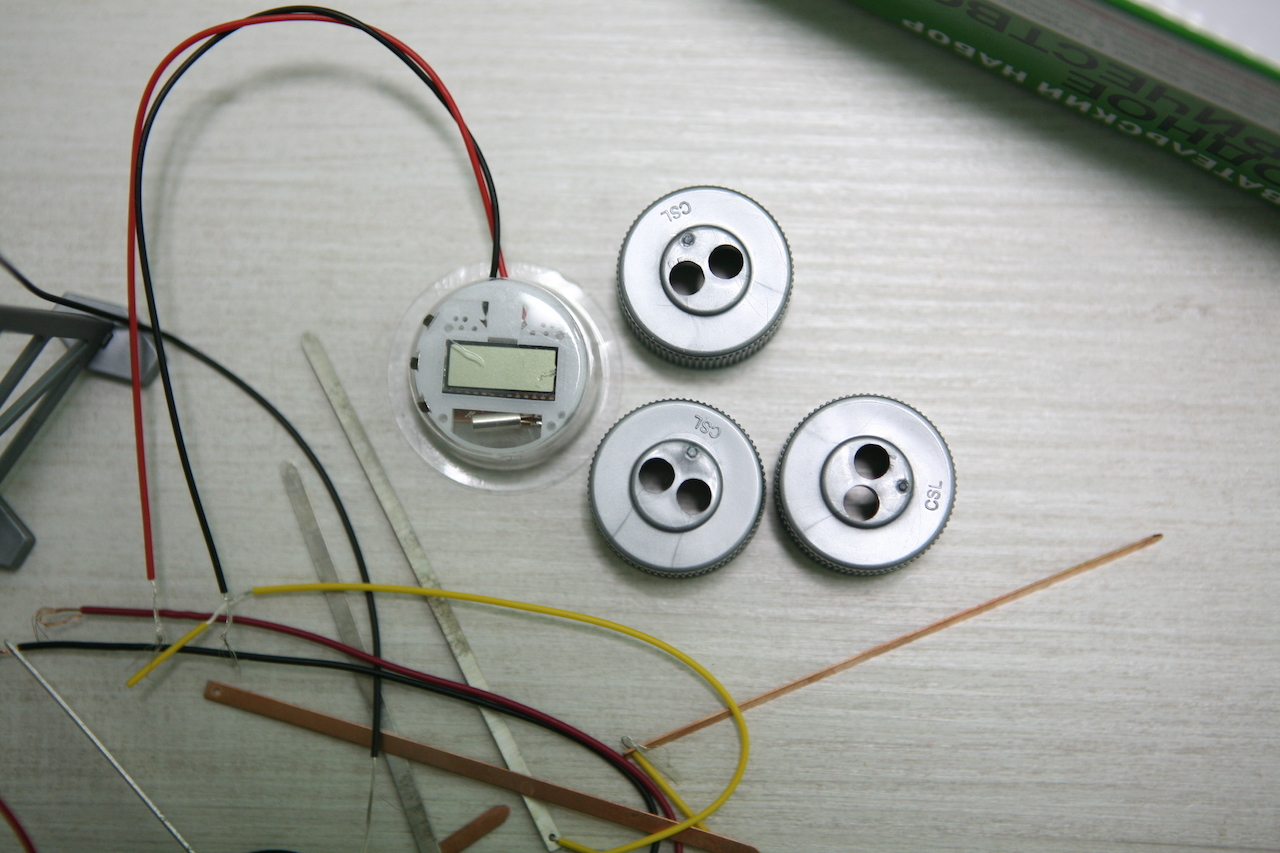
For a long time, such a toy is not enough, but the clock connected to the mother's ficus can easily stand for a while and even show it, if you don’t forget to water it in time. The cost of 790 rubles .
Similar to this set can be called the " Electricity Workshop ", which we wrote about not so long ago. The set also seems to someone slightly overrated, but it has a number of advantages.
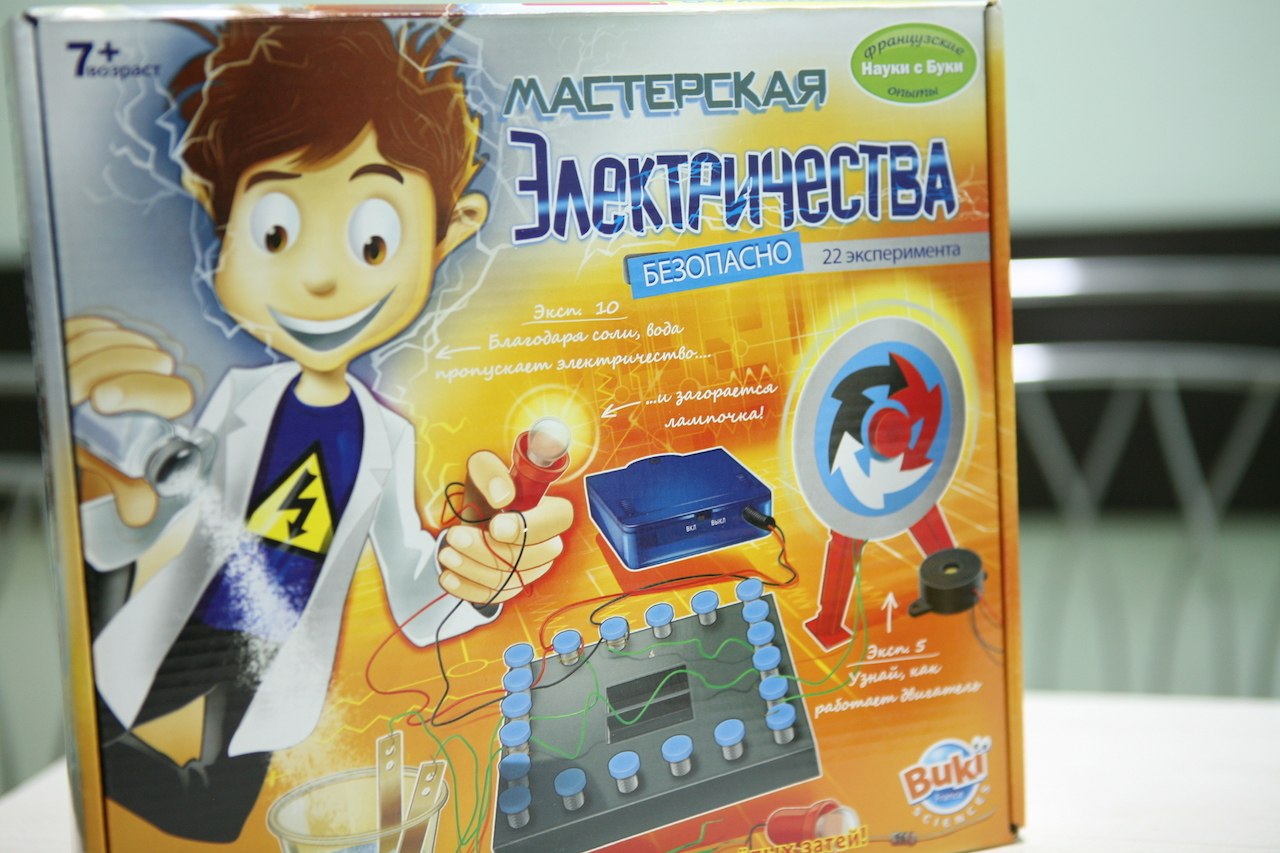
Two color instructions: text and visual, simple handkerchief with a convenient spring-loaded wires, which does not require the child extra fine action. And, as well as in the set described above, some space for creativity along with salt water, etc. In total, the Electricity Workshop offers over 20 experiments.
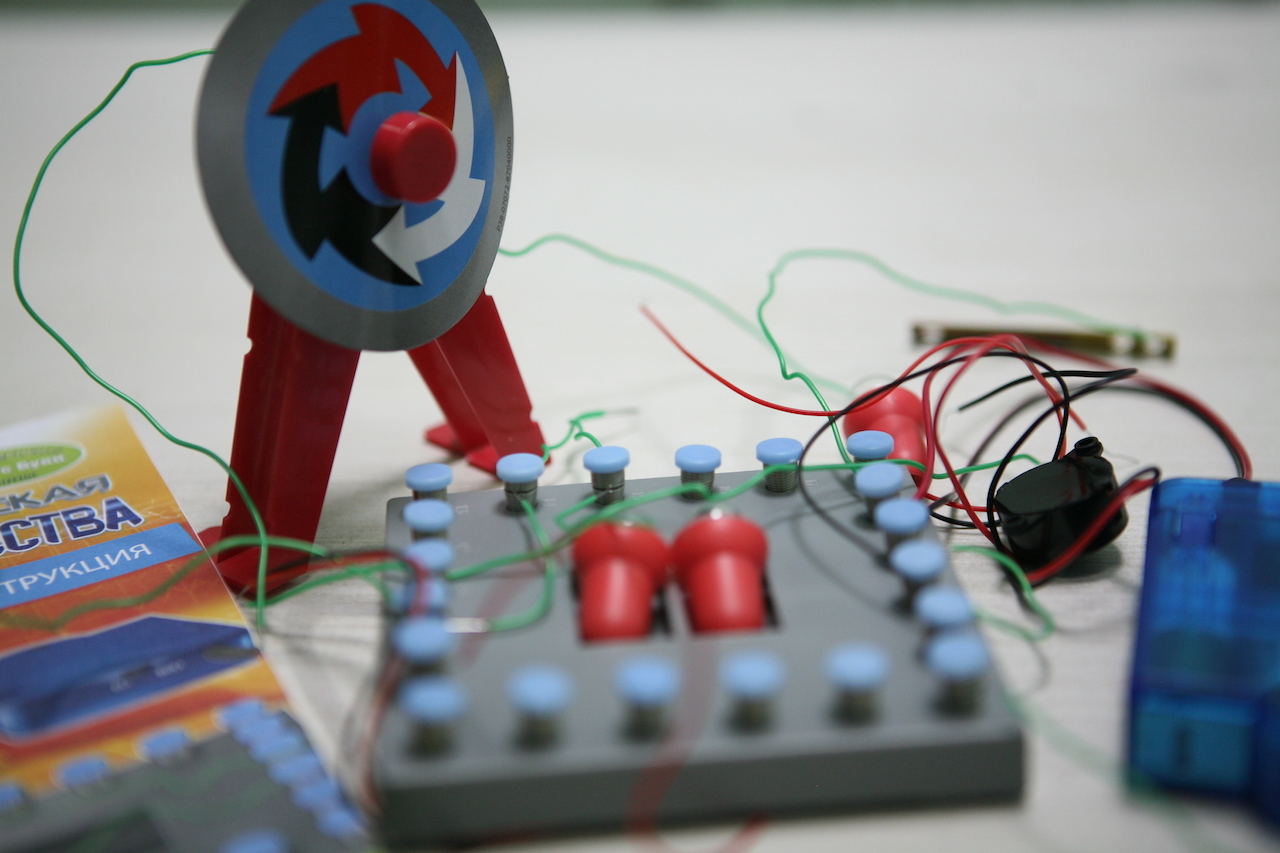
In a set of motor, speaker and a few light bulbs. With, again, some “poverty” of picking, the box itself is decorated very nicely and draws a good souvenir to the child during school holidays.
Micronik - perhaps our favorite sample.
This is the Amperca project, a well-known manufacturer of Arduino programming kits .
Mikronik stands alone: there is nothing to program here. This is the initial set for the first experiments.
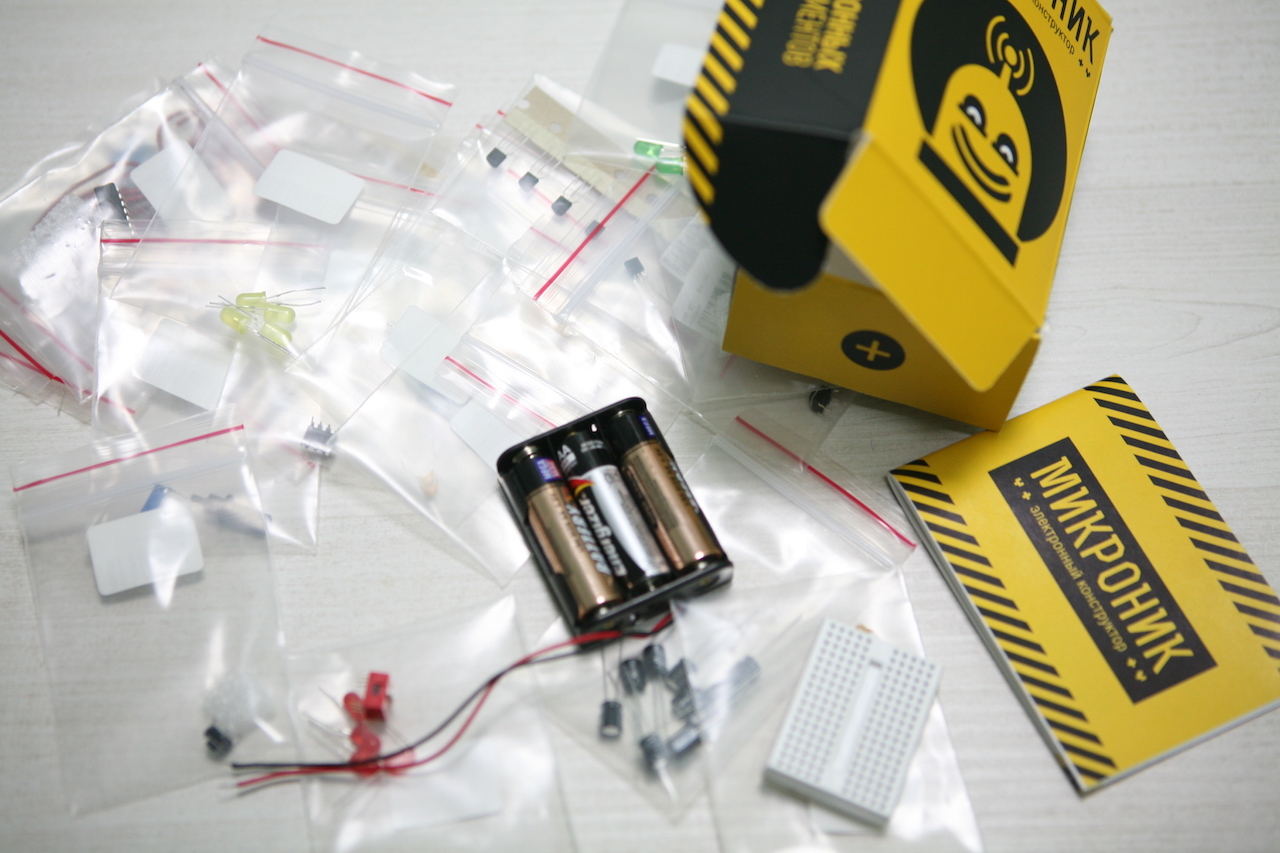
There are over a hundred components in the kit that should consistently take their place on a small board.
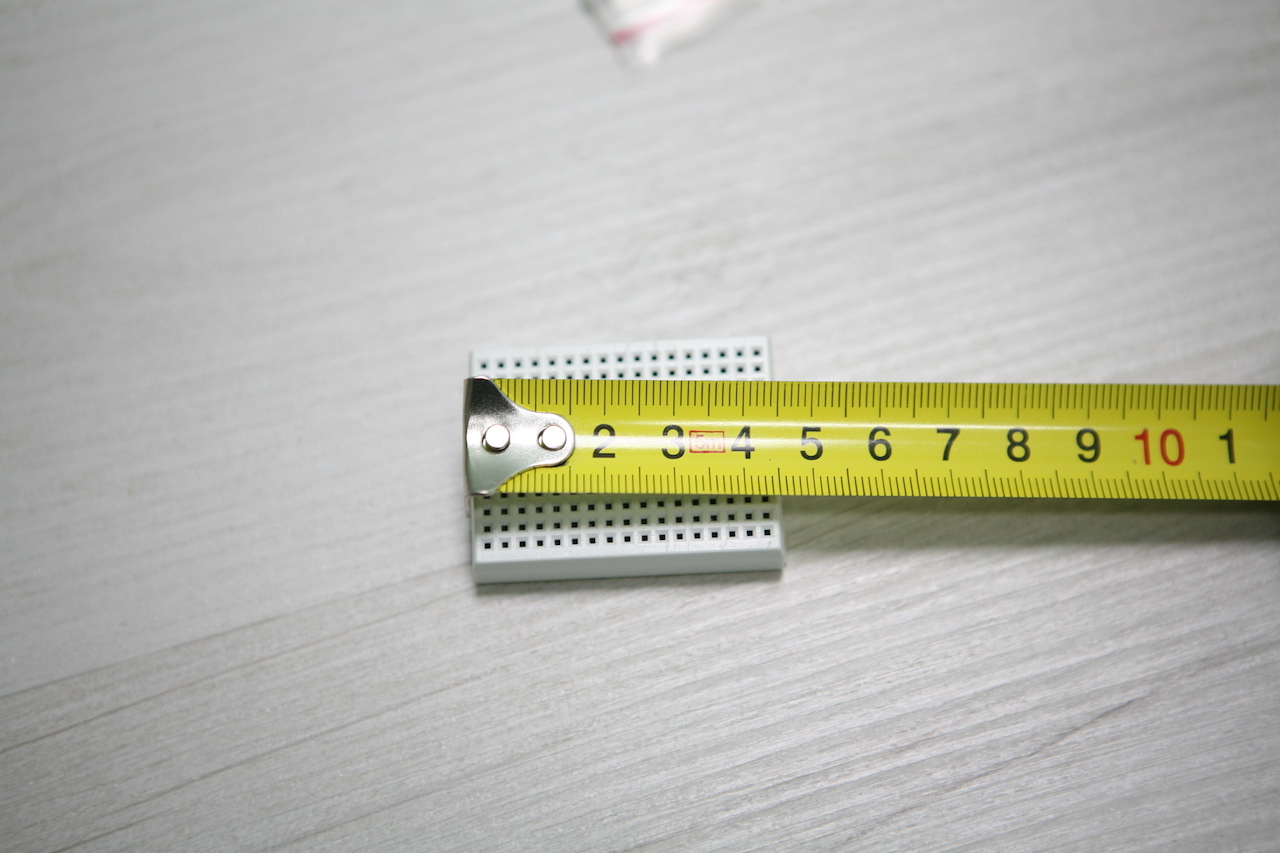
The board is really miniature, for which some people criticize this designer, they say, it’s difficult for a child to work in such a space. There is also ratszerno. But one of the tasks, probably, was to make a “designer for small ones” small.
We have already described some experiments, as well as the “Mikronik” package bundle, in one of the long-standing reviews already in 2015.
Strongly fantasizing here will not work: all twenty models that are provided are assembled from the components proposed in the kit, that is, salt water, fruit and plastic bottles can be dispensed with.
The simplest experiments are fairly easy to assemble, since it is not very difficult to count the required number of cells to connect in relative emptiness.

Other models will require more diligence and care.
The cost of "Mikronika" - 990 rubles .
From the relatively inexpensive projects of Amperque I would also like to mention Tekhnokub . He is curious to help the child create the first smart device on his own.
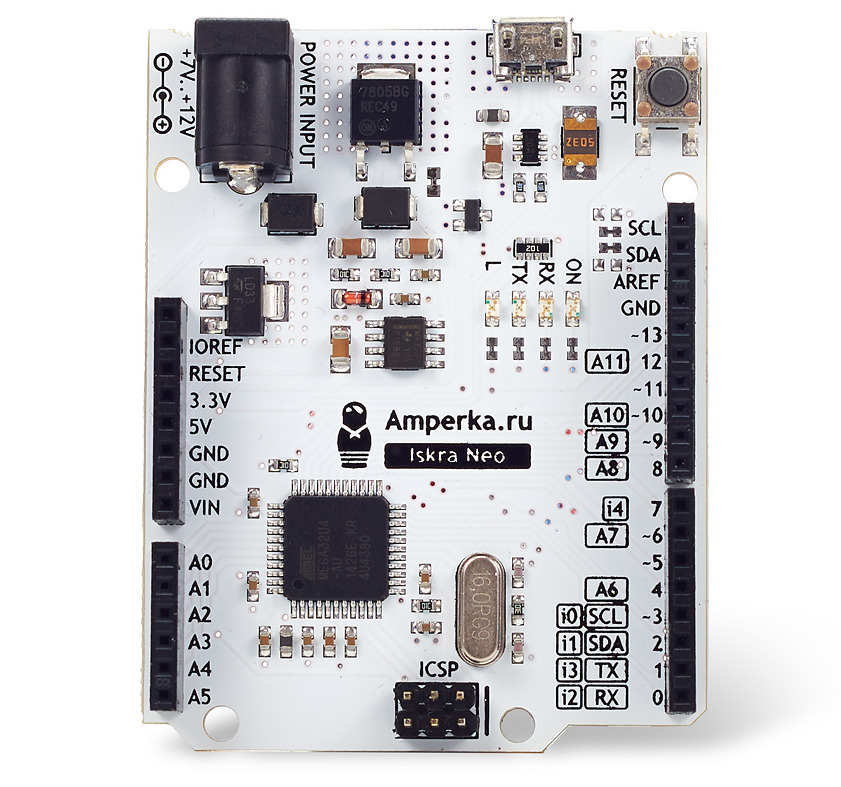
It works on the basis of the Iskra Neo platform with the ATmega32U4 microcontroller, which, as the authors specify, is an analogue of the Arduino Leonardo.
There are not so many components in the set from which it is proposed to assemble a cube with a diode notification of various events.
Considering the fact that many such things surround us, ranging from smart bracelets that notify about calls, to motion sensors, smart cameras with numerous guns, such an exercise seems to be very timely.
Let's return to normal designers. Of the analogues "Mikronika" should be mentioned designers " Expert ". Their main difference is greater clarity, a simplified and more reliable way of fixing elements.
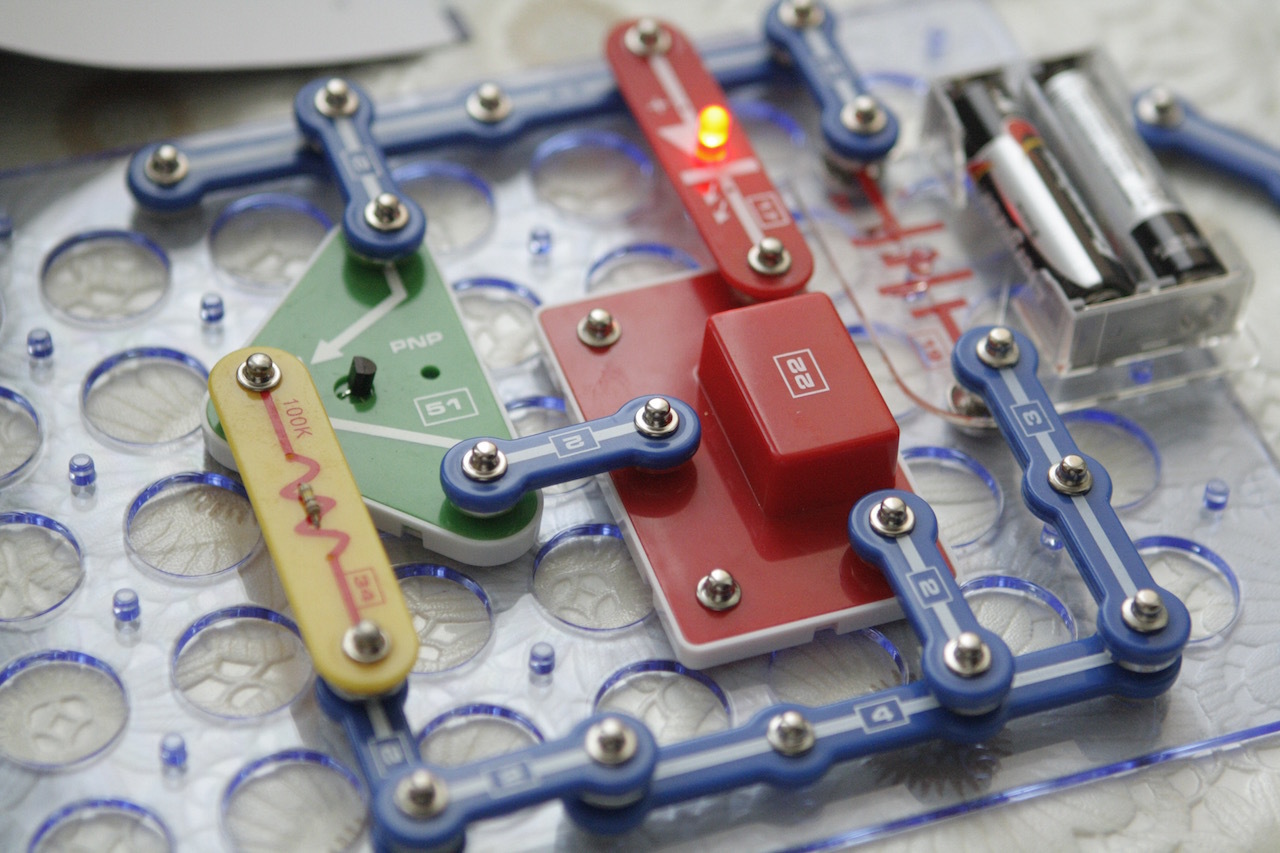
Of course, some atmosphere of a “serious” adult designer is lost, but perhaps it is not needed to comprehend the simple laws of physics and electronics. Designer elements are attached to the board with the help of "buttons".
Everything is made of rigid elements, and therefore the construction will not fall apart, will not crumble: it is quite reliable and pragmatic. The “charge” itself is many times larger than the “Electricity Workshop”, and already “Mikronika” even more so.

Something did not finish? Easy to clean with the board and set aside until next time.
Since we have touched the topic of electronic robotic designers, it is appropriate to mention a couple of examples. First, the electronic designers "LART" .
The company is known in the market for similar sets of electronic experiments, such as "Natural Electricity" and several models of programmable simple models. Among them, for example: “Scythian robot”, which is controlled by an R-5 unit with an Arduino nano controller.
Included you get:
Cost - 4 930 rubles .
Slightly simpler and slightly cheaper "LART" - "Robot, following the line ."
Included:
Another model "LART" - " Manipulator ".
Included:
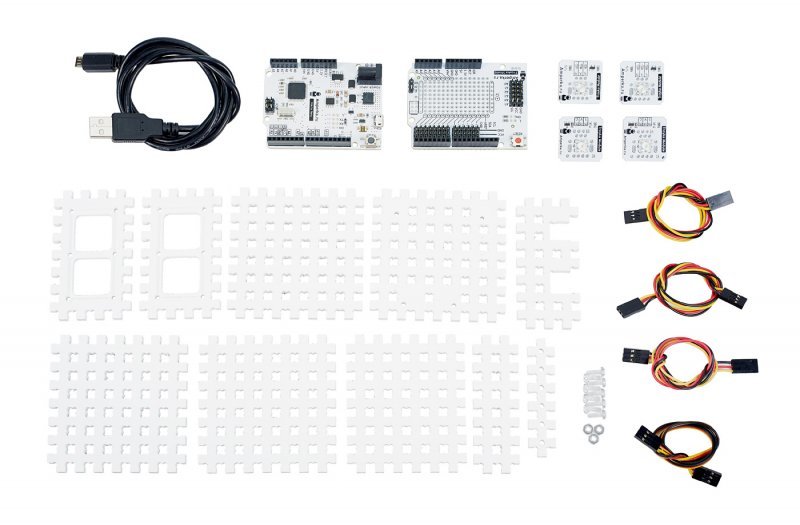
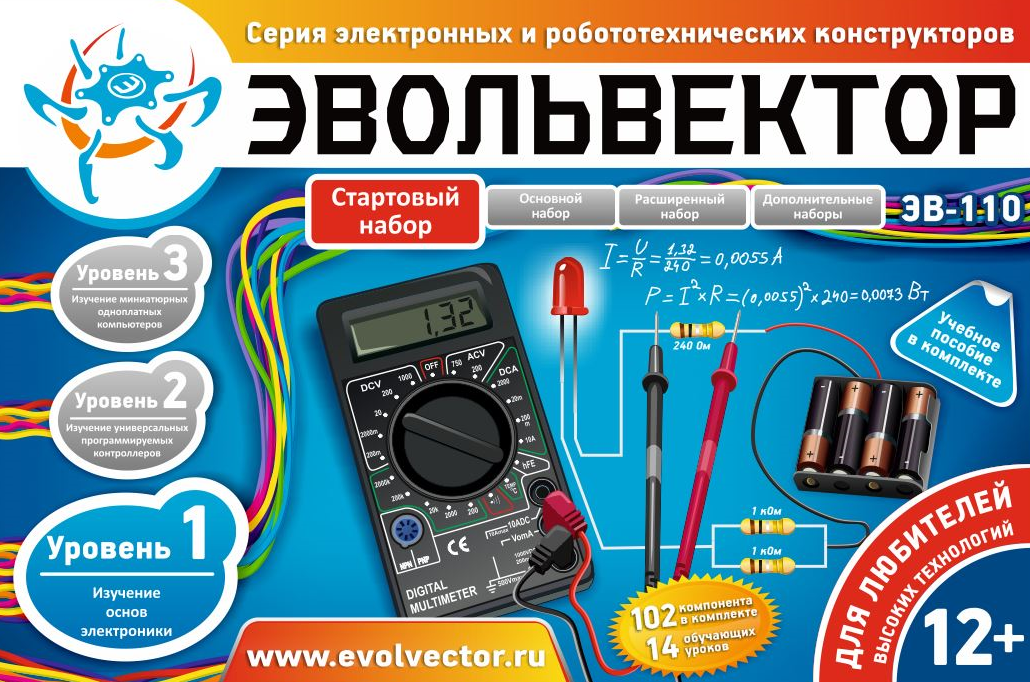
Also in the final briefly mention another model range of electronic designers for older children - products " Evolvektor ." They cost a little more expensive than Amperki.
There are several sets in total. For example, the first level Starter Kit is designed to explain the basics of electronics.
It is built on the principle of teaching lessons: there are altogether 30 of them, each of which consistently includes both a theoretical part and practical skills.
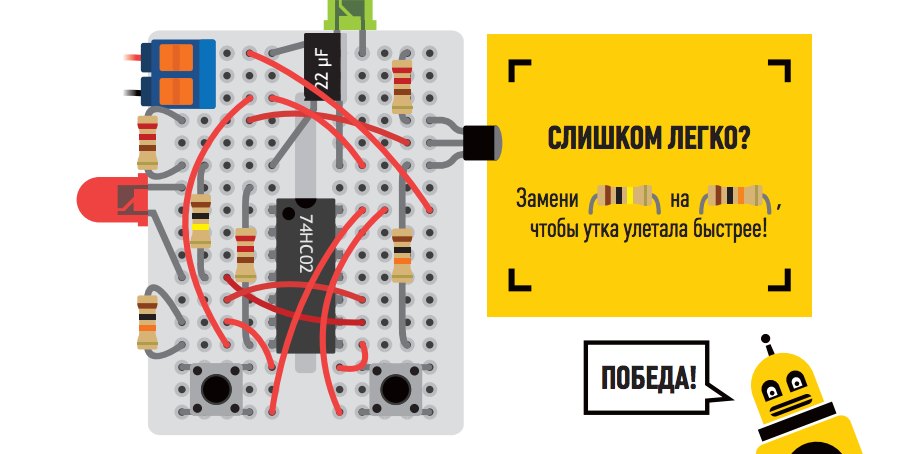
At the heart of each lesson, one or more experiments to improve the perception and consolidation of knowledge. Everything, as in school, in general. In the process of this “entertaining physics”, the child will be explained the principles of the creation of oscillatory systems, the formation of digital signals, and will teach you to create your own devices from the proposed chips and elements.
The cost of this kit - 6999 rubles .
Also in the line there is a similar constructor , which partly solves similar problems, with a richer complete set based on the Arduino controller.
Experiments with electronics have recently become quite popular: even in retail stores you can find a large number of the same type, localized by different suppliers, gift boxes, inside which there are instructions for short projects.
')
One of the simplest examples is the “Potato Clock”, “ Natural Electricity ”, etc.
The latter is not exactly an electronic constructor, although the line between them is rather thin: there is a set of simple components; scheme for the assembly or activation of simple elements - there is; wires, instructions ... In general, trying to match.
Honestly, with a fairly rich box - a very uncomplicated content. There are several copper and zinc plates, wires and covers for which you will have to search for bottles yourself, a diode on a stand and a very simple digital watch.
What can attract? In order to activate something, you need to make some effort beyond the set: find salt water, a flower in a pot or a couple of apples. In this sense, a small child may be curious and helpful to learn that some things that surround us are a bit unusual.
For a long time, such a toy is not enough, but the clock connected to the mother's ficus can easily stand for a while and even show it, if you don’t forget to water it in time. The cost of 790 rubles .
Similar to this set can be called the " Electricity Workshop ", which we wrote about not so long ago. The set also seems to someone slightly overrated, but it has a number of advantages.
Two color instructions: text and visual, simple handkerchief with a convenient spring-loaded wires, which does not require the child extra fine action. And, as well as in the set described above, some space for creativity along with salt water, etc. In total, the Electricity Workshop offers over 20 experiments.
In a set of motor, speaker and a few light bulbs. With, again, some “poverty” of picking, the box itself is decorated very nicely and draws a good souvenir to the child during school holidays.
Micronik - perhaps our favorite sample.
This is the Amperca project, a well-known manufacturer of Arduino programming kits .
Mikronik stands alone: there is nothing to program here. This is the initial set for the first experiments.
There are over a hundred components in the kit that should consistently take their place on a small board.
The board is really miniature, for which some people criticize this designer, they say, it’s difficult for a child to work in such a space. There is also ratszerno. But one of the tasks, probably, was to make a “designer for small ones” small.
We have already described some experiments, as well as the “Mikronik” package bundle, in one of the long-standing reviews already in 2015.
Strongly fantasizing here will not work: all twenty models that are provided are assembled from the components proposed in the kit, that is, salt water, fruit and plastic bottles can be dispensed with.
The simplest experiments are fairly easy to assemble, since it is not very difficult to count the required number of cells to connect in relative emptiness.
Other models will require more diligence and care.
The cost of "Mikronika" - 990 rubles .
From the relatively inexpensive projects of Amperque I would also like to mention Tekhnokub . He is curious to help the child create the first smart device on his own.
It works on the basis of the Iskra Neo platform with the ATmega32U4 microcontroller, which, as the authors specify, is an analogue of the Arduino Leonardo.
There are not so many components in the set from which it is proposed to assemble a cube with a diode notification of various events.
Considering the fact that many such things surround us, ranging from smart bracelets that notify about calls, to motion sensors, smart cameras with numerous guns, such an exercise seems to be very timely.
Let's return to normal designers. Of the analogues "Mikronika" should be mentioned designers " Expert ". Their main difference is greater clarity, a simplified and more reliable way of fixing elements.
Of course, some atmosphere of a “serious” adult designer is lost, but perhaps it is not needed to comprehend the simple laws of physics and electronics. Designer elements are attached to the board with the help of "buttons".
Everything is made of rigid elements, and therefore the construction will not fall apart, will not crumble: it is quite reliable and pragmatic. The “charge” itself is many times larger than the “Electricity Workshop”, and already “Mikronika” even more so.
Something did not finish? Easy to clean with the board and set aside until next time.
Since we have touched the topic of electronic robotic designers, it is appropriate to mention a couple of examples. First, the electronic designers "LART" .
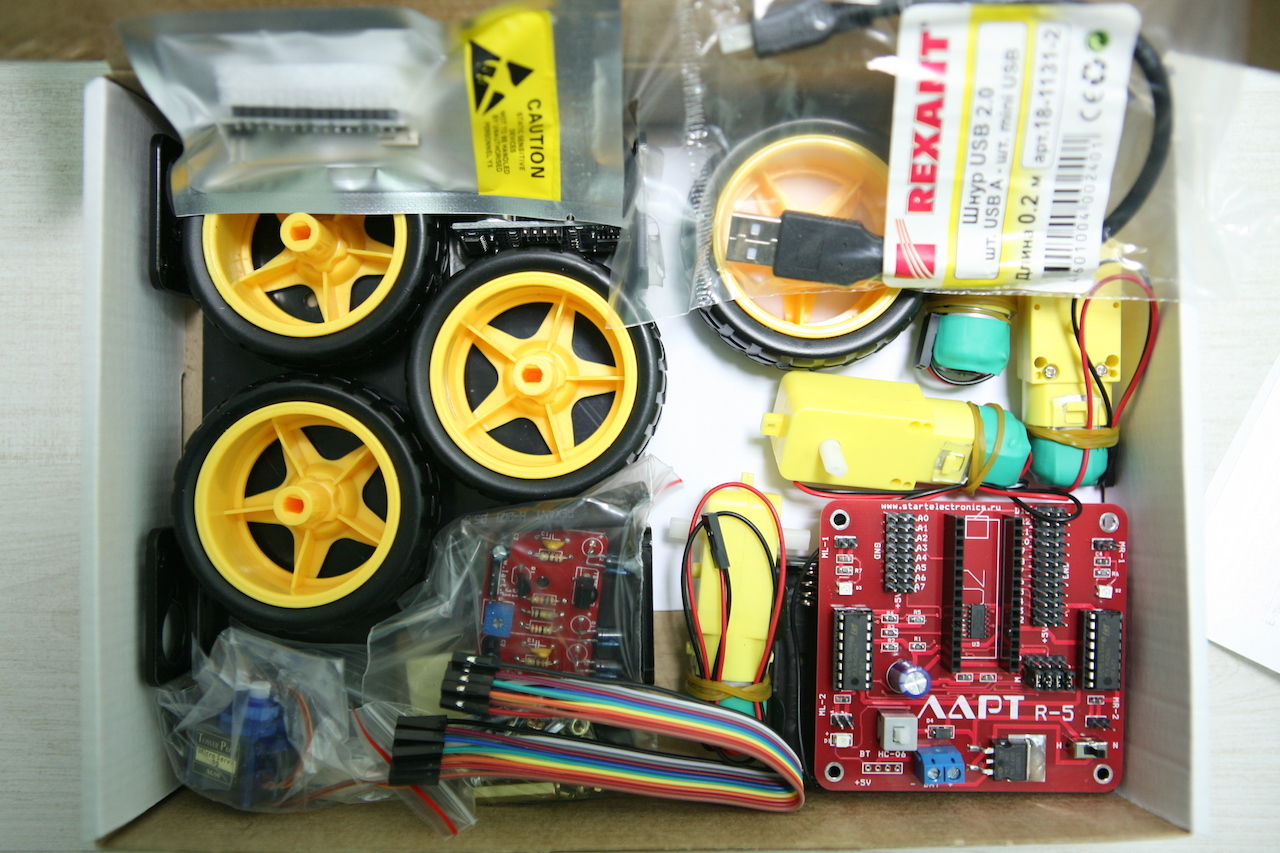
The company is known in the market for similar sets of electronic experiments, such as "Natural Electricity" and several models of programmable simple models. Among them, for example: “Scythian robot”, which is controlled by an R-5 unit with an Arduino nano controller.
Included you get:
- Support plate - 1 pc.
- Gear motor - 4 pcs.
- Plastic wheel - 4 pcs.
- Battery compartment for 6 pcs. AA batteries - 1 pc.
- The control unit R-5 - 1 pc.
- Arduino Nano compatible controller - 1 pc.
- Infrared sensor LM1-940 - 2 pcs.
- Ultrasound sensor HC-SR04 - 1 pc.
- Servomotor SG90 - 1 pc.
- Plastic holder of ultrasonic sensor - 1 pc.
- USB cable - 1 pc.
- Brass stand 10 mm - 2 pcs.
- Brass 20 mm stand - 4 pcs.
- Screw M3 x 25 mm - 8 pcs.
- Screw M3 x 6 mm - 14 pcs.
- Screw M2 x 6 mm - 2 pcs.
- M3 nut - 2 pcs.
- M2 nut - 2 pcs.
- Wire set - 1 pc.
- Plastic tube for IR diodes - 2 pcs.
- CD disk with the description of the designer - 1 pc.
Cost - 4 930 rubles .
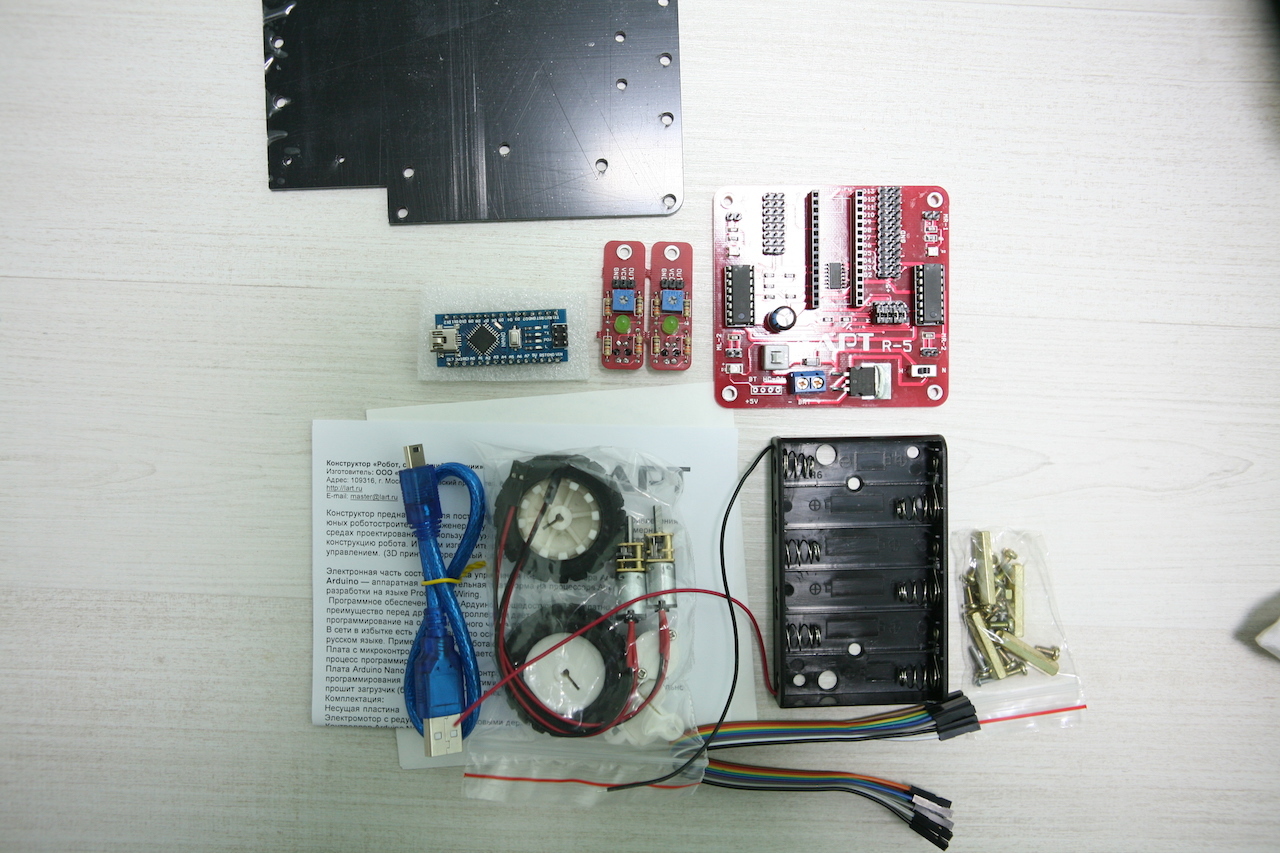
Slightly simpler and slightly cheaper "LART" - "Robot, following the line ."
Included:
- Carrier plate.
- Running gear: 2 electric motors with a wheel of 42 mm, the holder of motors and mounting screws with M2 nuts. And ball bearing
- Battery compartment with 6 AA batteries and mounting screws with M3 nuts.
- R5 control unit with Arduino Nano controller, 25mm metal posts and M3 x 6mm mounting screws.
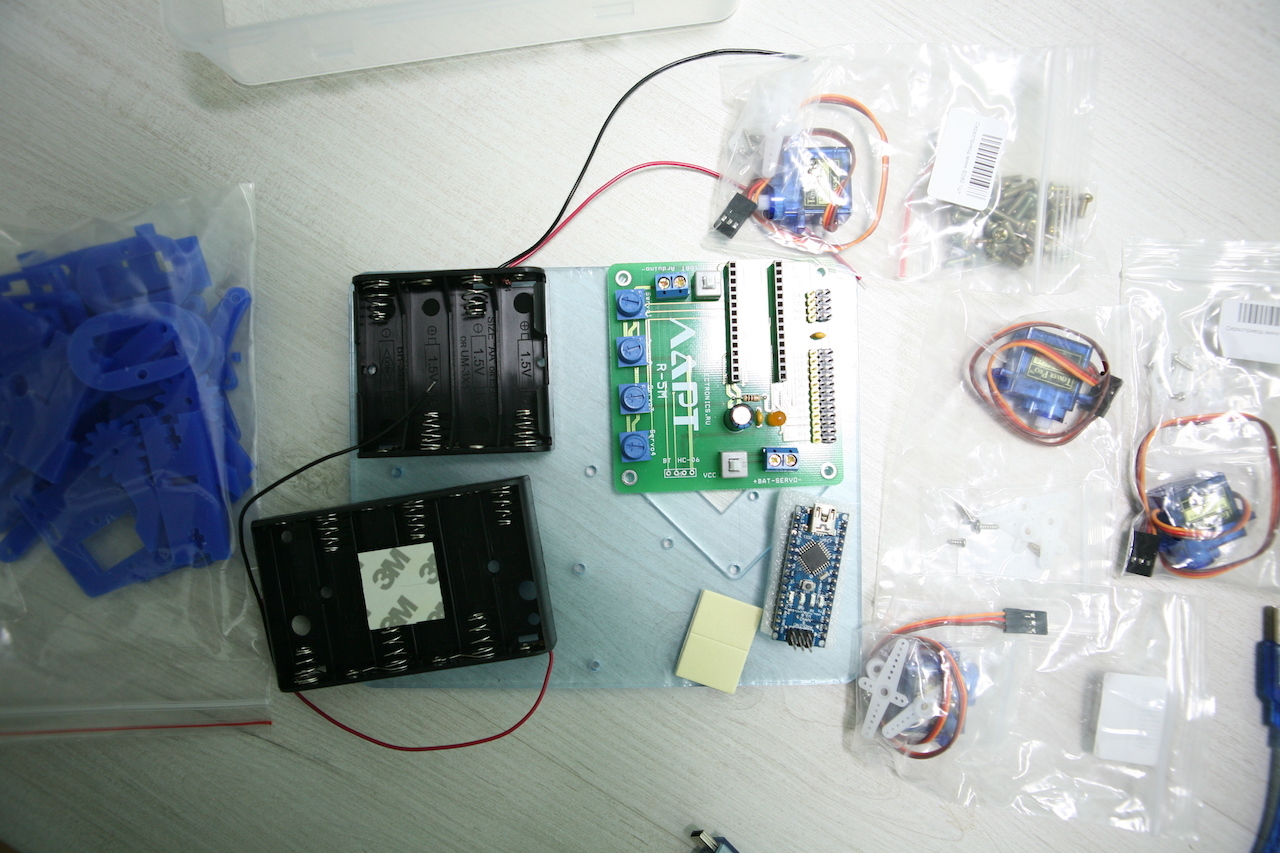
Another model "LART" - " Manipulator ".
Included:
- A set of plastic parts of the robot.
- Fasteners
- Battery compartment for 6 AA batteries
- Battery compartment for 4 AA batteries
- 4 SG90 servomotors
- The control unit R-5M
- Arduino Nano Controller
- Rubber feet
Also in the final briefly mention another model range of electronic designers for older children - products " Evolvektor ." They cost a little more expensive than Amperki.
There are several sets in total. For example, the first level Starter Kit is designed to explain the basics of electronics.
It is built on the principle of teaching lessons: there are altogether 30 of them, each of which consistently includes both a theoretical part and practical skills.
Lessons
Lesson number 1. Basic concepts of electricity.
Voltage, resistance, power, current strength, Ohm's law.
Lesson number 2. Light-emitting diode.
Features of application and connection
Lesson number 3. Clock button.
Use in electrical circuit
Lesson number 4. Work with a multimeter.
Methods of measuring electrical characteristics
Lesson number 5. Variable resistance.
Rheostat and potentiometer, their purpose and application.
Lesson number 6. Transistors.
Description and species. Building a circuit based on a bipolar transistor
Lesson number 7. Consecutive connection of conductors.
Characteristics and features. Calculation of the electrical circuit.
Lesson number 8. Thermistor and photoresistor.
Description and features of use.
Lesson number 9. Voltage divider
The principle of voltage division. Calculation of circuit parameters.
Lesson number 10. Volt-ampere characteristics.
Definition and functional purpose.
Lesson number 11. RGB LED.
Features of connecting a full-color LED.
Lesson number 12. Parallel connection of conductors.
Characteristics and features. Calculation of the electrical circuit.
Lesson number 13. Capacitor.
Varieties, characteristics and application.
Lesson number 14. Single junction transistor.
The principle of operation and practical use in the schemes.
Lesson number 15. Creating a simple oscillatory circuit.
Flashing LED.
Lesson number 16. Getting started with chips.
Chip pulse counter in the mini-project "Running Light".
Lesson number 17. The use of Schmitt trigger chips in digital systems.
Mini-project "Automatic running light".
Lesson number 18. Features work with a 7-segment digital display.
Mini-project "Snake".
Lesson number 19. Familiarity with logical elements.
Microcircuit with the element "NOT" in the mini-project "Automatic Night Light"
Lesson number 20. Chip with a logical element "And".
The concept of feedback and a mini-project "Access Code".
Lesson number 21. Triggers in electronics.
D-flip-flop in a mini-project “Digitizer”.
Lesson number 22. The study of the 555th timer.
Monostable mode of operation. Mini-project "Timer for the intercom."
Lesson number 23. Work 555th timer in the mode of the generator of continuous oscillations.
Mini-project "Police Lighthouse".
Lesson number 24. Principles of creating sound. Sound speaker.
Mini-project "Music Synthesizer".
Lesson number 25. Advanced timer management.
Mini-project "Specials".
Lesson number 26. Application driver 7-segment indicator.
Mini-project "Stopwatch".
Lesson number 27. Varieties of electric motors.
The collector engine and its management by means of the relay.
Mini-project "Drive the car wiper."
Lesson number 28. Control of the electromotor using the H-bridge.
Mini-project "Winch".
Lesson number 29. IC driver to control the motor.
Mini-project "Lord of the motor."
Lesson number 30. Servo control.
Mini-project "Servometronom".
At the heart of each lesson, one or more experiments to improve the perception and consolidation of knowledge. Everything, as in school, in general. In the process of this “entertaining physics”, the child will be explained the principles of the creation of oscillatory systems, the formation of digital signals, and will teach you to create your own devices from the proposed chips and elements.
Equipment:
A manual on the basics of electronics
Part 1 - 1 pc.
Part 2 - 1 pc.
LED set:
Red - 5 pcs.
Yellow - 5 pcs.
Green - 5 pcs.
Resistor Kit:
120 ohm - 20 pcs.
240 ohm - 20 pcs.
1 kOhm - 20 pcs.
10 kΩ - 20 pcs.
100 kOhm - 20 pcs.
Set of clocks with caps:
Clock buttons - 3 pcs.
Color caps - 3 pcs.
Bipolar transistor - 5 pcs.
Variable resistor (potentiometer) - 2 pcs.
VT93N1 photoresistor - 1 pc.
Jumper set for breadboard - 1 pc.
Bolt terminal strip - 3 pcs
Bread board
82x53 - 2 pcs.
Connecting wires
"Daddy-daddy" 20 cm long - 40 pieces
Battery compartment for 4 AA batteries - 1 pc.
Digital multimeter - 1 pc.
Electrolytic capacitor pack:
1 uF - 5 pcs.
47 uF - 5 pcs.
4.7 uF - 5 pcs.
100 uF - 5 pcs.
220 uF - 5 pcs.
10 kΩ thermistor - 1 pc.
RGB LED - 1 pc.
Single junction transistor - 5 pcs
AA batteries - 8 pcs.
Servomotor - 1 pc.
Boozer - 1 pc.
Connecting wires
“Papa-mama” 20 cm long - 20 pcs
Gearmotor - 1 pc.
Rectifying diode - 5 pcs
Screwdriver - 1 pc.
Chipset (18 pcs) :
74hc4017 - 1 pc.
74hc14 - 1 pc.
74hc08 - 2 pcs.
74hc04 - 2 pcs.
74hc02 - 2 pcs.
CD4026 - 2 pcs.
L293D - 1 pc.
NE555 - 3 pcs.
CD4013 - 4 pcs.
7-segment indicator - 2 pcs.
A set of ceramic capacitors:
0.1 μF - 5 pcs.
0.01 μF - 5 pcs.
Blue LED - 5 pcs.
Single relay - 1 pc
Speaker - 1 pc.
Battery compartment 1xAA - 1 pc
Battery compartment 2xAA - 1 pc.
Voltage stabilizer - 2 pcs
Tilt sensor - 1 pc.
Module with clock buttons - 2 pcs.
DVD disc - 1 pc.
The cost of this kit - 6999 rubles .
Also in the line there is a similar constructor , which partly solves similar problems, with a richer complete set based on the Arduino controller.
Source: https://habr.com/ru/post/403611/
All Articles