3D printer Funtastique EVO v1.0: first acquaintance
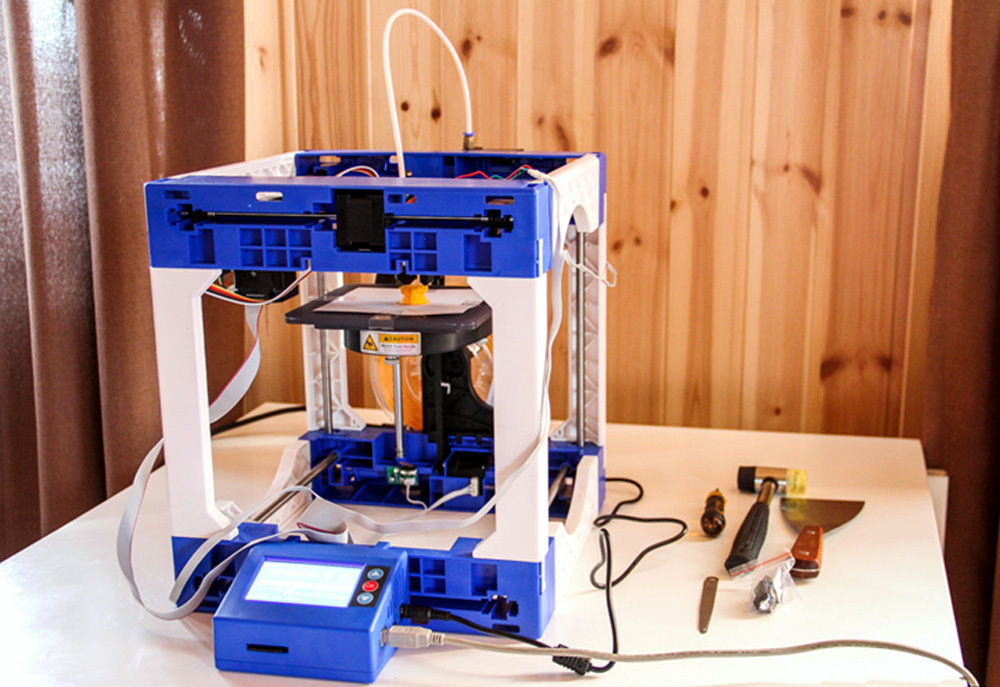
To be honest, I’m collecting a 3D printer for the first time. For me it was always something difficult and incomprehensible, something that can be collected only in laboratories. But 2017 came, and the printer can be assembled at home. Enough to read the instructions. Funtastique EVO v1.0 modular 3D printer is suitable for the role of the first home printer, when special knowledge in 3D printing is not required. It is going to be simple, as a children's designer, nothing to solder and do not need to program. Everyone has already set up to us.
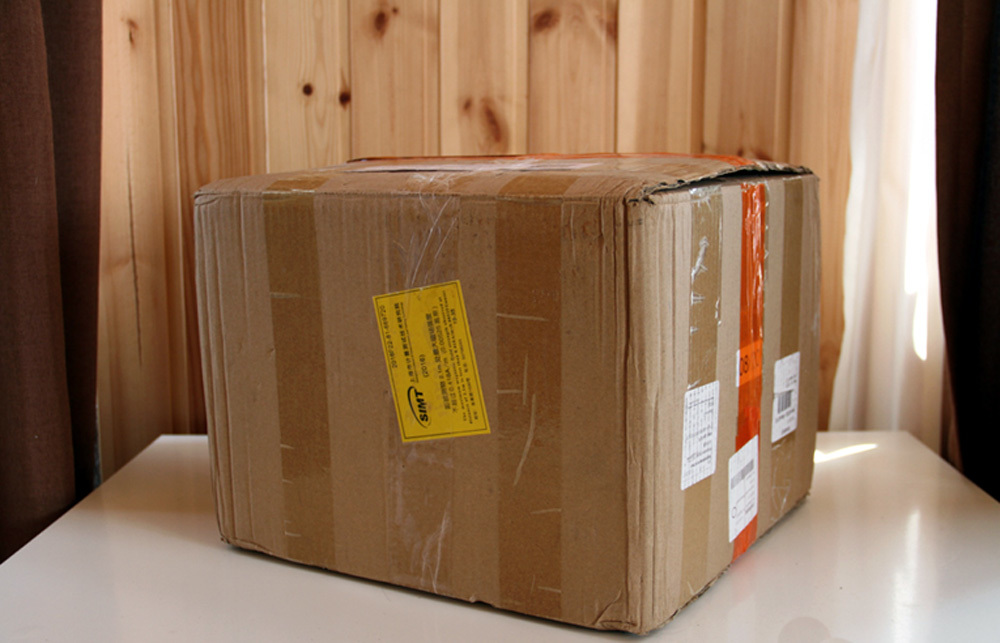
Packaging
')
The box is impressive. What's inside?
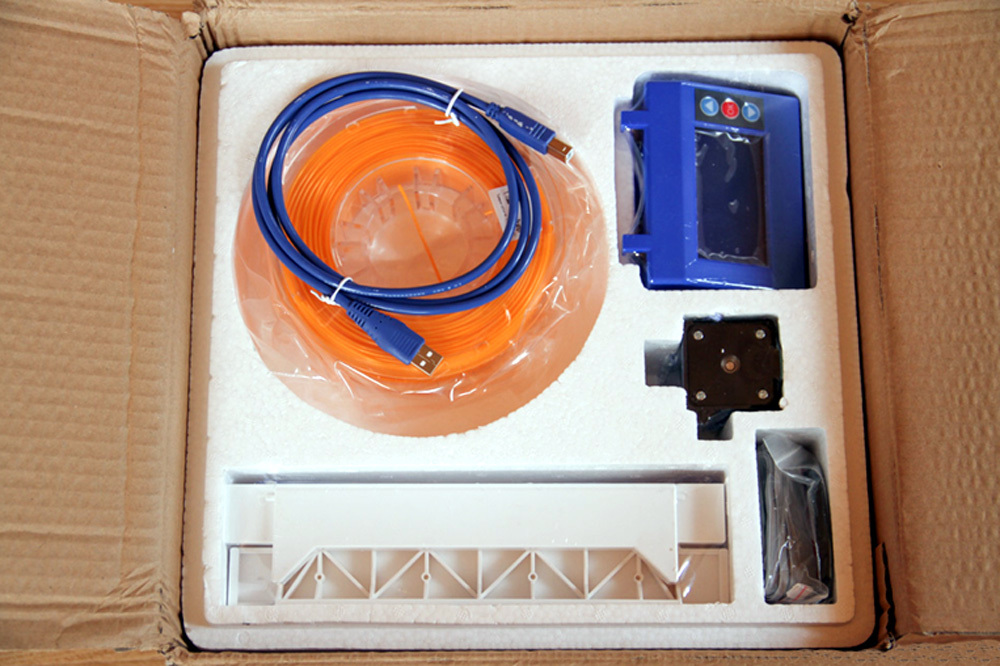
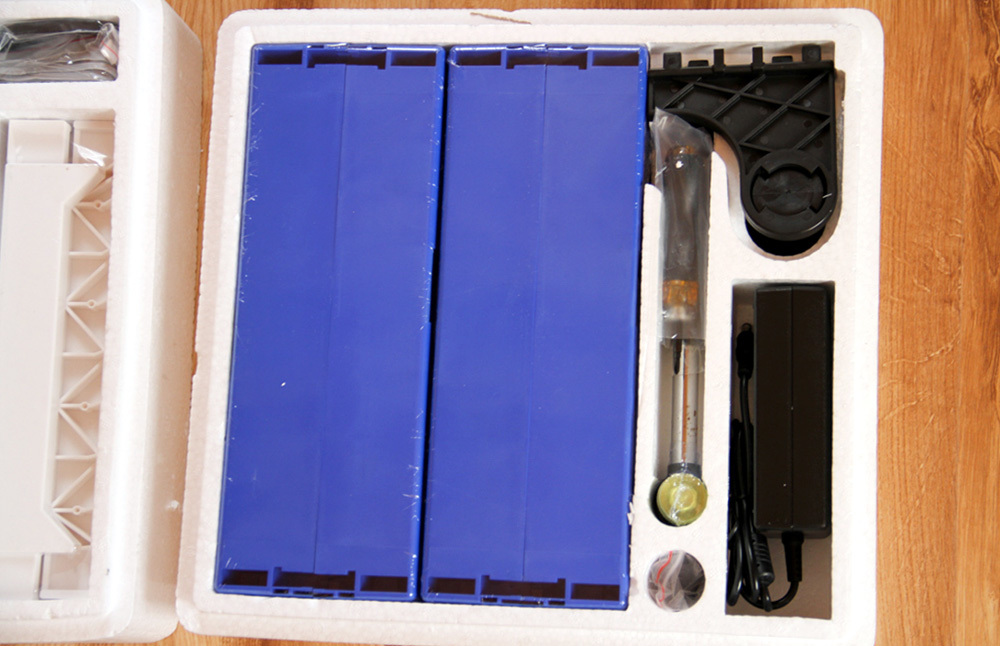
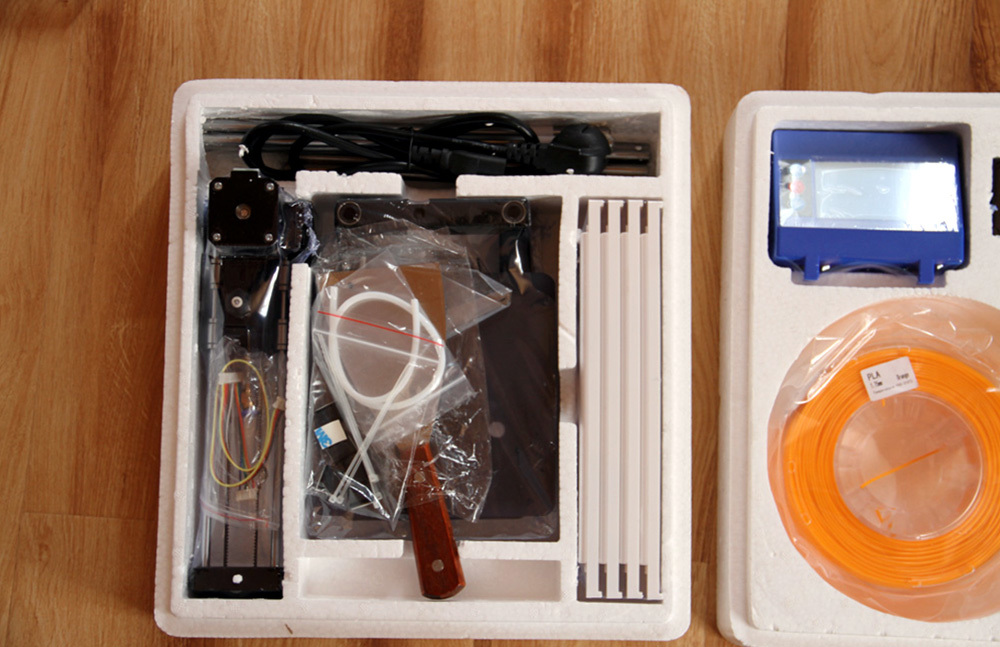
What's inside
Packing List.
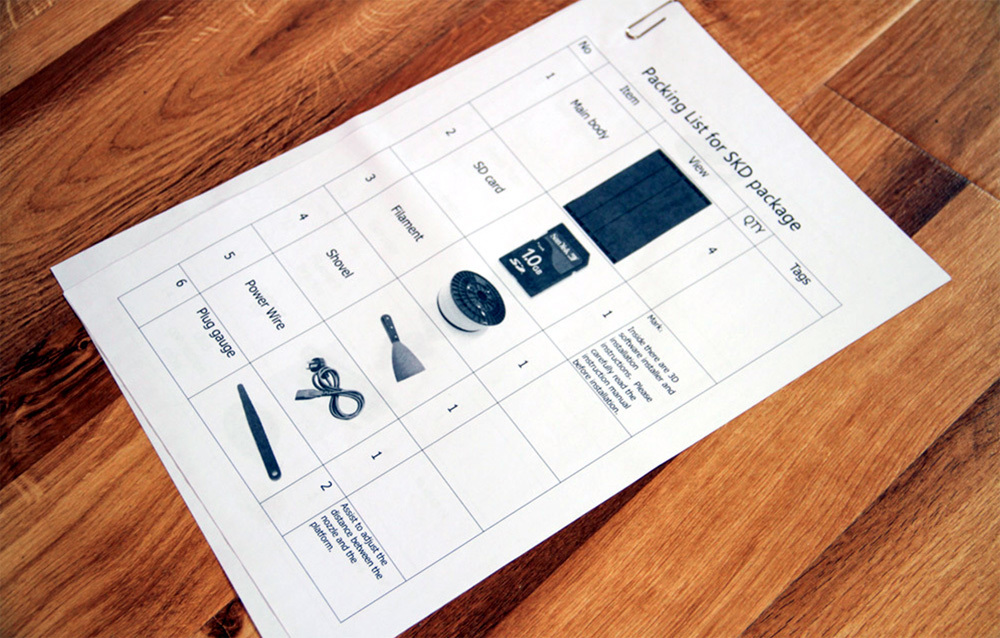
Packing list
Specifications
Funtastique EVO 3D Printer Settings v1.0
Printing area (XYZ): 125 x 130 x 160 mm
Print layer height: from 0.05 mm
Nozzle diameter: 0.40 mm
Software: CURA RepetierHost
Consumables Types: PLA, PVC, PETG, PP, Wood
Weight: 5.0 kg
Details are tightly in the foam
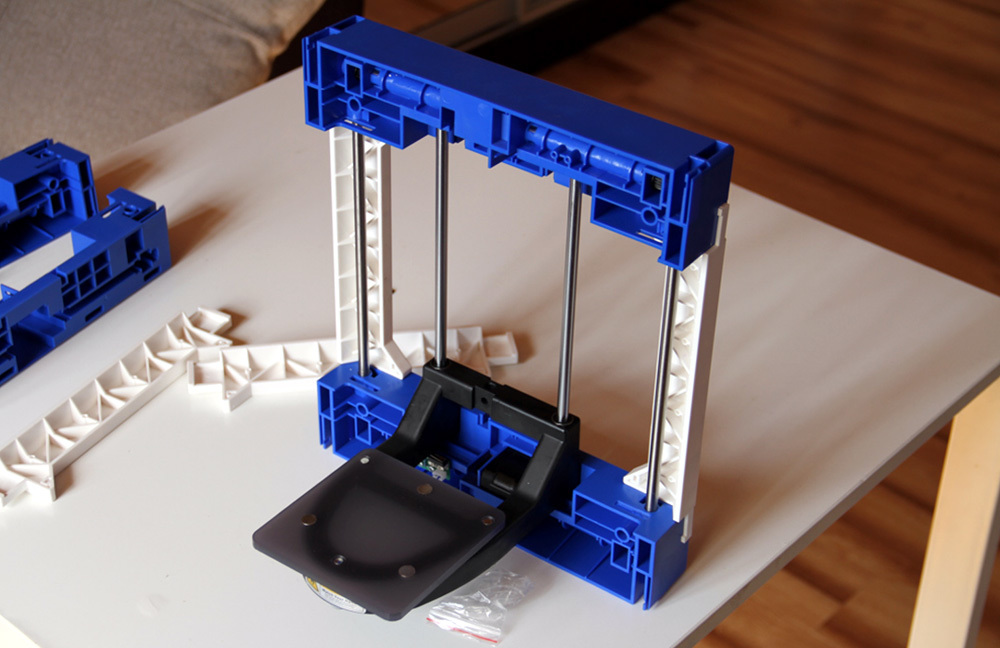
Modularity
The printer consists of modules. The manufacturer offers a printer in finished form and in the form of a designer. The printer came in a set of "do it yourself" blue. As far as I know, the Dadget also has an orange .
Open up
Assembly
It is easy to assemble and disassemble. All parts are attached with clips. ABS plastic is made of lightweight frame.

We collect
If it is placed in a room or in a study, it will not spoil the look of the interior. All thanks to the stylish design. Building and setting up the printer took me half an hour. Fastening all the details with clamps is a pleasure.
Table setting
Desktop on magnets. The manufacturer says that you can do without adhesive tape. This is partly the case. But if the part is high, then without the tape - further work will be impossible.
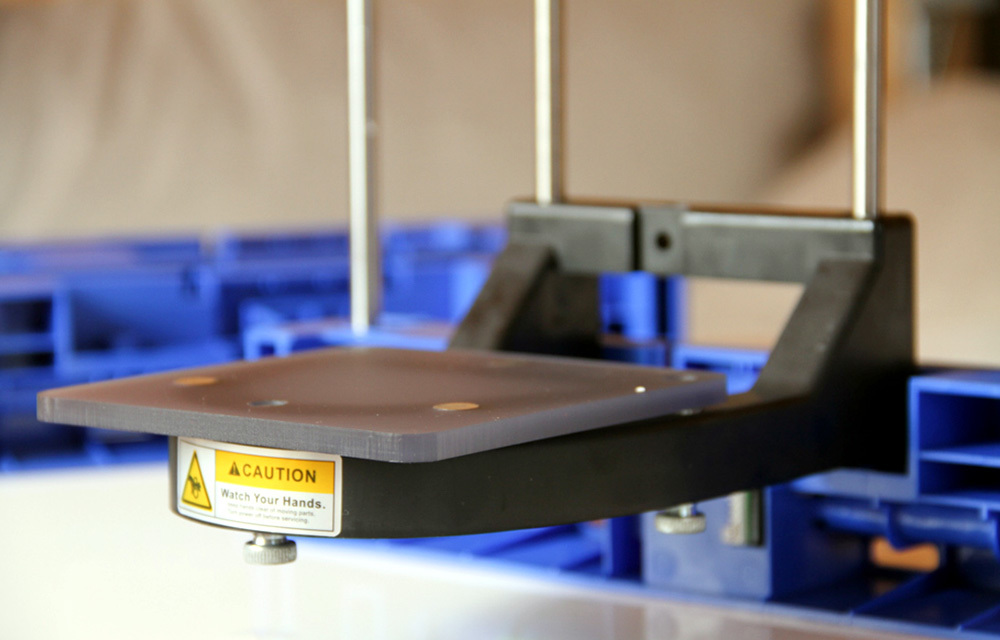
Appearance table
The table is easy to set and remove. We collect.

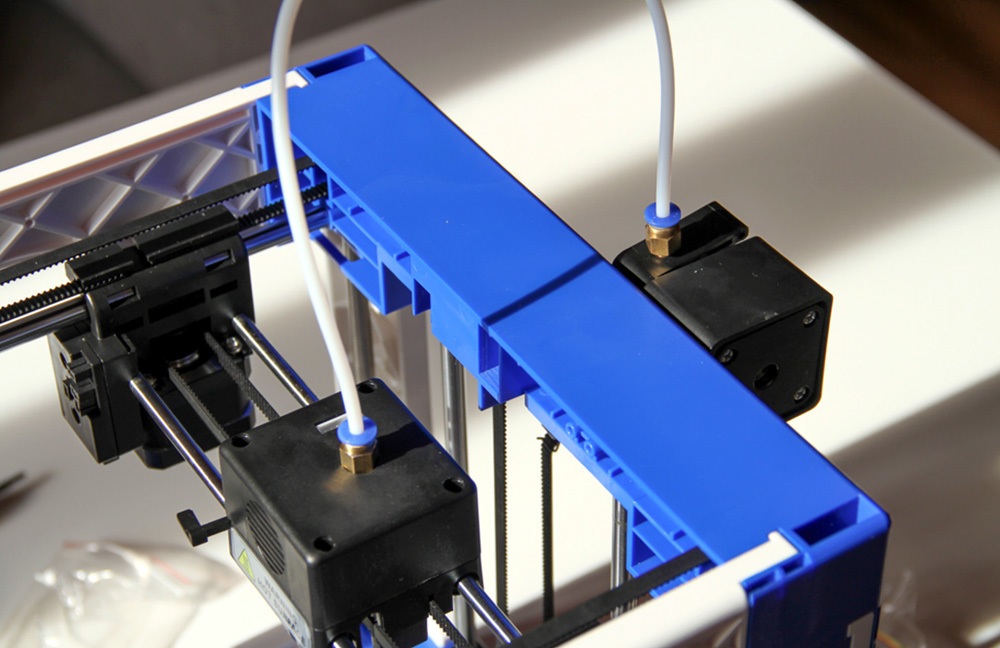
Assembly
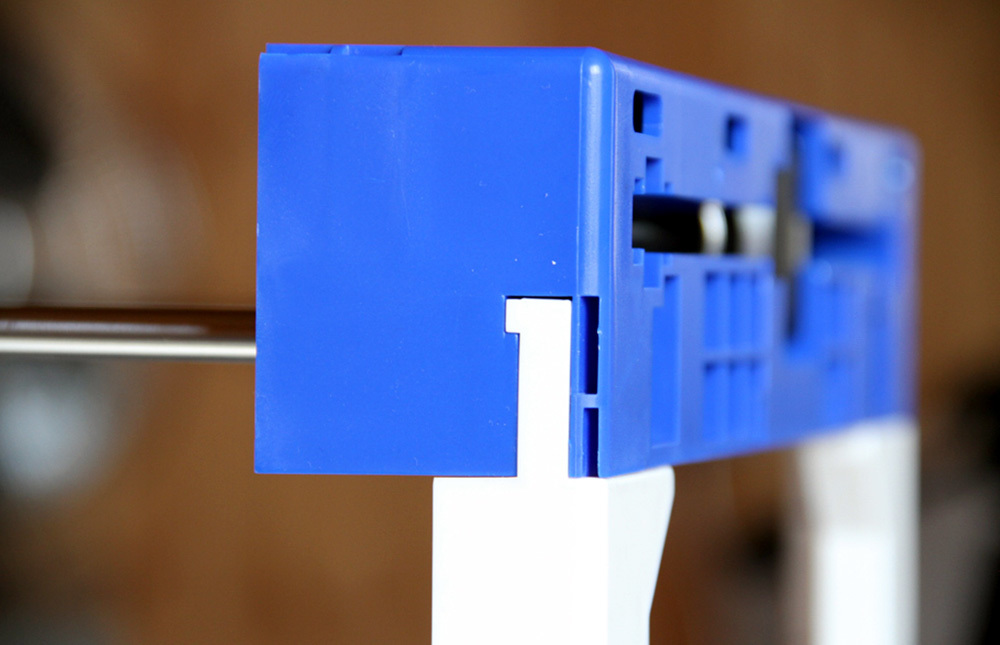
Fasten special guides.
Fastening guides
Snap the modules into the slots.
Nozzle
We put the block with the nozzle.
Almost done
The external already looks like a device.
Latches
The latches are convenient to bring into place with a rubber hammer.
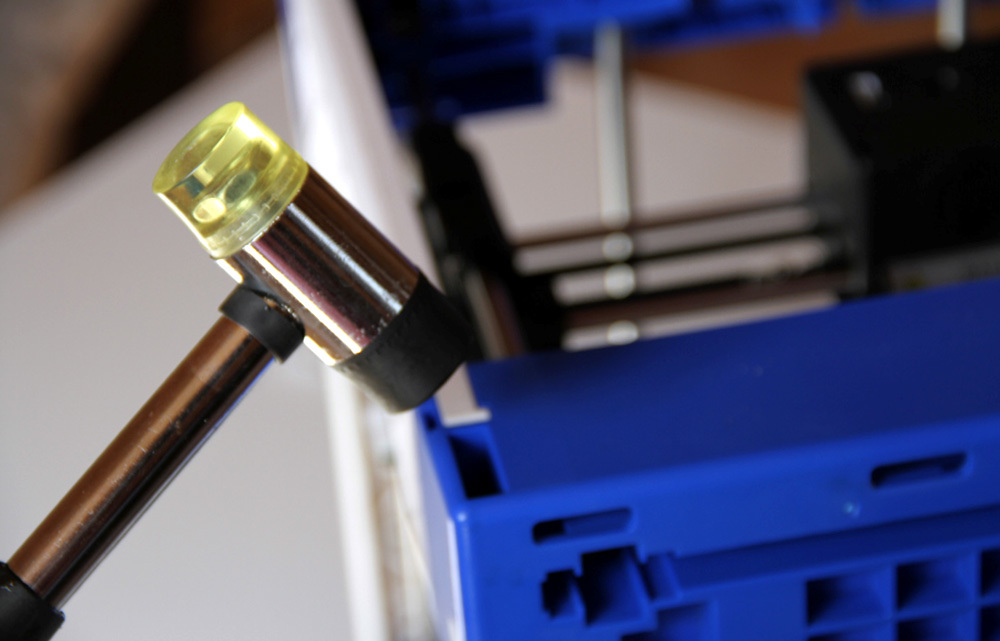
What is a hammer, and what they can do
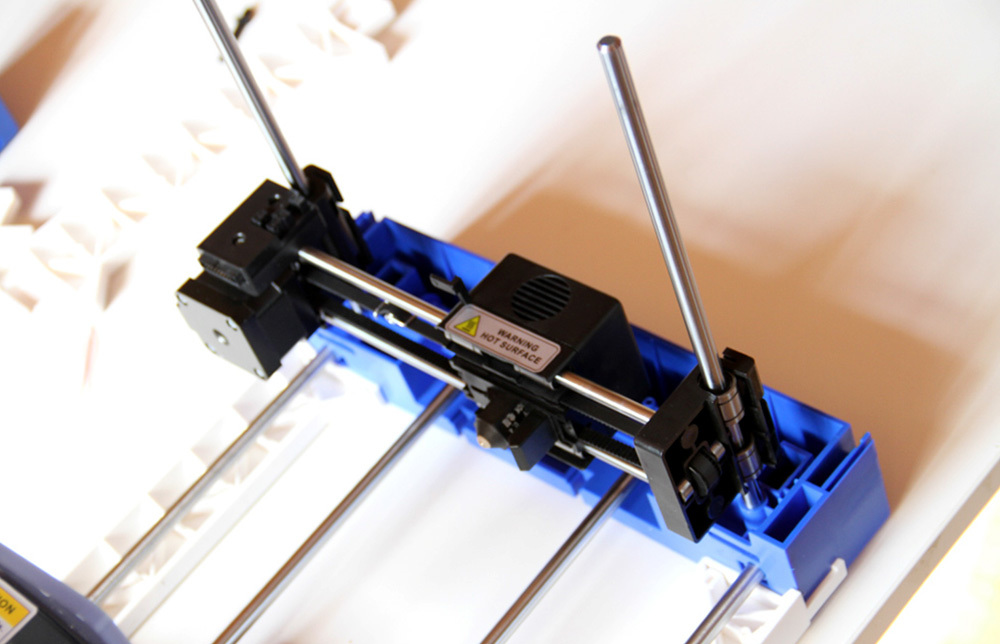
When all parts are installed, connect the drive belts.

Belt
In the instructions we closely monitor the numbers of the mounted parts.
A tube
We connect the tube guide plastic.
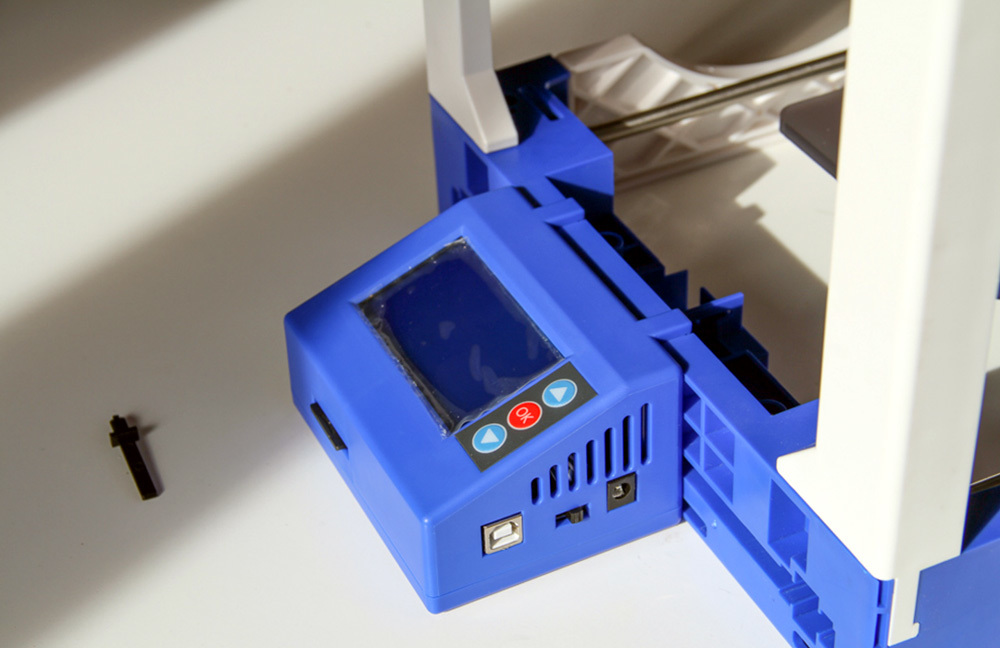
Control block
Insert the control unit.
We connect
And we connect all the wires.
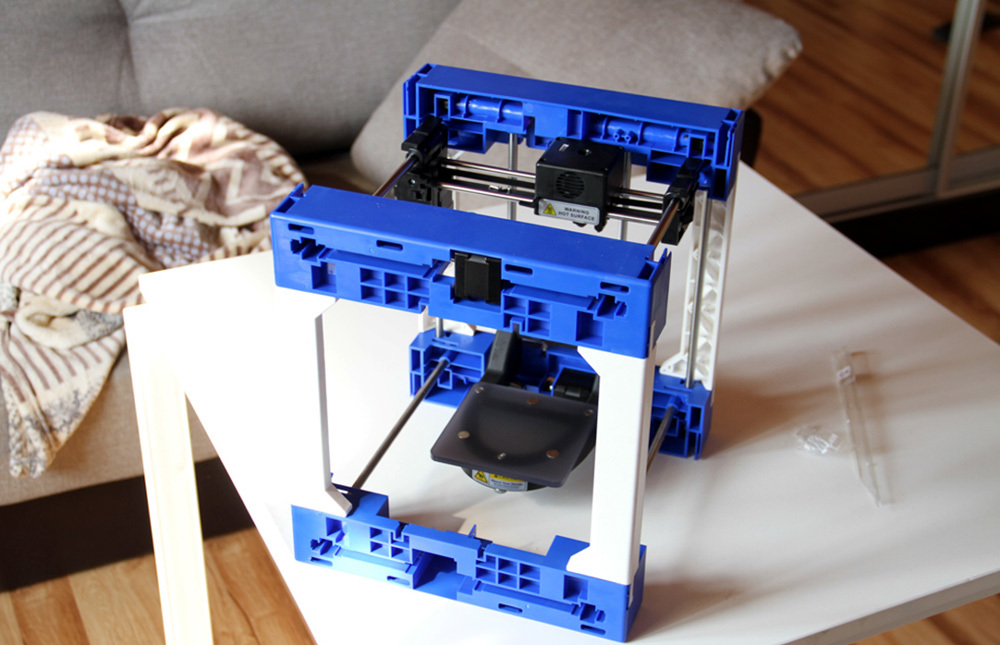
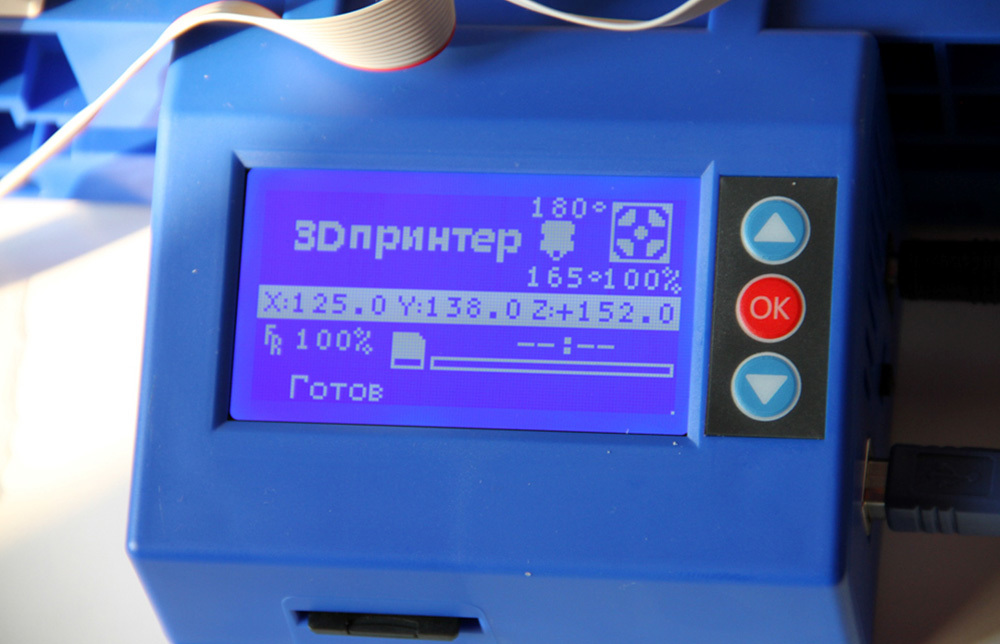
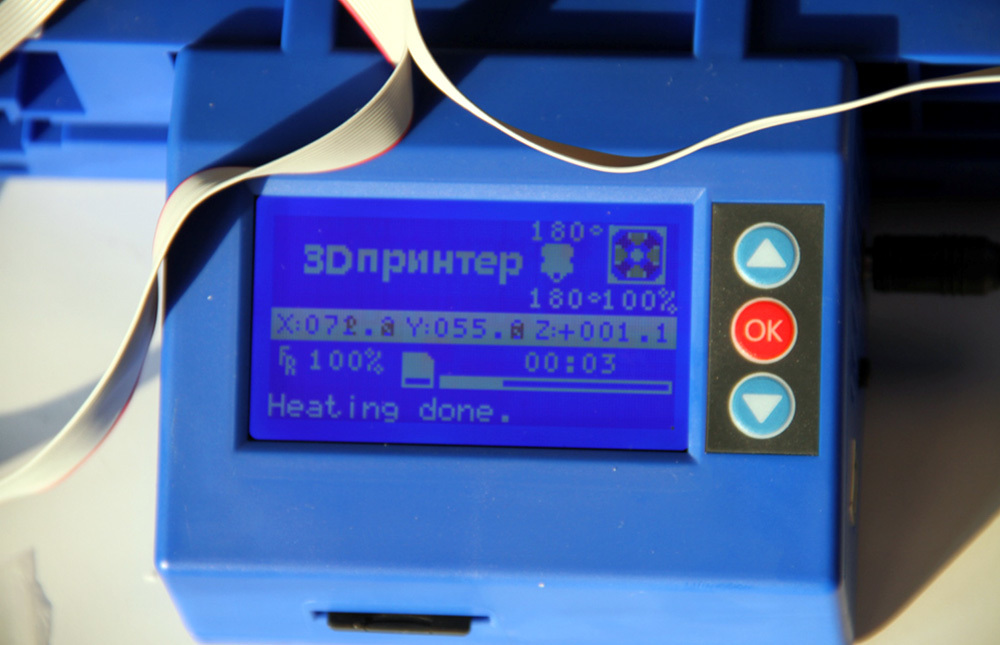
Launch
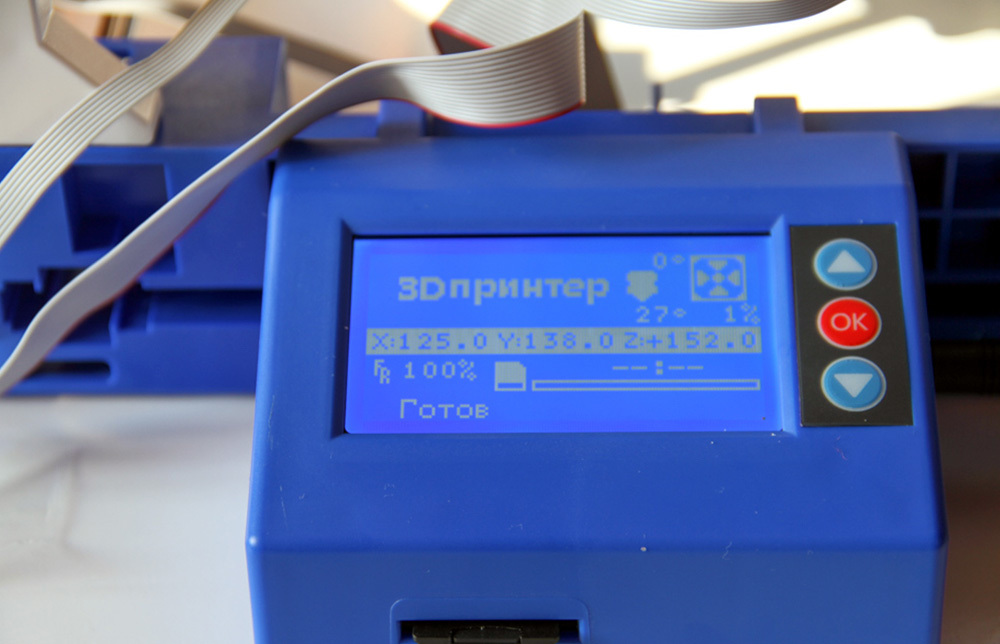
Start printer
The printer blinked and happily announced that it was ready to go.
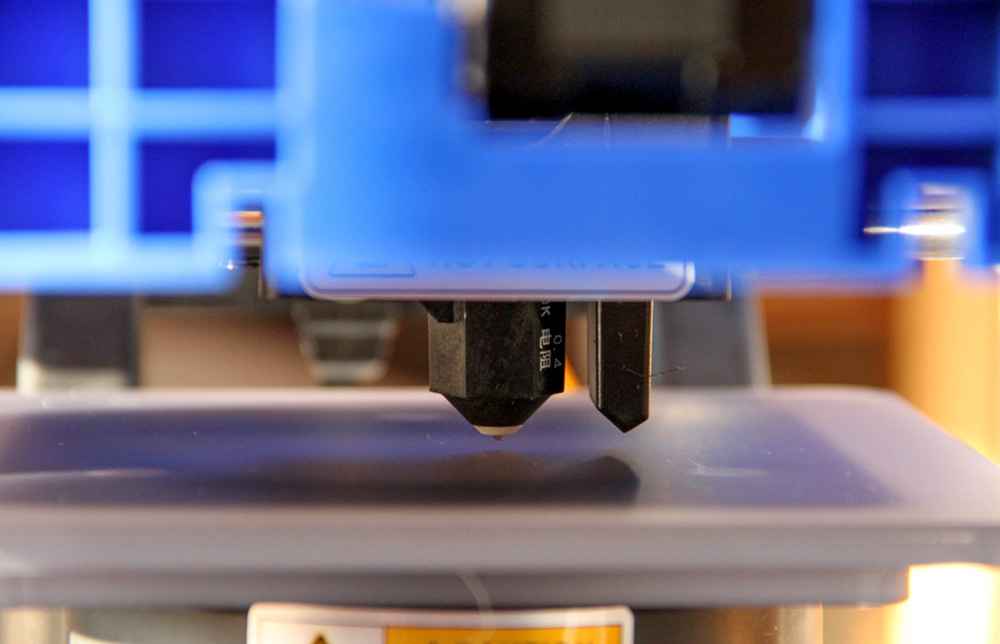
Head
The peculiarity of this printer is that it can work in offline mode. It is enough to drop the model in gcode format onto a flash drive and load it into print.
Software
The printer is conveniently controlled using the bundled Cura software.
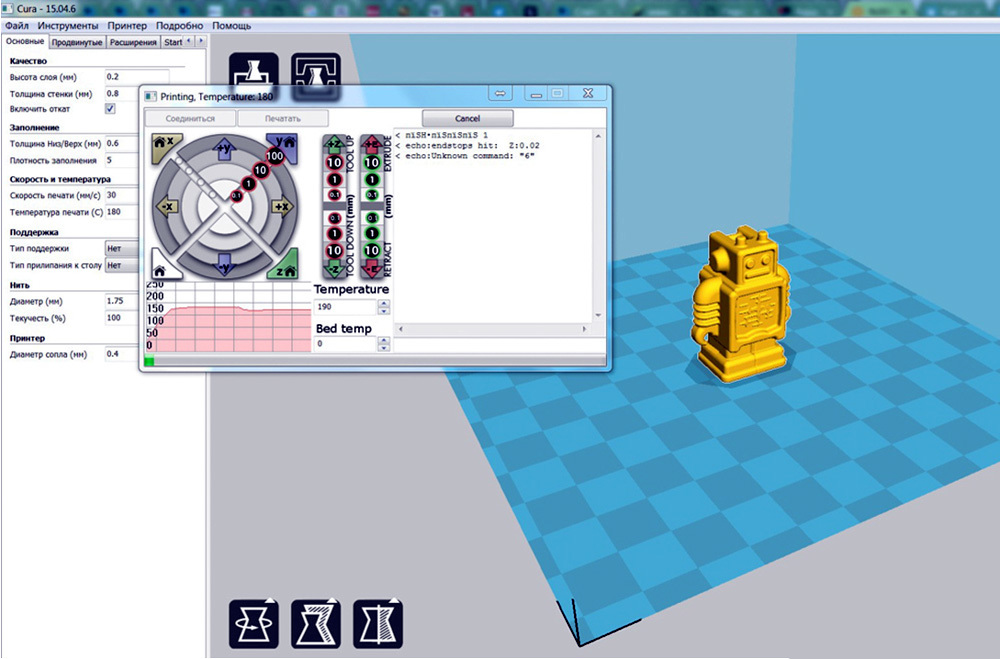
Cura program included
The Cura program is completely in Russian, it is a pleasure to work with it, at least for me, a complete loser in this new business for me.
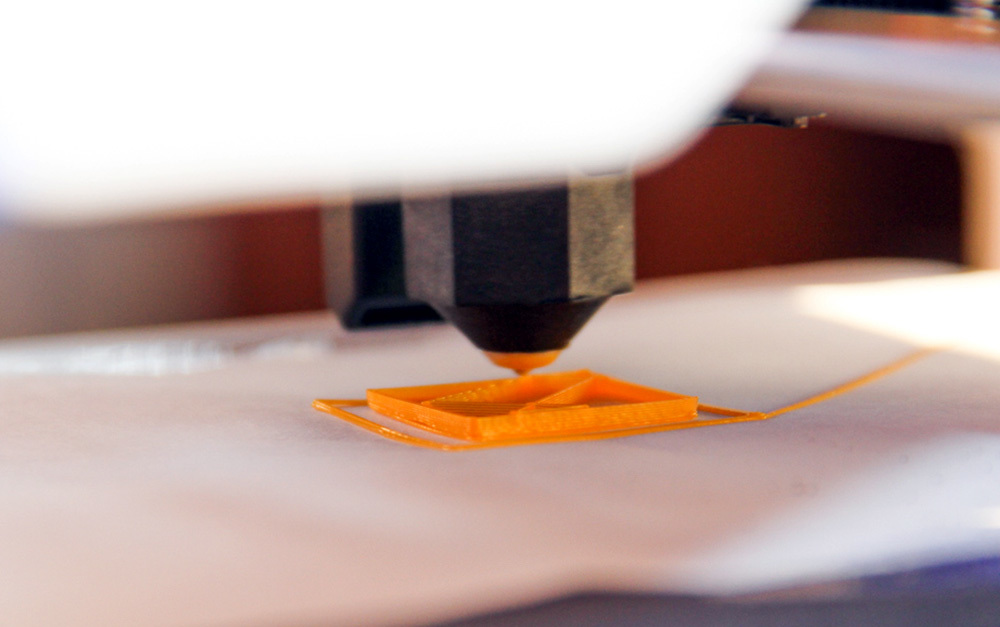
Test print
Test print
I try a test print.
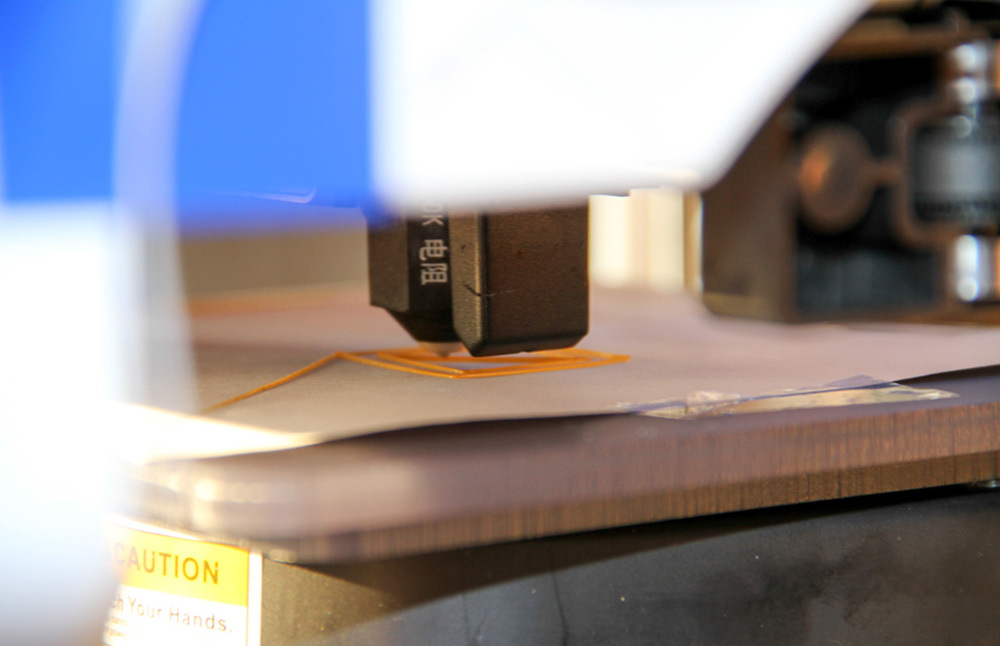
Be sure to put the gasket
Without lining can not do. It is even better to purchase a special adhesive tape. Below I will show why. Then the part will sit firmly on the table.
Monitor
The printing process took about 5 minutes.
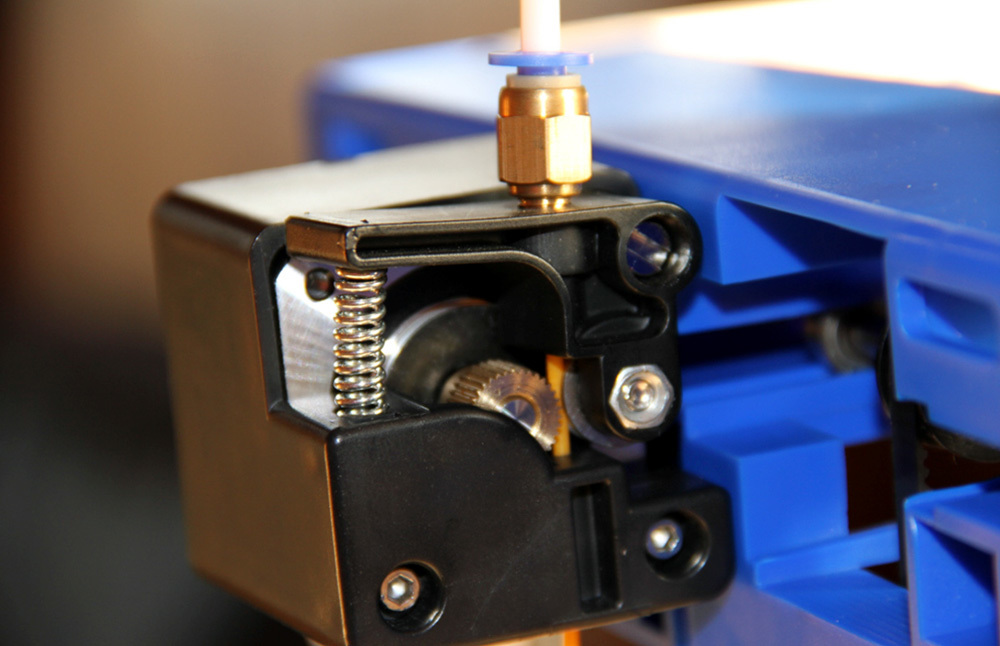
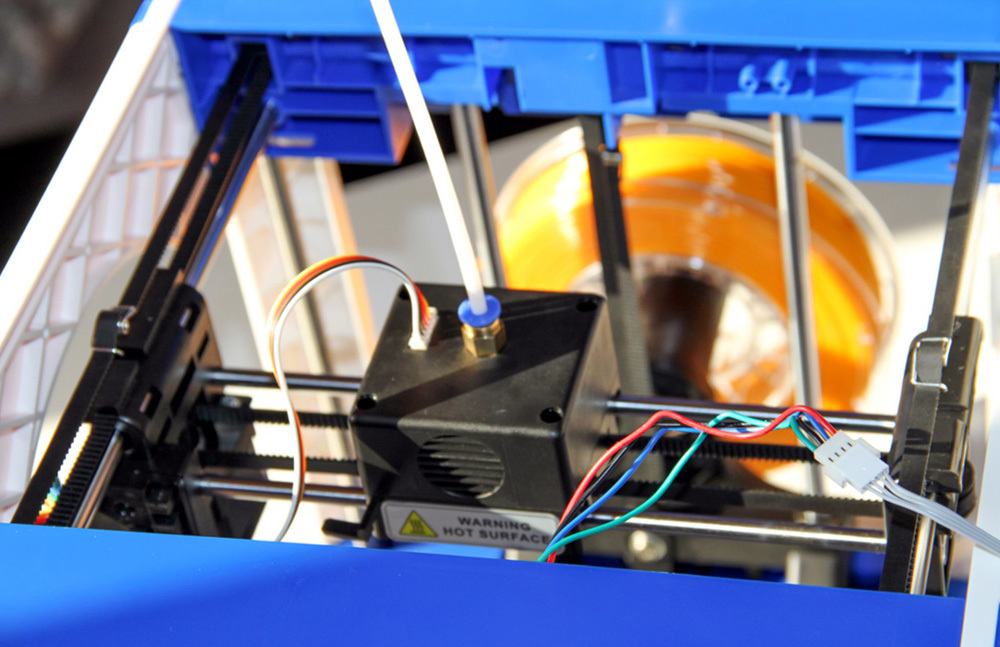
Plastic feed
Plastic is fed through the plastic feed unit.
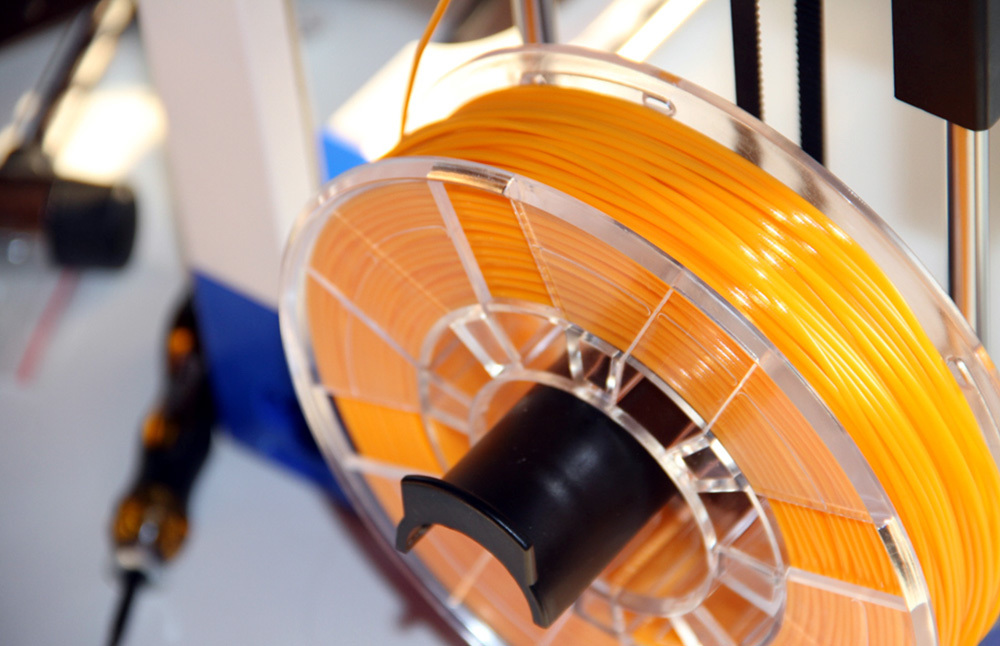
Coil mount
The coil is below.
Printing process
Printing goes without any errors.
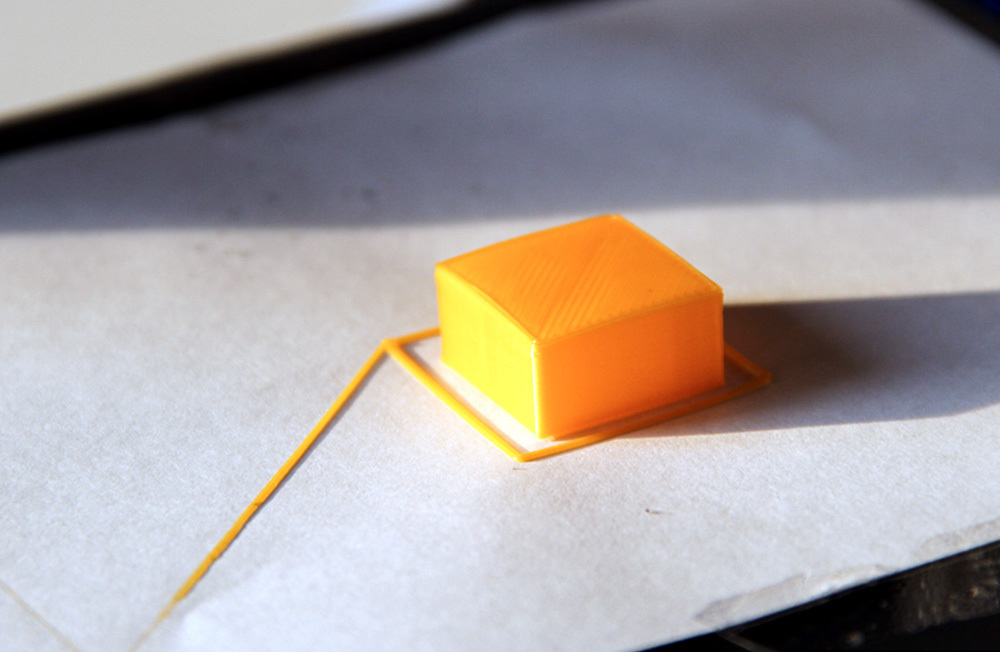
Have printed
At the output appears ready geometric object.
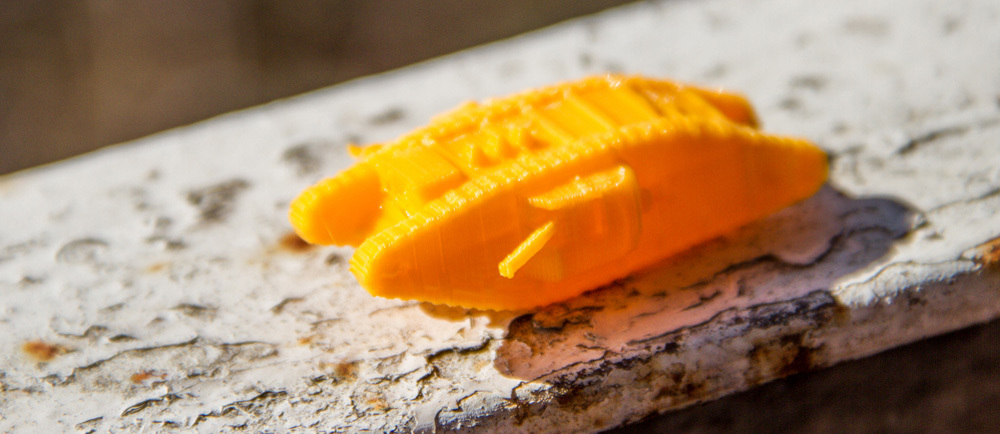
Printing without adhesive paper instead of the bottom is a curve.
If you try to print a model without adhesive tape or paper, the model may turn out a bit crooked. In general, the main reliable bottom.
First damn lump
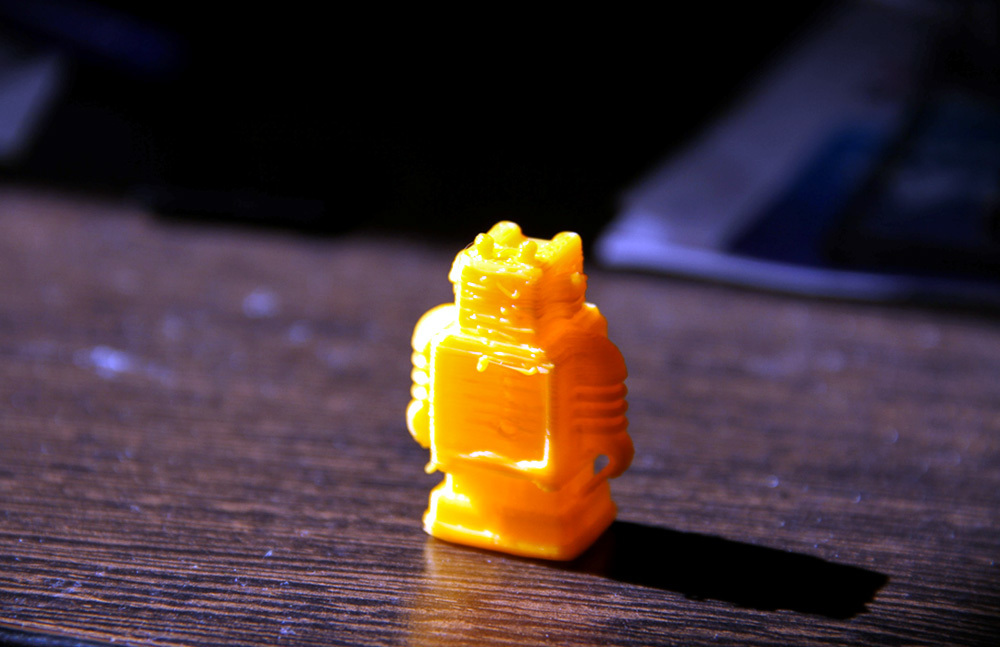
Marriage as a reason for printing without special tape
One-sided tape failed at the very end, when the robot needed eyes. The model rocked and the robot was left without eyes. Therefore, it is important to install a special ribbon for printing.
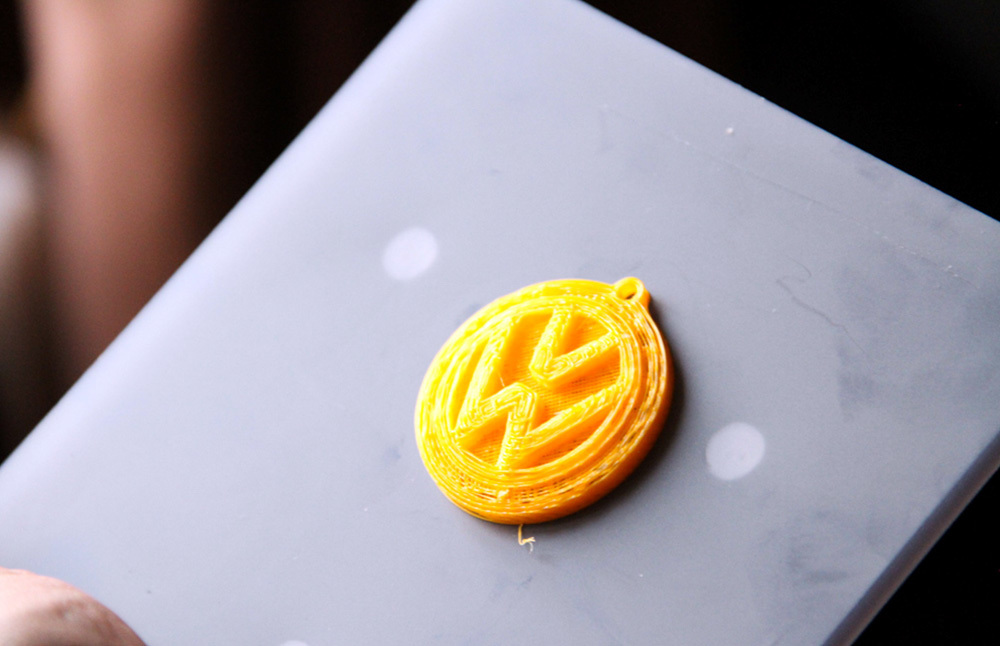
Correct printing
After calibration, we got clear figures.
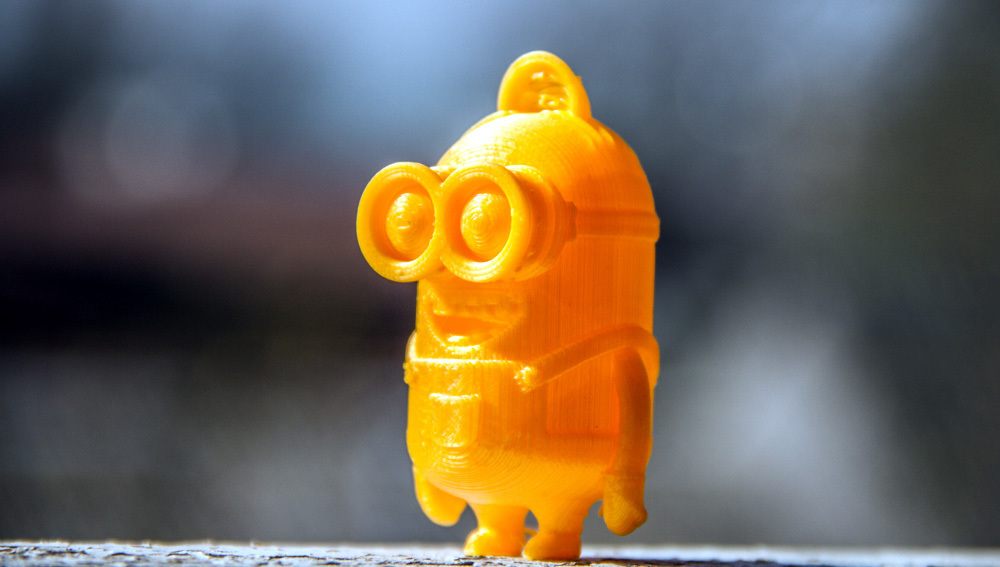
Figure after calibration
Tank after calibration
findings
I liked the printer. If you do everything according to the instructions, namely: put a lining under the table, use adhesive tape, calibrate, then there is no problem. I recommend this model as the first 3D printer for studying software, printing necessary parts for a house. In the future, I want to print 3D parts for my car. The car is old, spare parts to get is not easy and not cheap. And you can find software in the Internet. Something like this. Thank!
For those who are interested in Funtastique EVO 3D printer v1.0 and want to save 10% on its purchase, please use the promotional code GT-3D , which is valid for 14 days.
Author: Dmitriy (kot-de-azur), Essentuki
Source: https://habr.com/ru/post/403283/
All Articles