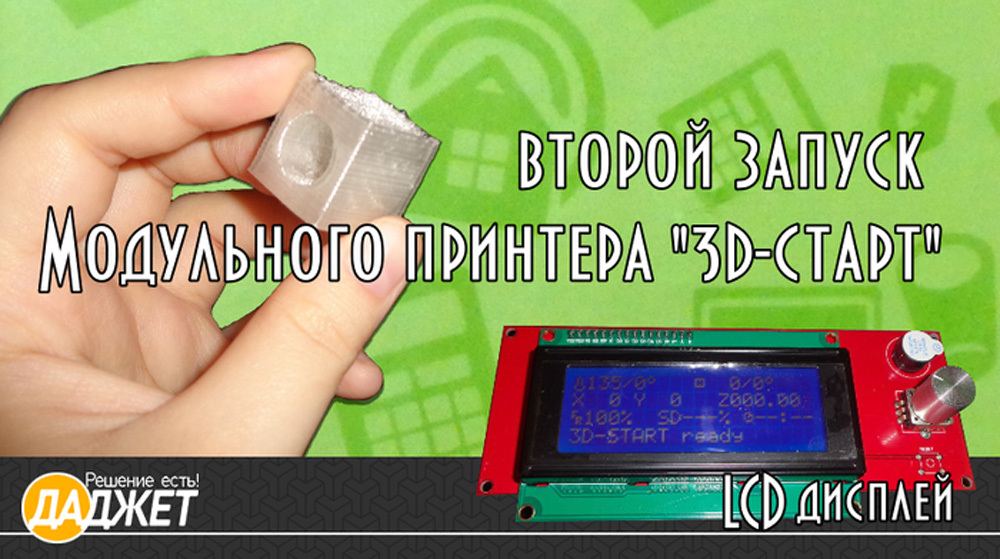
We test the modular printer "3D START" - part 3. Program settings for the display
If you are a beginner, and this is your first 3D printer, then we recommend the most budget and fairly good solution - a bunch of Arduino Mega 2560 + Ramps 1.4. Ramps 1.4 supports two extruders (you can print both in one color and two), you can connect a heating table to it (to be able to print ABS plastic), there are additional free slots, to which you can later connect additional gadgets for a printer. Modular design makes it easy to replace damaged parts.

Equipment
')
Simple and versatile display for your Smart LCD Controller With Adapter For RepRap 3D printer. The display is compatible with all 3D printers of the Reprap family. The display package allows you to connect it to most of the existing motherboards.
If your 3D START printer is still not equipped with an LCD display , we recommend that you upgrade as soon as possible, thereby equipping it with the ability to print offline without using a PC.
Equipment
Package Included:
- LCD Panel 2004 LCD control with card reader and encoder;
- twin cable;
- adapter to connect the cable to the Ramps board.
LCD display
LCD display for a 3D printer eliminates the need to connect a printer to a computer. It is convenient to follow if even your computer is running and the Repetier-Host window is minimized. Away to eat, went in, looked, you can do something else. Some household chores will always be found, I, for example, take out trays for cats or a movie on a computer and sometimes look at the display how life is on Mars.
Without adjusting the slicers, you will have a “crocheon”. Tip: delve into the settings.
Later, I will write about the approximate correct settings, because everything is done only by testing. Do not try to print the Raphael Madonna right away! Train on cubes
PLA (polyactids) - the best material for printing the first works on a 3D printer. PLA is made from plant materials, decomposes in 2 years, it makes no sense to make long-playing things out of it, but it is smoother, and it is from it that bearings are printed for models. He is also the most safe for children, because all of vegetation.

3D model made with PLA plastic
And this is plastic WATSON. Try it! Transparent as glass, beautiful, flexible and transparent.
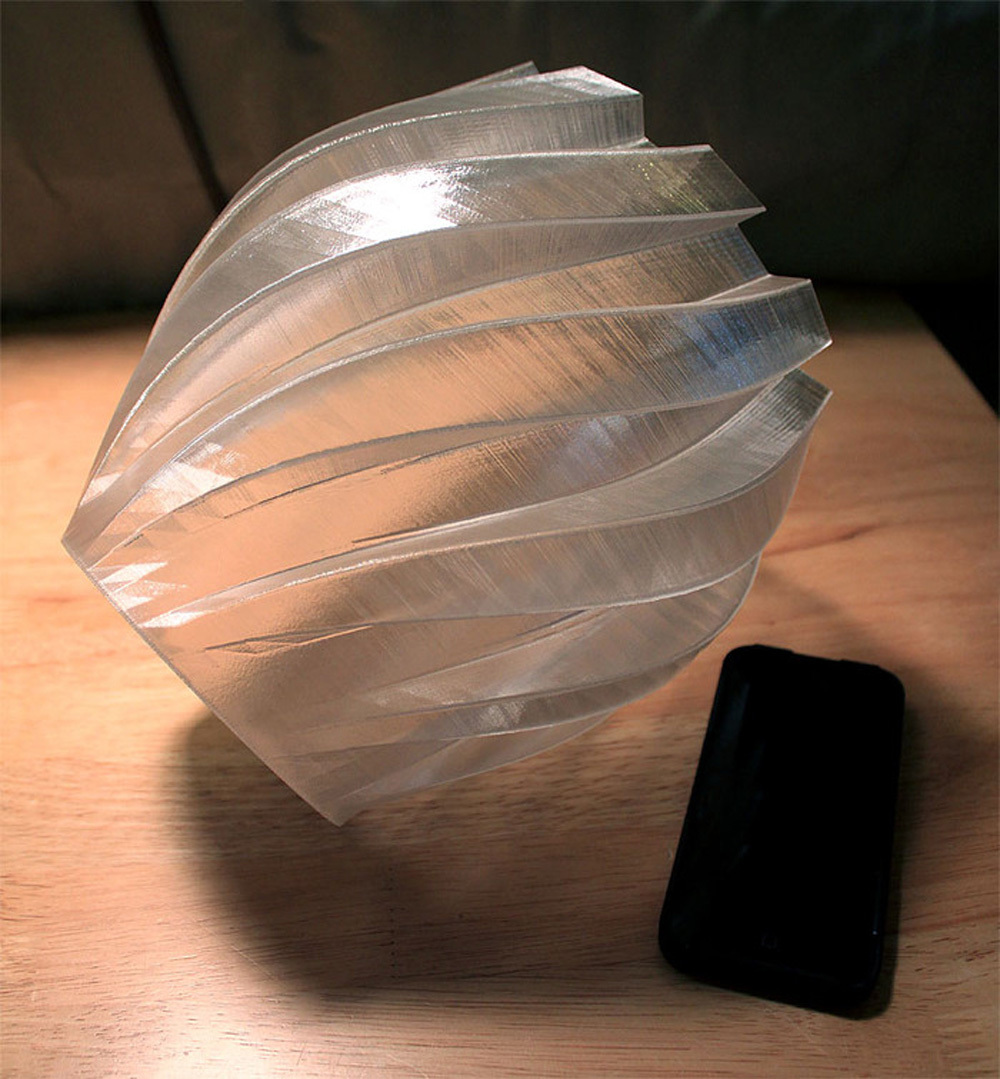
3D model, made of plastic WATSON
How to generate Gcode file
In Repetier-Host, as usual, you make a slice of the model, when the slice is finished, instead of printing, you just stupidly save it to a file, this is saving to gcode.
When the slice is complete, 4 buttons will appear right there and there will be a save button.

Gcode file generation
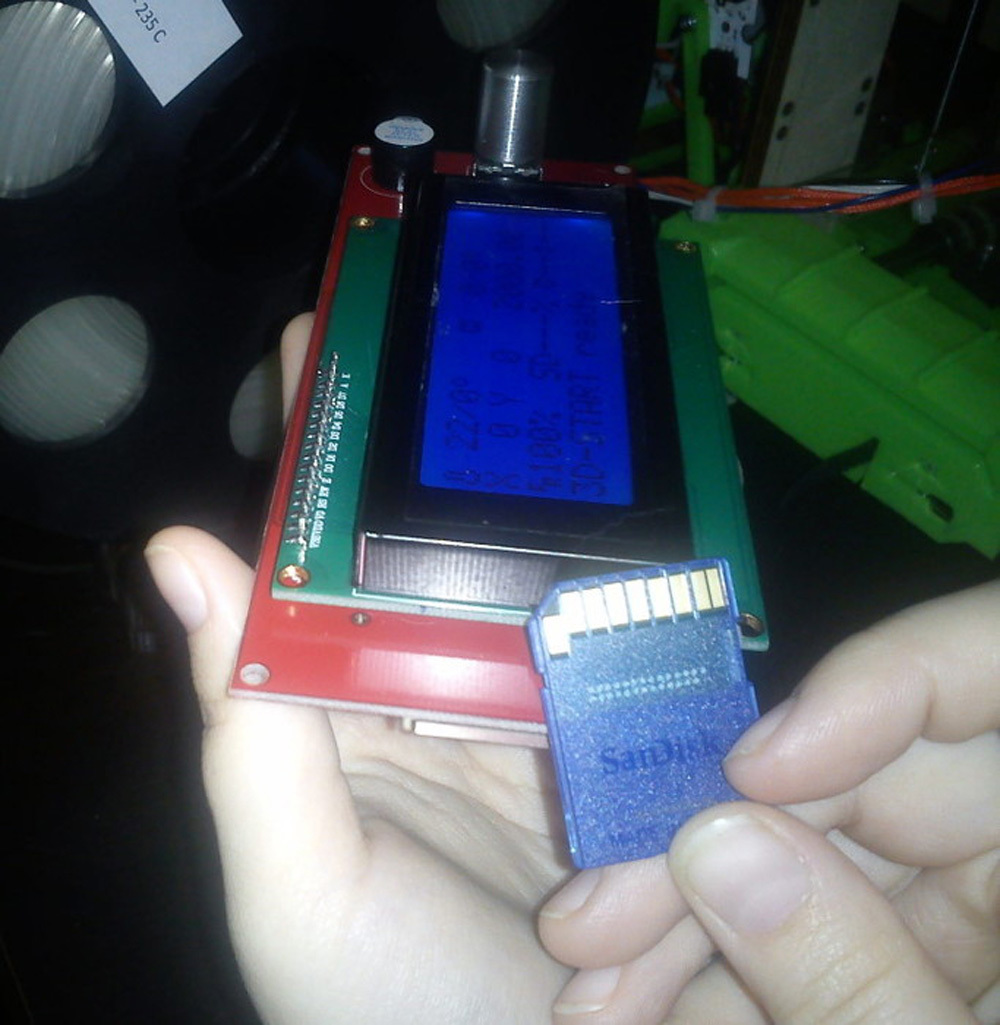
To test printing from an SD card, we took a SanDiskSDHC16GB card and wrote several STL and GCODE files on it at the root.
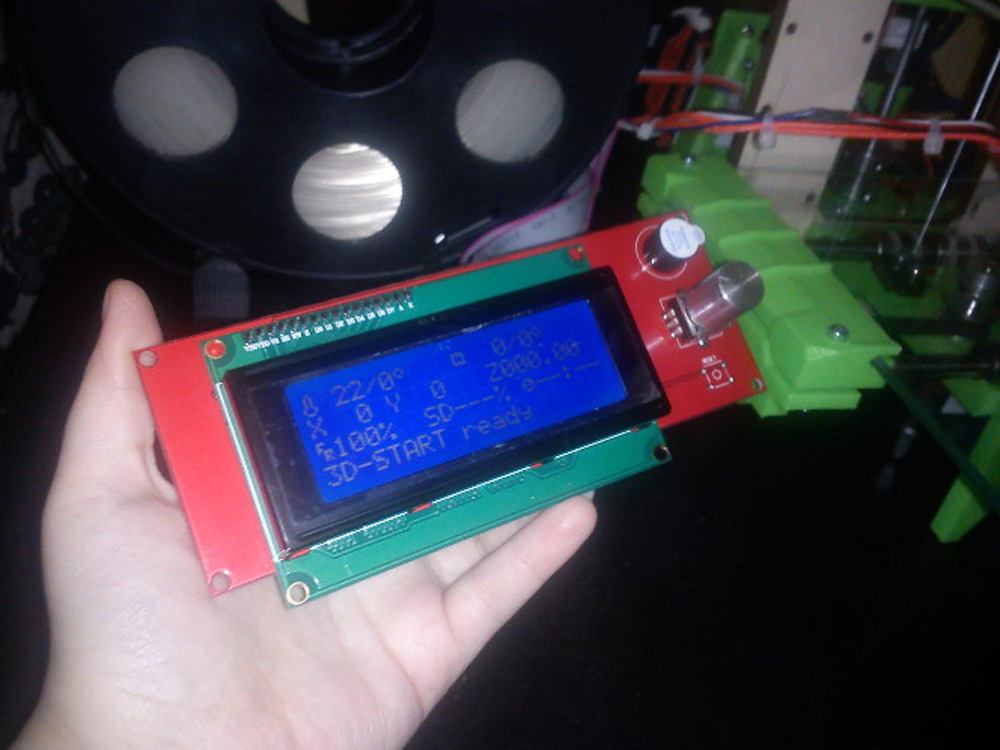
Appearance of the display
At the same time, we still had folders with photos and video of cats on it. There is no port for my inpatient facilities, they took the card from the video camera through the USB port.
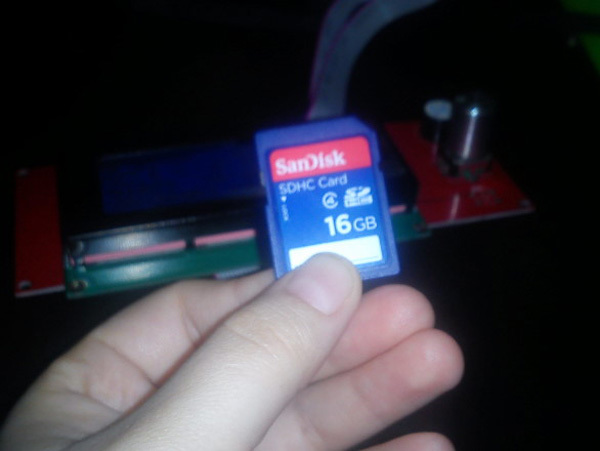
Flash drive
Pulling the card out of the camera, inserted it into the slot behind the display. Turn the screen, the inscription "Card inserted.". By disconnecting the cable connecting the printer to the computer, got a standalone printer. The rotary knob to the right of the screen with pressure from above pressed and opened the menu. Using the pen, you can configure the printer and, by opening the card menu and selecting a file, start printing it. The display will show the percentage of readiness, print time and print file. And the temperature difference. For the first layer, we set hotter, then cooler.
Select monitor language
In Arduino, there is a choice of languages. If you do not have an SD card, then the monitor perfectly shows the temperature change, printing, all parameters, quite reasonable, just writes that there is no card, and all printing processes are underway. If you need Russian, go to the Arduino and there you change English to Russian. I do not need it, I have all the programs on 3D in English.
Installing a flash drive into the controller board connector

Appearance of the display

Display and plastic reel
Plastic type selection
1. Go to the printer control menu by pressing the encoder knob once.
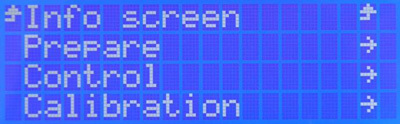
Setting parameters
2. Turning the encoder knob, select the Prepare tab. Selecting this item, click once on the encoder.

Setting parameters
3. Next, in the opened Prepare item, turning the encoder knob, select the Preheat PLA or Preheat ABS item. This choice depends on the type of plastic used. Selecting this item, click once on the encoder. 3D START prints PLA, WATSON.

Setting parameters

Setting parameters
4. We wait for the heating to the working temperature. For ABS plastic, the extruder temperature is recommended to be 230-250 degrees, and the desktop temperature is 90-115 degrees. For PLA plastic, the extruder temperature is recommended to be 210-230 degrees, and the desktop temperature is 70 degrees. If there is no heater for the table, then do not worry! PLA plastic has a fairly smooth surface for the desktop (without heating and a special Kapton coating), unlike ABS.
5. After the printer has warmed up to the required temperature, you can fill it with plastic. Go to the printer control menu by pressing the encoder knob once. Turning the encoder knob, select the Prepare tab. Selecting this item, click once on the encoder. Next, in the opened Prepare item, turning the encoder knob, select the Load Filament item. Select this item by pressing once on the encoder.

Setting parameters

Setting parameters

Setting parameters
6. We are waiting for the plastic refill to be completed. The plastic will have to exit the nozzle with a thin, even thread. After the plastic is filled, you can run a test file to print.
Video clip
Setting up the first layer of the 3D START 3D Printer and Auto Calibration is described in the second part .
It is better to read from the first part of the review .
Author Elena Zaitseva, Saratov
Source: https://habr.com/ru/post/402915/
All Articles