How I destroyed office productivity with the help of a Slack bot replacing the faces
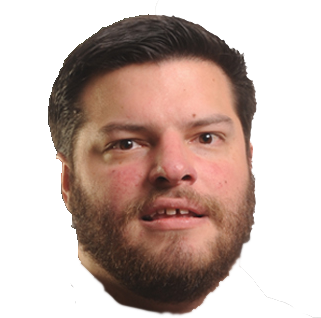 The author of the material introduces us to his colleague Chris - @ Malakhor9000
 Chris works in the office, where there is a whole bunch of employees who like to “sculpt” his face with photoshop on a variety of pictures, and post it all in the company's Slack channel.
However, constantly opening the editor and copying the face clippings is a tedious thing, especially when Chris tries to distract colleagues with stories about his heroism in Smite . And after many nights spent in Photoshop for several weeks, the author of the material decided to find a more convenient way. So the idea of writing @Chrisbot was born. The details of this story are below.
')
Initially, when I was thinking about the idea, I knew that there would be three main components in the project:
- Simple image processing.
- Integration with Slack.
- Face Recognition.

Earlier, I had already studied the image and image / draw packages for Go, read several articles about them, and therefore I was sure that I could use them for the intended purpose. So I found a solution for component # 1.
In addition, in the past, I already had the experience of writing a trial Slack bot on Go according to the instructions found on Google. The lack of an official Go client for Slack somewhat complicated the process, but given the basic level of my needs, I was sure that I could write a bot able to download images and upload them to Slack. So I decided on the solution for component number 2.
The only part of the project that I wasn’t sure about was facial recognition. I google golang face detect and clicked on the first result I got - a question on StackOverflow about the go-opencv vision library. A cursory familiarization with the use case allowed me to learn everything I needed. So there was a solution for component number 3.
Face recognition
I began with recognition as with the least clear part to me. It was the most significant unknown in the project and it would be almost pointless to work on the rest if I couldn’t figure out how to “insert” the faces.
I decided to encapsulate the go-opencv library as much as possible. Having an idea that the opencv data types are not similar to the standard Go libraries, at least from the point of view of defining the Image and Rectangle interfaces, I understood that a certain conversion is necessary.
After a bit of digging, I found a reference to the opencv.FromImage method, which performs the conversion from the image.Image package to the opencv format, which is understandable to the library. This approach had an additional advantage, since it did not require the transfer of the path to the file to the opencv.LoadImage method, allowing instead to work with the image stored in memory. This saved me from having to save the image to the file system after getting it from Slack.
Unfortunately, I was not able to find a way to apply the same convenient approach to the Haar XML face classification file, but since I was impatient to see the end result, I decided that it would do so. As a result, I created something similar to the facefinder package below, which was much more raw a few iterations ago:
package facefinder import ( "image" "github.com/lazywei/go-opencv/opencv" ) var faceCascade *opencv.HaarCascade type Finder struct { cascade *opencv.HaarCascade } func NewFinder(xml string) *Finder { return &Finder{ cascade: opencv.LoadHaarClassifierCascade(xml), } } func (f *Finder) Detect(i image.Image) []image.Rectangle { var output []image.Rectangle faces := f.cascade.DetectObjects(opencv.FromImage(i)) for _, face := range faces { output = append(output, image.Rectangle{ image.Point{face.X(), face.Y()}, image.Point{face.X() + face.Width(), face.Y() + face.Height()}, }) } return output } He allowed me to identify faces on the image using this simple code:
imageReader, _ := os.Open(imageFile) baseImage, _, _ := image.Decode(imageReader) finder := facefinder.NewFinder(haarCascadeFilepath) faces := finder.Detect(baseImage) for _, face := range faces { // [...] } To check the code for the performance and correctness of the task, I copied from Google a simple rectangle drawing code and it worked! Armed with information about the location of the face, I optimized the image loading function. She now actually watched the bugs instead of throwing them at _ bin.
func loadImage(file string) image.Image { reader, err := os.Open(file) if err != nil { log.Fatalf("error loading %s: %s", file, err) } img, _, err := image.Decode(reader) if err != nil { log.Fatalf("error loading %s: %s", file, err) } return img } Image processing
As a result, my new cycle looked something like this:
baseImage := loadImage(imageFile) chrisFace := loadImage(chrisFaceFile) bounds := baseImage.Bounds() finder := facefinder.NewFinder(haarCascadeFilepath) faces := finder.Detect(baseImage) // Convert image.Image to a mutable image.ImageRGBA canvas := image.NewRGBA(bounds) draw.Draw(canvas, bounds, baseImage, bounds.Min, draw.Src) for _, face := range faces { draw.Draw( canvas, face, chrisFace, bounds.Min, draw.Src, ) } And of course, there is no better test material to test its performance than the photo of our main character!
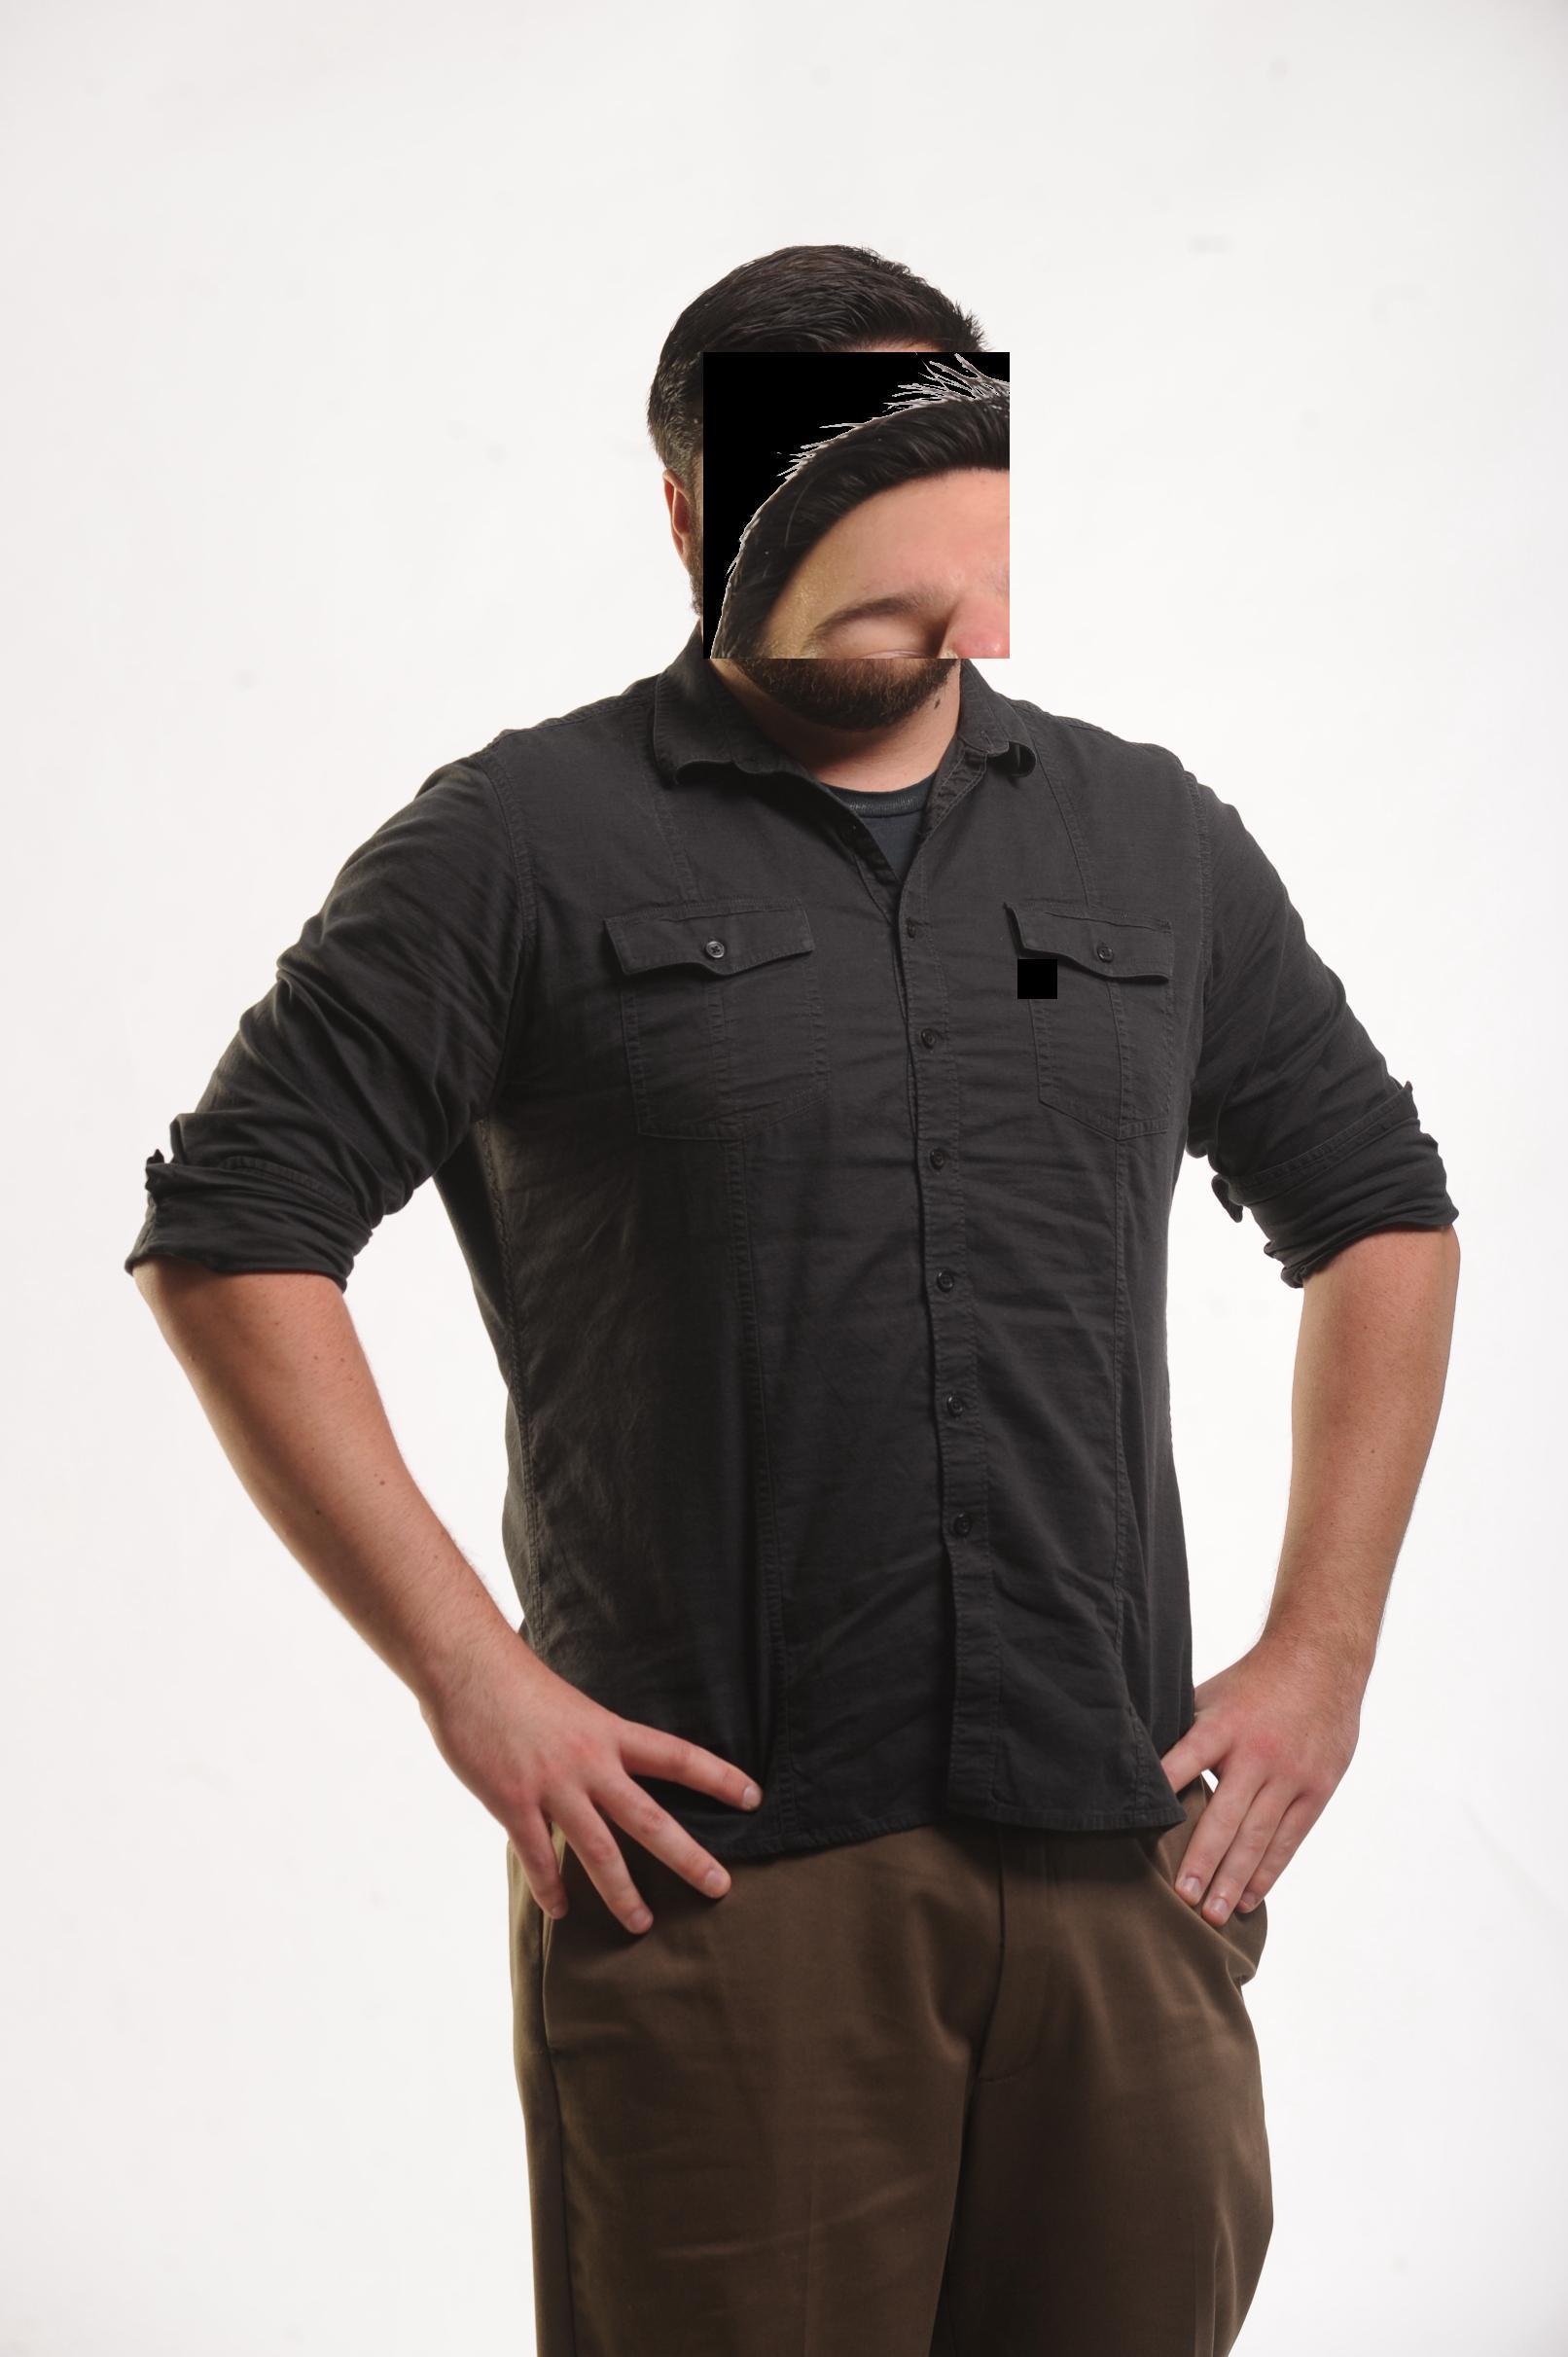
So, my program worked much better than I expected from its first launch. Tangible progress! First I had to get rid of the black background. And since I used PNG with background transparency, I had no doubt that there was such a method. A little googling and I came across draw.Over for the draw.Draw function. I replaced them with the previously used draw.Src and voila!
I could probably modify the edges of the cropped image a little, but the thin voice in my head suggested that the fig quality is exactly what is needed in this case.
So, then I needed to slightly reduce the scale of the face. I was sure that attempts to fit the face in rectangular areas measured by my code recognizer would not give a good result. Since it was the faces that were recognized, not the heads, I received “rectangles” that were not very suitable for replacing the entire head. Therefore, quickly throwing a function that increases the image.Rectangle border to a certain percentage, I tried several values with the “spear” method and stopped at 30%.
Having decided on this moment, I proceeded to regulate the size of “Chris's head” and how it “sits down” on other photos. As it turned out, there were several options, but I settled on the disintegration / imaging package, because it had a simple imaging.Fit function and, in addition, he proposed some other transformation operations, such as horizontal mirroring. I had few options for faces, and therefore I considered that random mirroring would double the number of options.
After importing, the new cycle looked like this:
for _, face := range faces { // 30% rect := rectMargin(30.0, face) // (50% , ) newFace := chrisFaces.Random() chrisFace := imaging.Fit(newFace, rect.Dx(), rect.Dy(), imaging.Lanczos) draw.Draw( canvas, rect, chrisFace, bounds.Min, draw.Over, ) } Gritting my teeth, I took a few new test images, ran my code on them ... And it all worked!

At that moment I understood: something sensible is brewing.
Integration with Slack
I turned the image processing code into an executable binary that intended to wrap with a Slack bot. I worked with the binary from the very beginning, even during testing, and did not want to waste time converting it into an imported package for a Slack bot. At this stage, I considered the replacement code “pretty good” and therefore focused on creating a Slack bot that could execute it.
And again I turned to google .
And again, I learned all that was needed from the very first result of the issue, and I only needed to make minor changes that would take into account the downloading and downloading of files. I read the Slack API documentation for a long time, scolded it even more time, and then I was completely stuck and could not go any further. And then one day I got it:
Let's make it even cooler
In the first iteration, the program used the native Slack loader, which, given our use of the free Slack tariff, was not an ideal solution. In the end, I made sure that the images were saved locally on my server, and only links appeared on them in Slack. And since most of the links are automatically deployed to Slack, my colleagues for the most part should not have noticed the practical difference between the two approaches, and I could be sure that I would not get into trouble with big bumps in our office.
All this simplified experimentation with the handler. Soon I realized that in cases where the program does not find faces on the image, it simply returns the unmodified original. And this is not cool! So I added something else after the main loop:
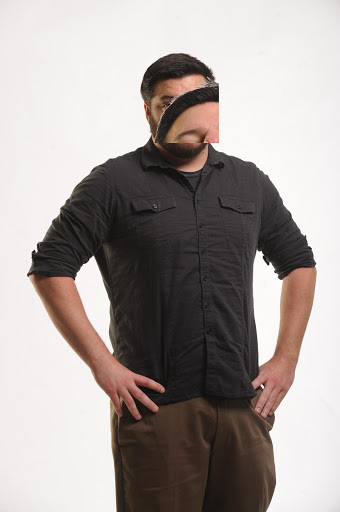
if len(faces) == 0 { // 1/3 // face := imaging.Resize( chrisFaces[0], bounds.Dx()/3, 0, imaging.Lanczos, ) face_bounds := face.Bounds() draw.Draw( canvas, bounds, face, // , , // , , // bounds.Min.Add(image.Pt( -bounds.Max/2+face_bounds.Max.X/2, -bounds.Max.Y+int(float64(face_bounds.Max.Y)/1.9), )), draw.Over, ) } Here's what happened in the end:

Quite an interesting decision if you want to know my opinion.
Well, we have assembled all the components into a finished product, but what will my colleagues say about this? It took only one evening to go from concept to prototype, and none of them had any idea what I prepared for them.
Introducing @Chrisbot

- Hi guys! I know how tedious it is to create a photo toad with Chris's face, so I decided to optimize the process.
- Chrisbot joined at the invitation of @jhutchinson.
My manager was, until recently, the most ardent amateur "zapottozhabit" Chris manually.
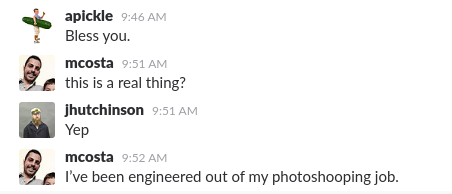
“Does he really work?”
- Yes
“Well, because of your engineering, I lost my job as freelance photo shopper Chris.”
Well, sorry Mat, but automation sooner or later gets to any job.
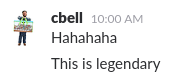
Well, the culprit himself appreciated my work.
And soon the whole office started sending photos to @ Chrisbot.

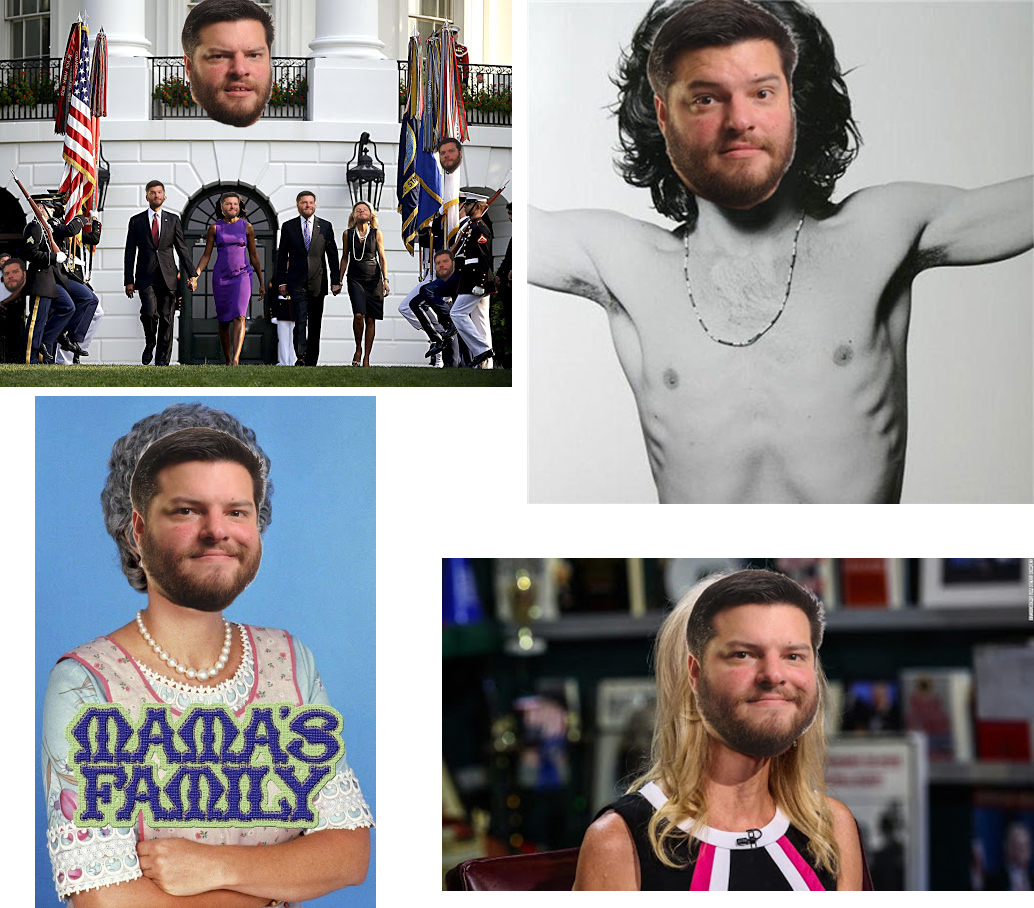
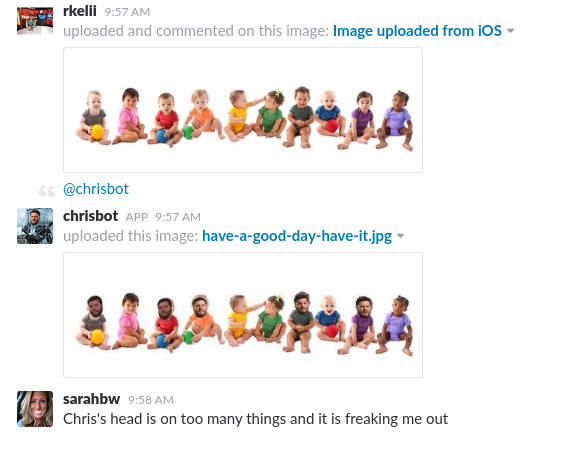

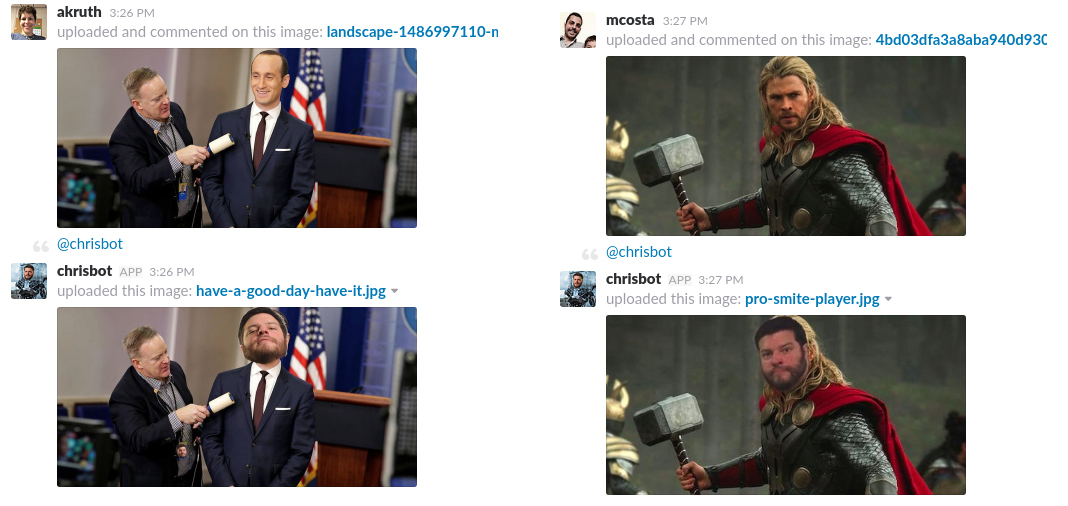

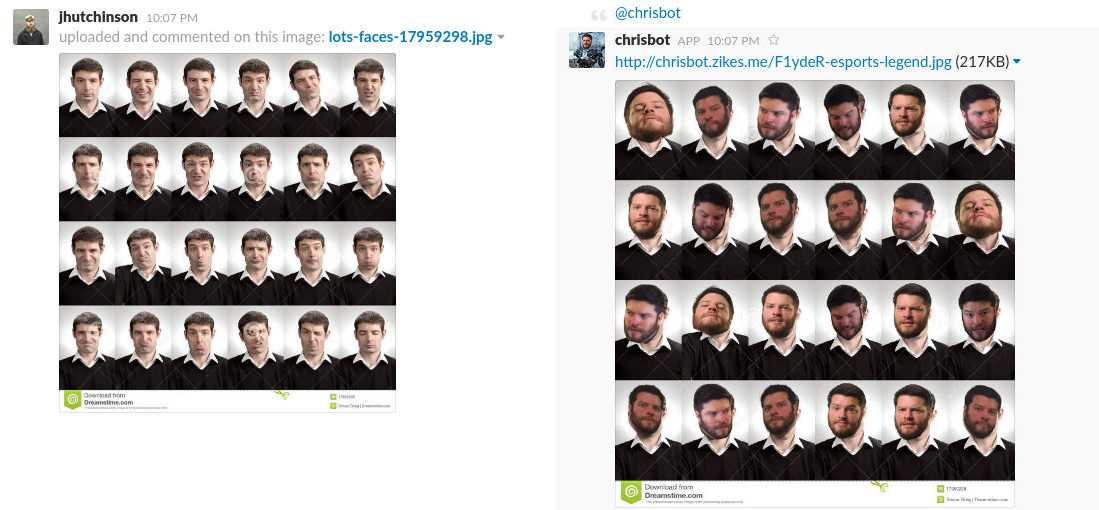
I was pleasantly surprised when I saw how correctly the application gets to work with overlapping overlaid faces, placing first of all those closest to the background. This feature is a pure coincidence, a side effect of sorting rectangles by the go-opencv library, but I'm glad it turned out that way.
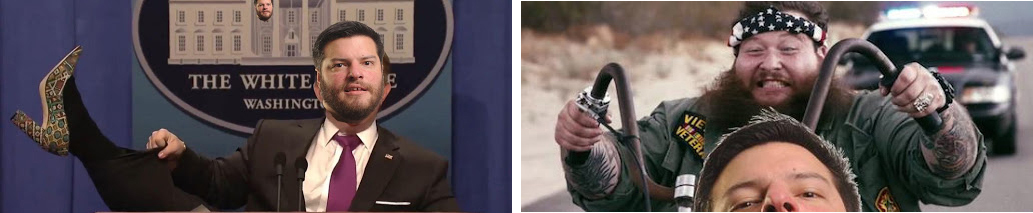
Nevertheless, despite the fact that the automation of “photoshoping” has seriously increased the number of Chris in our Slack, there are among us supporters of the manual approach, who believe that the best result is still achieved only with the help of a personal approach to the process of creating the “photojob” .
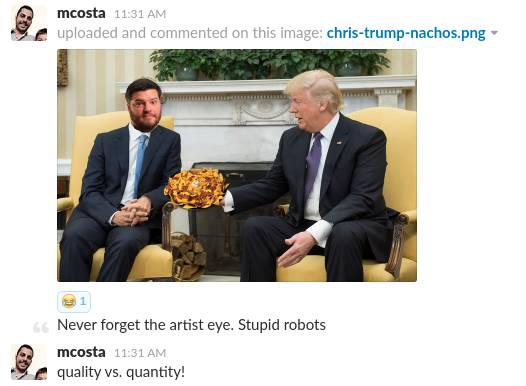
- Here you are, stupid robots, this is what the eye of the artist means. Quality vs. quantity!
I can not agree: in some cases this is true.

https://github.com/zikes/chrisify
https://github.com/zikes/mybot

Source: https://habr.com/ru/post/400715/
All Articles