[Review] Sense 3D scanner of a new generation

Hello everyone, with you Top 3D Shop and today we will present you the new 3D Systems, the new version of their Sense handheld scanner.
Compared to the previous version, the changes mainly affected the filling of the scanner and software. Sense is a handheld contactless scanner in the lower price range. The average price of this scanner is 38,500 rubles, which is cheap for 3D scanners. Despite its low price, Sense surprised us.
Specifications
Let's go first on the characteristics and appearance.
')
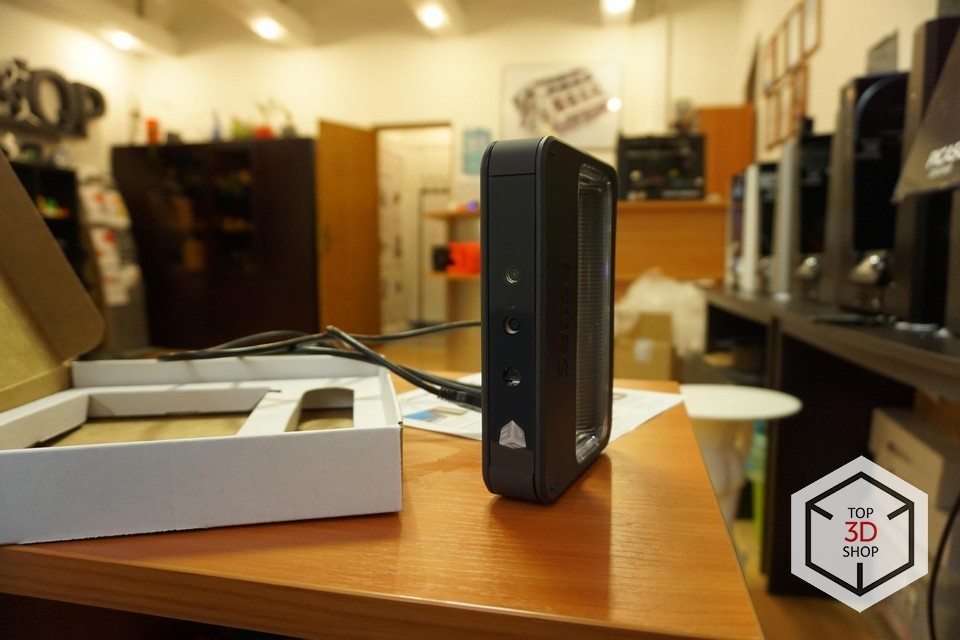
Scanner dimensions are 129 x 178 x 330 mm. Like a big stapler. With a weight of 700 grams, the hand almost never gets tired. The scanner works through a single USB 3.0 cable, through which data about the removed points and texture are transmitted and the scanner is powered. This feature is very useful, but, unfortunately, the wire is short and you need to hold a laptop in your hands during the scanning process. Nevertheless, 3D systems offer a rather interesting solution to this problem - to connect the scanner to the tablet, if, on the tablet, Windows 10 is installed.
Of the important characteristics:
- The working distance of the scanner from 20 to 160 cm. Moreover, dark and shiny objects are better scanned at a minimum distance.
- The scanner takes 30 frames per second.
- Minimum scanning area: 20 x 20 x 20 cm.
- The maximum scanning area is 200 x 200 x 200 cm.
- Accuracy is about 1 mm. But the larger the object, the greater the error, respectively.
- The scanner captures the texture with a resolution of 1920 x 1080 px.
The scanner is delivered in a simple white box, in which besides the scanner there is only a brochure with instructions for working.

Work process
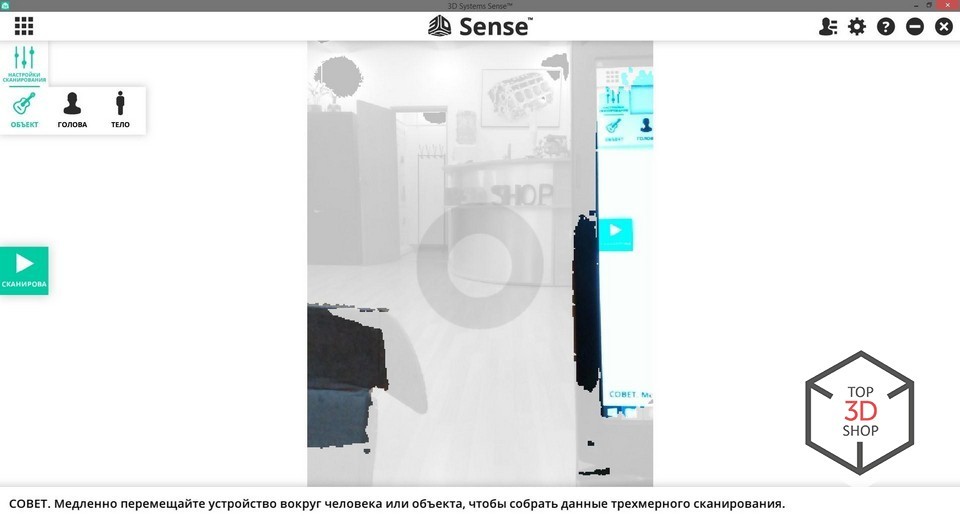
Before launch, you need to download and install software for the scanner, it is called 3D systems sense. When you first launch it, your scanner needs to be activated, this is done for security reasons, and your scanner is tied to the computer on which you activated it, can only be removed in 3D Systems, of course, you must be registered on the 3D Systems site to activate. On the site you can also download the user manual for this scanner. Unfortunately, only in English.
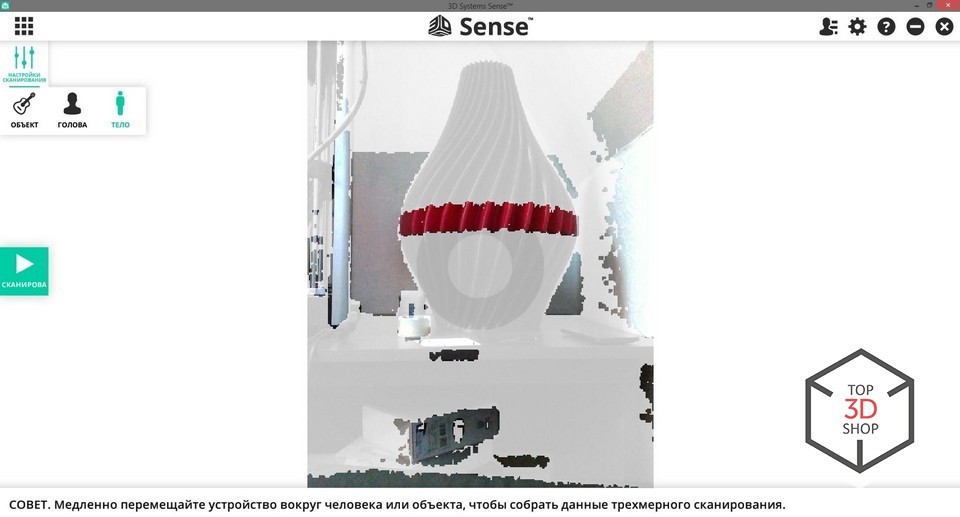
The program is very simple, when you start you choose the scan mode. There are three of them: Item scan, Face scan, Body scan.
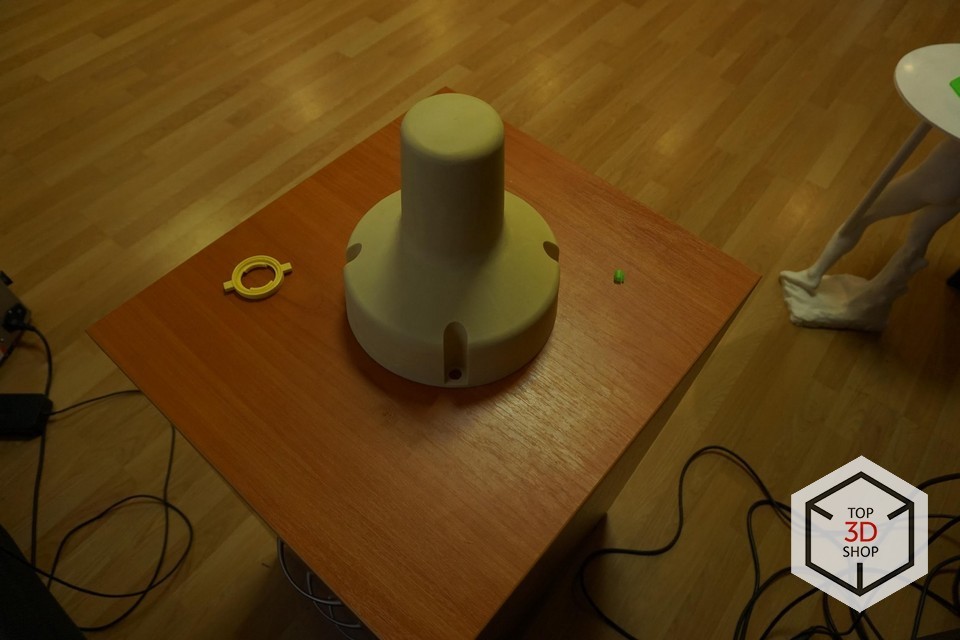
The first mode is used to scan any items, an important condition - they must be fixed, this mode should ensure maximum accuracy of scanning. Unfortunately, it doesn’t work normally with us, the scanner removes only points from the first frame, but doesn’t add additional points in real time. In principle, this can also be used - put the scanner on a tripod and take pictures on the frame at once saving them, and then stitch frames already in third-party software, for example in Geomagic , stationary printers work in a similar way.
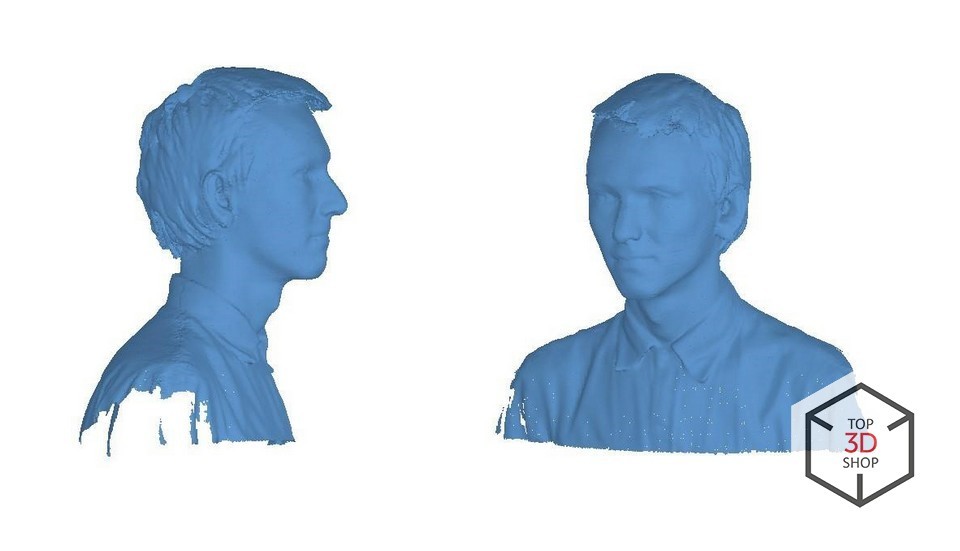
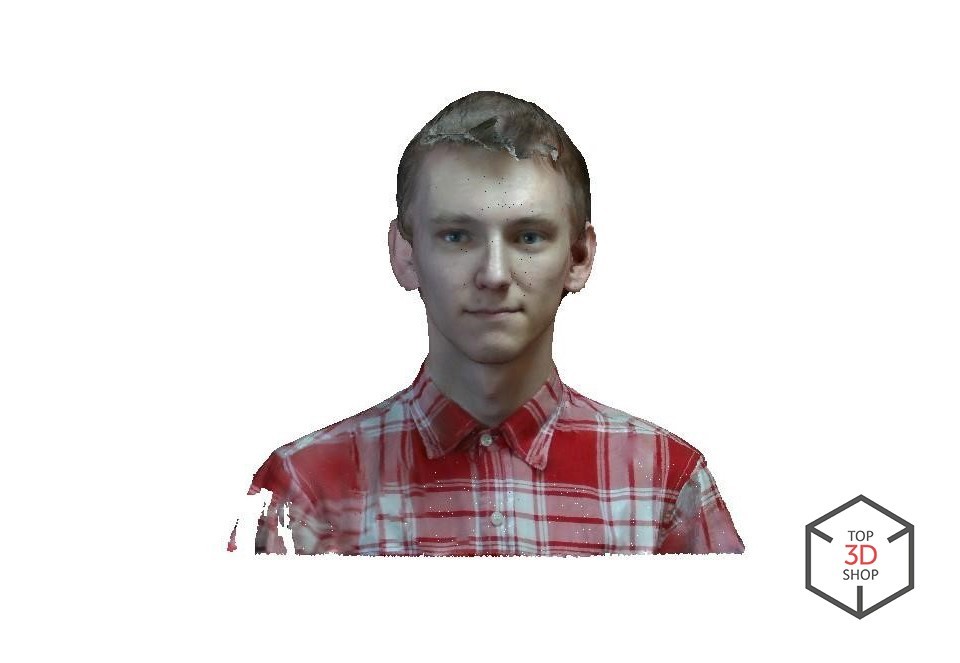
The second mode — face and head scanning — is the best mode for scanning, gluing is done in real time, and scanning tips appear on the screen — the software tells you when you move too fast and when it is desirable to stop at all to shoot a high-quality object.
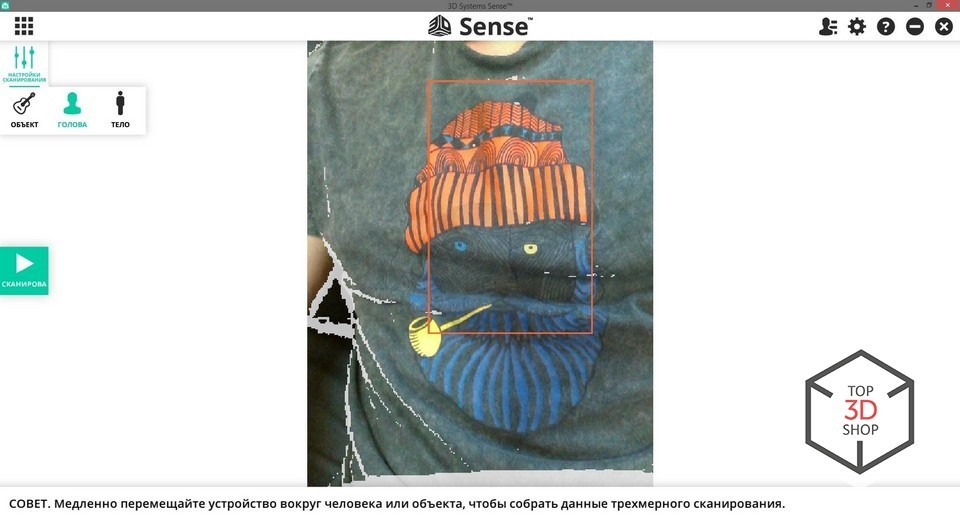
In the head scan mode, the face tracking tracker is activated, it works even on painted faces.
The last mode - body scan - is used to scan exactly large objects, here comes the fastest stitching, you can quickly move the scanner at a great distance, but at the same time the biggest error.
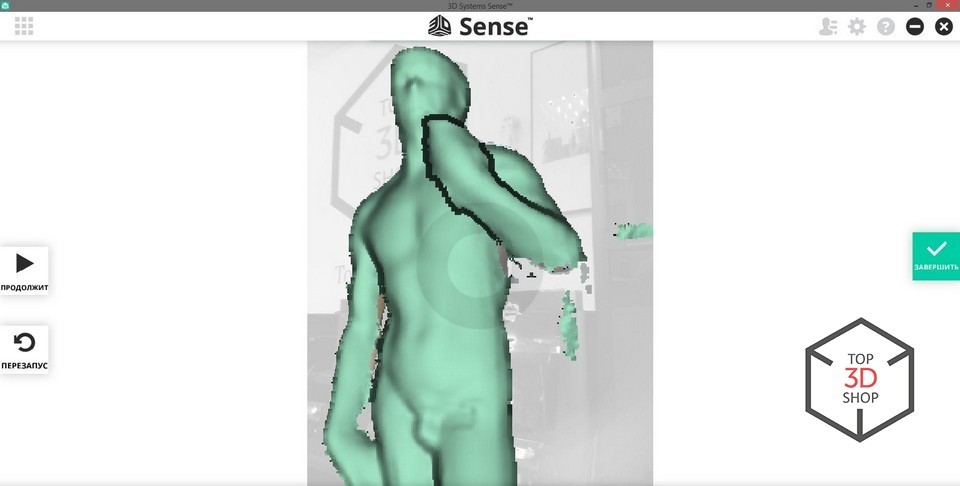
Scanning the Apollo shape 50 cm high in body scan mode.
When scanning, a simplified model appears on the computer screen, which is superimposed over the image so that you can track which parts you have already scanned.
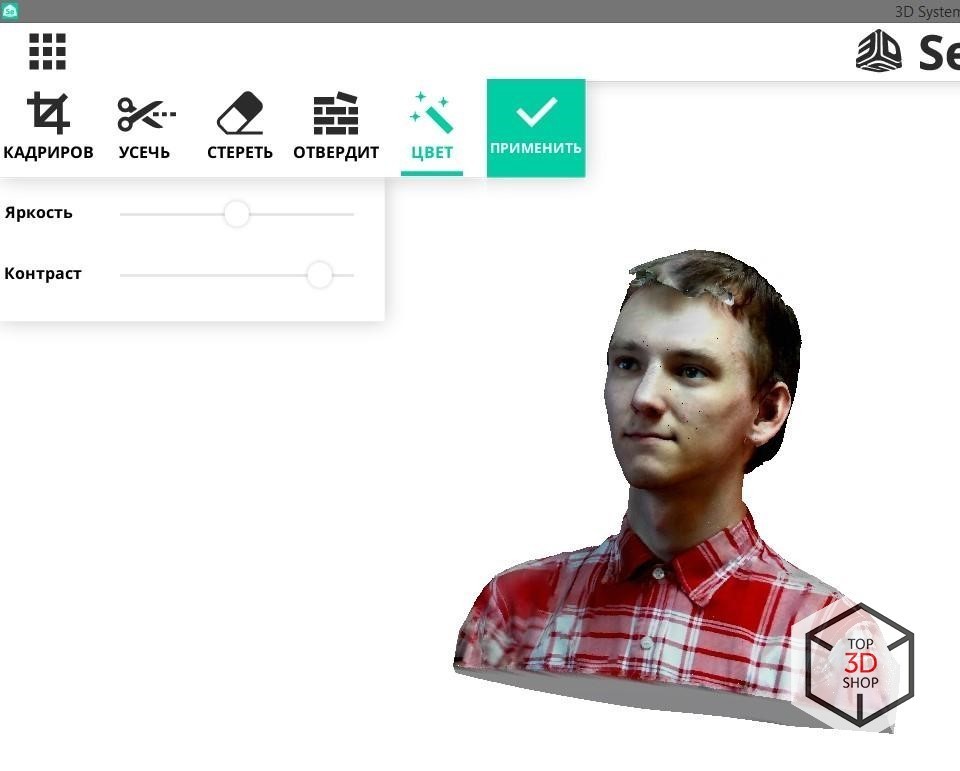
After you scanned the object, the model is optimized and the texture is attached to it. With this Sense model, the texture is captured, obviously, the camera is improved.

Textured.
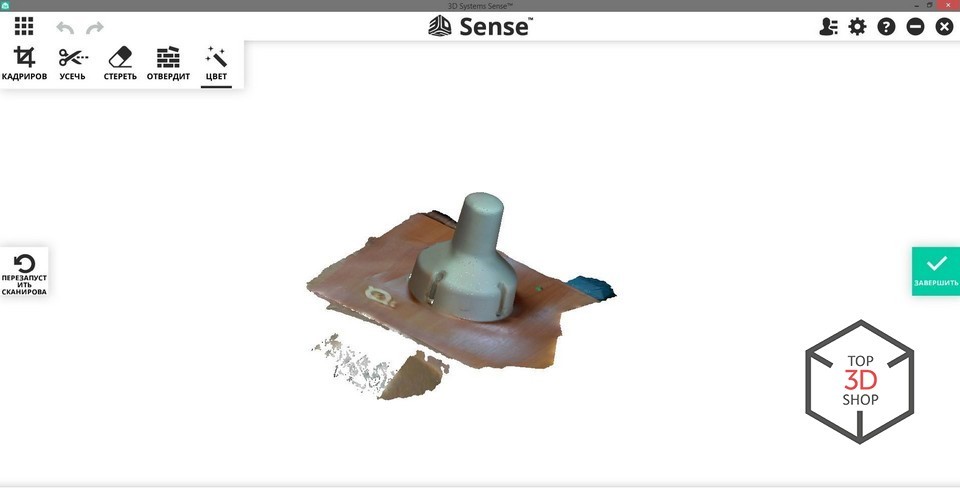
No texture In the software, some model editing functions are available, 3 types of trimming — by square, line, and brush — these functions are used to clean the model after scanning.

Example trim by area.
There is also an interesting command - cure - this command closes the holes and makes the model whole, and now it can be printed. And the last command allows you to adjust the brightness and contrast of the texture.
After editing, you can save your model in one of the common formats: OBJ (with texture), STL, PLY and WRL (with texture). You can even immediately download a screen from the program with a model on Facebook or the model itself on Sketchfab.

Comparison with the previous version
Having worked with both versions of scanners, we can say that the new version showed itself better, the work is much more stable, there are no permanent losses of geometry, and the algorithm for constructing models seems to have improved significantly, now this is not something that needs improvement, but quite good ones if high detail is not required. The texture quality and overlay algorithm have also been improved. Even the texture sweep now looks quite tolerable. Small objects are still not scanned.
Red is taken from a distance of 1.5 meters, and shiny black is not taken at all.
Advantages and disadvantages
Let's start with the cons. First of all - the requirements for lighting - the scanner does not have any flashes to stabilize the lighting, so the texture clearly shows bright areas where it falls, such as light from a window, or from another light source, so it’s better to scan in a room with even white light away from the lamps.
The second point - the same problem that was present in the first Sense - when shooting an object lying on a table, the bottom of the object and the table merge with a soft transition and it becomes quite difficult to separate the table from the object in the program, I must say that this problem has become less noticeable, apparently due to the improved quality of cameras, moreover, you can scan objects on a black background, which gives a minimum of points for recording and, accordingly, the fusion of the model and the table will be minimal.
And the last moment - fine lines, in principle, they are always quite poorly scanned, but they are not only completely captured by the sensation, but when creating a model, it covers the edge with a kind of “fringe” - noise, which then must be removed accordingly.
Clearly visible is the difference in light from both sides
A very small object could not be scanned.
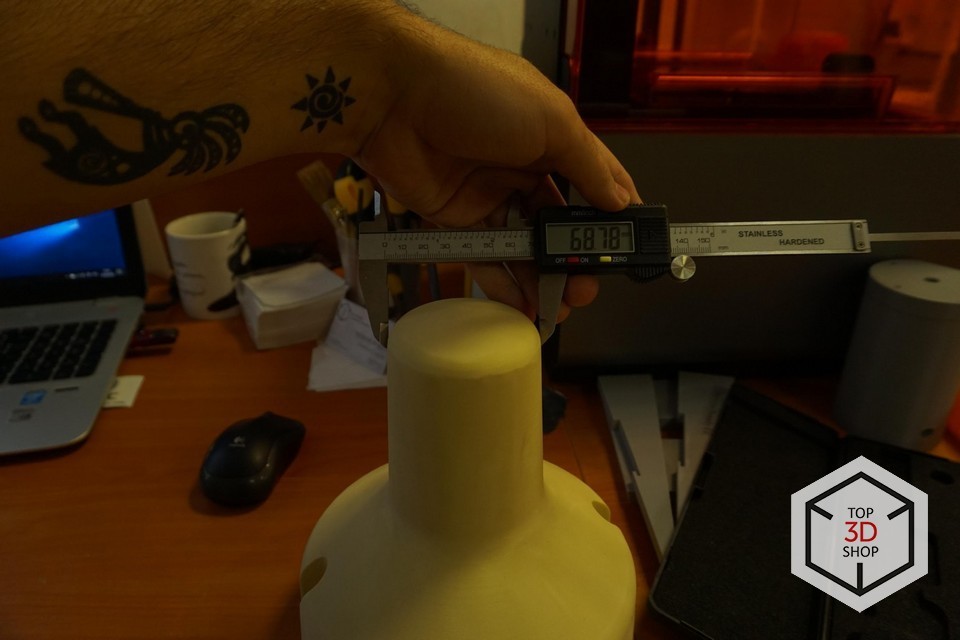
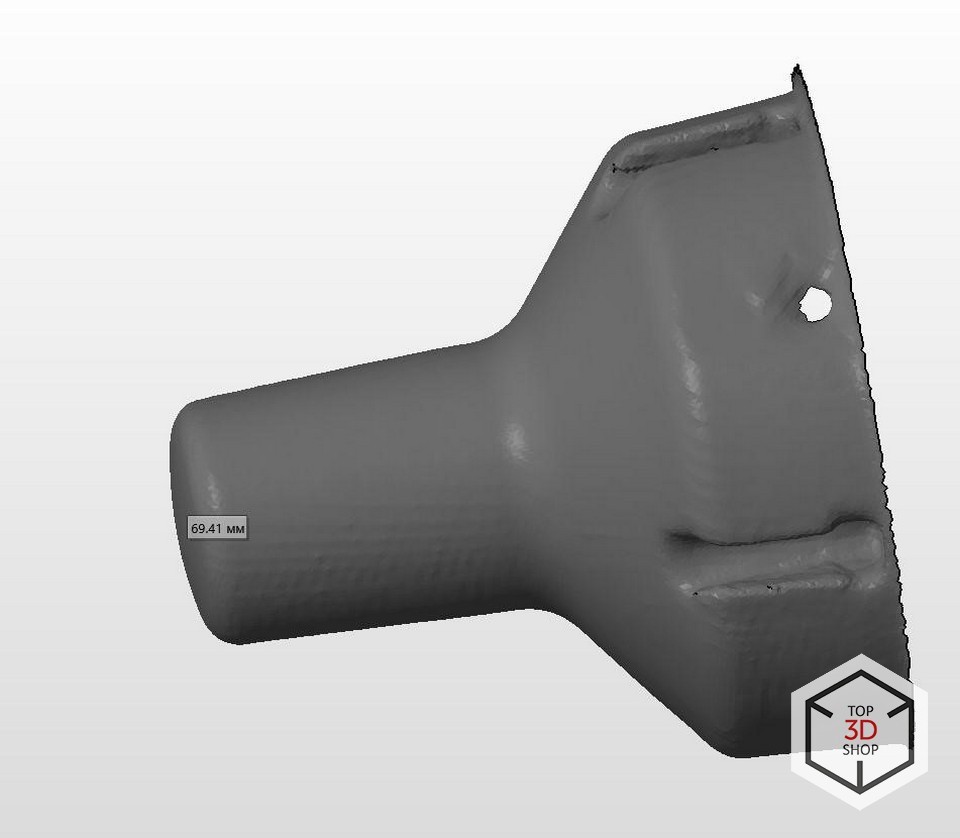
Example: on flat areas, a rather large model, the difference was only +0.6 mm.
Now look at the positive side. First of all - the price is very low for this type of scanners. Secondly - the simplicity of work, no need to calibrate, adjust, run the program - connect the scanner and go! Can scan. Lightness and small size - in the case of an exit nature of work or the need to take a scanner with you, this is a very important advantage, since it can be put in any bag.
Total
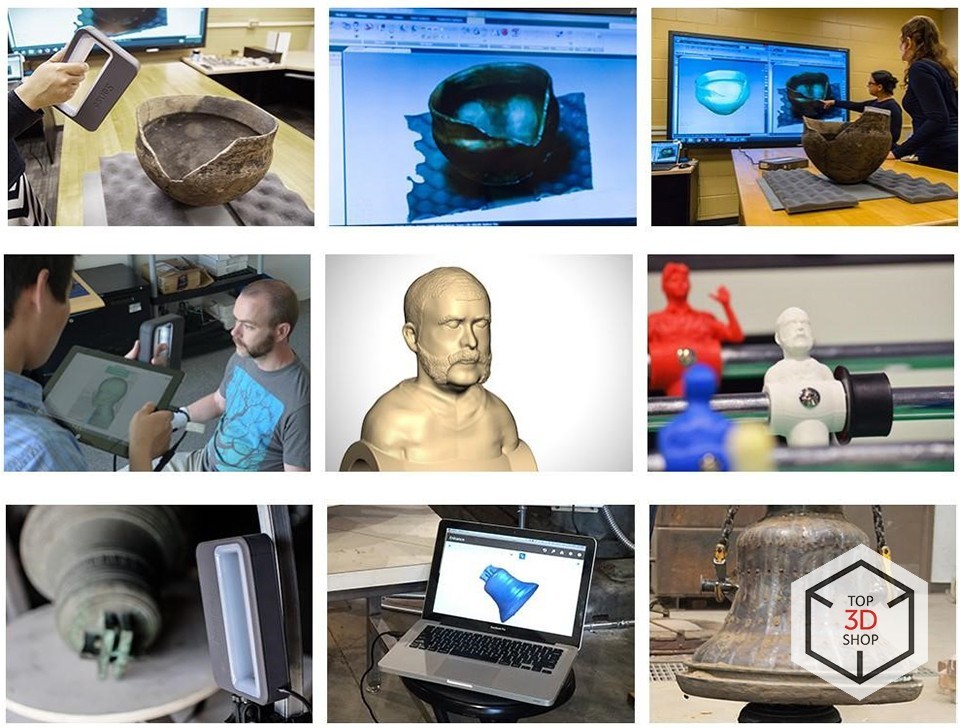
The scanner has exceeded its expectations. Since 3D systems on their site did not write much different from the previous version, something was expected at the level of the old Sense, but the scanner surprised us! People are scanned without problems, objects more than a soccer ball are also scanned well. In principle, the scope of this scanner remains the same as before - education, art (scanning people), science (scanning artifacts), manufacturing (monitoring the measurement of large objects). This will be especially true if you are just starting your business or you do not have the funds for professional solutions.
Want more interesting news from the world of 3D technology?
Subscribe to us in the social. networks:


Source: https://habr.com/ru/post/398213/
All Articles