Atmel ARM in DIY ?! "Hello world" in Atmel Studio for Cortex M4
I have a clear association between Atmel and the super-successful Atmega controllers. When it comes to something a little more powerful, the next step, I immediately think of stm32. But just recently I was able to test the Atmel SAM4S microcontrollers based on ARM Cortex-M4. This is a great option to go with the Arduino, I thought. I had not just a bare microcontroller, but the Sam4S EK rev8 debug board. For firmware, I used the SAM-ICE programmer. My version of "Hello world!" Or "Blink" under the cut.

Atmel, in my opinion, was late in entering the ARM microcontroller segment; the ST with the STM32 controllers is already fairly well established here. I decided to compare Atmel and ST products.
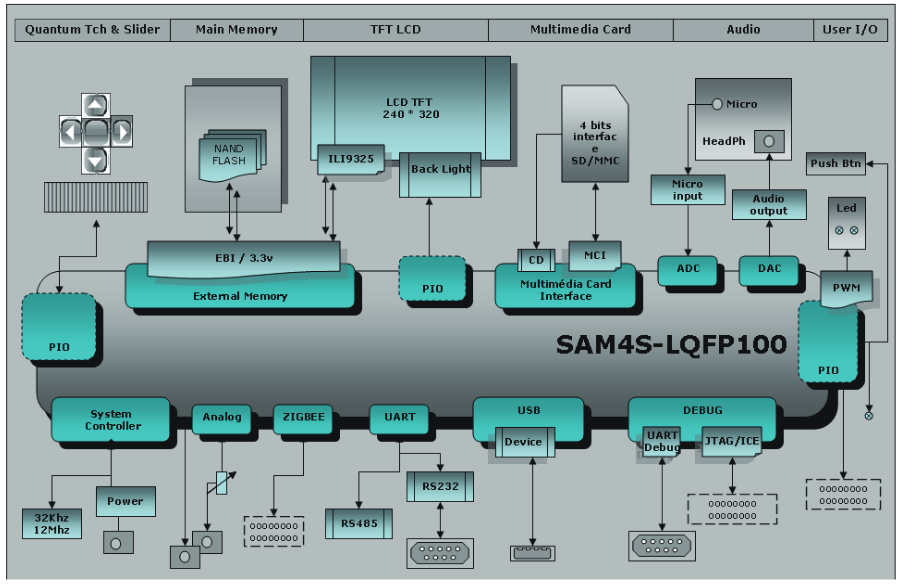
The ATSAM4S16C microcontroller is soldered to the board:
periphery:
')
Datasheet . On the debug board itself, we see the following:
all pinouts of the microcontroller are connected to the pin connectors (with a step of 2.54) (which is good news). In addition, on the board:

Prices in rubles STM32-691 and Atmel ARM-848 rubles.
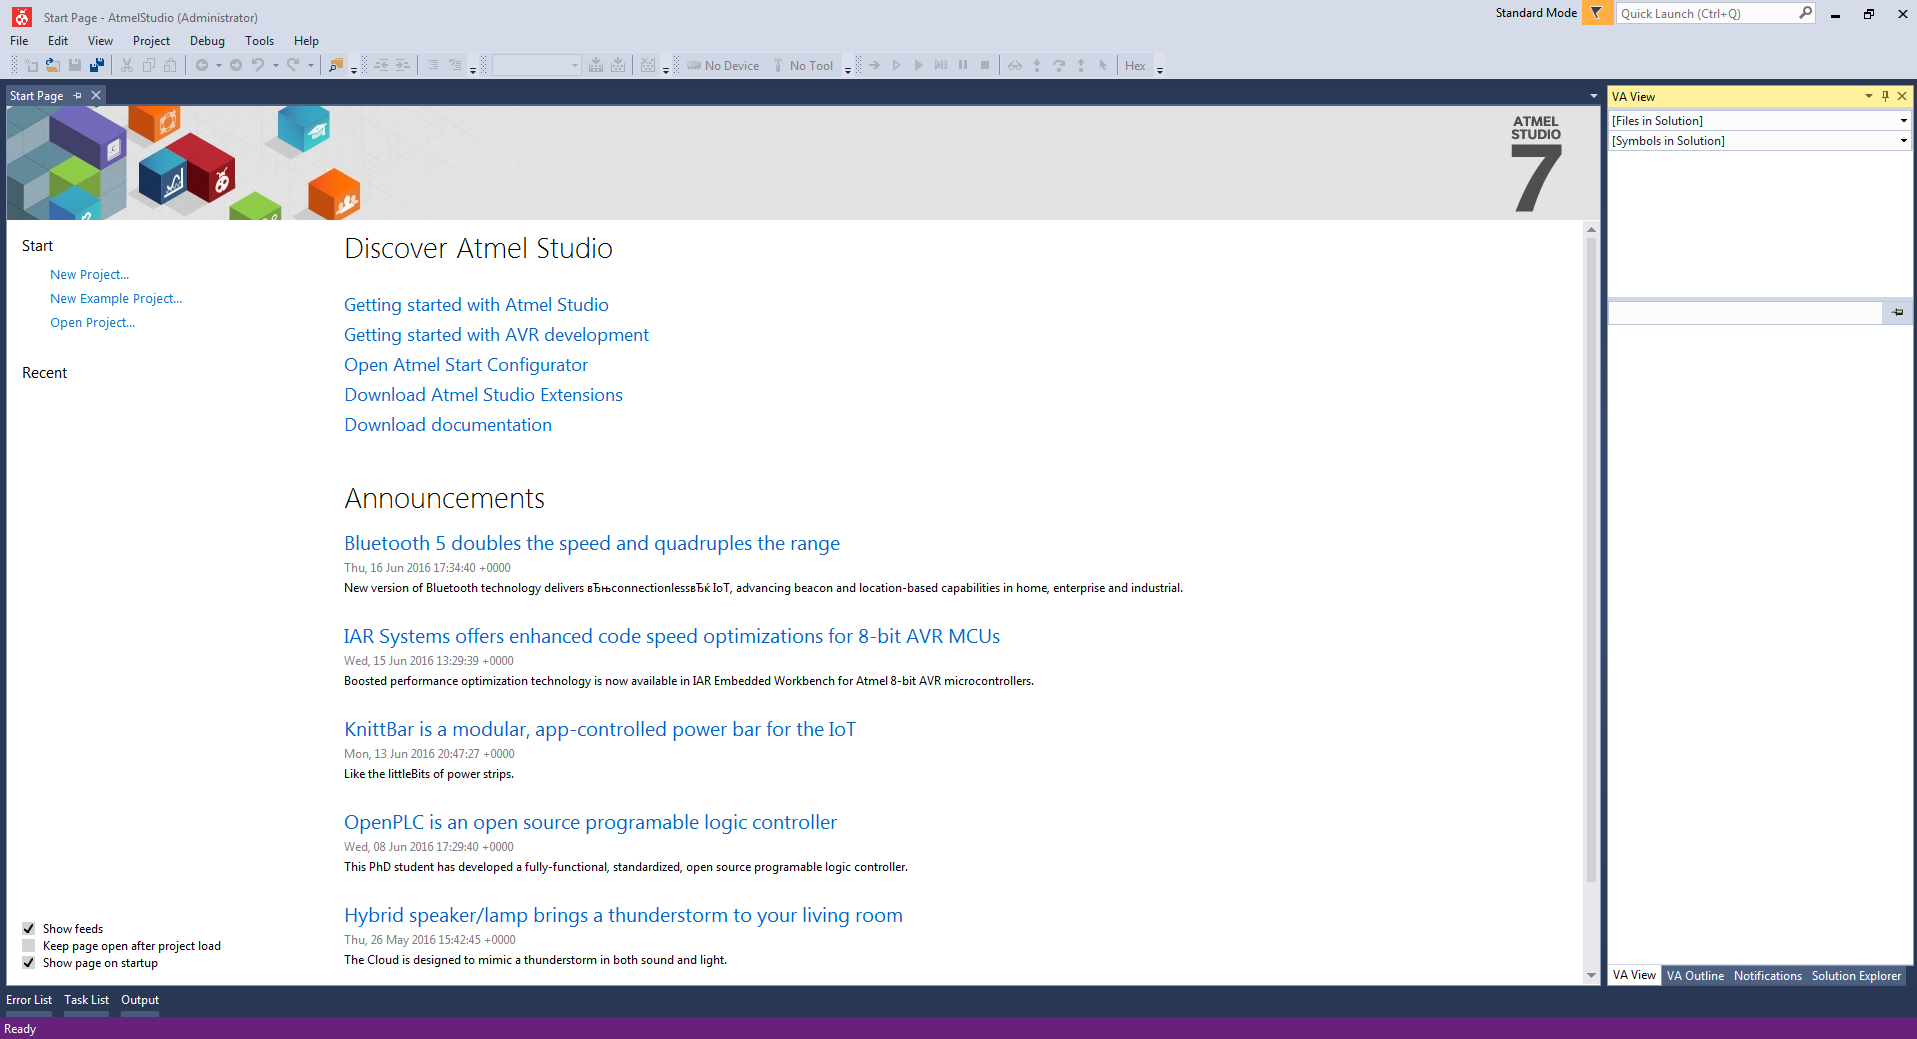
We are pleased with the presence of a free IDE, which can be downloaded from the Atmel website. Yes, this is a reworked Visual Studio, with all the consequences, but it is great for a quick start. Download, install, connect the programmer to the computer and to the board. In the installation and operation of IDE, the speed does not differ, but there are a number of advantages for beginners in this, it gives time to think.
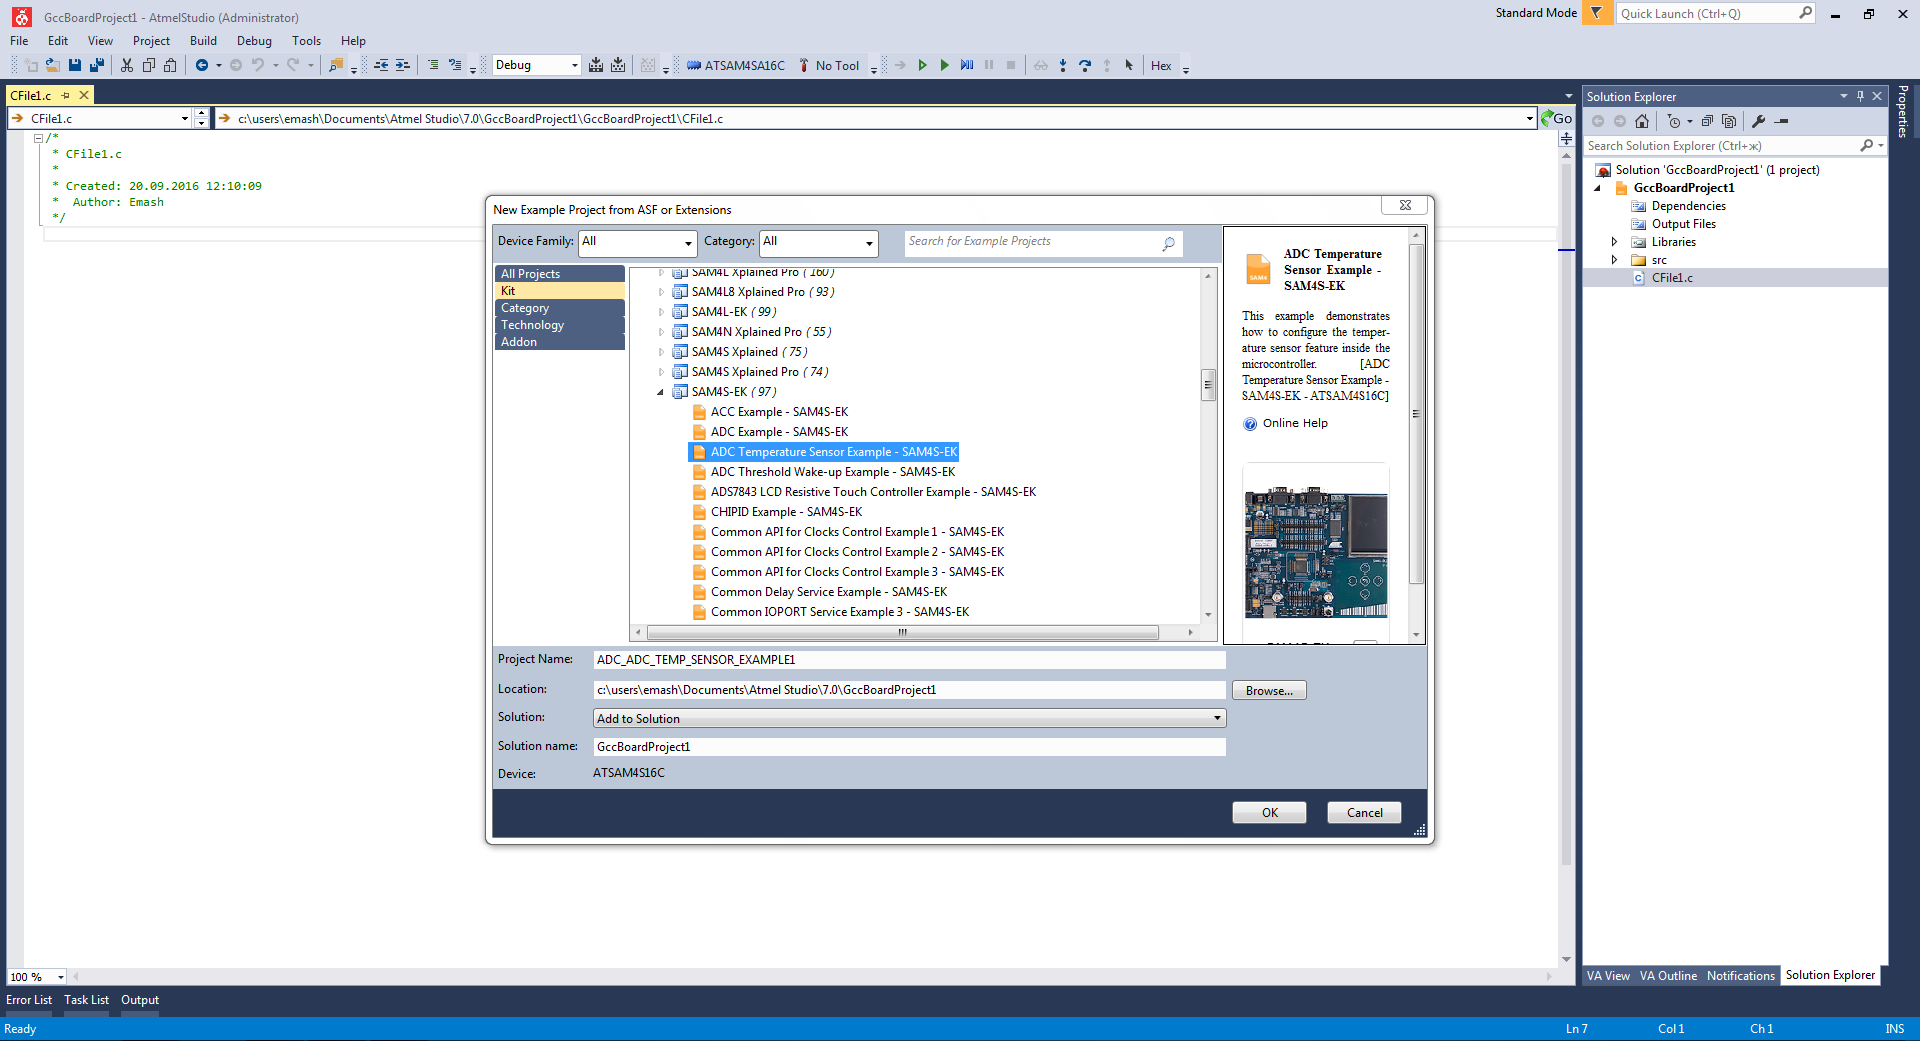
Along with the development environment, about 1600 examples will be available, including examples for the SAM4S-EK board under consideration (working with peripherals, using DSP, FatFS, FreeRTOS, etc.).
Let's try to download one of the scripts from the examples. New -> Project -> Example projects
So after editing the code
Build> Build Solution, if there are no errors, everything will come together, then Debug> Start Without Debugging
Everything is expected to work.
The board itself, oddly enough, met my expectations. This is a good option for switching from Arduino, as it allows you to quickly import sketches from the Arduino IDE into full-fledged C ++ projects. Without soldering, you can think over the device and write a script, then dilute the board and place the microcontroller on it, it is smaller and more productive. I agree that the debug board is expensive, but you need to pay for it once, plus there is an alternative for 450 rubles. SAM D10 Xplained Mini.
Why is Atmel's ARM so rarely found in ready-made devices or DIY handicrafts? Basically, there are different NEC, STM, SIEMENS, FS and the like?
Together with other GeekTimes users, we are developing a fitness tracker for percussion sports and are trying to develop all possible options so that later in the final device we can take into account all the developments.
Atmel, in my opinion, was late in entering the ARM microcontroller segment; the ST with the STM32 controllers is already fairly well established here. I decided to compare Atmel and ST products.
General characteristics of the debug board:
The ATSAM4S16C microcontroller is soldered to the board:
- Cortex-M4, 120MHz core, with support for DSP instructions
- 1MB of flash memory
- 128KB SRAM
periphery:
- 4xUART
- 3xSPI
- 2xI2C
- 1xUSB 2.0
- 1xI2S
- 1 interface for SDIO / SD / MMC memory cards
- PWM: 4 channels, 16 bits
- ADC: 16 channels, 12 bits
- analog comparator
- D / A converter: 2 channels, 12 bits
- DMA: 24 channels
')
Datasheet . On the debug board itself, we see the following:
all pinouts of the microcontroller are connected to the pin connectors (with a step of 2.54) (which is good news). In addition, on the board:
- 2 RS232 ports
- RS485 connector
- microSD memory card slot
- port for connecting the ZigBee module
- 2.8 "LCD 320x240 on ILI9325 controller with resistive sensor
- two BNC connectors, one of which is connected to the ADC, the second to the DAC.
- built-in microphone
- microUSB connector (USB FS Device)
- sealed NAND Flash memory 29F2G08ABAEA (256MB)
- touch buttons (Atmel QTouch), with a slider
- two user buttons + reset button
- encoder connected to the microcontroller ADC
- JTAG port for connecting to SAM-ICE
- mini jack for headphones + output for connecting the speaker
Comparing Atmel ARM with STM32
Prices in rubles STM32-691 and Atmel ARM-848 rubles.
IDE
We are pleased with the presence of a free IDE, which can be downloaded from the Atmel website. Yes, this is a reworked Visual Studio, with all the consequences, but it is great for a quick start. Download, install, connect the programmer to the computer and to the board. In the installation and operation of IDE, the speed does not differ, but there are a number of advantages for beginners in this, it gives time to think.
Along with the development environment, about 1600 examples will be available, including examples for the SAM4S-EK board under consideration (working with peripherals, using DSP, FatFS, FreeRTOS, etc.).
Let's try to download one of the scripts from the examples. New -> Project -> Example projects
So after editing the code
Build> Build Solution, if there are no errors, everything will come together, then Debug> Start Without Debugging
Everything is expected to work.
Conclusion
The board itself, oddly enough, met my expectations. This is a good option for switching from Arduino, as it allows you to quickly import sketches from the Arduino IDE into full-fledged C ++ projects. Without soldering, you can think over the device and write a script, then dilute the board and place the microcontroller on it, it is smaller and more productive. I agree that the debug board is expensive, but you need to pay for it once, plus there is an alternative for 450 rubles. SAM D10 Xplained Mini.
Question in topic
Why is Atmel's ARM so rarely found in ready-made devices or DIY handicrafts? Basically, there are different NEC, STM, SIEMENS, FS and the like?
Why do you need it?
Together with other GeekTimes users, we are developing a fitness tracker for percussion sports and are trying to develop all possible options so that later in the final device we can take into account all the developments.
Source: https://habr.com/ru/post/397587/
All Articles