Under steroids on a griddle, or how to make a mouse twice wireless
Good day to you, dear geeks and sympathizers!
In my first publication, I described the process of eliminating the birth defect of the microswitches of my beloved Logitech MX1100 mouse.
Now it's time to make this beautiful mouse perfect. What is missing this wonderful desktop friend for the final accession at the very top of the evolutionary pyramid? The answer lies on the surface: a modern lithium battery with the ability to charge through the built-in circuit is simply necessary for each wireless device. Integrating wireless charging into a wireless device is the most logical step and act worthy of a true
Bearing in mind the somewhat unfortunate experience of reworking mice (MX Revolution put its life on the altar of science during the first attempts at reworking microswitches), I decided to practice circuitry on simpler devices.
The choice fell on an ergonomic Chinese mouse that I bought last year for 5 €. The mouse is rather small, so even despite the ergonomic form I could not use it as the main one. In addition, the battery was discharged after two days of use, which hinted at a certain slyness of the manufacturer who placed on the device case information about the presence of a 650 mAh lithium battery. Despite this, the mouse as a whole is not bad: the positioning accuracy is at a good level, the mouse automatically “falls asleep” in the absence of activity, it has two additional buttons in a convenient place.
This wonderful mouse and received the proud title of the laboratory.
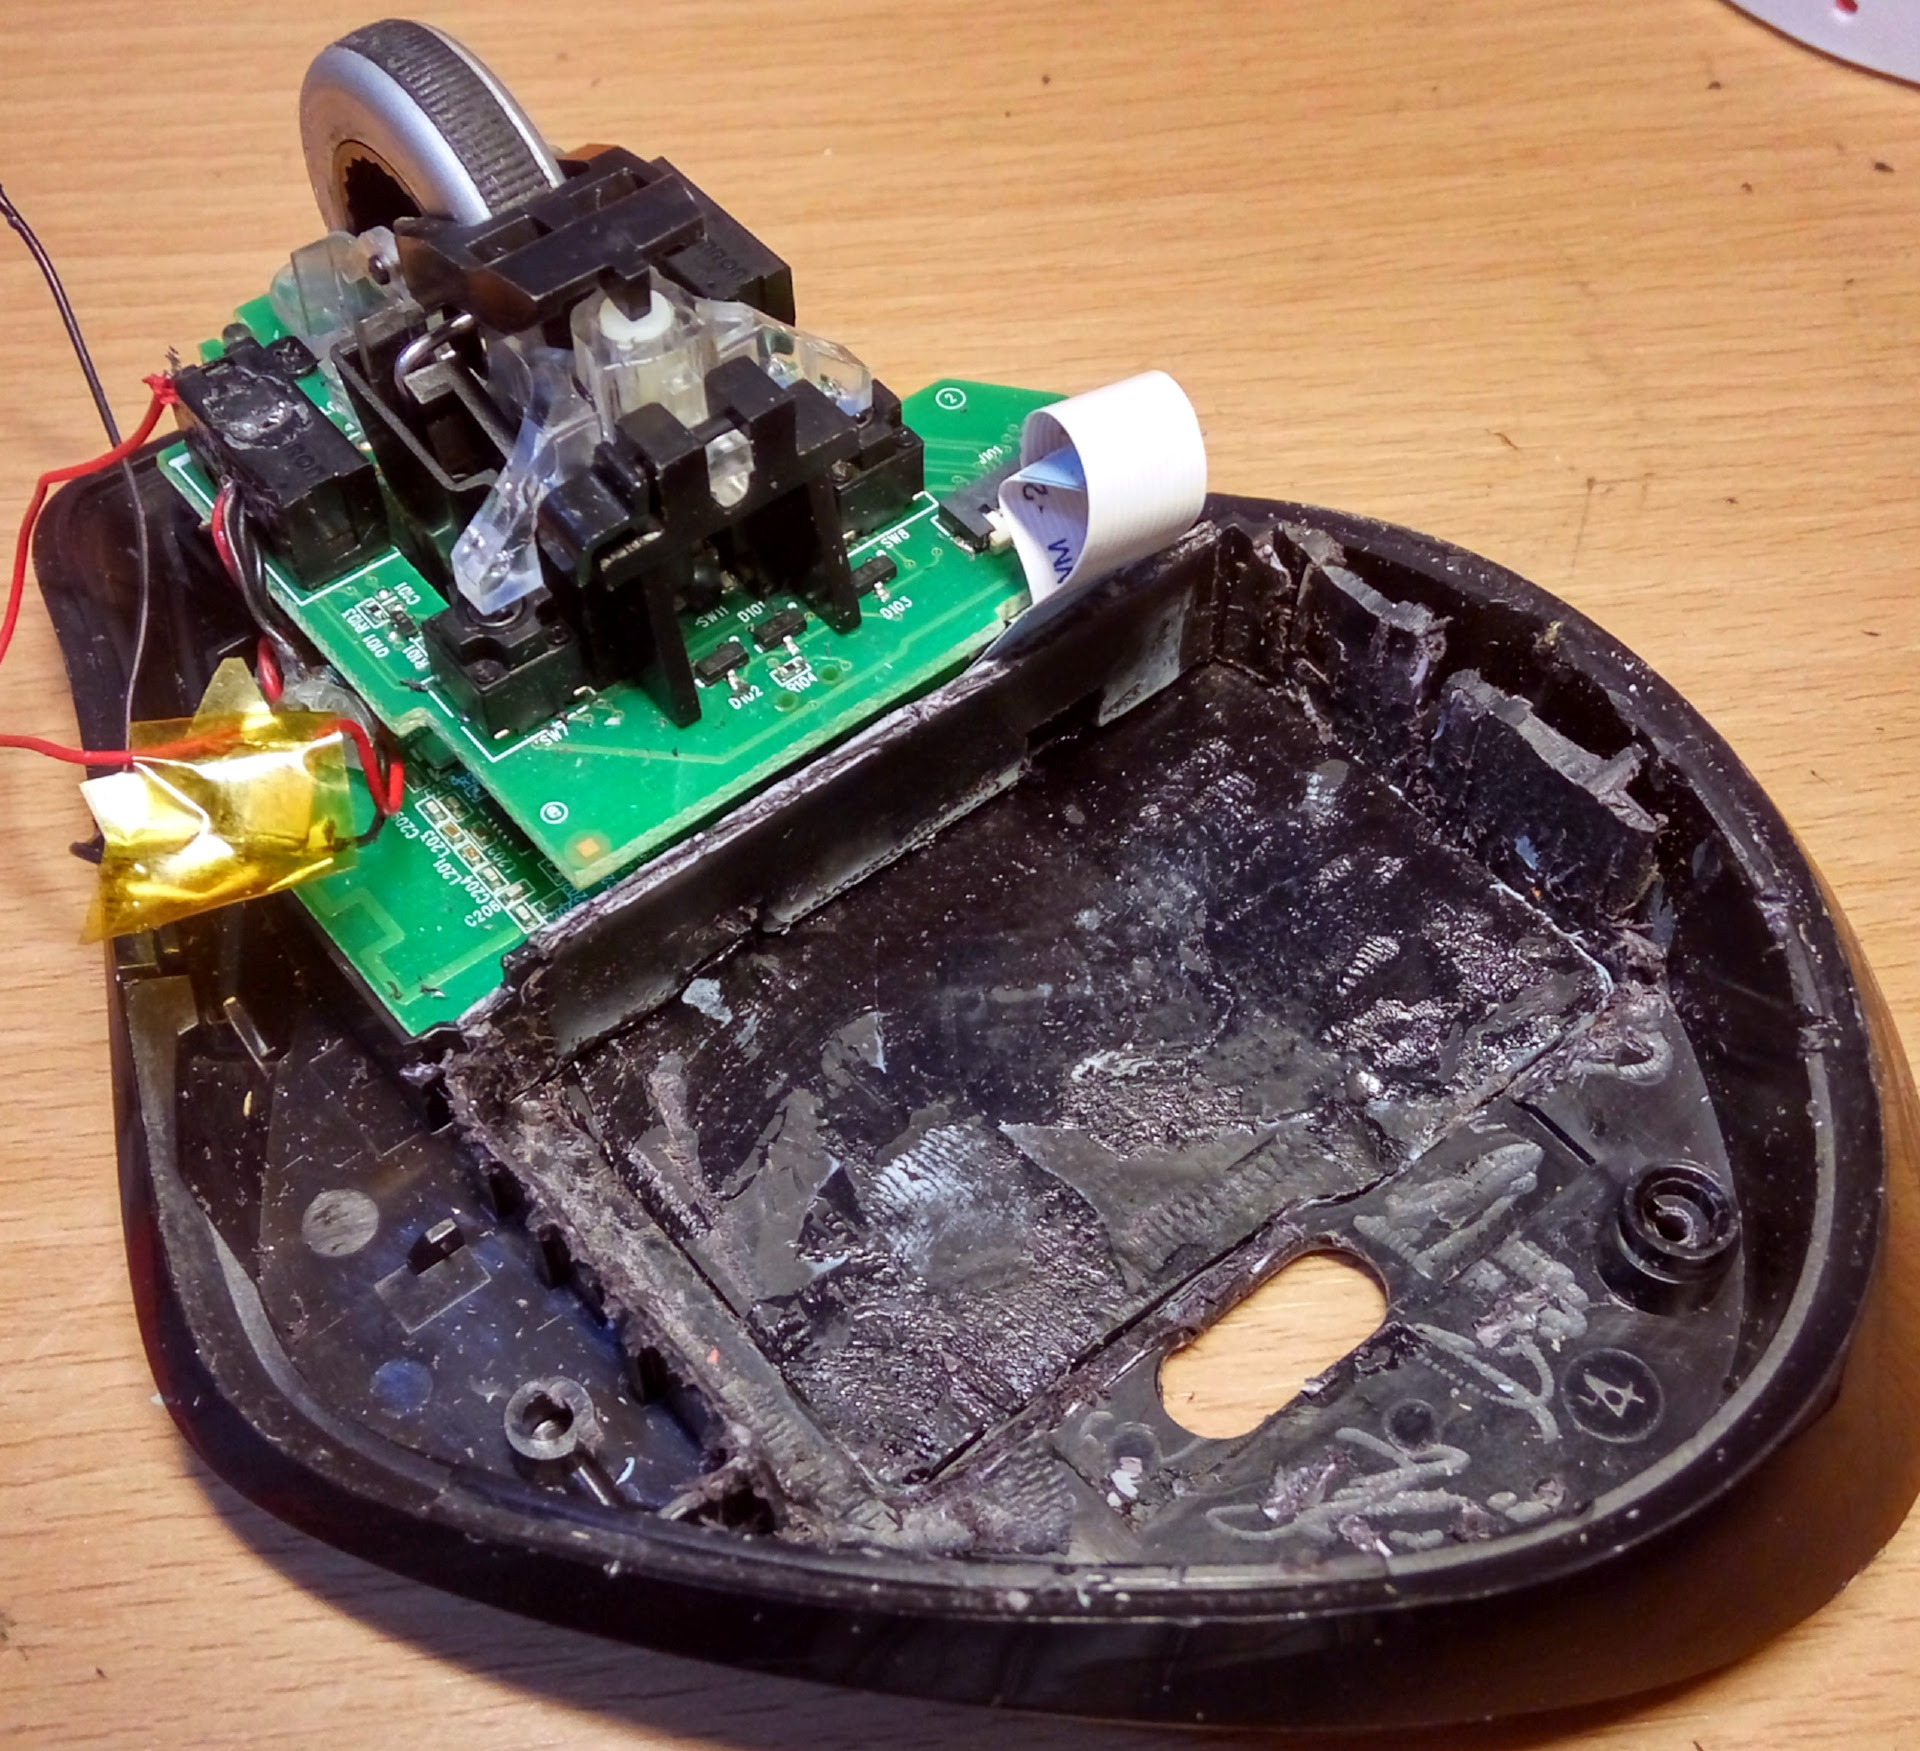
The insides of the mouse confirmed all my suspicions: a tiny battery adjacent to some poorly processed piece of iron (apparently, to give the mouse at least some weight), a charging controller and a lithium battery protection circuit are missing. Charging occurs through a thin connector, which is also poorly fixed.
During the charging process, the red LED lights up, regardless of the charge level or battery charging time. Well, according to the principle of treatment of this kind, we will eliminate the defects of the Chinese mouse with the help of the Chinese module of the battery controller for 1 €. This module has a microUSB connector, provides charging current up to 1A, protects the battery from overcharging, short circuit and deep discharge. During the charging process, the red LED lights up, after it ends, it goes out and the blue light comes on. The mouse will also receive a huge dose of steroids in the form of the battery INR18650-35E. This Samsung-made battery has a nameplate capacity of 3500 mAh and costs € 6. Its large enough weight makes it unnecessary to install additional weights.
The LED, standard battery, metal weight and charging connector have been removed. Dremel, file and emery paper prepared the rodent for the last stage of rework. The controller module is glued to the bottom of the mouse with epoxy resin, the battery is inserted into the vertical cavity of the mouse body and secured with one of the body screws. After soldering and gluing, the internal structure of the mouse is as follows:

The red LED of the module shines through the semi-transparent red inset on the body, and the light of the blue LED makes its way through the slots around the buttons and mouse wheel:
The total cost of the mouse was 12 €. Since there are no wireless mice on the market with such a battery capacity, it is not possible to evaluate the economic meaning of the alteration. For me the main thing is that now this mouse has a powerful battery with a full charging circuit and protection, and it will be possible to rely on it as a spare device in case of failure of the main one.
')
Now is the time to rework the Logitech MX1100 of the first series of publications.
Were purchased: a 1000 mAh lithium battery, a battery controller module and a wireless charging receiver for the Samsung Ggalaxy S5. The MX1100 has a compartment for two parallel-connected elements of size AA. This place will be used to place the lithium battery. The battery compartment also contains a rather complicated mouse module, it must be carefully unscrewed, soldered and stored in a dry cool place. The first stage of alteration is the removal of the battery compartment and gluing of the compartment cover with acrylic glue. At the same time, the mechanism of locking the lid was also removed, all kinds of protrusions and irregularities were ground by the Dremel.
Now let's test the wireless charging module in conjunction with the battery controller module we already know:

A minor problem is that the lithium battery has a rated voltage of 3.7 volts, and the mouse is rated at 1.5 volts. This problem was solved with the help of a low-voltage pulse voltage converter MAX8640YEXT15. This chip operates in the input voltage range from 2.7 to 5.5 volts and has a fairly good load capacity (500 mA) with a minimum of external components:

The transducer was mounted using the mounted method on a piece of a perforated development board. A test configuration was assembled with a load resistor:

Now you need to carefully glue the wireless charging receiver, this is done quite easily: the parts of the module are placed between two sheets of self-adhesive film. The module consists of a coil and a flexible printed circuit board. This board must be removed from the coil, carefully removed and connected to the coil with a thin insulated wire. This is necessary due to the lack of space on the bottom of the mouse, especially since the coil is better placed as close to the center of the bottom of the mouse. I glued the coil to the bottom of the mouse with “Moment” glue. Now glue the battery compartment from the pieces of the perforated breadboard, it will also serve as a stand for the previously removed mouse module. The battery is located directly on the coil, as in a mobile phone. At this stage, you must also check the operation of all mouse modules:

After a successful test, all modules were insulated with fiberglass tape:

I managed to get wonderful non-bright SMD 1206 LEDs, red and green. They were glued with transparent epoxy resin into a specially pierced hole in the bottom of the back of the mouse. These LEDs were connected to the battery controller module (of course, the module's “native” LEDs were removed)

In order to enable the mouse to charge the battery in the absence of a Qi standard charger, a microUSB socket was also installed in the front of the case:
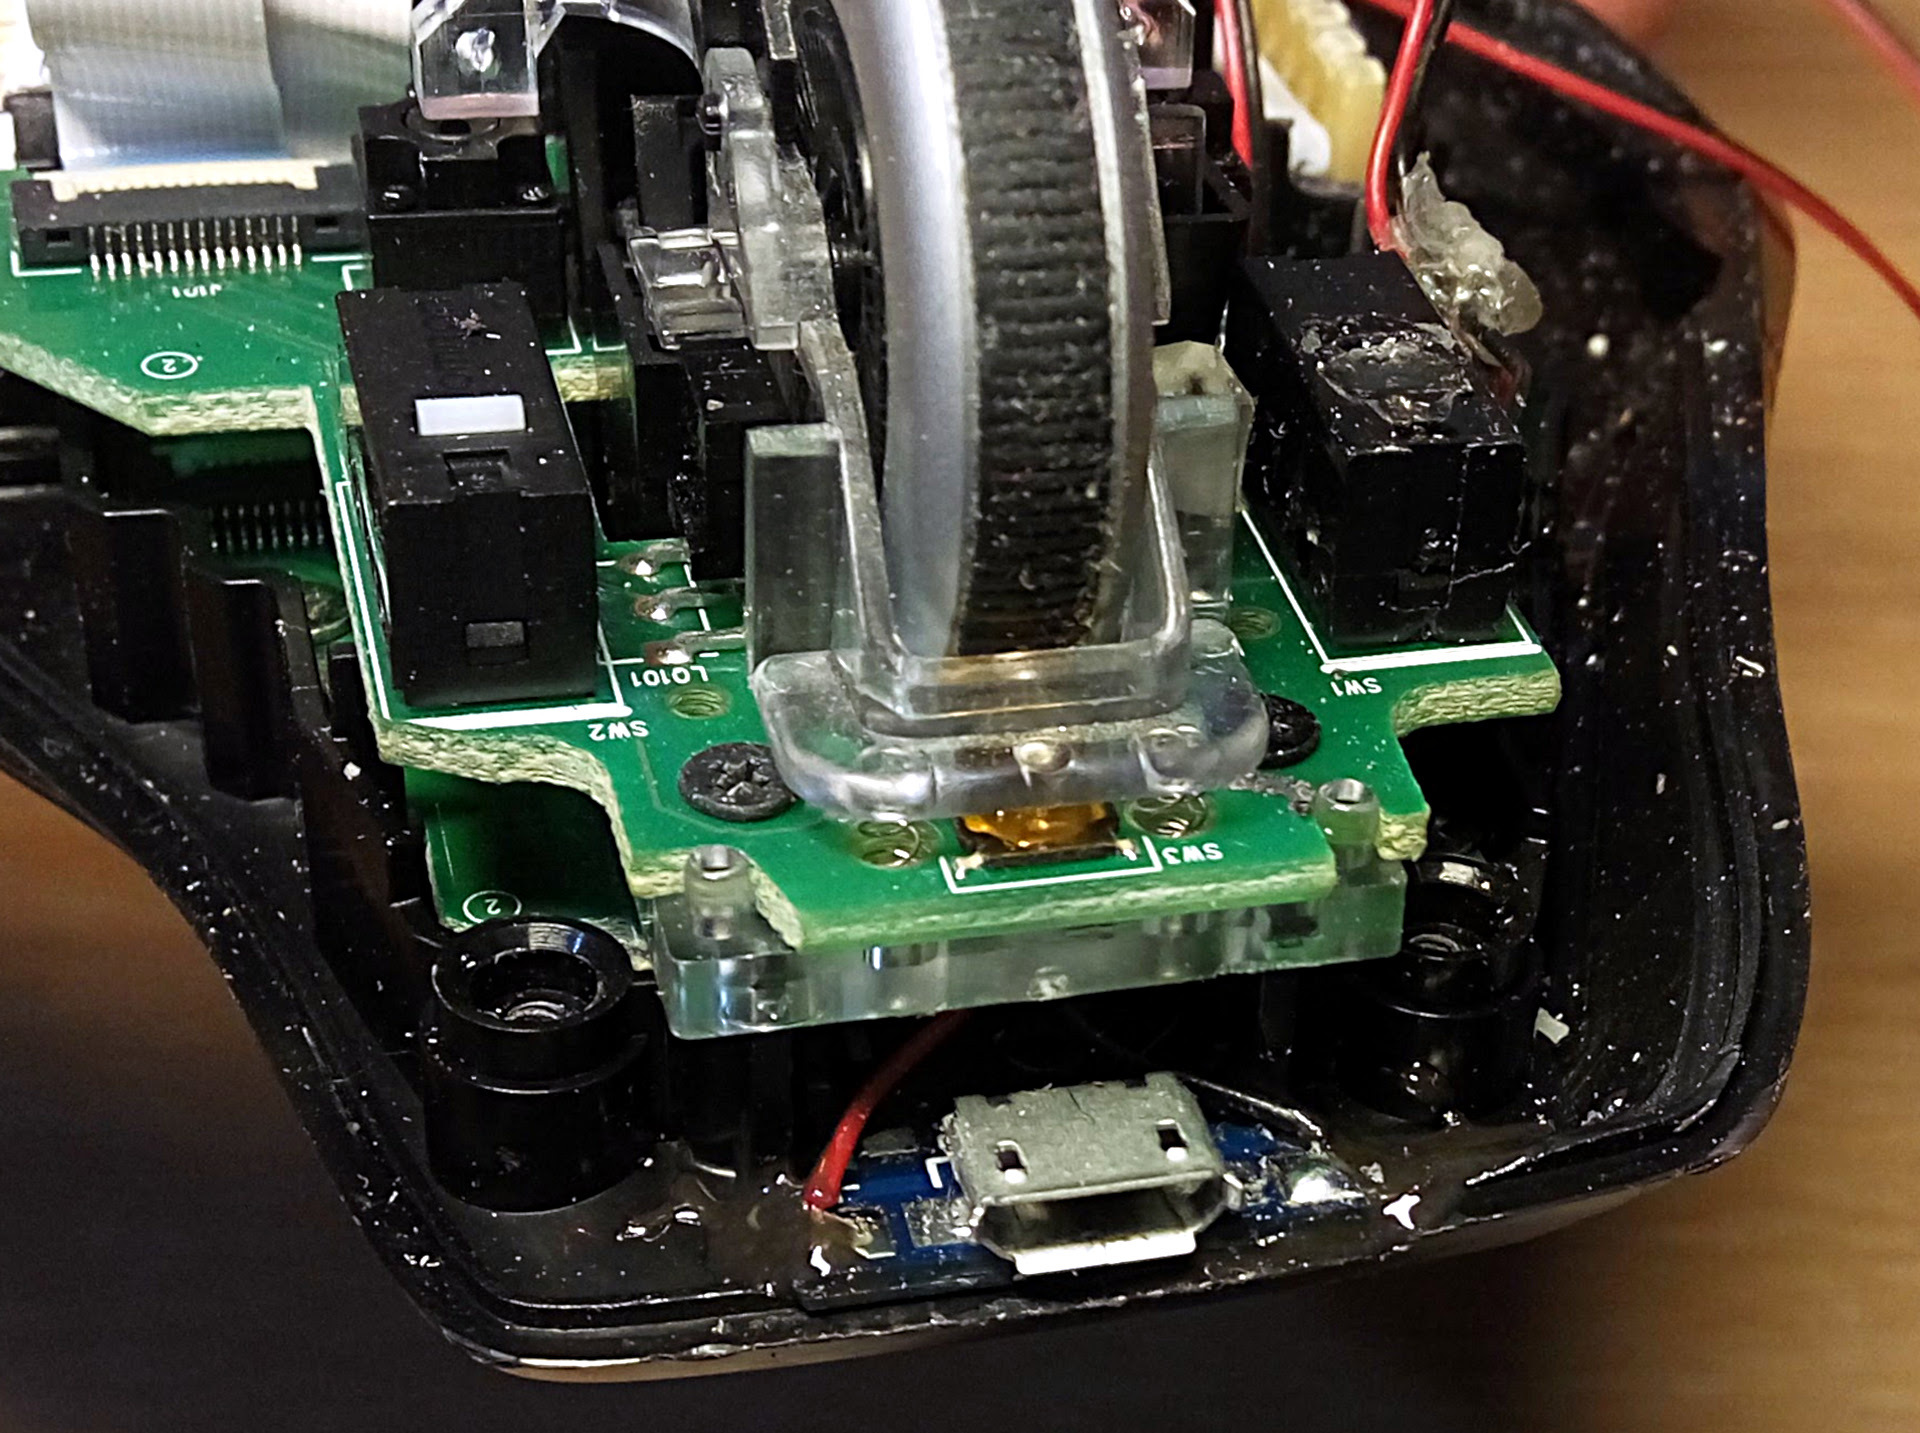
This socket was connected to the battery controller module. The slot on the module itself was removed in order to reduce the size of the module: there is very little space in the mouse body.
After assembling the mouse, we perform the final tests, everything works as intended:
The joy of owning an ideal mouse is a damn good feeling, all material and time costs are 100% justified.
As they say in the circles opensource: have fun!
PS: published under the WTFPL license.
Source: https://habr.com/ru/post/394967/
All Articles