Making the base for the Psycho mask from Borderlands 2 on a 3D printer - sticking PLA with dichloroethane
One of the fans of the computer game Borderlands dreamed of a character suit named Psycho ...
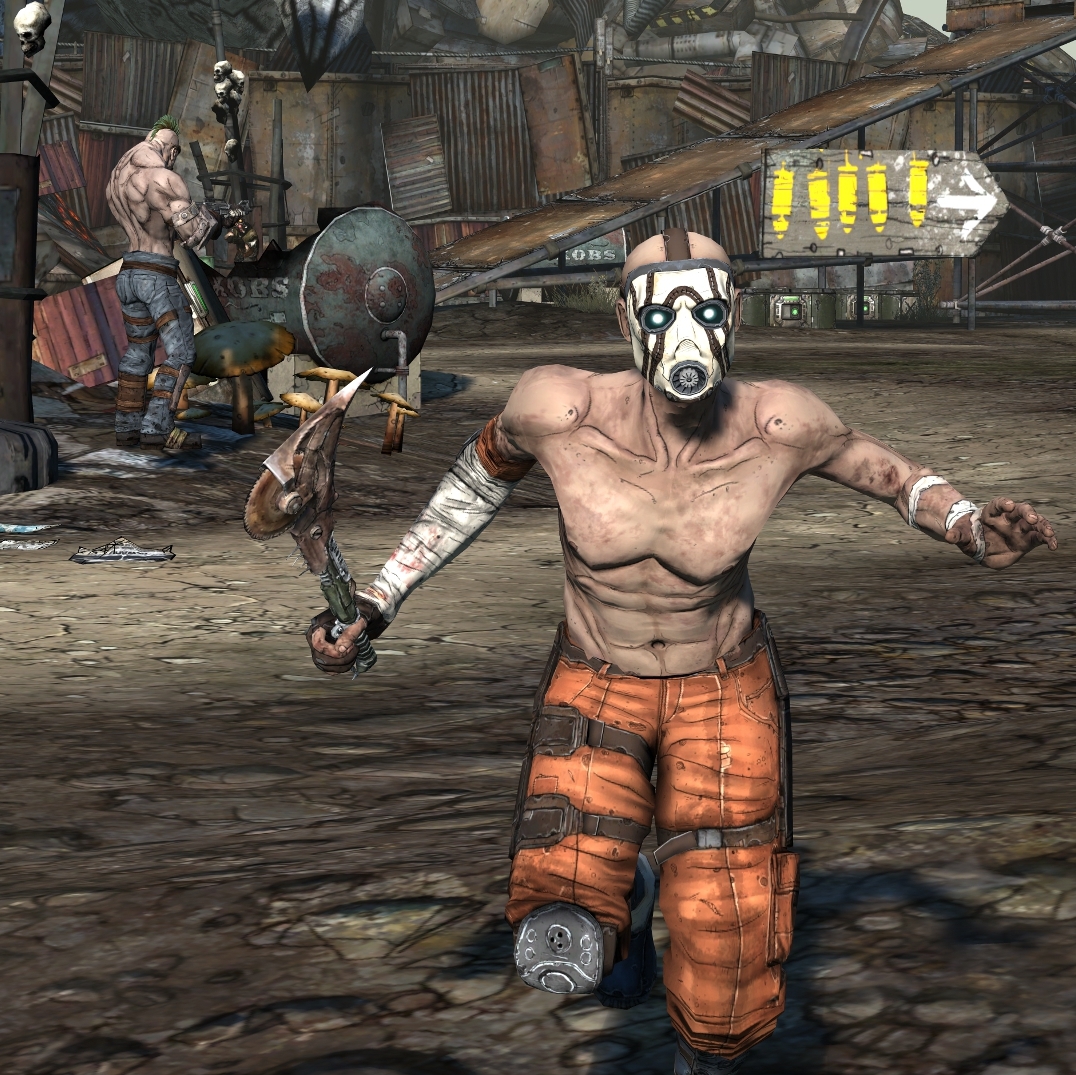
The question of dirty orange pants and bandages was solved relatively simply, but with the mask he asked for help printing it on a 3D printer.
')
And we started a new contest for owners of a 3D printer, read under the cut.
After a brief search, a mask prototype was found on the Thingverse website.
None of the printers we have had a sufficiently large print area, so it was decided to print the product in parts, and then glue them together. To do this, the main part of the mask had to be cut into 4 approximately equal parts in the free Netfabb Basic program. The parts thus obtained already fit in well with the print area of the MC2 3D printer . The printer worked under the control of the Repetier Host program, plastic - PLA, slicer - Cura, filling 20%, without supports. Total printing time was about 15 hours.


Now it’s time to put the printed pieces together. As is known, PLA plastic is bonded with dichloroethane or dichloromethane. The first is more toxic, but also more common. At an adequate price, it can be found in hardware stores, and at the radio market in Mitino it is sold at almost every step in the pavilions selling materials for soldering and chemicals.

At our disposal was precisely dichloroethane. Since it is quite a toxic substance, all work with dichloroethane should be carried out in a well-ventilated area or outdoors. Also avoid dichloroethane on the skin. A good solution would be to work in a mask and gloves. Glued parts do not need to be left in the room. At the time of drying, which is about a day, the finished product is better to keep outside.
To begin with, we attached parts of the mask to each other and realized that the gaps between them reached one millimeter in some places. It became obvious that it would not be possible to simply glue the parts together; it is necessary to fill these gaps (to put).

We decided to use PLA waste from printing as adhesive putty. Finely broken pieces of plastic should be poured with dichloroethane in an airtight container and to accelerate the dissolving process, shake. The dissolution of plastic takes some time, so you need to periodically check at what stage the process is. Ready glue-putty should have the consistency of sour cream or thick PVA glue.
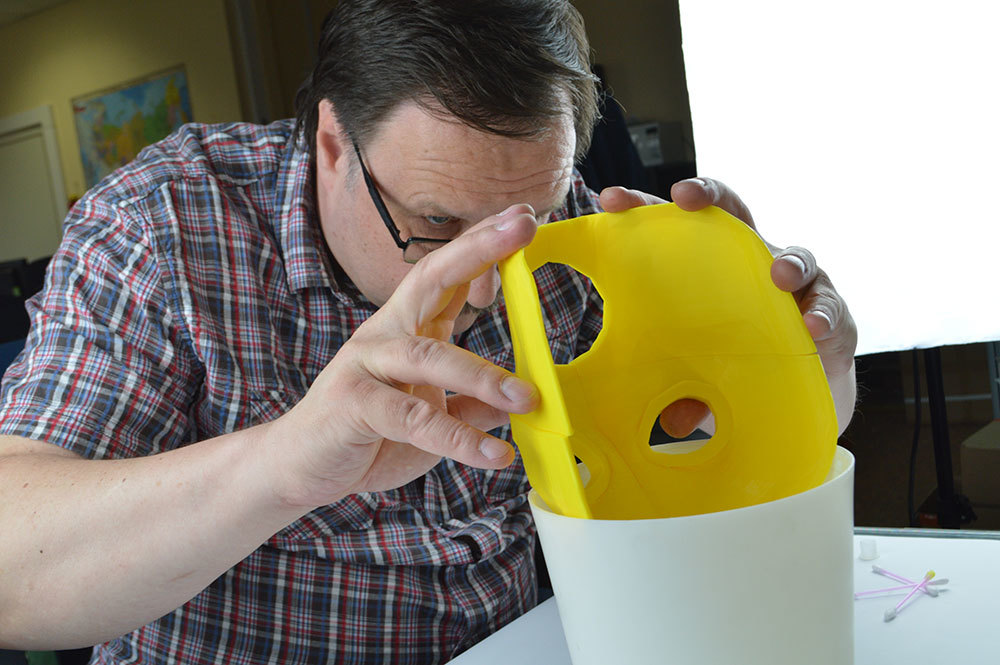
Gluing and subsequent putty was as follows. The joining edges of the two parts of the upper part of the mask, we several times covered with pure dichloroethane and folded them. It is necessary to smear to a noticeable softening of the upper layer of surfaces. As a tool for holding the parts, it turned out to be convenient to use a table lamp diffused under the arm. Glued parts were dried during the day.


Then the upper part and two parts of the lower part were glued together. So it seemed to us more convenient and faster than gluing the lower part, drying it, and then gluing the upper and lower parts. This approach turned out to be quite justified, and in a day all four parts were assembled into one whole and did not fall apart under their own weight.


It remains to cover the gap. According to our assumptions, this should, among other things, give strength to the glued seams. As a spatula of a suitable size, it turned out to be quite convenient to use a wooden chopstick that was brushed with a knife. Putty rubbed into the gap with a spatula as deep as possible.
After daily drying, the result was very satisfactory. A couple of times the mask fell to the floor from a height of more than a meter and survived! We did not specifically try to break the finished product, but by indirect signs (repeated falls, putting the mask on to many heads, spinning on many inaccurate hands) it turned out solidly.
Unfortunately, we cannot yet show what the finished mask looks like, which came out of the caring hands of the gaming fan, but we solved the task we have successfully.


A short video of the process:
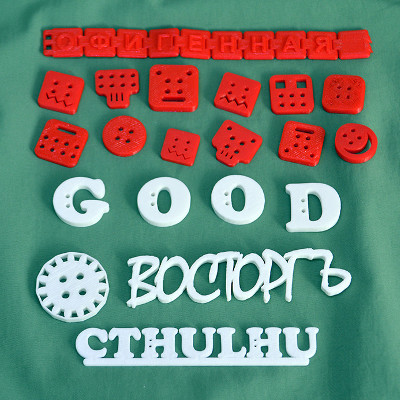
Ps As you know, the world is full of creative and thoughtful people who want to create something new, interesting and useful! And in our 3D printing lab, the theme of accessories created with a 3D printer is gaining momentum. And we are glad that today our 3D printers not only allow us to solve everyday problems, but also deliver the joy of creativity when creating original accessories and jewelry!
For everyone who is interested in the 3D theme and is not averse to sharing their creative successes, we announce the competition - “3D-accessories. Opportunities, ideas, solutions! ”
Duration of the competition: from 08 to 15 June 2016
We will present two 3D frezer to the authors of the best works!
The authors of the best works will be recognized immediately two winners of the competition:
1. In the “National recognition” nomination, the winner will be determined by the number of “likes” of the photograph of the work posted on our website.
2. In the nomination "Respect" the winner will be determined by the opinion of an expert jury from the staff of the department of 3D-technologies Master Kit.
We wish you all inspiration and success!
Read more ..
The question of dirty orange pants and bandages was solved relatively simply, but with the mask he asked for help printing it on a 3D printer.
')
And we started a new contest for owners of a 3D printer, read under the cut.
After a brief search, a mask prototype was found on the Thingverse website.
None of the printers we have had a sufficiently large print area, so it was decided to print the product in parts, and then glue them together. To do this, the main part of the mask had to be cut into 4 approximately equal parts in the free Netfabb Basic program. The parts thus obtained already fit in well with the print area of the MC2 3D printer . The printer worked under the control of the Repetier Host program, plastic - PLA, slicer - Cura, filling 20%, without supports. Total printing time was about 15 hours.
Now it’s time to put the printed pieces together. As is known, PLA plastic is bonded with dichloroethane or dichloromethane. The first is more toxic, but also more common. At an adequate price, it can be found in hardware stores, and at the radio market in Mitino it is sold at almost every step in the pavilions selling materials for soldering and chemicals.
At our disposal was precisely dichloroethane. Since it is quite a toxic substance, all work with dichloroethane should be carried out in a well-ventilated area or outdoors. Also avoid dichloroethane on the skin. A good solution would be to work in a mask and gloves. Glued parts do not need to be left in the room. At the time of drying, which is about a day, the finished product is better to keep outside.
To begin with, we attached parts of the mask to each other and realized that the gaps between them reached one millimeter in some places. It became obvious that it would not be possible to simply glue the parts together; it is necessary to fill these gaps (to put).
We decided to use PLA waste from printing as adhesive putty. Finely broken pieces of plastic should be poured with dichloroethane in an airtight container and to accelerate the dissolving process, shake. The dissolution of plastic takes some time, so you need to periodically check at what stage the process is. Ready glue-putty should have the consistency of sour cream or thick PVA glue.
Gluing and subsequent putty was as follows. The joining edges of the two parts of the upper part of the mask, we several times covered with pure dichloroethane and folded them. It is necessary to smear to a noticeable softening of the upper layer of surfaces. As a tool for holding the parts, it turned out to be convenient to use a table lamp diffused under the arm. Glued parts were dried during the day.
Then the upper part and two parts of the lower part were glued together. So it seemed to us more convenient and faster than gluing the lower part, drying it, and then gluing the upper and lower parts. This approach turned out to be quite justified, and in a day all four parts were assembled into one whole and did not fall apart under their own weight.
It remains to cover the gap. According to our assumptions, this should, among other things, give strength to the glued seams. As a spatula of a suitable size, it turned out to be quite convenient to use a wooden chopstick that was brushed with a knife. Putty rubbed into the gap with a spatula as deep as possible.
After daily drying, the result was very satisfactory. A couple of times the mask fell to the floor from a height of more than a meter and survived! We did not specifically try to break the finished product, but by indirect signs (repeated falls, putting the mask on to many heads, spinning on many inaccurate hands) it turned out solidly.
Unfortunately, we cannot yet show what the finished mask looks like, which came out of the caring hands of the gaming fan, but we solved the task we have successfully.
A short video of the process:
Ps As you know, the world is full of creative and thoughtful people who want to create something new, interesting and useful! And in our 3D printing lab, the theme of accessories created with a 3D printer is gaining momentum. And we are glad that today our 3D printers not only allow us to solve everyday problems, but also deliver the joy of creativity when creating original accessories and jewelry!
For everyone who is interested in the 3D theme and is not averse to sharing their creative successes, we announce the competition - “3D-accessories. Opportunities, ideas, solutions! ”
Duration of the competition: from 08 to 15 June 2016
We will present two 3D frezer to the authors of the best works!
The authors of the best works will be recognized immediately two winners of the competition:
1. In the “National recognition” nomination, the winner will be determined by the number of “likes” of the photograph of the work posted on our website.
2. In the nomination "Respect" the winner will be determined by the opinion of an expert jury from the staff of the department of 3D-technologies Master Kit.
We wish you all inspiration and success!
Read more ..
Source: https://habr.com/ru/post/394823/
All Articles