3D revolution on Arduino
Until the last moment, controllers (and Arduino, in particular) worked either without an interface at all, or with primitive interfaces, relatively speaking, with one or two buttons. With the advent of the Arduino Mega Server, the situation has changed dramatically and the opportunity has arisen to make any interface to your Arduino project.
Today we will go even further and talk about how to make a full-fledged interactive 3D interface for your project at Arduino. We will conduct all the experiments on the new Genuino 101 microcontroller co-produced by Intel and Arduino and kindly provided by Intel to port the Arduino Mega Server system to it.
Why do you need 3D on Arduino?
Of course, you can do without an interface at all and limit yourself to simply managing something with a controller, but it’s much more convenient to control your device from a beautiful web interface and how much more pleasant it is to watch data not in the form of arrays of abstract numbers, but in the form of beautiful three-dimensional models, with with which you can interact directly on the screen of your computer.
')
3D applications
The whole range of 3D technologies on microcontrollers can be divided into three parts: data visualization, 3D interfaces and interactive training. Let us consider in more detail each of these aspects.
Data visualization
3D technologies can be used for visualization of complex processes occurring both inside the system (state of system parts, operation of functions, state of variables, etc.) and outside (state of sensor arrays, state of monitored parameter or object, etc. ).
The beauty of 3D graphics is that at one glance you can assess the state of a complex system and, if necessary, take the necessary actions.
The same 3D model is a universal controlling element, when you can scale a model and change the state of its parts with one mouse movement (after all, it is interactive). This is nothing more than a new type of interface.
3D worlds
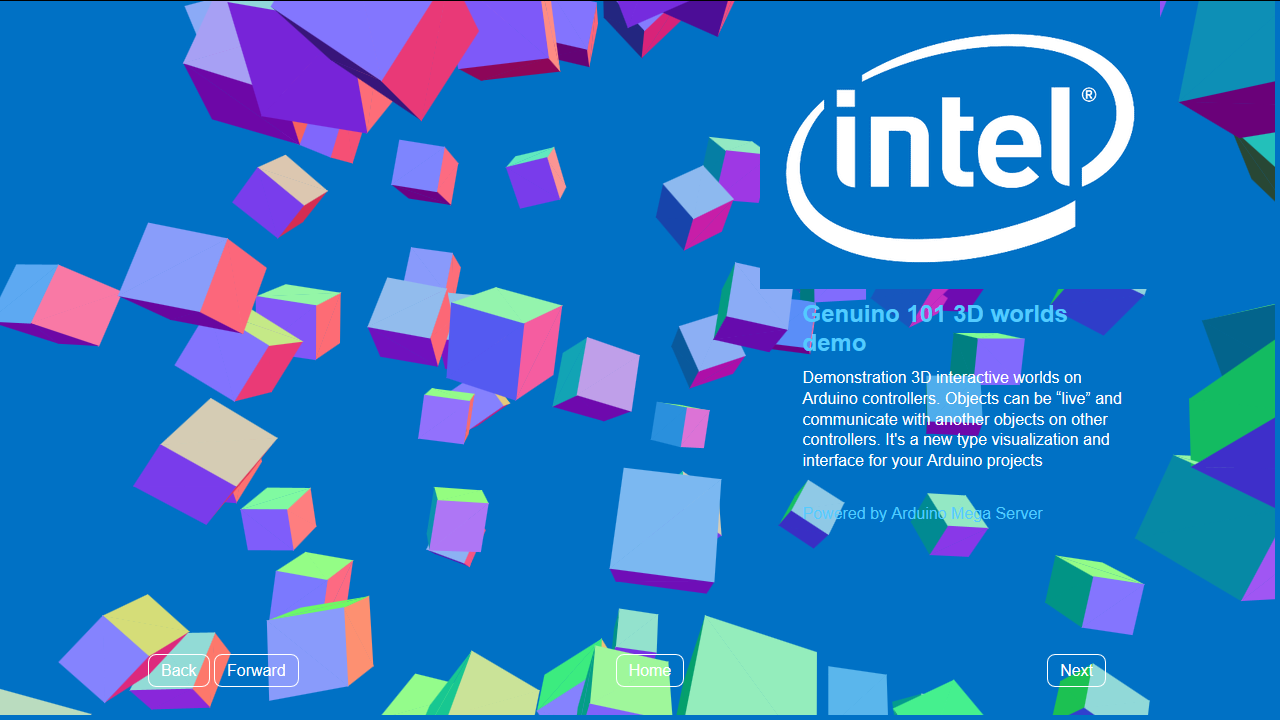
3D worlds here means developed interactive 3D models that contain sets of elements (objects) and rules for the interaction of these objects within the model (the "physics" of this world).
Applied to controllers (they are connected with the real world by their sensors), this concept translates into the representation of real objects and processes in the virtual 3D world. And since the virtual model is interactive, the impact on it in the virtual world leads to a change in the state of objects in the real world (the controller is connected with the real world by many actuators).
As a result, this is a new type of interface, and a basis for training sets, and a base for game applications of controllers, etc., etc., the range of application of this technology is very wide.
Interactive learning
This technology (in conjunction with the Arduino Mega Server and OHAS technologies ) allows you to create controllers that contain everything you need to interact with the user (interactive 3D examples, documentation, reference books, manuals, etc.) and build complex systems like folding Lego cubes.
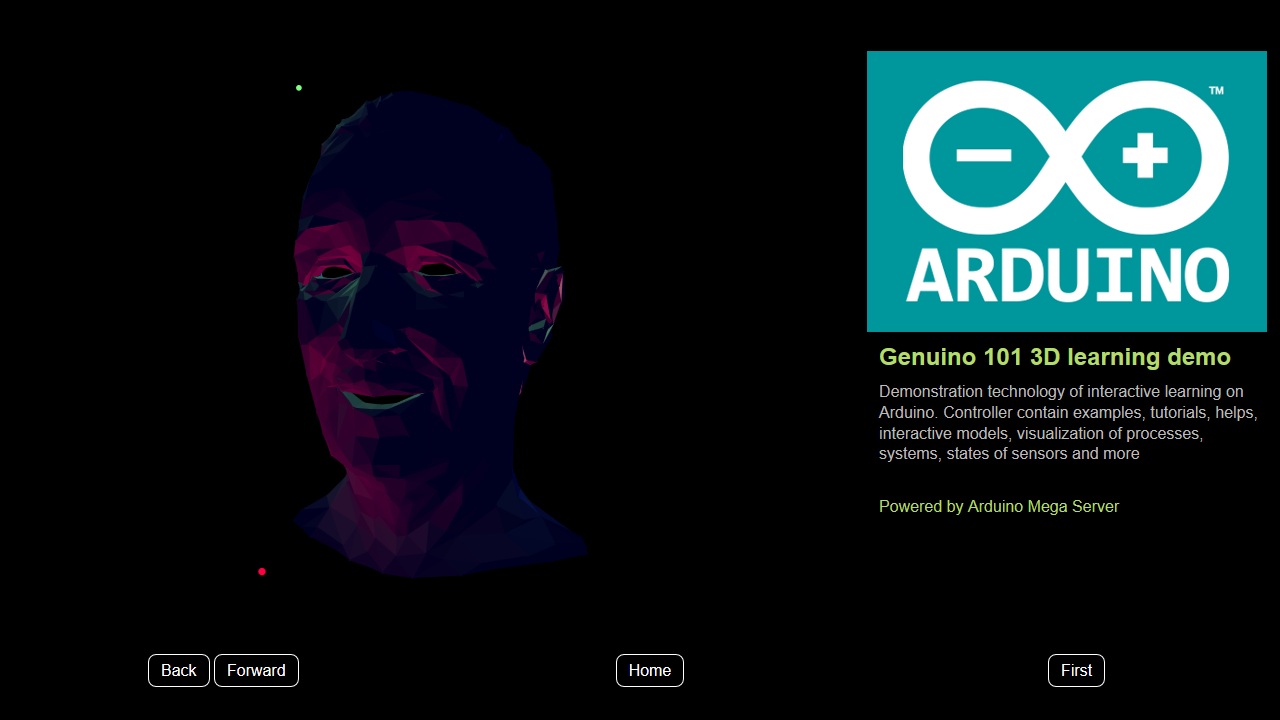
It can be used for training, visualization of complex processes, games, interactive encyclopedias and training courses (contained inside the controller!), Etc.
Technological problems
In general, the idea to teach Arduino controllers to work with 3D graphics seems very attractive, but the embodiment of this idea comes up against the limitations of microcontrollers in terms of the amount of RAM and the controller's processing power.
If you try to solve this problem yourself, then you will either fail, or the solution will take a lot of time and effort to implement. Our task is much simpler - we can use the ready-made Arduino Mega Server engine, which will take care of all the complexities of working with files and displaying web pages on the user's screen.
Technical solution
The beauty of the solution lies in the fact that we can use any ready-made JavaScript libraries (along with their numerous examples) and, on this basis, quickly develop any 3D solutions we need.
These specific examples used the standard libraries Processing.js and Three.js. But, if you are a fan of any other library, then nothing prevents you from using your favorite library.
All you need to do to start using 3D in your Arduino project is to connect the appropriate 3D library in the usual way.
<script src="process.js"></script> or
<script src="three.js"></script> Further, either insert the code of the 3D example into the page, or insert a link to the file with the 3D example
<canvas id="sketch" data-processing-sources="cube.pde"></canvas> And this, in fact, is all you need to do to get a 3D example on your Arduino Mega Server page. Everything is done in the same way as on a regular Internet site. And Arduino Mega Server takes over all the rough work to ensure the health of the system.
Interactivity
Just launching a 3D model on Arduino is certainly great, but do not forget that the work takes place on the controller, and this is a device that is connected with the real world with a multitude of sensors at the input and many actuators at the output. And it would be nice to display some parameters of a real system on a 3D model.
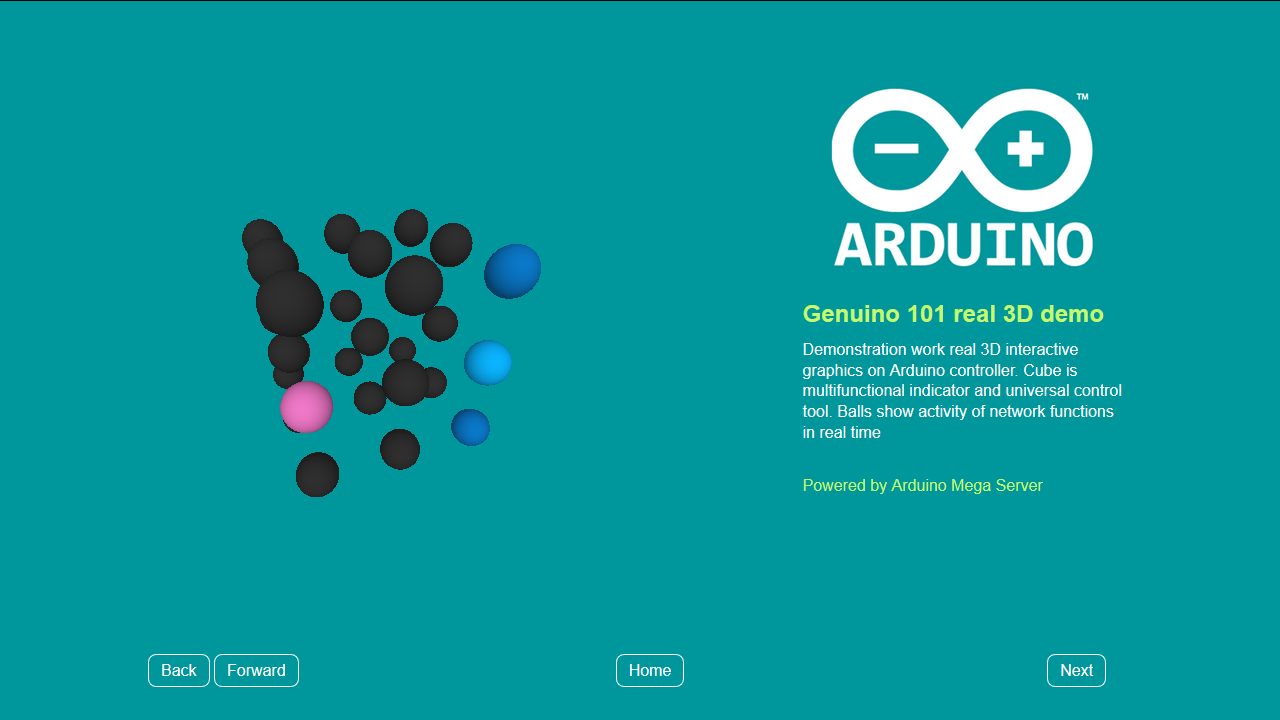
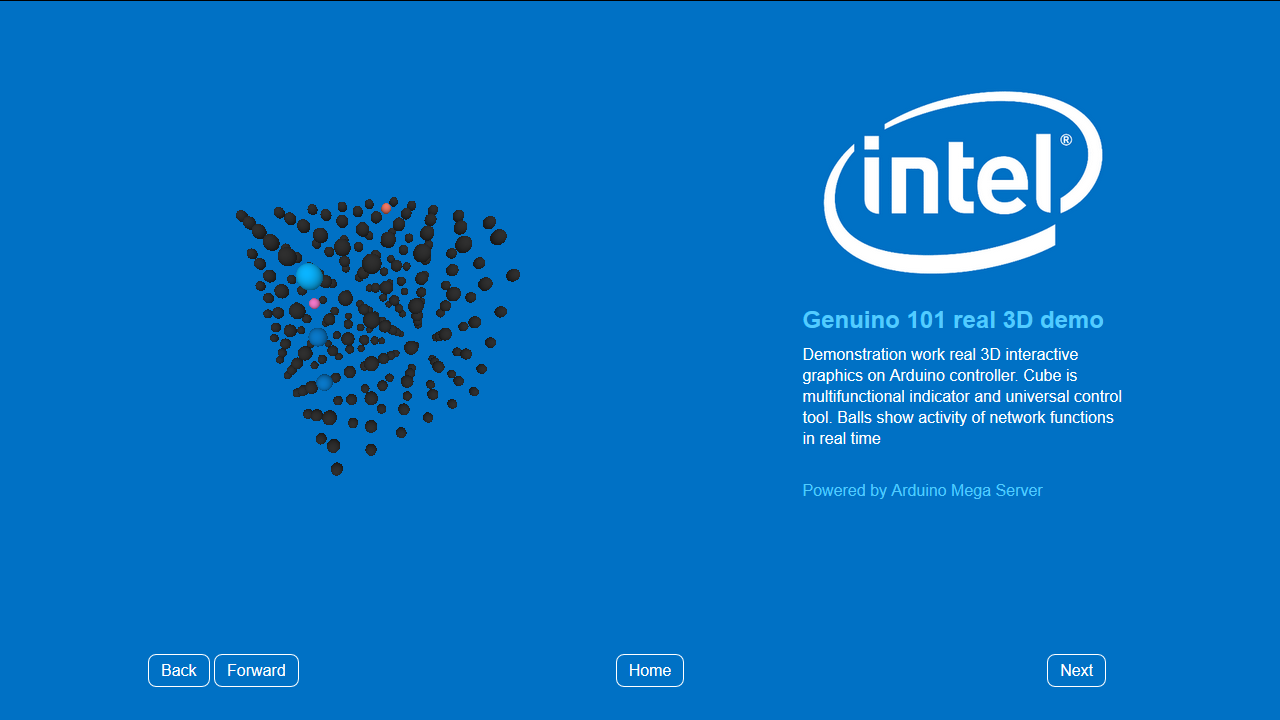
Let's take, for example, a visualization of the microcontroller's network functions.
The work of the Arduino Mega Server interface is ensured by the continuous Ajax exchange between the controller and the user's browser. As a 3D model, we take a hypercube consisting of six objects along each of the three axes of coordinates (a total of 216 objects).
Each object can change its size, its geometry, color, or type of movement, depending on the state of the real object (network function, in this case). In this example, changing the color of the glow of the sphere when the network function is activated is selected.
As a result, the measured ripple of the two spheres on the 3D model shows the normal operation of the Ajax functions of the system and you have 214 more objects to indicate any other parameters. And a virtually unlimited number of web pages for visualizing other 3D models.
The interaction of the system and 3D models
The transfer of values to the 3D model is carried out by simply changing the JavaScript variables, similarly, the output of control actions from the 3D model can be made (clicked on the sphere with the mouse — turned on or off, for example, a function or a sensor, etc.).
A variable is declared in the scripts.js file.
var dash_marker1 = 0; And then markers are placed in the right places of the program, which change the state of the variable. In this case, the "input" and "output" of the network function.
dash_marker1 = parseFloat("1.0"); dash_marker1 = parseFloat("0.0"); In the sketch on the processing variables are declared for the "catching" of values from JavaScript
float for_dash_marker1 = 0; And the moment of "catching"
try { for_dash_marker1 = float(dash_marker1); } catch (exception) { for_dash_marker1 = float("0.0"); } And then actions with the 3D model are described, depending on the state of the variables
if (for_dash_marker1 < 1.0) { ... } You can watch the result of this code on the video, and you can familiarize yourself with the entire distribution (and run it, if you have a Genuino 101 controller) on the Download page of the Arduino Mega Server project.
Video
Video showing the work of 3D graphics on Arduino
Conclusion
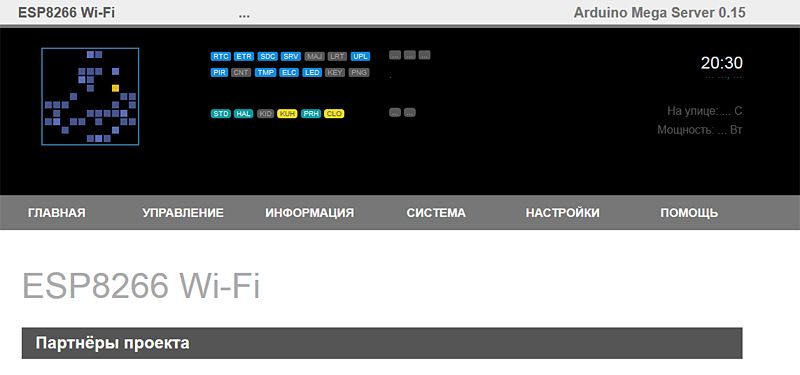
Now 3D graphics has become more accessible than ever to your projects on Arduino, and even more exciting prospects await you: Arduino Mega Server is ported to esp8266 and everything described in this article can be done while working wirelessly over Wi-Fi and being in a module with a dime.
And in the near future, the AMC distribution for esp8266 will appear on the project website. Waiting for you to download files and flashing the controller over the air, FTP server and many other features offered by the Arduino Mega Server. And this is another revolution in the IoT market.
Source: https://habr.com/ru/post/393019/
All Articles