Microscope + Telescope =?
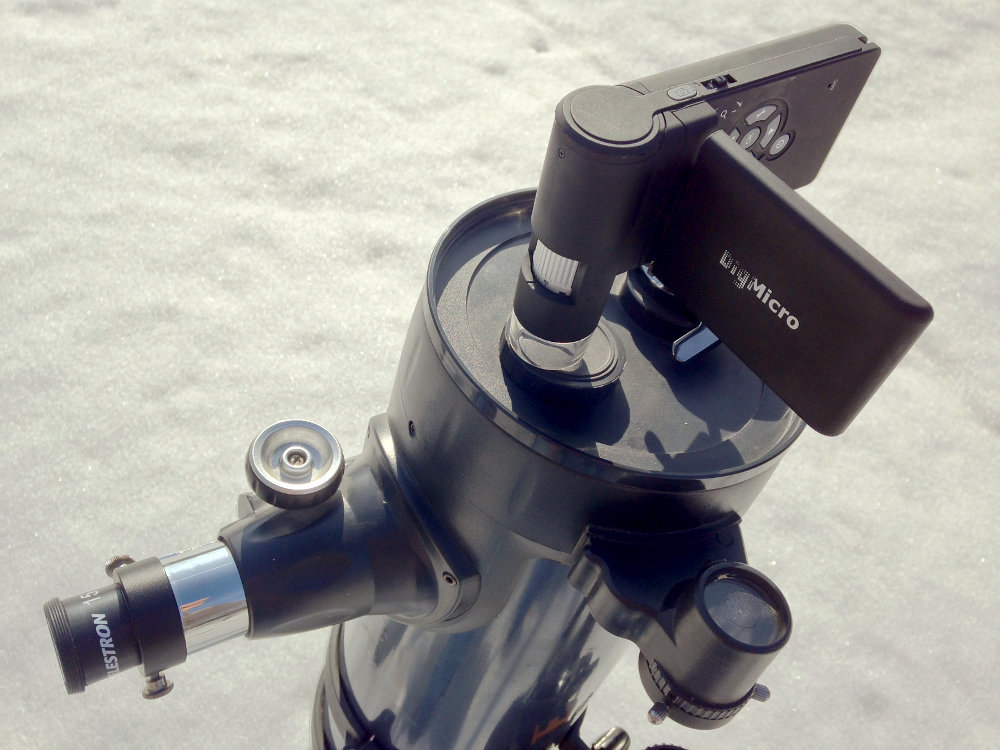
At first glance, some nonsense is written in the title. These optical devices are completely opposite in purpose, why should they be folded? Nevertheless, I decided to try to combine the microscope and telescope into a single structure. My goal will be to get photographs of the moon through a digital microscope DigiMicro Mobile . Consider this an entertaining experiment with optics like macro photography through a water droplet , and not a serious guide to astrophotography.
Some theory
The principle of operation of all telescopes for visual observations (reflectors and refractors, regardless of their optical scheme) is based on the following. A lens (mirror or lens) forms an image of an object of observation in its focal plane. The dimensions of this image are usually millimeters or even fractions of a millimeter. Therefore, the observer considers it through the eyepiece, as through a magnifying glass. For example, the optical scheme of the Newton reflector looks like.

')
What if you remove the eyepiece and view the "hanging in the air" image through a microscope? In order for the image to be in focus, you need to combine the focal plane of the telescope and the object plane of the microscope. Simply put, it is necessary to fix the microscope in the eyepiece of the telescope.

I expressed this idea as far back as June last year , but I got to its implementation only now. Many thanks to Yuri from Dadzhet for supporting my idea and sending a device for experiments.
I have a simple Celestron Astoromaster EQ 130 telescope, which I used a year ago to watch a solar eclipse live . If you read the last year’s article, then you already know that you can easily get a picture through a telescope by simply placing the cell phone camera on the eyepiece. When replacing a mobile phone with a digital microscope, the eyepiece is no longer needed, it can be removed (almost all of the amateur telescopes have interchangeable eyepieces). Consequently, it is possible to obtain better results by simplifying the optical scheme. Ideally, of course, you can place a bare matrix in the focus of the telescope. It is on this principle that digital astrocameras for telescopes work, for example:
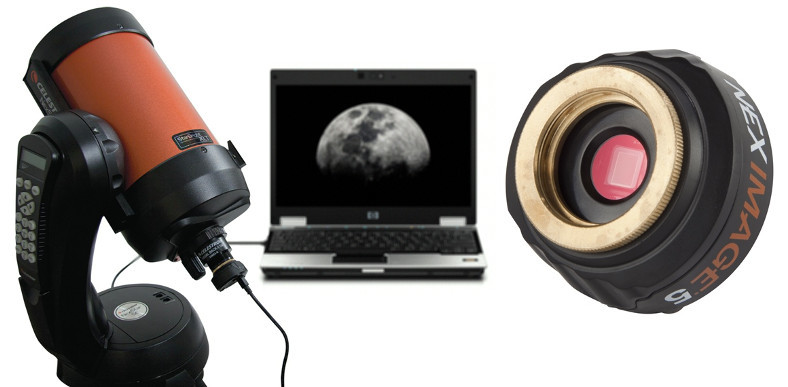
Similarly, you can use the "carcass" from the DSLR, connecting it through a T-adapter . However, using a turnkey solution would be completely unsporting. The purpose of this article is to conduct an interesting optical experiment, and not to get perfect photos.
Some features of DigiMicro design
A digital microscope is structured just like a digital camera. The only difference is in the optical characteristics of the object, which allow to get a sharp image of objects at a distance of a couple of centimeters. The DigiMicro focusing wheel allows you to move the lens in very large limits, as a result of which there is one interesting feature about which nothing is written in the instructions. The microscope has two lens positions at which the image is sharp, and therefore two real optical magnifications. One of them is obtained when the lens is closer to the subject than to the matrix, the other is when the opposite is true.

Original pictures: first , second .
In the first case, the image on the matrix is larger than the object itself. In the second, the projection is reduced in relation to the original, as in a regular camera.
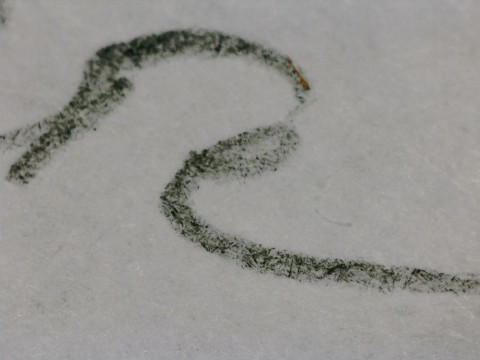
Under the spoiler a few more clickable photos taken with different magnifications.
Pencil trace on paper:

Black and white display of Pebble Steel watches:

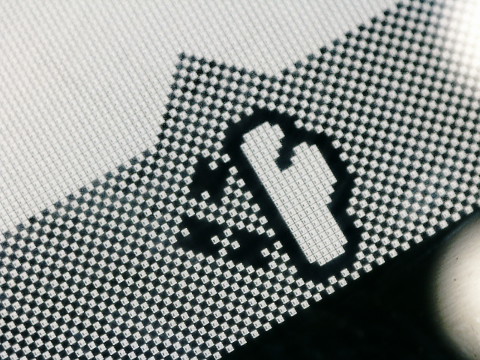
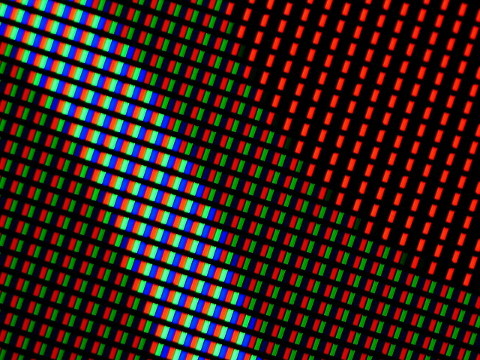
Smartphone display:

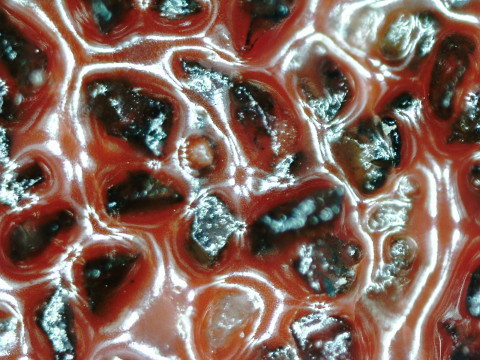
Black bread:


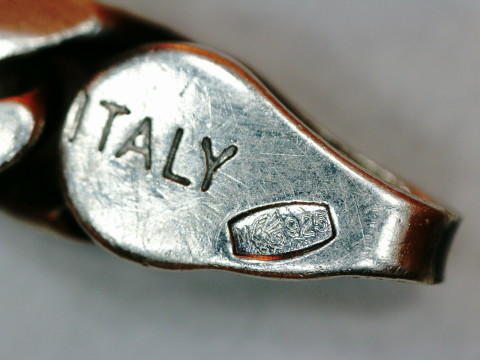
Stamp on a silver product (the one that I shot by phone through a drop of water ):

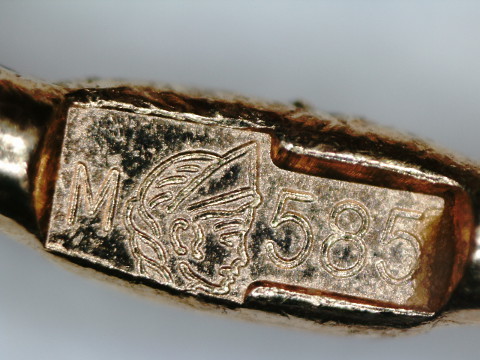
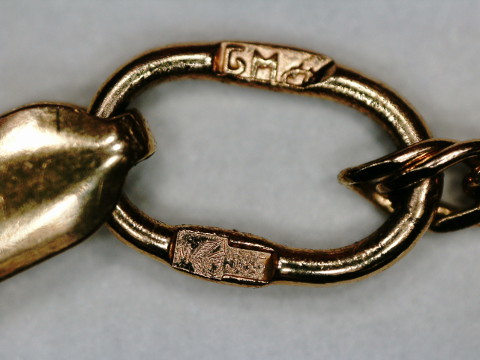
Stamp on a gold product:
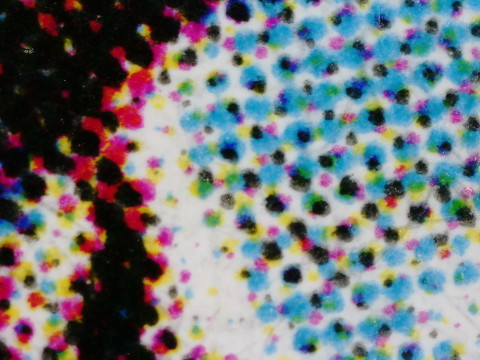
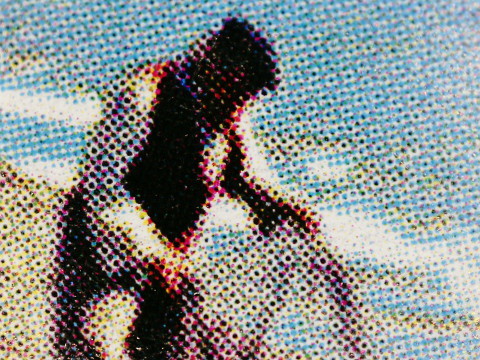
Glossy Magazine:
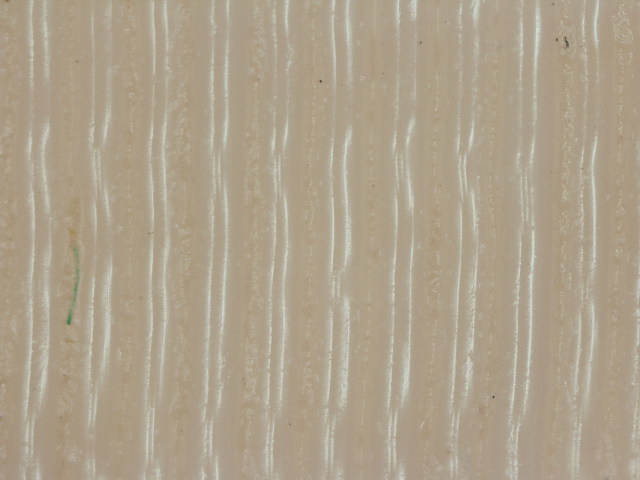
Sandpaper:

Black and white display of Pebble Steel watches:
Smartphone display:
Black bread:
Stamp on a silver product (the one that I shot by phone through a drop of water ):
Stamp on a gold product:
Glossy Magazine:
Sandpaper:
We train on cats on the moon
First of all, I wanted to estimate whether the moon would fit in the field of view of the microscope. The focal length of my telescope is 650 millimeters, and the average angular diameter of the moon in the sky is about half a degree. Consequently, the diameter of the image of the moon in focus will be approximately 5.6 millimeters. I printed a small circle of the same diameter on a laser printer and pointed a microscope at it, setting a smaller increase.

What a luck! Circle perfectly fit in sight! When shooting a real moon, the area of the microscope matrix will be used almost to the maximum.
Making adapter telescope microscope
The landing diameter of the eyepieces of most amateur telescopes, including mine, is 1.25 inches. It would be great if the diameter of the round part of the microscope's case were such.

As you can see, luck left me here - the diameter was a millimeter larger, and the microscope did not physically fit into the eyepiece.

If the diameter was a little smaller, you could just wind up the blue tape ... And so, you will have to make a more complex adapter. You can glue it out of cardboard tubes, order a metal part

Transferring to SketchUp :

We print on 3D MC7 Prime mini . This is a very cheap designer for self-assembly of a 3D printer, masterkit now sells them for 15,500 p.


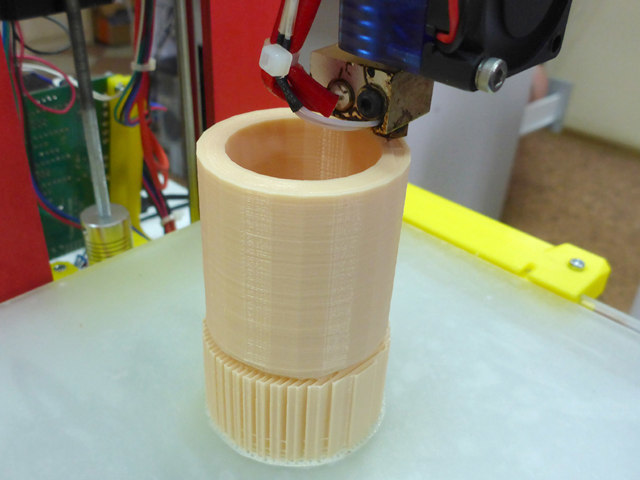


Surface of the finished part under the microscope:
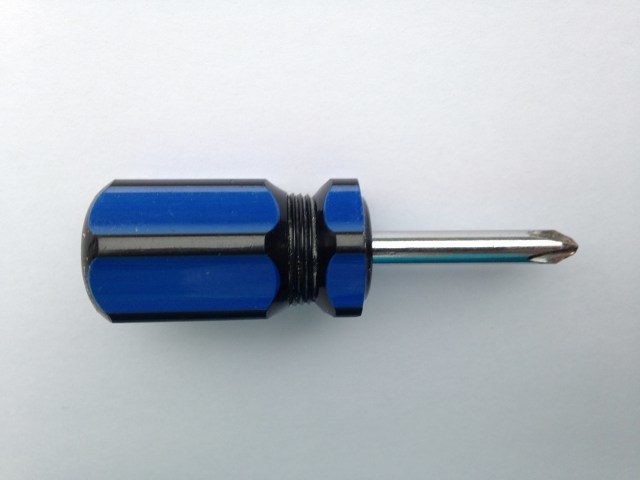
The inner diameter turned out to be some fraction of a millimeter less than needed. Apparently, this happened due to the fact that SketchUp draws the surfaces of revolution by polyhedra, and the radius of the circumcircle is taken as the radius. Therefore, the outer diameter is perfect, and you have to tinker with the inner one. It does not matter, polylactide is easily processed. I took just such a short Phillips screwdriver:
I wrapped the handle first with painting, then double-sided tape, and then with a strip of emery paper. The result was an improvised cutter.
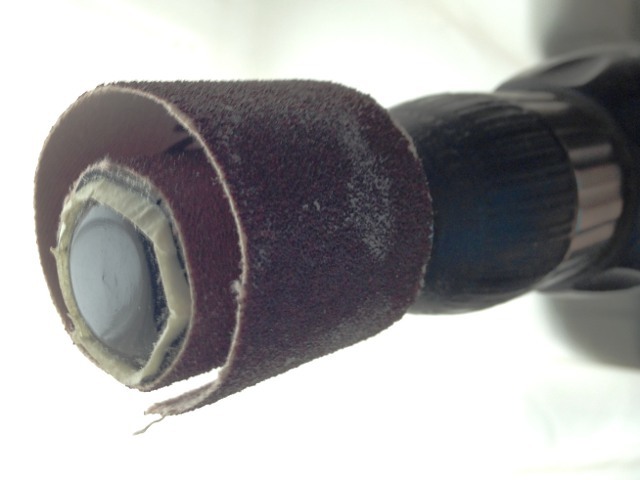
Ten minutes of messing around with the drill and you're done. The microscope is inserted tightly and does not hang out.
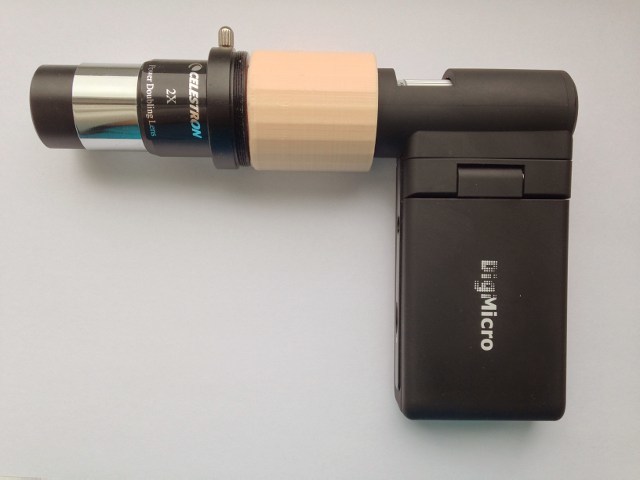
On the left - Barlow's lens . Its rim has a standard diameter of 1.25 ″, I used it to test the adapter, so as not to carry with me the entire telescope. And this is what the whole assembly looks like:
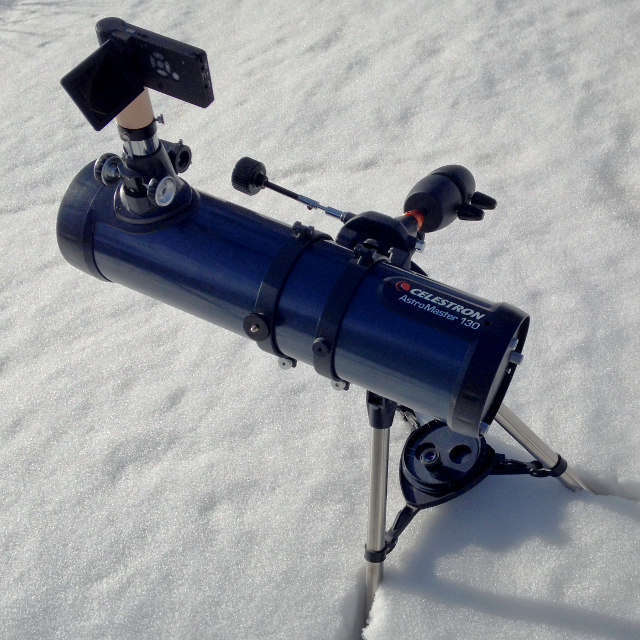
Mount deeply fell into the loose spring snow :-)
Tests with a telescope
Due to cloudy weather, I decided to conduct the first tests on a ground object taken from a long distance (more than a kilometer). This object has become a radio and television mast height of 350 meters. Here it is, looking out from behind the cloud:
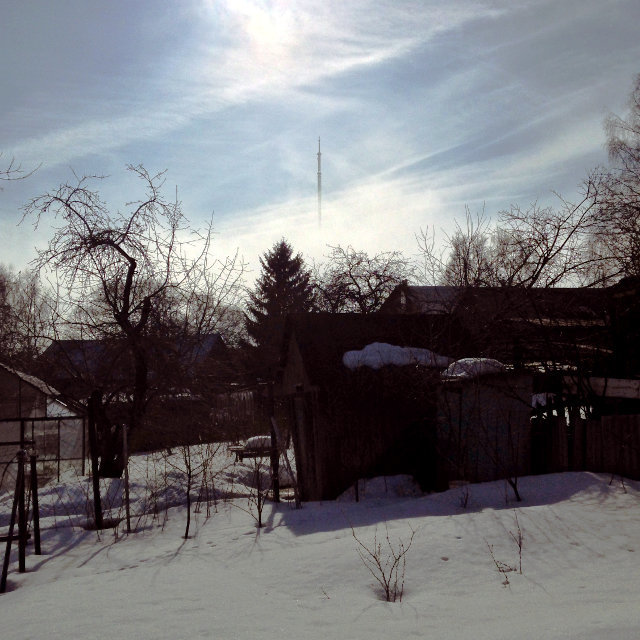
The haze is a little cleared, we direct the telescope:

It turned out that the joint work of the telescope and microscope focusing wheels allows you to smoothly change the magnification, it turns out something like a zoom lens. It is bad that the screen of the microscope is blind in bright daylight, and focusing on it is problematic. This is what happened with an average increase:

The fact that I missed a little with the focus became clear only after I threw the picture onto the computer. In addition, atmospheric conditions left much to be desired. I had to shoot against the light, the Sun was ten degrees higher. Due to the fluctuations of the heating air, the image shook and the tower sometimes took on the most bizarre forms ( once an example , two times ). Nevertheless, a bunch of telescope-microscope works, at dusk or at night a better result can be obtained. Photographing a smartphone through a telescope is much easier, autofocus helps out.
To understand the scale:

You can also look at the photo taken from the same point last fall at the time of the “eclipse” of the Sun by the top of the tower. Let me remind you that the angular diameters of the solar and lunar disks are about the same - about thirty angular minutes (half a degree).

For the survey, the same set of equipment was used as for observing this solar eclipse a year ago.
Unfortunately, the cloudy weather has not yet allowed me to take a picture of the moon. Honestly waited almost a month, but the clear weather in combination with the convenient for observing the phase of the moon did not come. I decided to stop at the most interesting place and break the story into two parts. In the second part of the article, I plan to talk about shooting the Moon through a microscope and achieve a quality close to that obtained by a bunch of the same telescope with an iPhone camera (see example 1 , example 2 , example 3 ). I will also touch upon the topic of stacking and try to implement a manual exposure adjustment (the microscope camera does not have a manual mode). Therefore,
to be continued...
Update: ... a continuation: the moon under the microscope .
PS: You can purchase the same microscope in the online store Dadzhet .
Source: https://habr.com/ru/post/391511/
All Articles