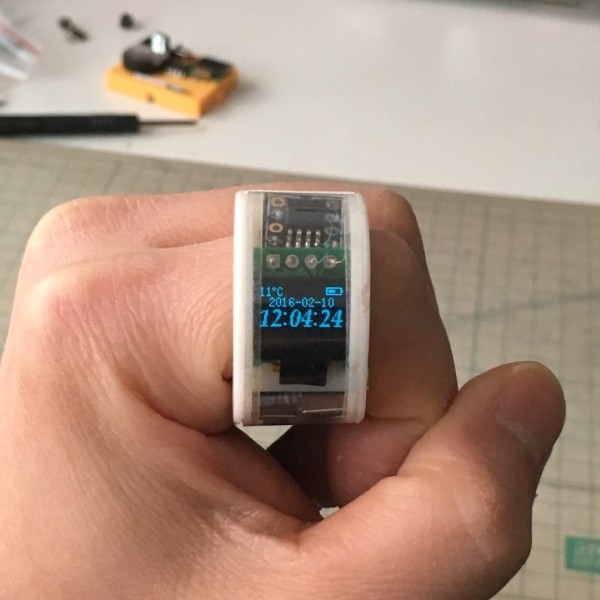
Homemade watch-ring on ATtiny85
Chinese maker Chen Liang (陳亮) published step-by-step instructions on how to assemble a cute clock-ring on the ATtiny85 microcontroller.
Compared to the previous ATtiny Watch Core project, the author decided that the system would operate at an electrical voltage of 2.0 V, so the small ATTINY85V-10SU microcontroller would come down. To him is a tiny Digispark debug board.
CR1220 batteries should last for half a year of work.
')
For the display, the author took the OLED display SSD1306, the smallest such screen has a resolution of 64x32 pixels.
The case is easiest to print on a 3D printer, and cover the display with a transparent piece of plastic.
You will need three more M2 screws, three buttons, two resistors (more than 1k), insulated copper wires, a thin plate, a transition board from SOP8 to DIP8, and a small piece of a multi-purpose PC board.

The author describes in detail the installation and configuration of the Arduino , cites references to the sources of all the software necessary for the clock to work, he also uploaded the files for 3D printing of the clock case.

Further see the instructions for soldering contacts .
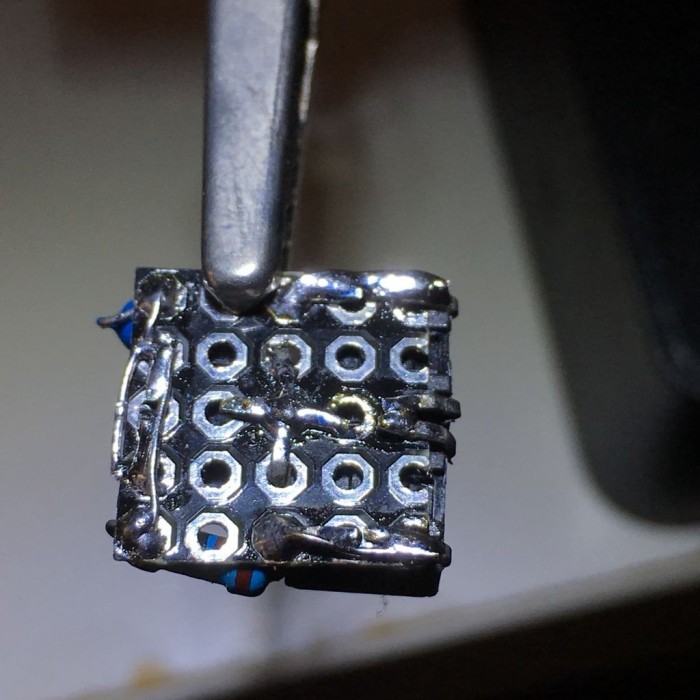


Connecting buttons and display .


In the end, you need to make hardware for the battery and program the microcontroller by connecting the board to the computer, adjust the display and set the time .

The deed is almost done! After installing the case, you can brag to your friends with cool watches that no one else has.


Source: https://habr.com/ru/post/390665/
All Articles