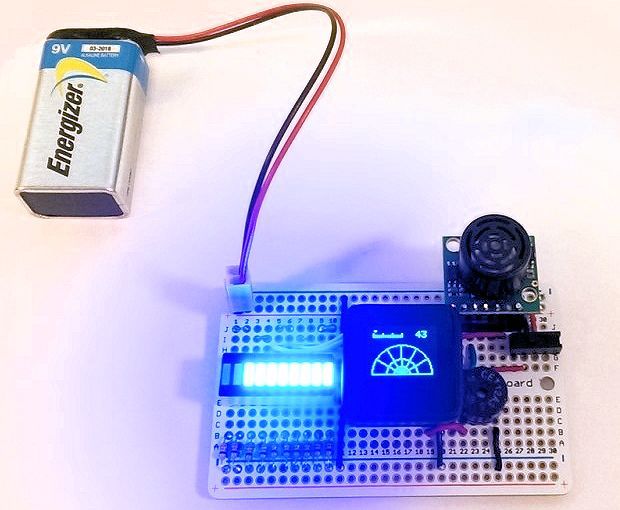
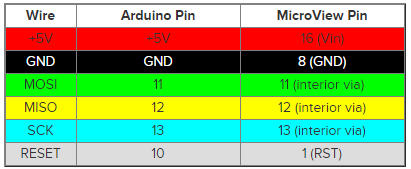
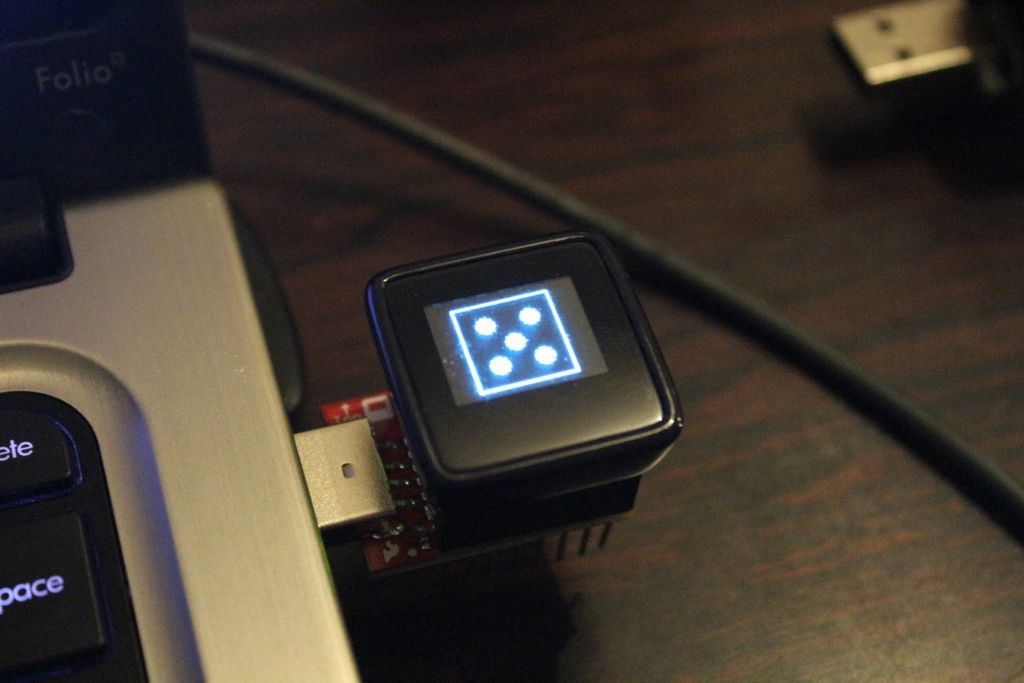
MicroView: a tiny Arduino-compatible microcontroller with an OLED display in a package
 The project, which started on KickStarter in April 2014, collected more than 600 thousand dollars (instead of the requested 25 thousand), and in September 2014 finally came to the big world with the participation of the familiar company SparkFun.
What kind of animal is this?
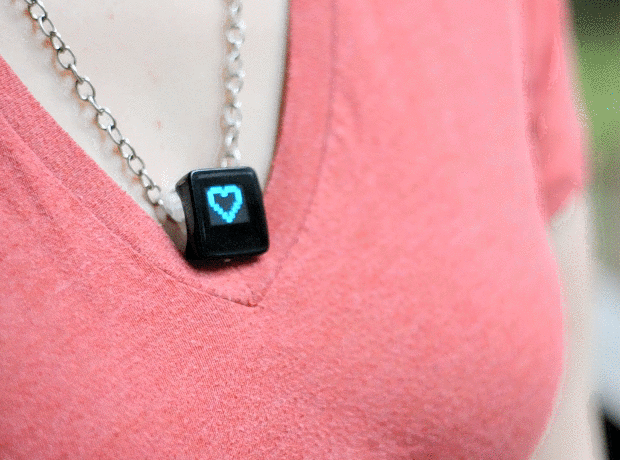
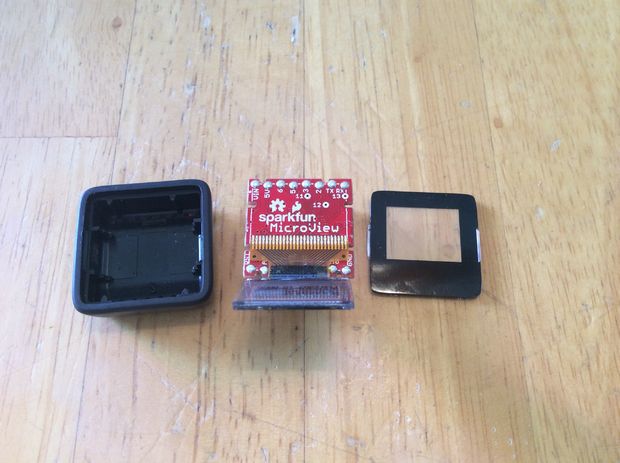
And this is an OLED display + case + heart on the AVR and Arduino inside. And all this in a compact factor and stylish form.
')
The most it for zamanuhi beginners in the world of microcontrollers.
Specifications
Processor: ATMEL Atmega328P, 16 MHz frequency
Memory: Flash: 32 KB, RAM: 2 KB, EEPROM: 1 KB
Inputs / Outputs:
Digital I / O (Digital in / out): 12, including:
Analog I / O (Analog in / out): 6/0,
with PWM support: 3
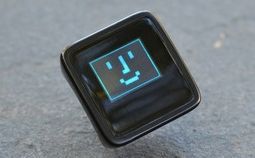
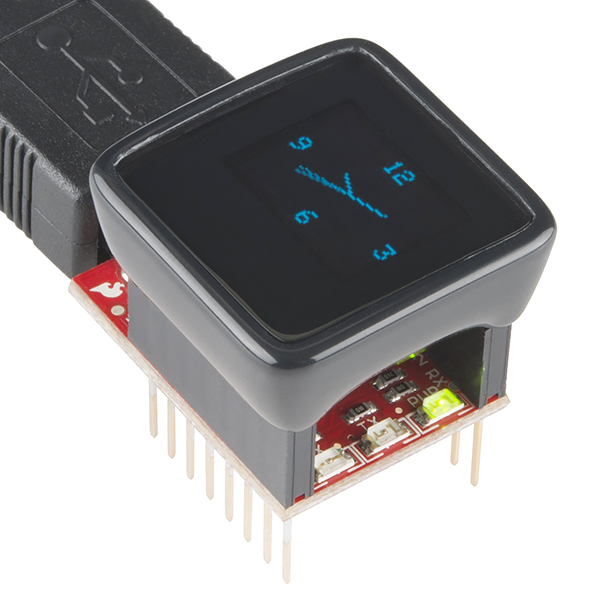
Display: monochrome (blue), 64x48 pixels, the visible area is about 18x14 mm.
Power supply: operating voltage: 5 V, admissible input voltage: 3.3-16 V (strange, but in the description it is like that, although there is no place in this package for a boosting DC / DC converter, and there is no circuit in it)

Official video from the developers:
More videos
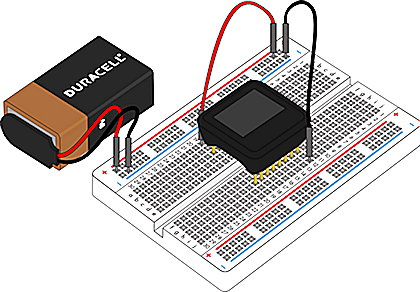
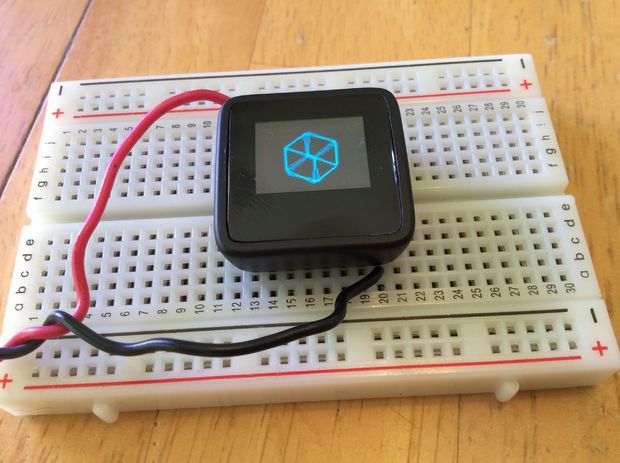
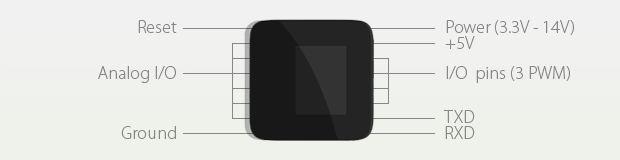
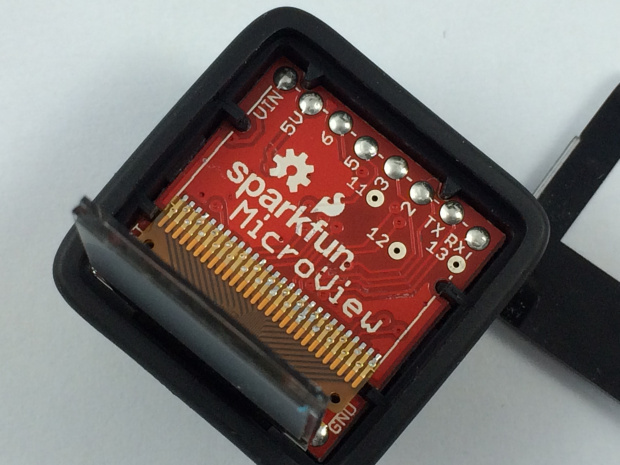
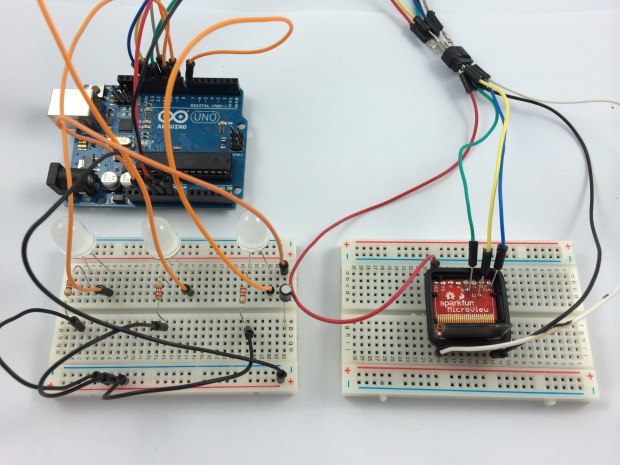
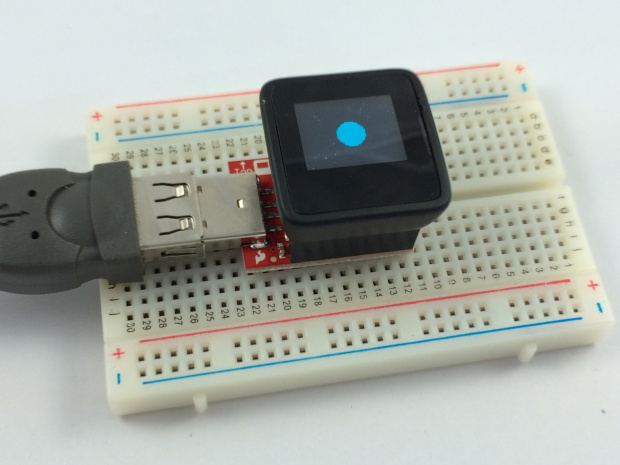
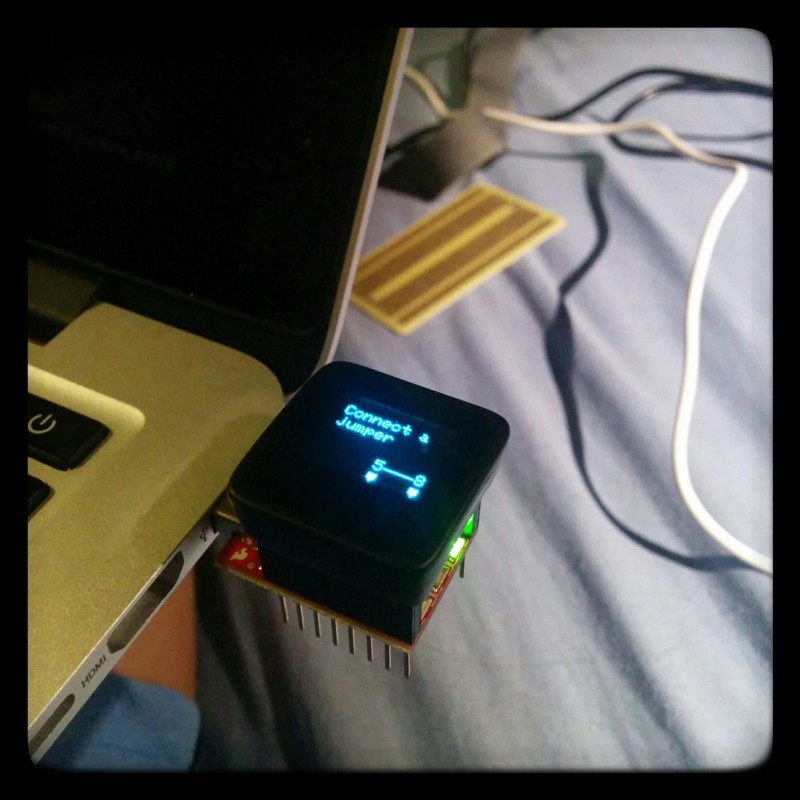
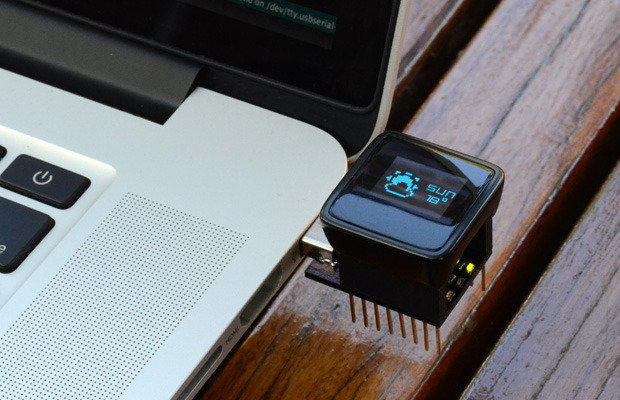
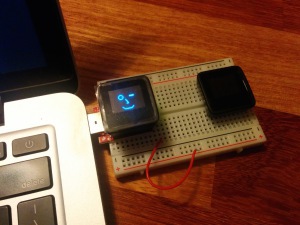
The microcomputer is a self-contained product in a DIP package (with a standard 2.54 mm pitch — ideal for a BreadBoard), which requires only power:
And there will be 10 more pins for connecting sensors and other peripherals:
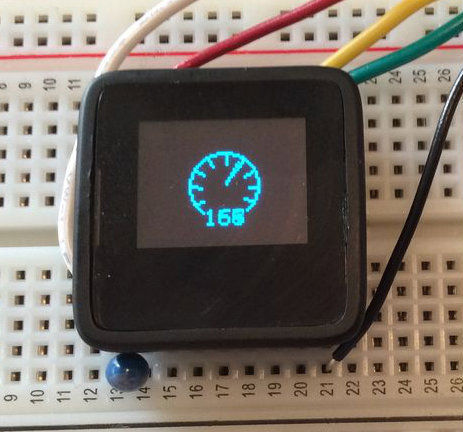
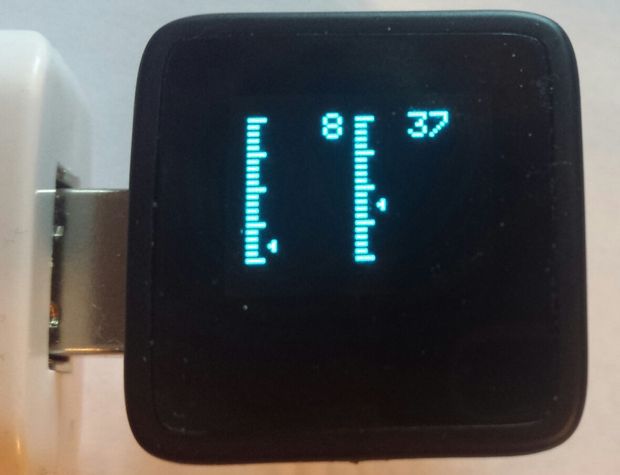
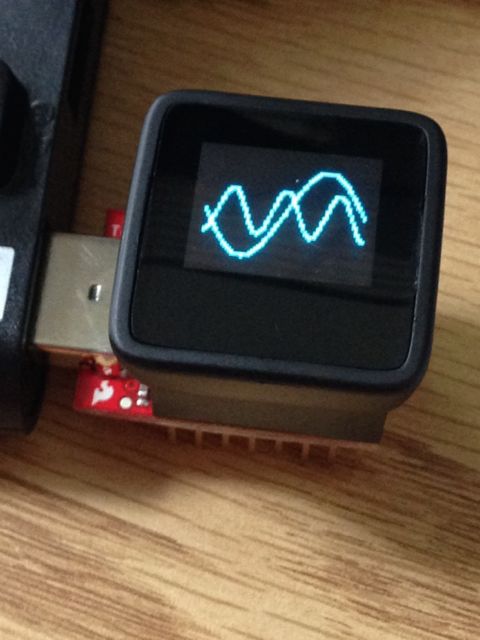
The OLED display, controlled by the Solomon SSD1306 controller, has its own memory and communicates with the MC via the SPI interface. Programmatically, the image output is implemented via the link library - not very optimal, but it is very clear for beginners - just an array of 64x48 pixels:
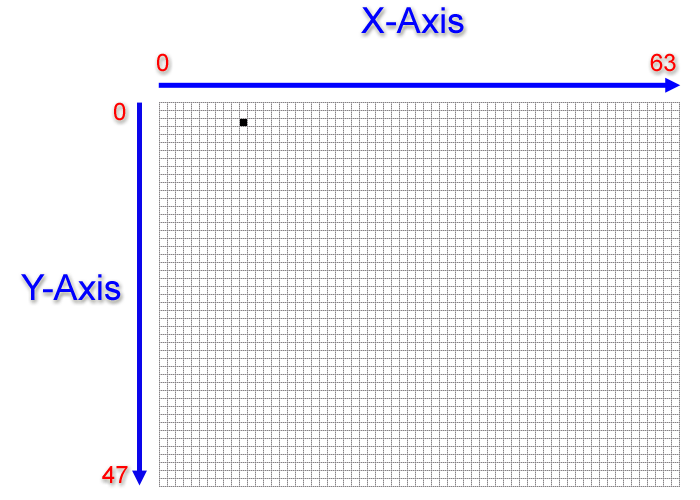
from which by coordinate can be displayed as single pixels:
uView.pixel(10,5); and geometric shapes:
uView.line(10,2,10,6); uView.circle(32,24,10); uView.rect(10,10,20,20); 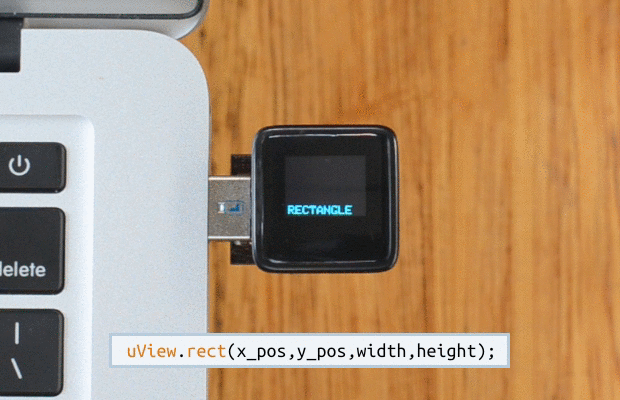
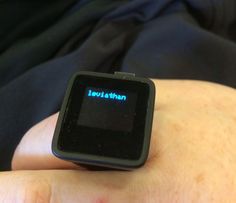
Text output is similar to:
uView.setCursor(0,40); uView.print("Habrahabr!"); Fonts are stored in memory as bitmaps, so I think that there will be no problems with the output of Cyrillic (and indeed any characters). But the addressing will need to check whether there is enough memory to store two alphabets at once.
The library initially includes 4 types of font, plus it allows you to:
- Convert fonts to images
- Create a font file from images
- Include the created font file in the library
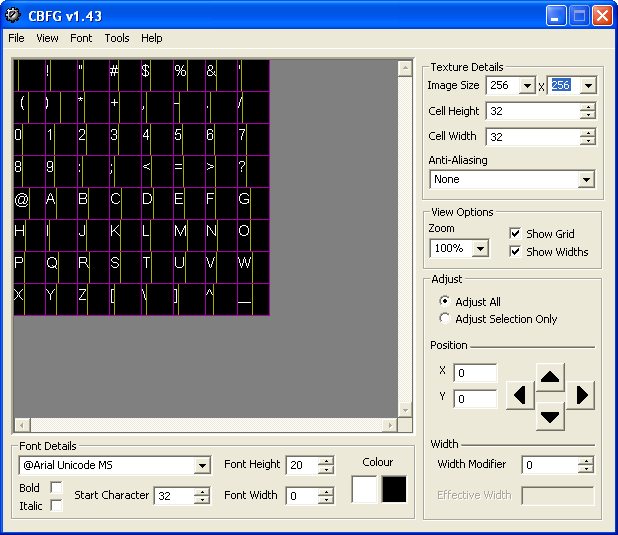
To edit the fonts, Codehead's Bitmap Font Generator is offered:
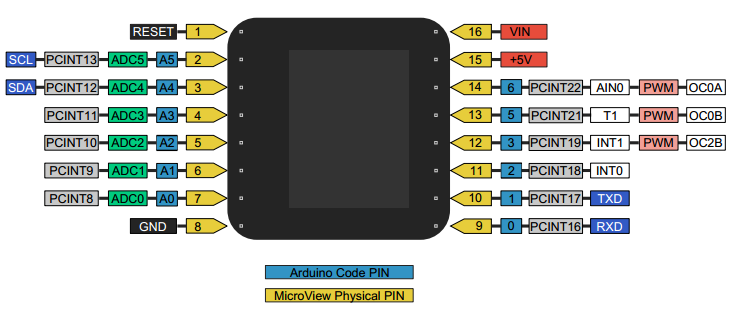
Pin assignment
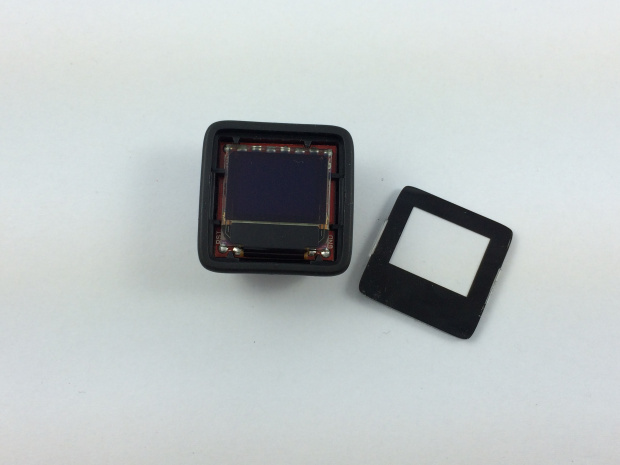
What's inside?
And inside there is a double-sided board with smd components (4 resistors, 10 capacitors, 1 quartz) and a soldered OLED display:
Internal power stabilizer on mikruhah SPX3819 (stabilizer 5 V) and MIC5205 (converter 5 -> 3.3 V).
Flashing
There is no USB connector; in order to fill in the program code, you can simply connect directly:
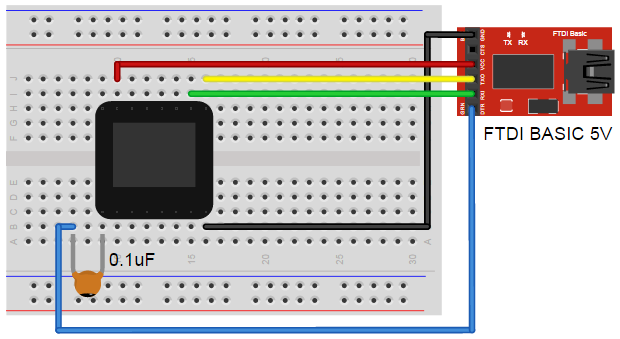
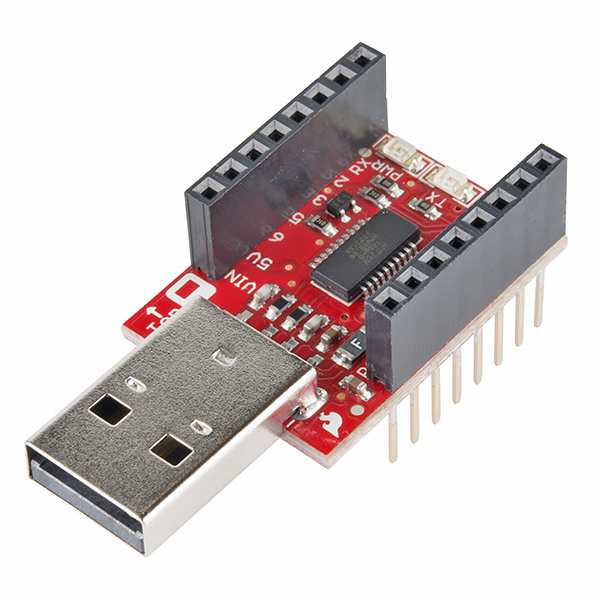
or use USB-TTL adapter:
Funny fact: the very first installments of MicroView, through the fault of the engineers, were released with the unplugged Arduino downloader ( for more details in Russian , thanks to imwode ). If you suddenly get caught up with this, or the bootloader gets messed up,
open spoiler
To reflash the bootloader, you need to open the case and connect to the undiluted D11-D13 contacts.
Instructions, though not in Russian, but very detailed, so everything is clear.
Instructions, though not in Russian, but very detailed, so everything is clear.
Price
At a cost of $ 40, the impression is dual - either in a beautiful case or cheaper (for example, ProMini and SPI OLED , but to search for the case and assemble it yourself. Considering the delivery time to Russia, the time is equal to parity. Choose for yourself.
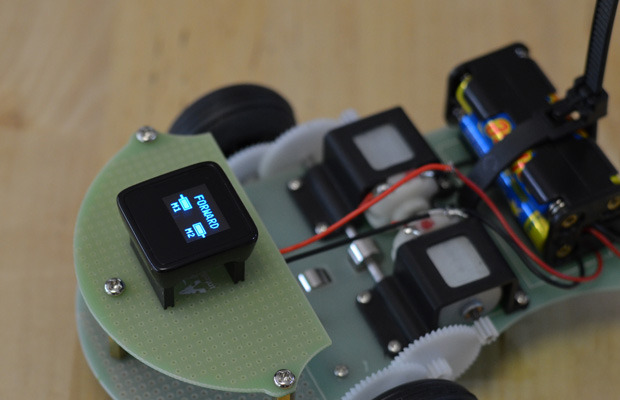
Some more photos
Multiple MicroView projects
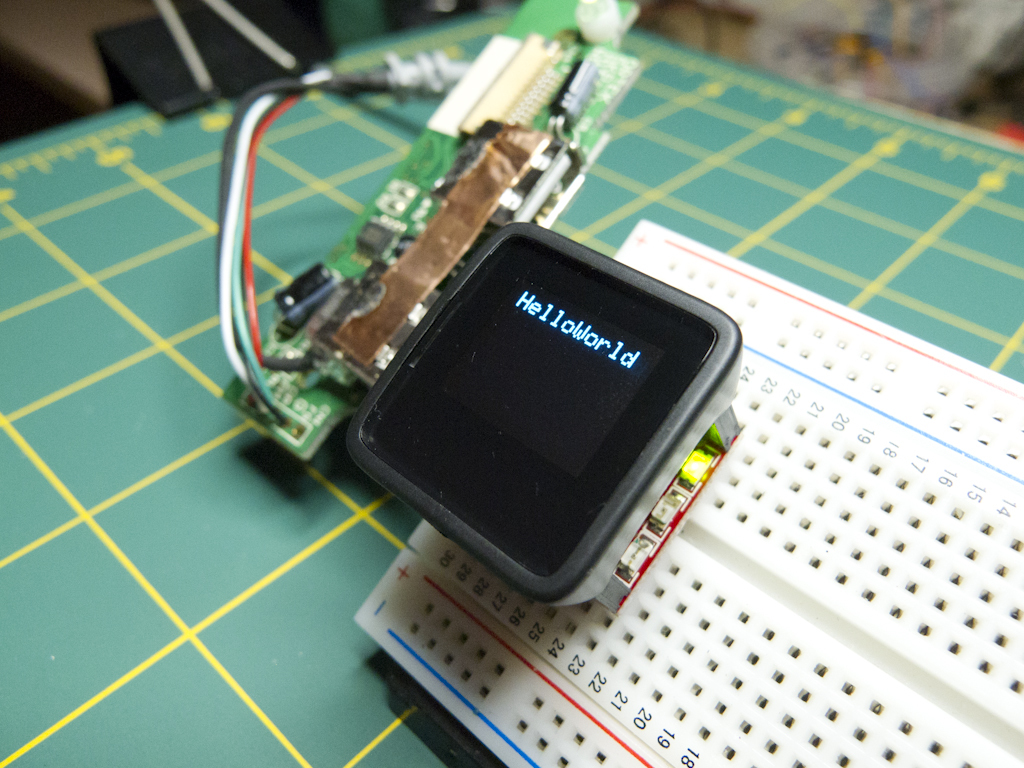
Hello world
Toys (tetris, ping pong, pacman, shooter, Congo, Lander)
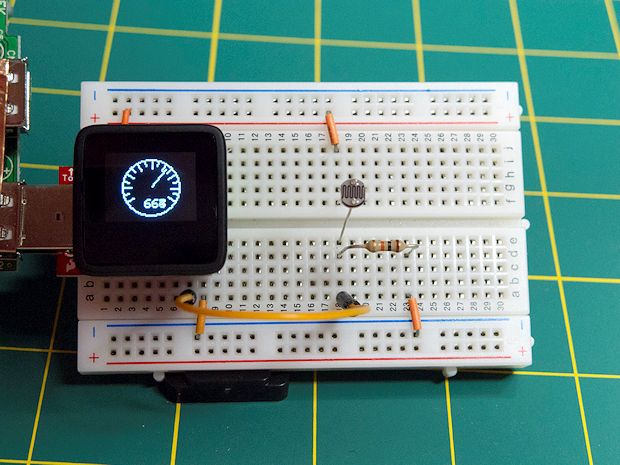
Arrow indicator of illumination
We draw with variable resistors (there was a cool analog toy in childhood)
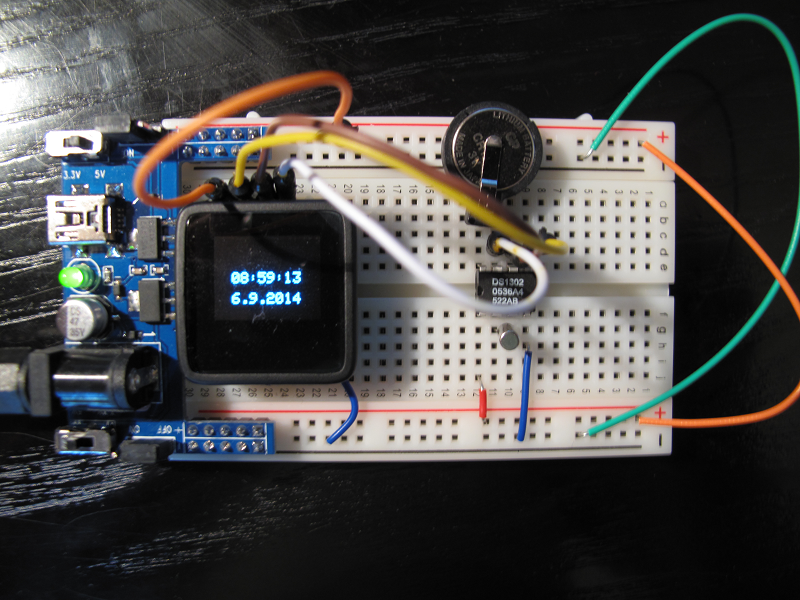
Display of atmospheric pressure and temperature, GPS coordinates, radio, clock
Display the temperature of the oil in the car
Bluetooth communication
Spectroscope
Monitor the load, frequency and temperature of the PC processor
Traffic light and barrier control
Display simple 3D graphics and video
The project is OpenSource, so all schemes and source codes are freely available.
Project Site | Electrical circuit | PCB layout in Eagle | Page on GitHub
Good mood to you all!
PS By the way, I have accumulated a decent amount of material on the Arduino-compatible MK (more than 100 different implementations), if there are many who want it, I will still overcome my laziness and write a large comparative review.
Source: https://habr.com/ru/post/375671/
All Articles