Original DIY gift
Introduction
Even two months before the anniversary of the girl, in my head there was a question about a gift, because the best gift is a gift made with your own hands.
I am an engineer with my motherIn the first days of my reflections, I came across a habr news feed on a post dedicated to making a gift binding book, which reminded me that the best gift is a book.
The first difficulty in the intended way is the choice of the book itself, because it must be unique not only in execution, but also in the content. This process dragged on for more than a month, there were doubts: to embody one of the favorite books of the addressee or to acquaint with something new. All the same, the preponderance fell in the direction of unfamiliar books for her, which required even more careful selection, and as a result I settled on the adventure novel by the Soviet writer Veniamin Kaverin, whom I had met no more than a year before this event - “Two Captains”. At the time of selecting the book - I did not think about the number of pages, I just decided for myself that the book would be A5 or less, but when I started to typeset the text, having estimated the size of the novel, I didn’t stop at the beginning of the path, no matter how doubtful I was in time by the deadline - the process itself began 4.5 days before day x - this is the Russian soul, to do everything at the last moment, what else to say .
Actually the choice of the book itself, in my opinion, is a third of the distance traveled in the intended case. There was simply no time left for thought and doubt, the very moment came, that the deadline did not exist, and every minute became expensive.
')

Preparation for printing
The format was chosen by A5, a suitable version of the book was selected in electronic form, in .doc format, and at that moment the idea arose to add images to the book, diluting the text with a few. Unfortunately, it was not easy to find worthy illustrations for this novel, but we managed to scrape together a couple of colored ones, it was finally decided to insert black-and-white illustrations reflecting the main points of content before the new chapters of the novel.

At the same time, the question of congratulations was in my head, whether there should be a postcard or exactly how to present it, and in the process of these thoughts, the idea was to add another drop of individuality to this book - put a photo of the birthday woman on one page on the first page and put a congratulation on another that was done.

When the text was corrected, the found errors were corrected and illustrations and congratulations were inserted, the question arose of how to typeset the book for printing. Fortunately in our time there is such an assistant as Google. Going by applying the first of the methods found - I was very disappointed, because the process after setting the necessary parameters was delayed, and it was already late evening. When I went to bed, I was more than sure that in a couple of hours, by morning, everything would be ready, but alas, opening my eyes, I met a message about a certain mistake
The parameters of the document page in Microsoft Word have been changed - the size of A5 sheet (148.5x210 mm), and the required fields are set and most importantly in the footer even and odd sheets are made with different shifts left or right so that when printing with notebooks the page numbering is closer to the edges books.


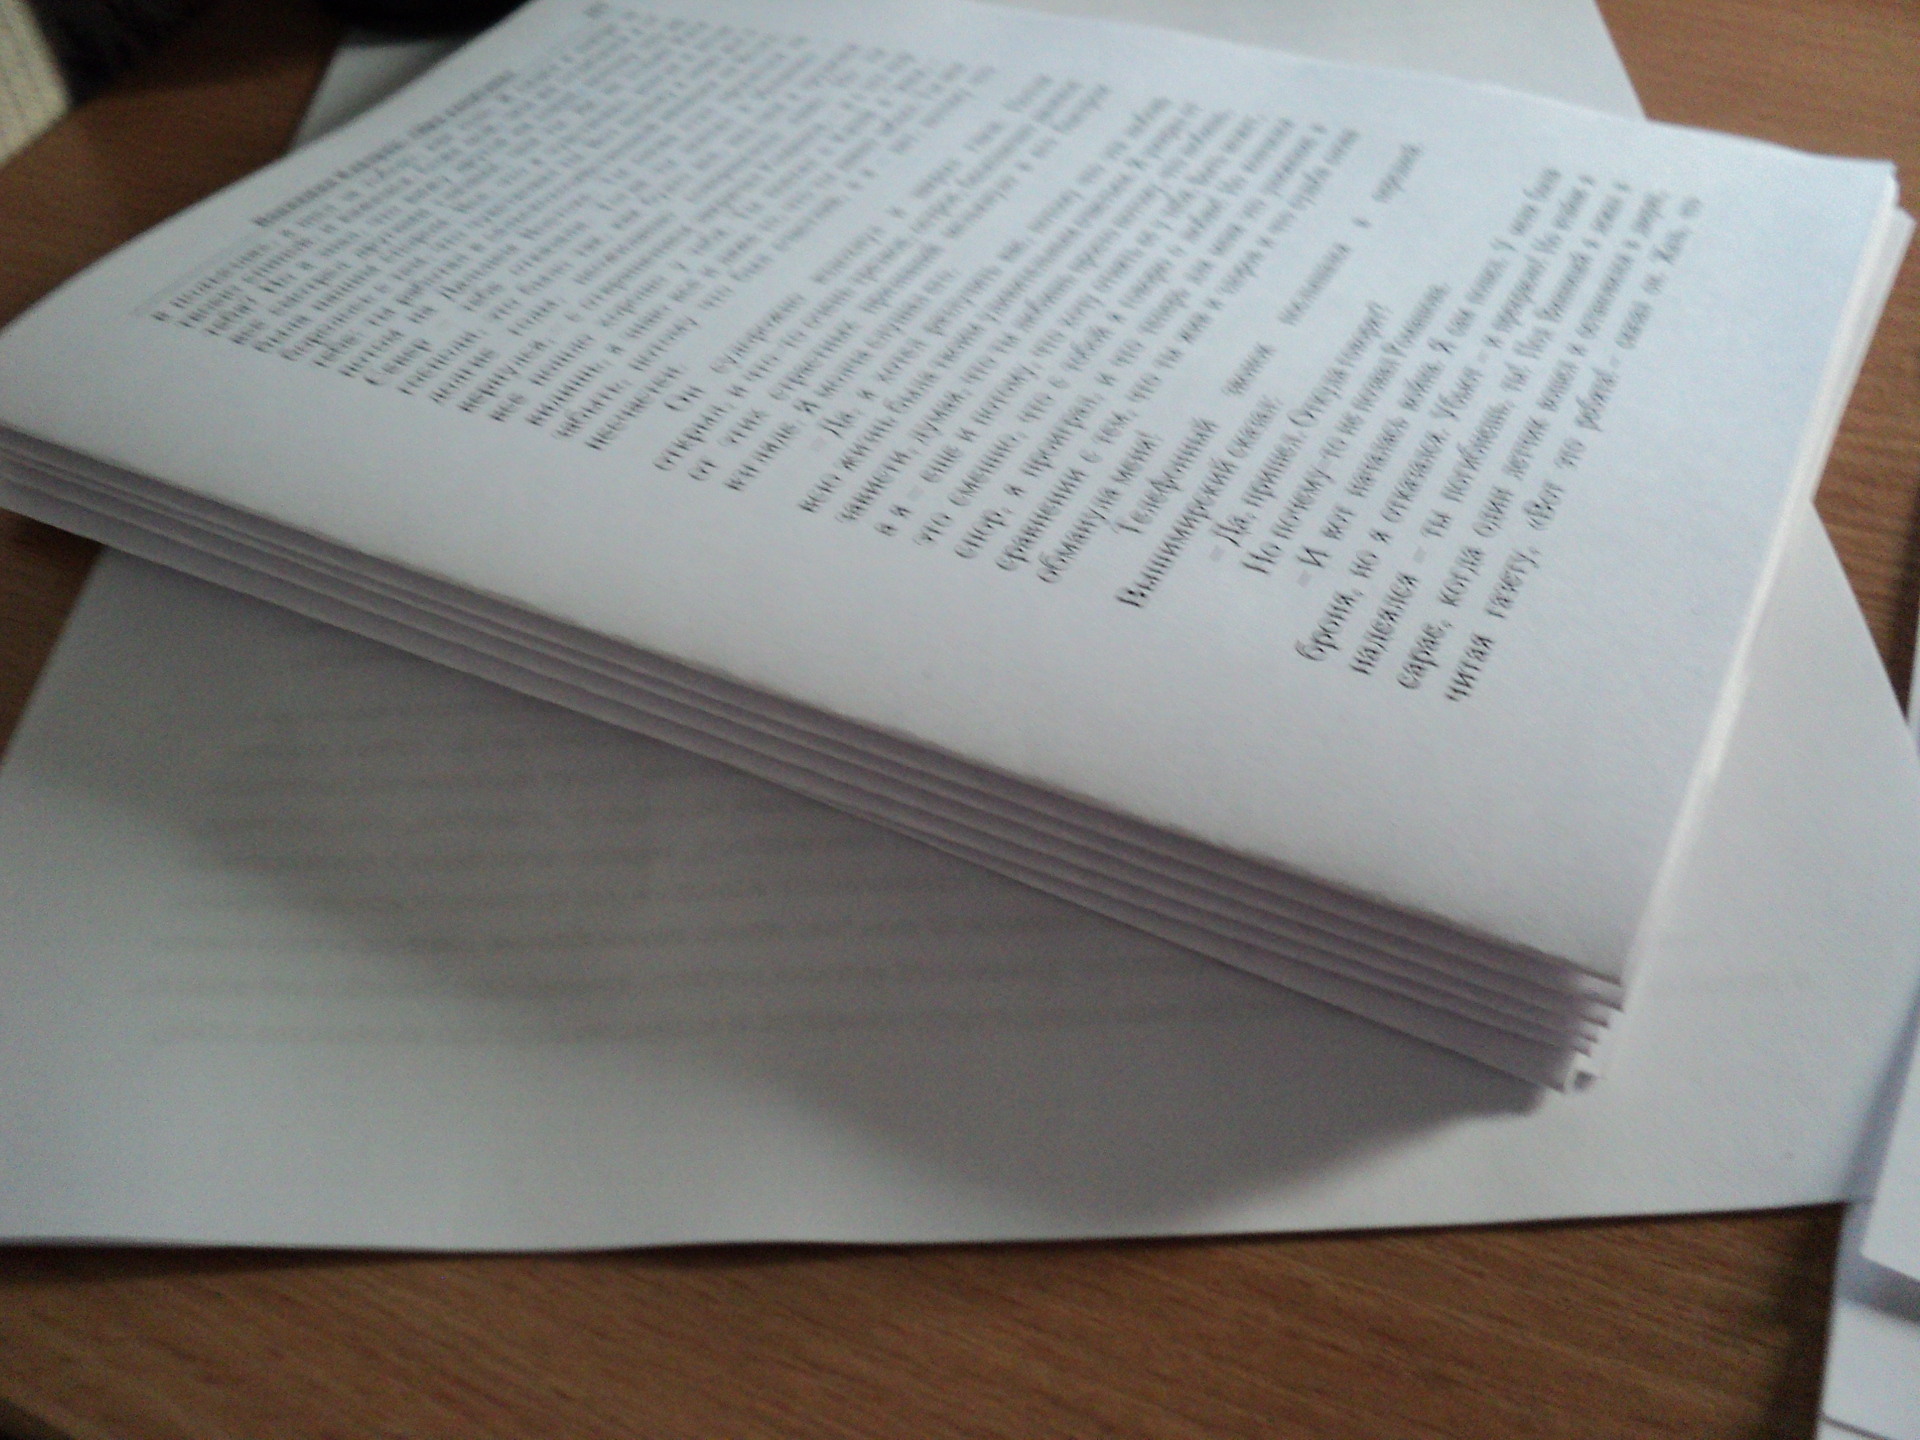
After the file was prepared and converted into a pdf format, it was necessary to produce a descent for splitting the future book into notebooks of 16 pages or 4 A4 sheets.
Having opened the ready-to-print file in Acrobat, and selecting “Create booklet ...” in the Quite Imposing Plus menu, I set the necessary parameters for printing in 16-page notebooks, alternating left and right pages.


Scrolling through the entire file once again, and eliminating the changes that have occurred - several tables of contents were at the end of the pages, it was time to solve the next task of manufacturing - printing. Initially, I intended to do this on my inkjet printer. But the question of cutting off the “toothed edges” of the book after stitching was acute, and it was already Thursday’s day, and X’s day was on Sunday. Without hesitation, I went after the pairs to the printing house of my native university to agree to use the guillotine for cutting the edges. Once again, having assessed the volume of the book and the availability of the photo at the first turn, the idea arose to print it at the same printing house. The chief of the printing house met me there and very friendly, after listening, agreed to help me not only with printing and trimming the edges, but also with a couple of tips. Including I was offered to use a folding machine, the existence of which I hadn’t even heard before.

Then all the printed sheets were creased, disassembled into notebooks. Having collected several notebooks in a pile - the first impression of what will be in the end.
Stitching notebooks
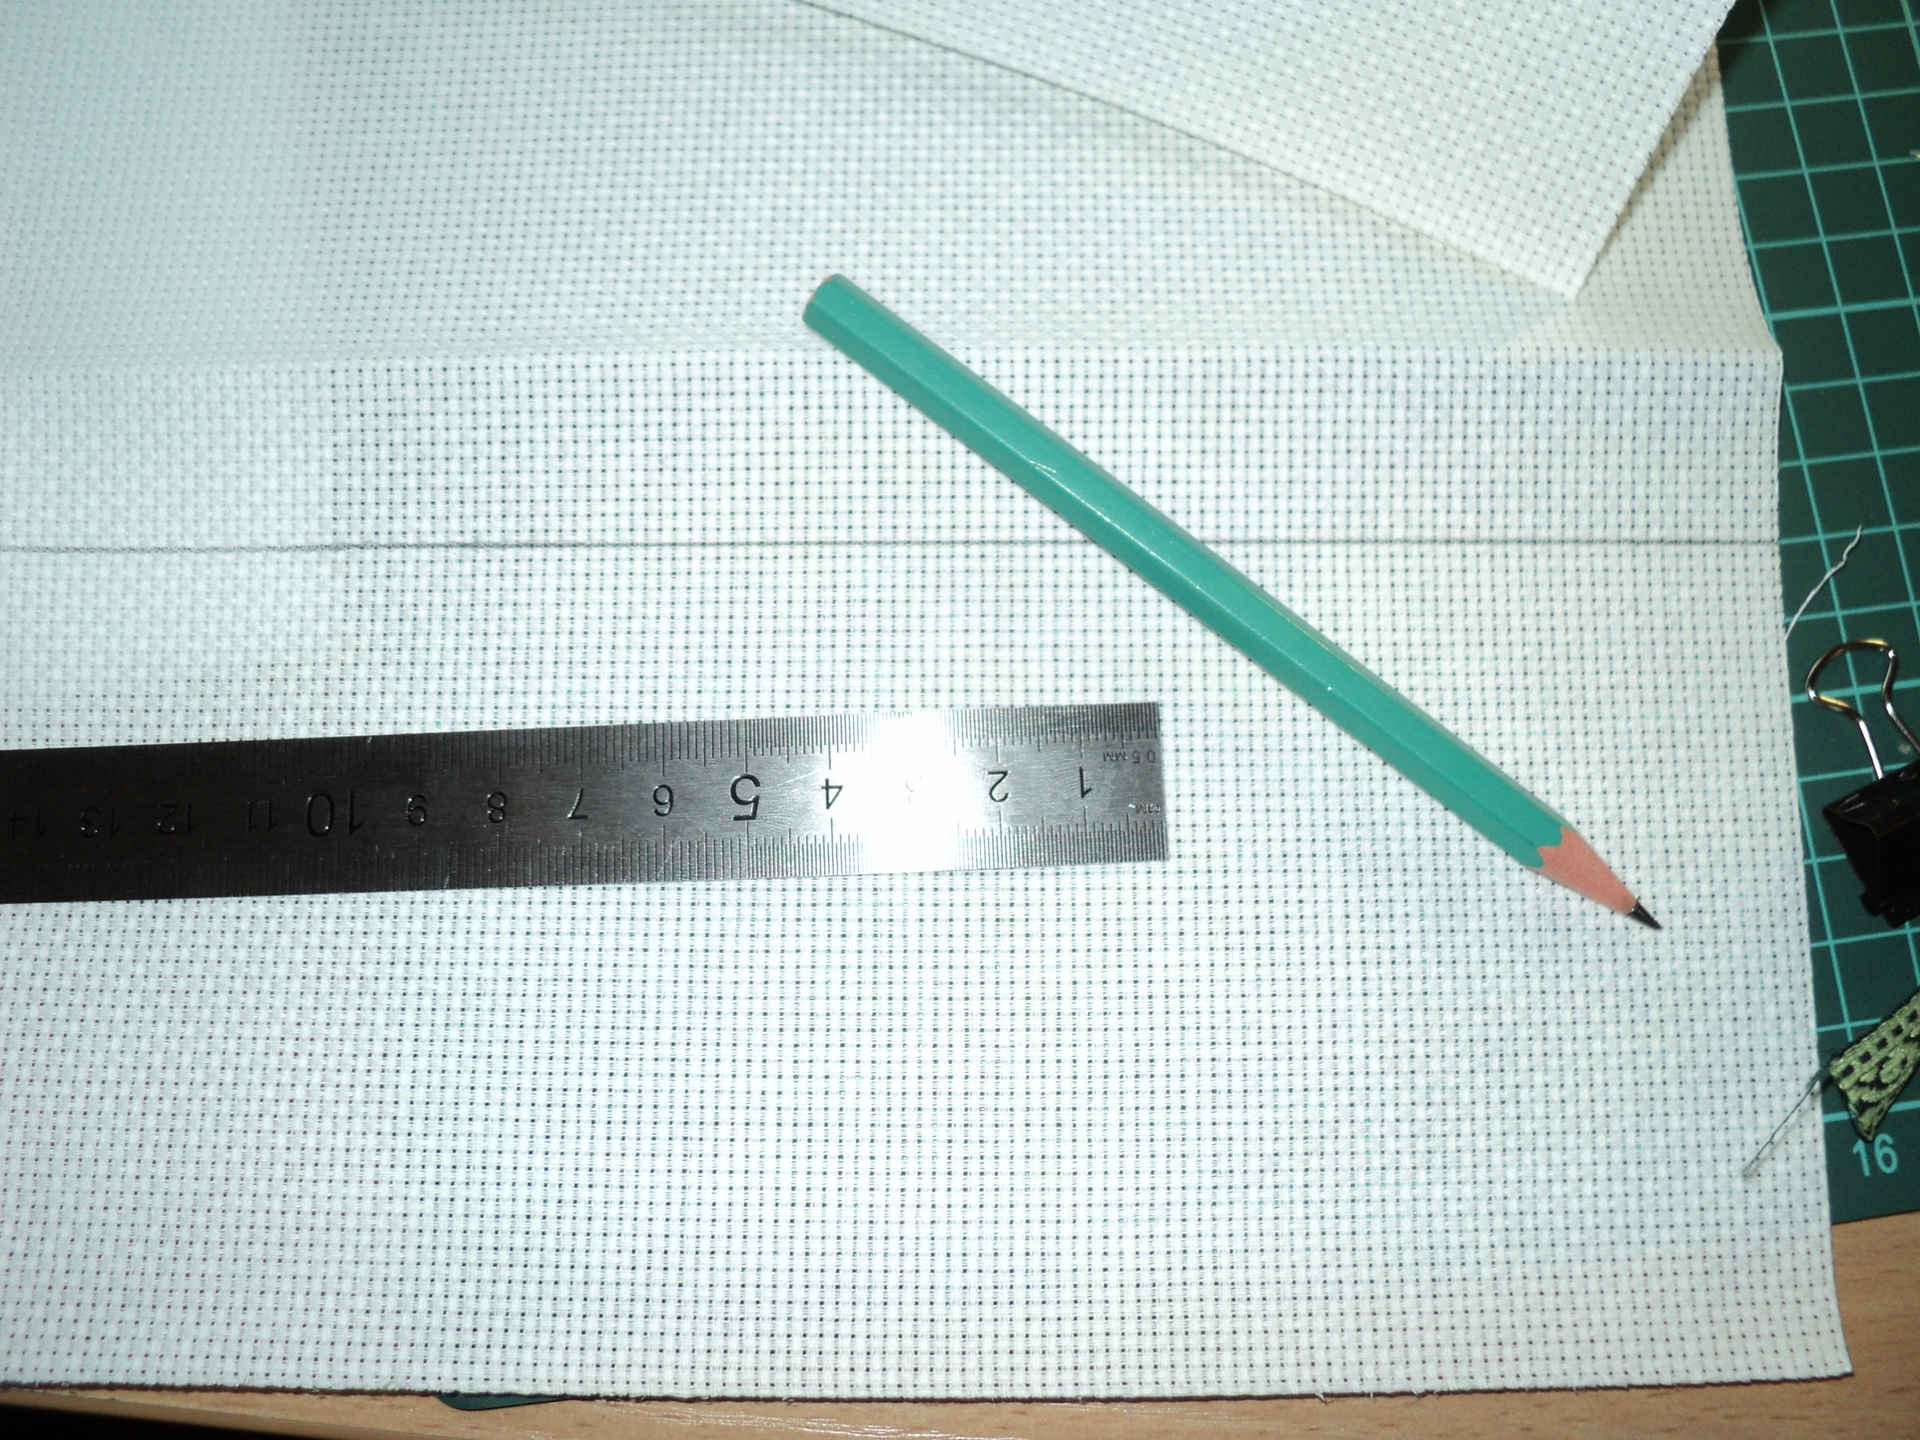
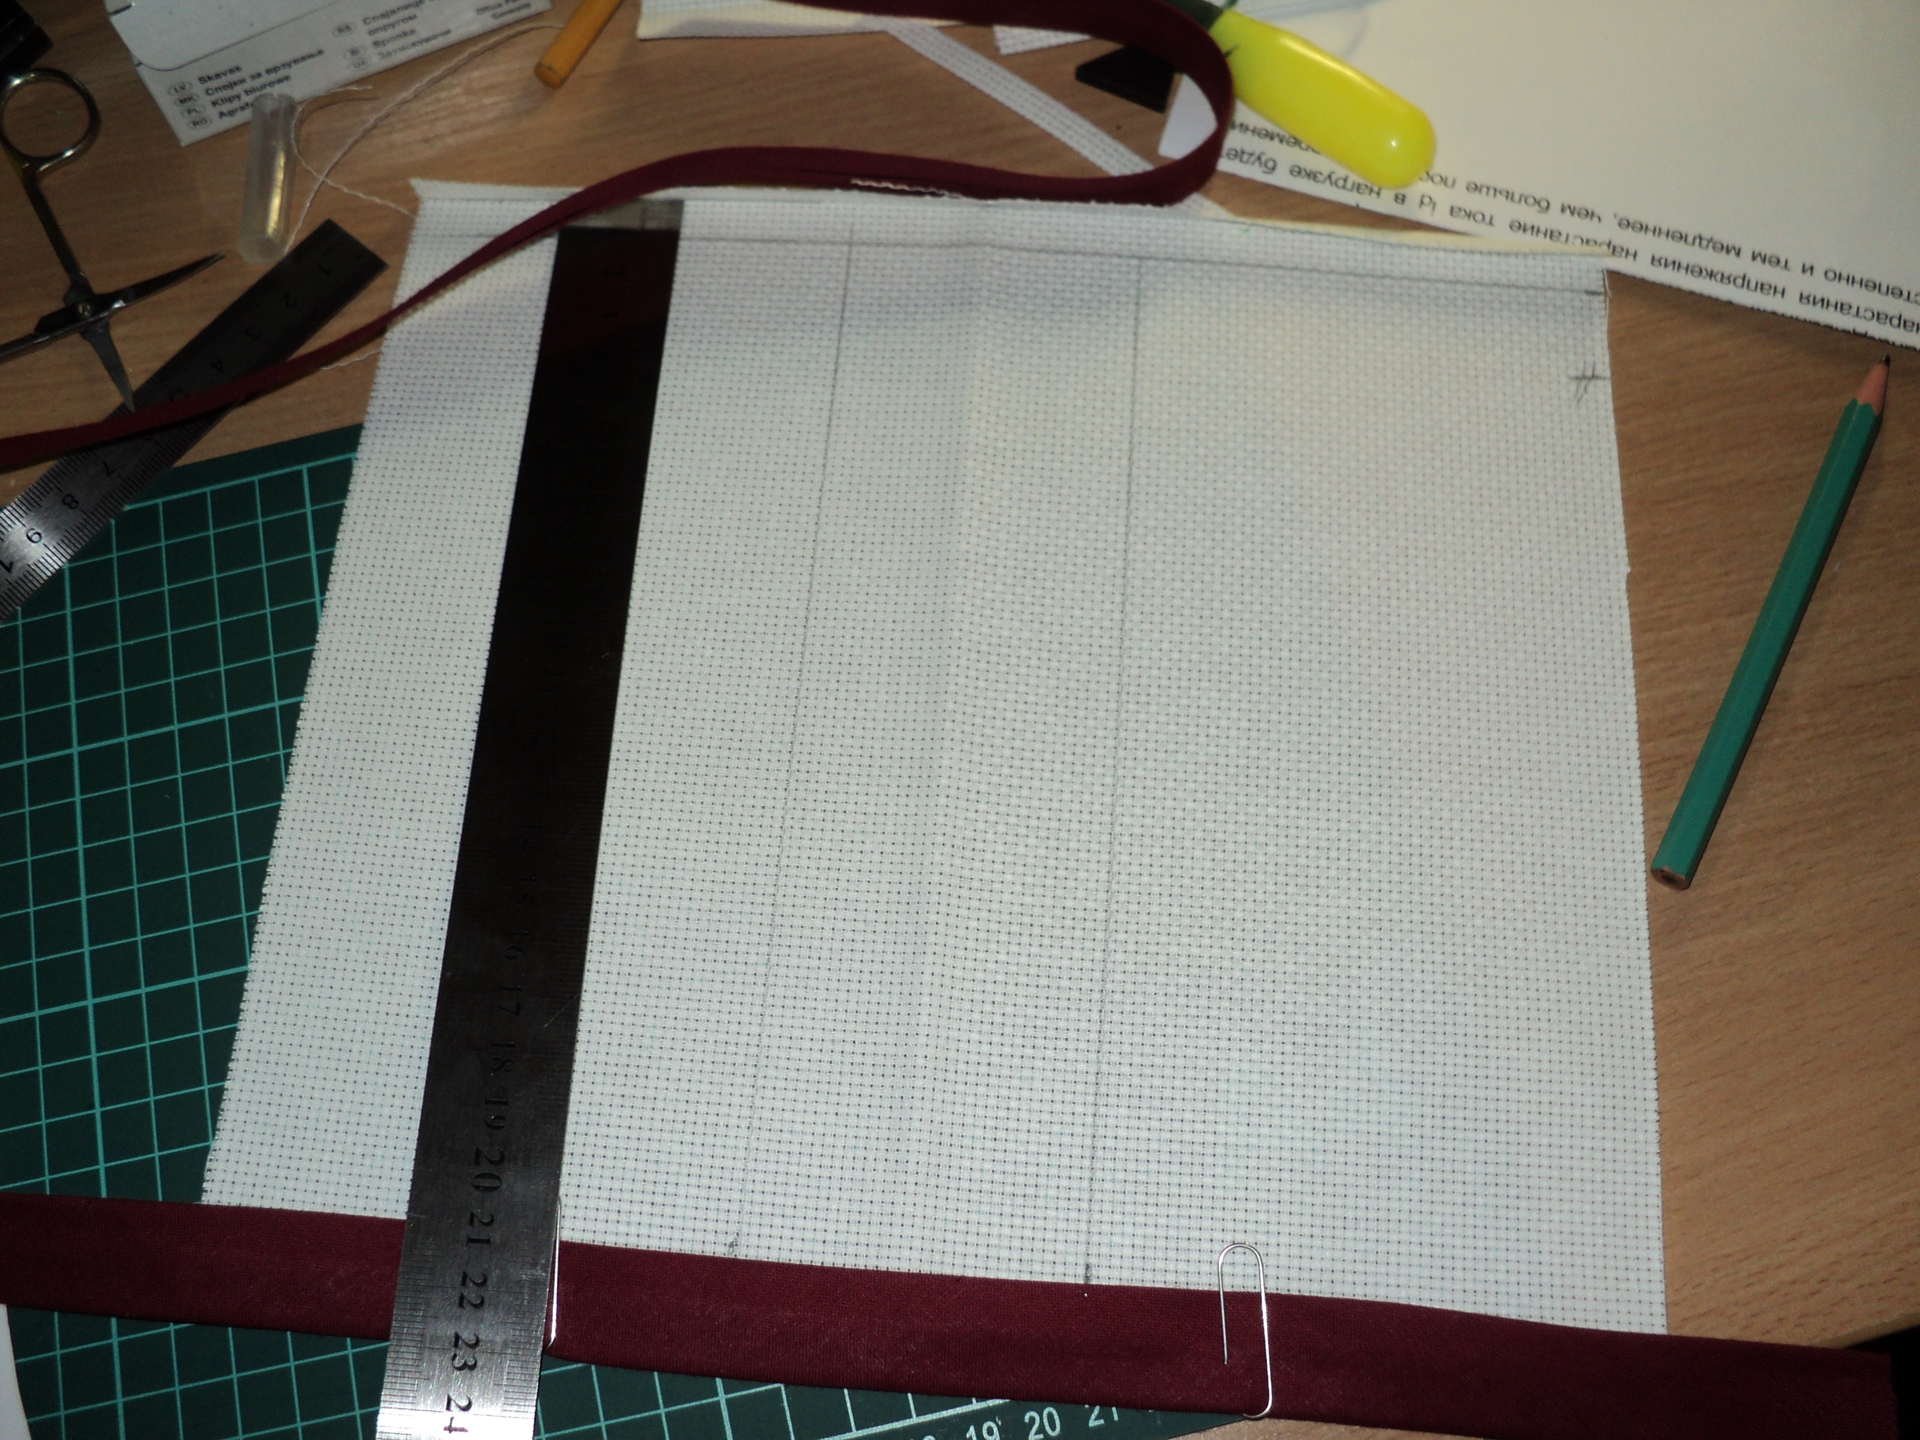
The next step was to prepare for stitching, namely marking and making holes in notebooks for the thread.
Unfortunately, it was late at night, and at that moment

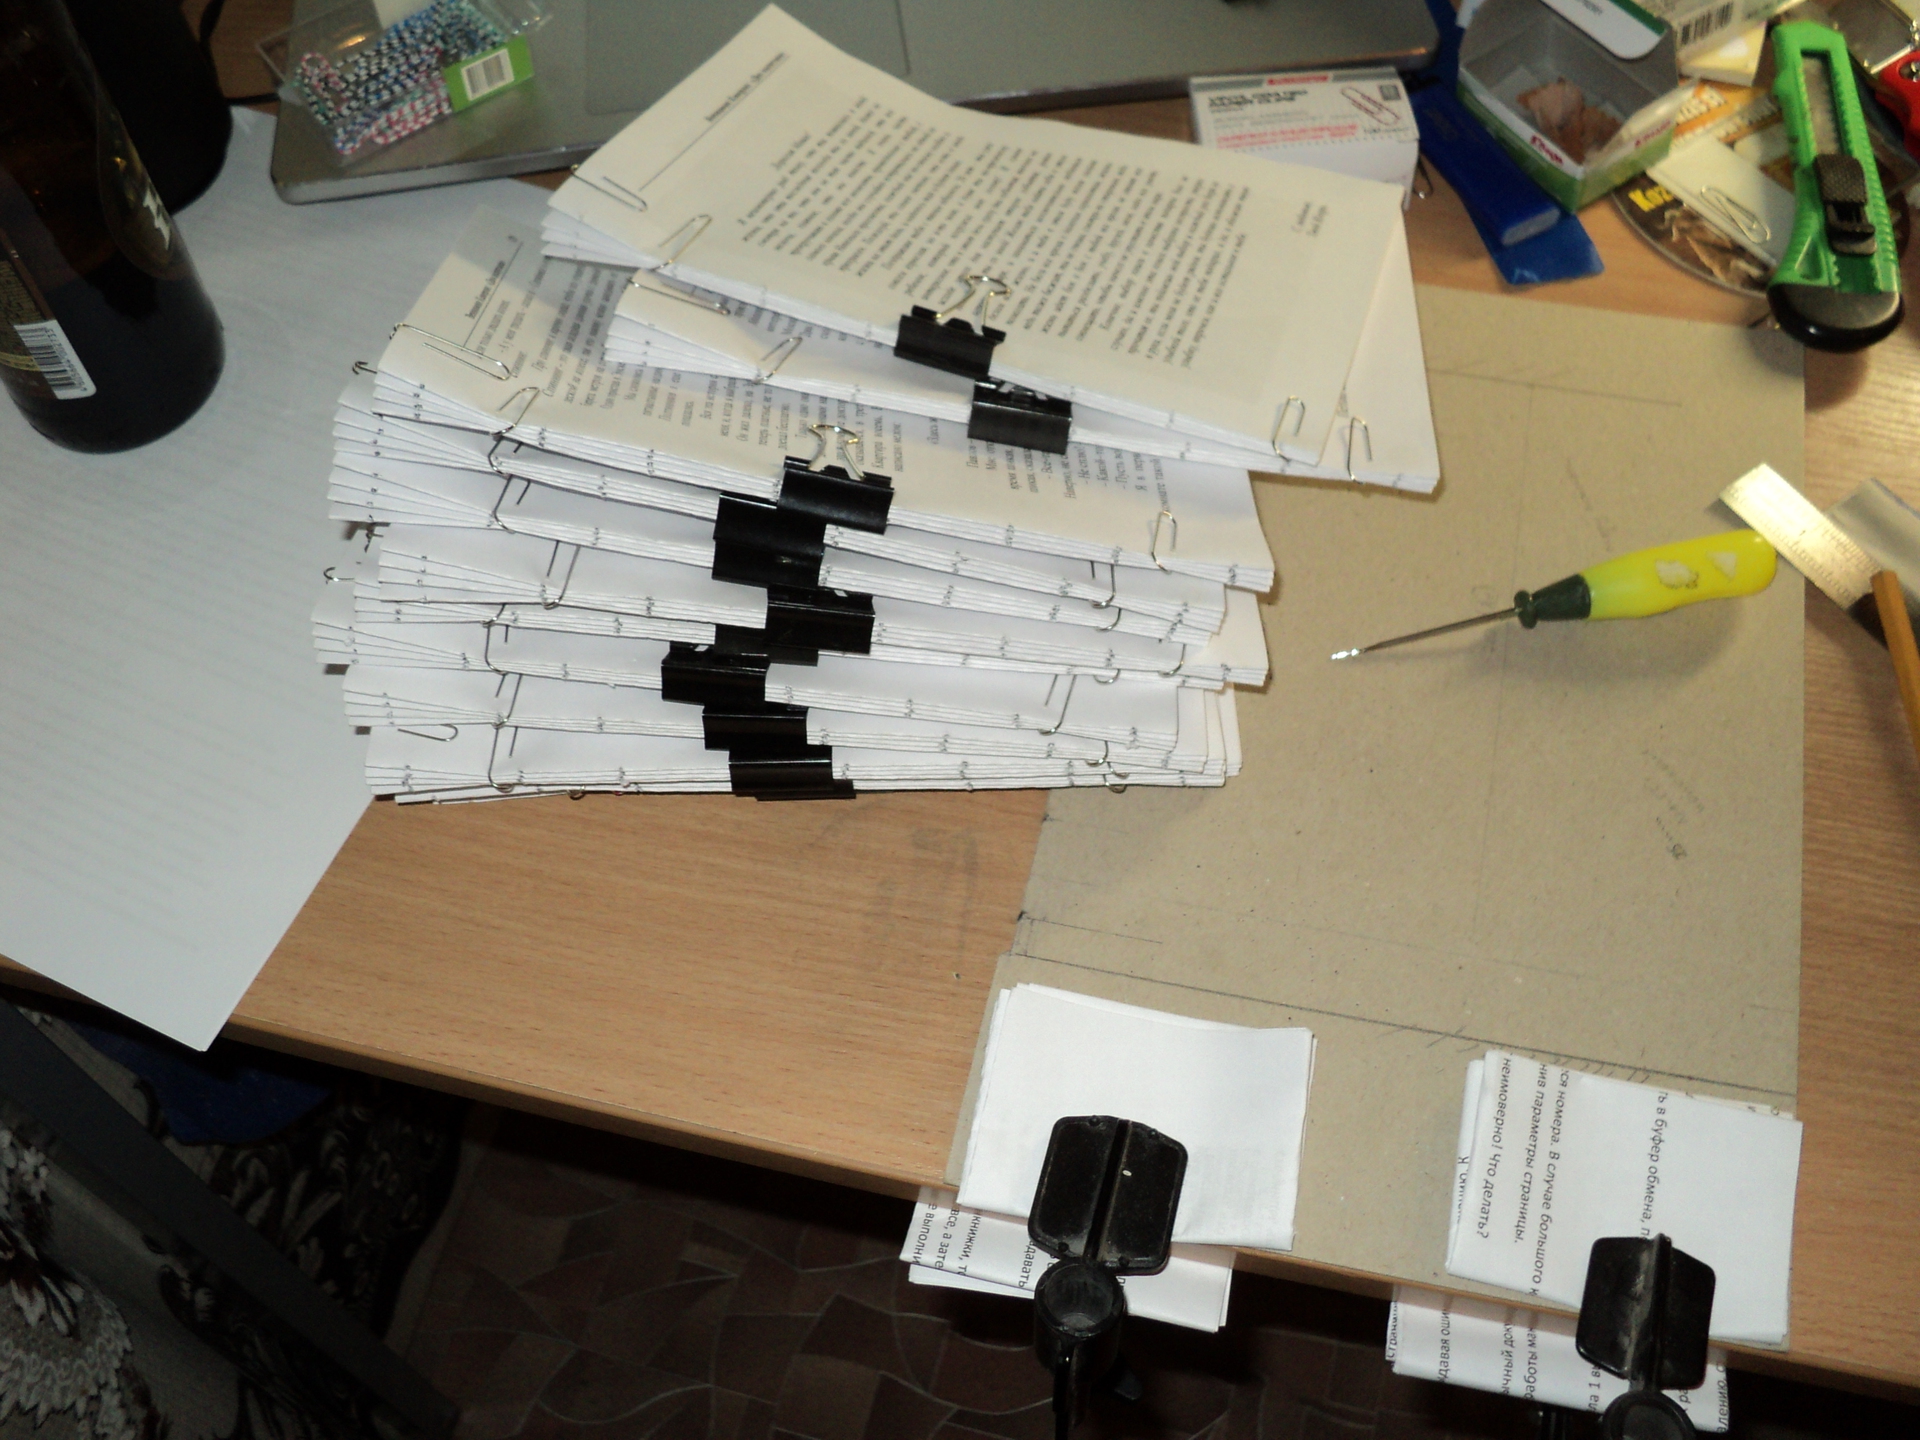
Putting each notebook to the made template, I marked the points on the fold with a pencil, while the sheets of notebooks were fixed with ordinary clips to avoid shifts.
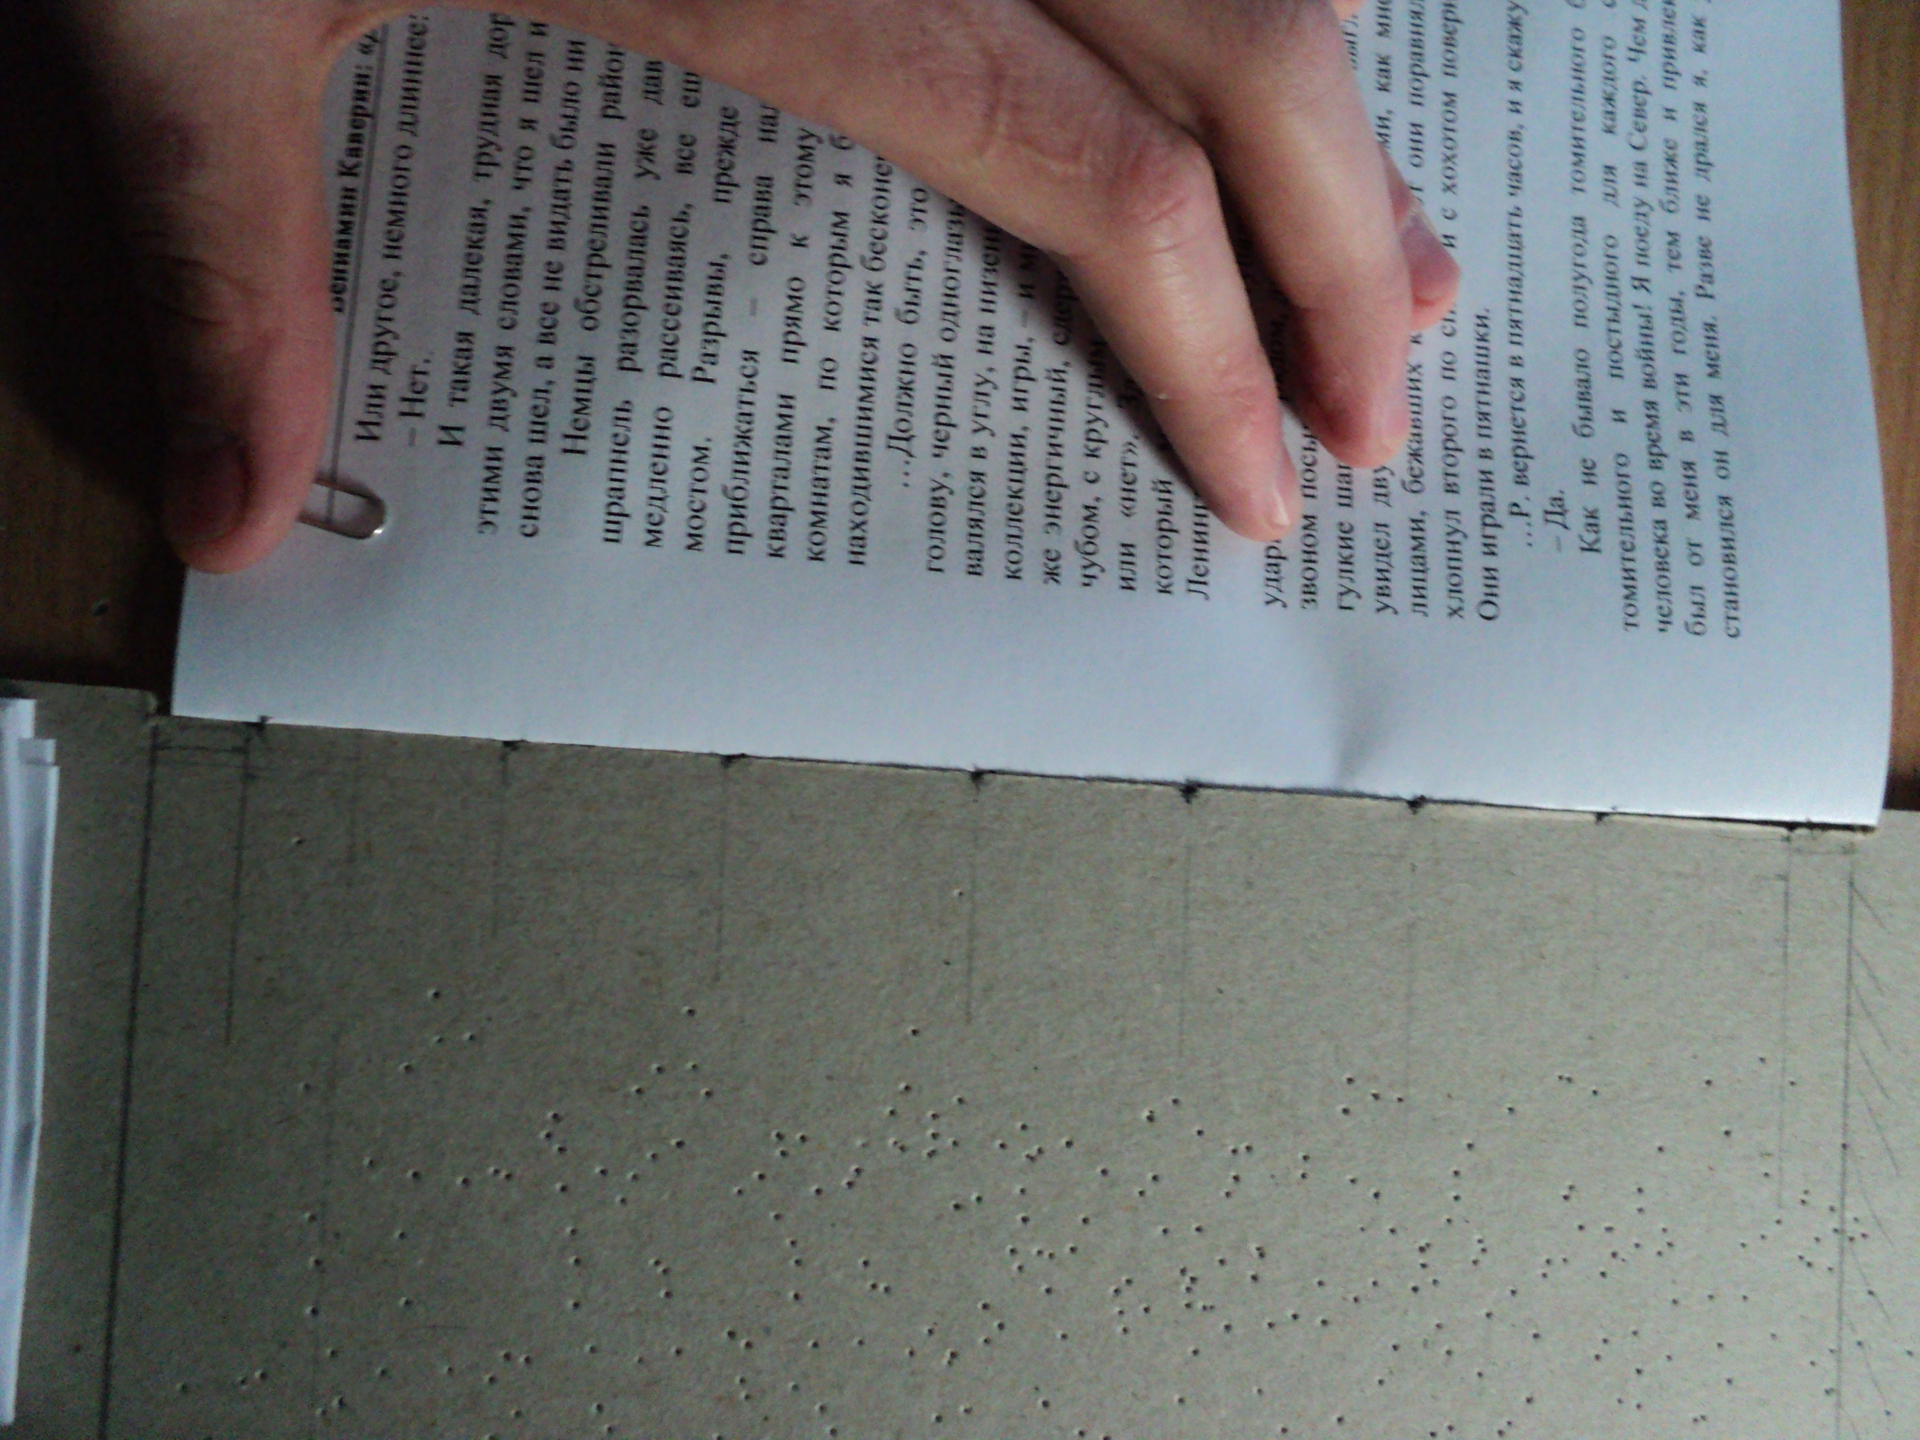
After turning the notebook, made an awl holes. In the process of 4 notebooks, I clamped with paper clips to compress the paper.


It was already late at night, and the kind of intermediate result appealed to the feeling of laziness and sleep, but realizing that there was not enough time, I continued.
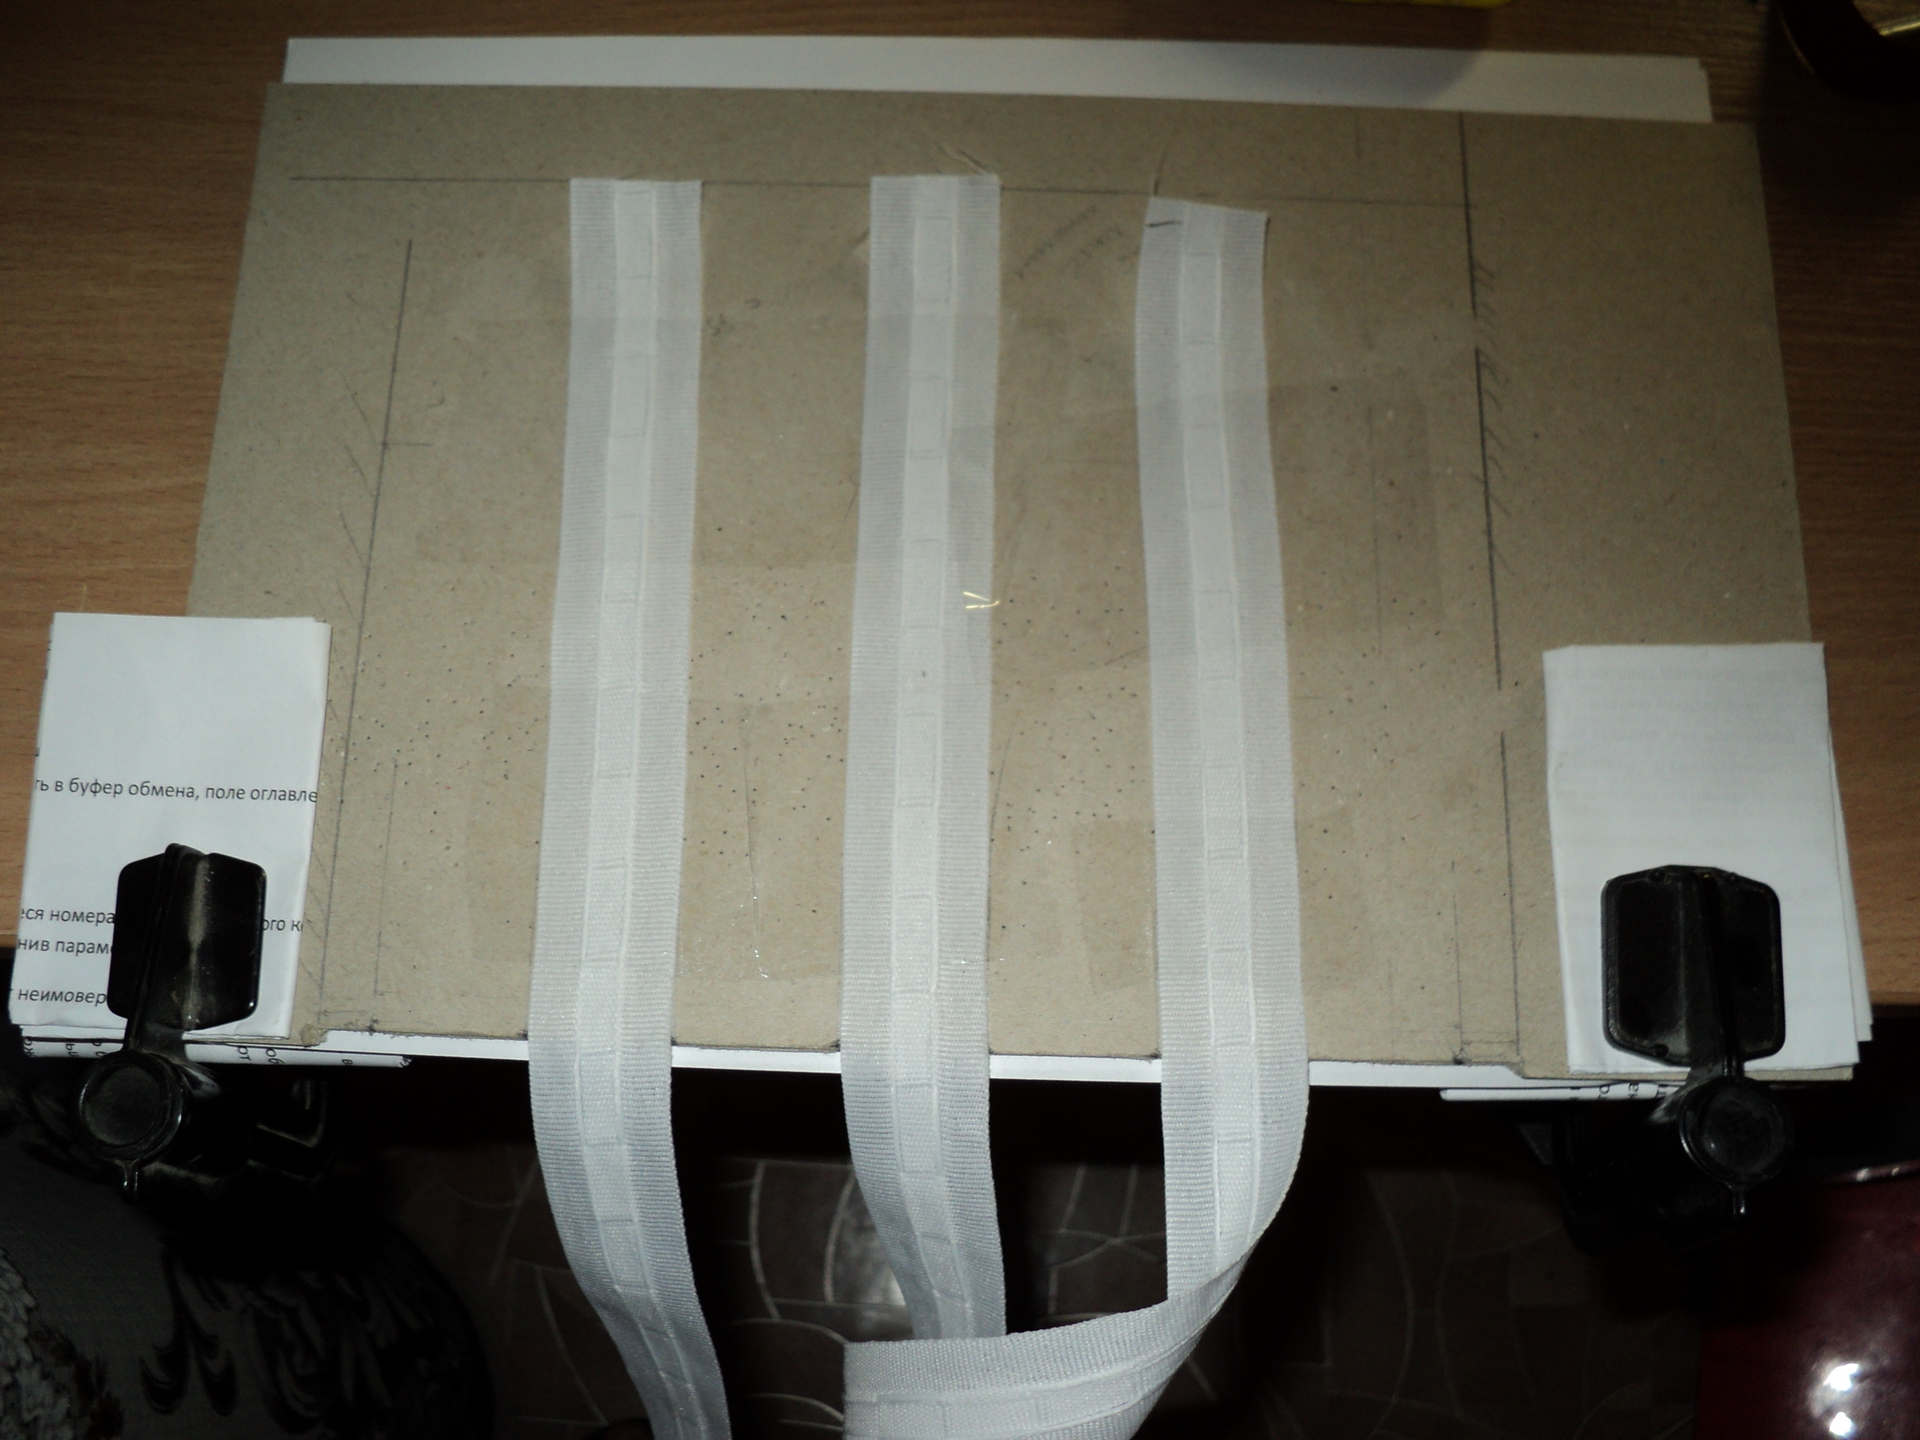
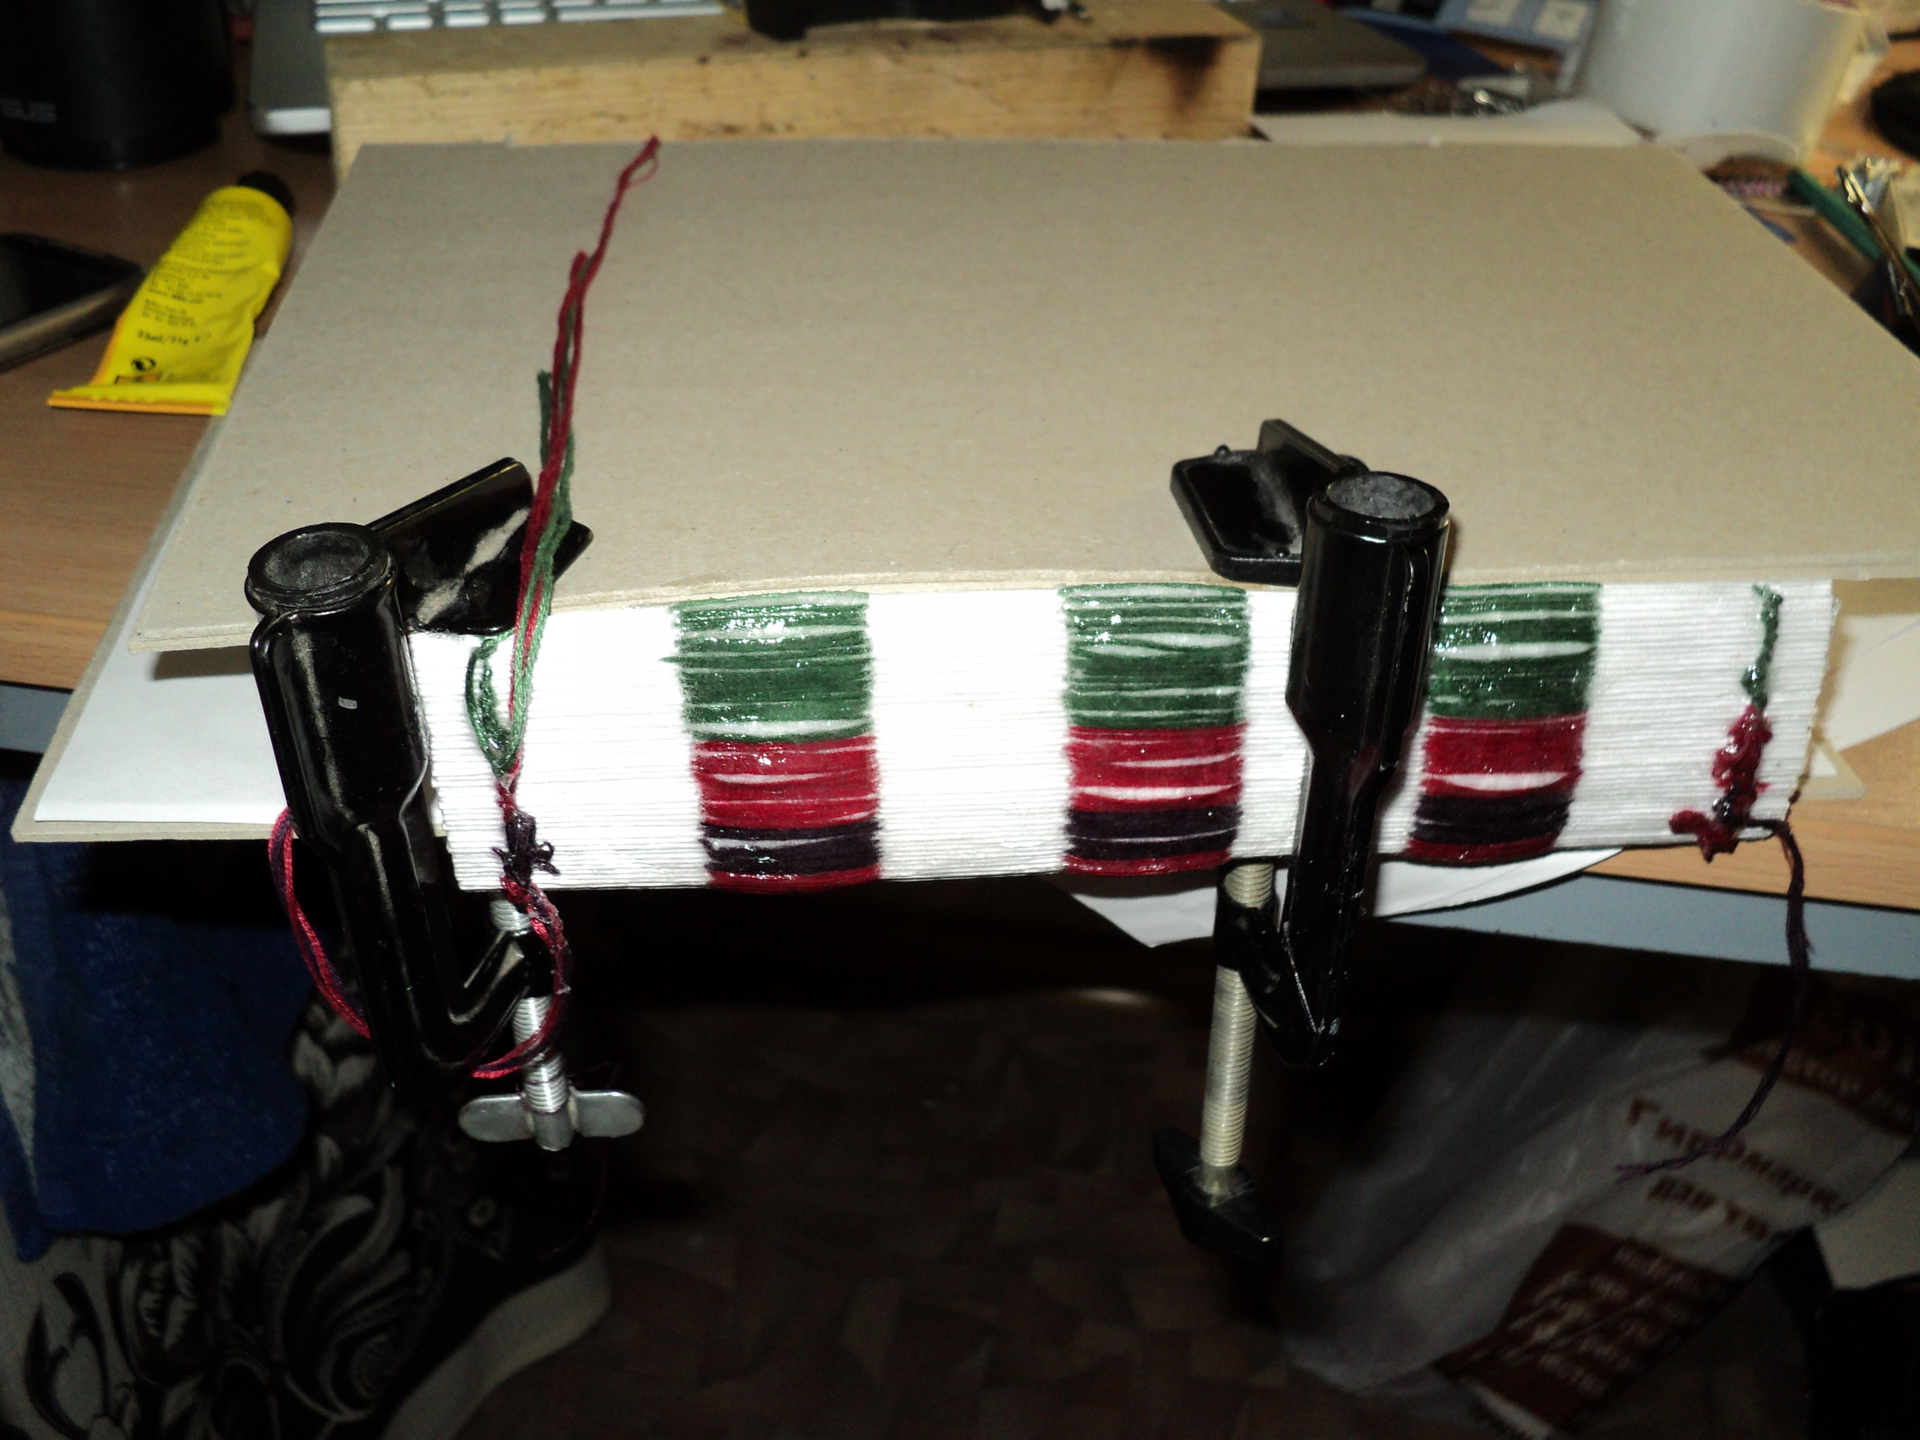
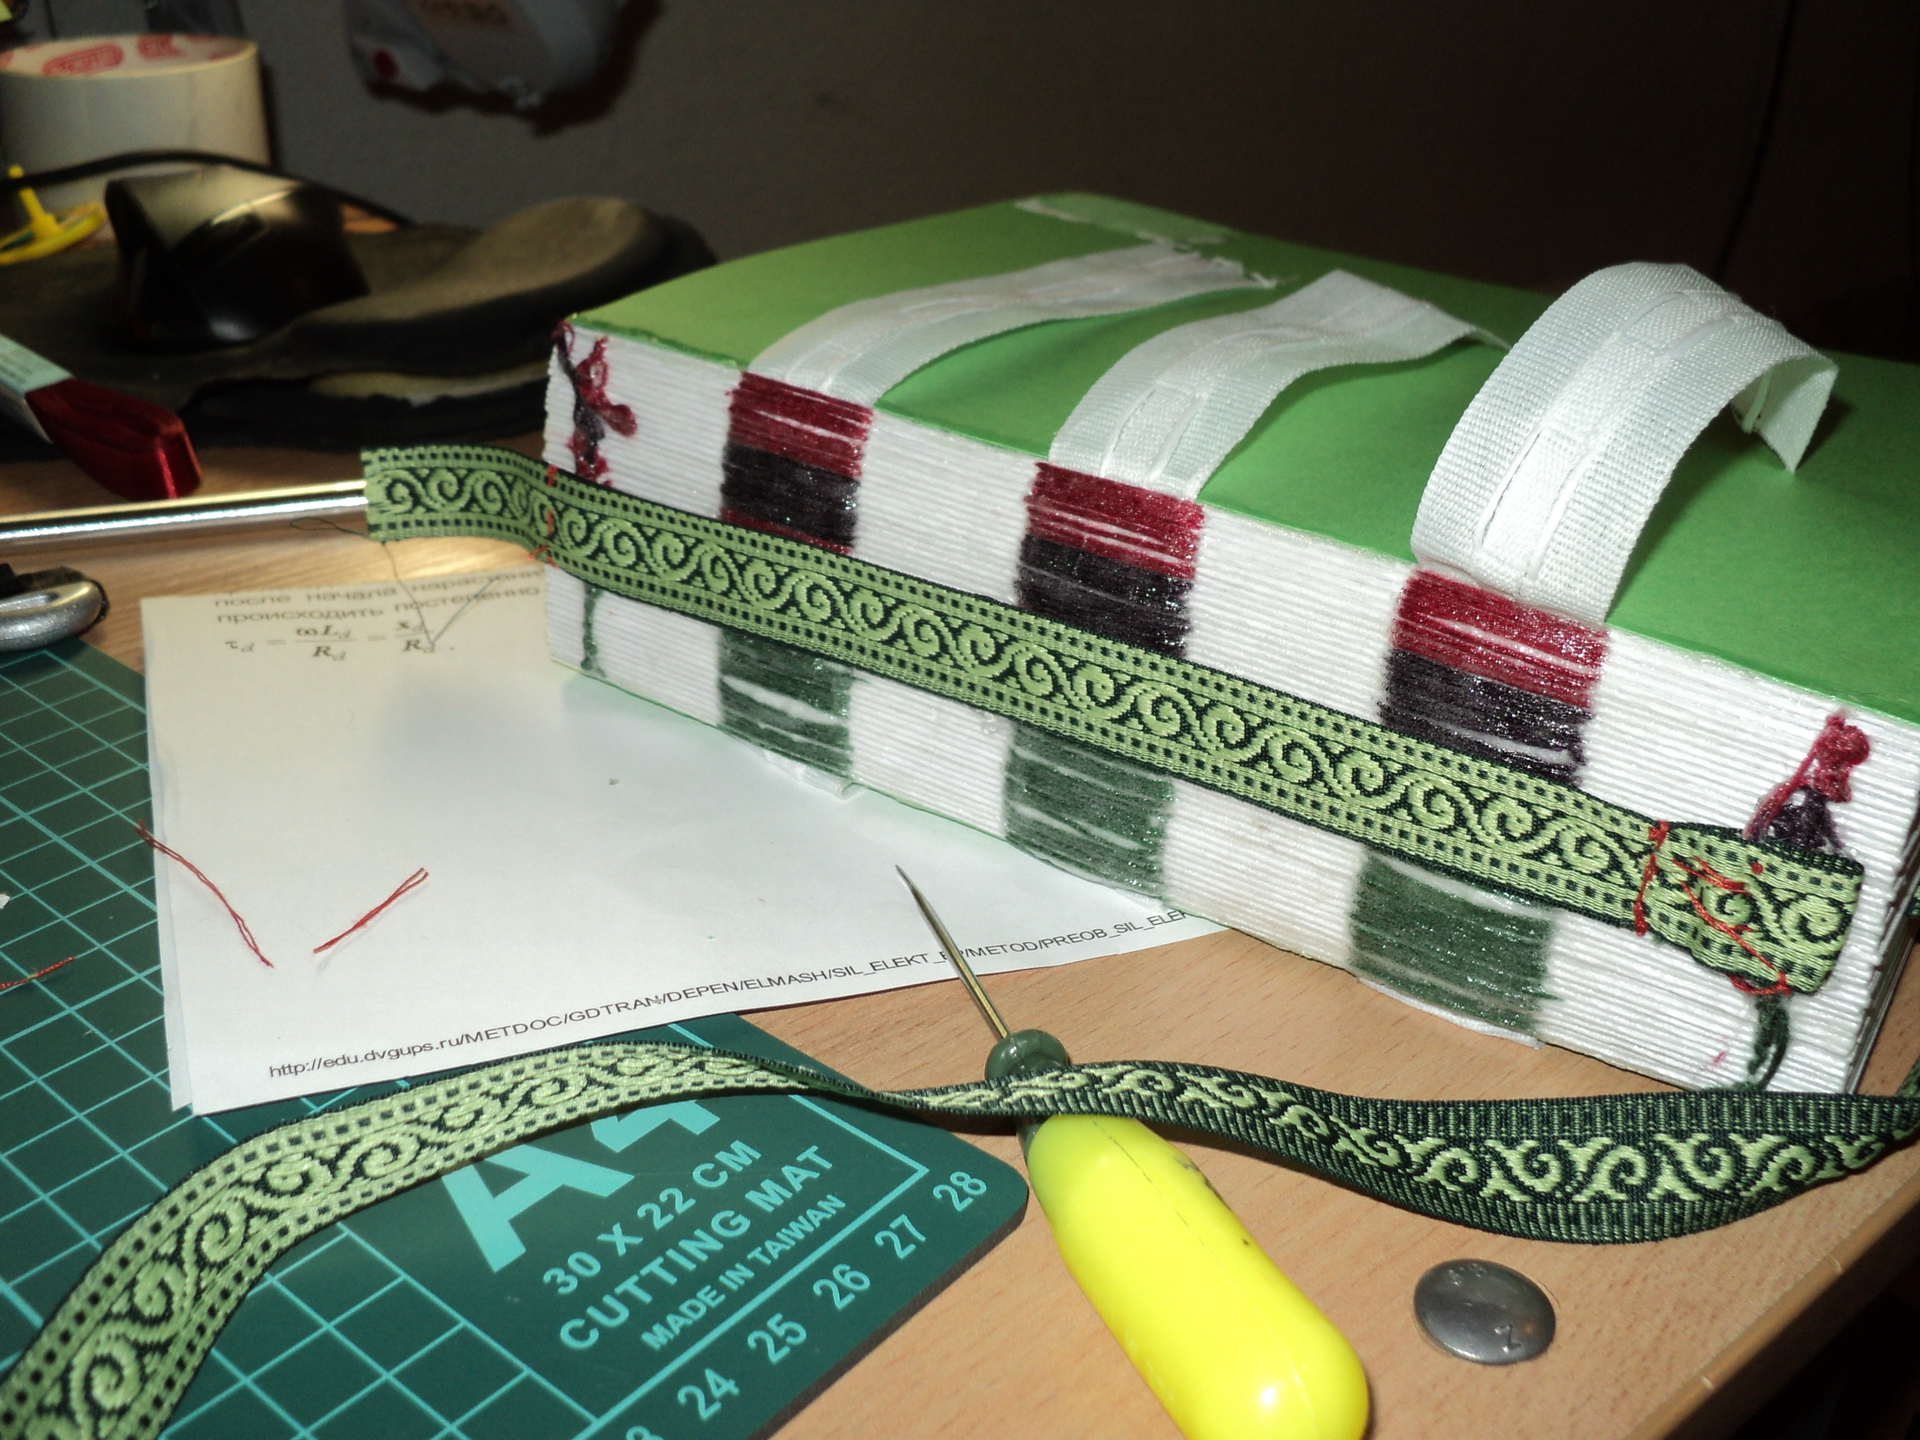
Before stitching, the reinforcing cotton ribbons were glued with scotch tape, to a template attached to the table with clamps.
The next 4 hours I spent flashing notebooks. The process is not complicated, but considering the volume of the book - it was delayed. The threads were chosen thick, namely the floss, to once again emphasize the uniqueness of this book, because in factory copies, the notebooks are stitched with a thin white or transparent thread.
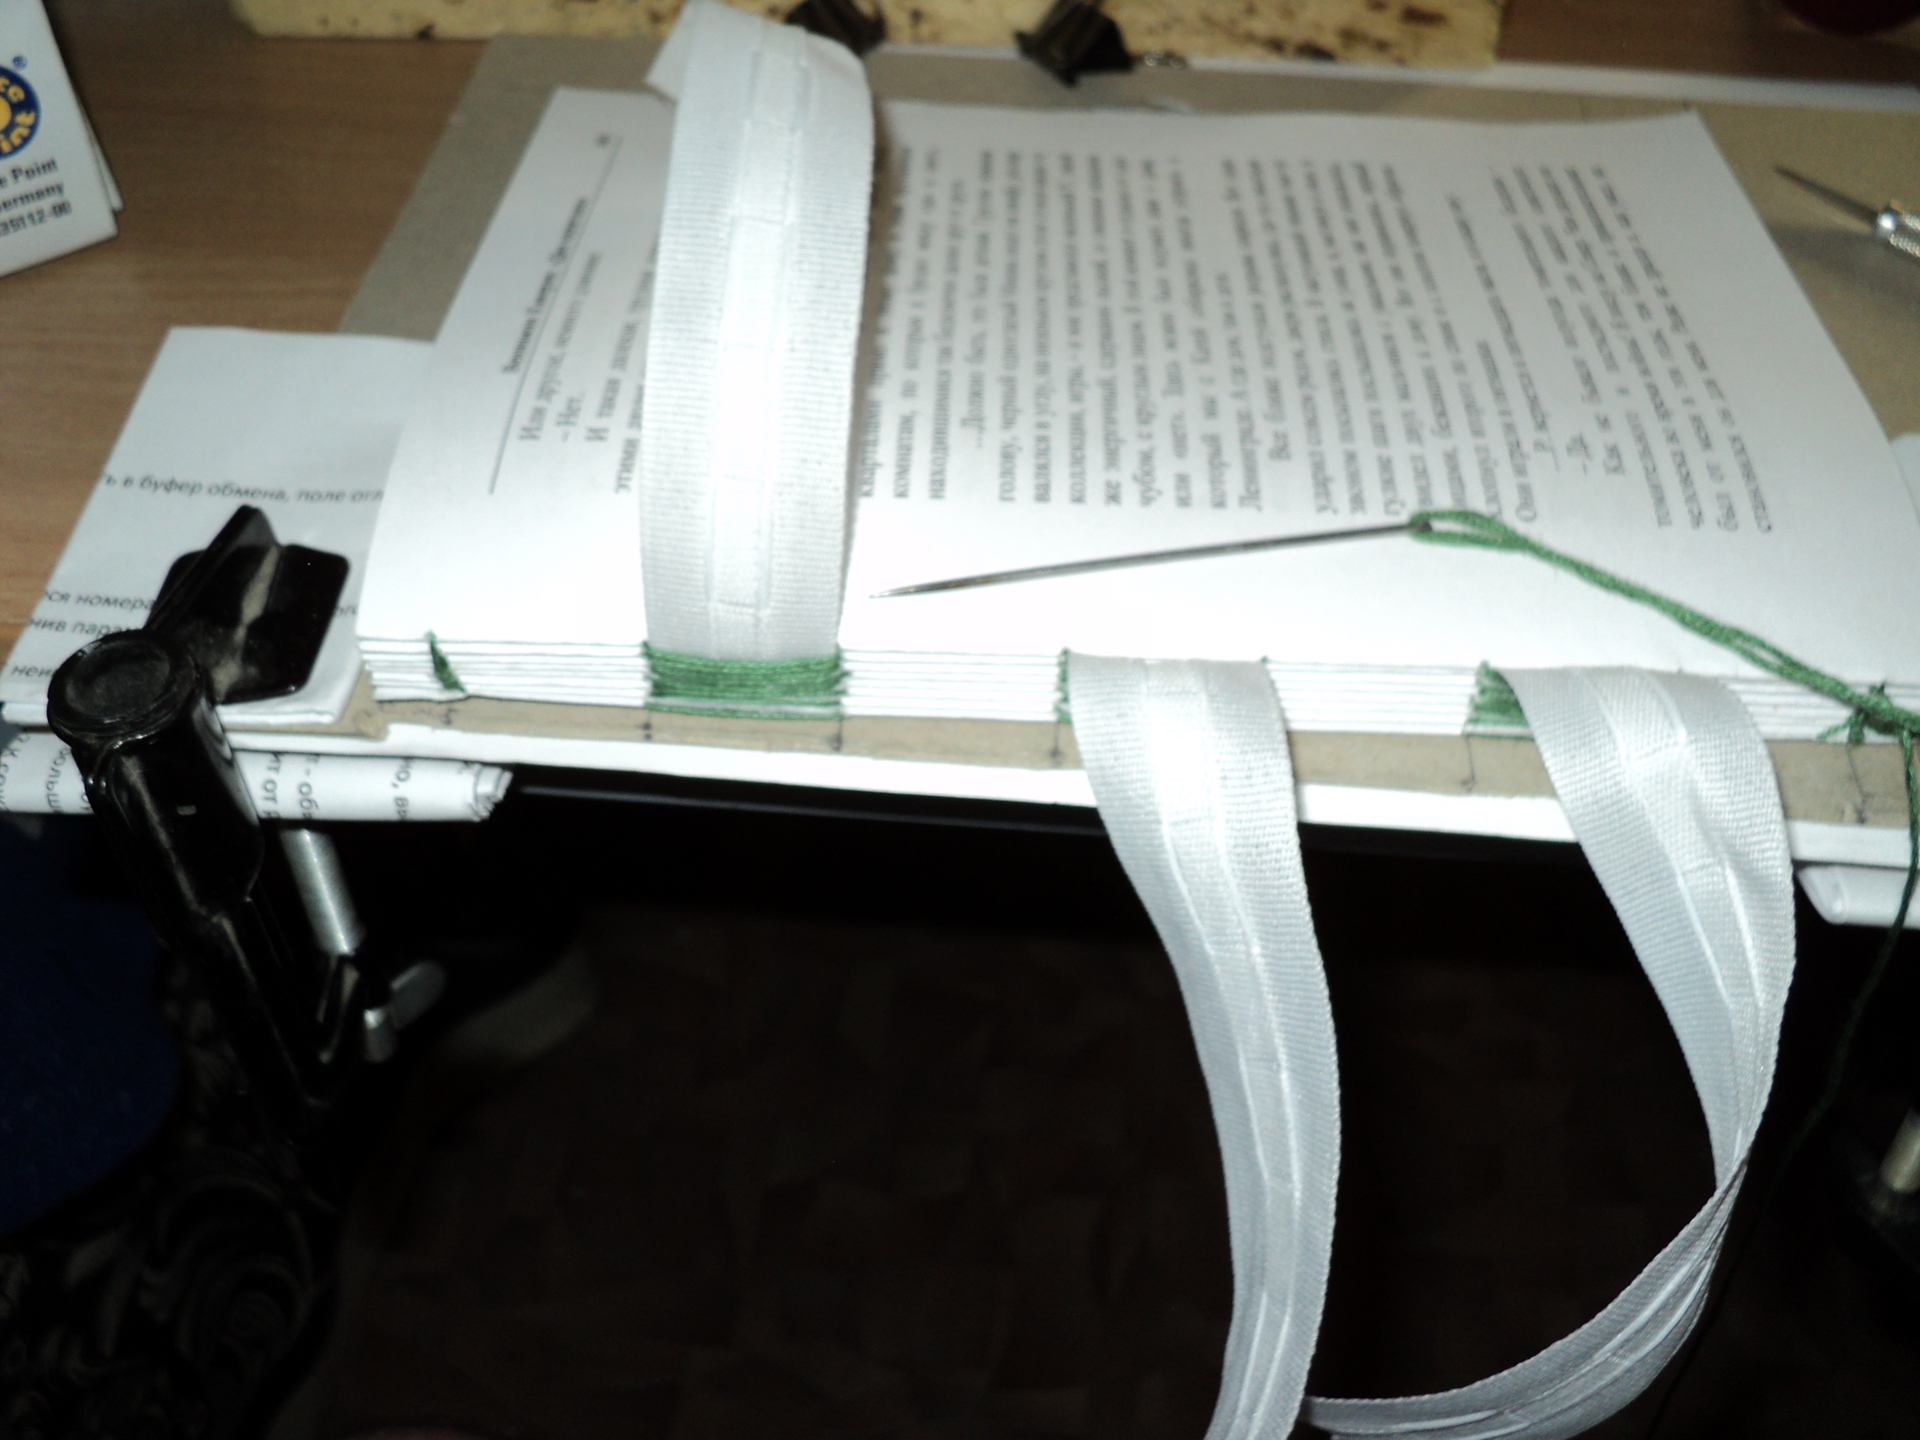
securing the notebooks to each other during the flashing process, I used the advice of one of the similar articles.
The binding is stitched from the first or last notebook, first we thread the thread from the outside to the inside of the book, at the edges where the thread passes from one notebook to another, we fasten with the help of knots.
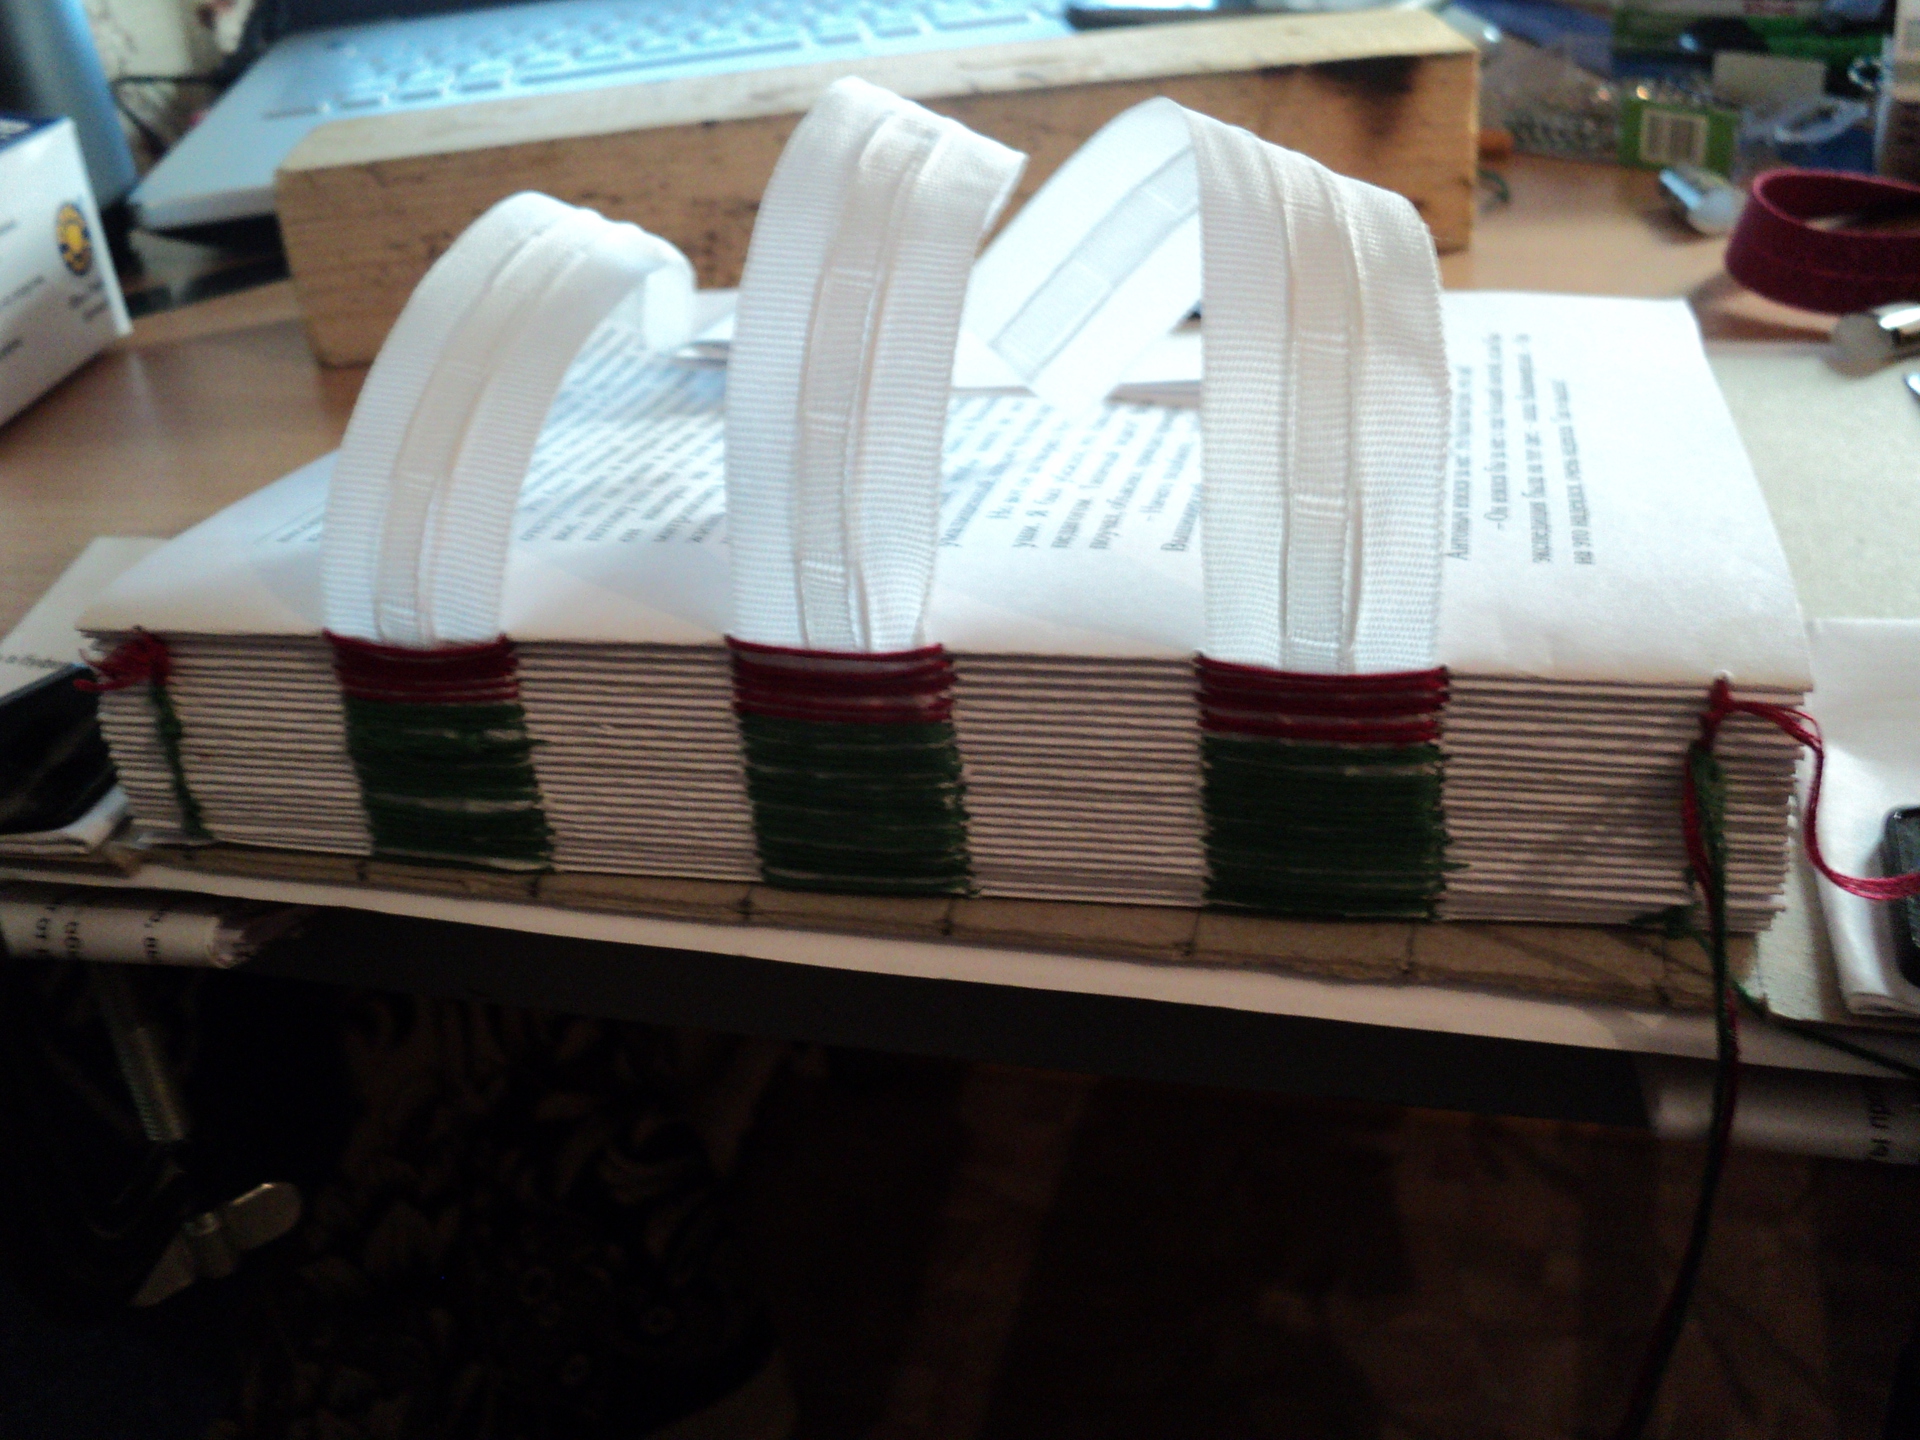
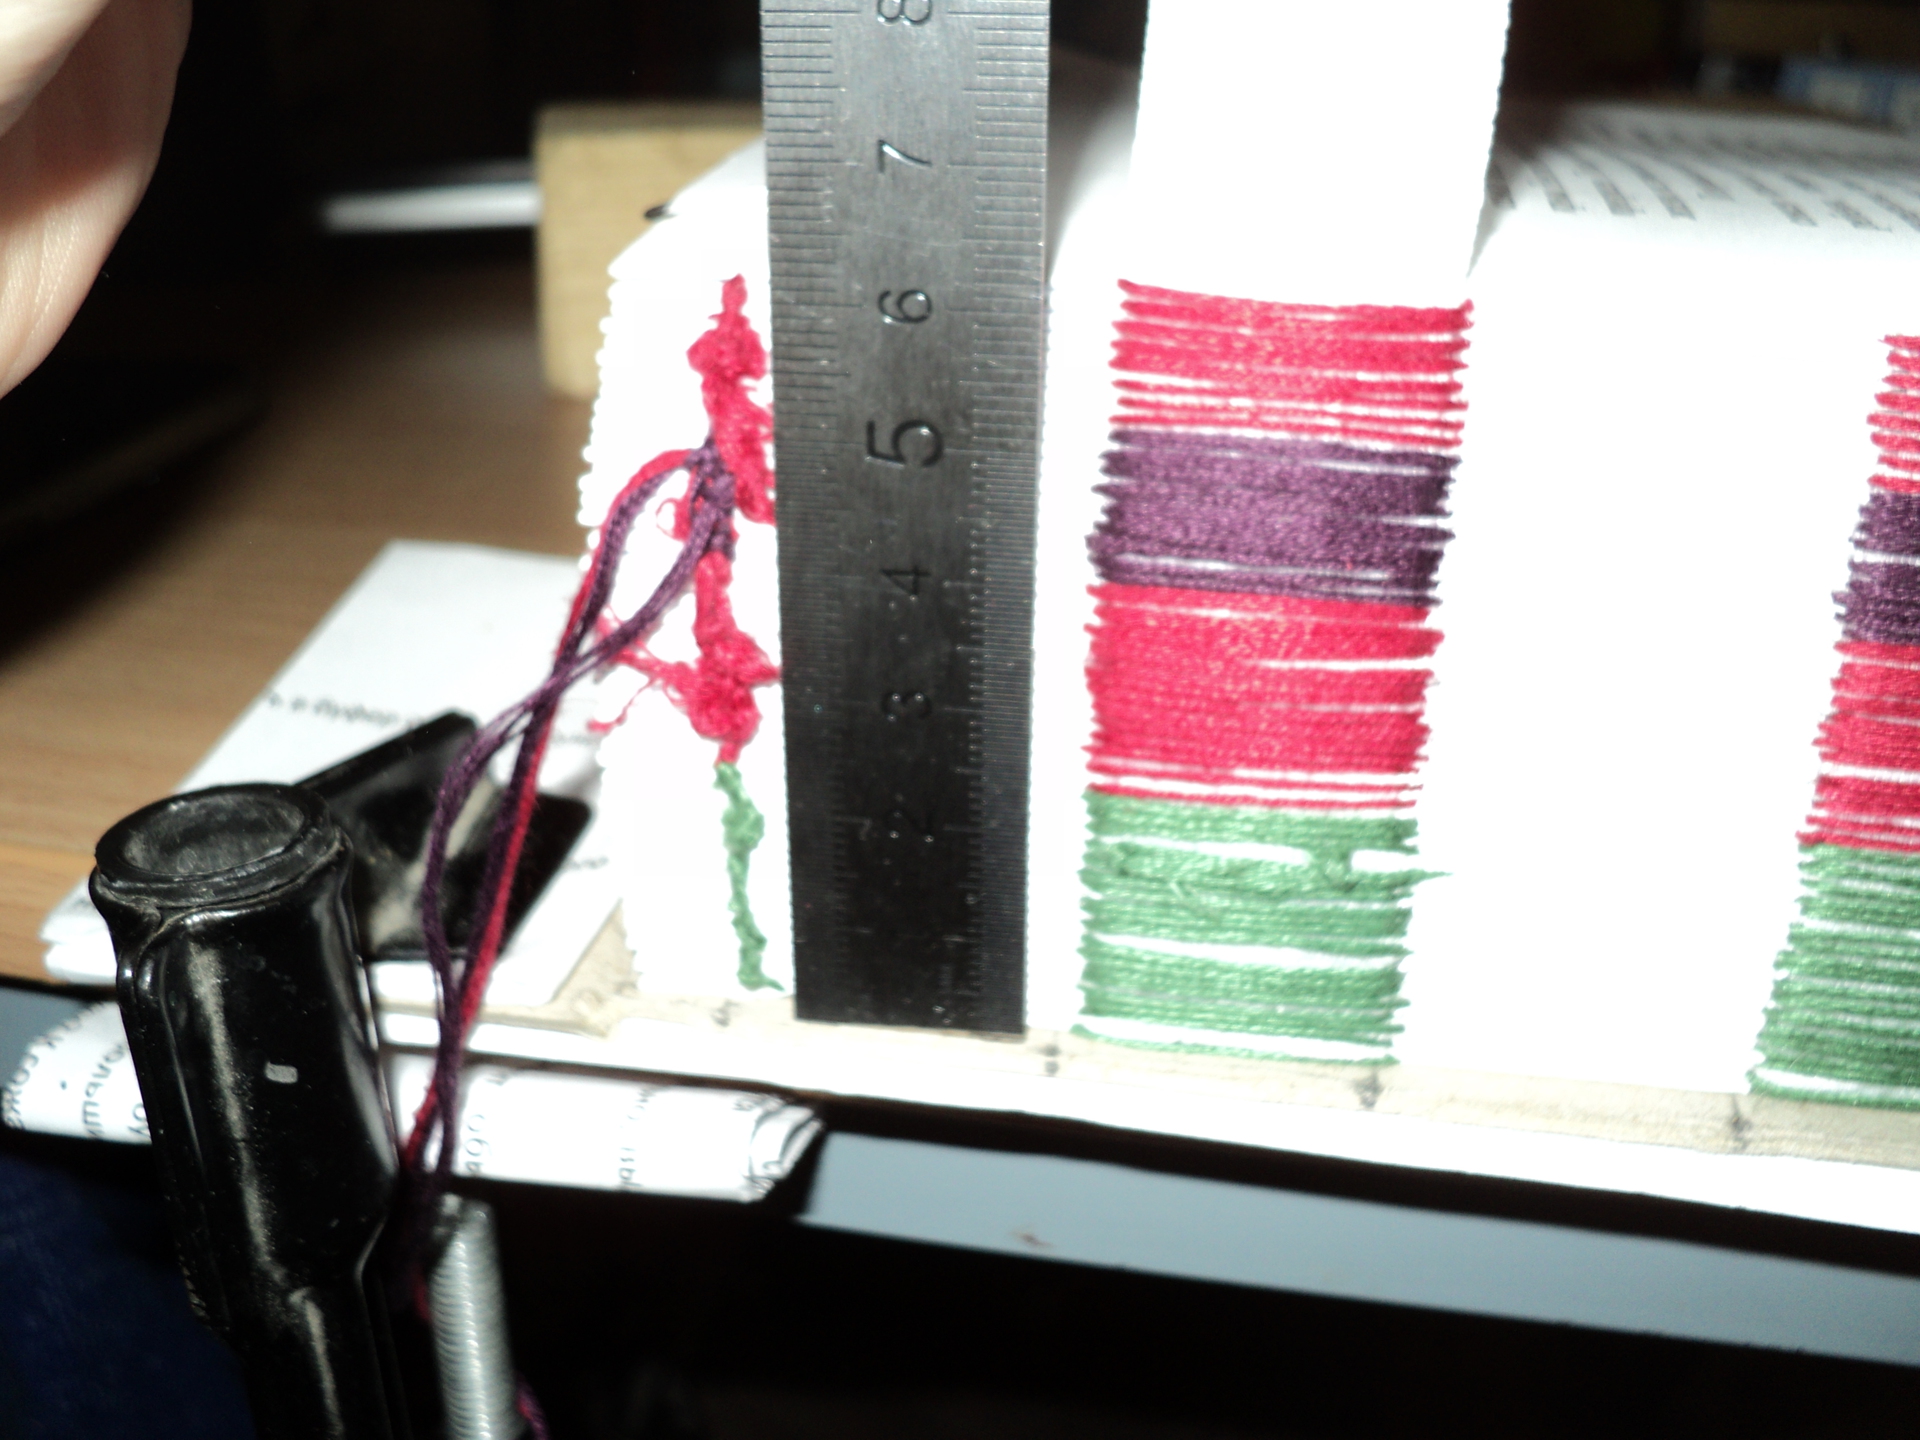
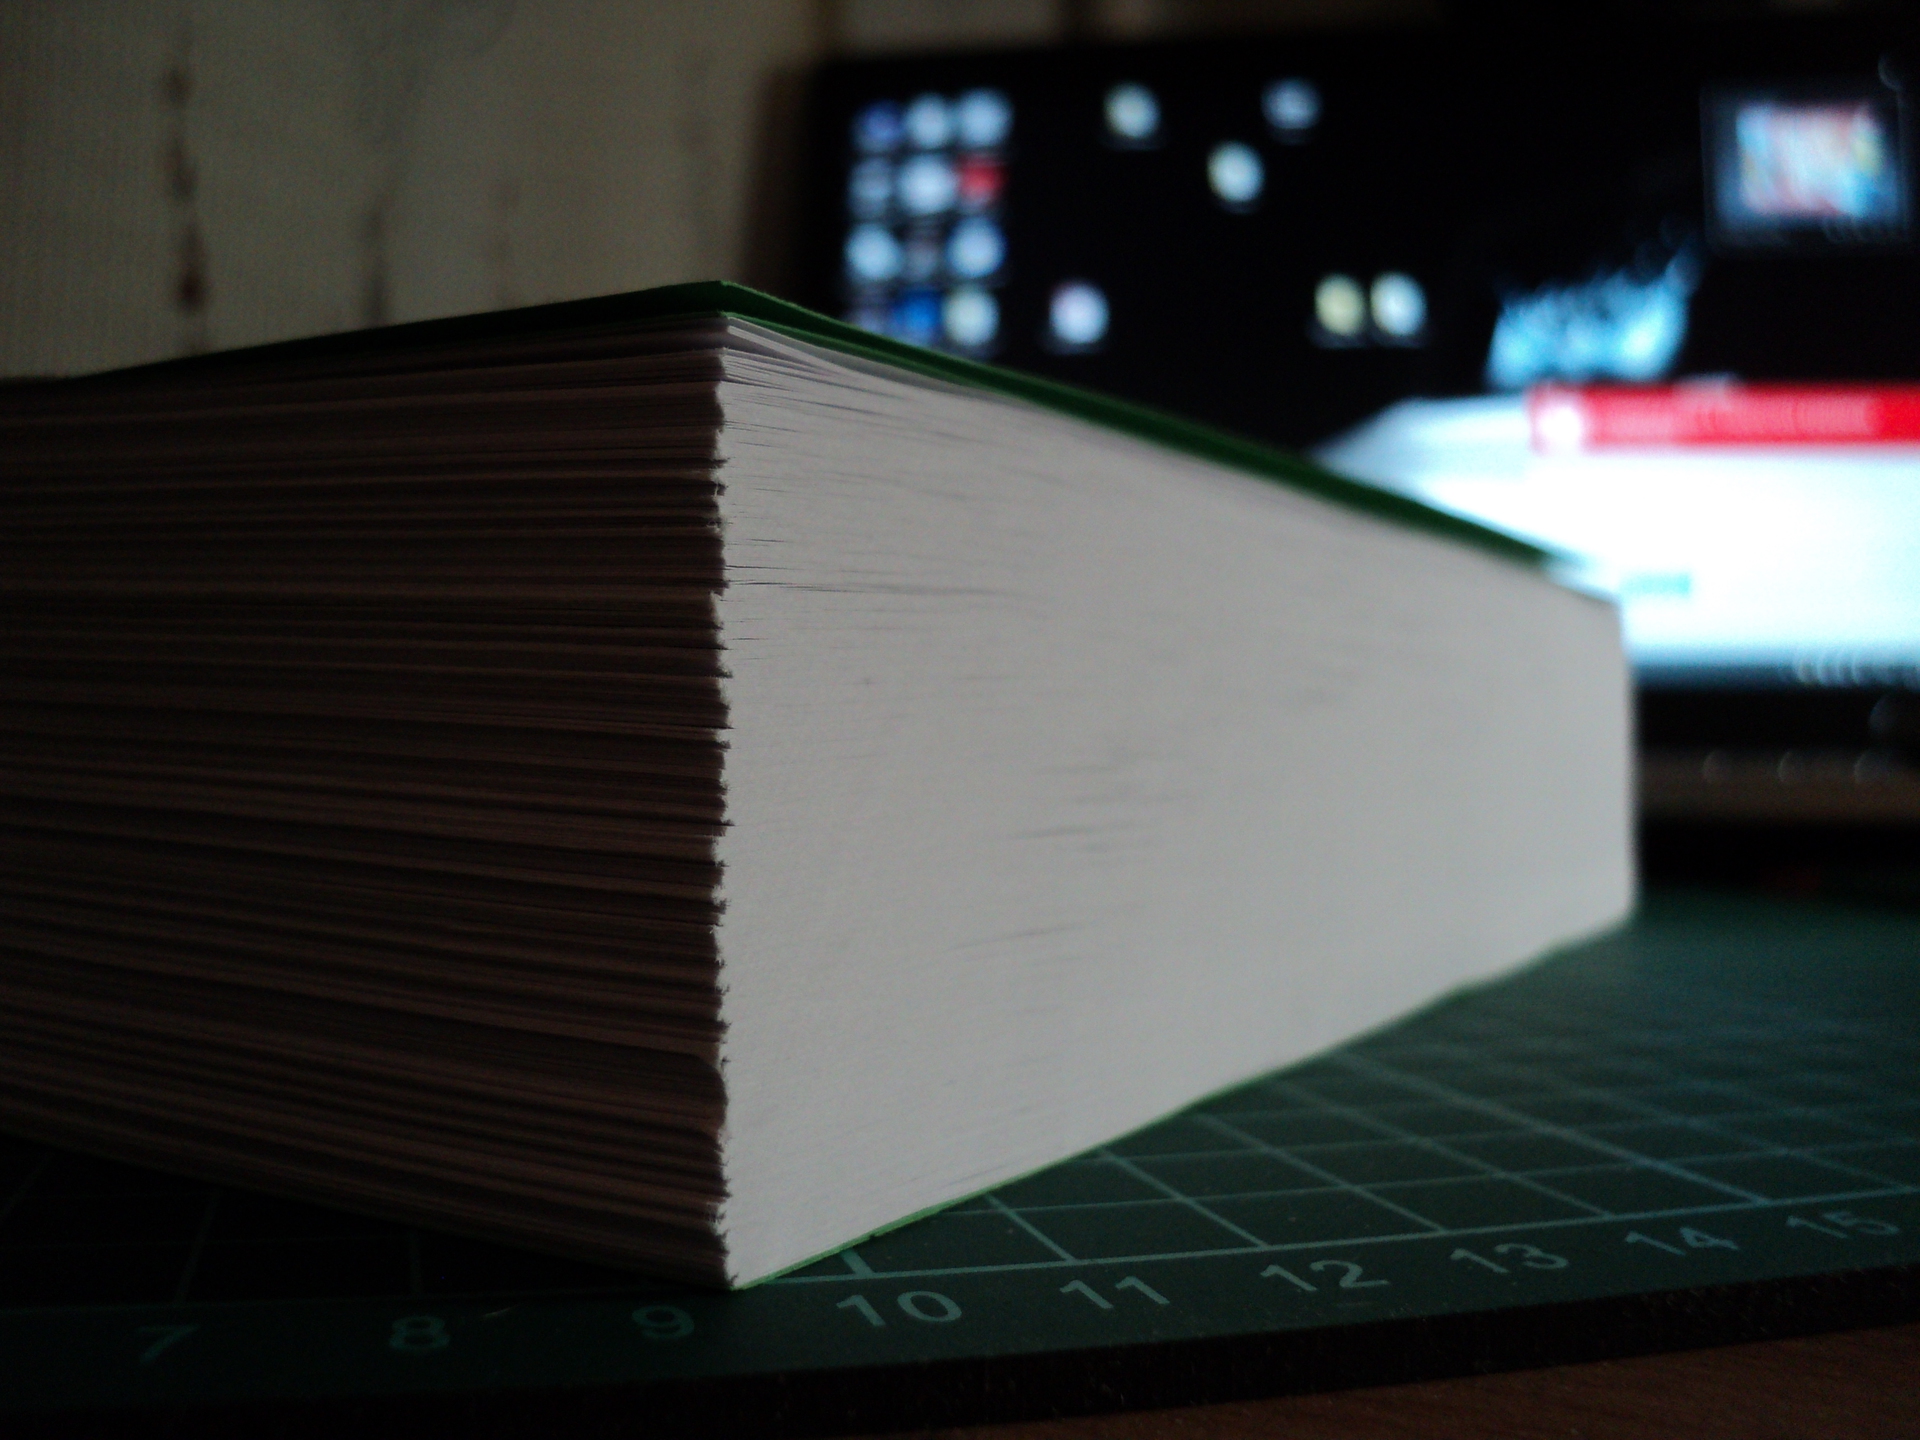
I also decided, taking into account the thickness of the book, to use several colors of the thread and made a mistake - choosing one of the colors dark - after sizing the whole thread darkened. Then a photo of the next intermediate result, when the dawn was close behind the window and all the notebooks were stitched and sewn into one book.

Sizing
I did not begin to reinvent the bicycle, taking advantage of the advice of a man who had gone the way of making gift binding for a book.
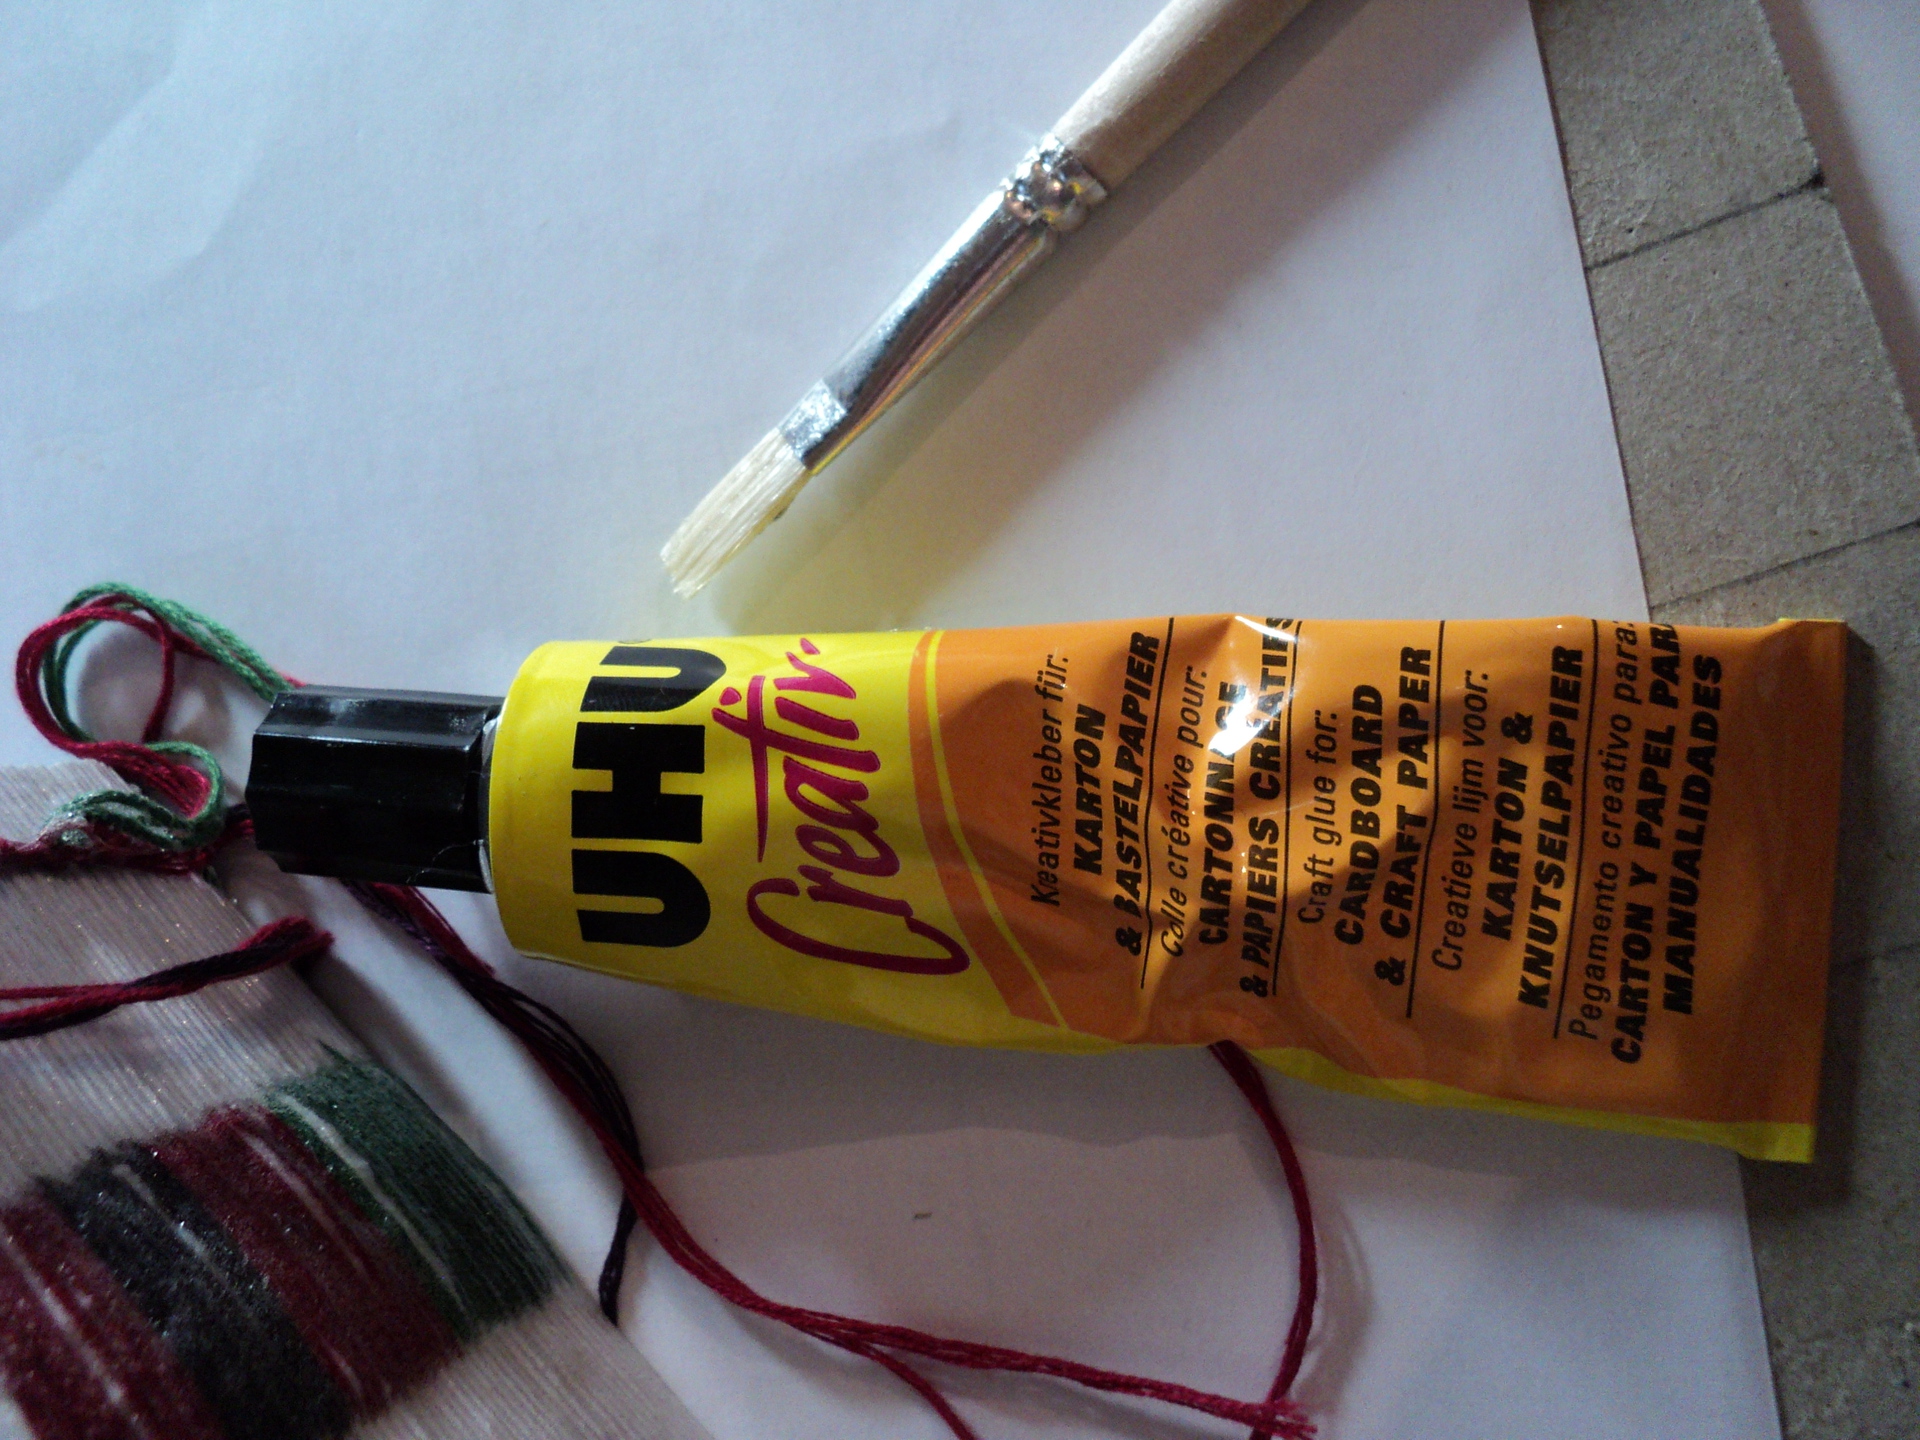
The resulting construction, aligning the notebooks relative to each other, we clamp in the press and gently coat with glue. I used a special glue for cardboard and paper, UHU creative. It dries quickly, perfectly glues, not water-based, so it does not soak the paper and after gluing it remains somewhat elastic. Leave to dry.
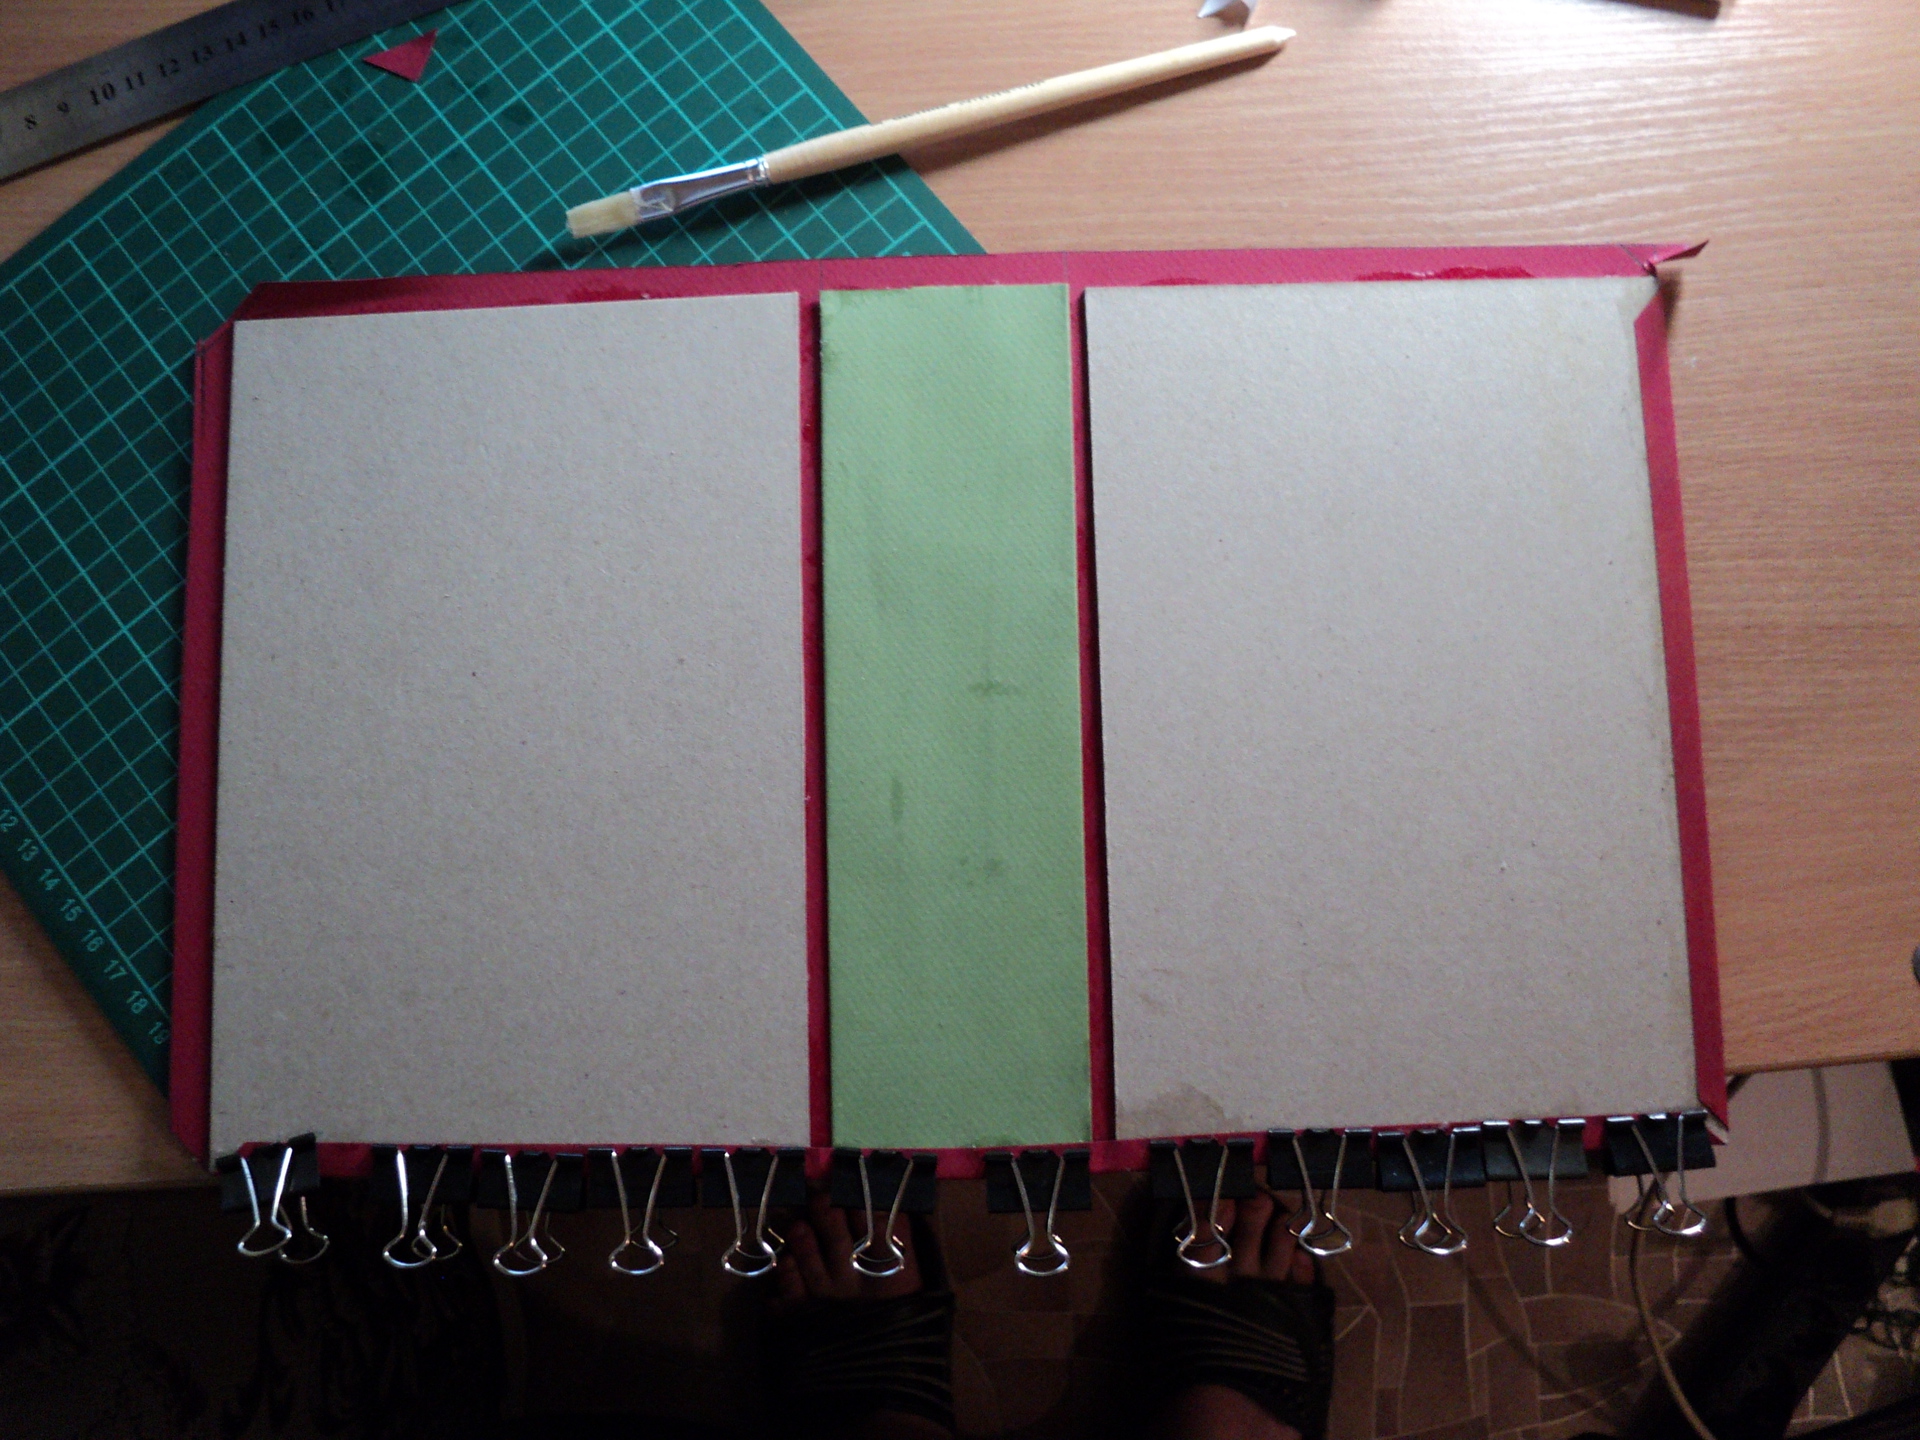
Making bookends
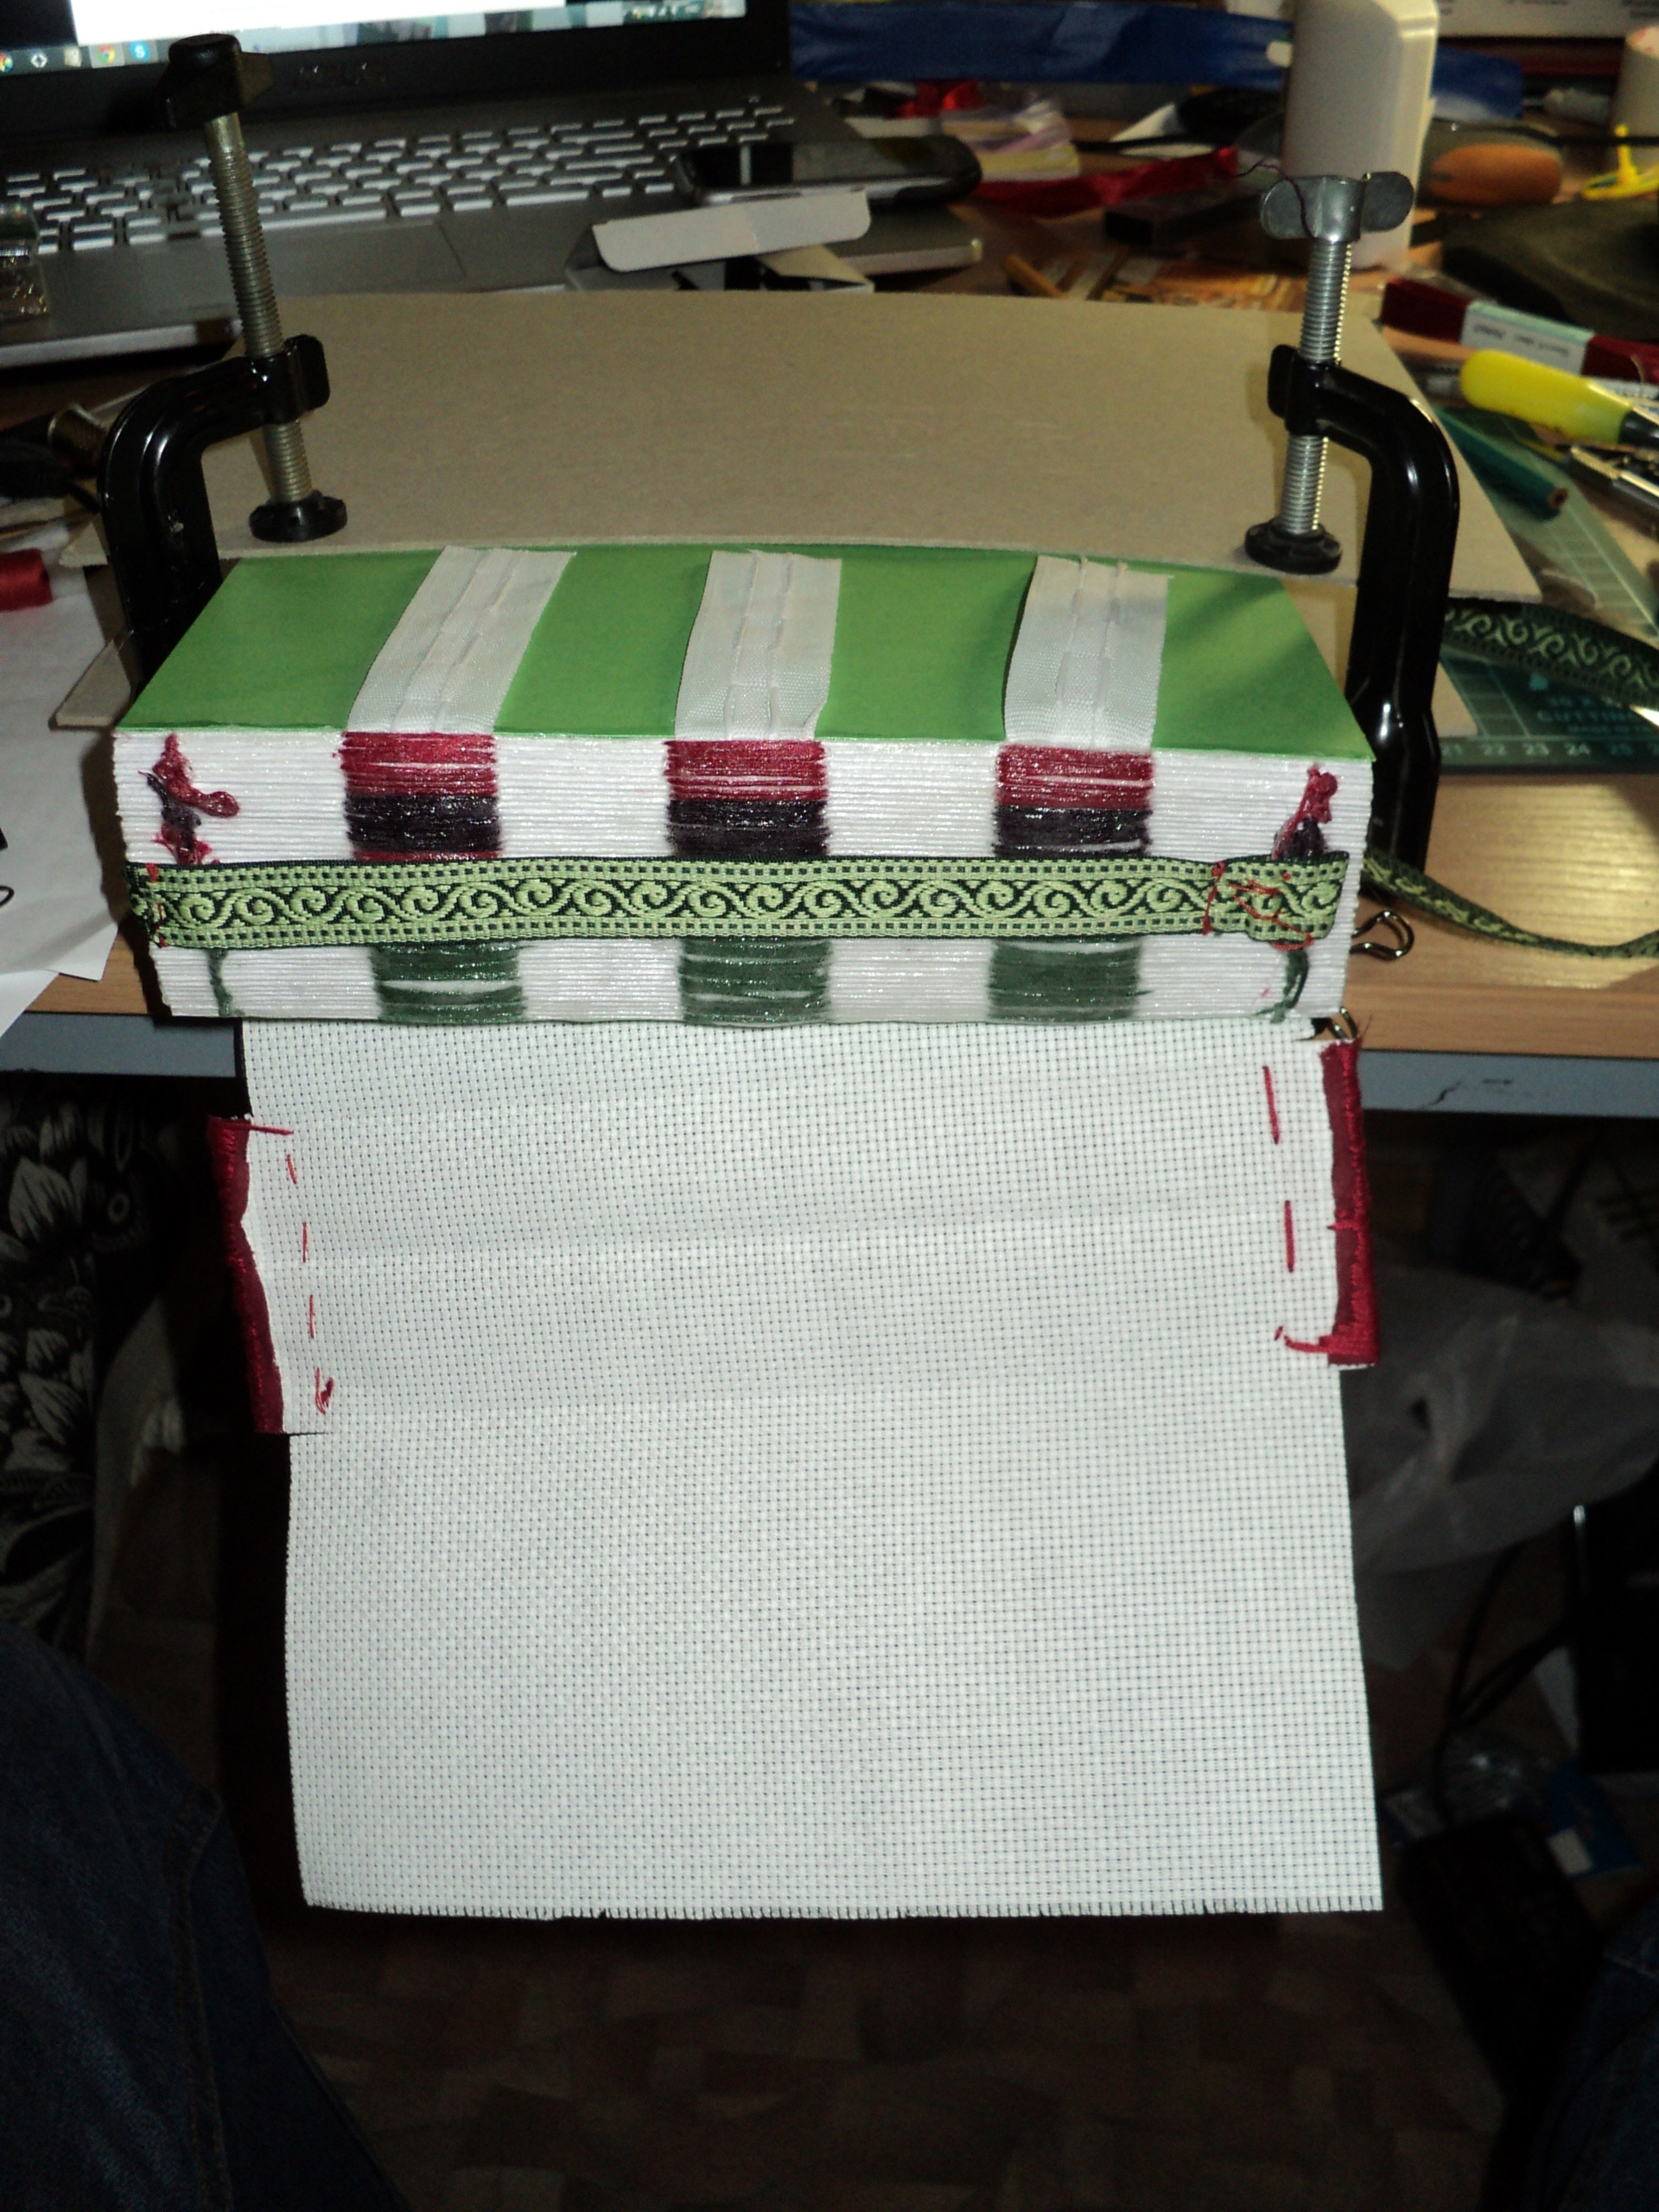
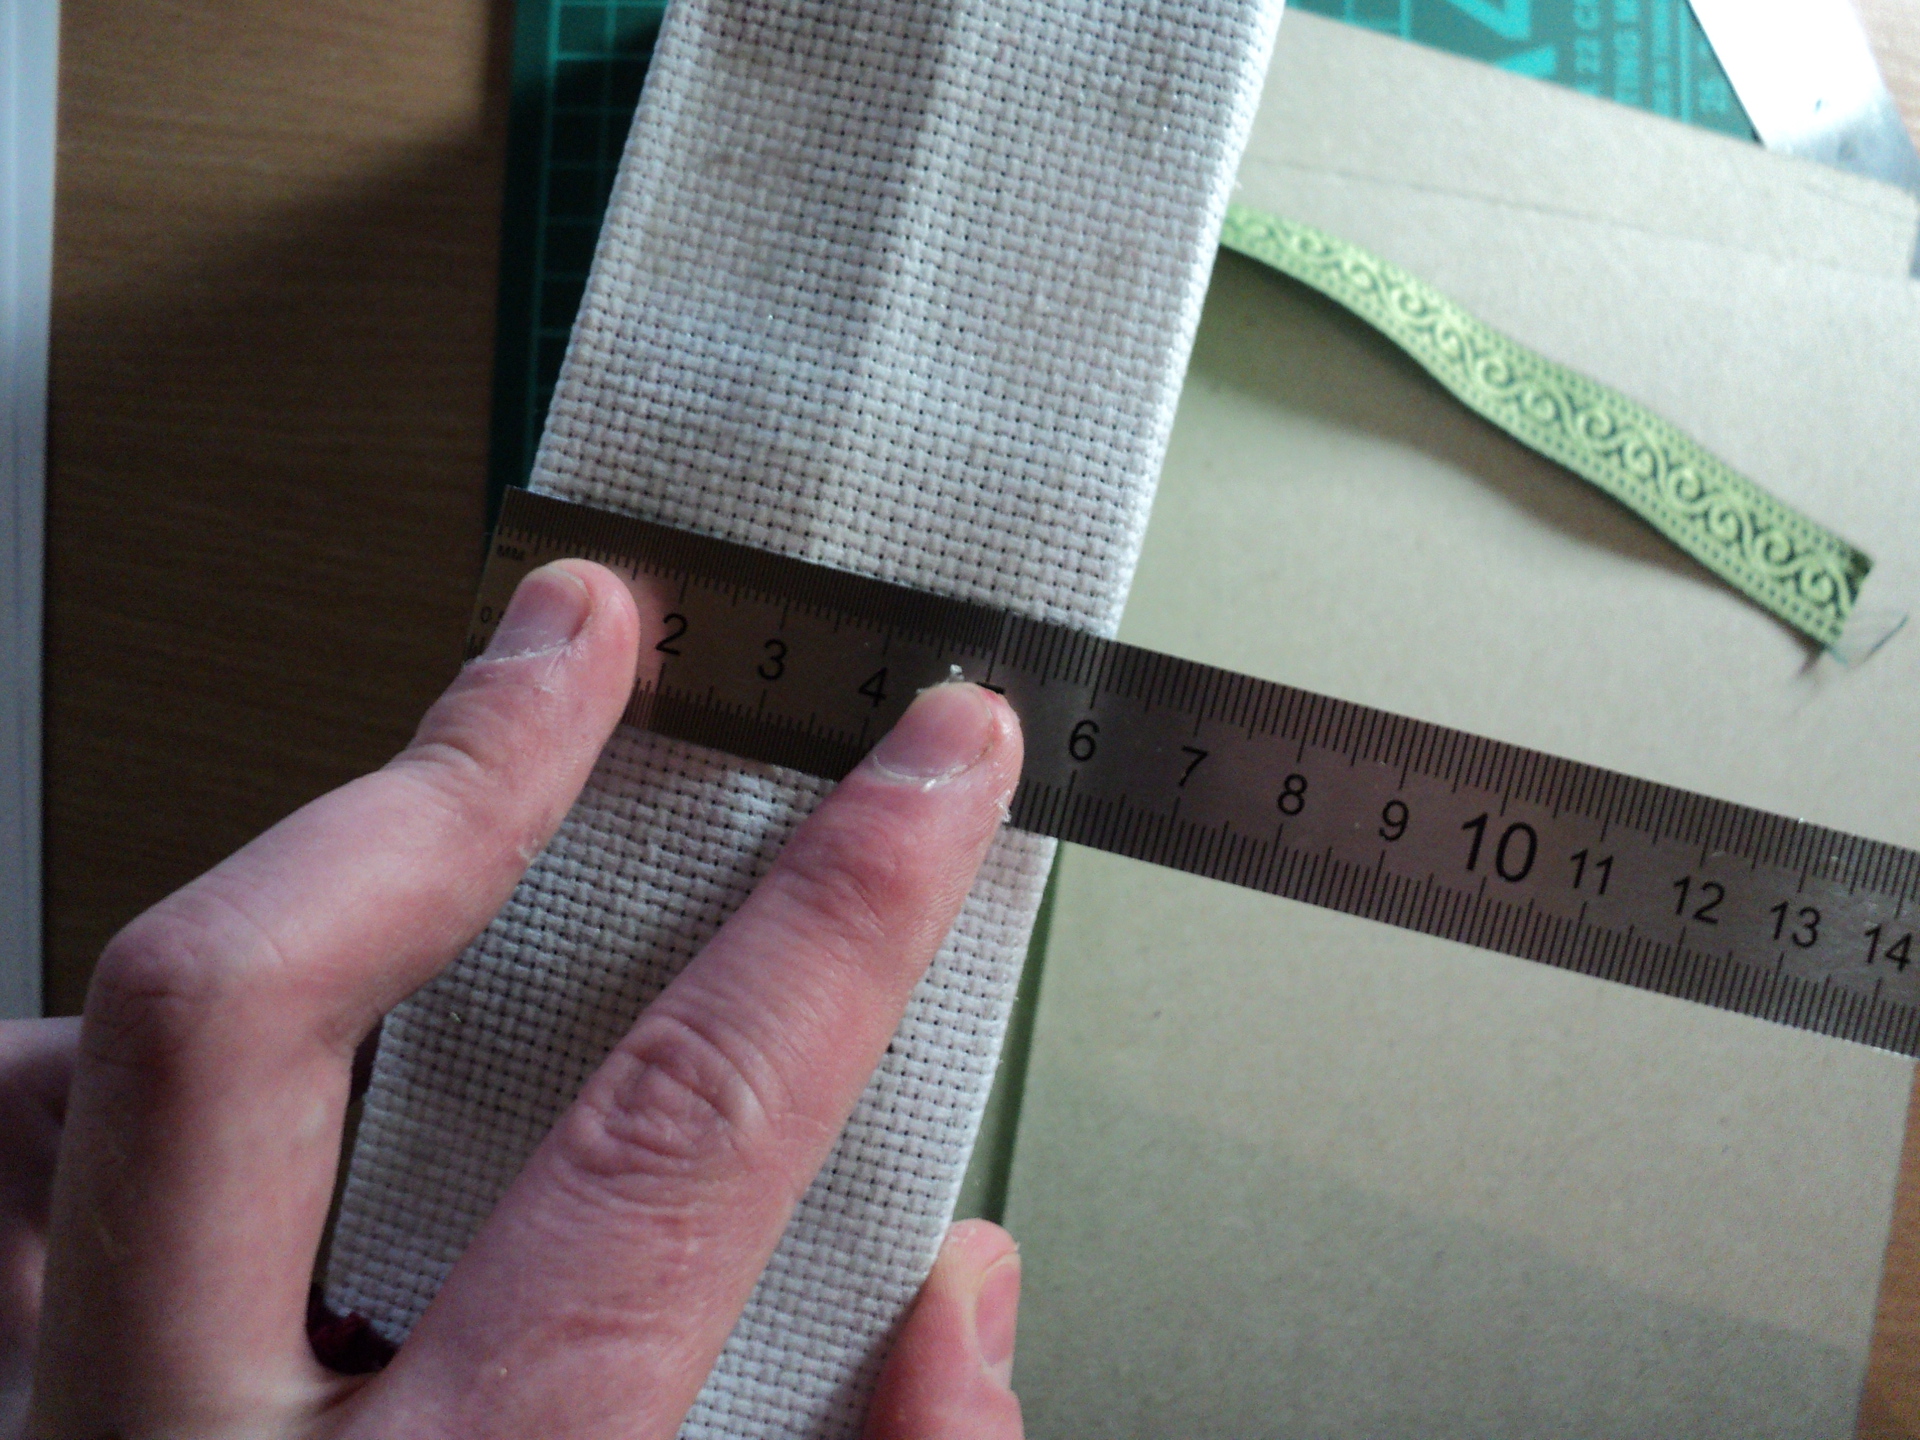
The glue dried very quickly and really remained resilient. Cardboard for flyleaf was chosen green with a density of 160 g / m ^ 2. For this we needed two A4 sheets bent in half. Having retreated 5 mm from the fold, he marked up on the outer pages, for gluing the bookend.
The reinforcing tapes are glued later on the flyleaf under the canvas.

I also had an idea to make a bookmark, for which a green cotton band with an ornament was used, which I sewed to the reinforcing tapes and glued for reliability.
Book block reinforcement
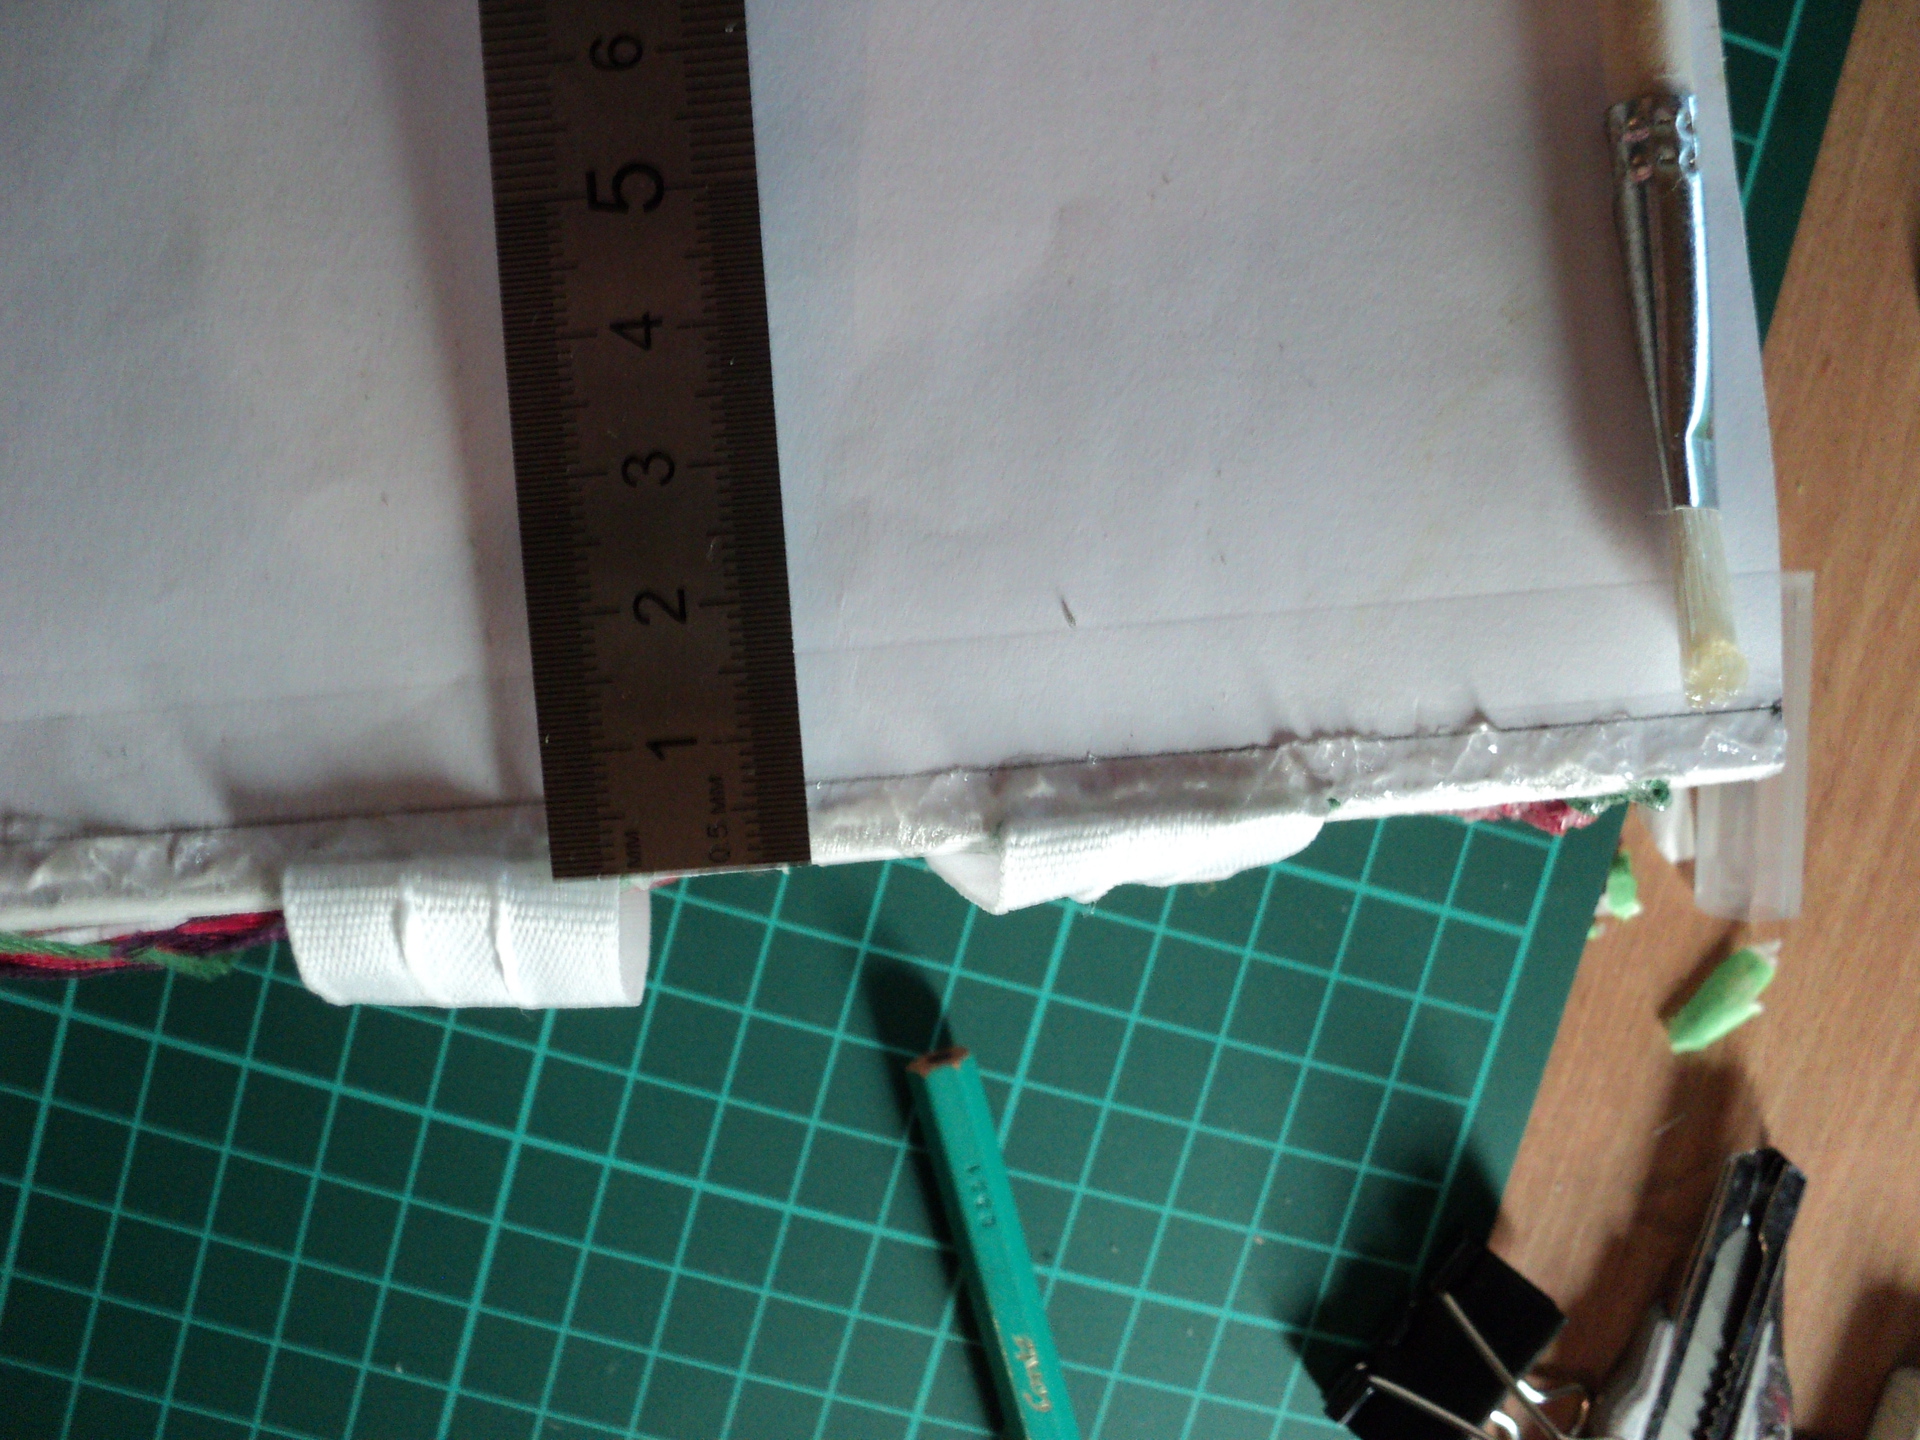
The next stage is the completion of the book block assembly. First, I pasted on the end of the canvas, mesh cotton fabric for the reinforcement of the butt, so that the book served for a long time and certainly would not fall apart during operation.
To begin with, the future “frame” of the canvas sheet was marked (it is sold in large pieces) and the marking of the position of the spine was applied.
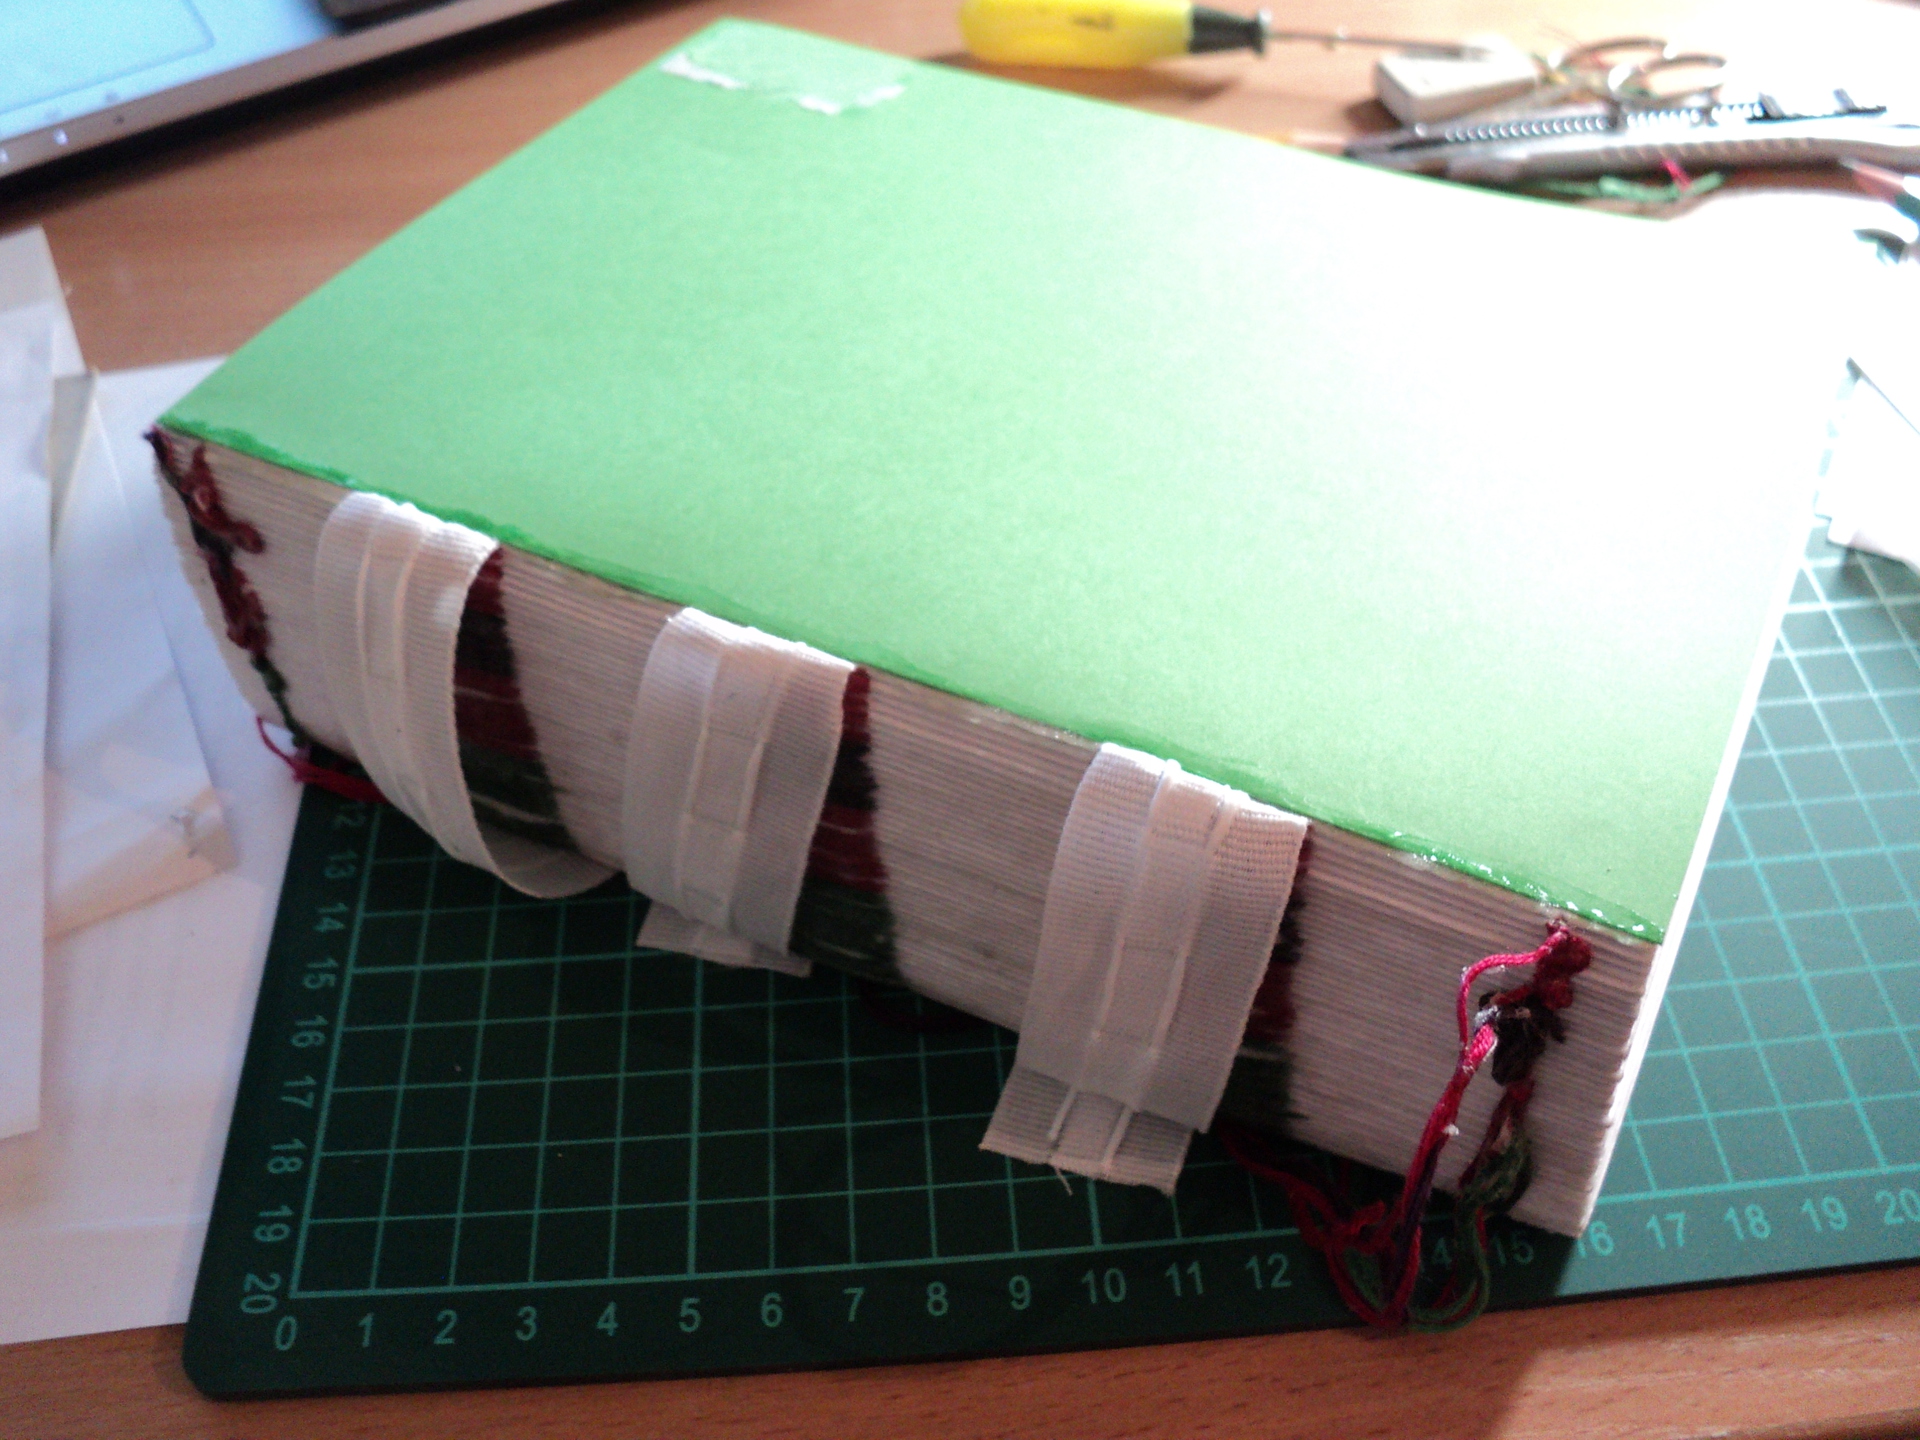
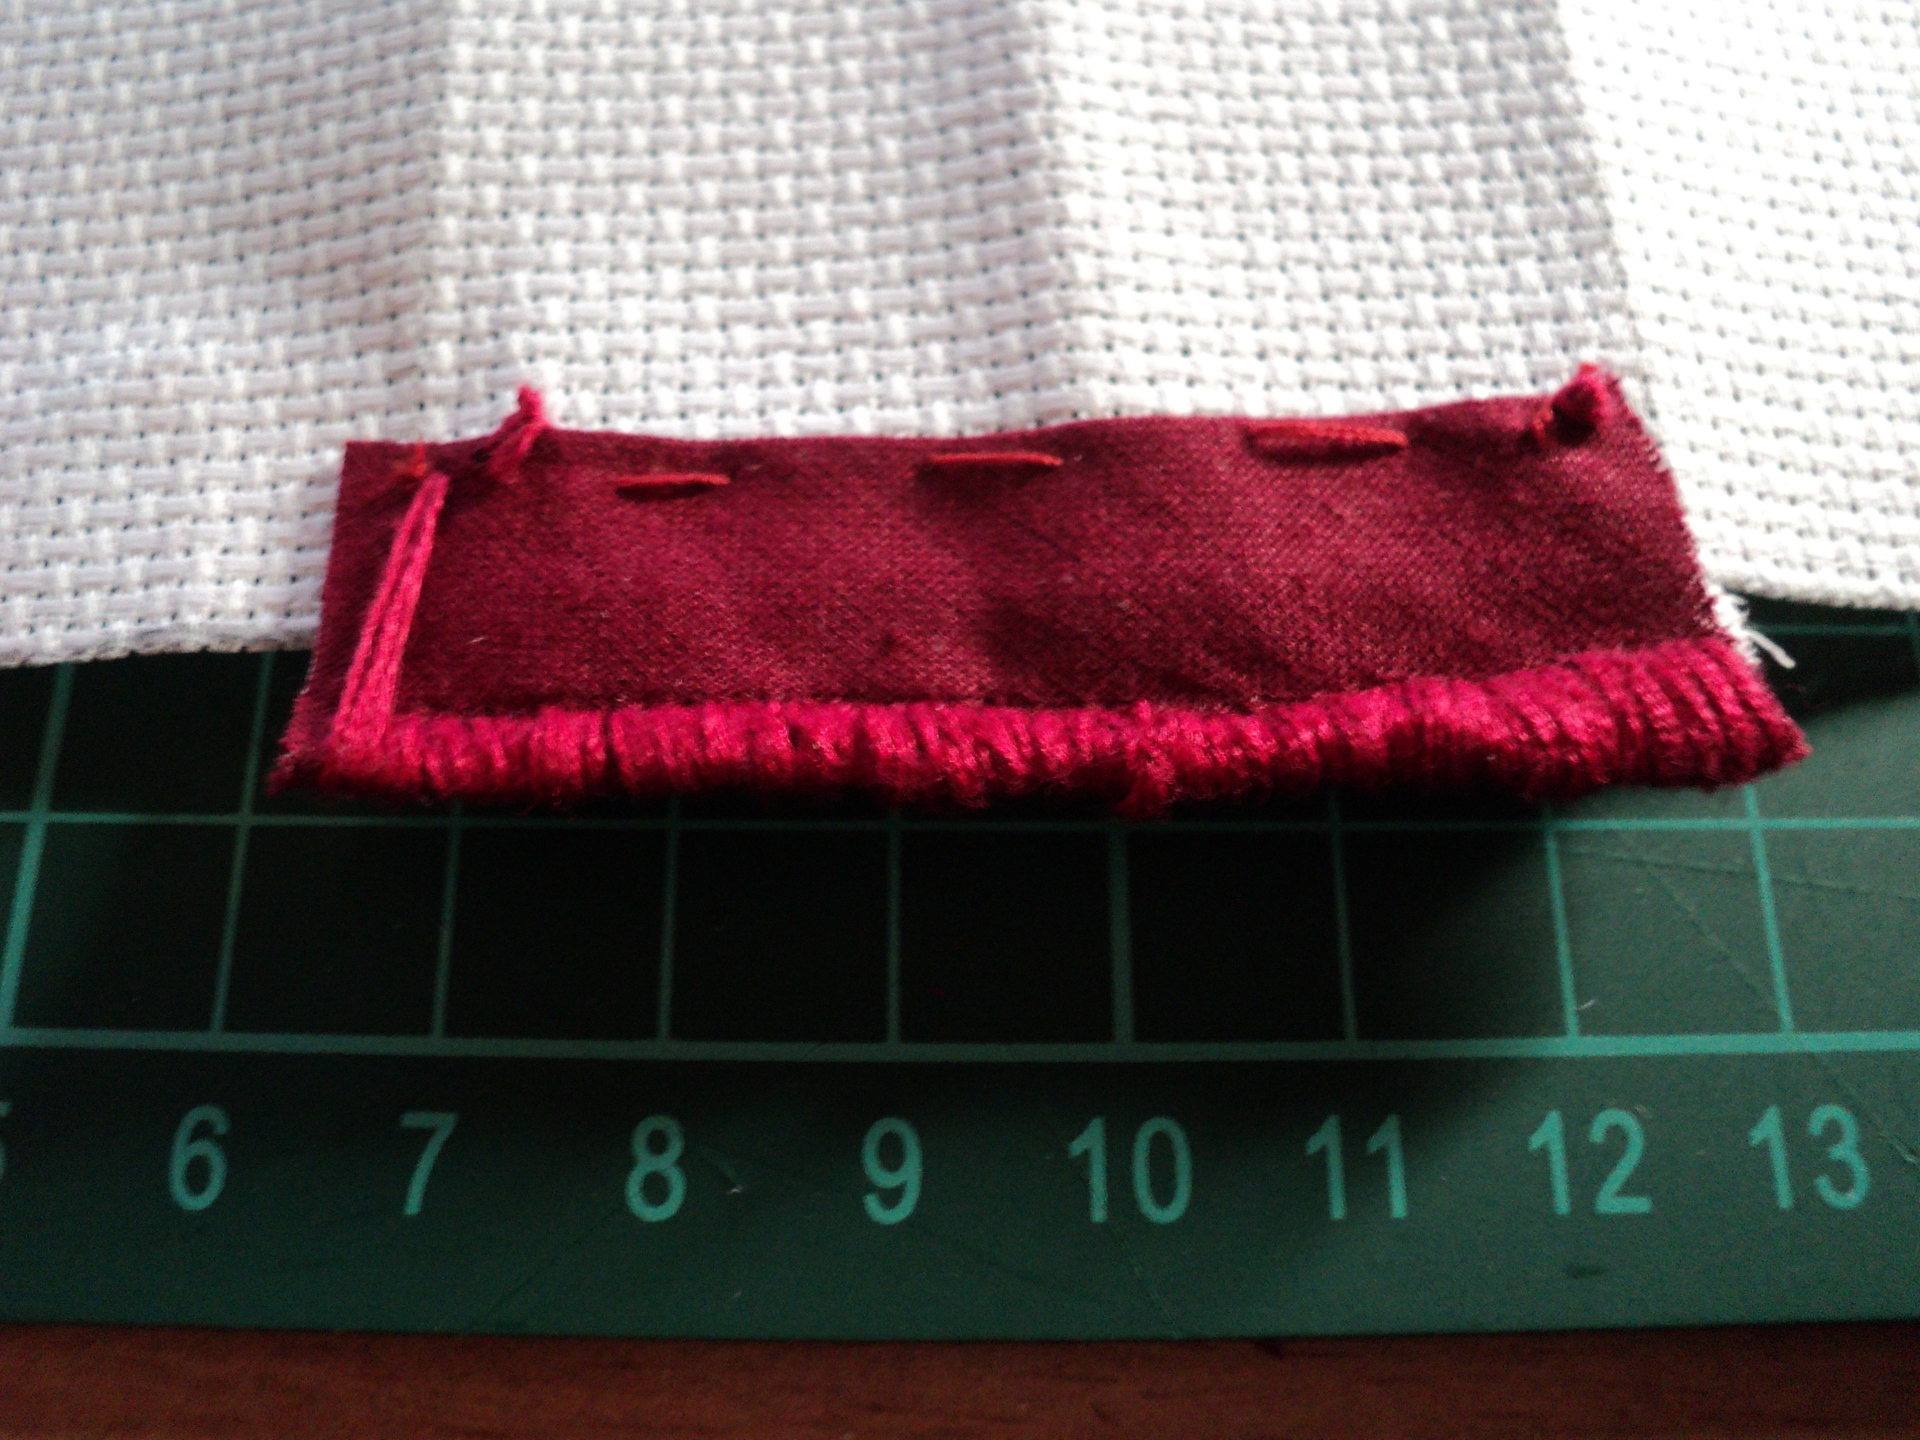
Before you glue the canvas to the book, it's time to hide the not very beautiful back. For this you need capitals (captal tape, etc.). It was not possible to find this tape at retail in St. Petersburg, and not so quickly via the Internet. There was a little less than a day left, and besides, I wanted to make captals of the same color as the book's binding. So it was decided to make them yourself.
Having chosen the tape, I thought about how to realize captals. I decided to sew red floss over the ribbon sewn to the canvas.
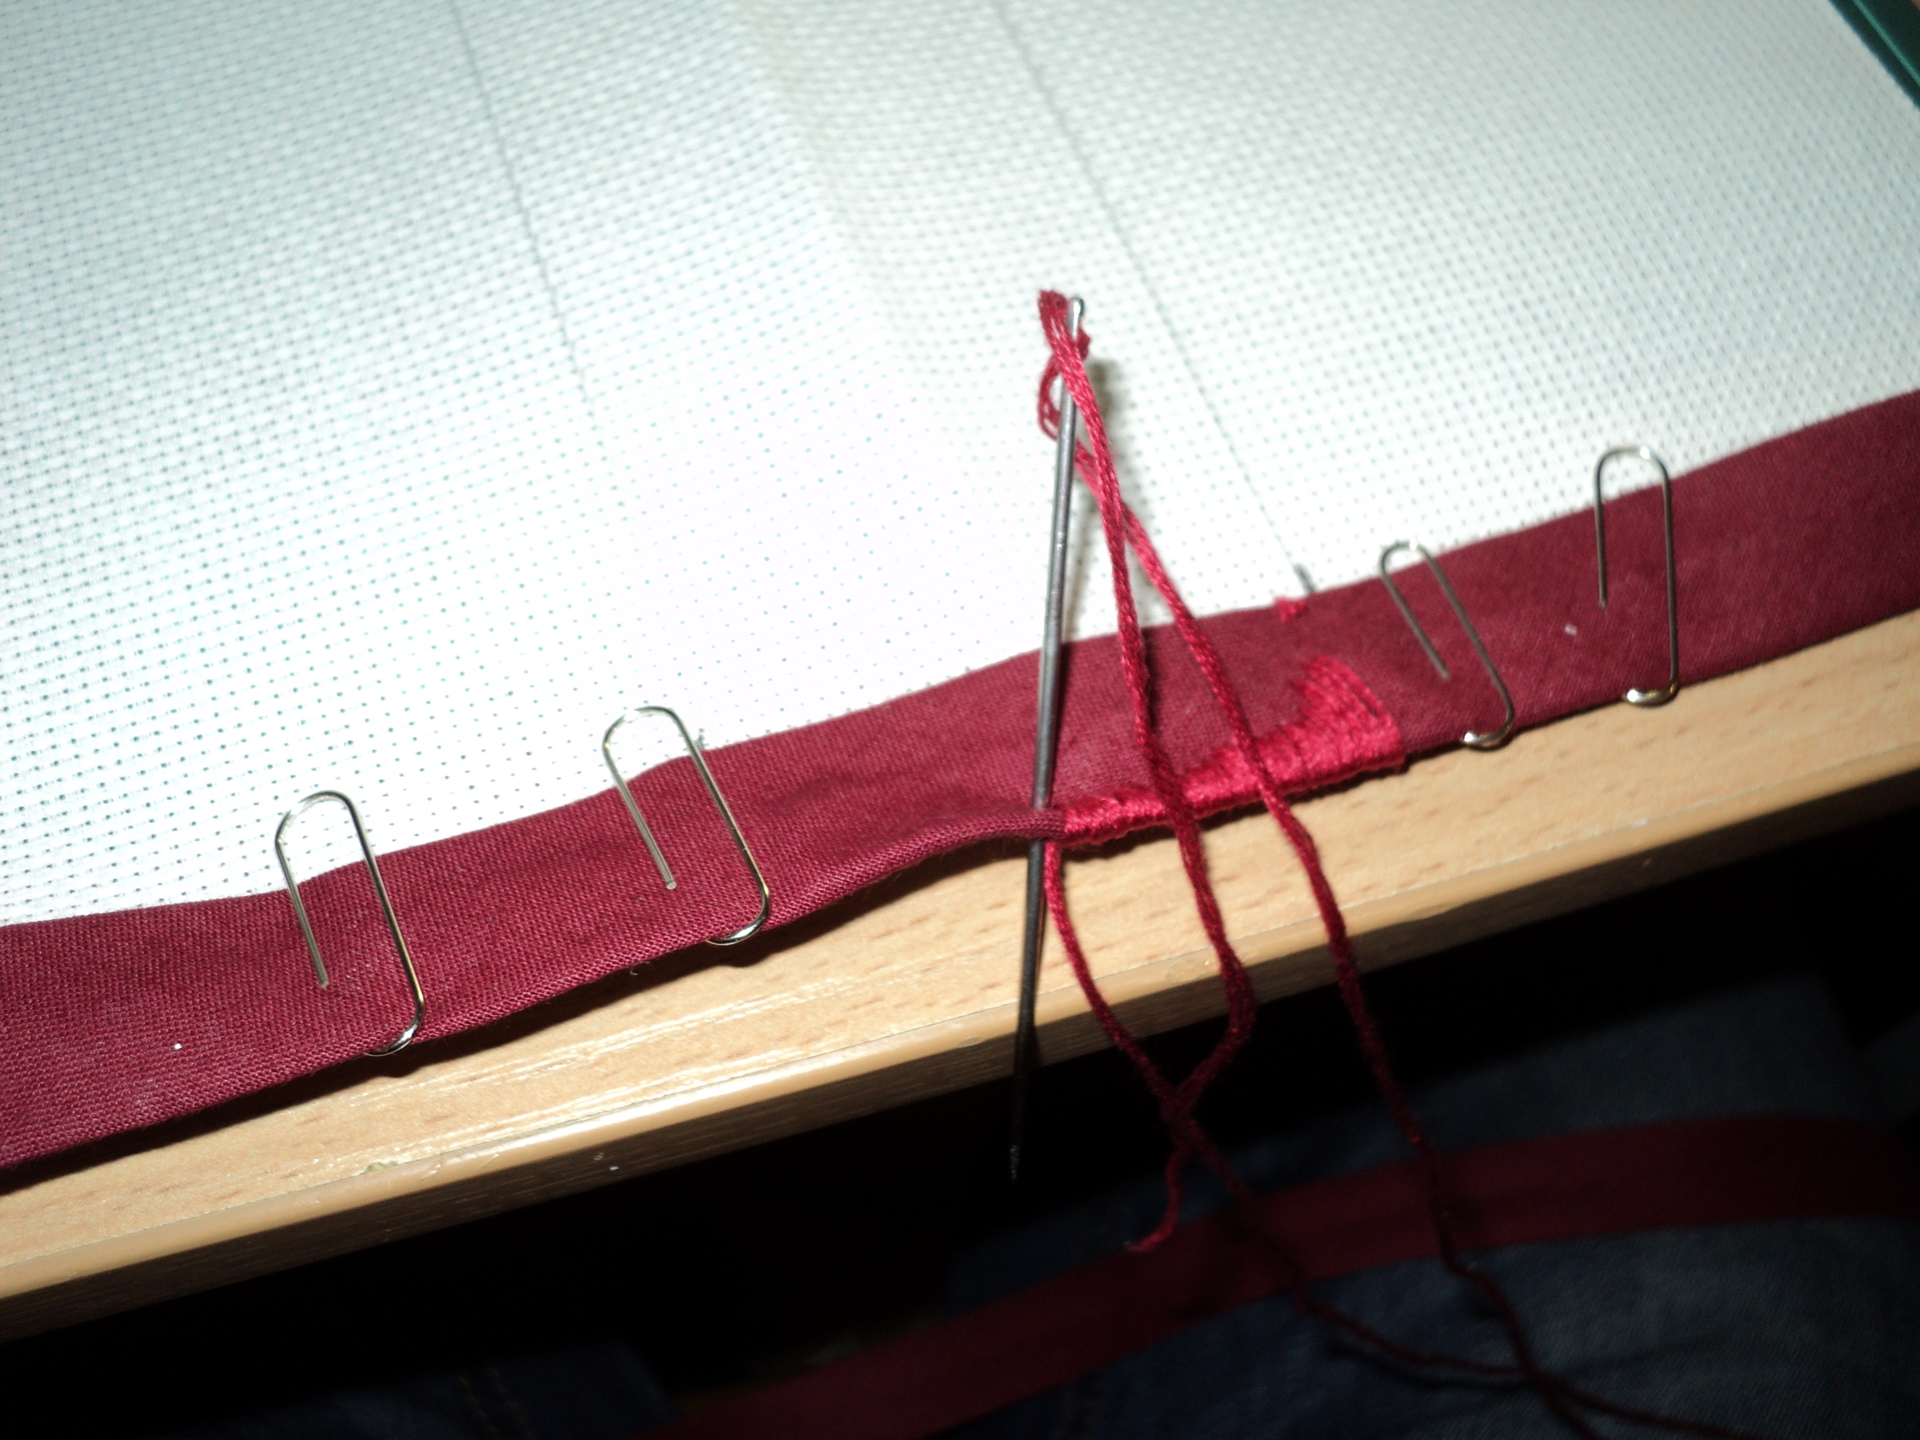
Initially, the tape was not cut across the width of the spine, only for convenience, so the next step - I cut and fixed the sewn captals.

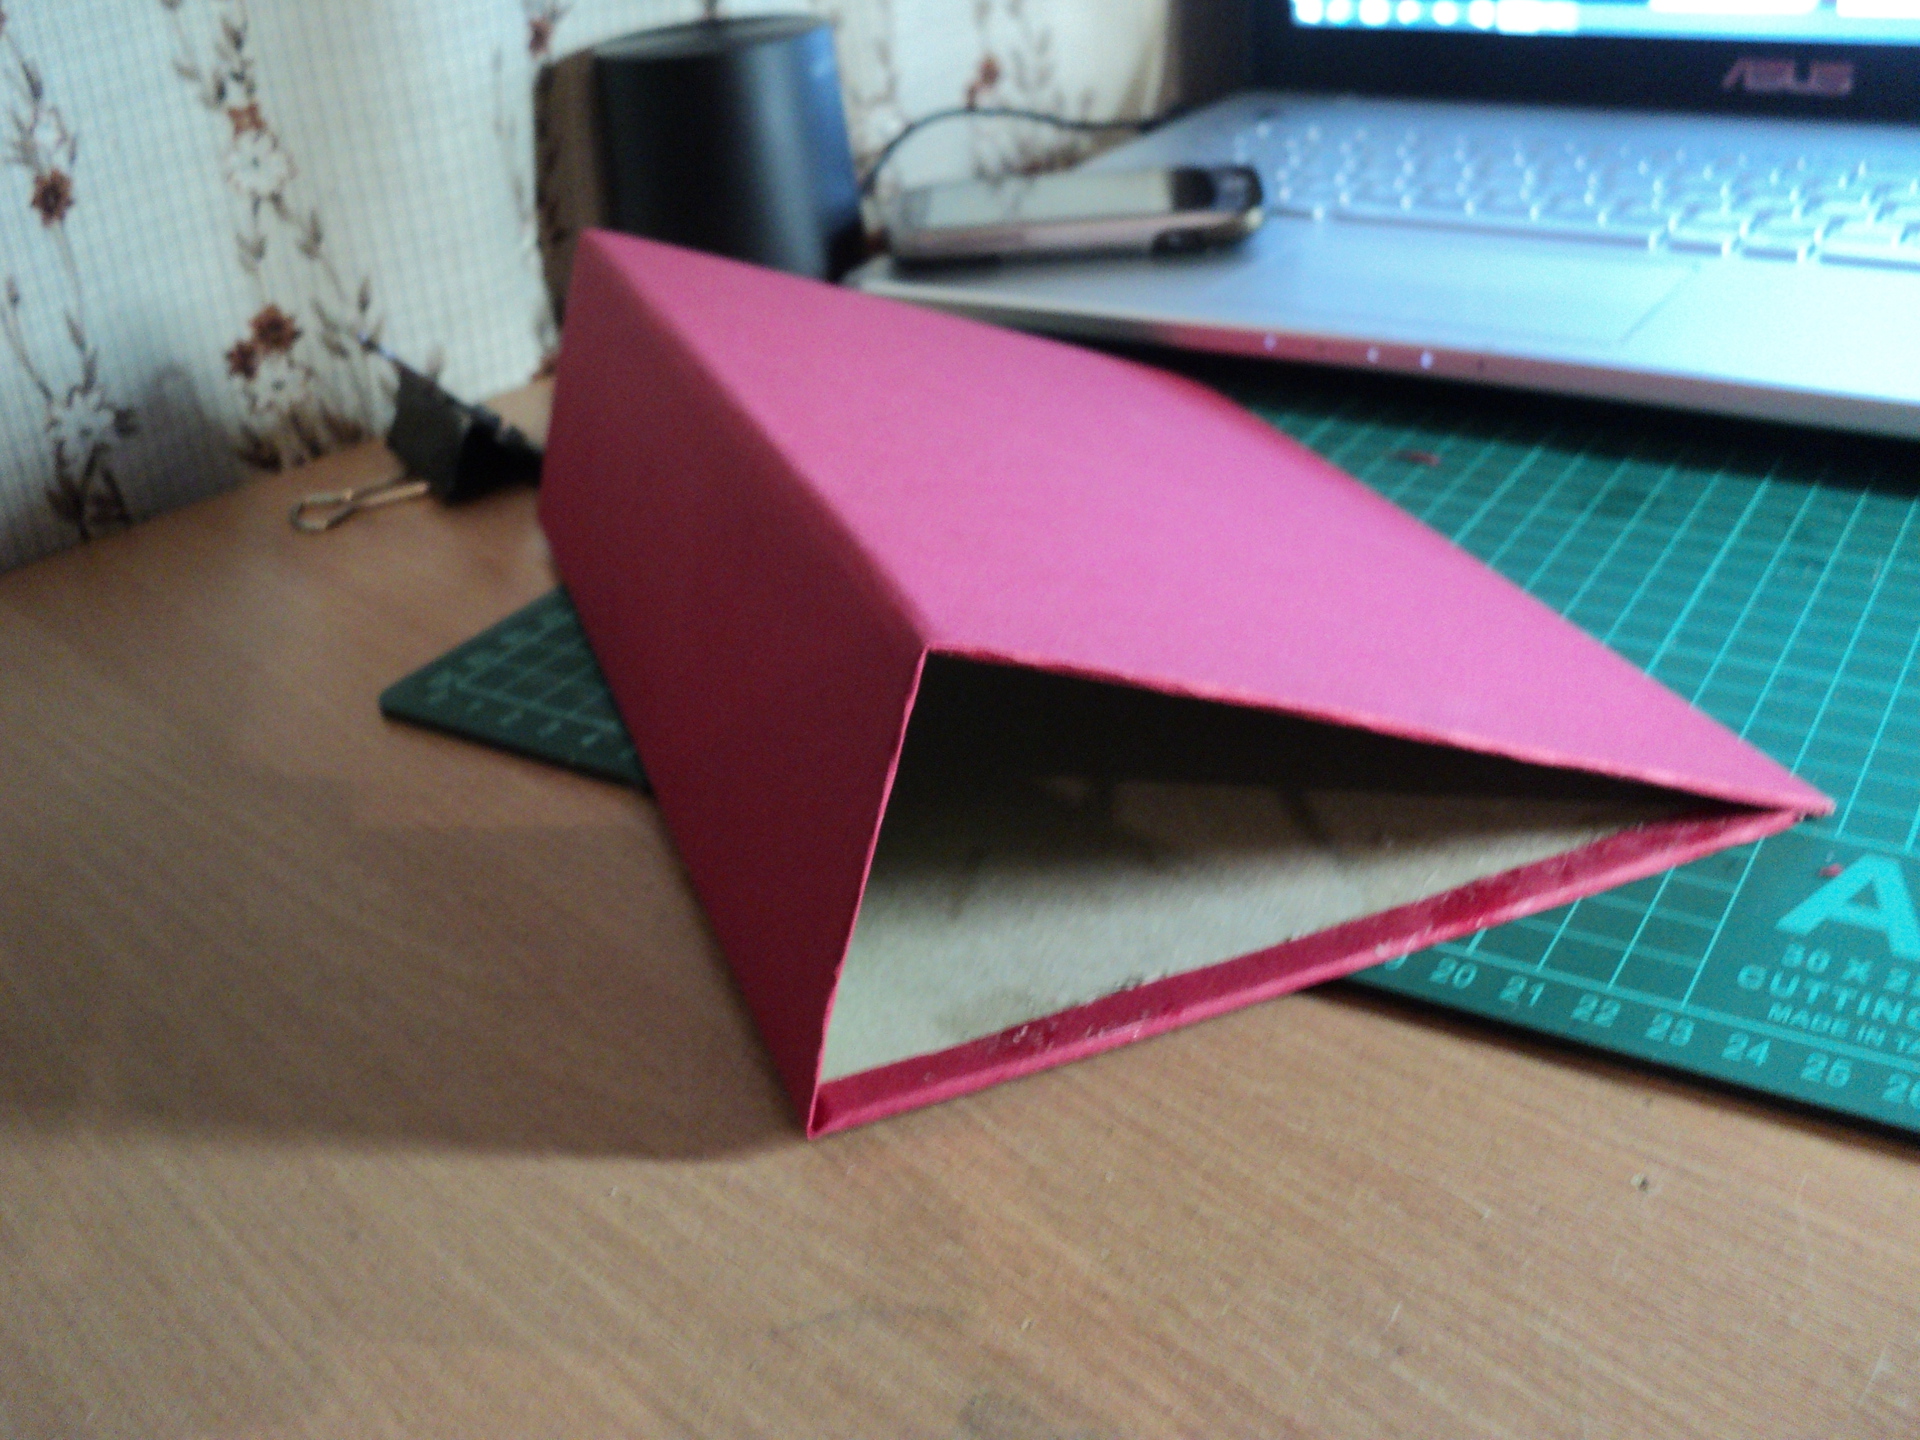
The final action of the reinforcement of the book - I glued the prepared outline with sewn captal. He stuck it in parts, first to the posterior fossa, then to the spine and at the end to the front flyleaf, while he did not spare the glue.


The time has come to trim the block and I went to the printing house, where I had already agreed to use the guillotine in advance. But it turned out that I hurried to glue the canvas with the captalas and therefore managed to cut only one of the three edges.
Make a hardcover
For the manufacture of binding was used thick cardboard, unfortunately the exact density can not identify, because it gave me the very kind uncle from the printing house. The length and width were taken a little more than the format of the book, respectively 150mm and 221mm.

Measuring the thickness of the spine after sizing under the press, made of cardboard less dense than the front and back parts, made an insert for the binding, namely three times folded with a density of 160 g / cm ^ 2.
Next, the binding blanks had to be pasted over with cardboard, a claret with a density of 300 g / m ^ 2 was chosen. On a sheet of cardboard format A3 was made markup, taking into account the bends when gluing and lapping for bending. Just at this period of time, the stepdir in FabLab, my favorite laser mill, was covered by everyone, which I hoped for in these tight deadlines, trusting him more than my


We apply a thin uniform layer of glue to the cardboard, using a brush, we first glue the blanks to the cover strictly according to the marking, remembering that this glue dries very quickly, but it is reliable. After neatly patting the folds, first the right and left ones are glued, fixing them with clerical stitches. After these overlaps are glued, we proceed to the upper and lower, while standing between the cardboard inserts tightly press the outer cardboard.

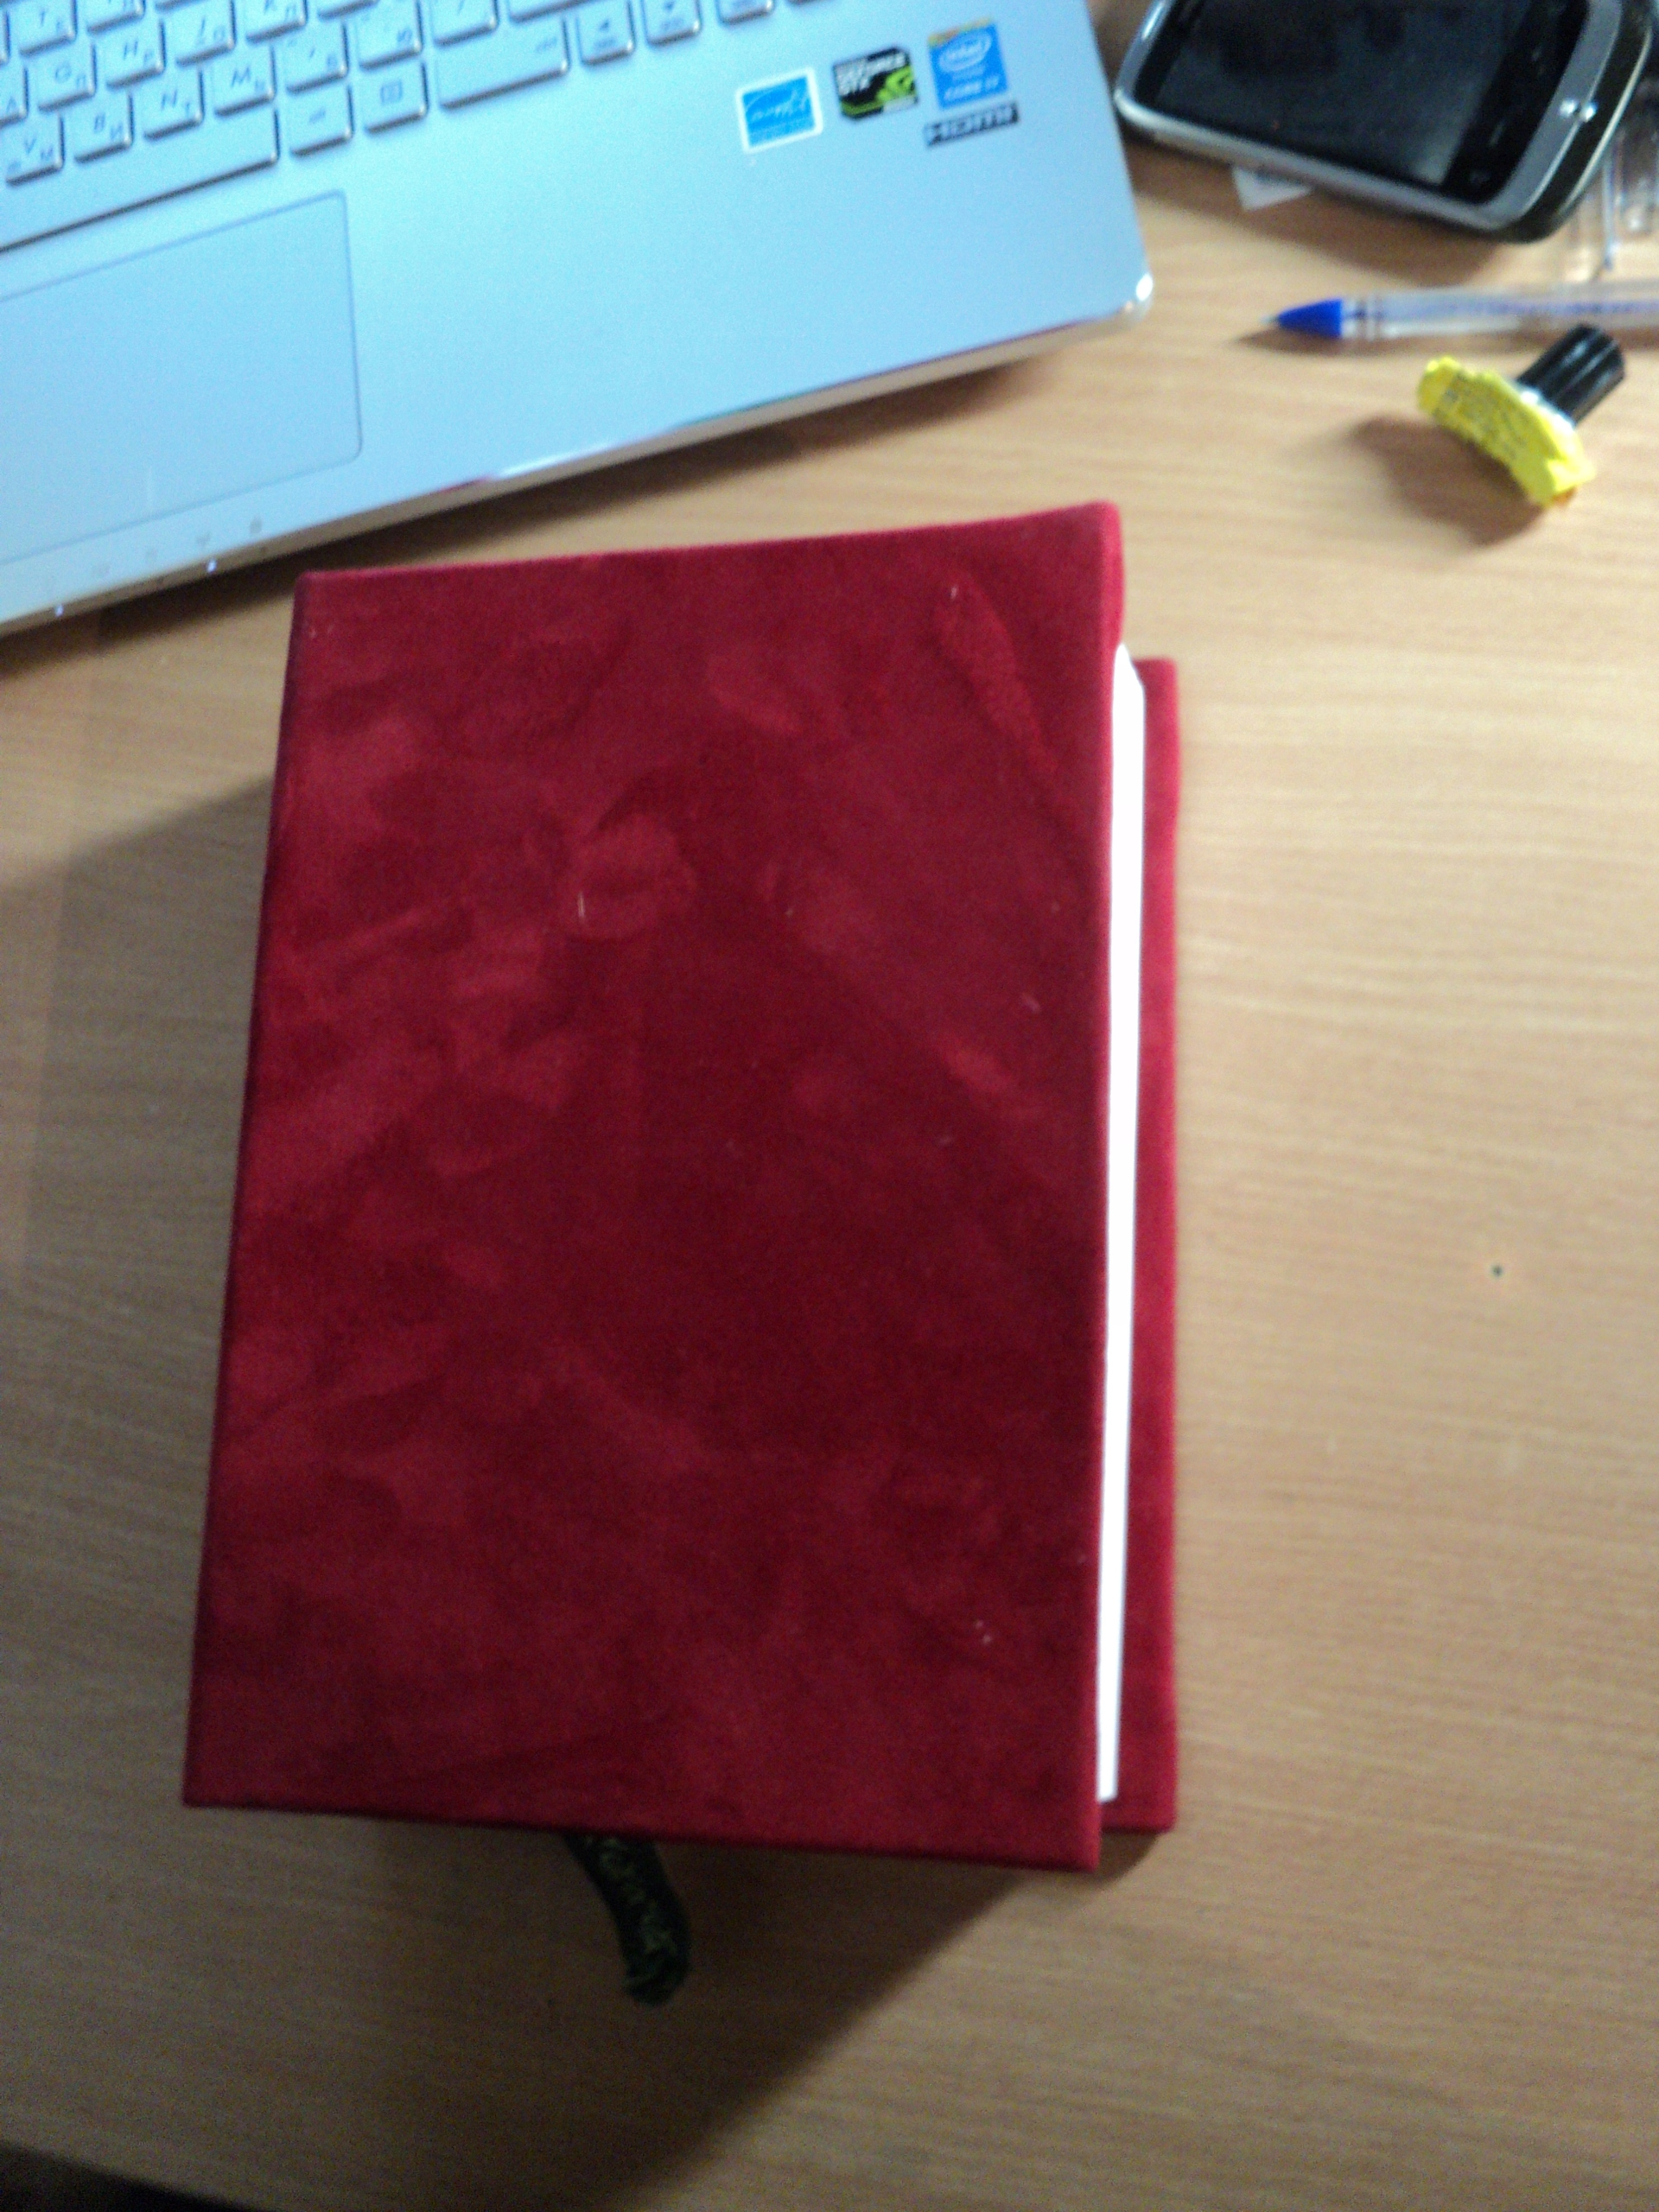
That's what happened as a result of making the cover.
Trying on the book, in my opinion it was already quite presentable.
It was already the evening before Day X, everything seems to be ready, you can glue the book to the cover with Farzats, but then it still seemed to me that the matter was not completed, and I decided to cover the cover with leather. The convulsive search for the master who would have taken it on a late Saturday evening ended up in the expected disappointment, but then I accidentally went to a school in St. Petersburg where they learn to process the skin and I started an interesting dialogue with a woman from the administration of this educational institution who kindly told how it is done to me, I threw off a couple of videos (I didn’t even think to look for video on request for leather-bound books), and even suggested where I could get a small piece of leather with a large selection of both color and skin type. Without stopping to think, I went for the skin. Almost immediately, a roll of red suede caught my eye, and to my luck, there was a small piece of this particular skin, among the scraps.
Returning to the


Subsequent actions almost do not differ from those that were performed when the cover was covered with cardboard, the only difference was that it was not easy to hold the skin, given the fact that it stretched, where it had to be cut a little.

In the case of the skin, the overlays stuck already in fly fishing, deciding that it would be better. Try on again, before pasting.

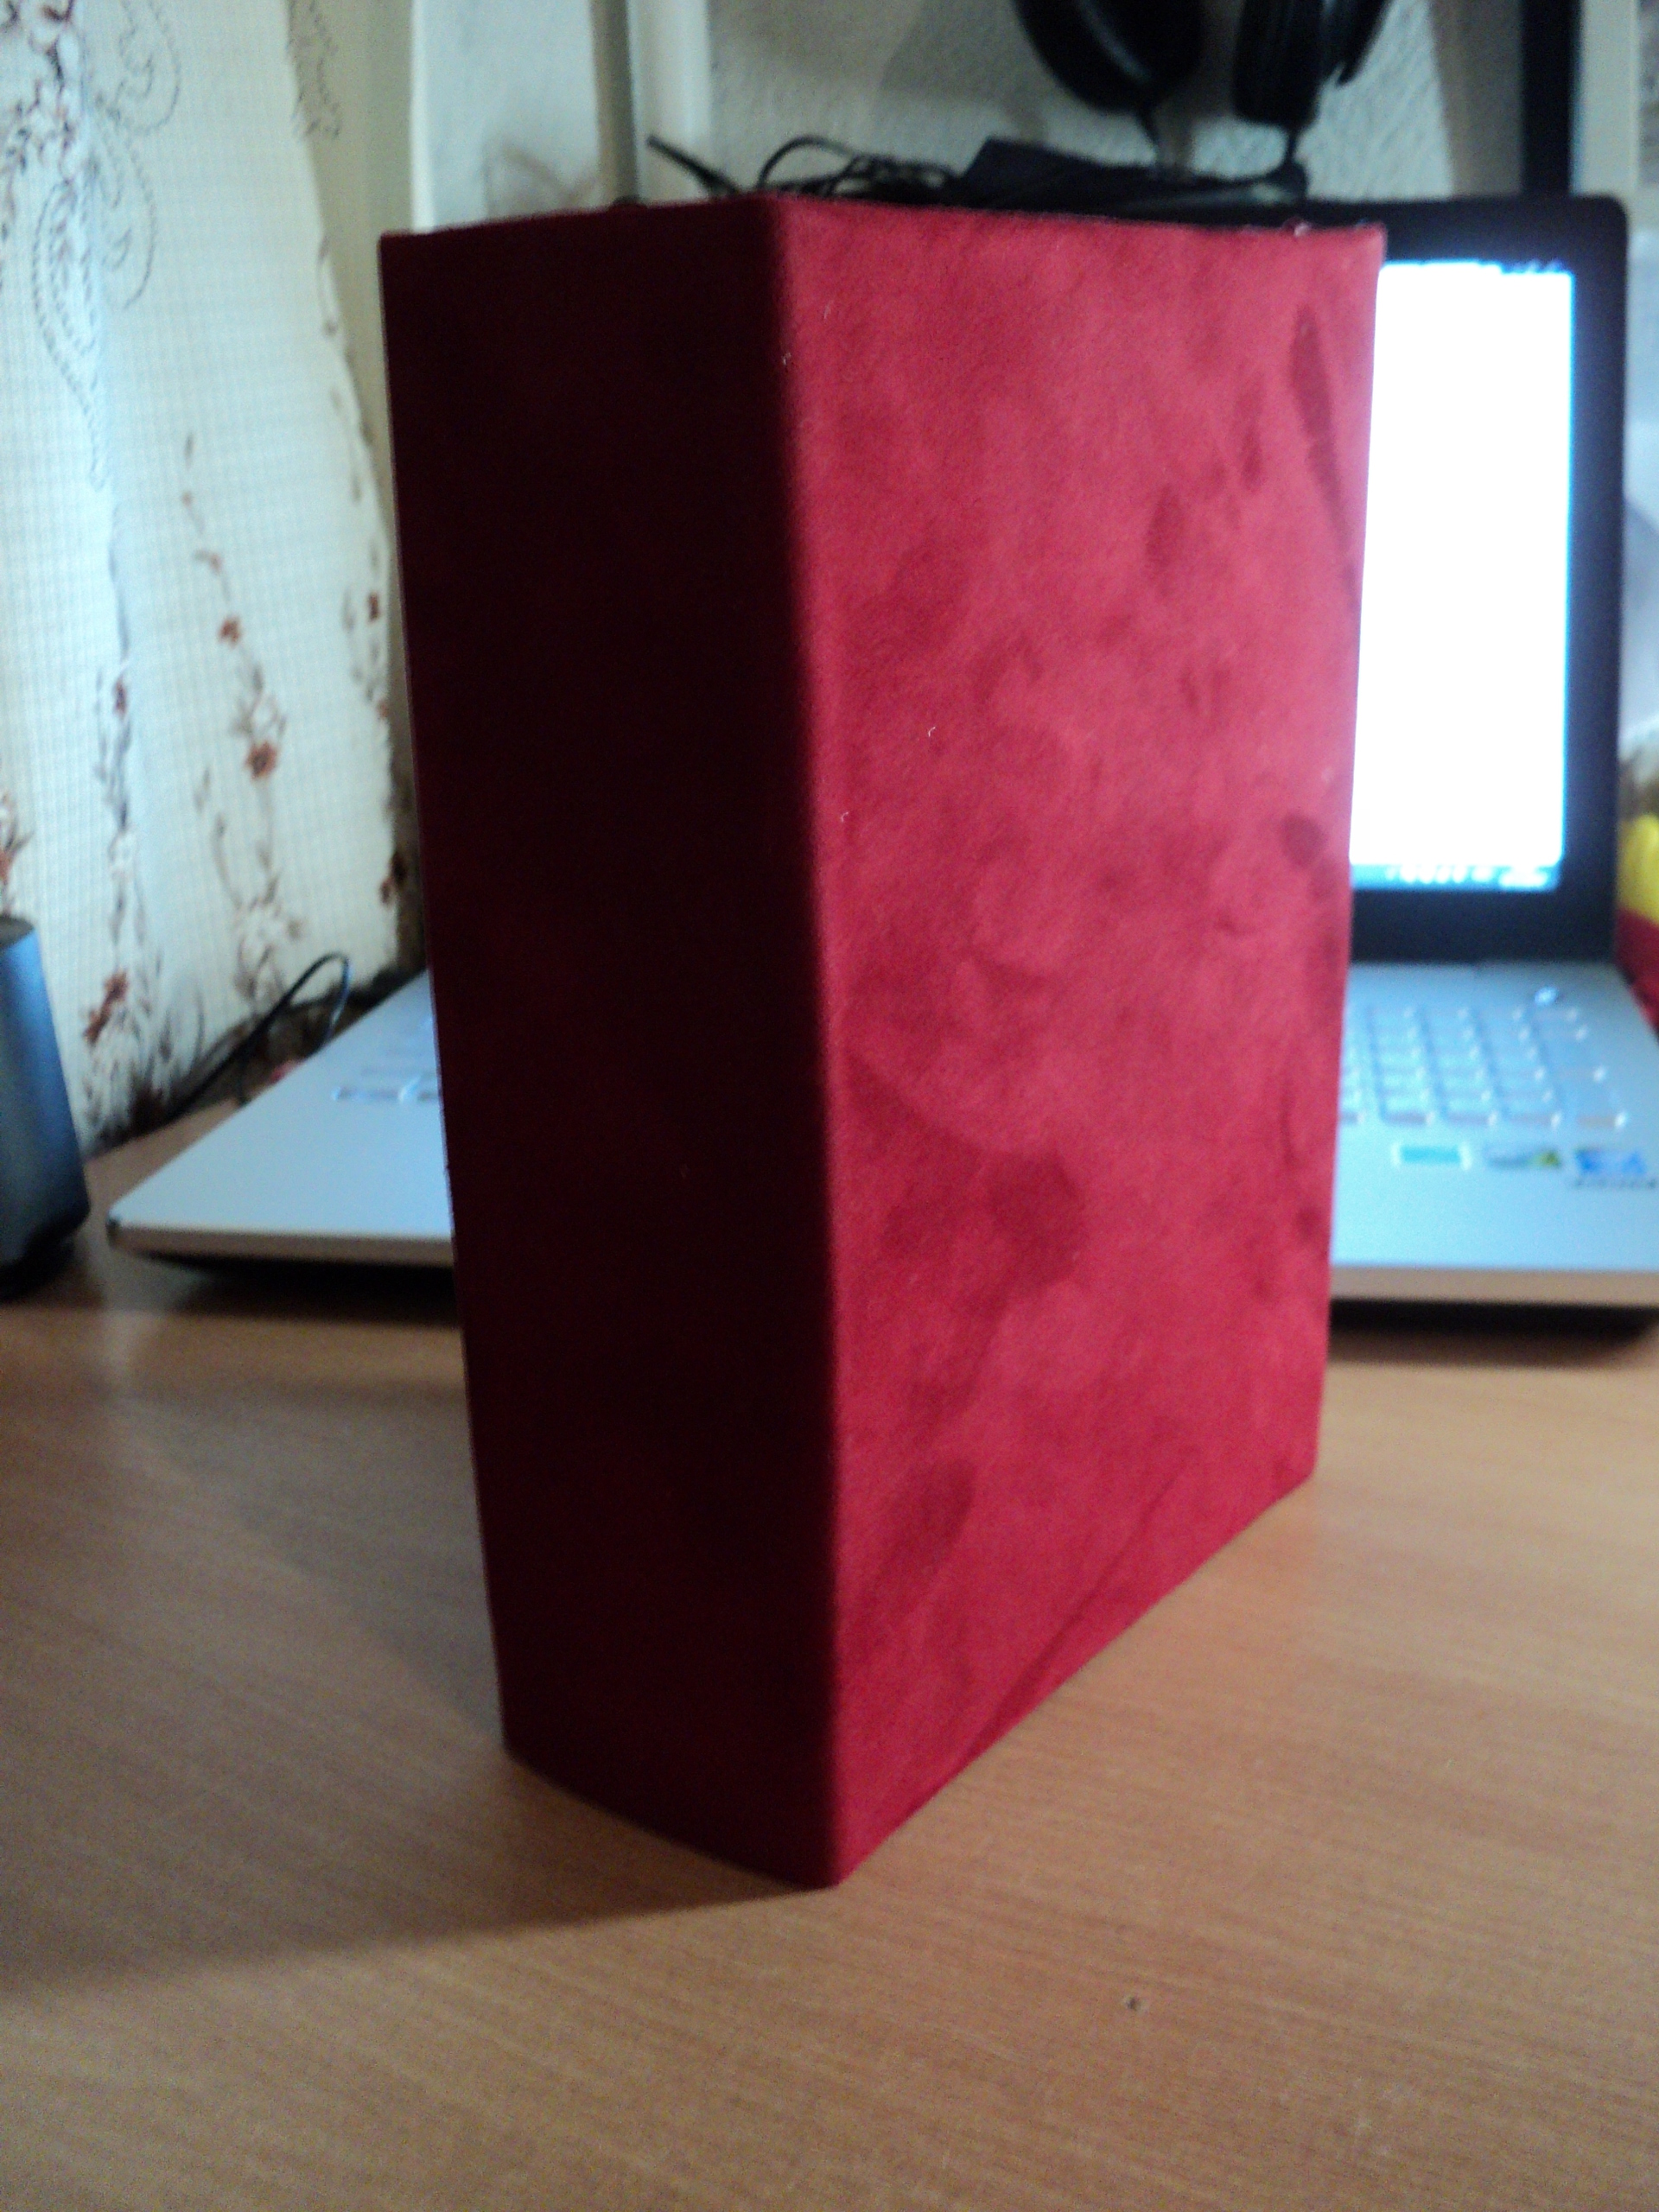
It seems like everything turned out
Book assembly
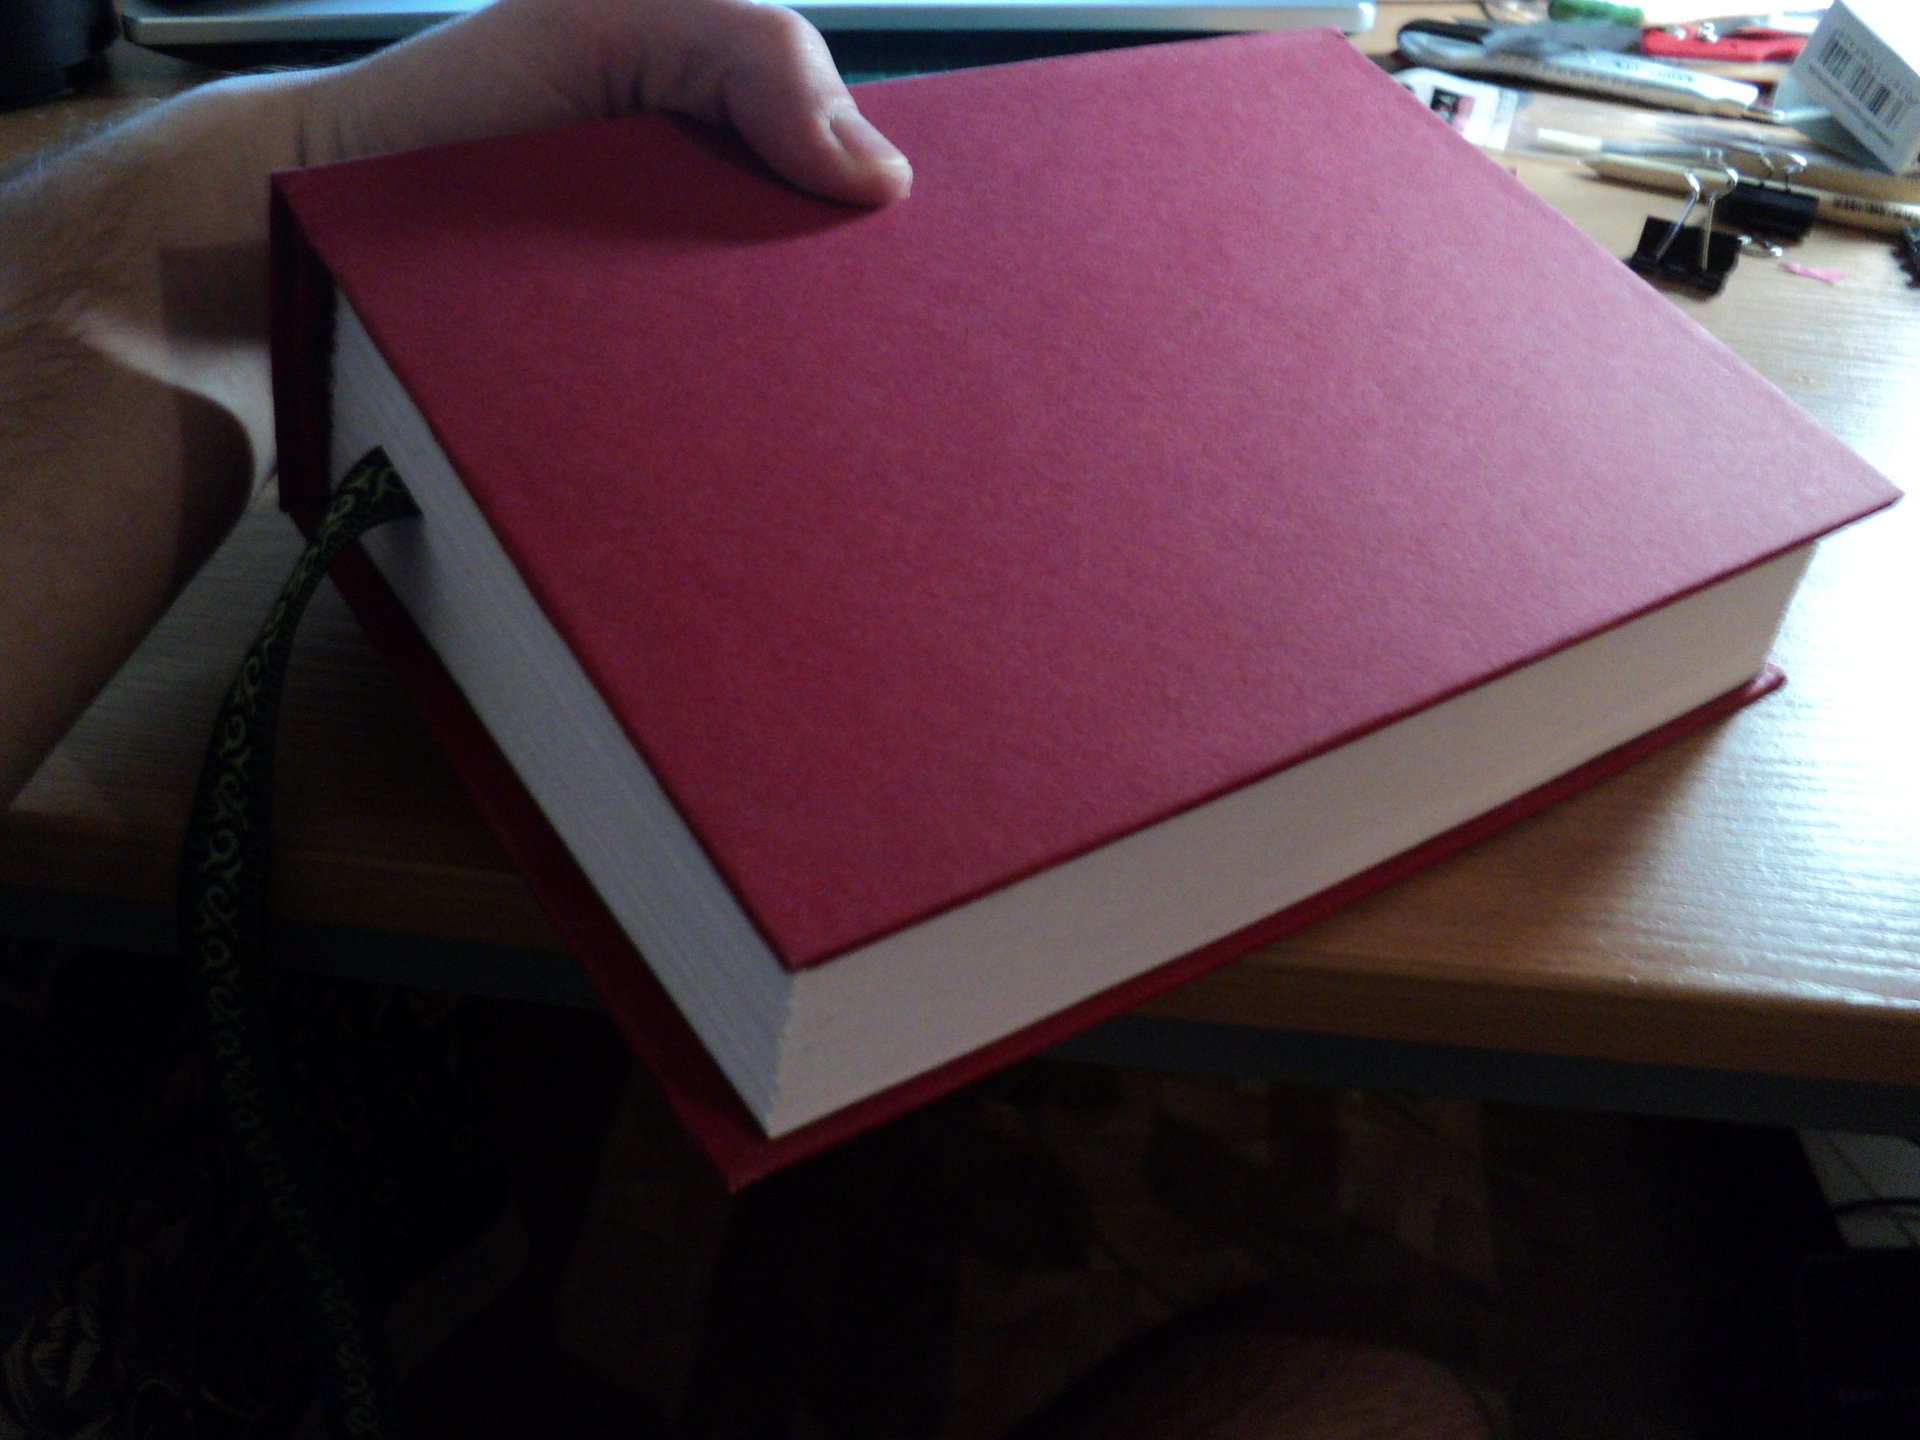
It remains, again not sparing the glue, fluff the flyleafs and the spine, paste the book that was previously ready into the cover. That's what happened in the end.


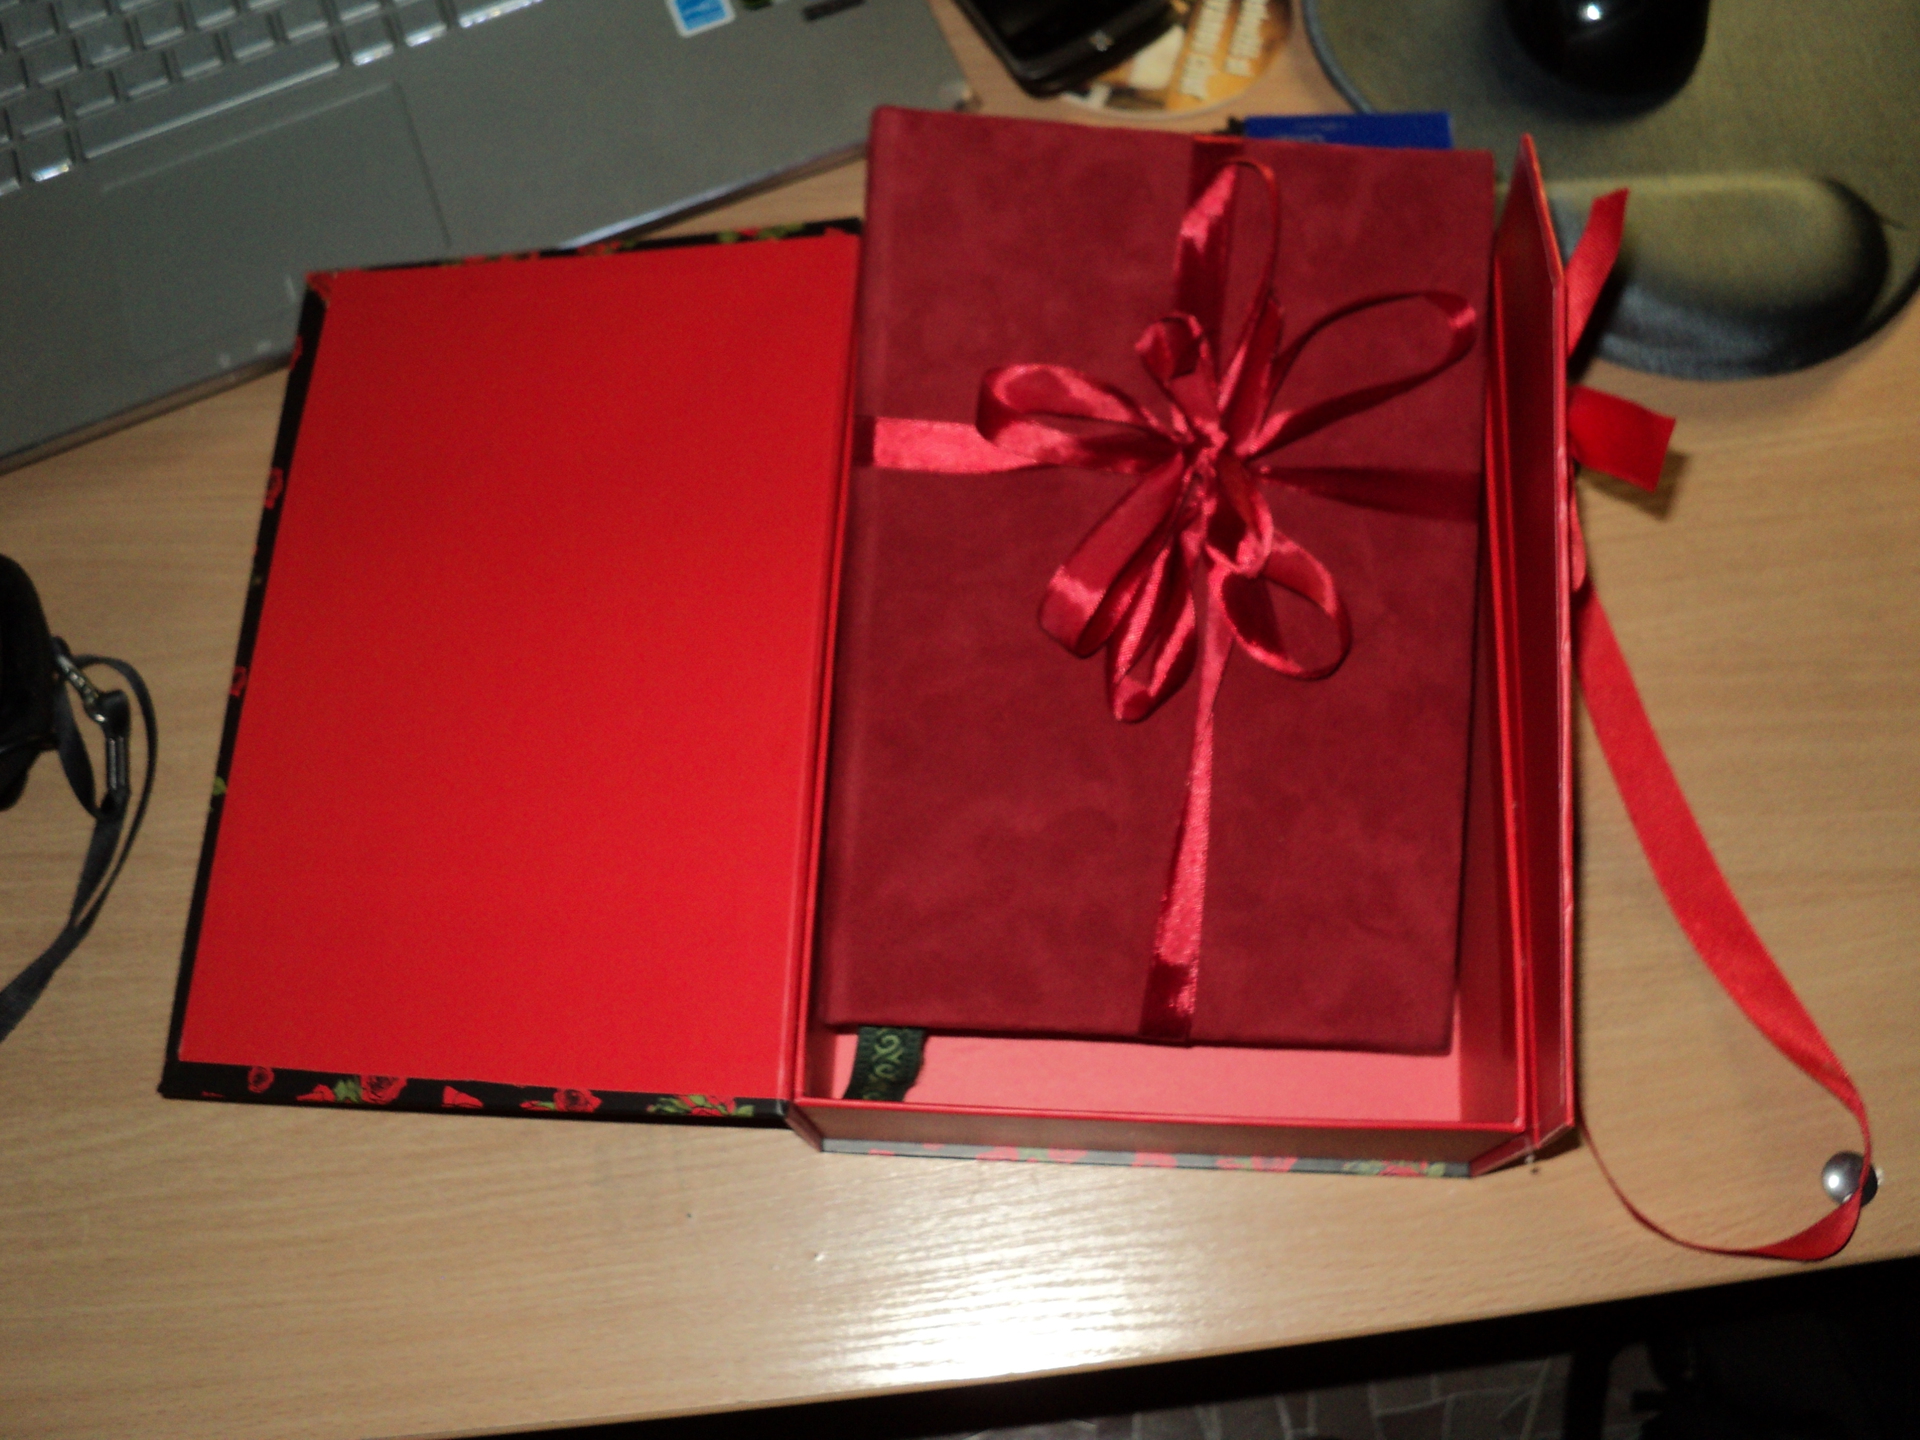
Everything seemed ready, but for some reason I didn’t think about the packaging. On day X myself, I went shopping early in the morning to pick up gift paper and a bow, but not finding anything suitable — I decided to purchase a gift box. But the book is not of a standard format, therefore, finding a more or less suitable and applying a little effort


Conclusion
In the end I would like to share my impressions of the work done. It was spent almost completely for 4 days, not a lot of money was invested in the materials, but in my opinion the conceived idea was a success - a gift with your own hands to your girlfriend for an anniversary, one that would be glad to receive (as taught from childhood to choose gifts) . Not only work and money are invested in this thing, but also a part of the soul. I myself liked what happened!
List of used resources
www.perunica.ru/rukodelie/3010-kniga-svoimi-rukami.html
habrahabr.ru/post/239377
Source: https://habr.com/ru/post/375395/
All Articles