Huge robotic manipulators or how we participated in the Moscow Mini Maker Faire festival
Hello! In this article I will talk about our participation in the first Russian festival of makers and about our project - cardboard robotic manipulators.
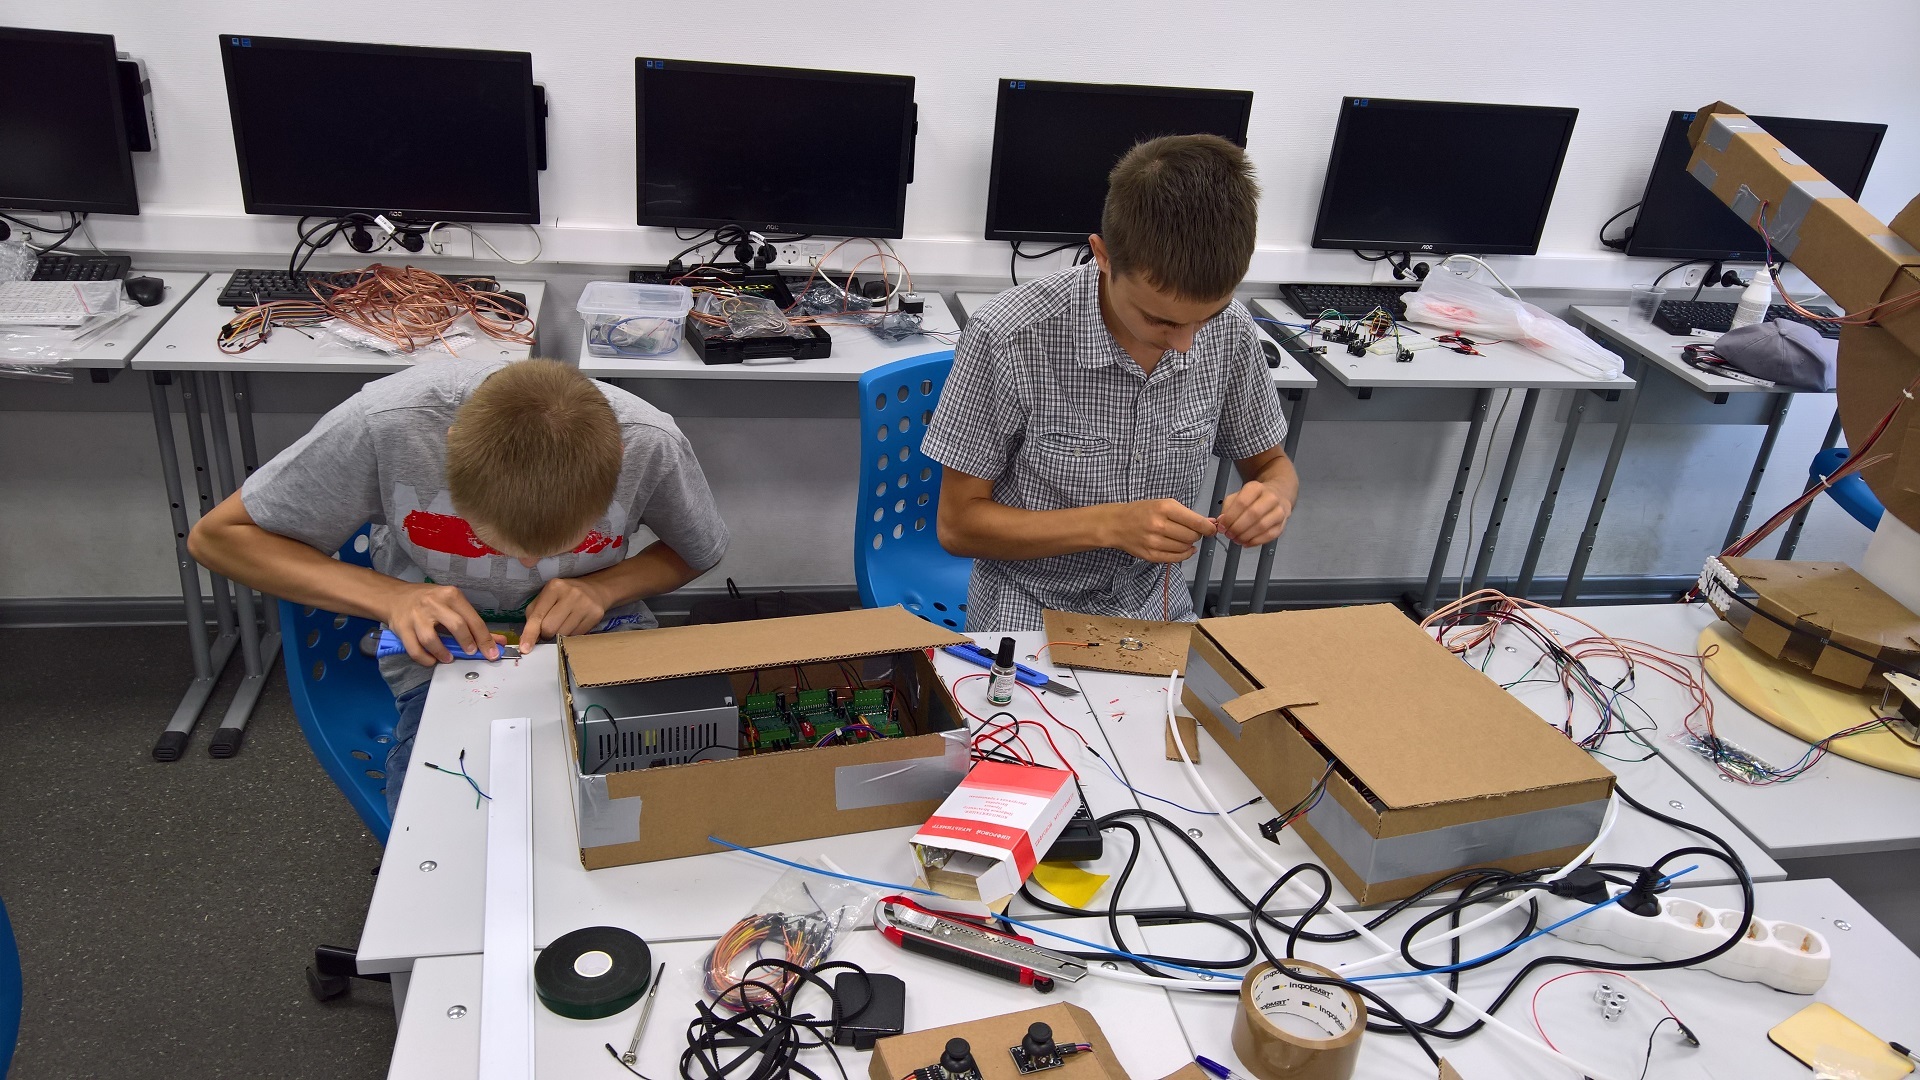
In my spare time, I have been working in children's education, for several years I taught robotics and programming, and more recently my colleague and I opened our educational center. After learning about the festival, I immediately wanted to take part in it, assembled a team of guys who did not leave for the summer, took a two-week vacation, and we started work.
')
We worked together on the project, almost all the guys did on their own, I was only engaged in purchasing the necessary materials and organization, and also helped with some technical issues.
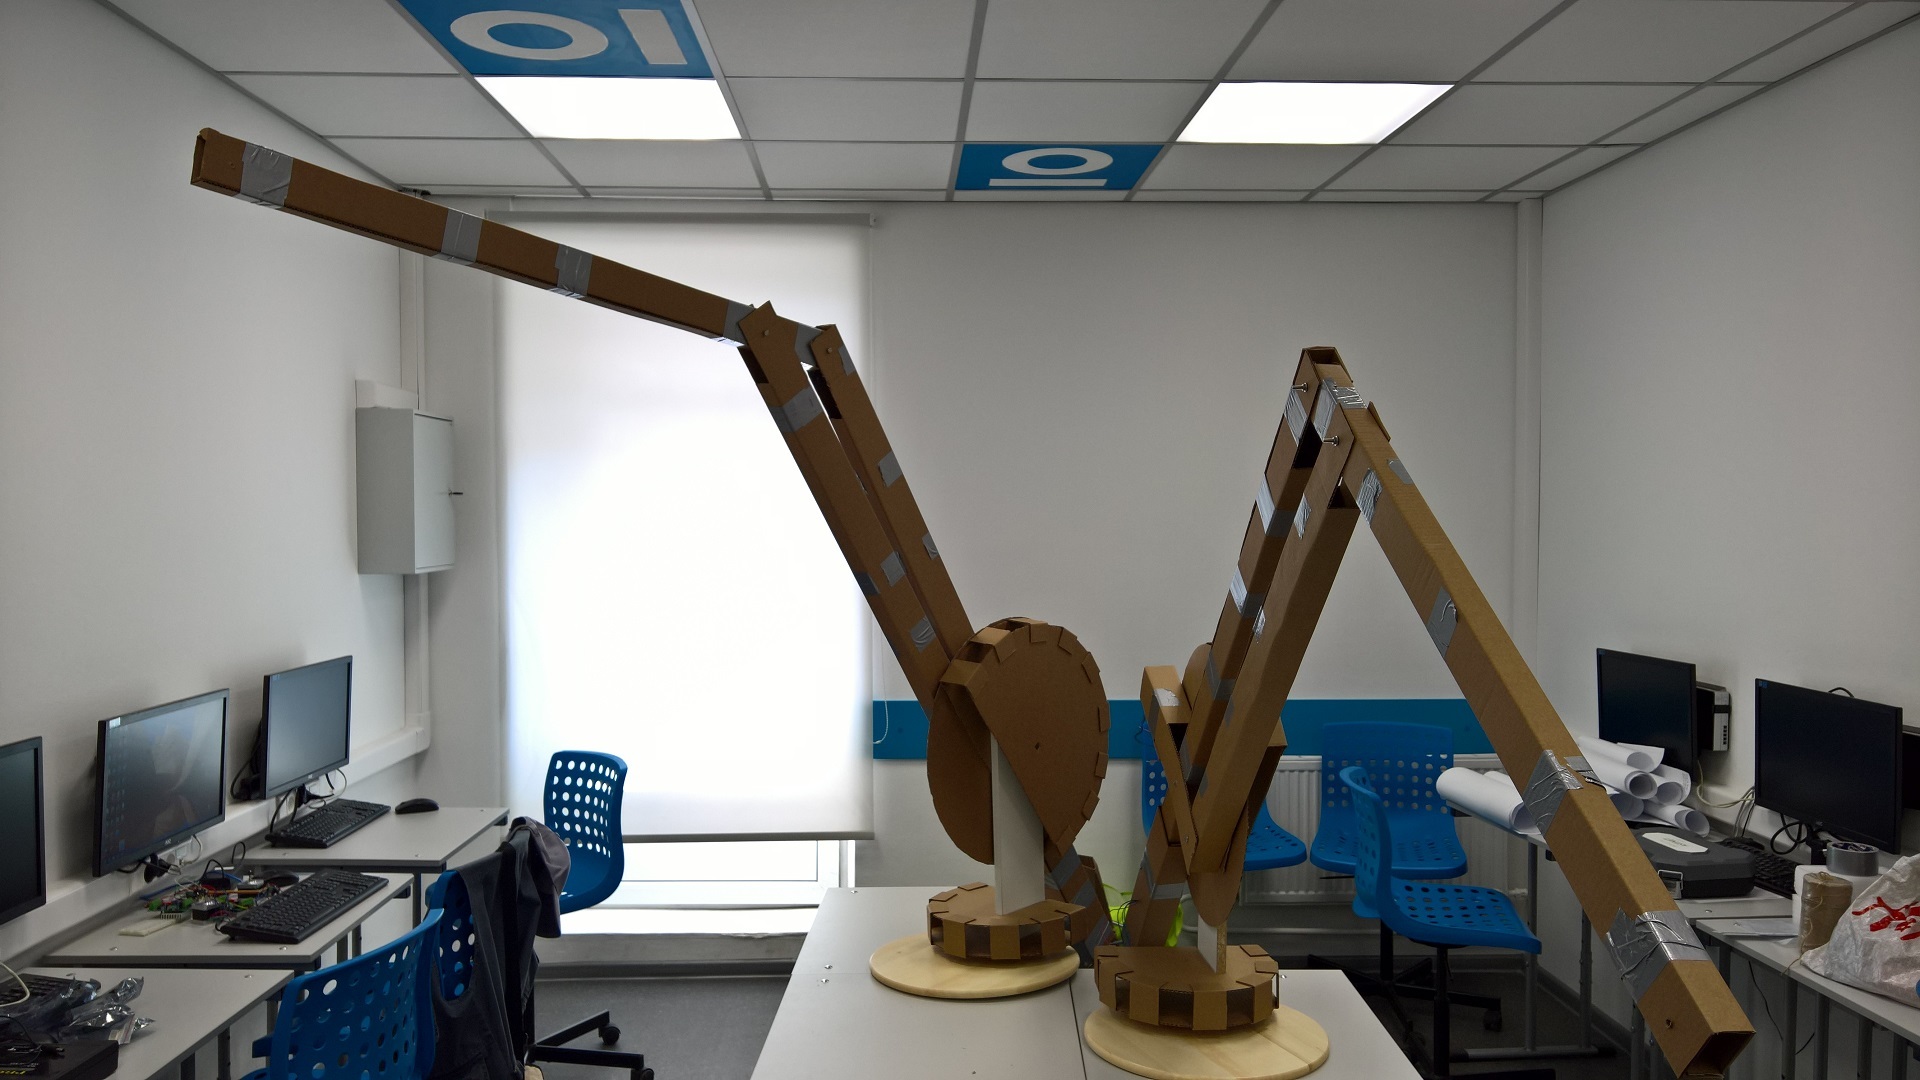
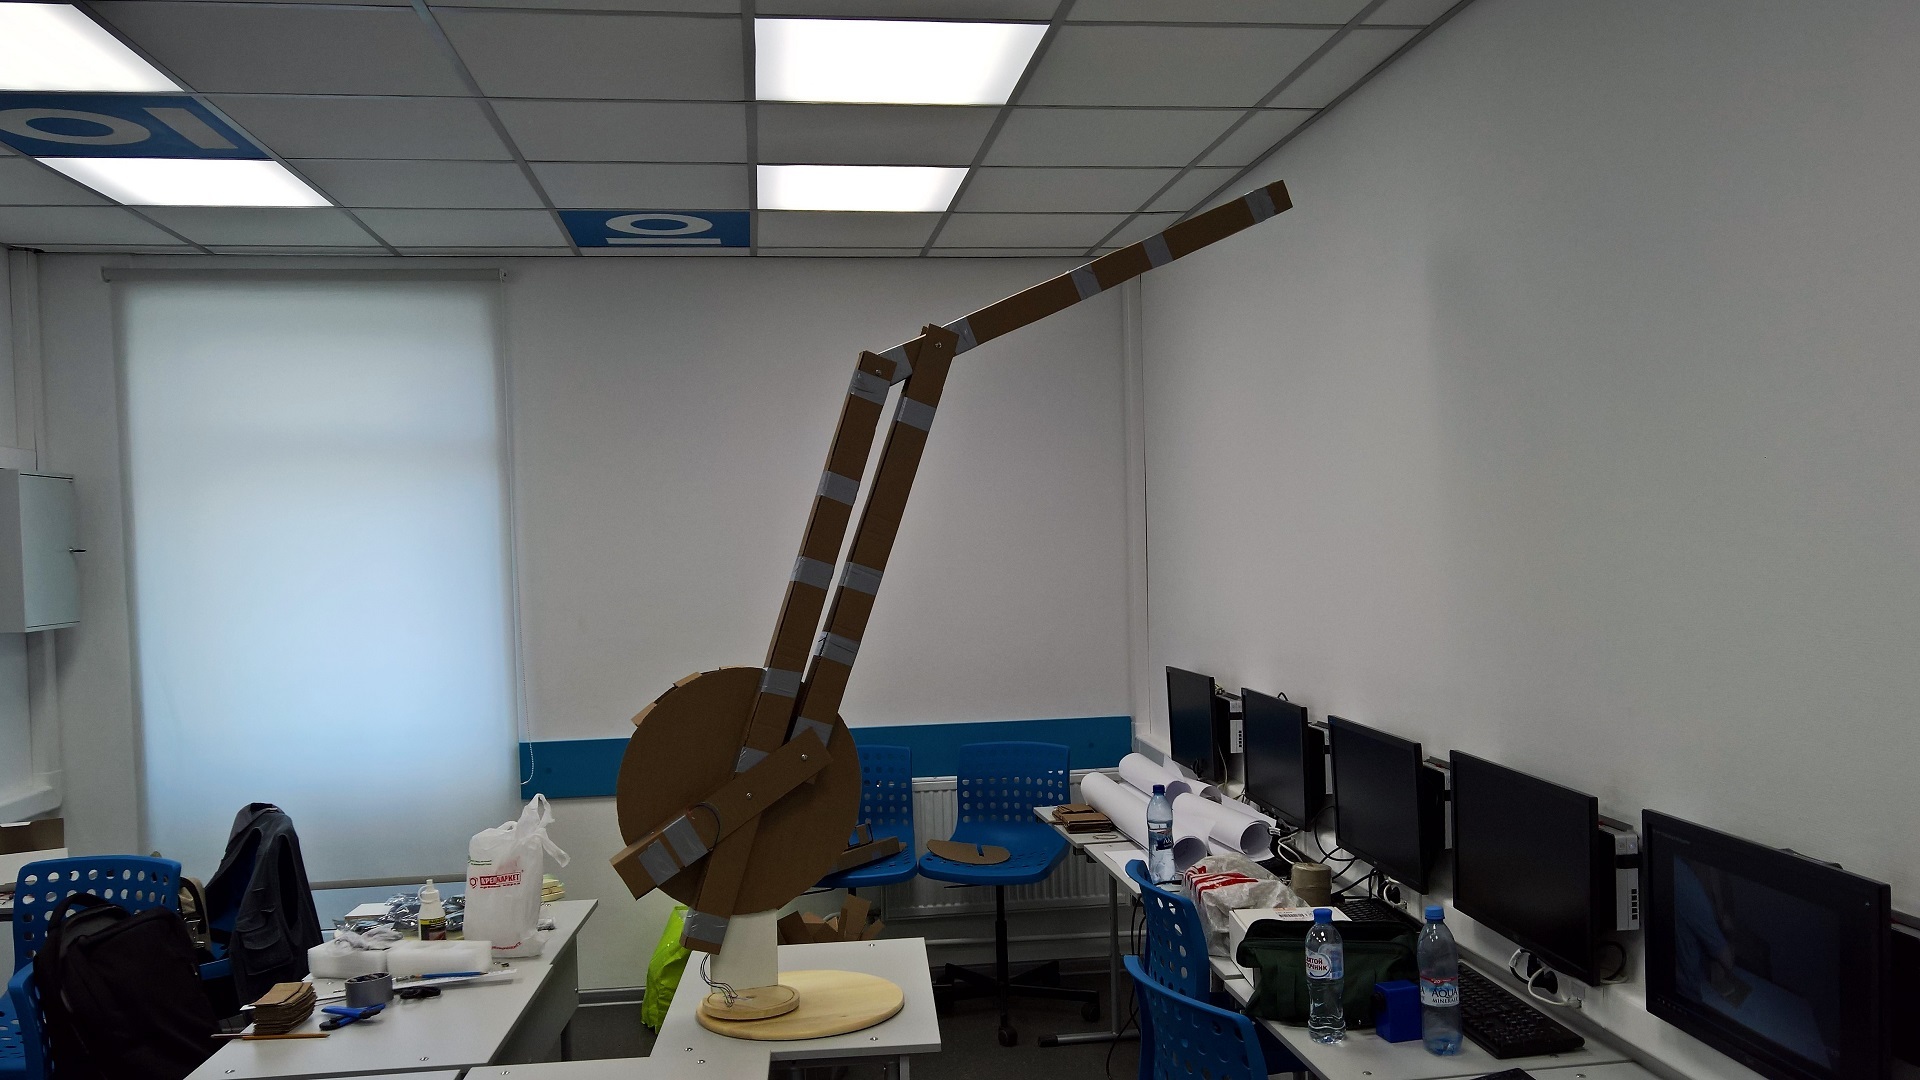
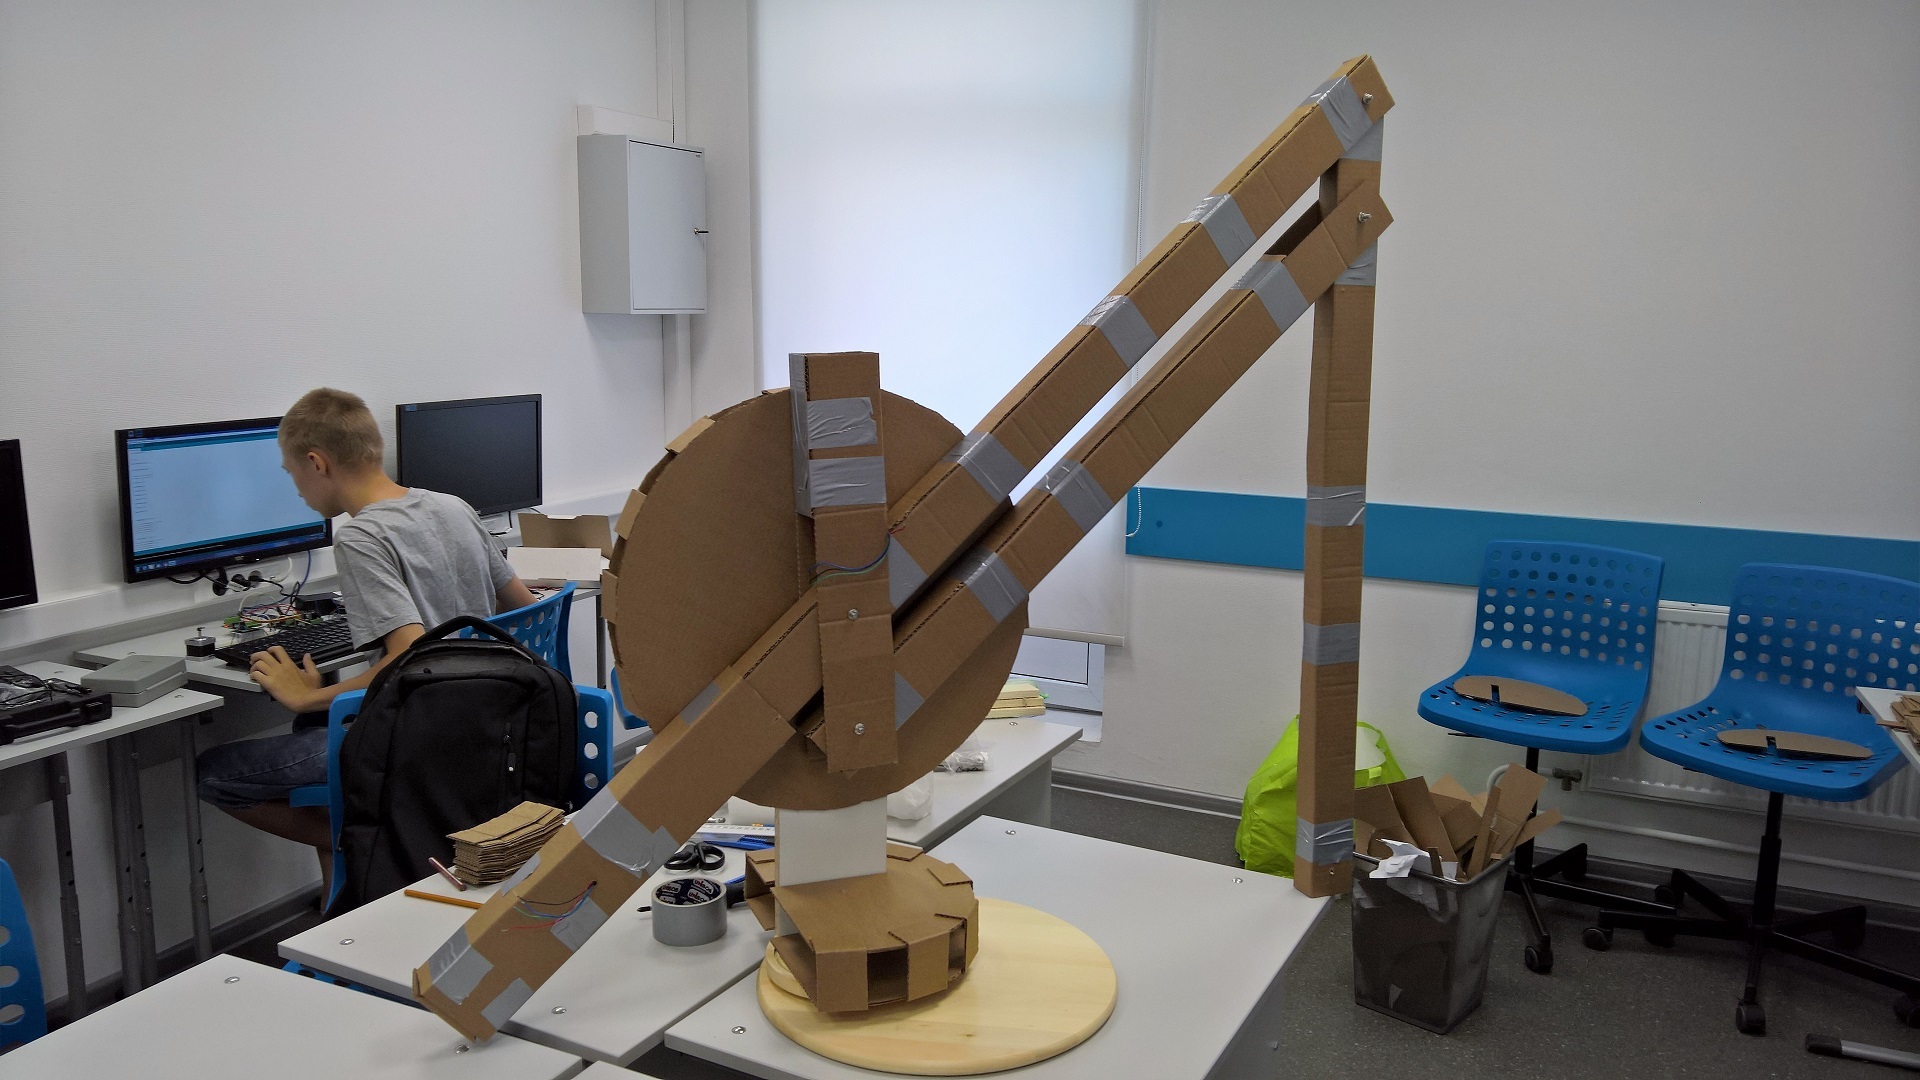
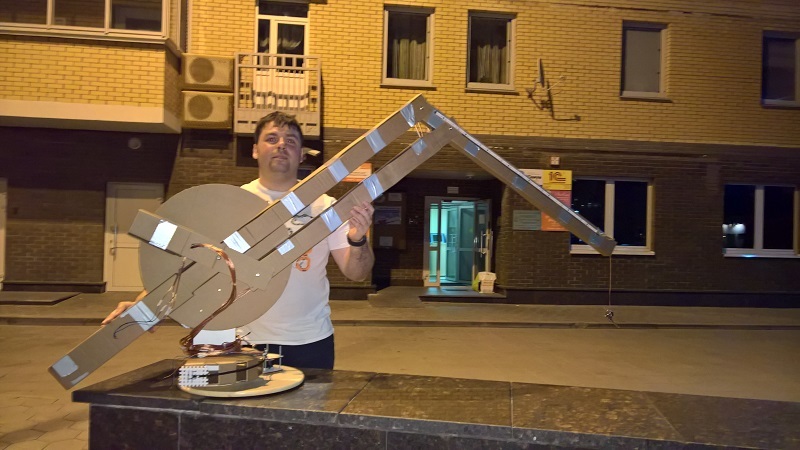
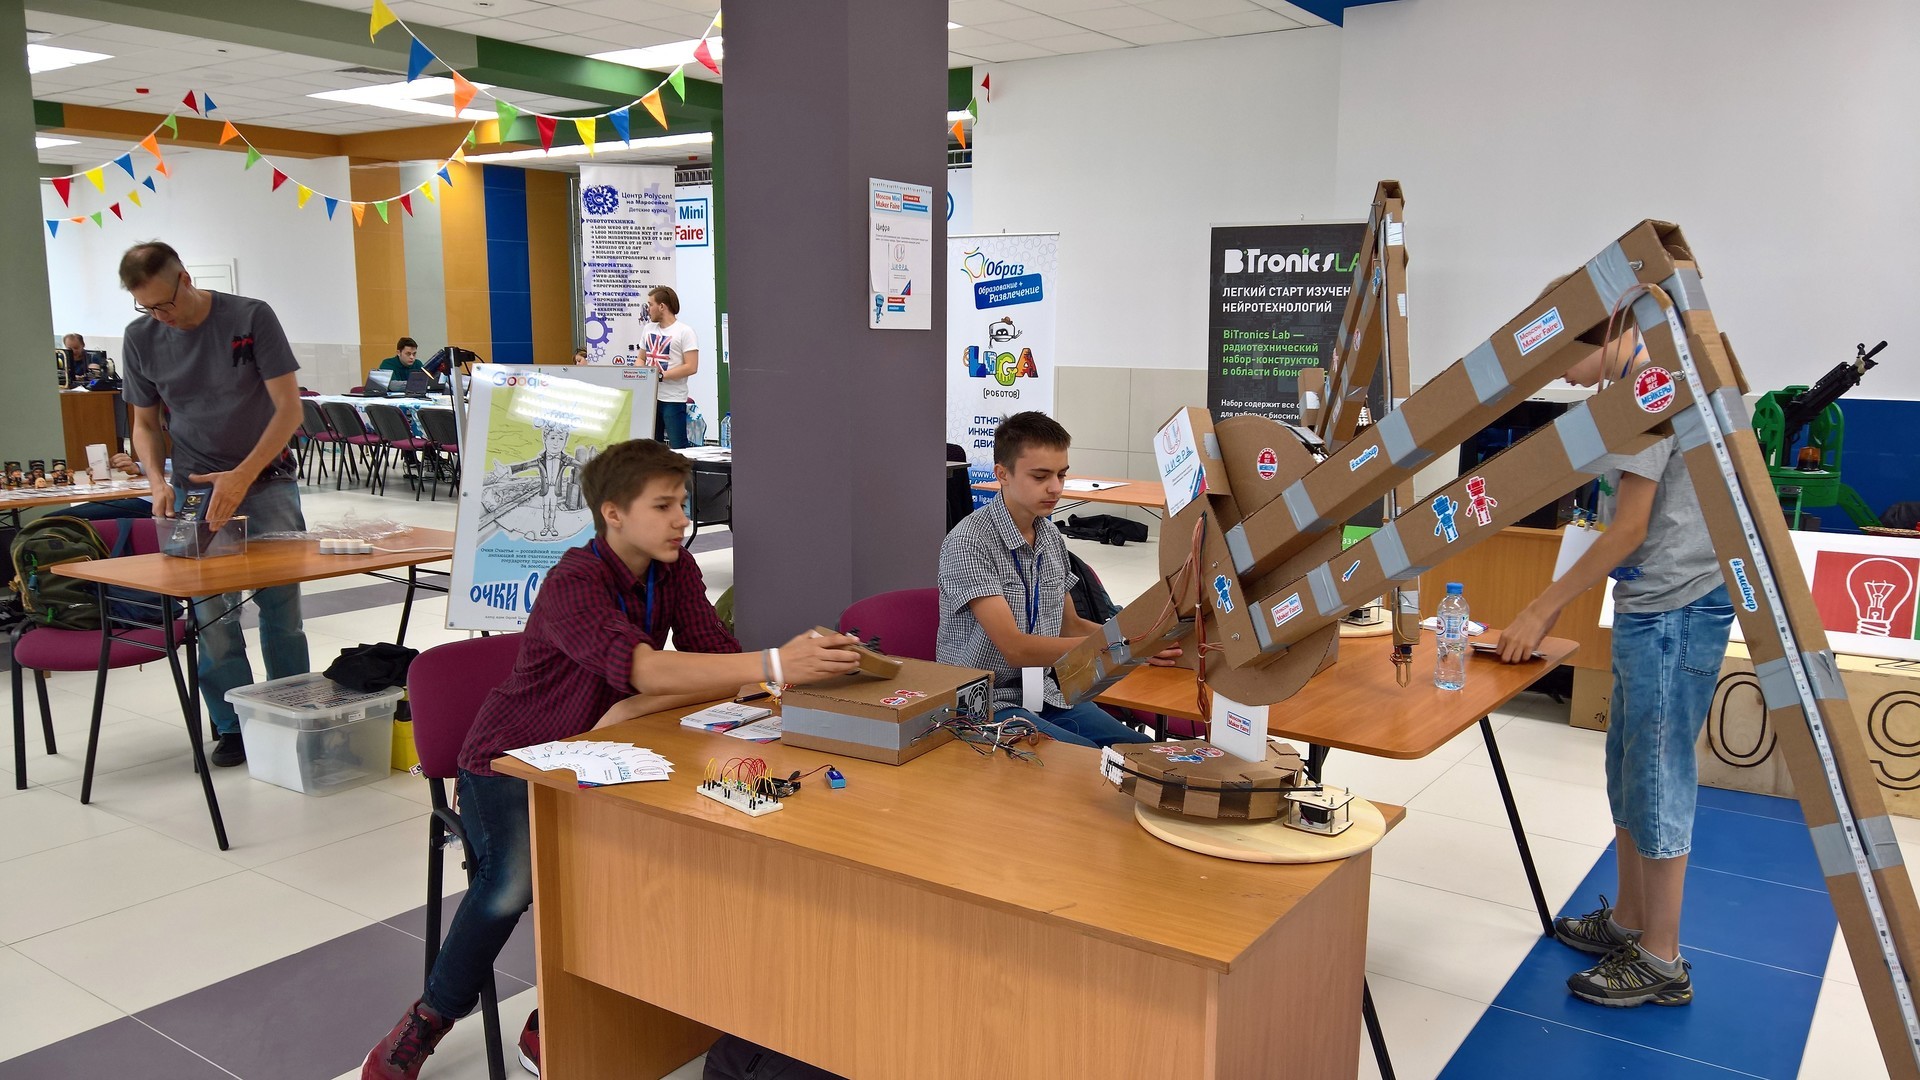
We found the project idea and drawings for it on the Internet and slightly modified it. Manipulators are made of cardboard with a wooden base, reaching two meters in length. Each manipulator has three degrees of freedom, the movement is carried out with the help of stepper motors, the control is controlled by joysticks from the console, communication is via radio. LED backlight is used. Below are a few photos with what came out as a result; links to the code and drawings are available at the end of the article.

The project budget (for two manipulators) turned out to be about 20,000 rubles, most of the cost was made by engines and drivers.
First you need to assemble a wooden base on which the cardboard part of the manipulator will hold.

For the base uses a rotating tray from Ikea, which is called (who would have thought) Snudd. A wooden panel 40x13cm is bolted to the tray with screws.
Next, from the cardboard you need to cut out all the necessary parts according to the drawings, fasten two engines to them. We fasten the rectangular parts with adhesive tape, we glue the semicircular, according to the photographs it is clear what this is about.


Putting together the cardboard parts of the manipulator and the wooden base, for this you need to drill a hole in the panel into which you can insert the screw.
Manipulator rotation system
The main difficulties we have at this stage. According to the original idea, a plastic coupling was to be mounted on the engine shaft. Further, a thick thread is tied to the edge of the case, is wound with several turns on the sleeve and fixed on the other side.

Photo from the original project
The first problems arose with the clutch. I could not buy anywhere suitable for adequate money (we needed six pieces, three for each manipulator), then we decided to print it on a 3D printer. My colleague made a model and tried to contact any of the studios for 3D printing, but we never found anyone who could quickly print the model, and time was running out. In addition to the clutch problem, there was another one: during the tests, the thread was constantly tangled and intertwined. Because of this, the tension weakened, then strengthened, making the manipulator not work normally.
We thought about how to solve this problem, the guys offered different ideas, eventually settled on a variant with a toothed belt. We bought a belt and pulleys for engines, started to try, but there were a lot of problems here too. Initially, we tried to fasten the belt right on the cardboard, which is why it began to deform and tear. Also, due to the unevenness of the cardboard case, the tension of the belt was different in different places, because of which the engines constantly slipped. As a result, we fastened the belt to the wooden part from the designer, glued it and sewed it with thread to the cardboard. The problem with the tension of the belts is partially solved by springs.
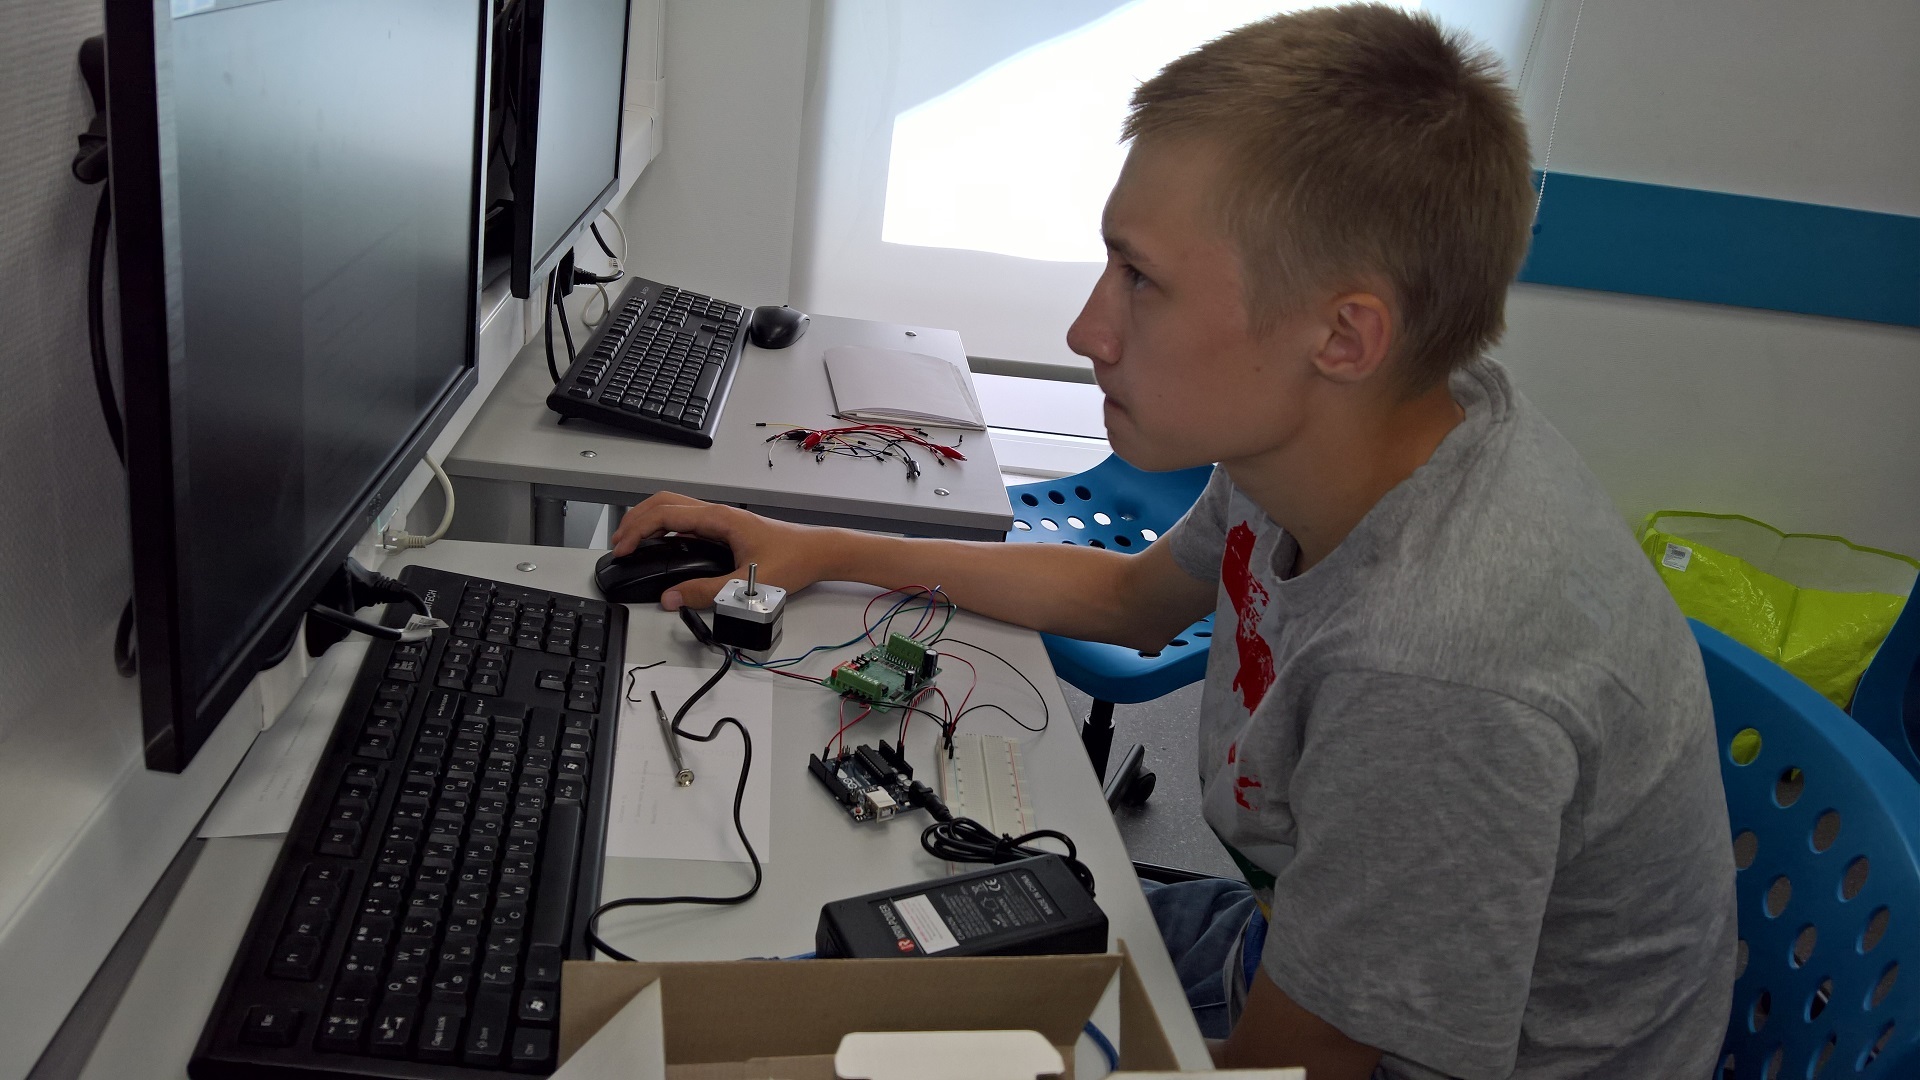
TB6560 drivers are used to control stepper motors; they provide current up to 3A, which is quite enough. For communication with the control panel, the nRF24L01 + radio module is used, and the Arduino Uno is used as the controller. We chose a 450W computer power supply as the power source; it provides the necessary power and is much cheaper than conventional switching units. Of the minuses, we can note the large size and active cooling system, which in our case does not play a significant role.
For electronics, the case was made of cardboard, it secured the power supply, Arduino, radio module and drivers. Led the wires with connectors for connecting engines to the outside, it is convenient to transport the case separately from the manipulators.

The console consists of two joysticks, in one of them the X and Y axes are involved, in the other only X, they are used to control the rotation of the manipulator. By clicking on one of the joysticks, the backlight color changes. For the remote was also made a case of cardboard, the power source - the battery Krona.

In parallel with the development of the iron part, the guys wrote firmware for the controllers of the manipulator and the console. From the console, the command number is sent over the radio channel, the manipulator receives and executes it. List of possible commands:
We did not have time to make our capture, so we bought it ready on the servo. In the tests, he earned us, but at the festival when connected - no. It did not work out quickly to fix it, the festival conditions did not allow to sort it out properly. We assume that the fact is that due to the long wire length (about 3 m), the modulation pulse of the servo drive attenuates.
As a result, my colleague and I finished the final assembly of the manipulators at 2 in the morning, on the day before the festival (the children were released earlier).

Manipulators fit right into the rear seats of the car, they did not have to disassemble.
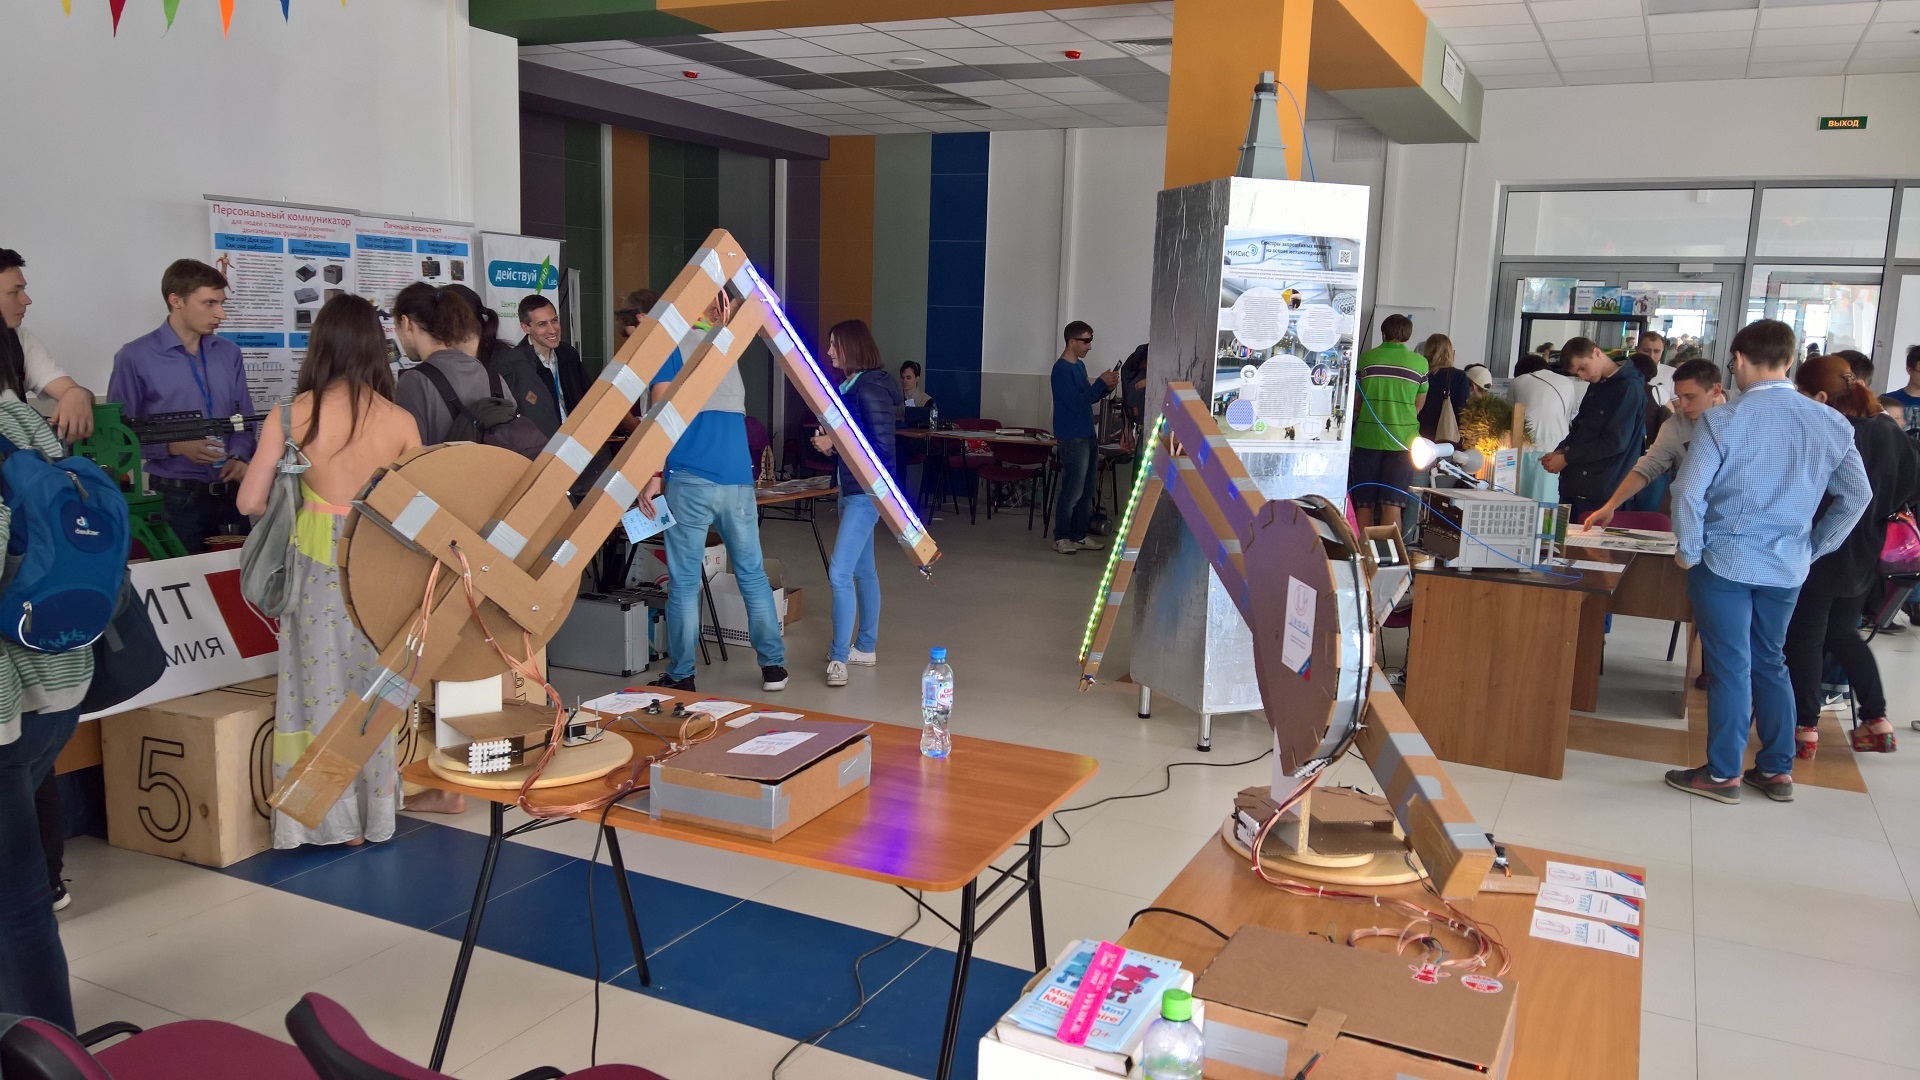
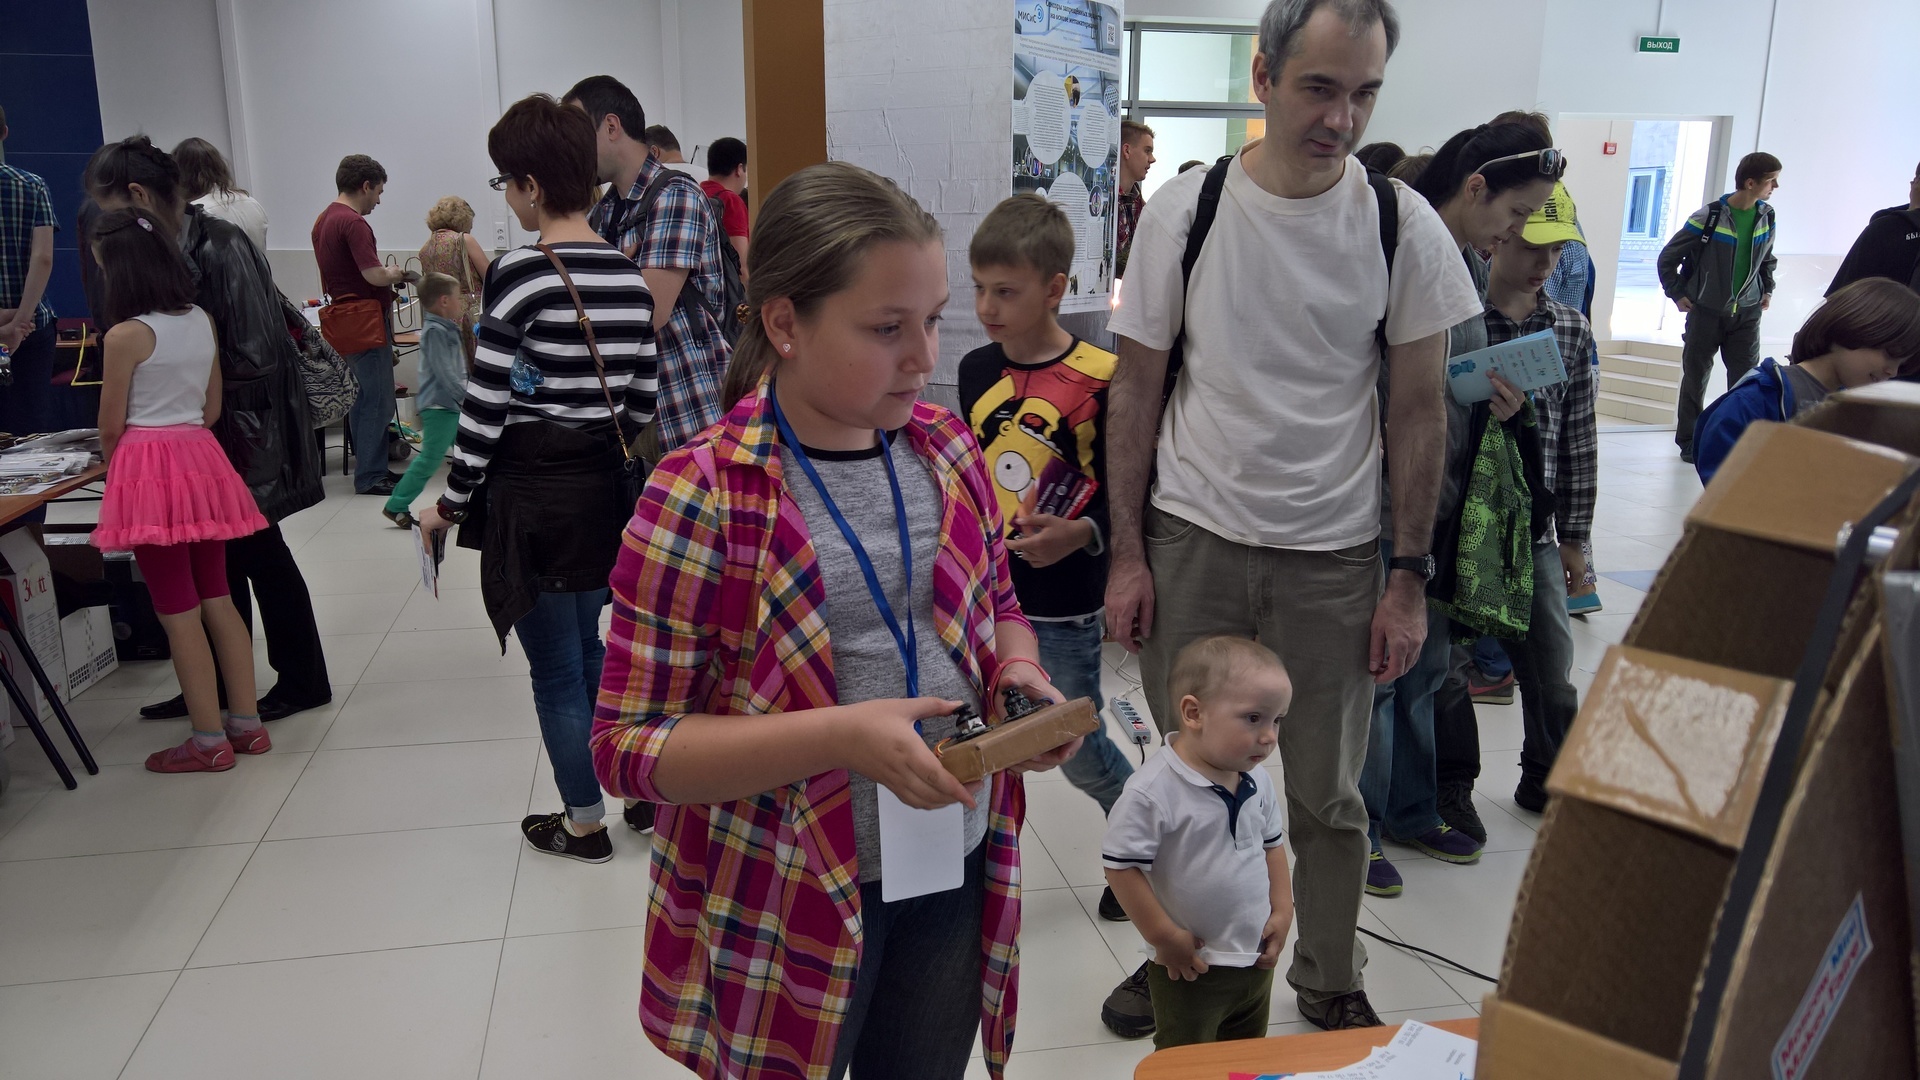
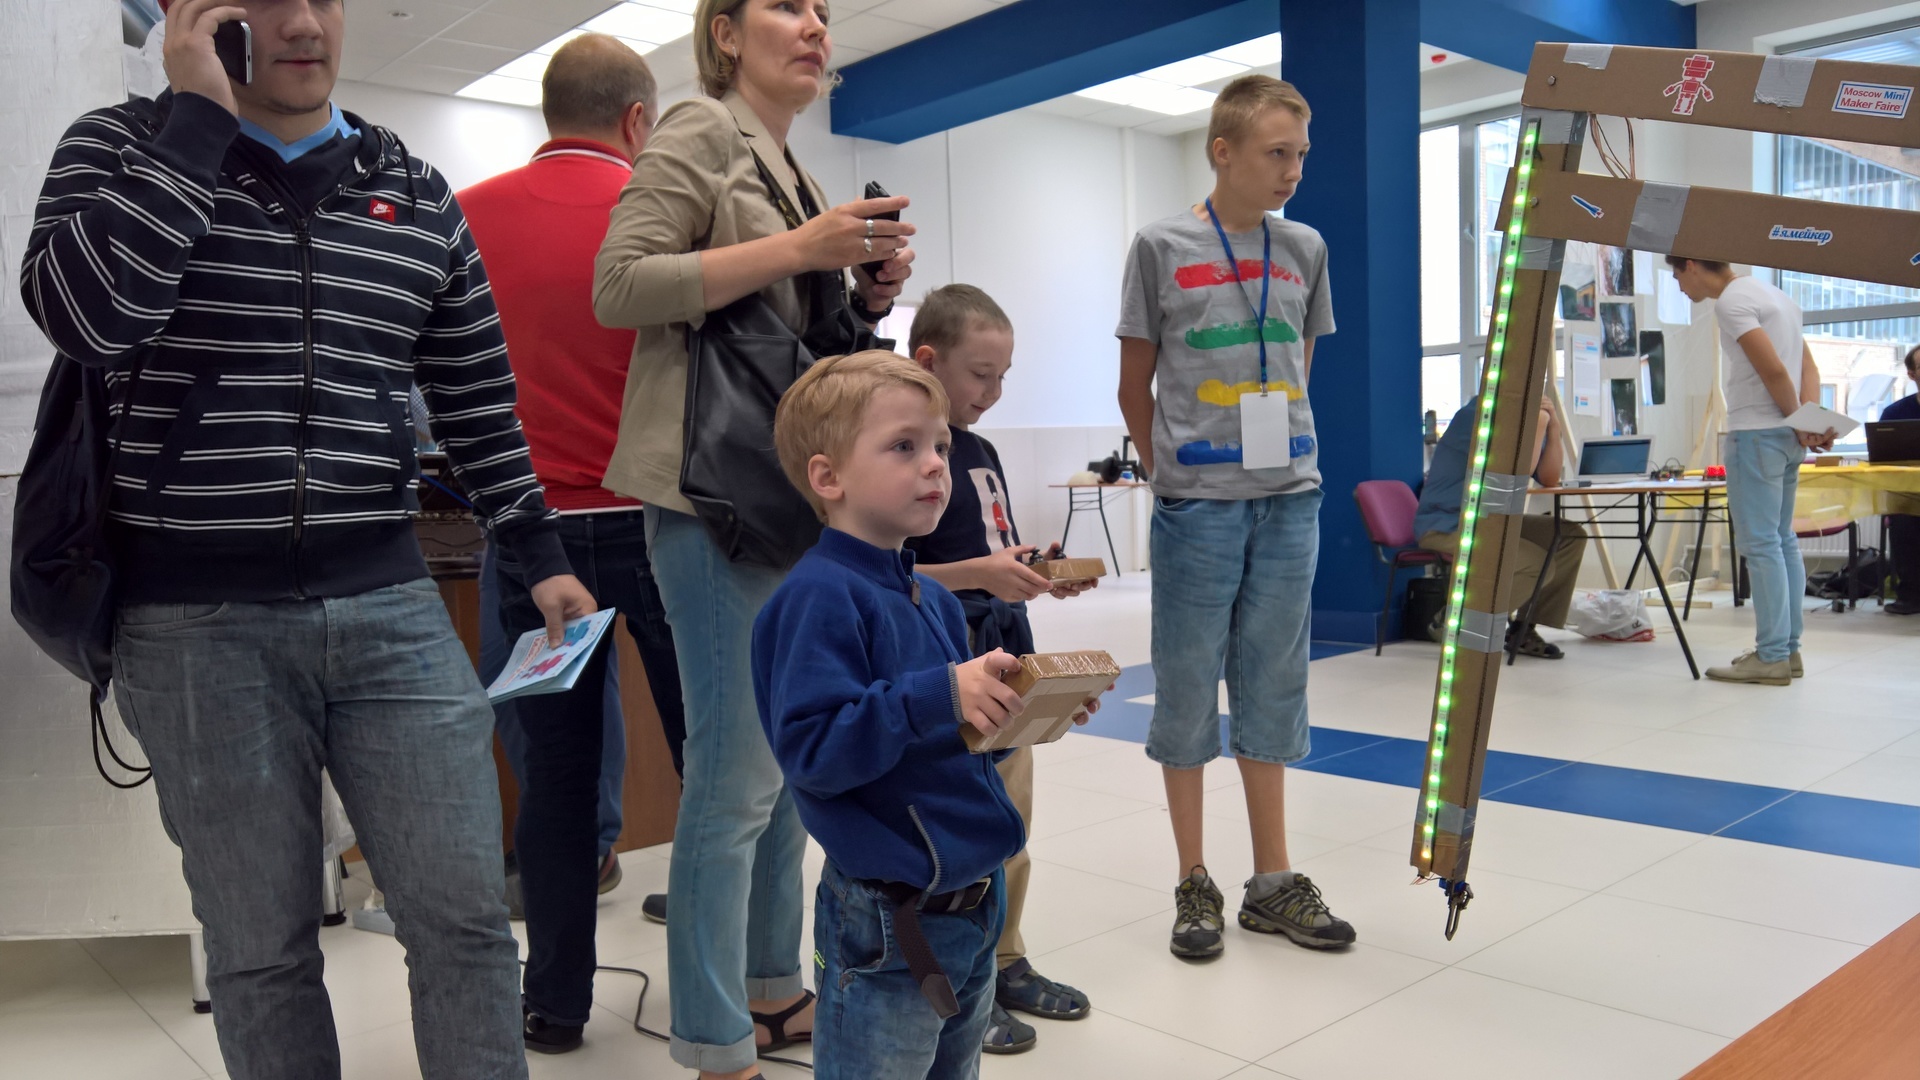
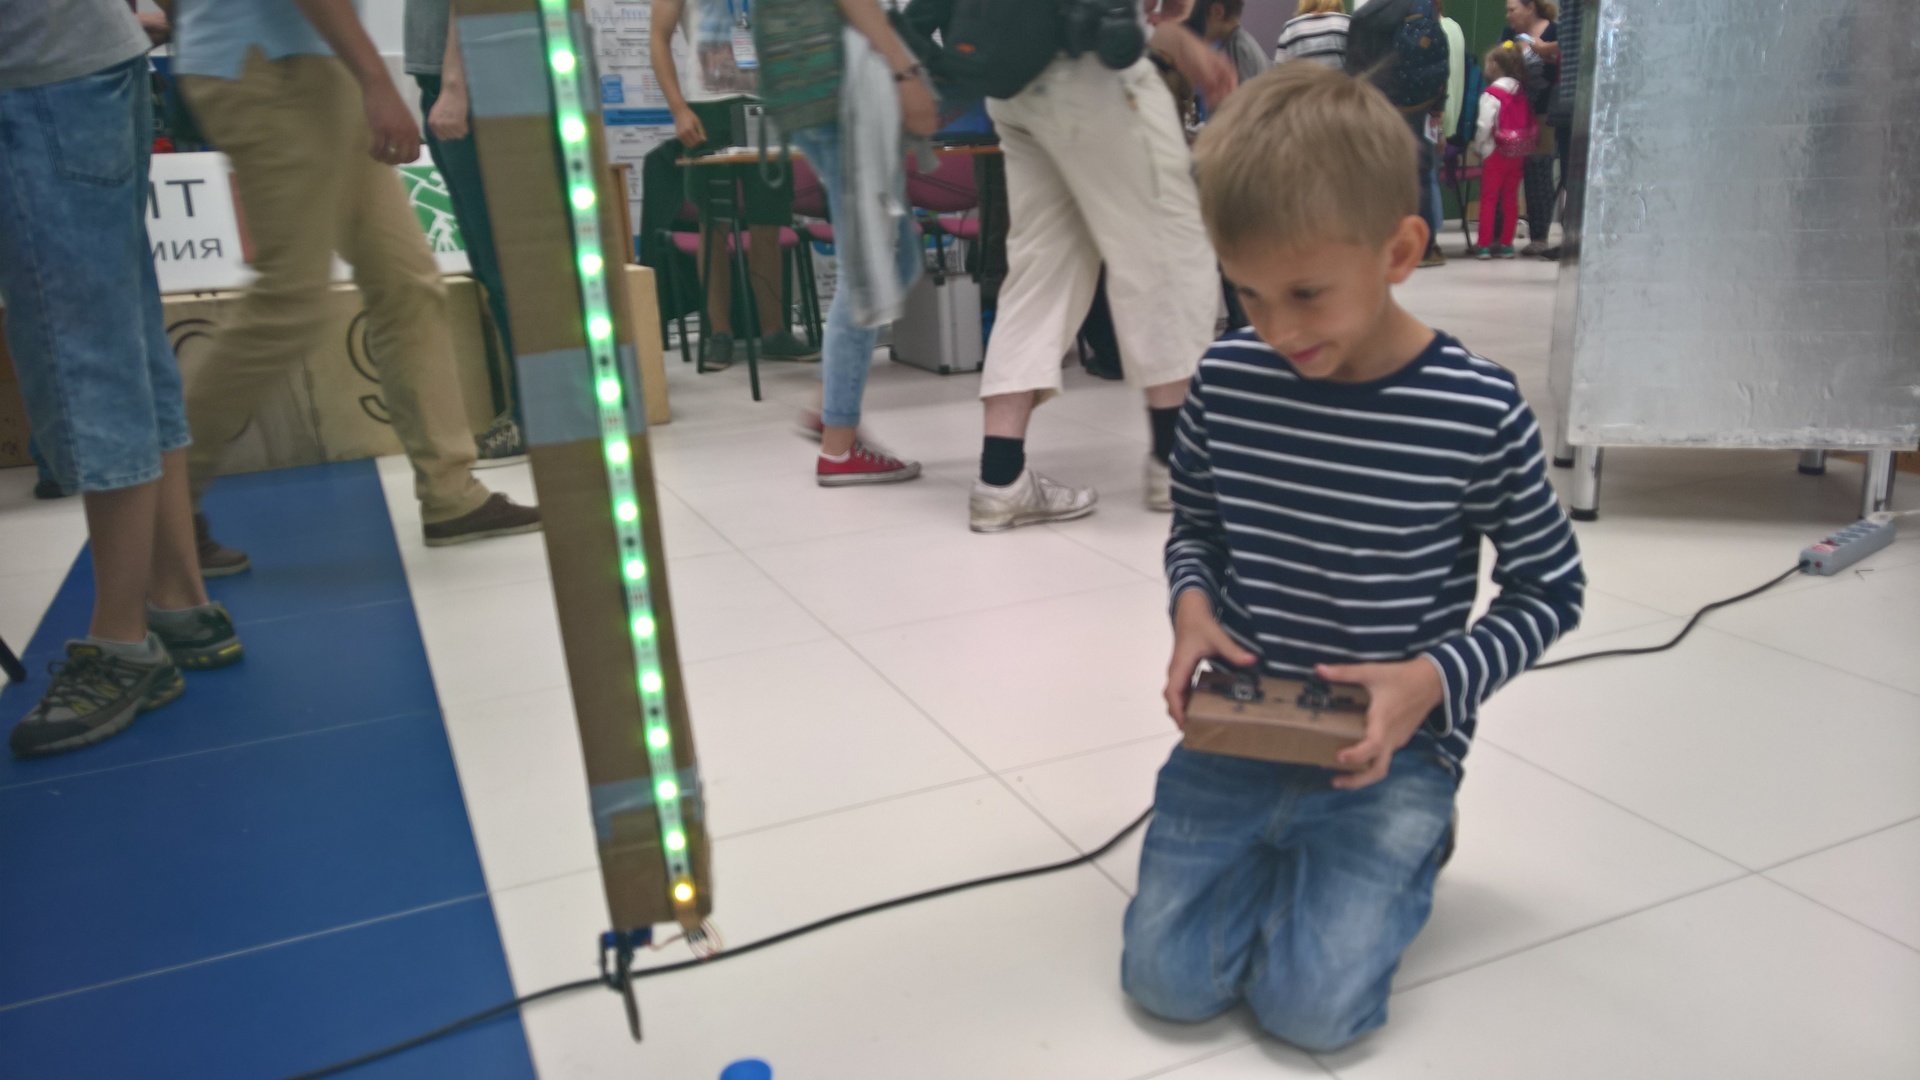
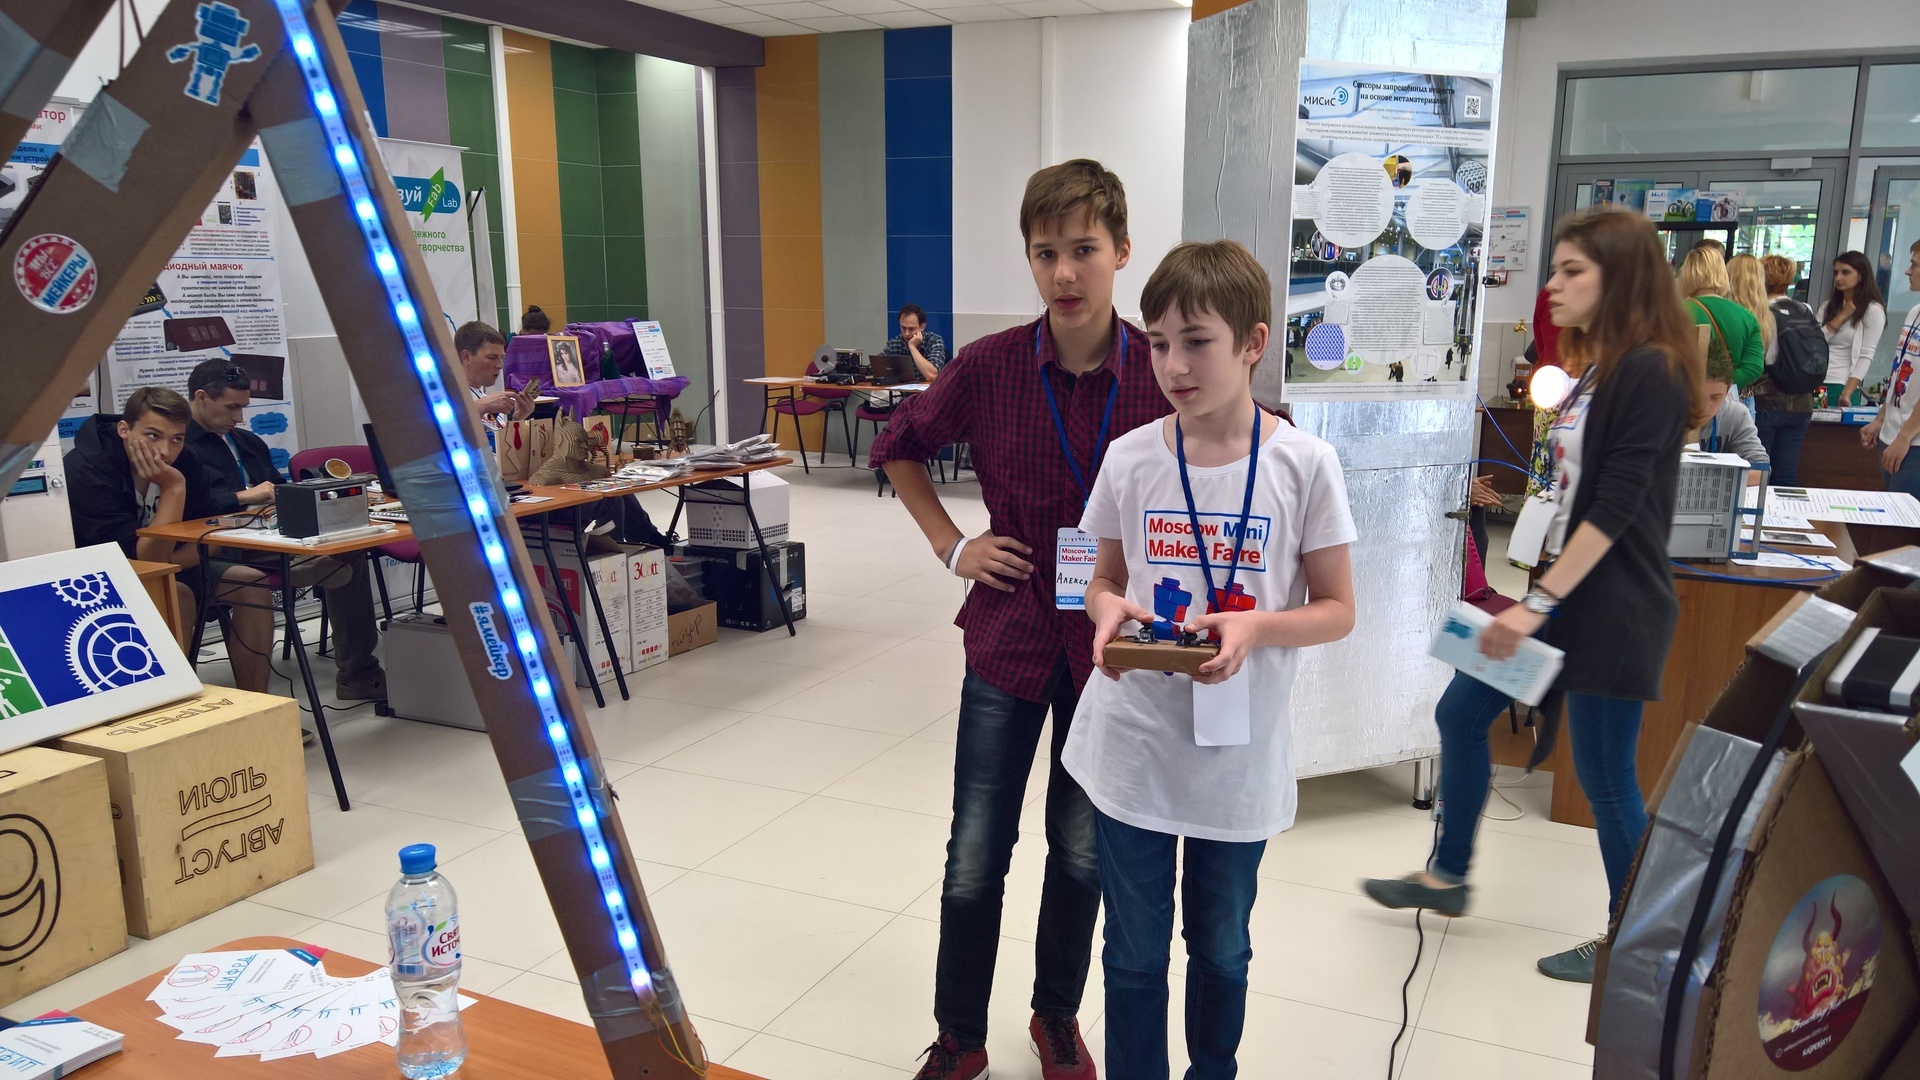
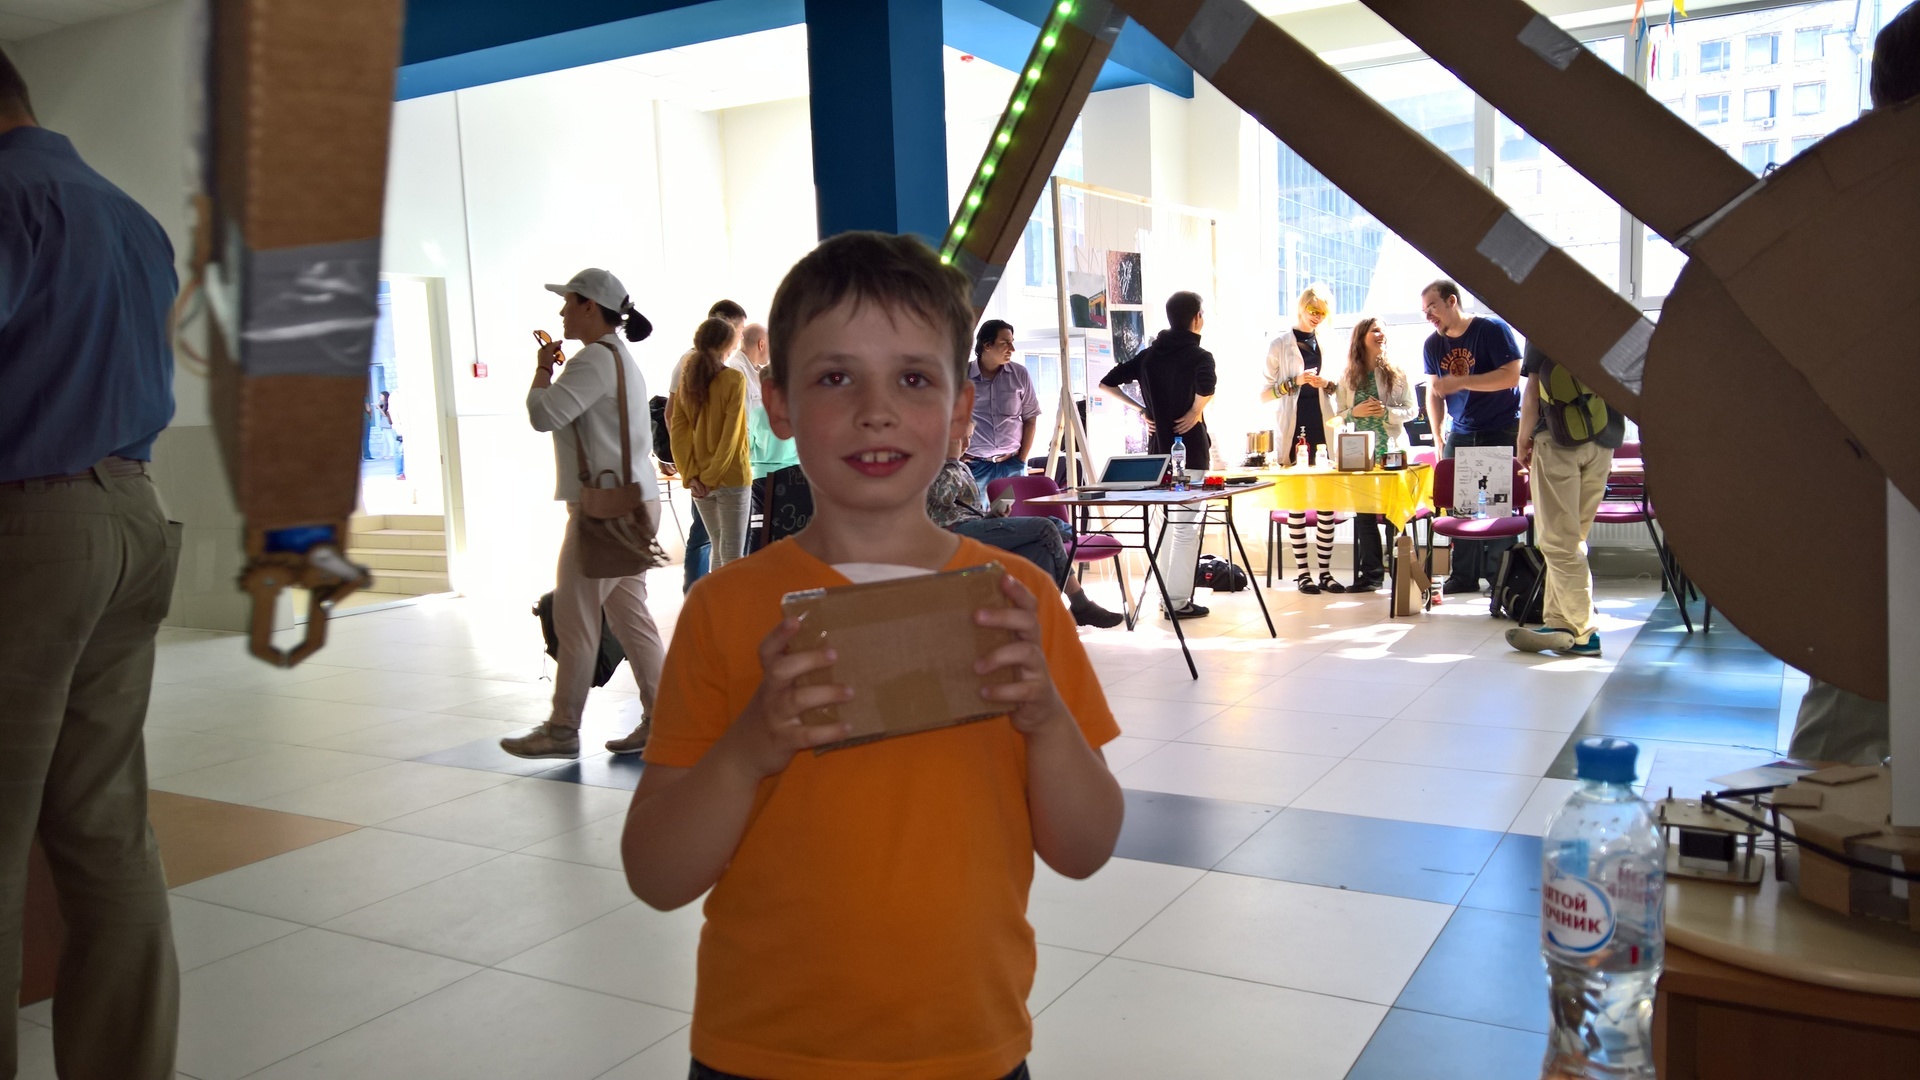
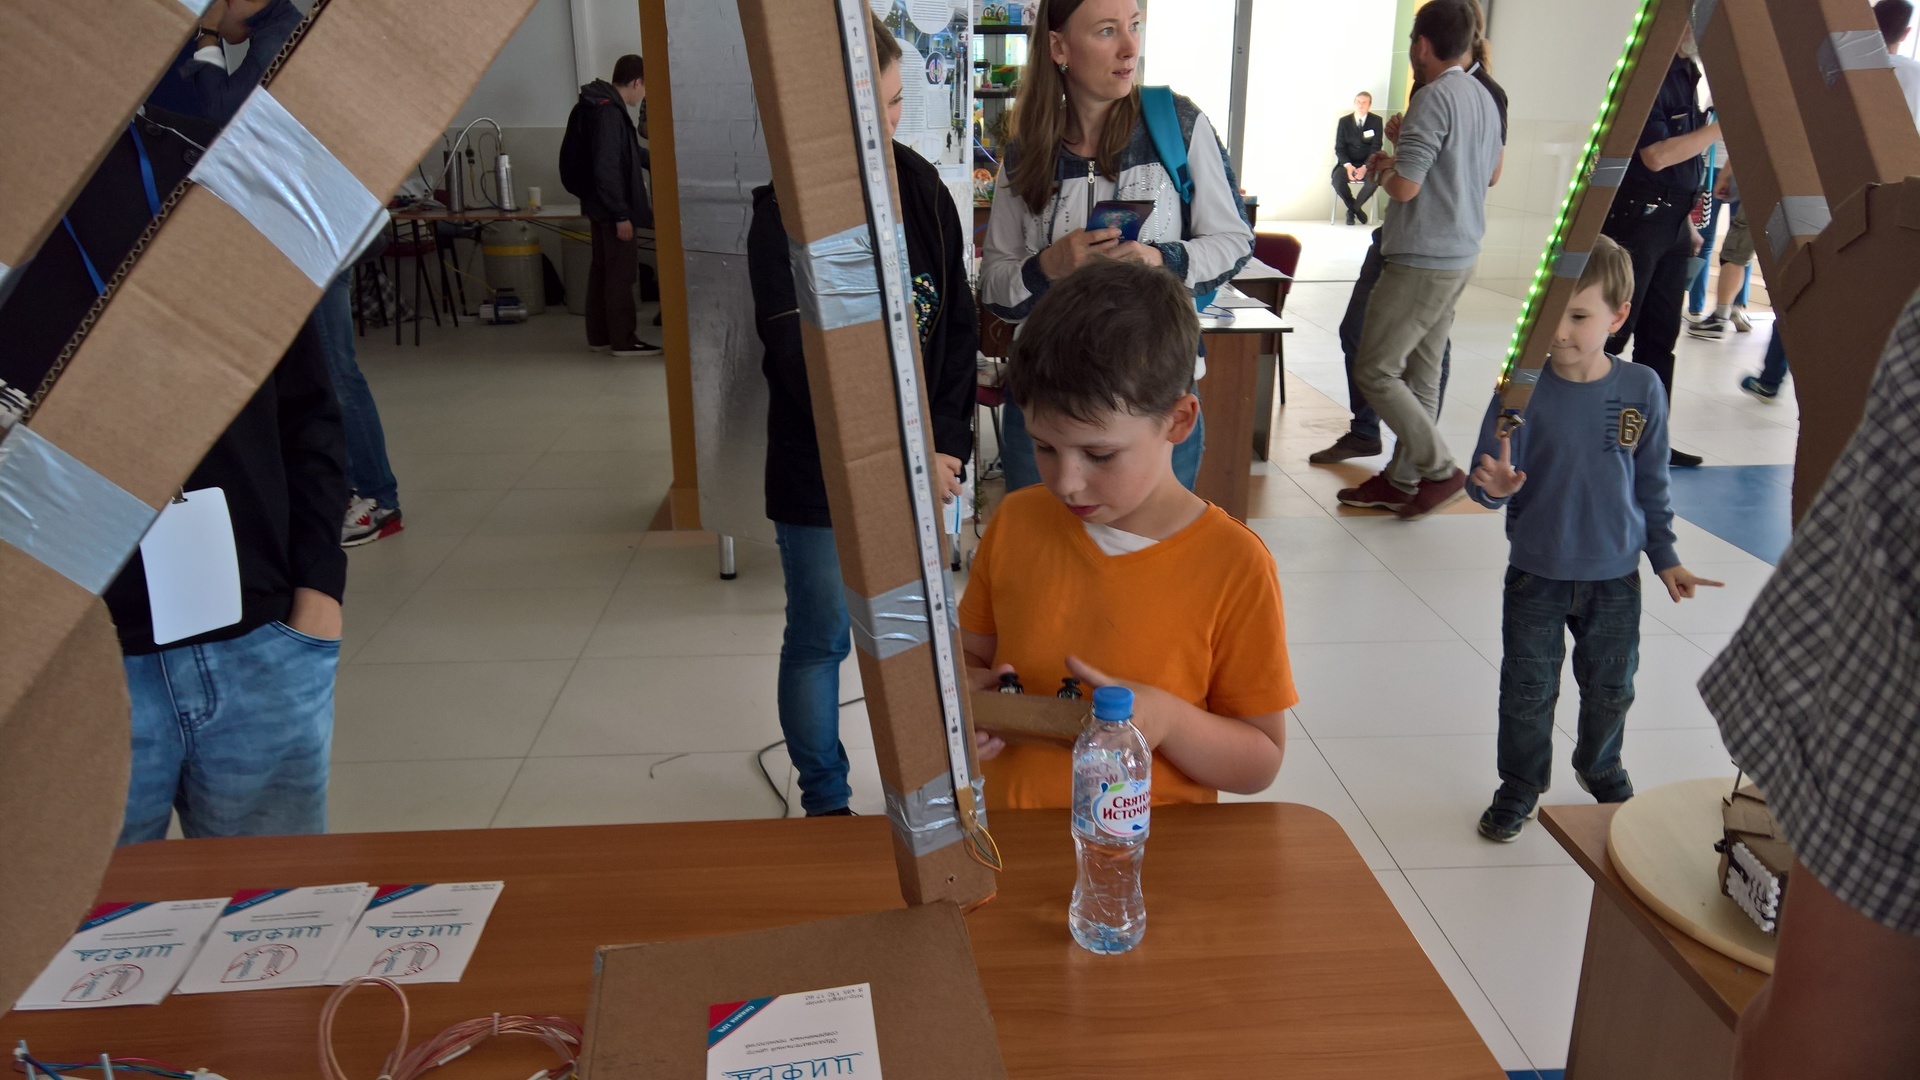
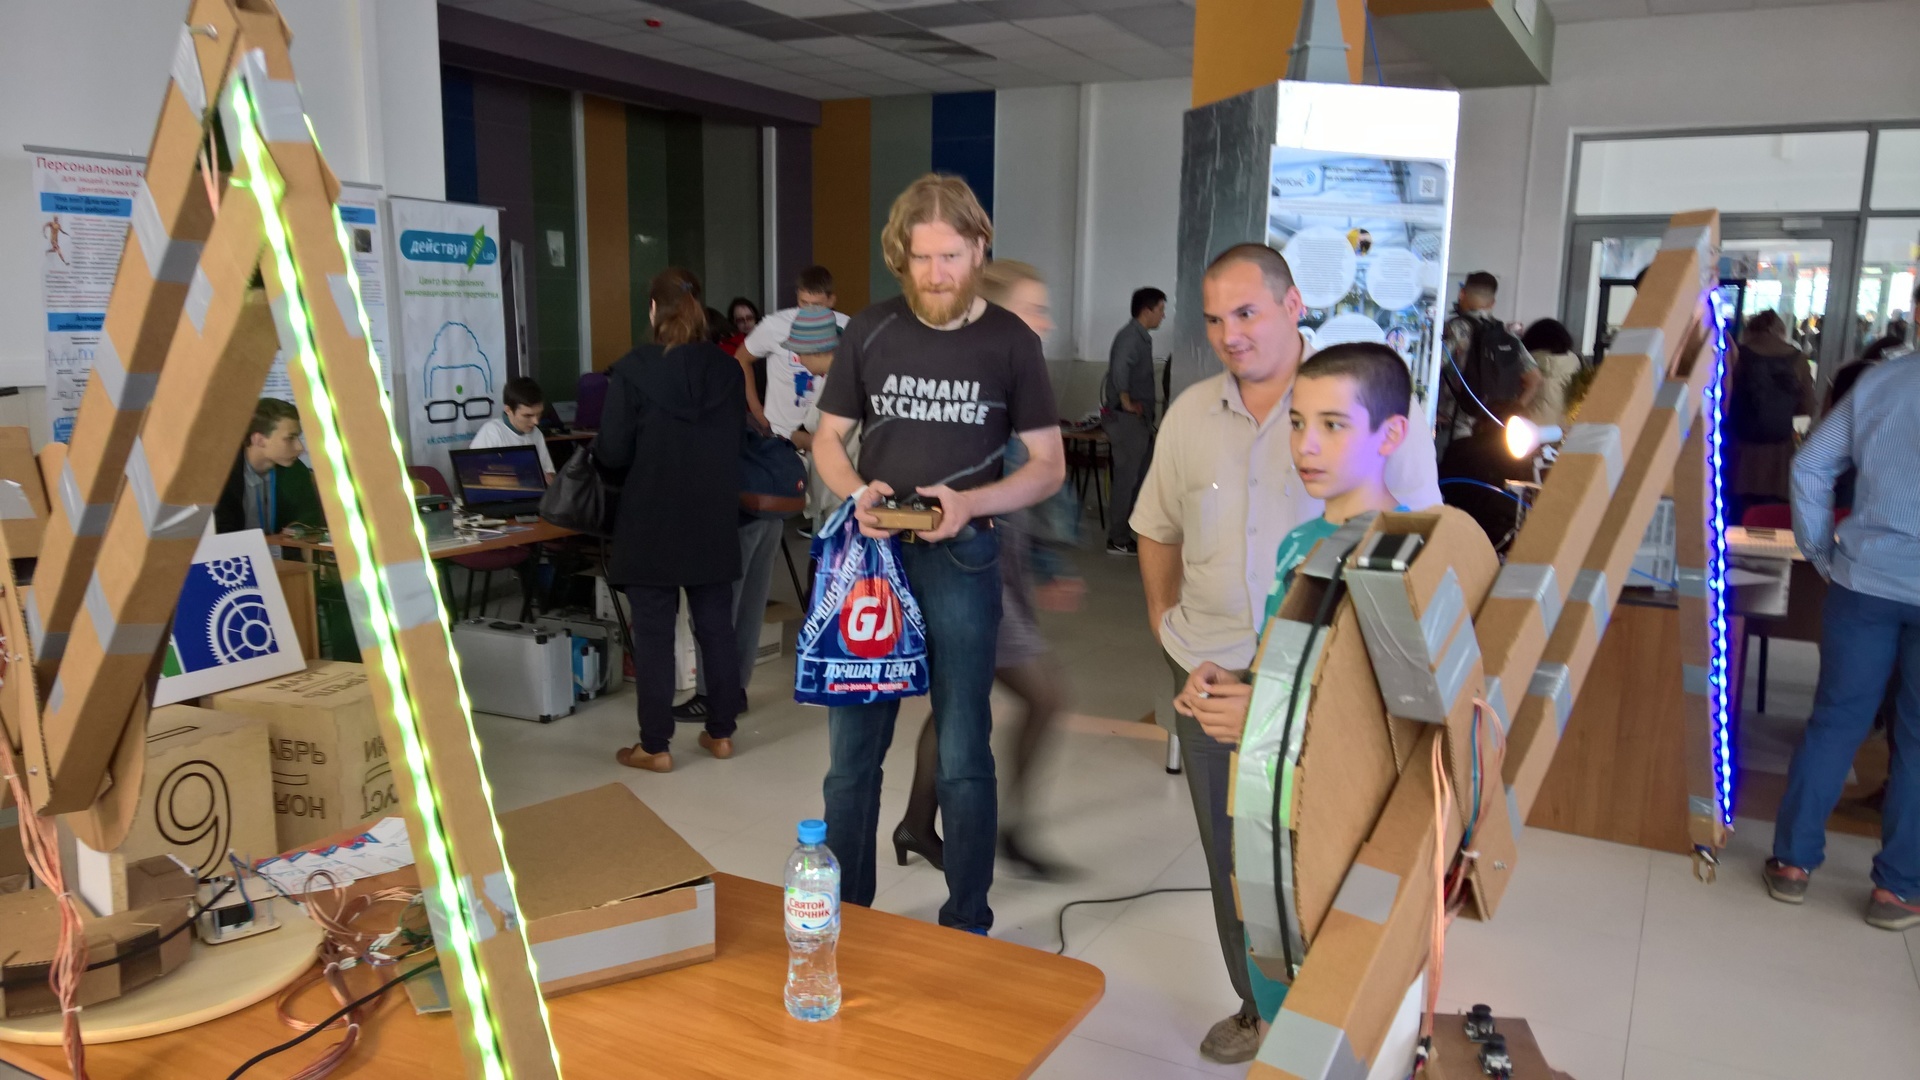
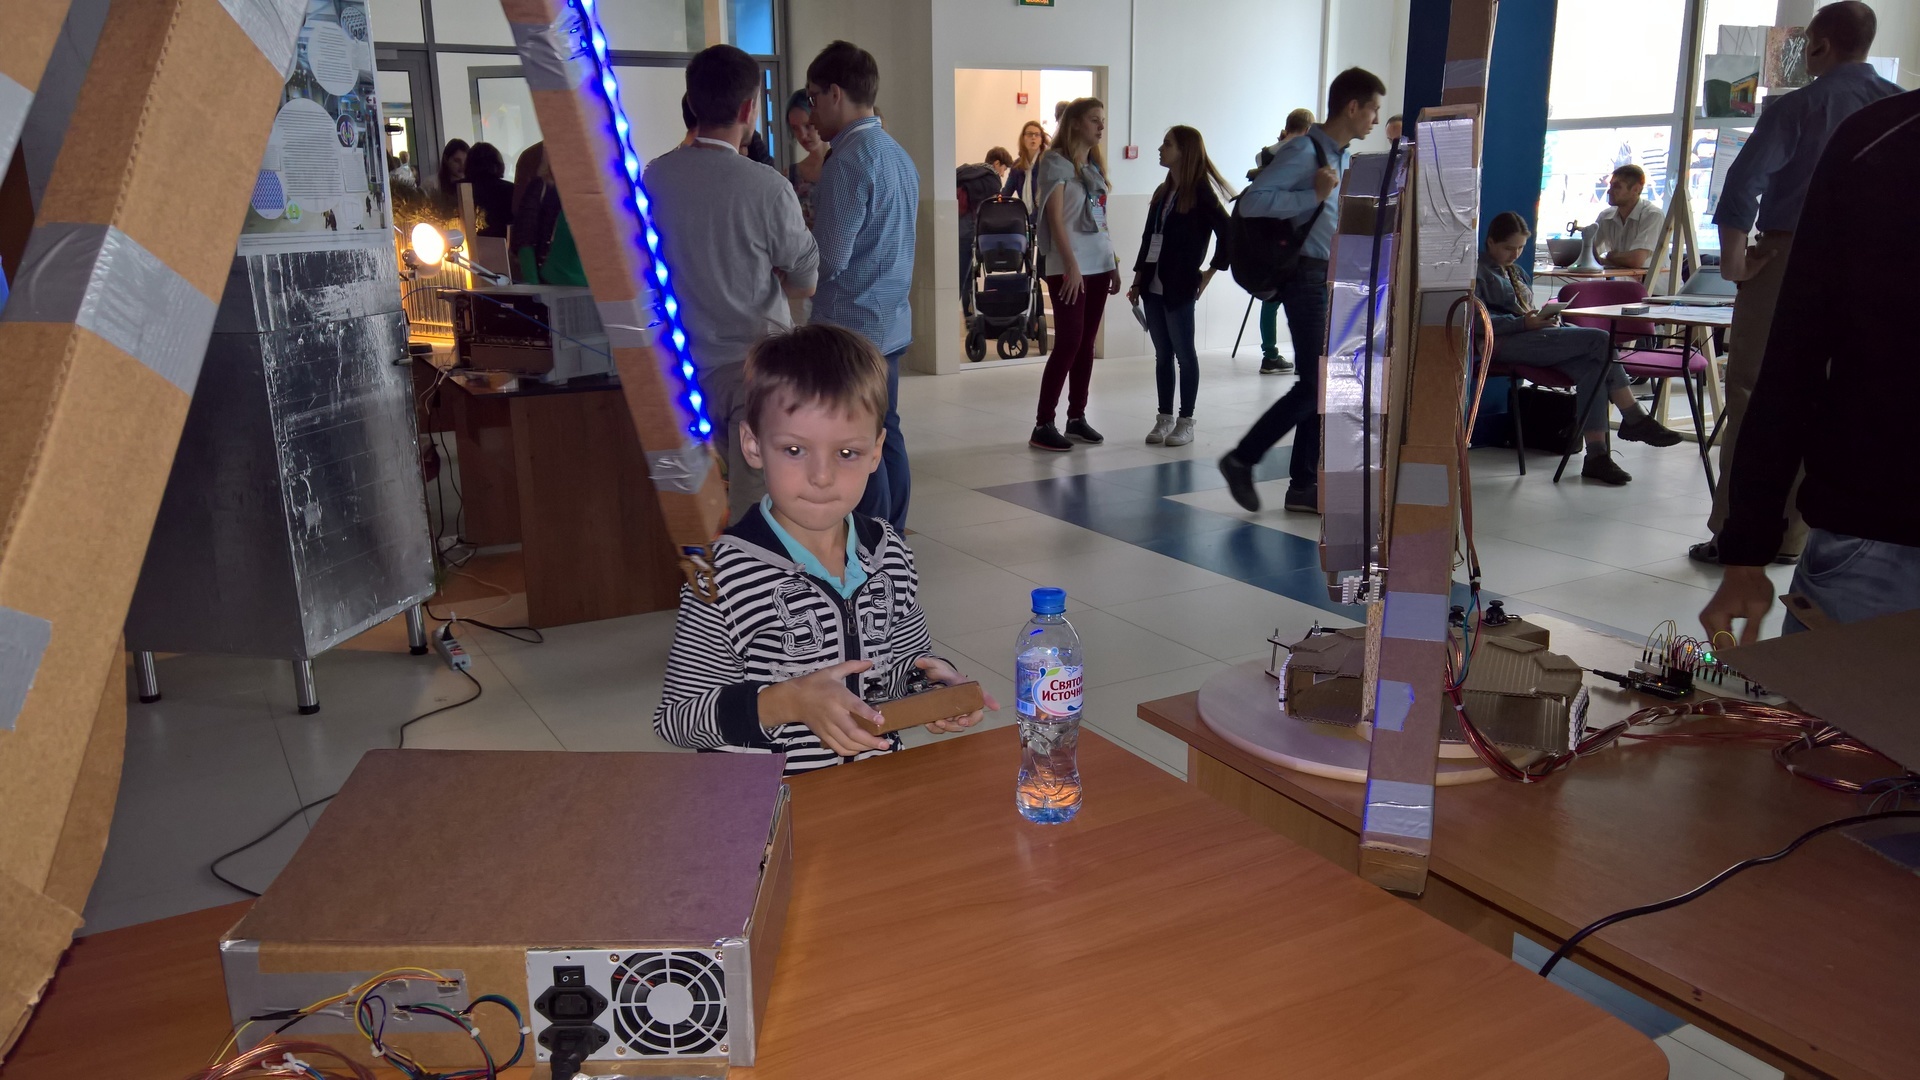
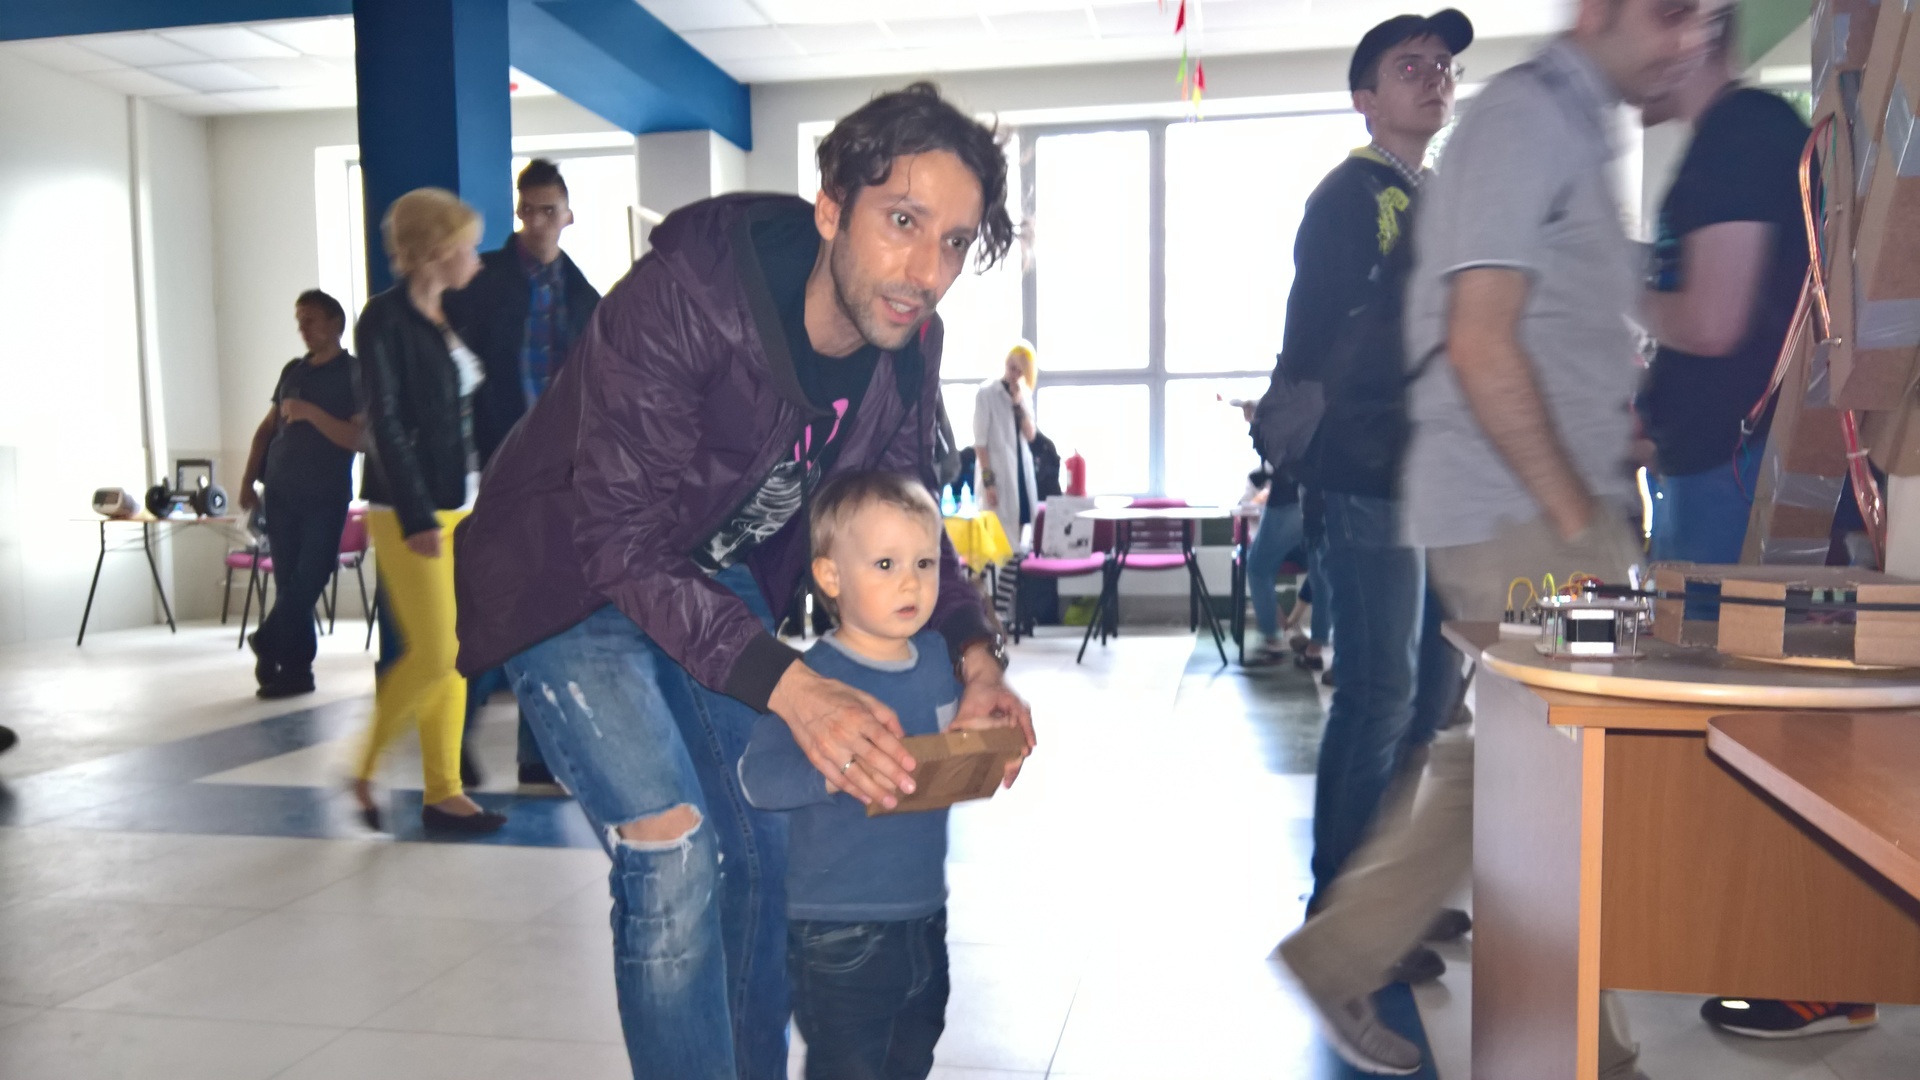
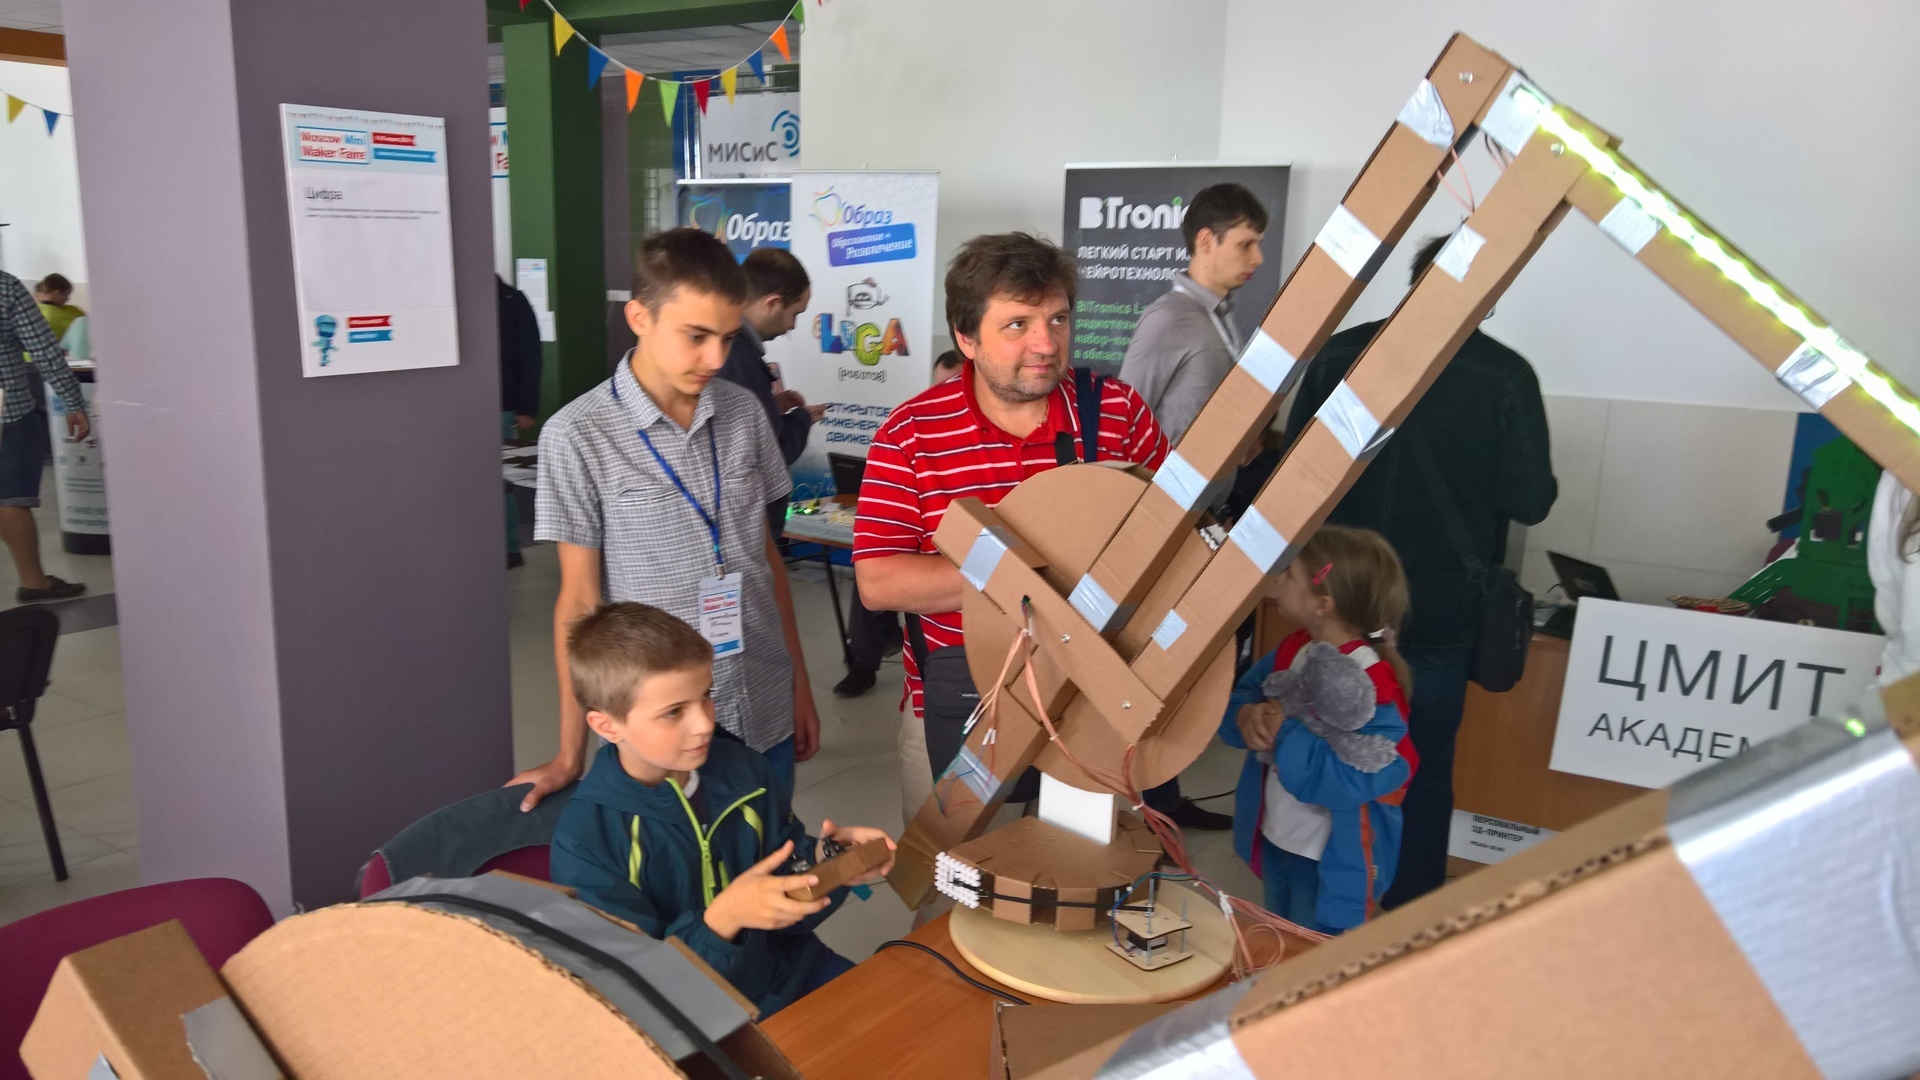
We were at the festival for two days, the guys showed their work and gave “steer” to visitors, mostly children. Since the seizure did not work for us, a competition was invented: it was necessary to knock down a bottle of water with the manipulator, it was not very easy, given the slippage of the belts, but almost everyone coped with it and received candy. Judging by the consumption of candy, about 400 people visited our booth in two days, several times our project was filmed for various publications and the guys were interviewed, including we were lit up in the news on the first channel.
Source code and drawings are available on github: https://github.com/MikD1/CardboardManipulator
In my spare time, I have been working in children's education, for several years I taught robotics and programming, and more recently my colleague and I opened our educational center. After learning about the festival, I immediately wanted to take part in it, assembled a team of guys who did not leave for the summer, took a two-week vacation, and we started work.
')
We worked together on the project, almost all the guys did on their own, I was only engaged in purchasing the necessary materials and organization, and also helped with some technical issues.
We found the project idea and drawings for it on the Internet and slightly modified it. Manipulators are made of cardboard with a wooden base, reaching two meters in length. Each manipulator has three degrees of freedom, the movement is carried out with the help of stepper motors, the control is controlled by joysticks from the console, communication is via radio. LED backlight is used. Below are a few photos with what came out as a result; links to the code and drawings are available at the end of the article.
List of materials for one manipulator
- Cardboard (two sheets 2x1m)
- Scotch (three rolls)
- Glue that can glue cardboard well
- Several wooden panels for the base
- Three stepper motor Nema 17 (42BYGHW609 with the moment 4kg * cm)
- Three drivers for engine control (TB6560)
- Toothed belt GT2 (1 meter)
- Three pulley for timing belt
- 2-3 springs for belt tension
- Two controllers (Arduino Uno for the manipulator and Arduino Nano for the remote)
- Two radio modules (nRF24L01 +)
- Screws, nuts, screws
- 30-35m strong wires
- Two analog sticks
- Power supply 6-10A (we used a computer power supply 450W)
- Two meter LED strip (optional)
The project budget (for two manipulators) turned out to be about 20,000 rubles, most of the cost was made by engines and drivers.
Assembly
Wooden base
First you need to assemble a wooden base on which the cardboard part of the manipulator will hold.
For the base uses a rotating tray from Ikea, which is called (who would have thought) Snudd. A wooden panel 40x13cm is bolted to the tray with screws.
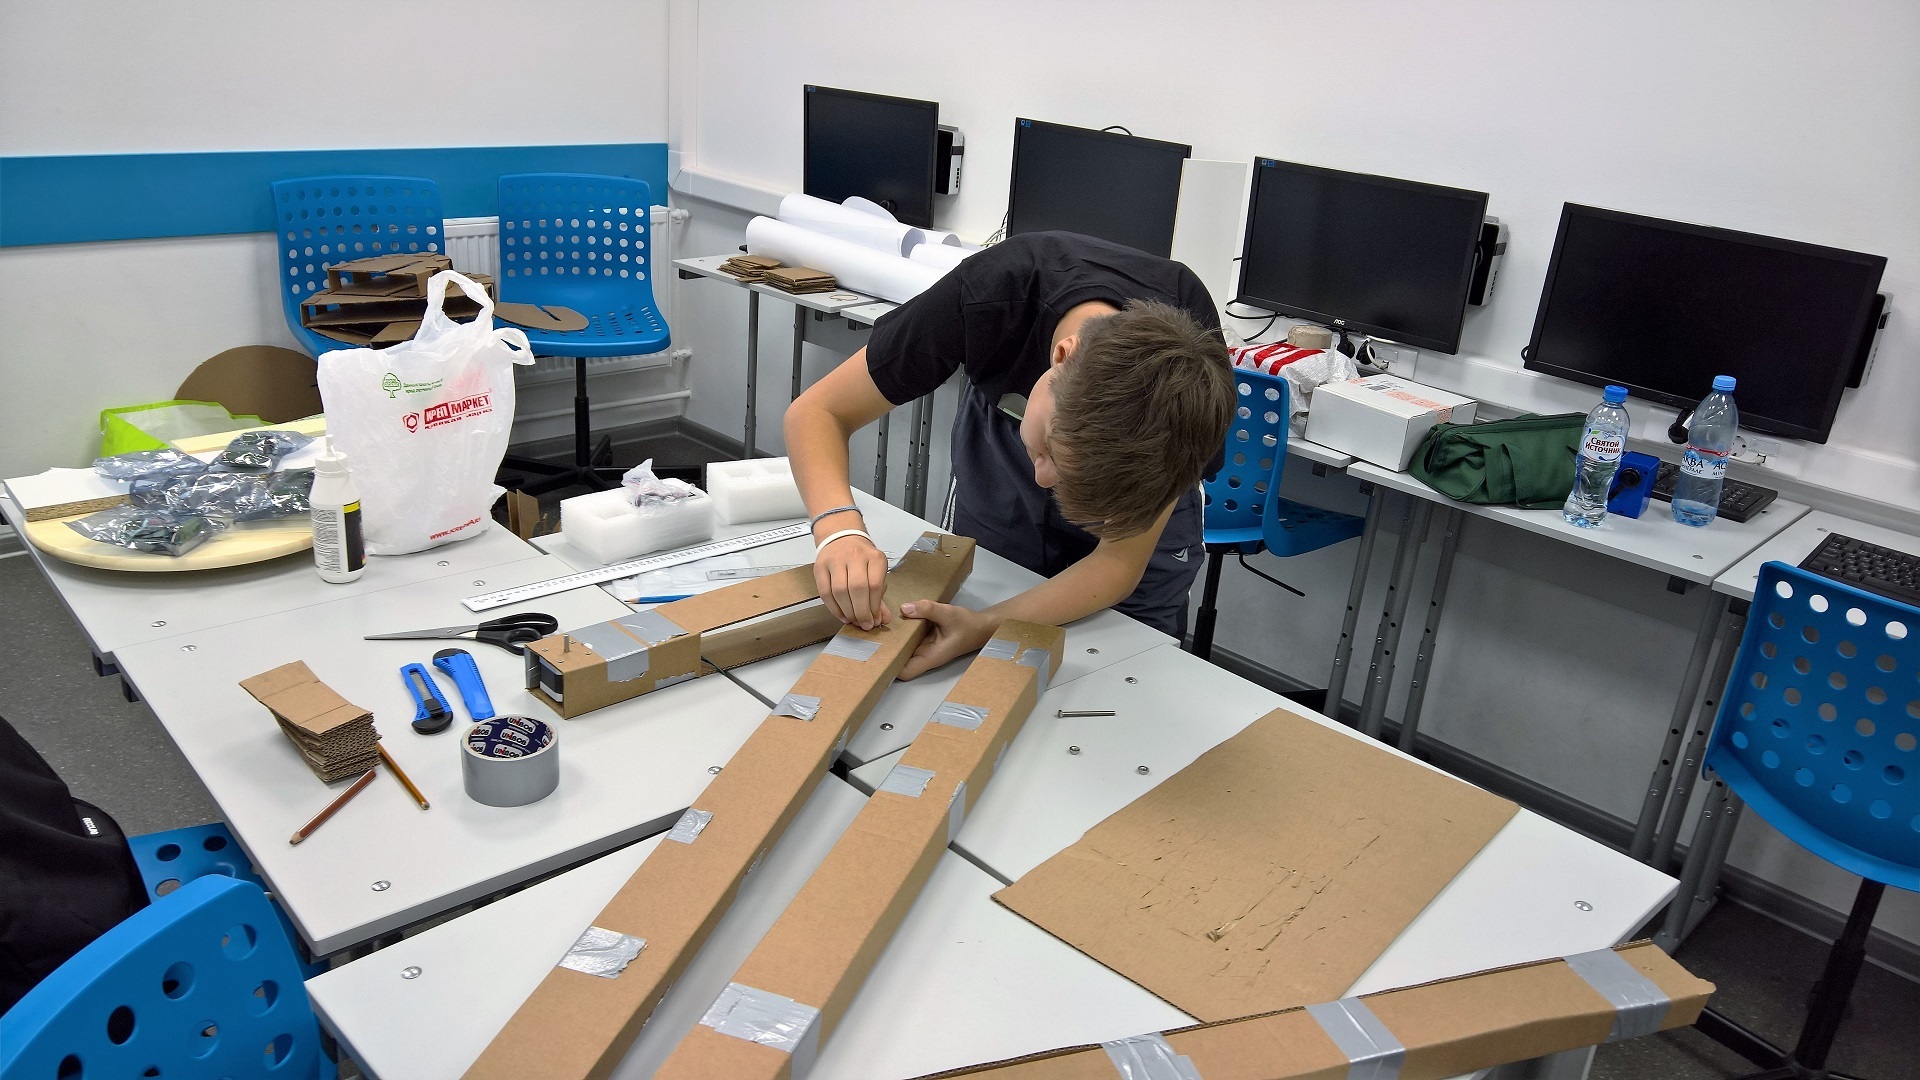
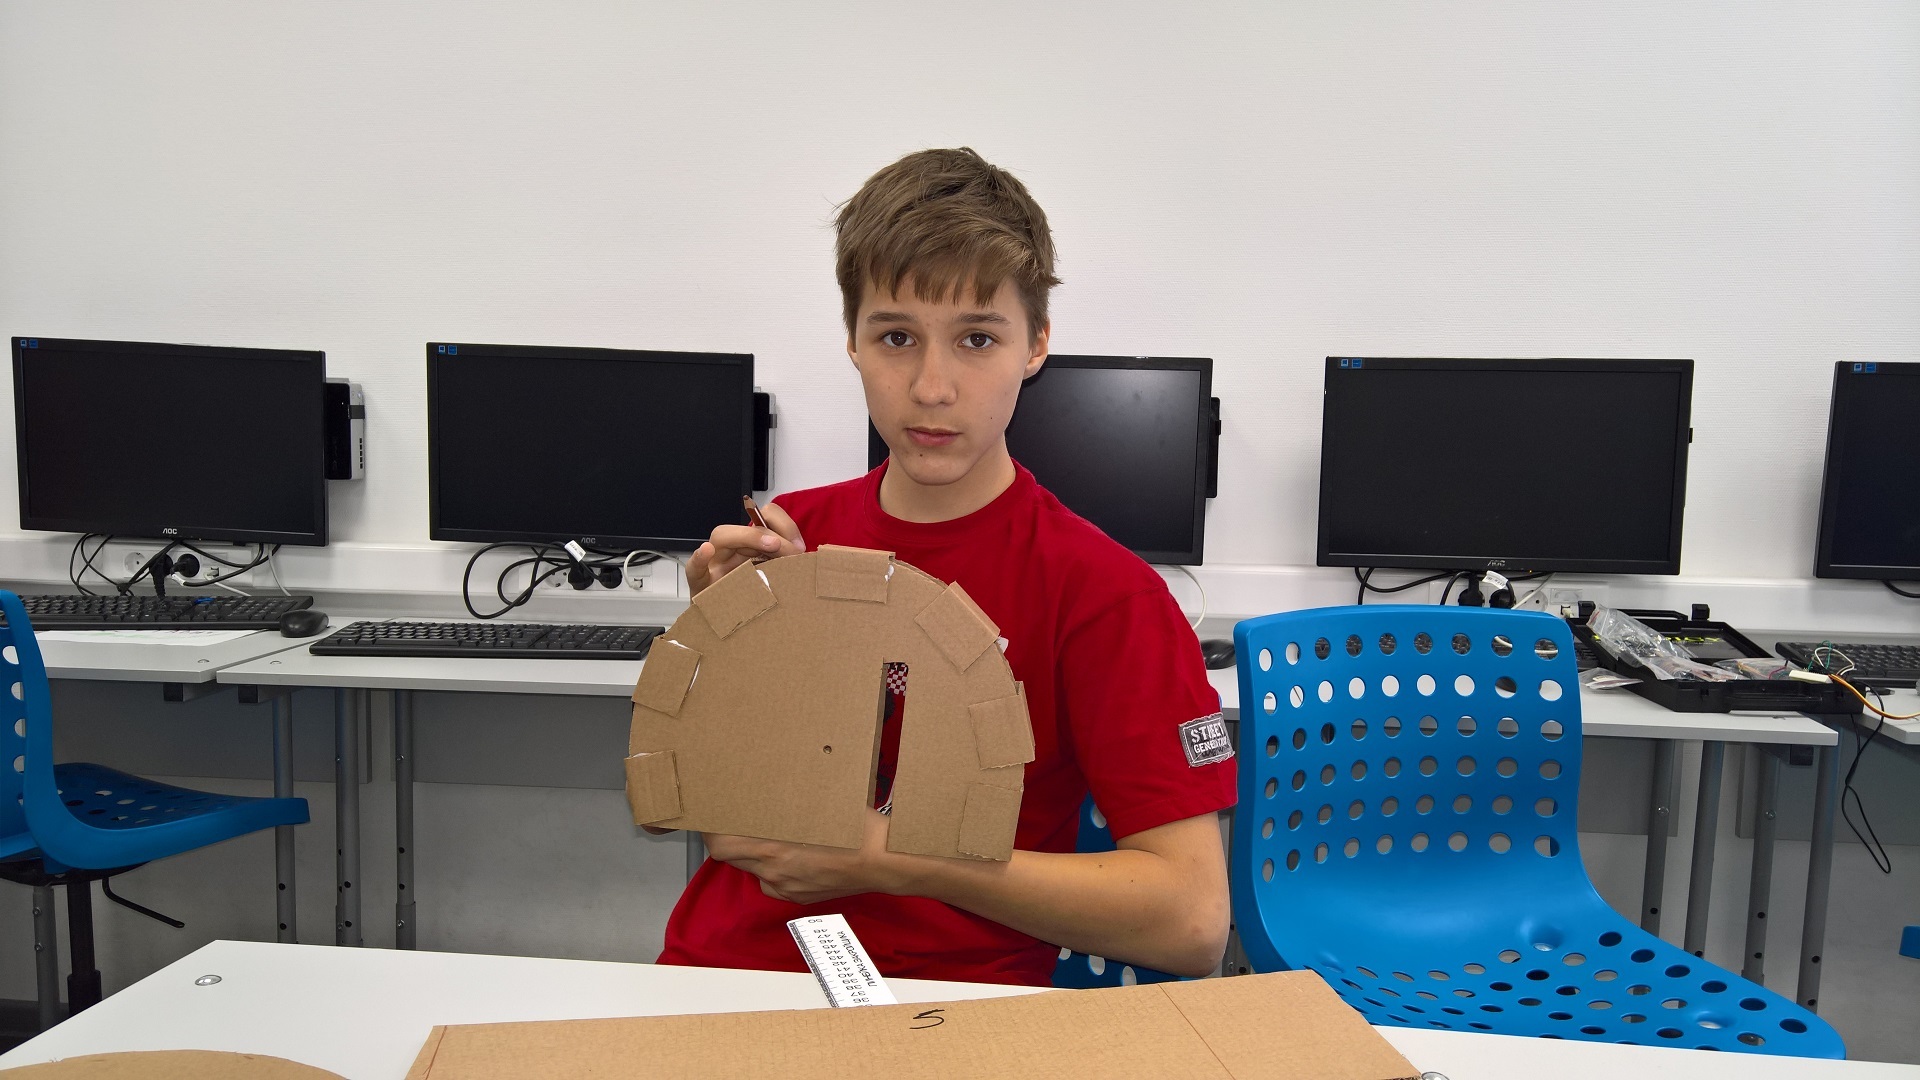
Main cardboard pieces
Next, from the cardboard you need to cut out all the necessary parts according to the drawings, fasten two engines to them. We fasten the rectangular parts with adhesive tape, we glue the semicircular, according to the photographs it is clear what this is about.
Putting together the cardboard parts of the manipulator and the wooden base, for this you need to drill a hole in the panel into which you can insert the screw.
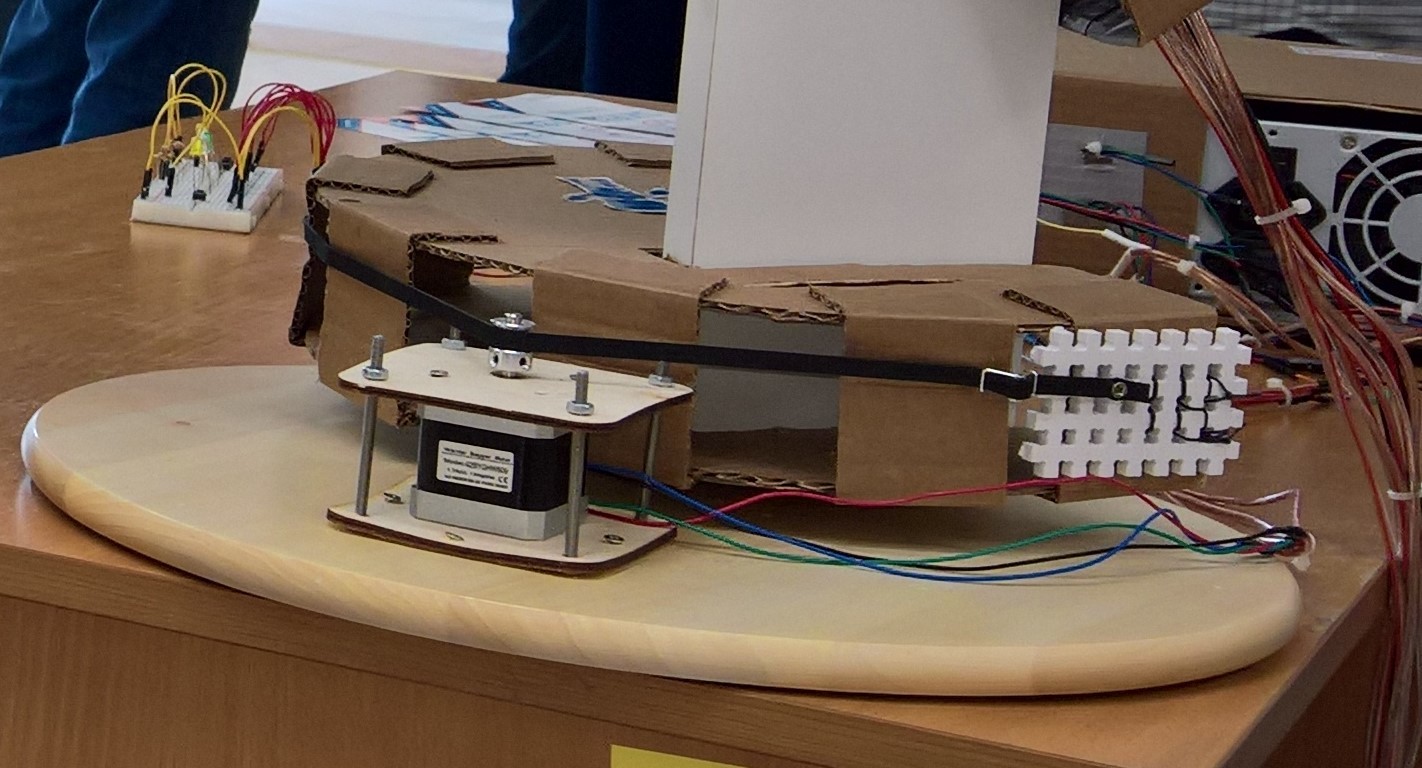
Manipulator rotation system
The main difficulties we have at this stage. According to the original idea, a plastic coupling was to be mounted on the engine shaft. Further, a thick thread is tied to the edge of the case, is wound with several turns on the sleeve and fixed on the other side.
Photo from the original project
The first problems arose with the clutch. I could not buy anywhere suitable for adequate money (we needed six pieces, three for each manipulator), then we decided to print it on a 3D printer. My colleague made a model and tried to contact any of the studios for 3D printing, but we never found anyone who could quickly print the model, and time was running out. In addition to the clutch problem, there was another one: during the tests, the thread was constantly tangled and intertwined. Because of this, the tension weakened, then strengthened, making the manipulator not work normally.
We thought about how to solve this problem, the guys offered different ideas, eventually settled on a variant with a toothed belt. We bought a belt and pulleys for engines, started to try, but there were a lot of problems here too. Initially, we tried to fasten the belt right on the cardboard, which is why it began to deform and tear. Also, due to the unevenness of the cardboard case, the tension of the belt was different in different places, because of which the engines constantly slipped. As a result, we fastened the belt to the wooden part from the designer, glued it and sewed it with thread to the cardboard. The problem with the tension of the belts is partially solved by springs.
Electronics
TB6560 drivers are used to control stepper motors; they provide current up to 3A, which is quite enough. For communication with the control panel, the nRF24L01 + radio module is used, and the Arduino Uno is used as the controller. We chose a 450W computer power supply as the power source; it provides the necessary power and is much cheaper than conventional switching units. Of the minuses, we can note the large size and active cooling system, which in our case does not play a significant role.
For electronics, the case was made of cardboard, it secured the power supply, Arduino, radio module and drivers. Led the wires with connectors for connecting engines to the outside, it is convenient to transport the case separately from the manipulators.
Remote Control
The console consists of two joysticks, in one of them the X and Y axes are involved, in the other only X, they are used to control the rotation of the manipulator. By clicking on one of the joysticks, the backlight color changes. For the remote was also made a case of cardboard, the power source - the battery Krona.
Programming
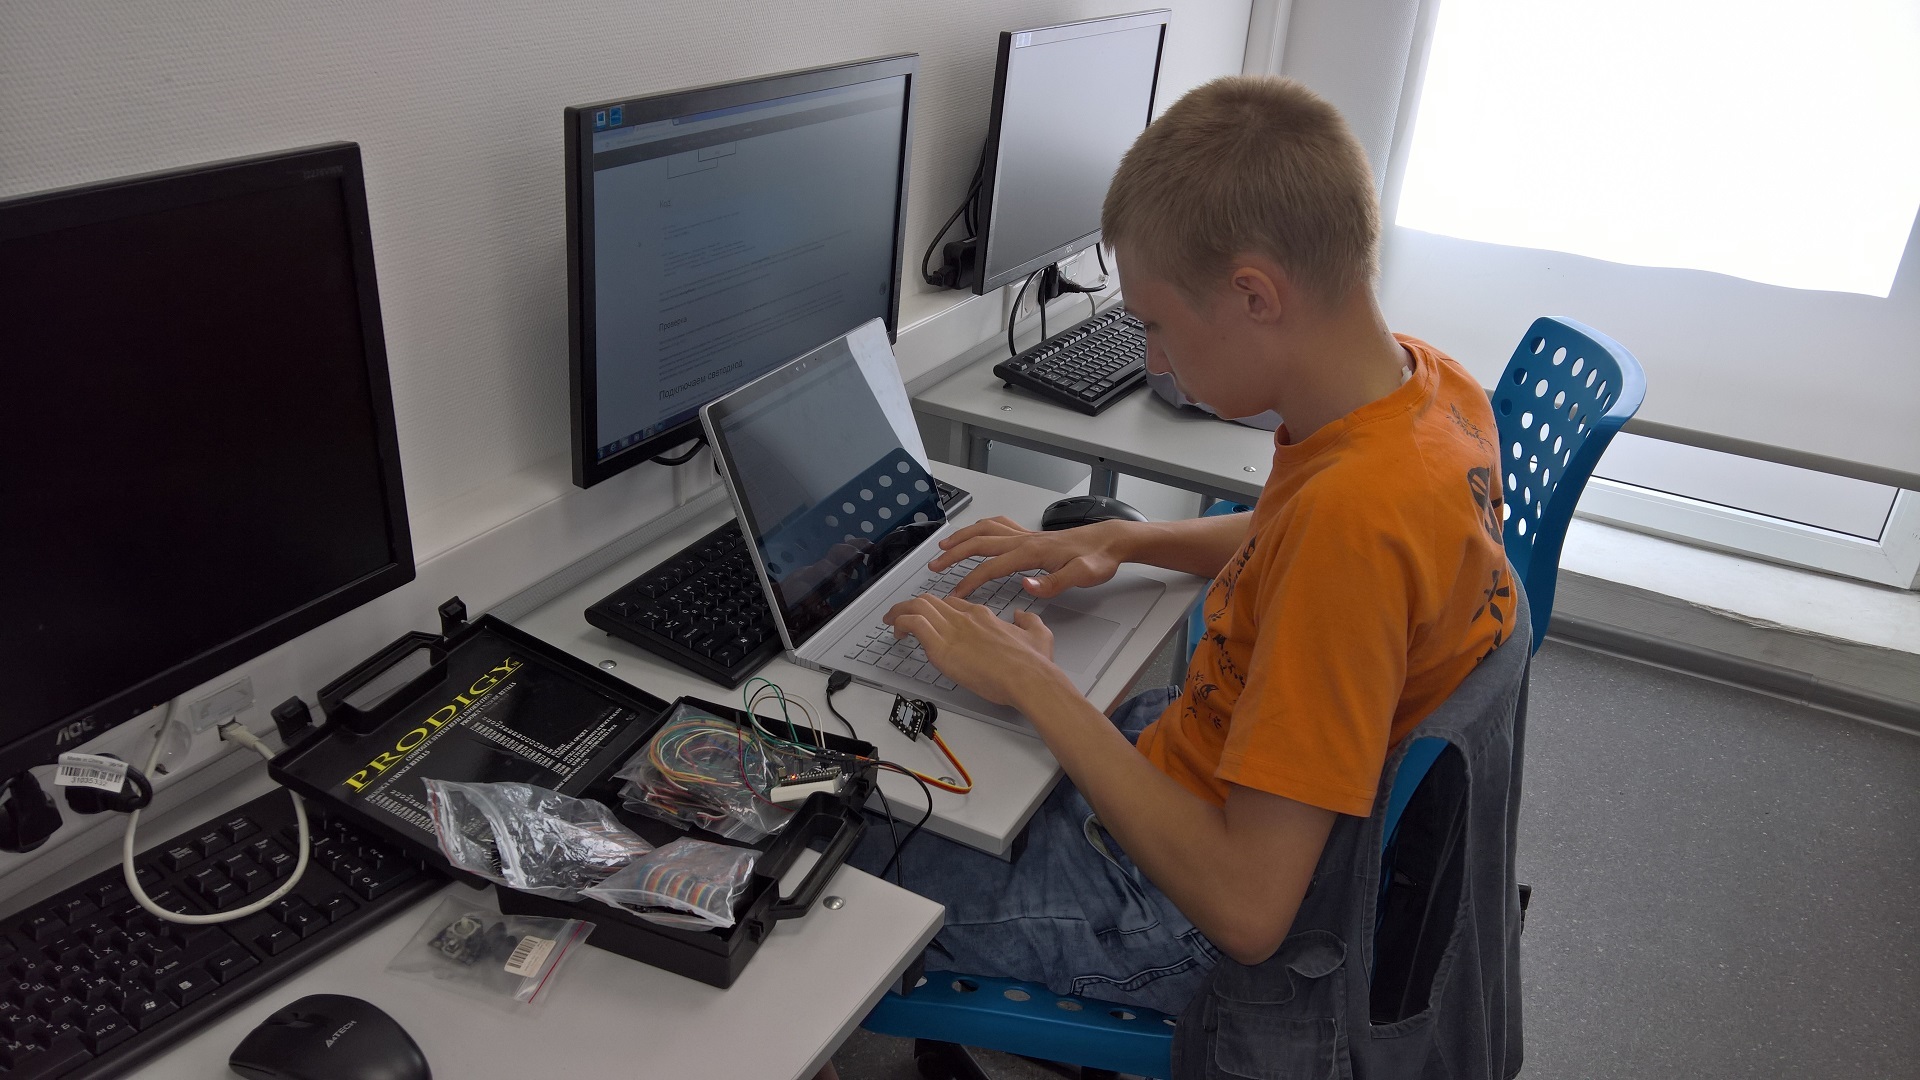
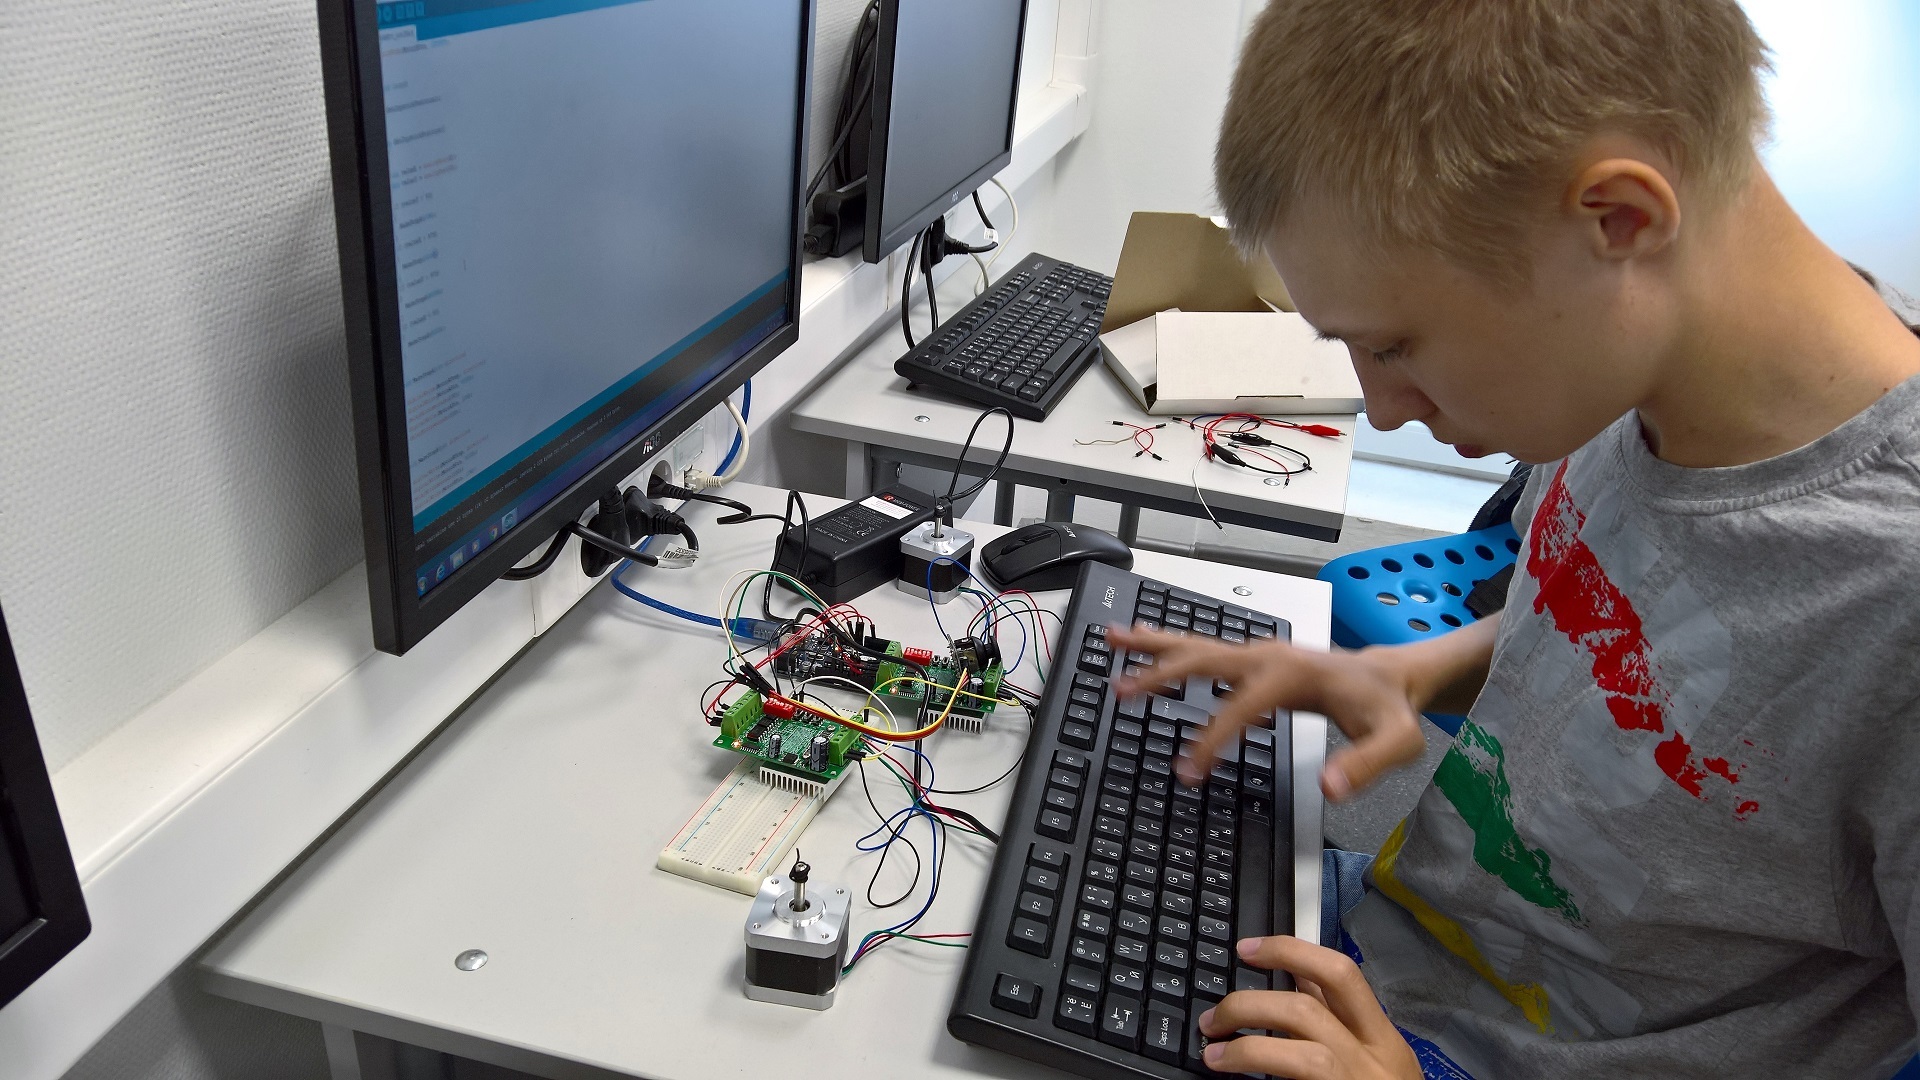
In parallel with the development of the iron part, the guys wrote firmware for the controllers of the manipulator and the console. From the console, the command number is sent over the radio channel, the manipulator receives and executes it. List of possible commands:
- Clockwise
- Rotate counterclockwise
- Raise the central part
- Lower the central part
- Raise the end part
- Omit the end part
- Open / close capture
- Change backlight color
Capture
We did not have time to make our capture, so we bought it ready on the servo. In the tests, he earned us, but at the festival when connected - no. It did not work out quickly to fix it, the festival conditions did not allow to sort it out properly. We assume that the fact is that due to the long wire length (about 3 m), the modulation pulse of the servo drive attenuates.
As a result, my colleague and I finished the final assembly of the manipulators at 2 in the morning, on the day before the festival (the children were released earlier).
Manipulators fit right into the rear seats of the car, they did not have to disassemble.
Festival
We were at the festival for two days, the guys showed their work and gave “steer” to visitors, mostly children. Since the seizure did not work for us, a competition was invented: it was necessary to knock down a bottle of water with the manipulator, it was not very easy, given the slippage of the belts, but almost everyone coped with it and received candy. Judging by the consumption of candy, about 400 people visited our booth in two days, several times our project was filmed for various publications and the guys were interviewed, including we were lit up in the news on the first channel.
Photos from the festival


Source code and drawings are available on github: https://github.com/MikD1/CardboardManipulator
Source: https://habr.com/ru/post/372503/
All Articles