Touch radio switch on batteries. Livolo + z-uno
I loved the touch switches! I like their appearance, shiny glass, illuminated buttons, look elegant!
Since Since my apartment is automated with Z-Wave technology, then the touch switches must support this technology. With the alteration of the push-button radio switch in the touch I handled the last time. Now I need a remote with batteries in the form of a touch switch, which I can glue onto double-sided tape in the kitchen so that the children can reach it.
Vitrum Touch Z-Wave Switches
If you want your own unique touch switch, and even no more than 4K ₽, welcome under cat.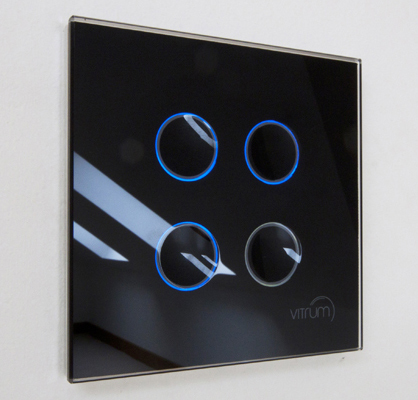
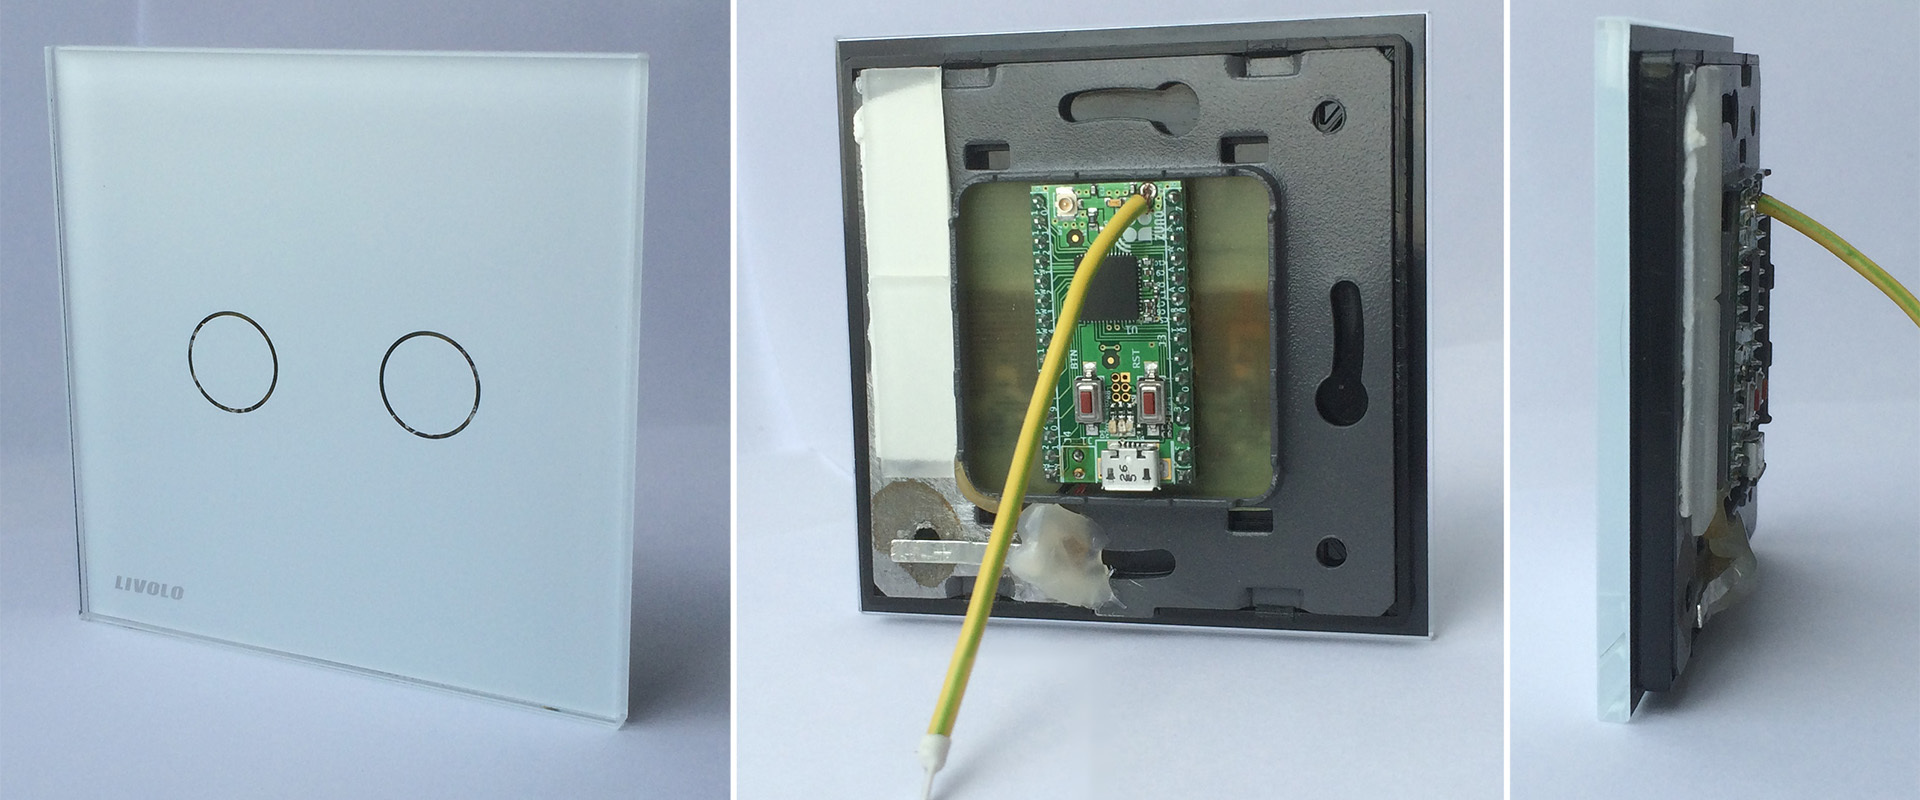
- As a decorative panel, I used the glass from the switch Livolo (Aliexpress - 250₽)

- Fastening glass Livolo (Aliexpress - 50₽)

- Z-Wave Z-Uno board (Rus.Z-Wave.Me - 3500₽)

- Radio details (Chipdip.ru - 50₽)
The brain of the switch is the Z-Wave Z-Uno board. With the help of LUT, I made a shield of the desired size with two conductive surfaces that act as a touch panel. To measure the capacitance of the touch surface, the TTP-223 chip is used.

Z-Uno is powered by 4 CR2032 batteries. With the active radio exchange, the voltage of the batteries quickly subsides and if you continuously press the buttons for 3 minutes, the voltage drops to a critical 2.6V and the Z-Wave chip turns off, the batteries will recover in a minute, but to prevent this from happening, 2 tantalum capacitors are added to the power circuit 47 microfarads each (yellow cubes in the photo). According to preliminary calculations, the switch will work more than a year from one set of batteries.

Two touch buttons are connected to pins 0 and 20, and to pin 18 via diodes. When a low level is applied to pin 18, an interrupt occurs that wakes up Z-Uno and triggers the button poll code. If the lower button has been triggered, the OFF command is sent, if the upper button is turned ON. After polling the buttons, we send Z-Uno to sleep, so as not to waste battery power.

')
The sketch is written in the Arduino environment and takes only 45 lines, nothing complicated even for a novice Arduinschik. You can read about specific Z-Uno functions here http://z-uno.z-wave.me/reference

Z-Uno battery-operated switch sketch
#define BTN_INT_PIN 18 // INT pin #define BTN_PIN1 0 // button pin #define BTN_PIN2 20 // button pin #define CONTROL_GROUP 1 // number of Association Group #define SWITCH_ON 0xff #define SWITCH_OFF 0 ZUNO_SETUP_ASSOCIATIONS(ZUNO_ASSOCIATION_GROUP_SET_VALUE); // Send Turn On/Off command to associated devices ZUNO_SETUP_SLEEPING_MODE(ZUNO_SLEEPING_MODE_SLEEPING); // SLEEPING MODE byte lastValue1 = HIGH; byte lastValue2 = HIGH; // the setup routine runs once when you press reset: void setup() { pinMode(BTN_PIN1, INPUT_PULLUP); pinMode(BTN_PIN2, INPUT_PULLUP); } // the loop routine runs over and over again forever: void loop() { byte currentValue1 = digitalRead(BTN_PIN1); byte currentValue2 = digitalRead(BTN_PIN2); // Button Down if (currentValue1 != lastValue1) { // if state changes lastValue1 = currentValue1; // save new state if (lastValue1 == LOW) { zunoSendToGroupSetValueCommand(CONTROL_GROUP, SWITCH_OFF); // if button pressed - send switch OFF command } } // Button Up if (currentValue2 != lastValue2) { // if state changes lastValue2 = currentValue2; // save new state if (lastValue2 == LOW) { zunoSendToGroupSetValueCommand(CONTROL_GROUP, SWITCH_ON); // if button pressed - send switch ON command } } // Go to sleep after release the button if (digitalRead(BTN_INT_PIN)){ zunoSendDeviceToSleep(); } } After assembling the device and filling the sketch, the switch needs to be added to the Z-Wave controller network, I have RaZberry , I want to control the device switches I want to control, I have the light in the kitchen.

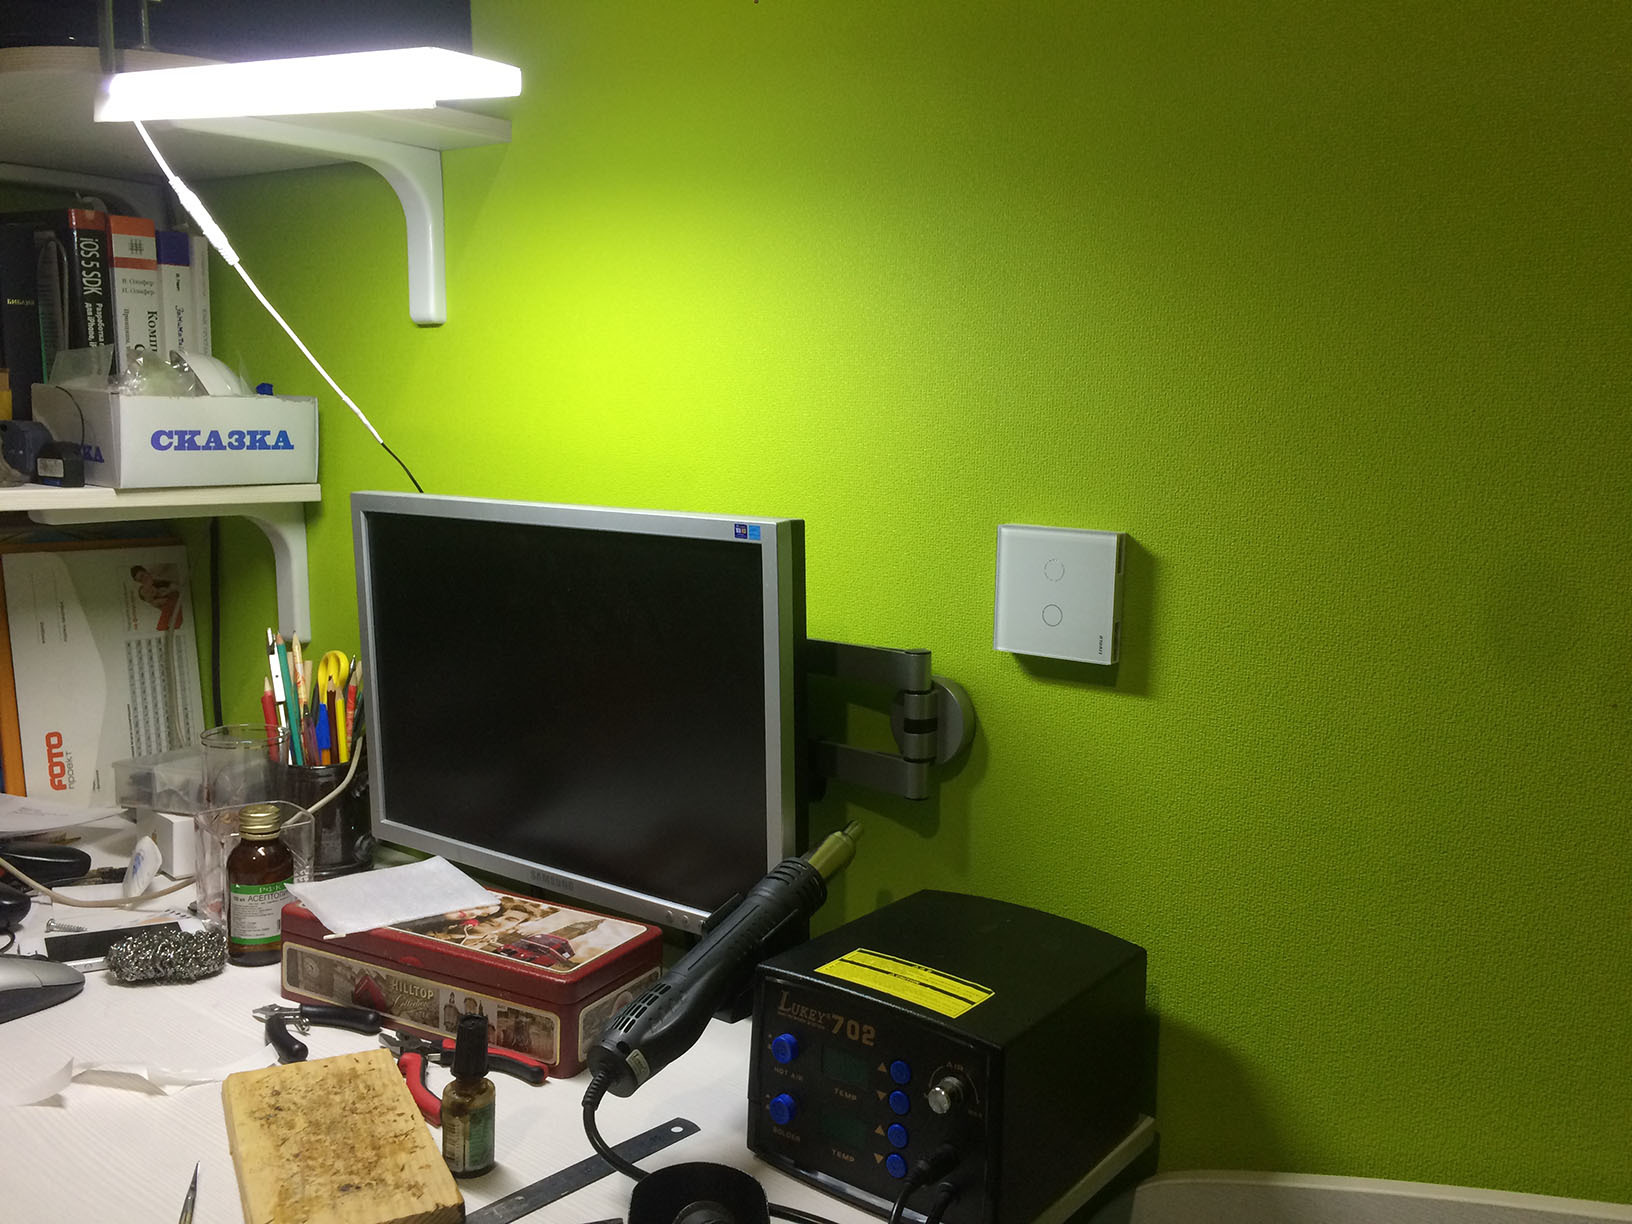
Sculpt on double-sided tape in a convenient place and enjoy!

Due to the fact that the Z-Uno board has very compact dimensions, namely: 21x40x6 mm, it turned out to be placed entirely inside the Livolo mounting plate and glass. The thickness of the finished switch with the battery is 12 mm. Neighboring Legrand sockets with a frame are 13 mm behind the wall. The switch fits perfectly into the design of my kitchen, and the child learns to turn off the light behind him.
Z-Uno can be purchased for 3500₽ in the retail store http://5smart.ru or from the manufacturer http://rus.z-wave.me
UPDATED 08.28.2016
Fixed circuit design and optimized sketch. Tested on Z-Uno version 2.0.5.
UPDATED 08/30/2016
2 tantalum power capacitors are added to the circuit.
UPDATED 02.10.2016
Practice has shown that a single CR2032 battery is not enough, so now 4 CR2032 batteries are used. Made on the 3D printer case, where the battery compartments are located and conveniently mounted to the wall.


Source: https://habr.com/ru/post/372041/
All Articles