Making a hot table for a MC2 3D printer
In the previous article I wrote about ABS plastic printing on the cold table of the MC2 3D printer from Master Kit.
The technology works, but imposes some restrictions, first of all, on the size of the printed part in the horizontal plane. Gladly experimenting with the MC2 printer and modifying it, I came to the conclusion that it would be time for me to get a heated table. There's more that printer electronics supports this feature. And at the same time try to make this table adjustable by eliminating the AUTO_BED_LEVELING function. In principle, the function works well, I wrote about this in this article , but I also wanted to try this option.
Actually, you need to purchase for this purpose only the heater itself, the thermistor and the springs for adjustment - this can be done on the website 3d.masterkit.ru . And figure out how to thermally untie the plastic parts of the printer, designed to mount the table, and the heater.
')
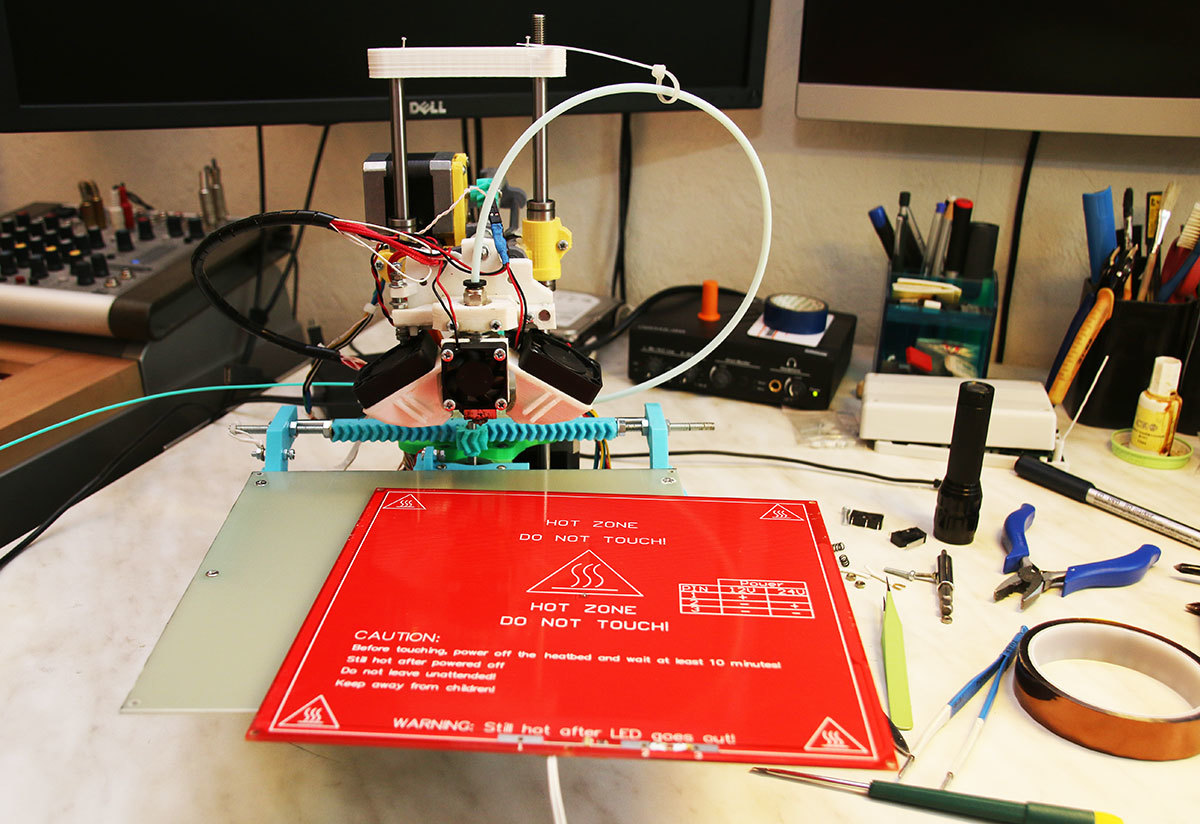
Rummaged in the cabinets, found a piece of fiberglass. Good, smooth, 2mm thick. Sawed off a 220x220mm square from it. (Heater size is 214x214mm.) And, without thinking twice, I drilled 4 holes in it for M3x10 screws with a head soaked for fixing the PCB to the standard glass holders and 4 holes for fixing the heater. In the details for fixing the glass, I drilled the 2.5mm holes and screwed the textolite with screws like screws.
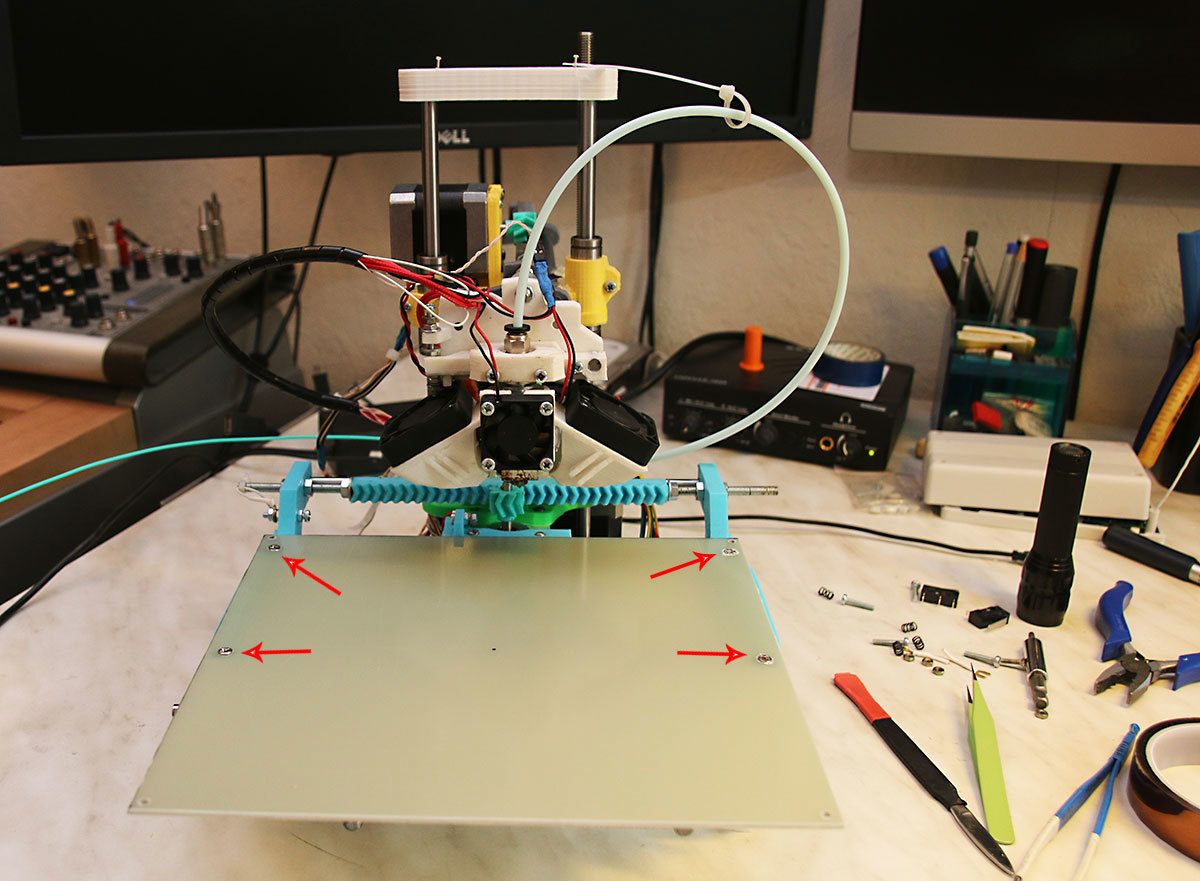
Now it is necessary to attach the heater to the PCB through the springs. For some time I pondered how to make the nuts of the adjusting screws fixed, but then decided to do without any nuts. I cut the M3 thread directly into fiberglass, it turned out about 4 turns. I tried several times to twist-unscrew the spring-loaded screw. If you do this carefully, the thread keeps well, does not deform. Let's see how the solution will behave during long-term operation; if the thread deteriorates, I paste a metal nut-washer with an M3 thread on the textolite, you can print a retainer from ABS, or something else like that.

Next, you should glue the thermistor in the central hole in the heater with heat-resistant tape or paper tape. It connects to the control card to the T1 connector. Also in the Marlin firmware, you must allow read data from this sensor. To do this, in the Configuration.h tab, you need to change 0 to 1 in the line #define TEMP_SENSOR_BED 1
After this, in the RepetierHost program you can see and set the temperature value of the table.
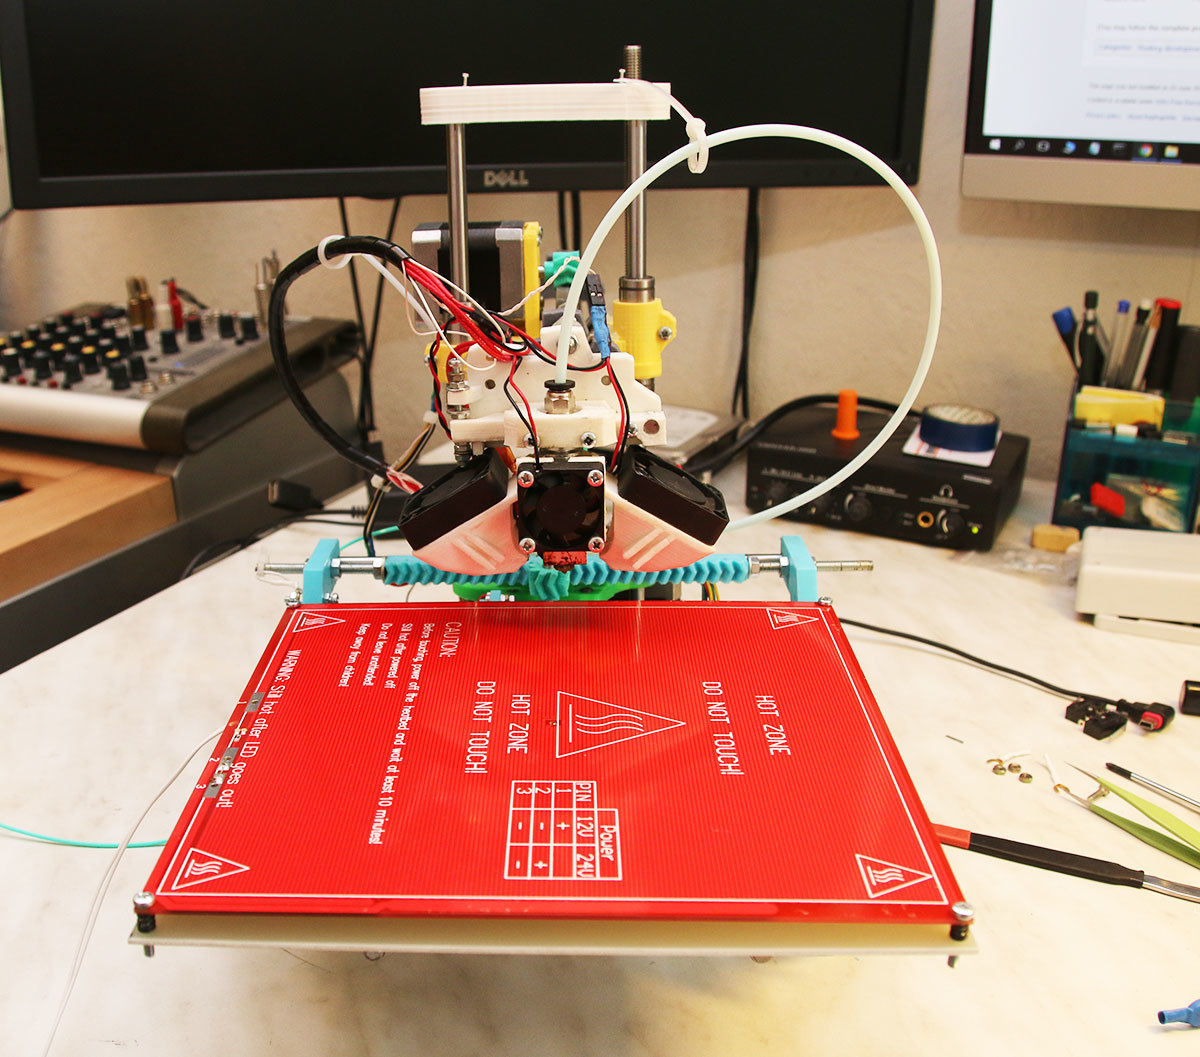
Glass for printing - as without it - convenient to attach stationery clips for paper. They can be found in any of the stationery department. Here is a sandwich turned out. Pretty weighty, I must say. I decided that it would be necessary to reduce the acceleration along the Y axis in connection with this, and at the same time X. We climb again into the firmware. And halve the following parameters in Configuration.h (new values are indicated):
#define DEFAULT_MAX_ACCELERATION {4500,4500,100,9000}
#define DEFAULT_ACCELERATION 1000
It will probably be a little slower to print, well, okay, we are not in a hurry.


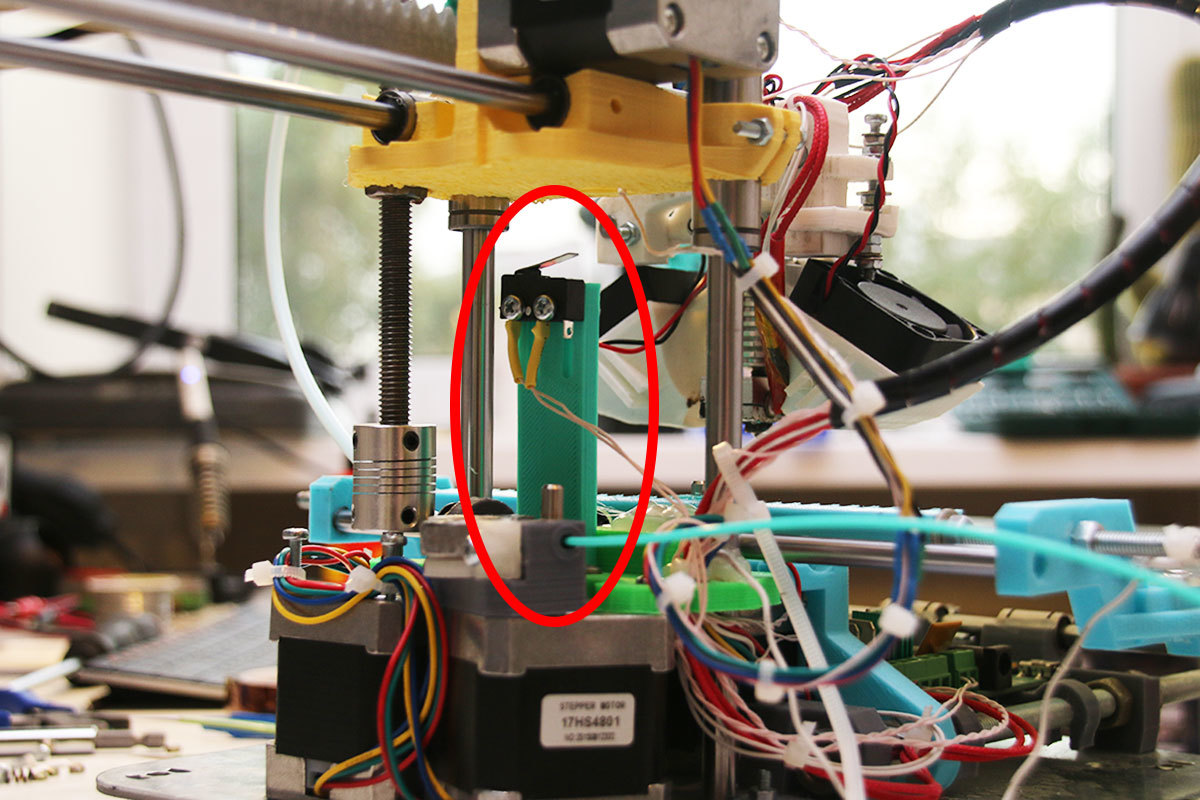
In order to eliminate the influence of the mounting of the extruder on the positioning accuracy and to fully realize the possibility of adjusting the table, I decided to firmly fix the extruder in its holder, for which I drilled through its mounting parts and pulled them with screws. In this regard, I had to rearrange the limit switch of the Z axis under the platform on which the X axis was implemented. I printed a part with two slots for adjusting the limit switch and simply glued it with dichloroethane to the base connecting the three stepper motors from the bottom of the printer. Just in case, he also pulled the screw. Now the limit switch is activated when the platform is lowered to the desired level.
As a power supply, taking into account the consumption current that has increased by 10A (!), It used an orphan power supply from an old computer with a capacity of 350W. It gives a current of 15A on the yellow wire of 12V. The heater is connected to the terminals of the D8 control board. I checked the voltage at full load, kept at 11.5-11.6V. The block is not heated. It fits!
Now let's try to print something with ABS. Test cube 30x30mm, for example. We see in RepetierHost: 100 degrees on the table, 250 on the extruder. Layer 200mkm, airflow is off.

It does not pan out a bit, but with an open window it is quite tolerable. For me, let it smell, even nice!


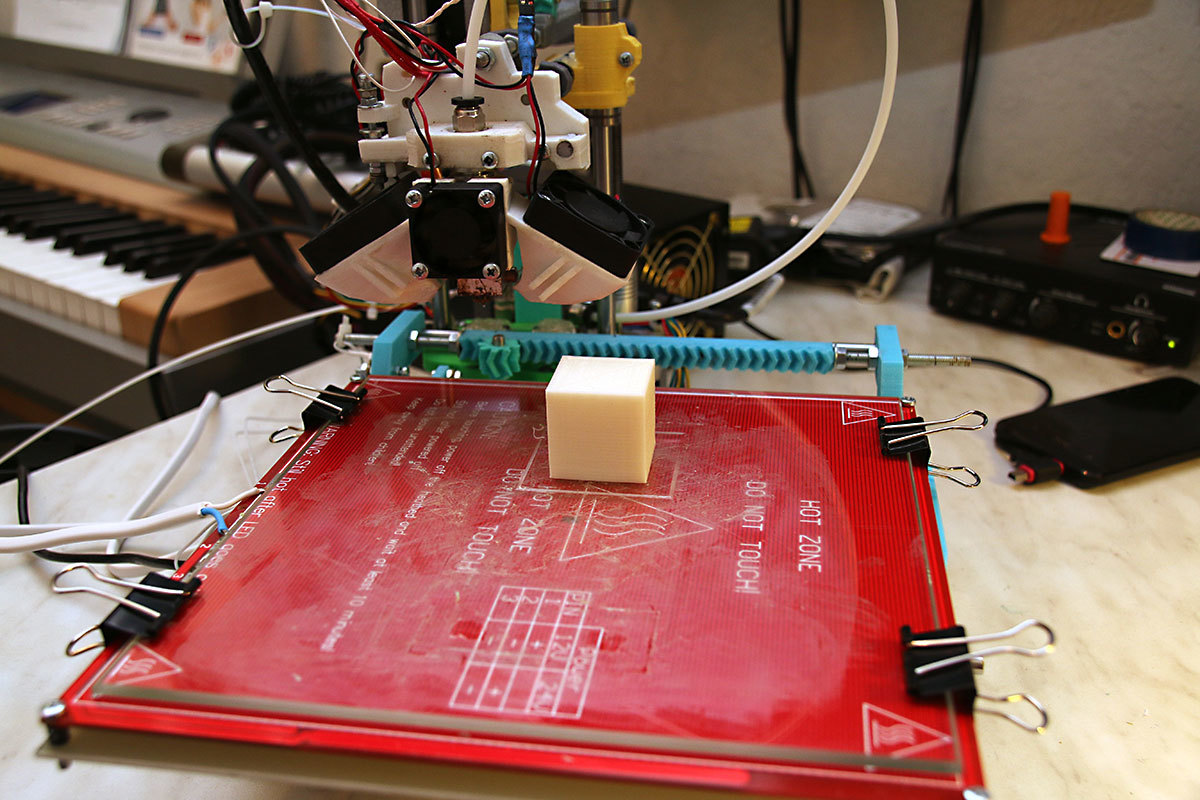
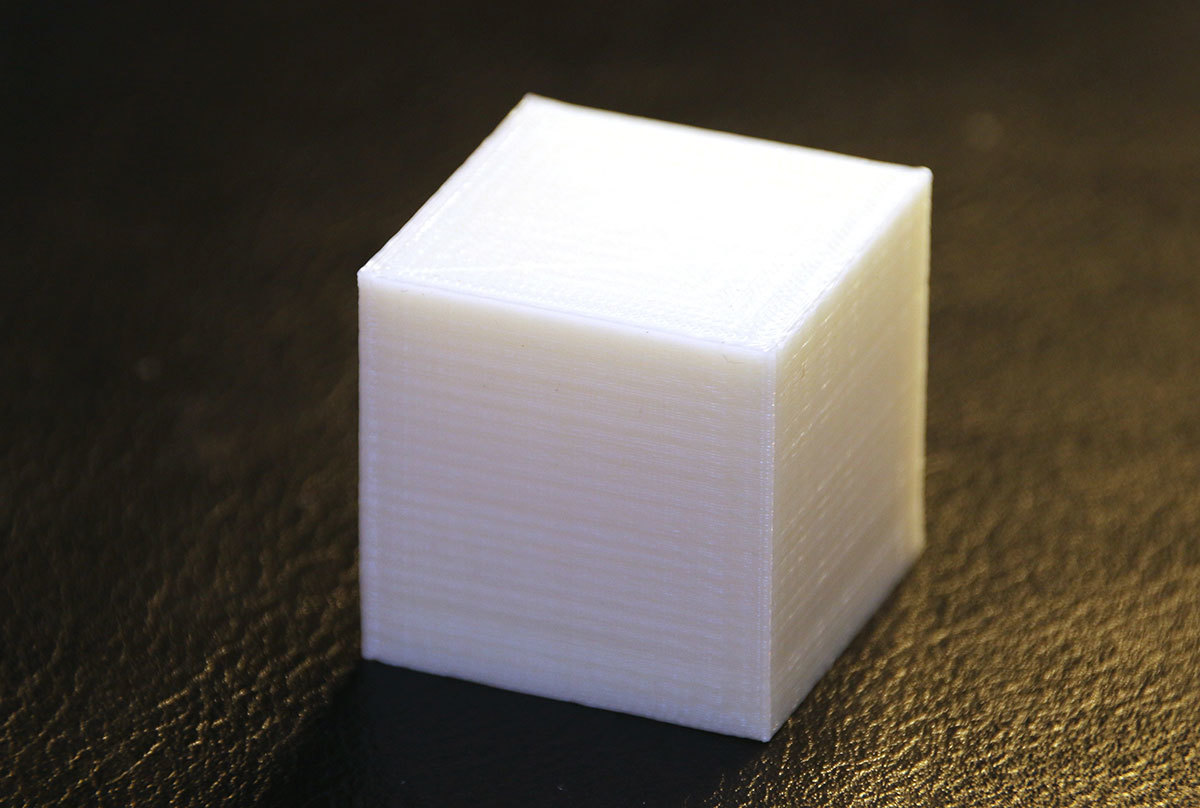
It turned out quite decent cube, agree! By the way, when printing, the blower did not include the parts, so it cools the extruder by 10 degrees.

I was satisfied with the quality of printing, but after a while I realized that I had closed my access to the control board with my experiments! Driver current to adjust or switch that ... here is an ambush. It turned out that if you loosen the fasteners and gently remove the polished shafts along which the table moves, it is removed in a remarkable way and opens up access to the board. In this case, all the settings of the table with the springs are completely preserved. Phew!
So I haven’t decided yet which calibration I like more, auto-levelers or springs on the table ...
All good print!
Source: https://habr.com/ru/post/369459/
All Articles